Side Adventures - The Legend of Zelda: Tears of the Kingdom Database
| Icon | Title | Category | Subcategory |
|---|
Side Adventures
| Icon | Title | Details | Screenshots | |||||||||||||||||||||||||||||||||||||||||||||||||||||||||||||||||||||||||||||||||||||||||||||||
|---|---|---|---|---|---|---|---|---|---|---|---|---|---|---|---|---|---|---|---|---|---|---|---|---|---|---|---|---|---|---|---|---|---|---|---|---|---|---|---|---|---|---|---|---|---|---|---|---|---|---|---|---|---|---|---|---|---|---|---|---|---|---|---|---|---|---|---|---|---|---|---|---|---|---|---|---|---|---|---|---|---|---|---|---|---|---|---|---|---|---|---|---|---|---|---|---|---|---|

|
A Call from the Depths |
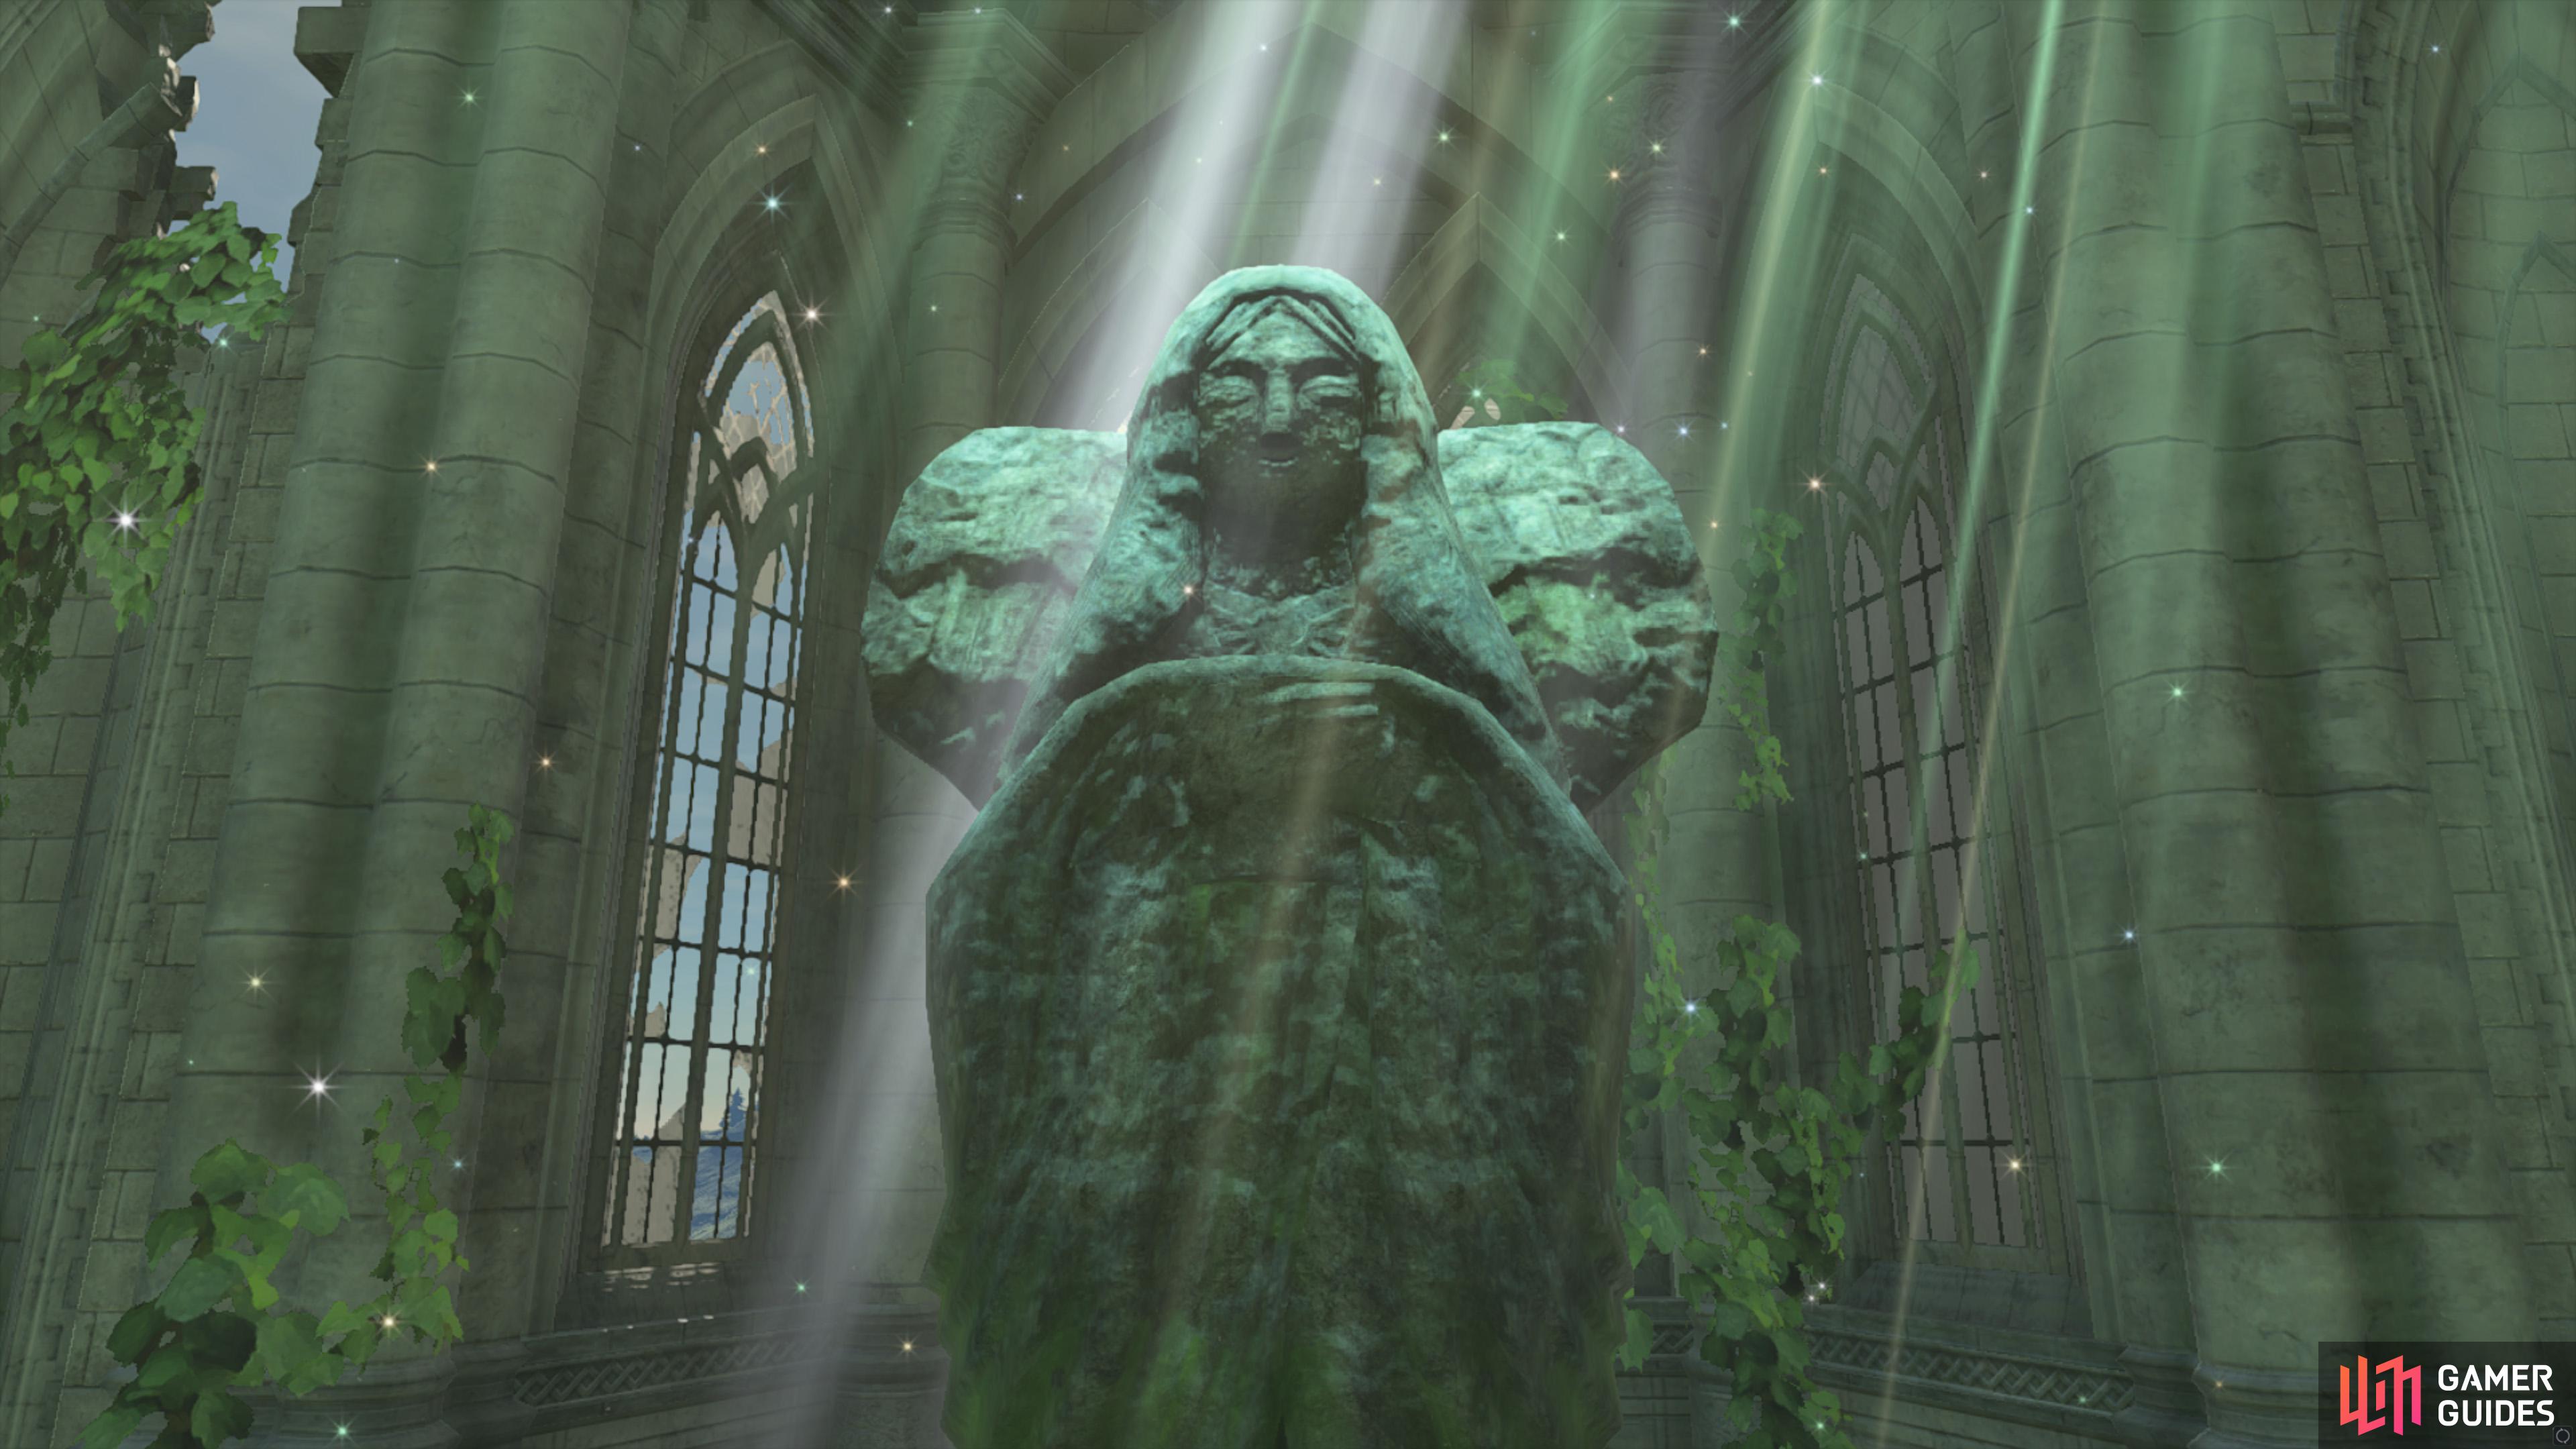
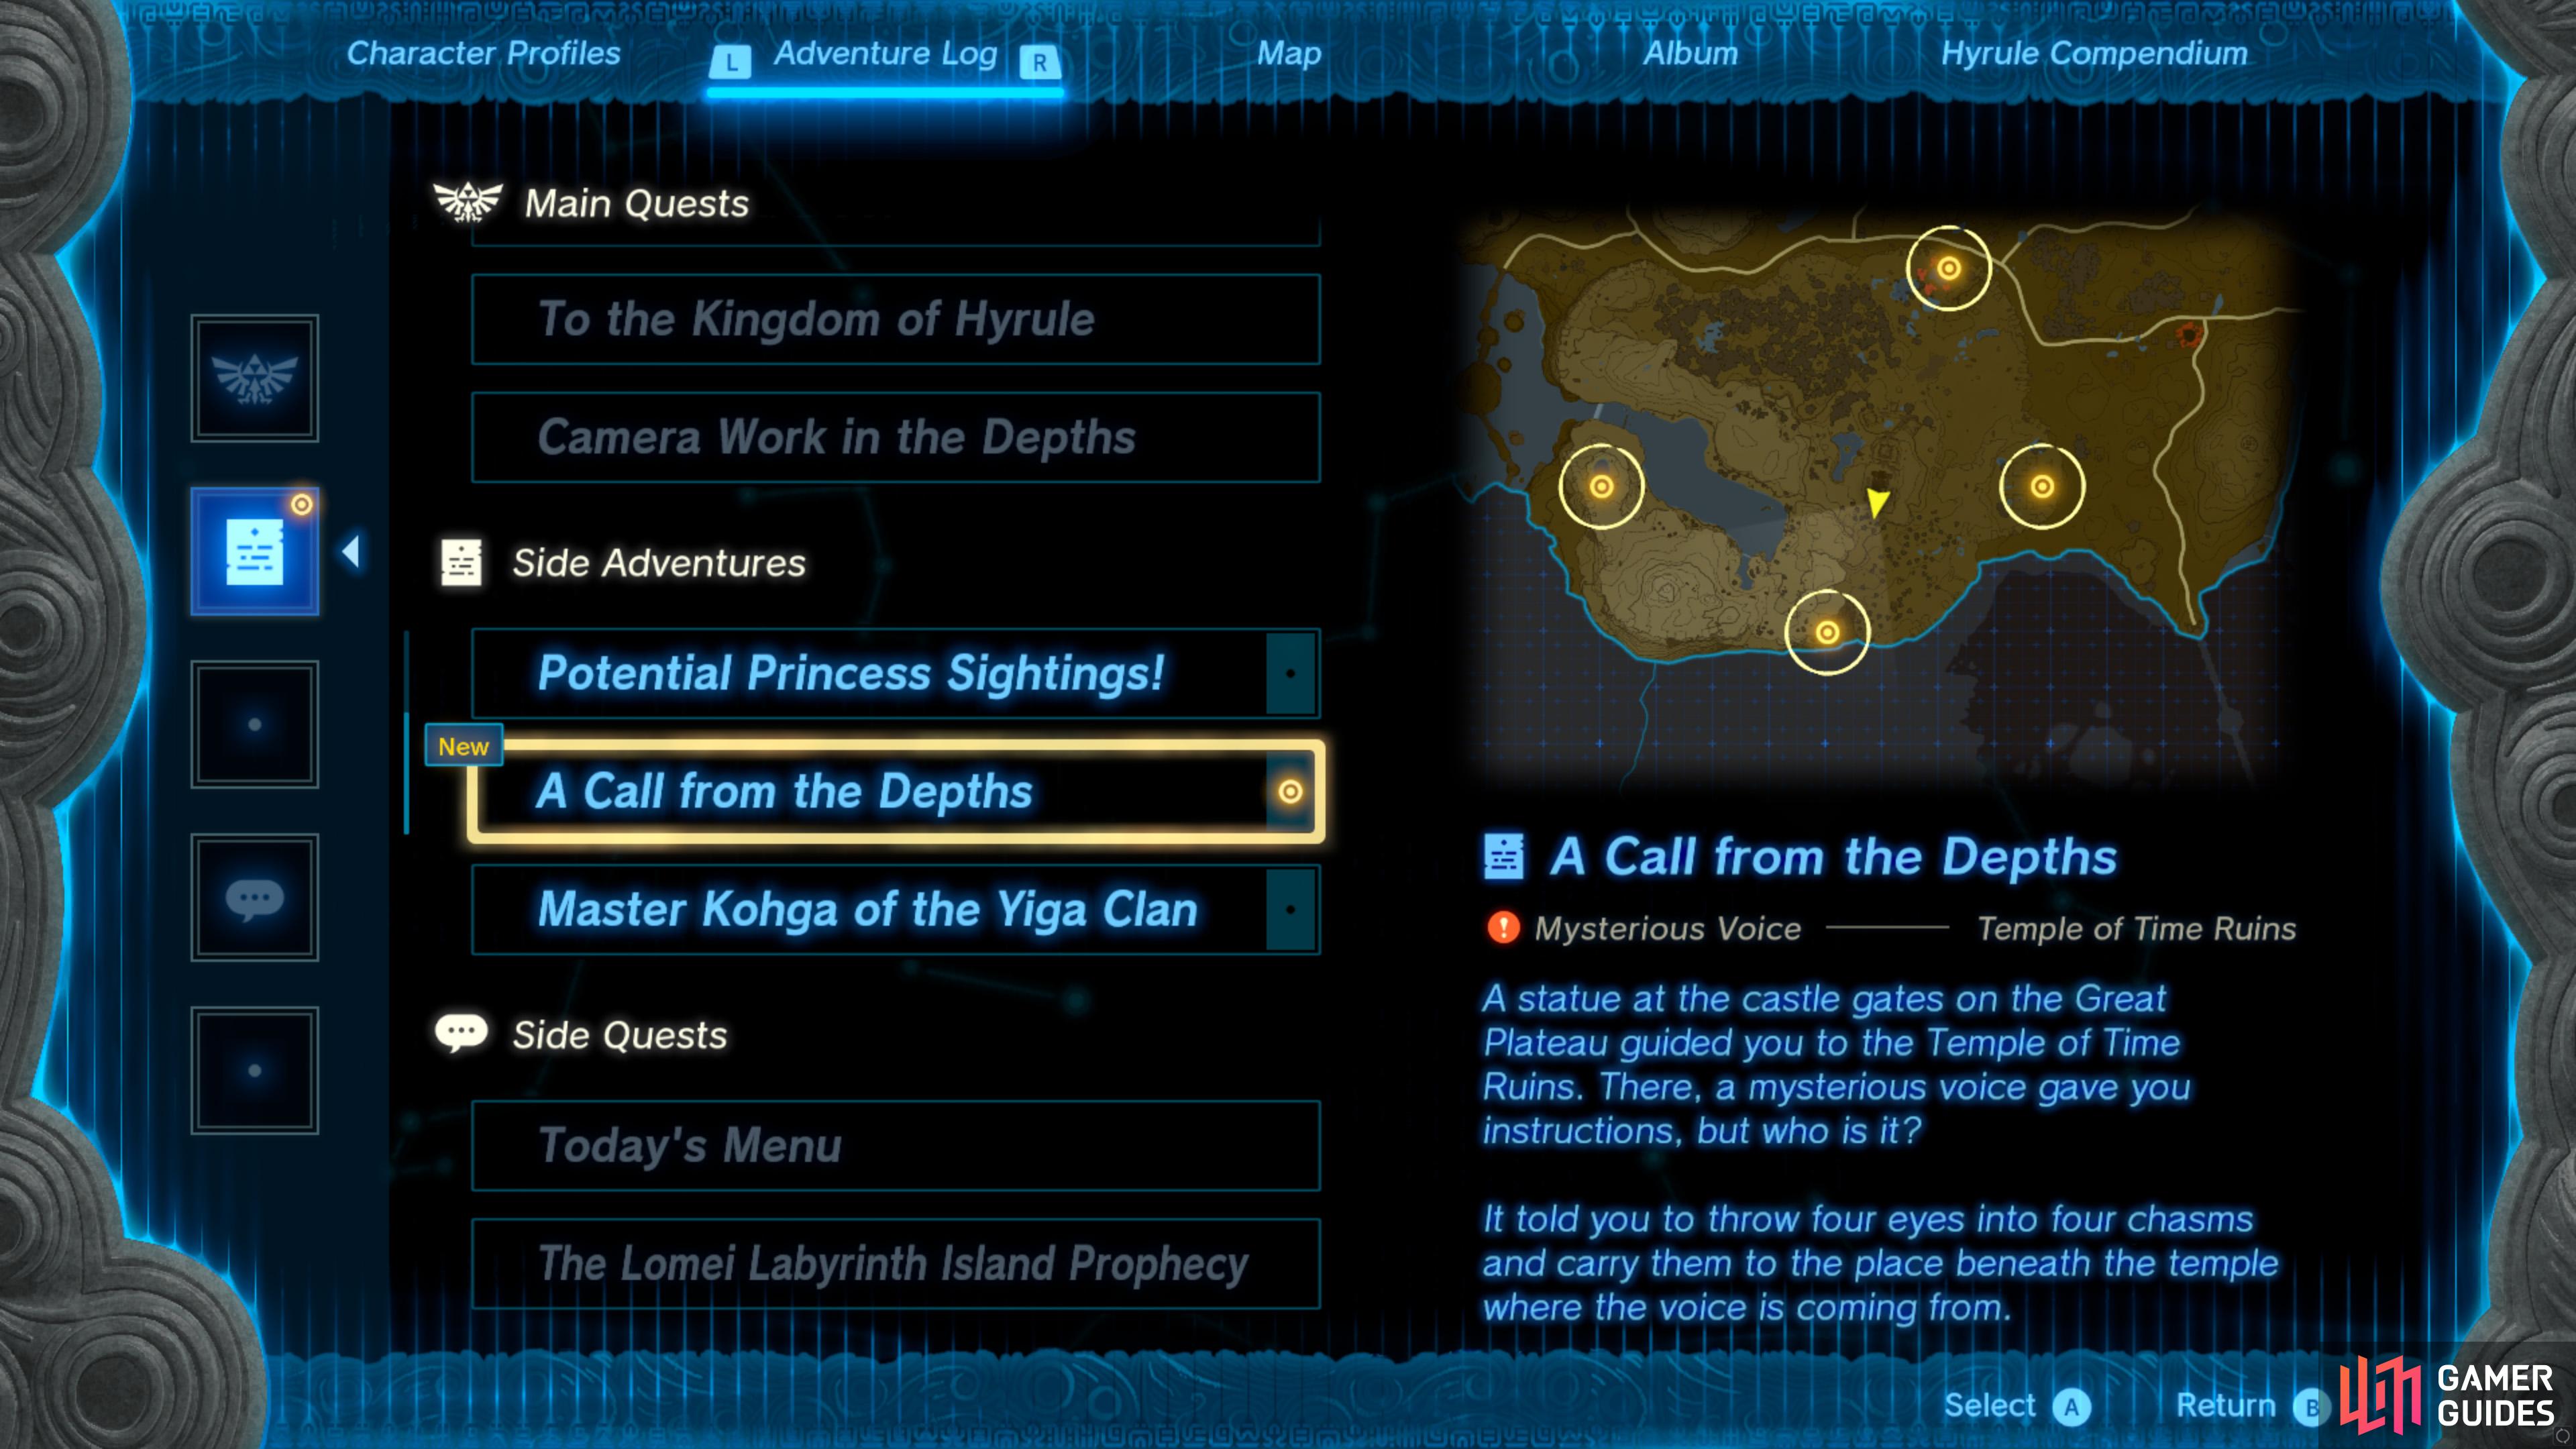
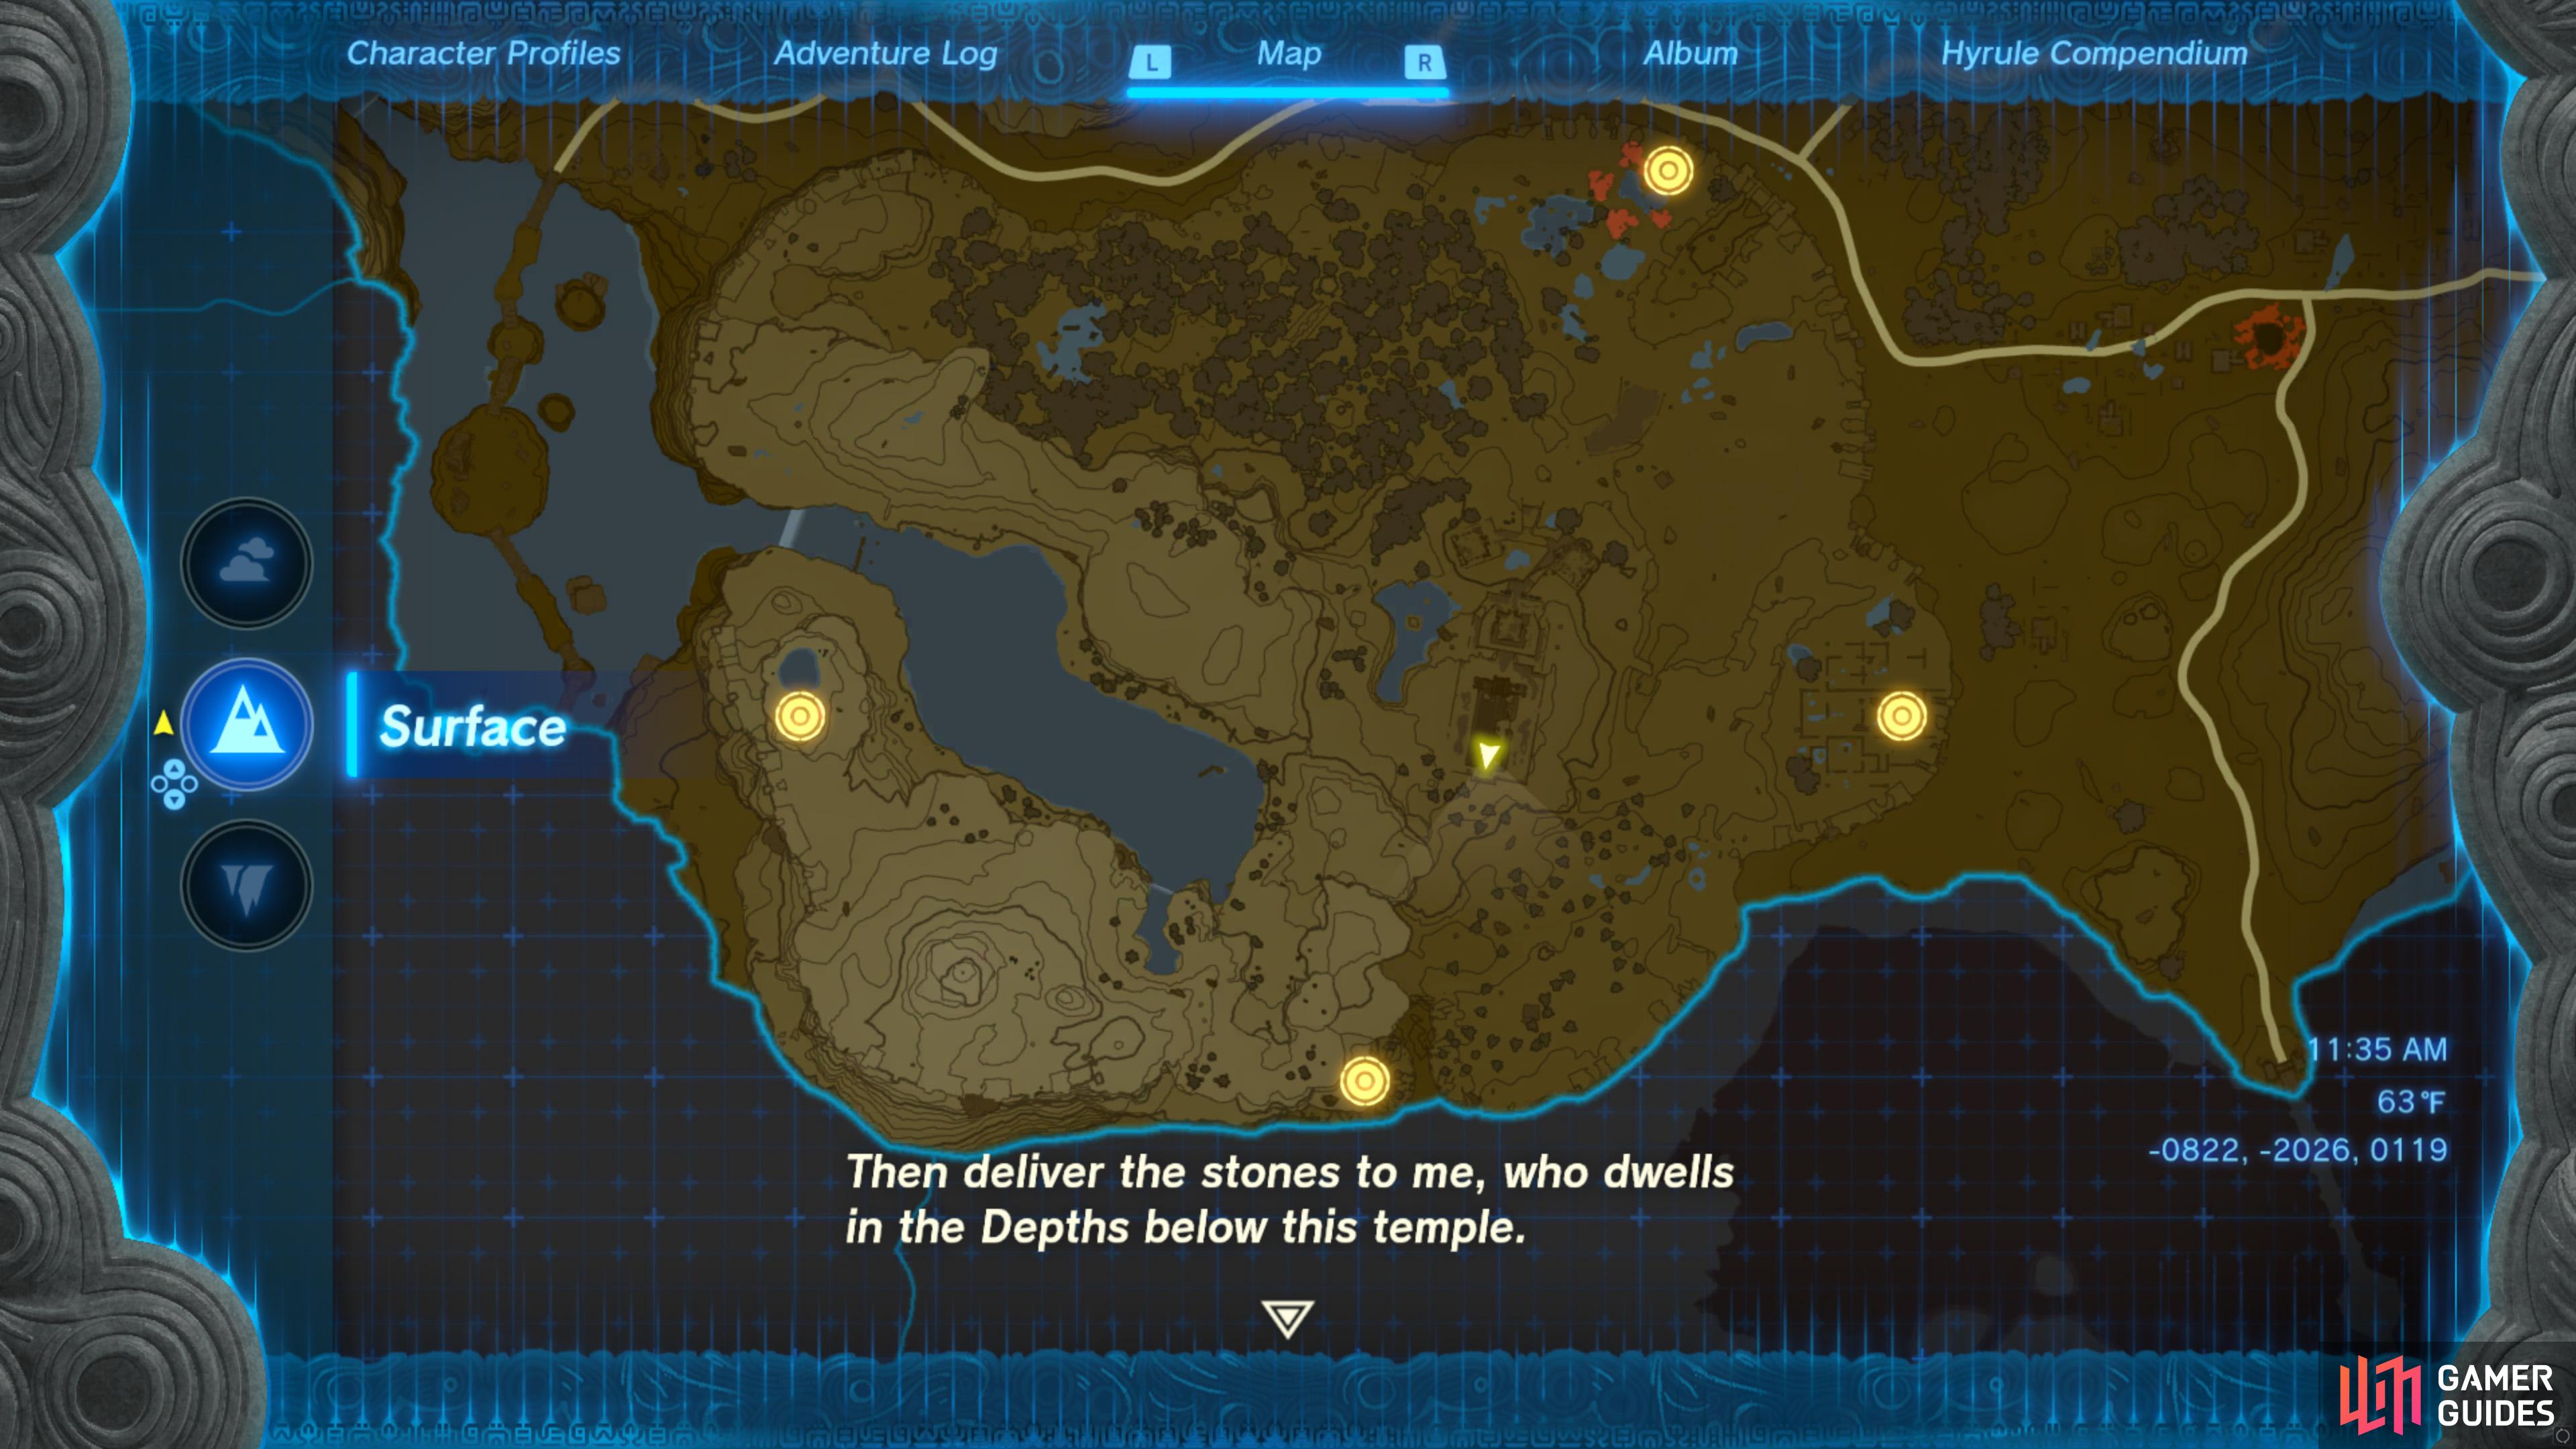
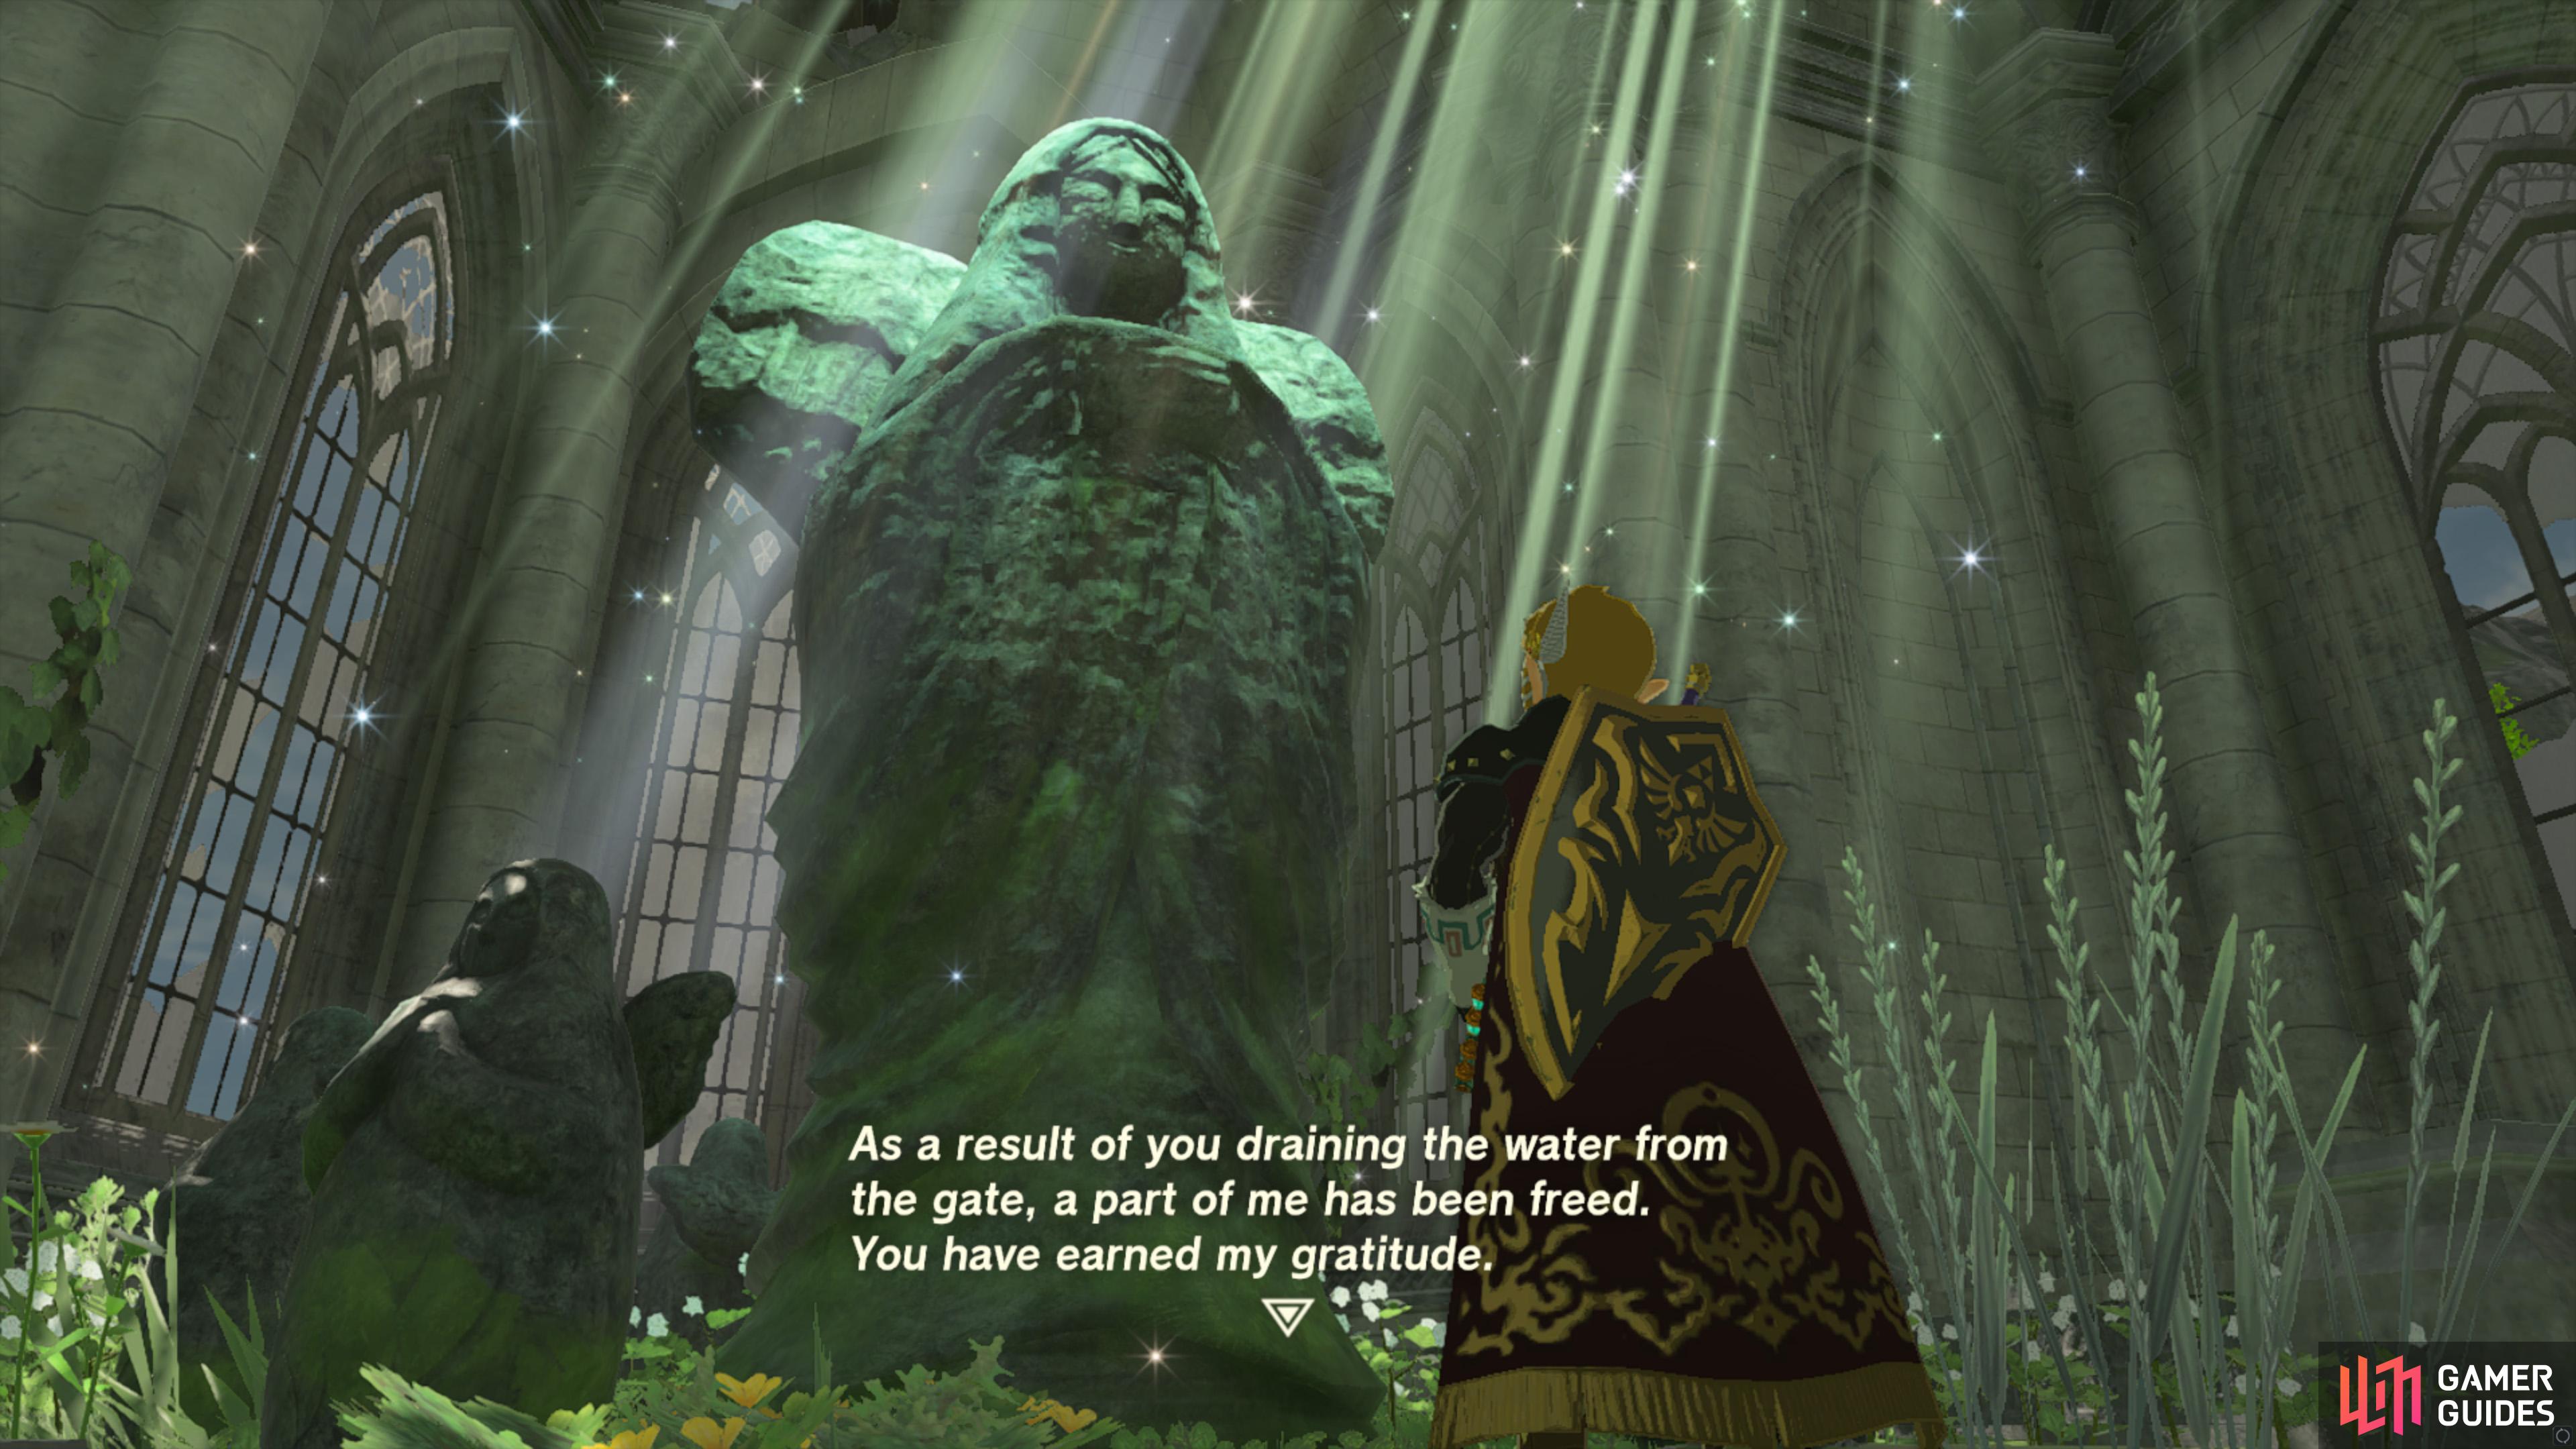
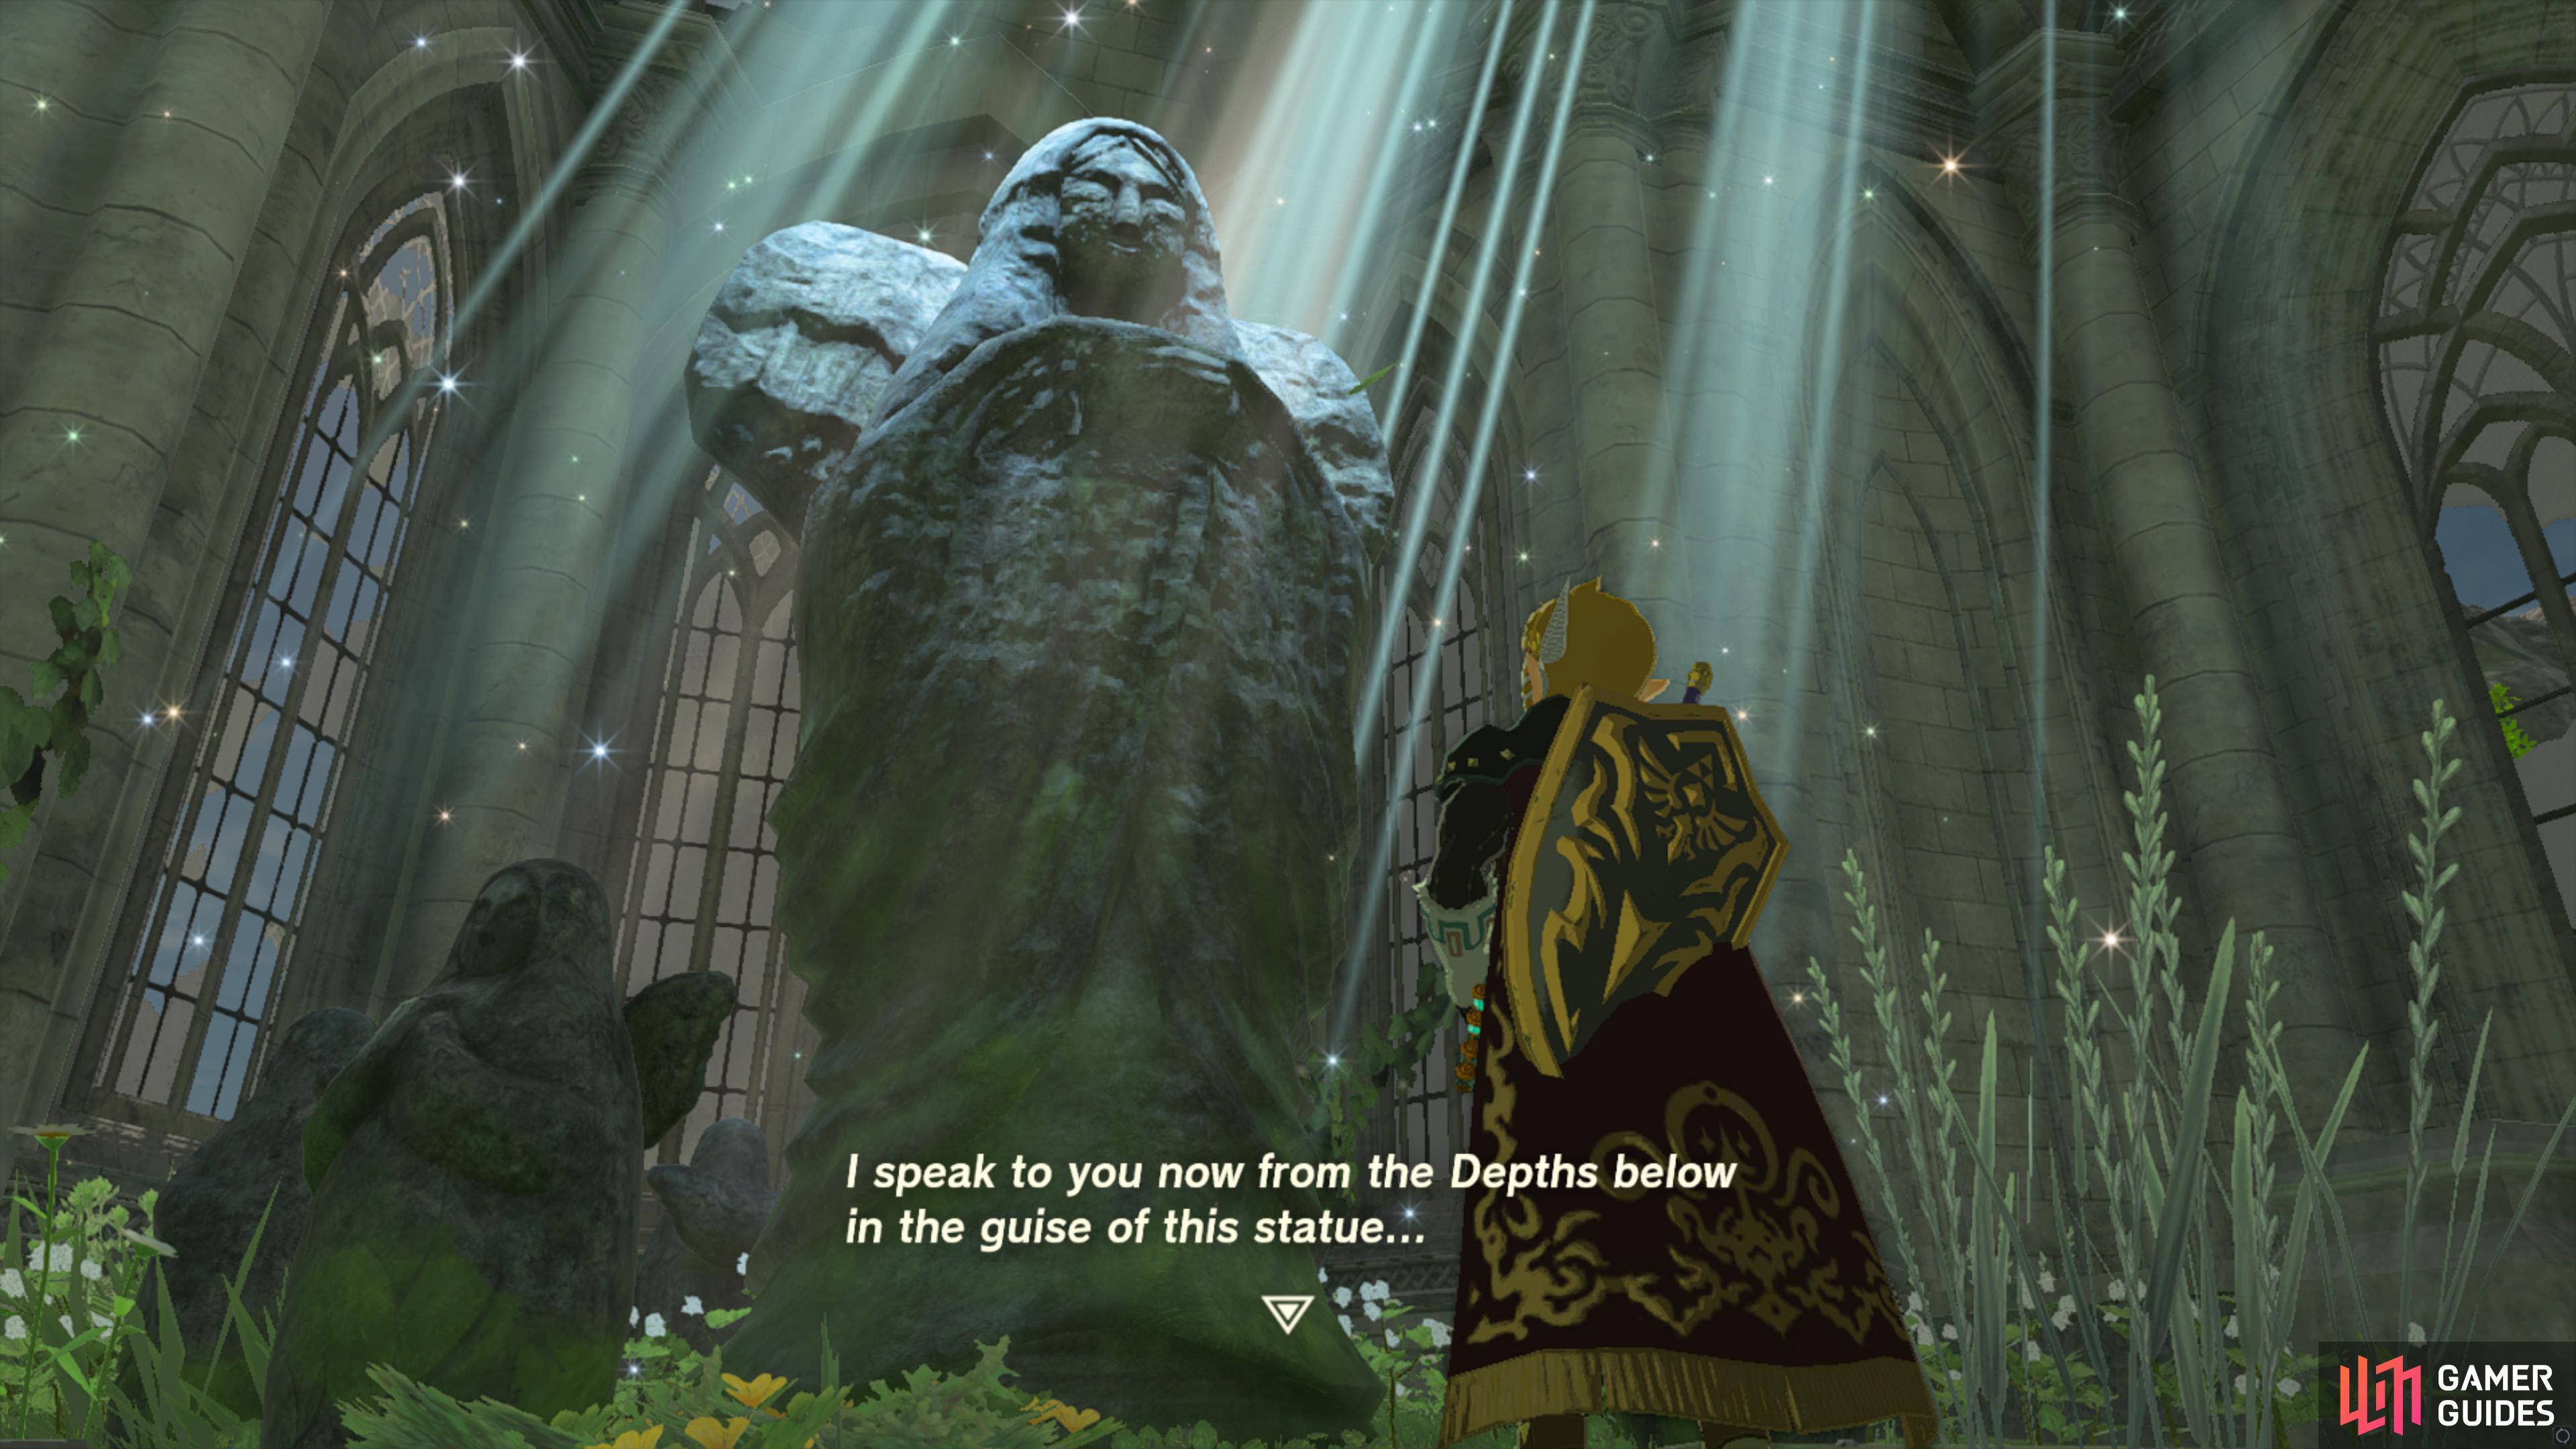
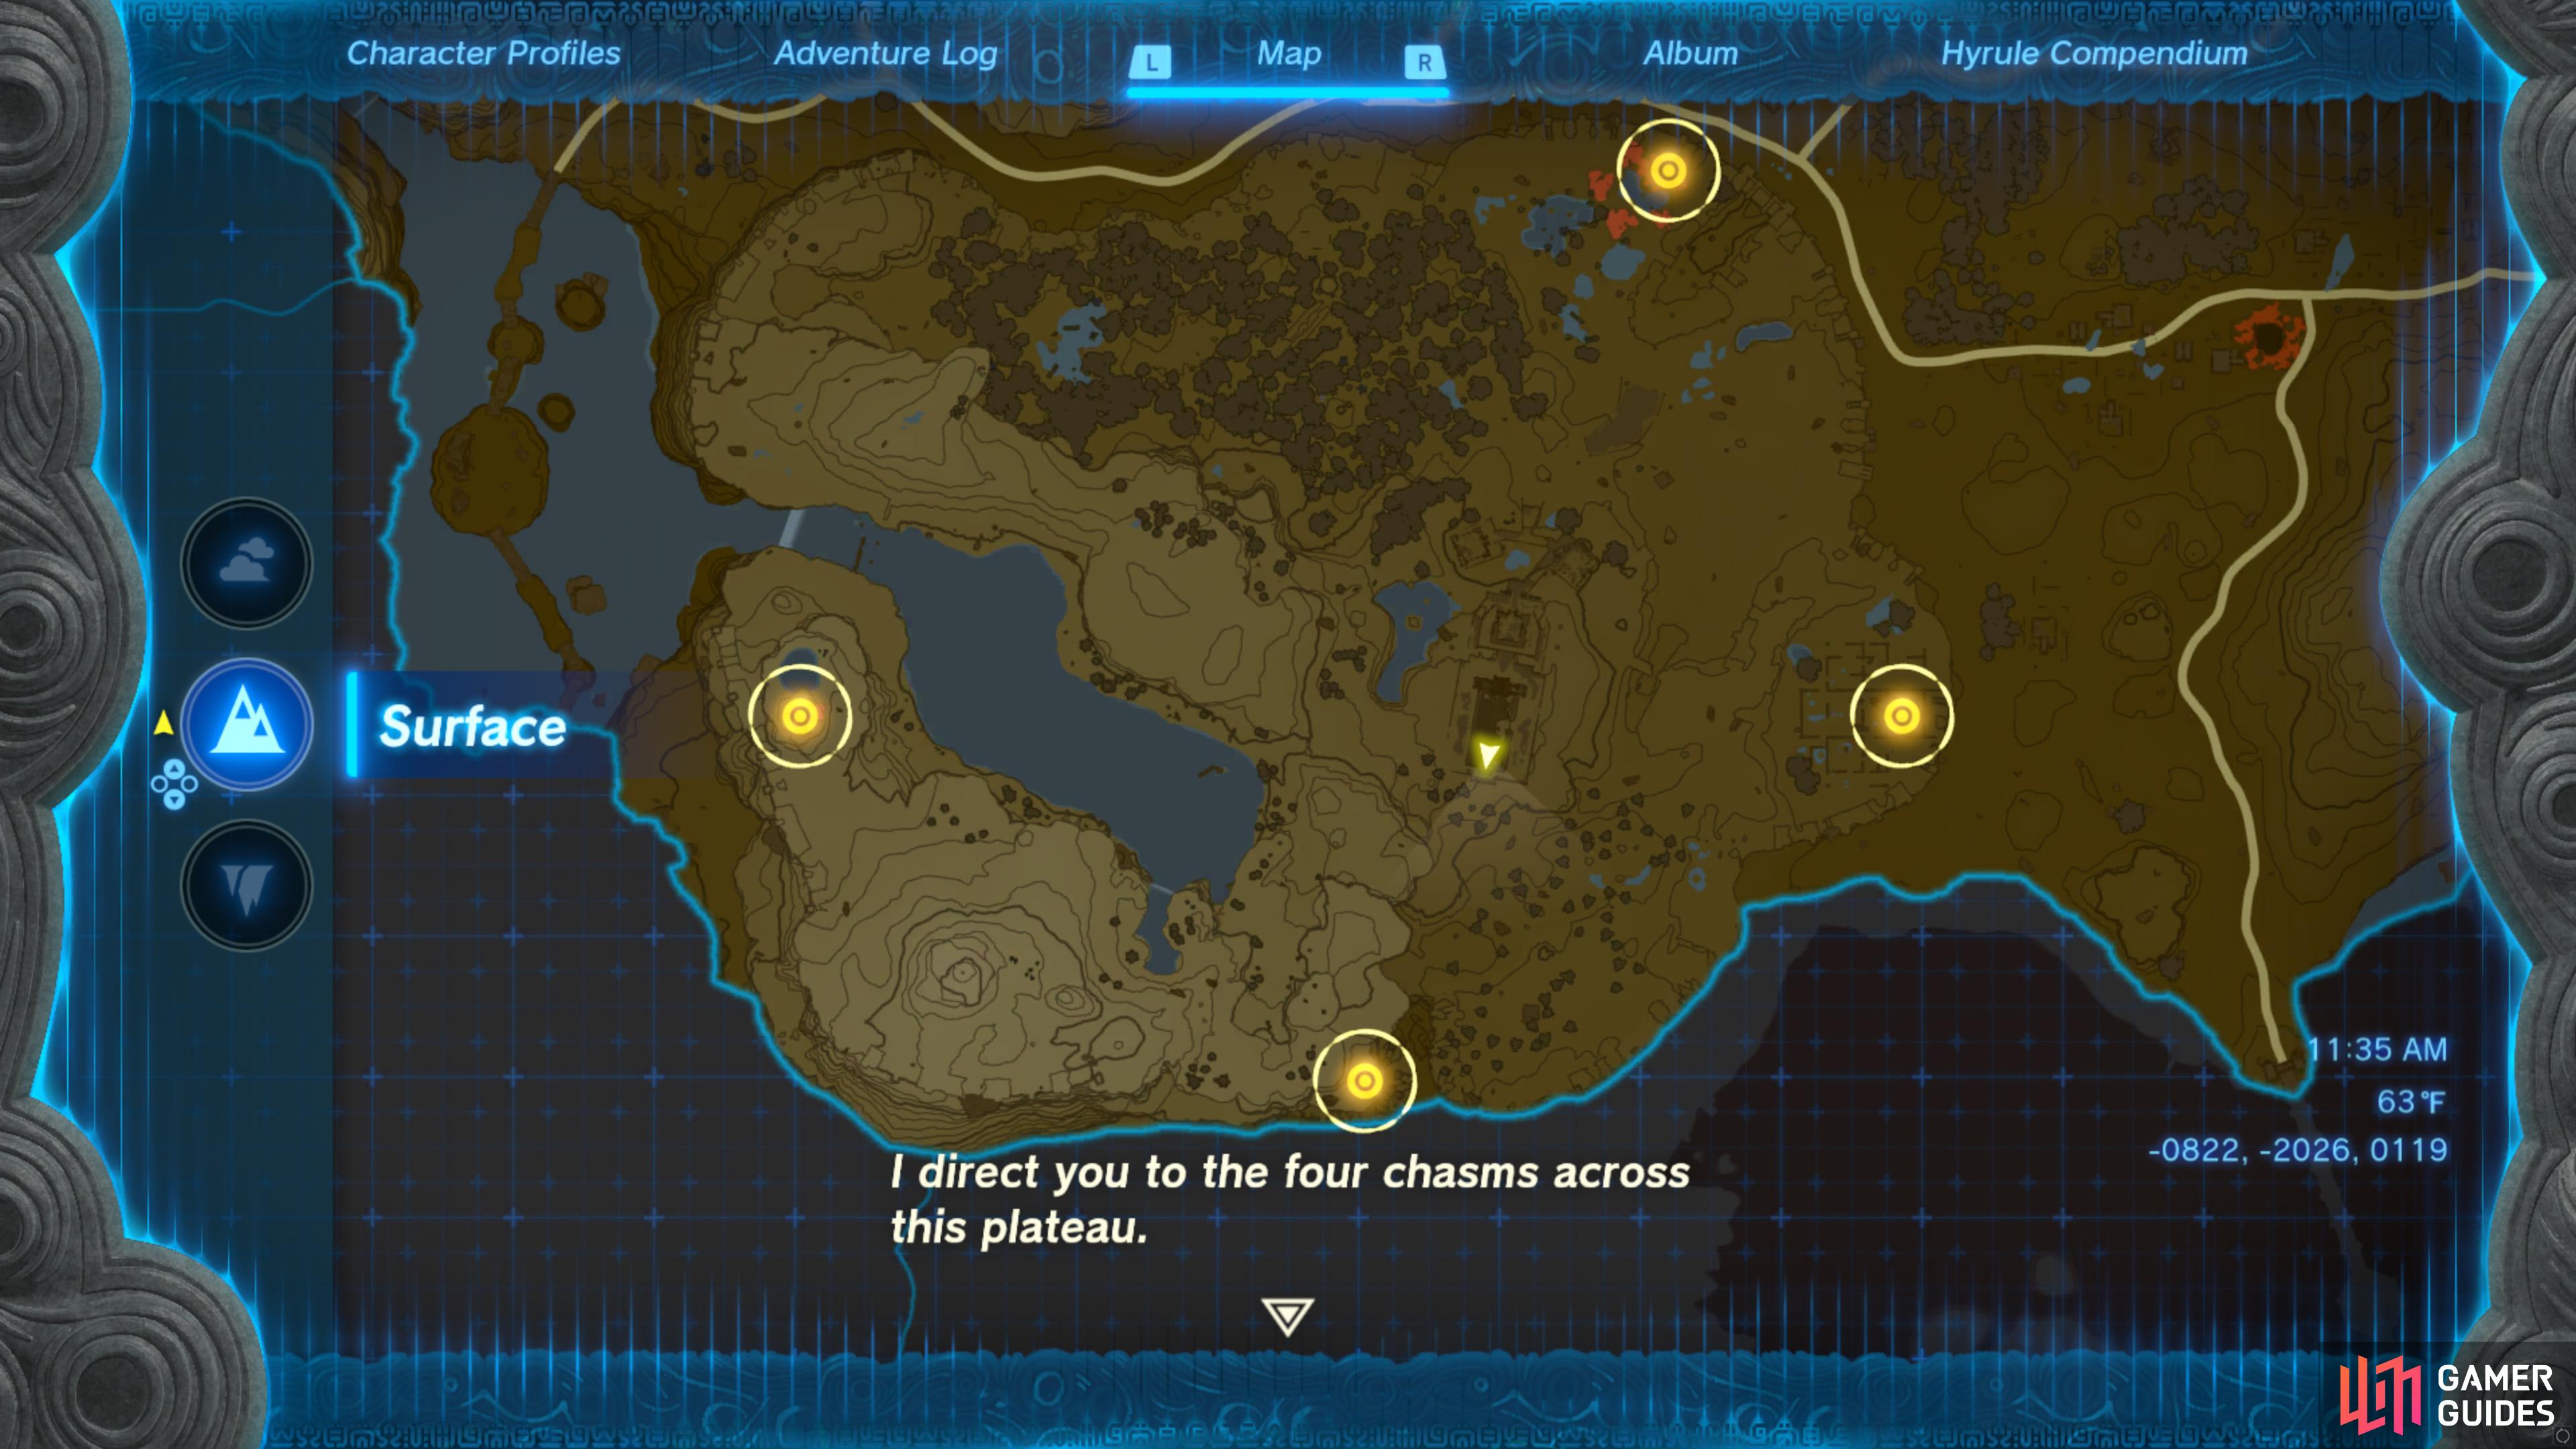
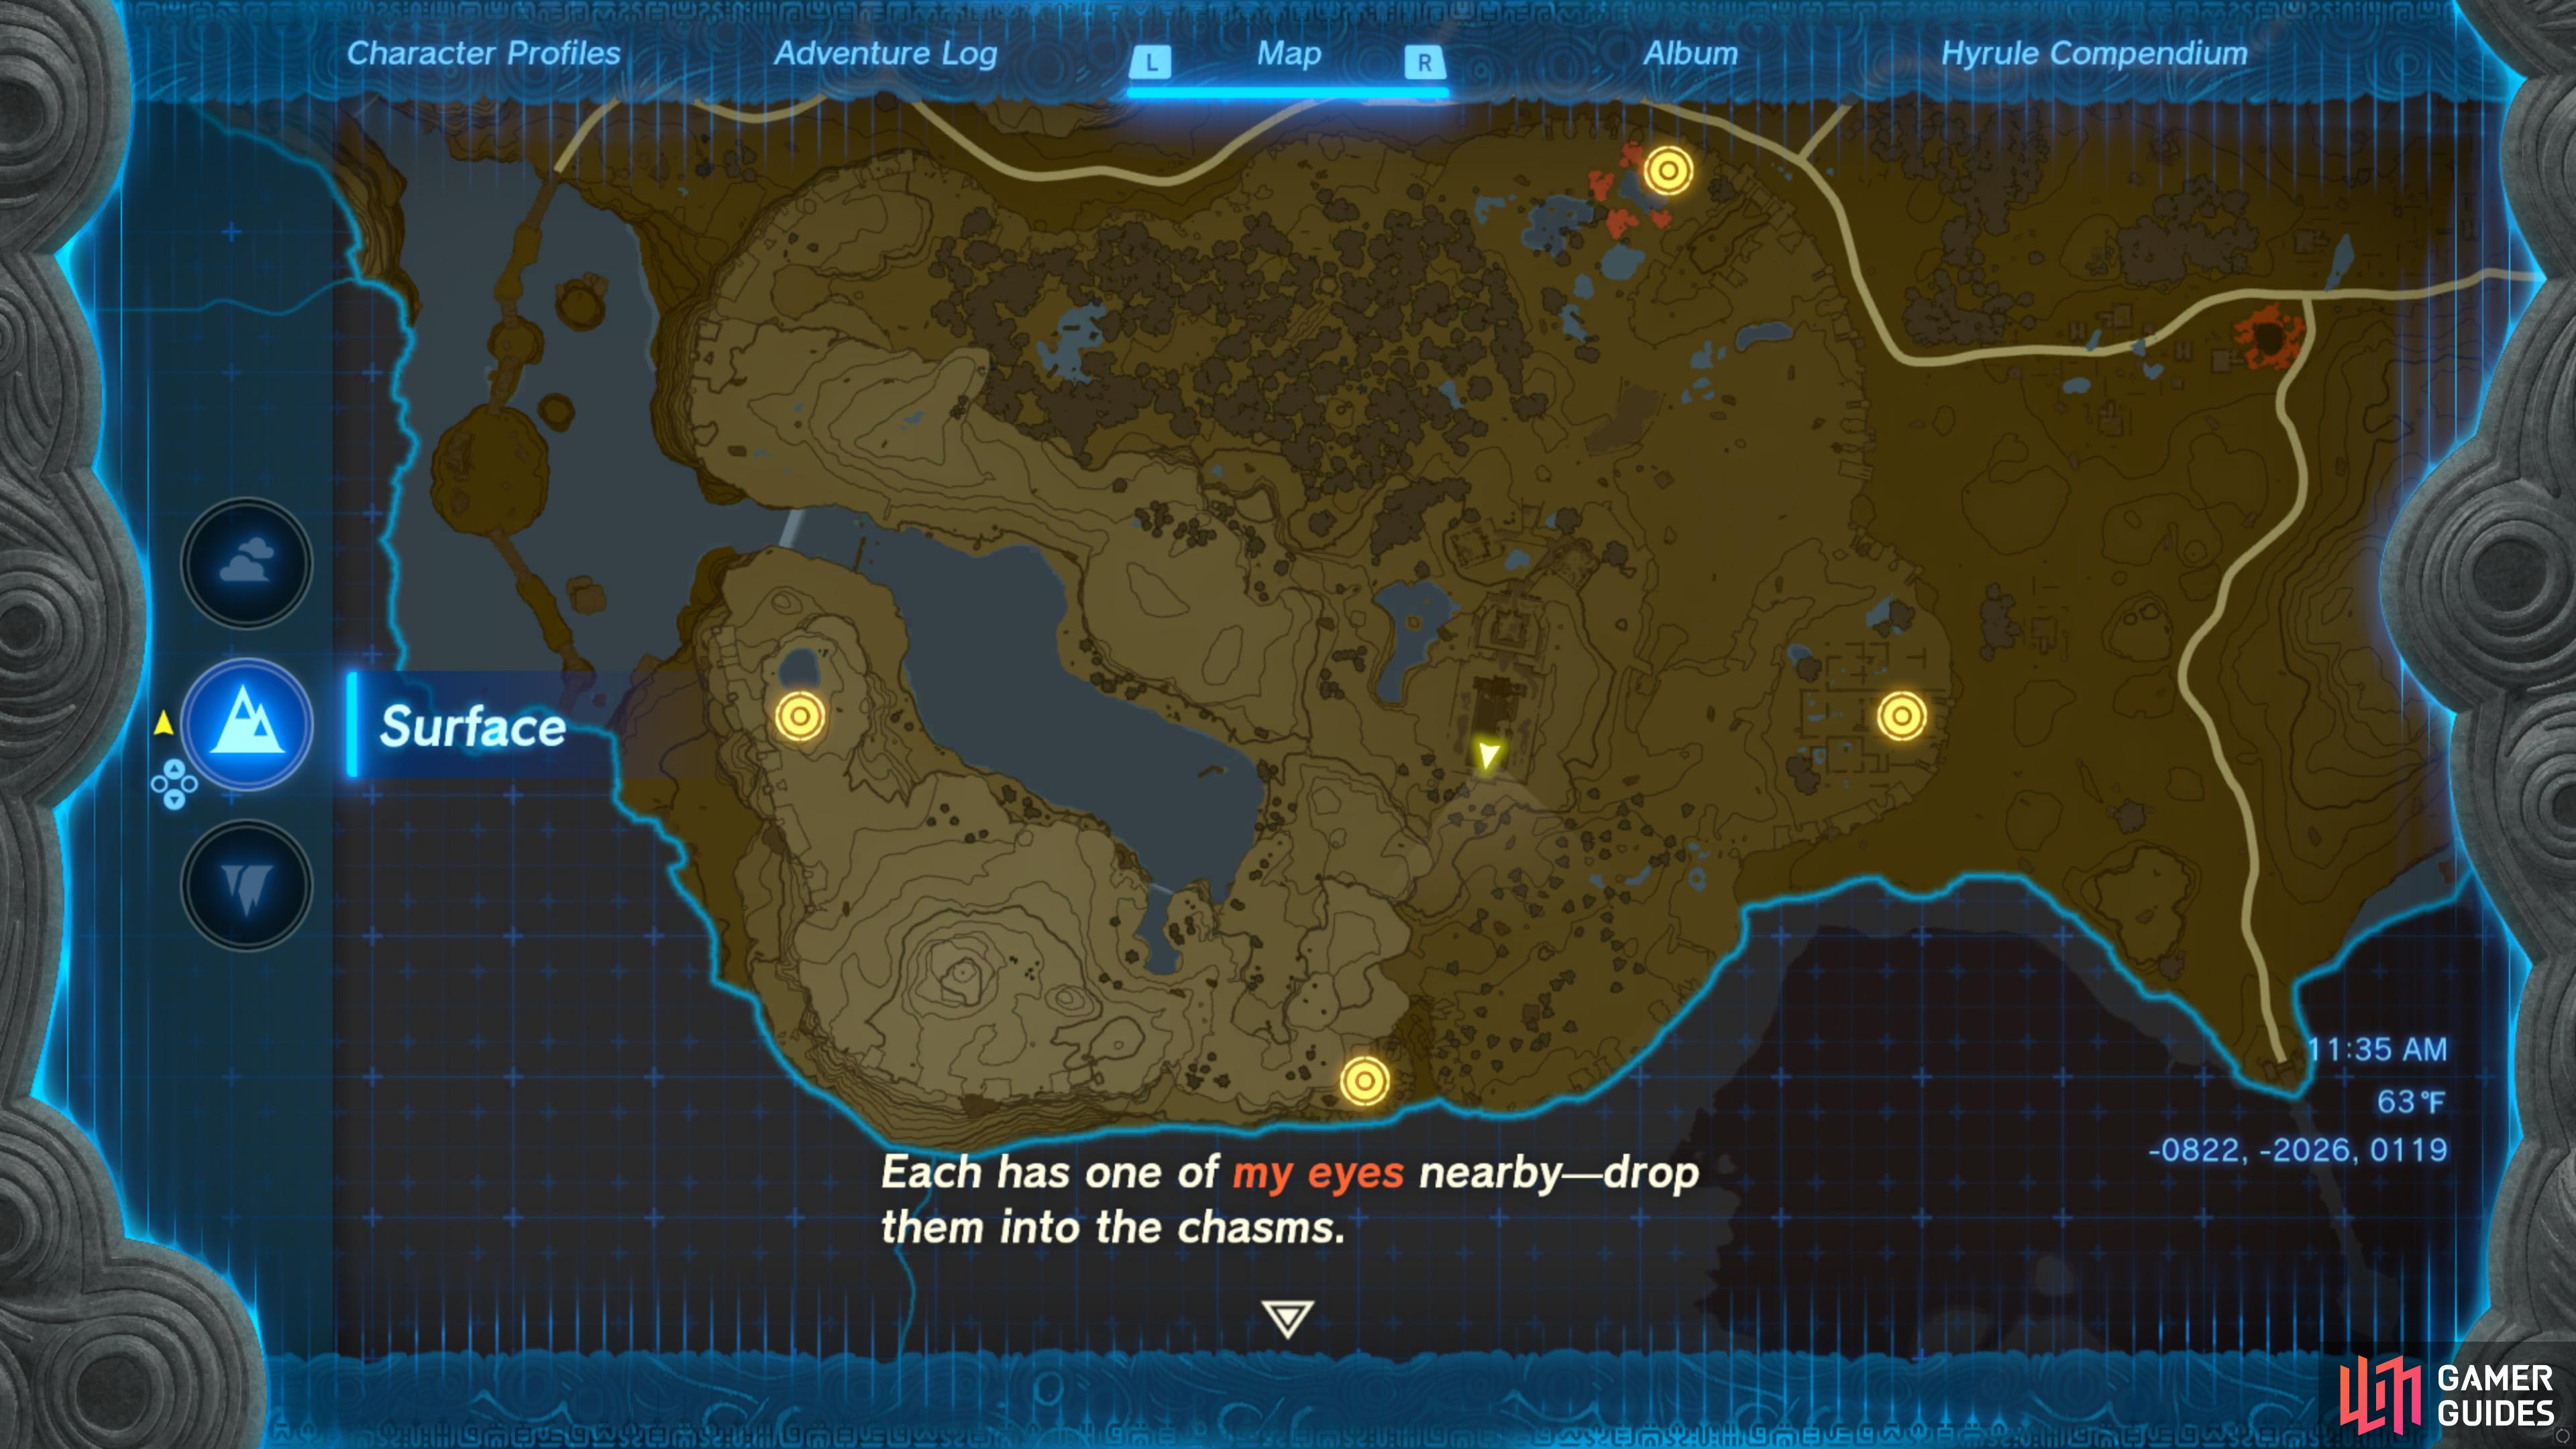
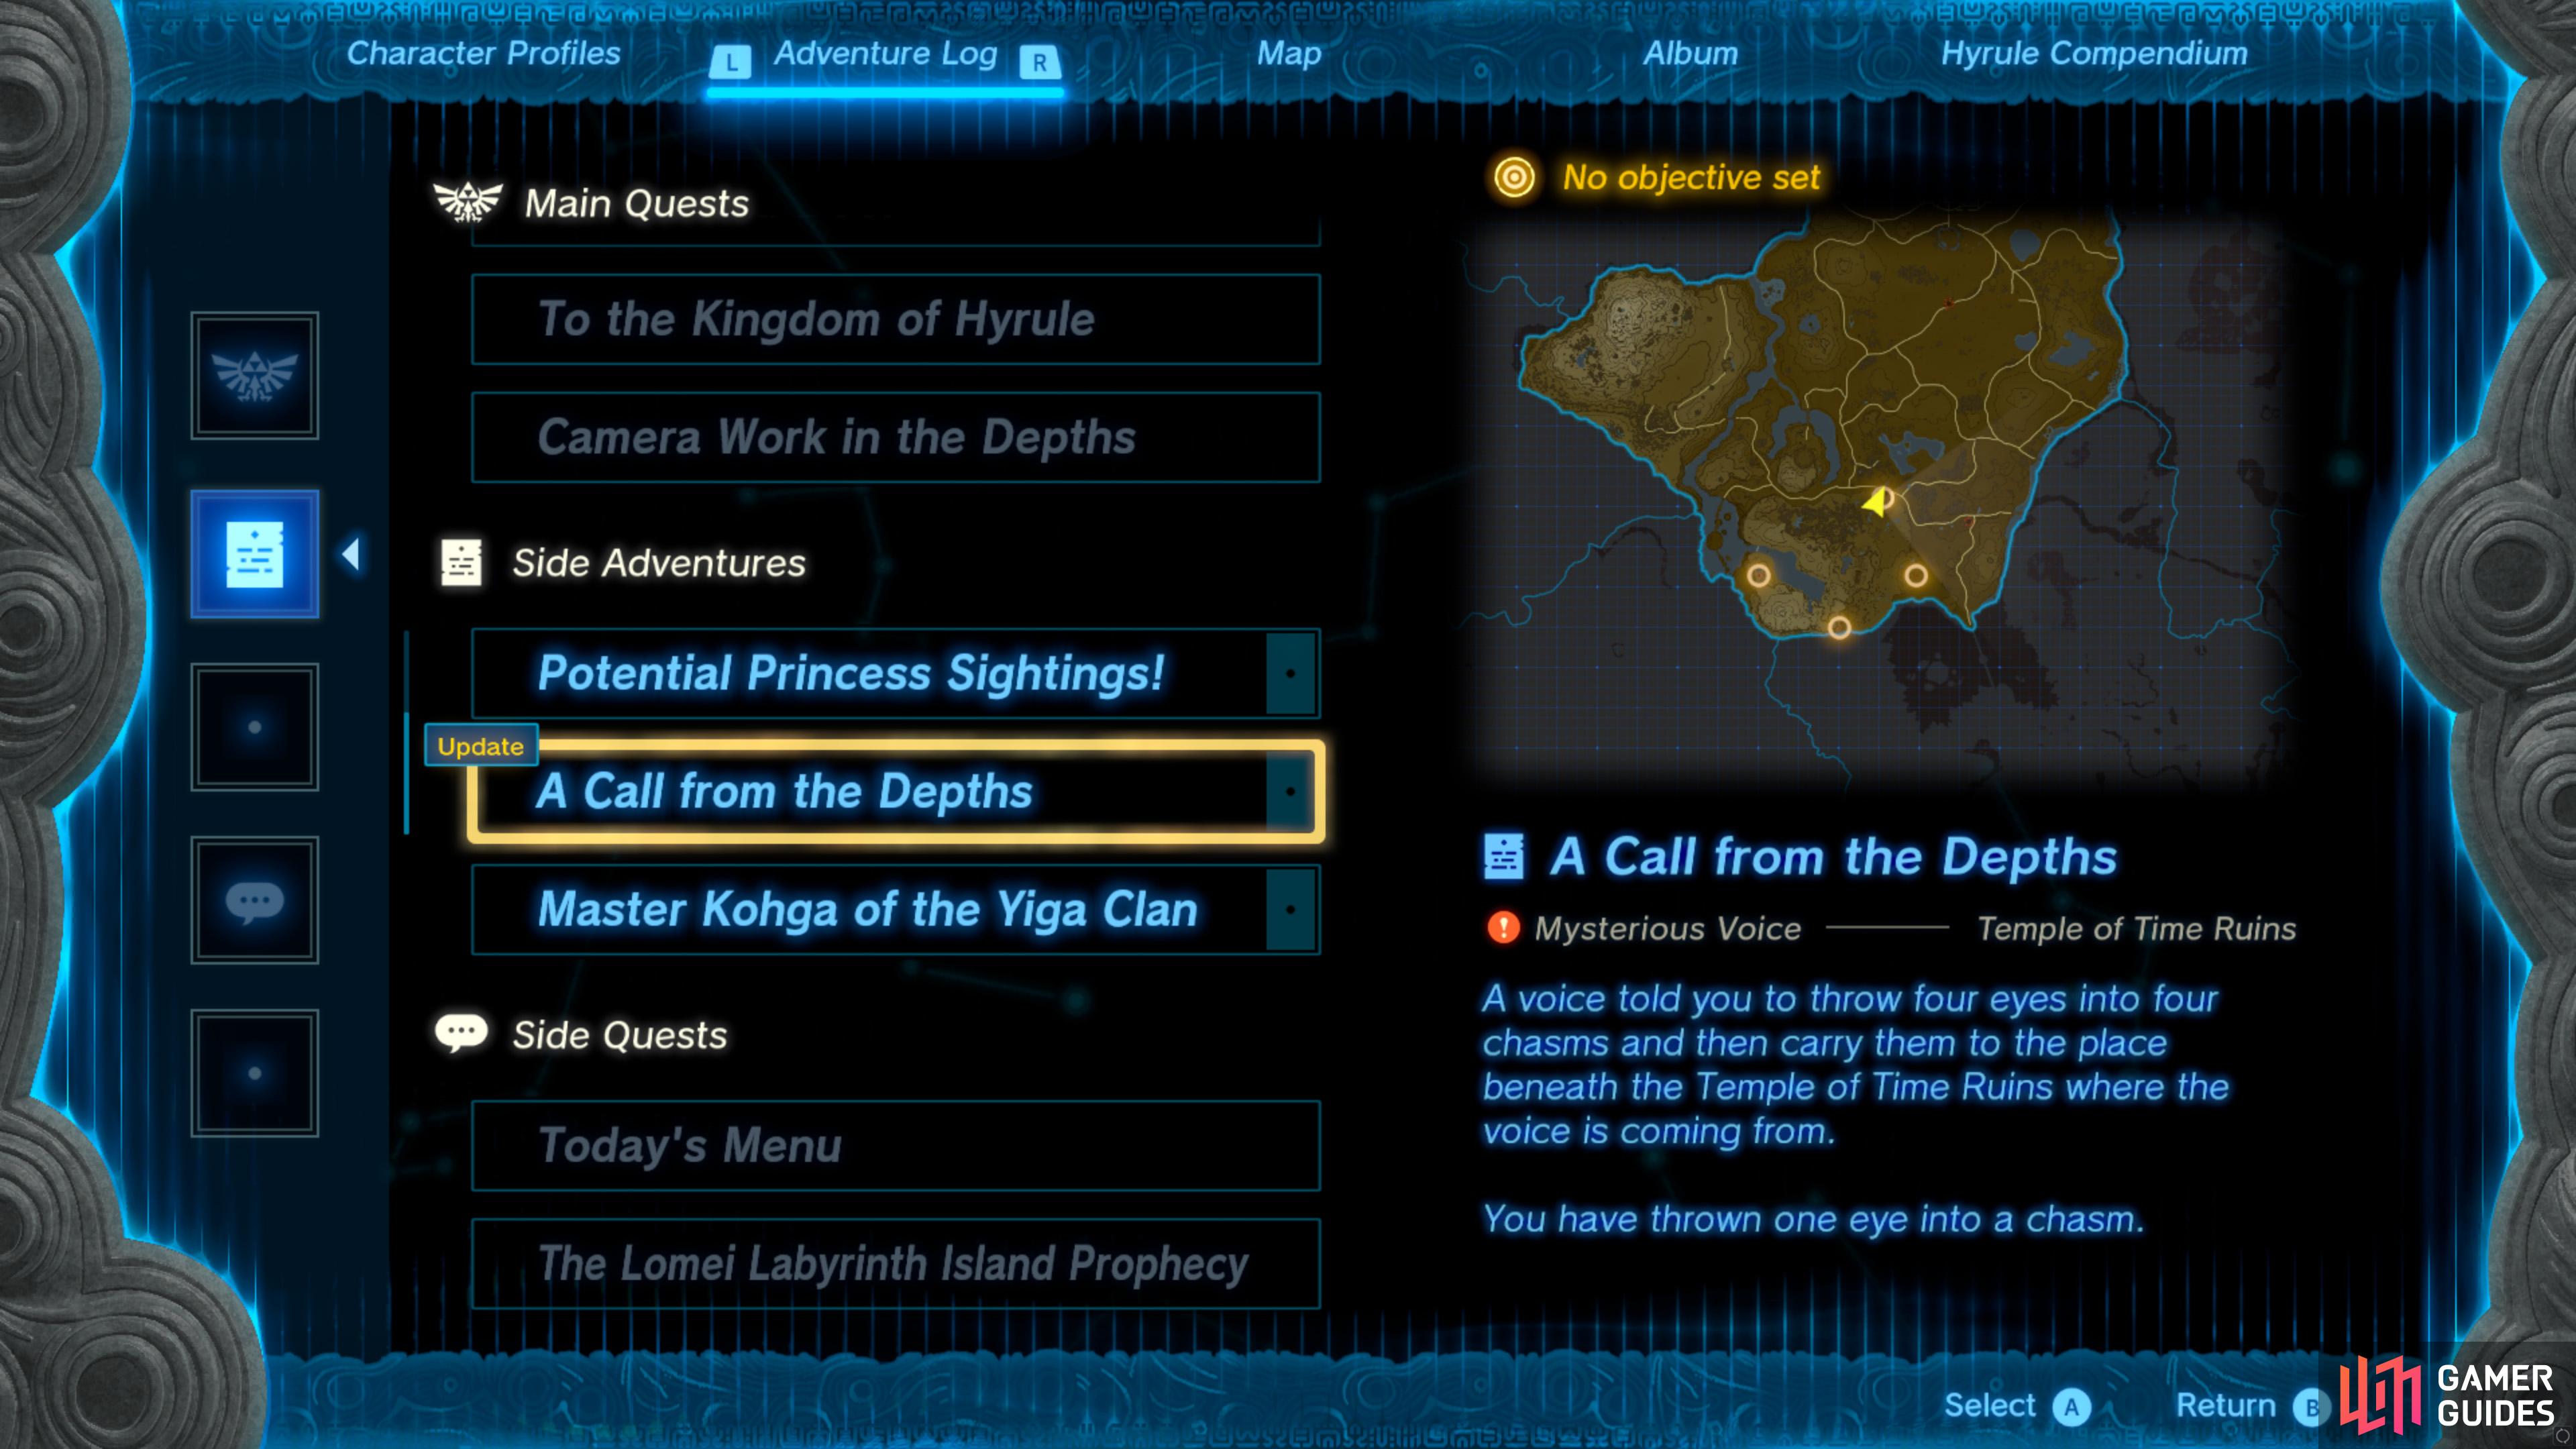
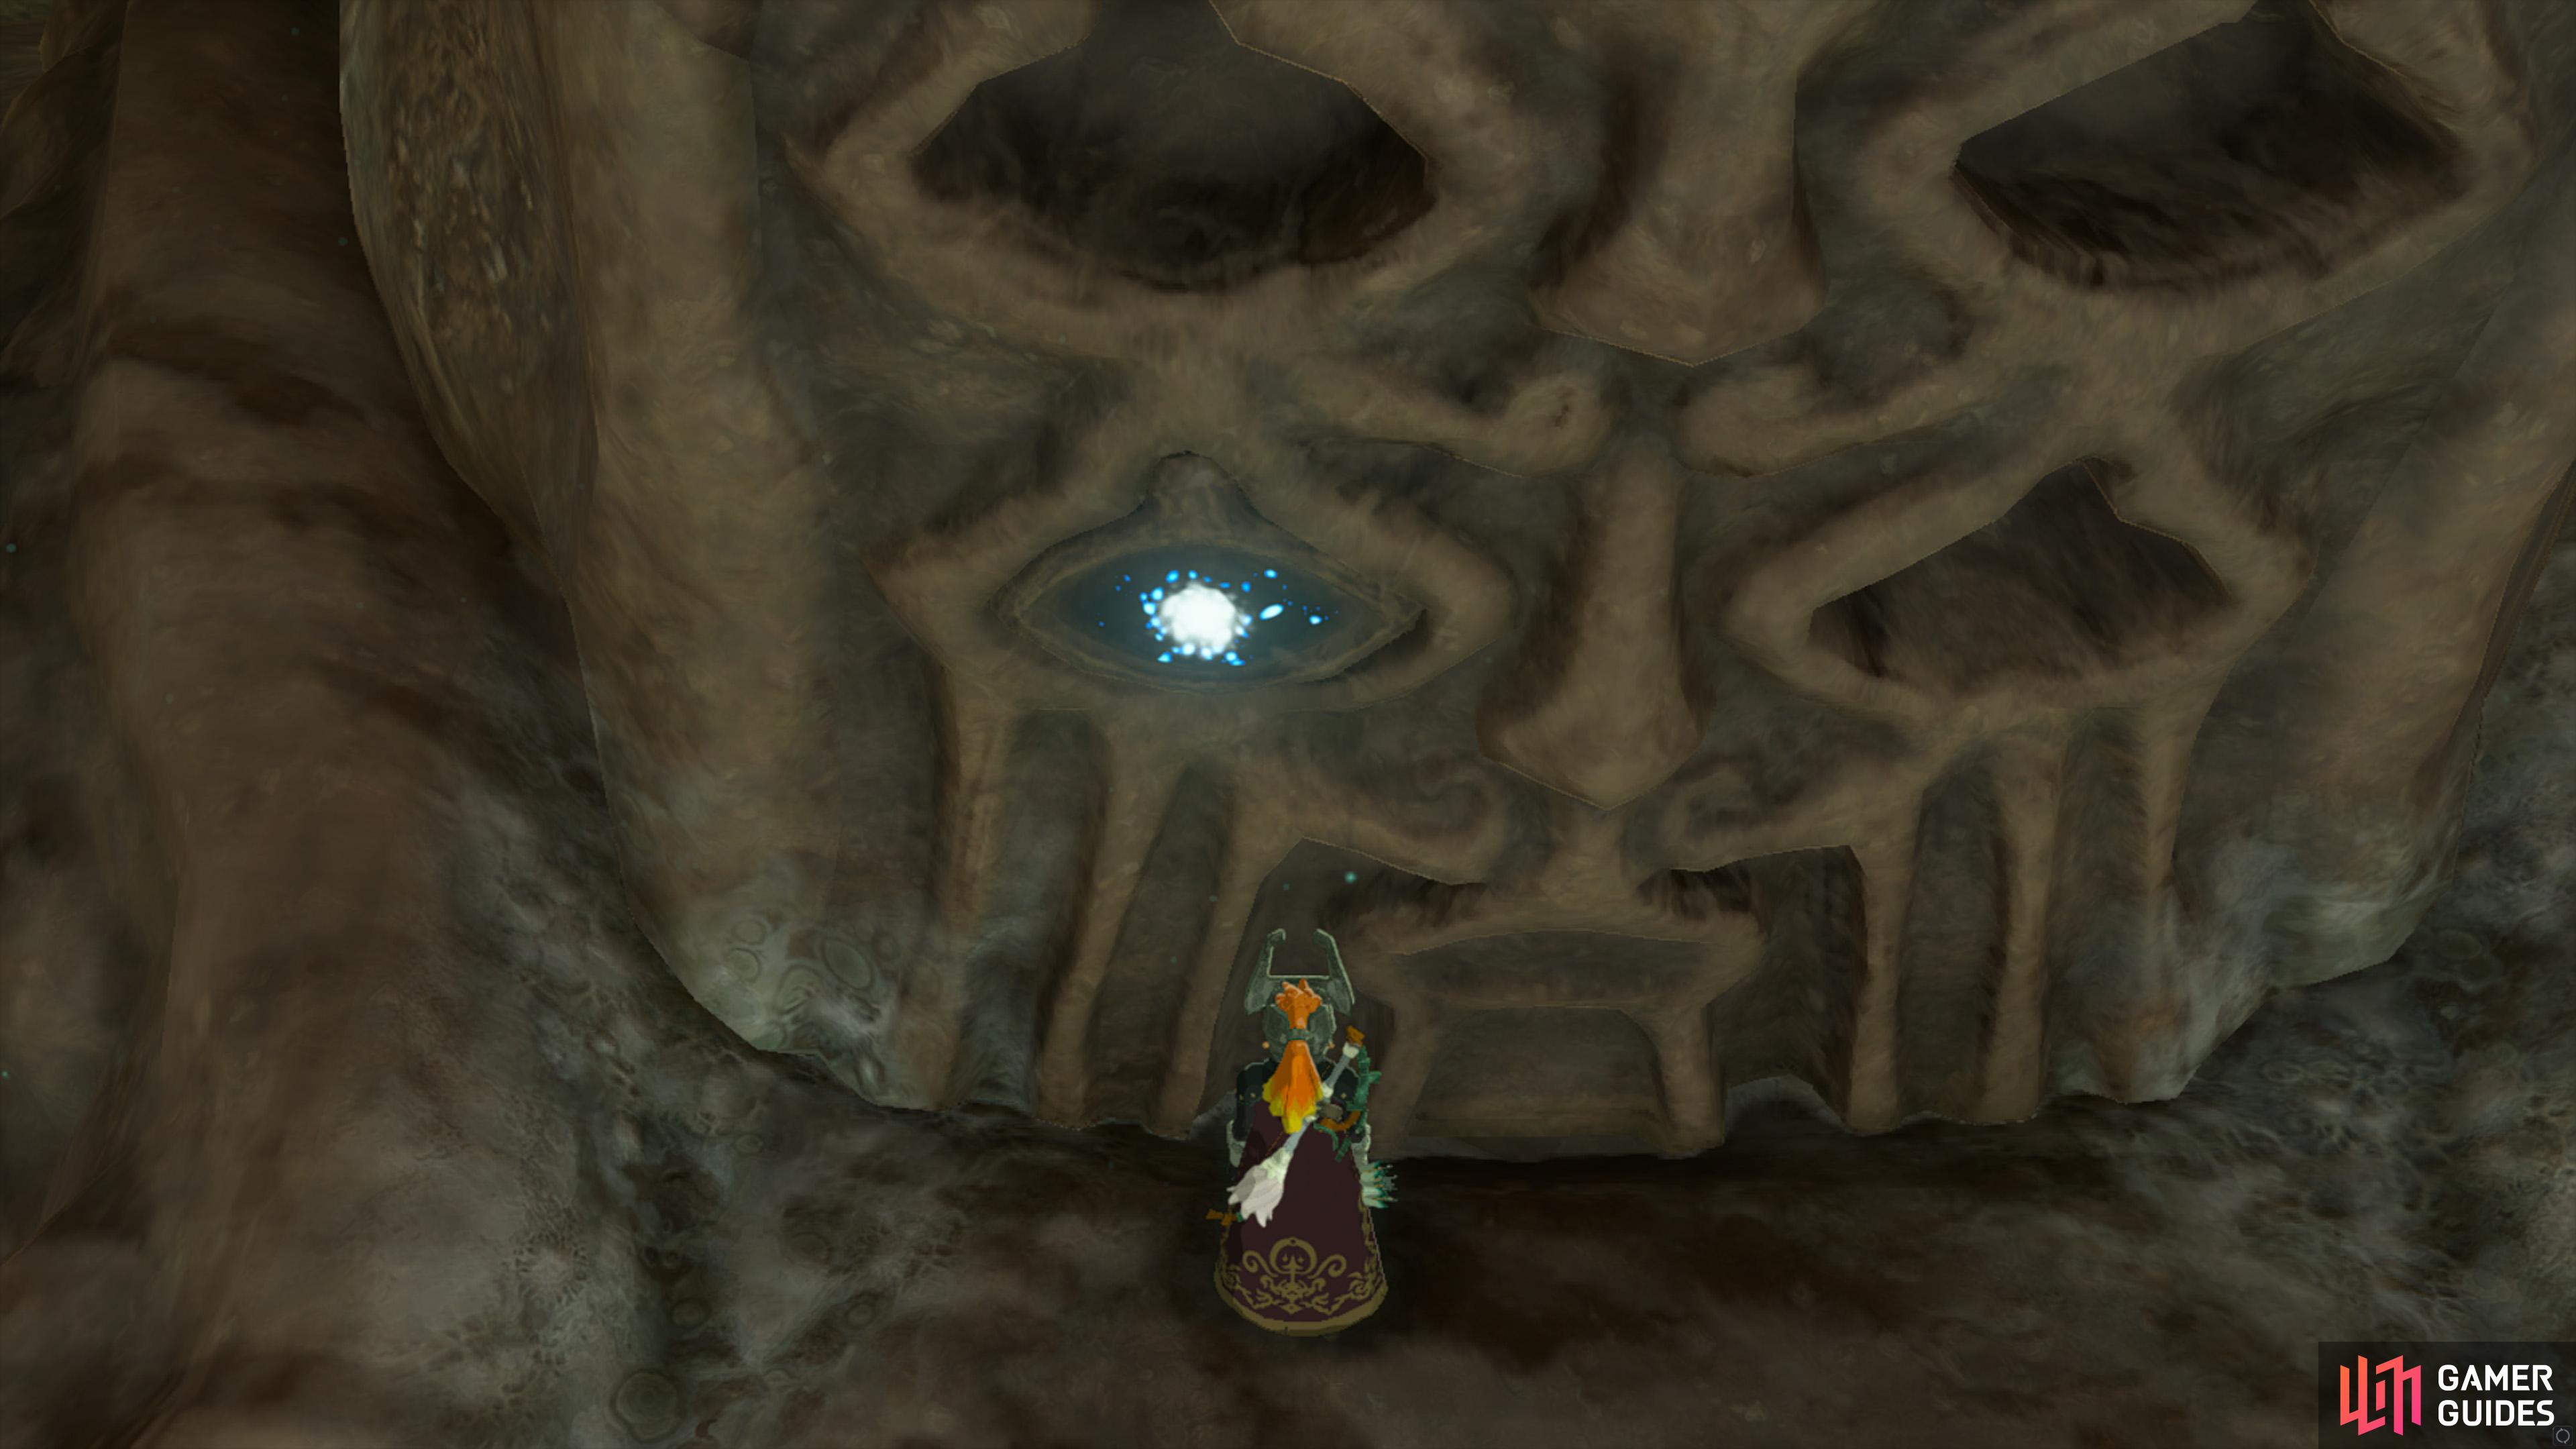
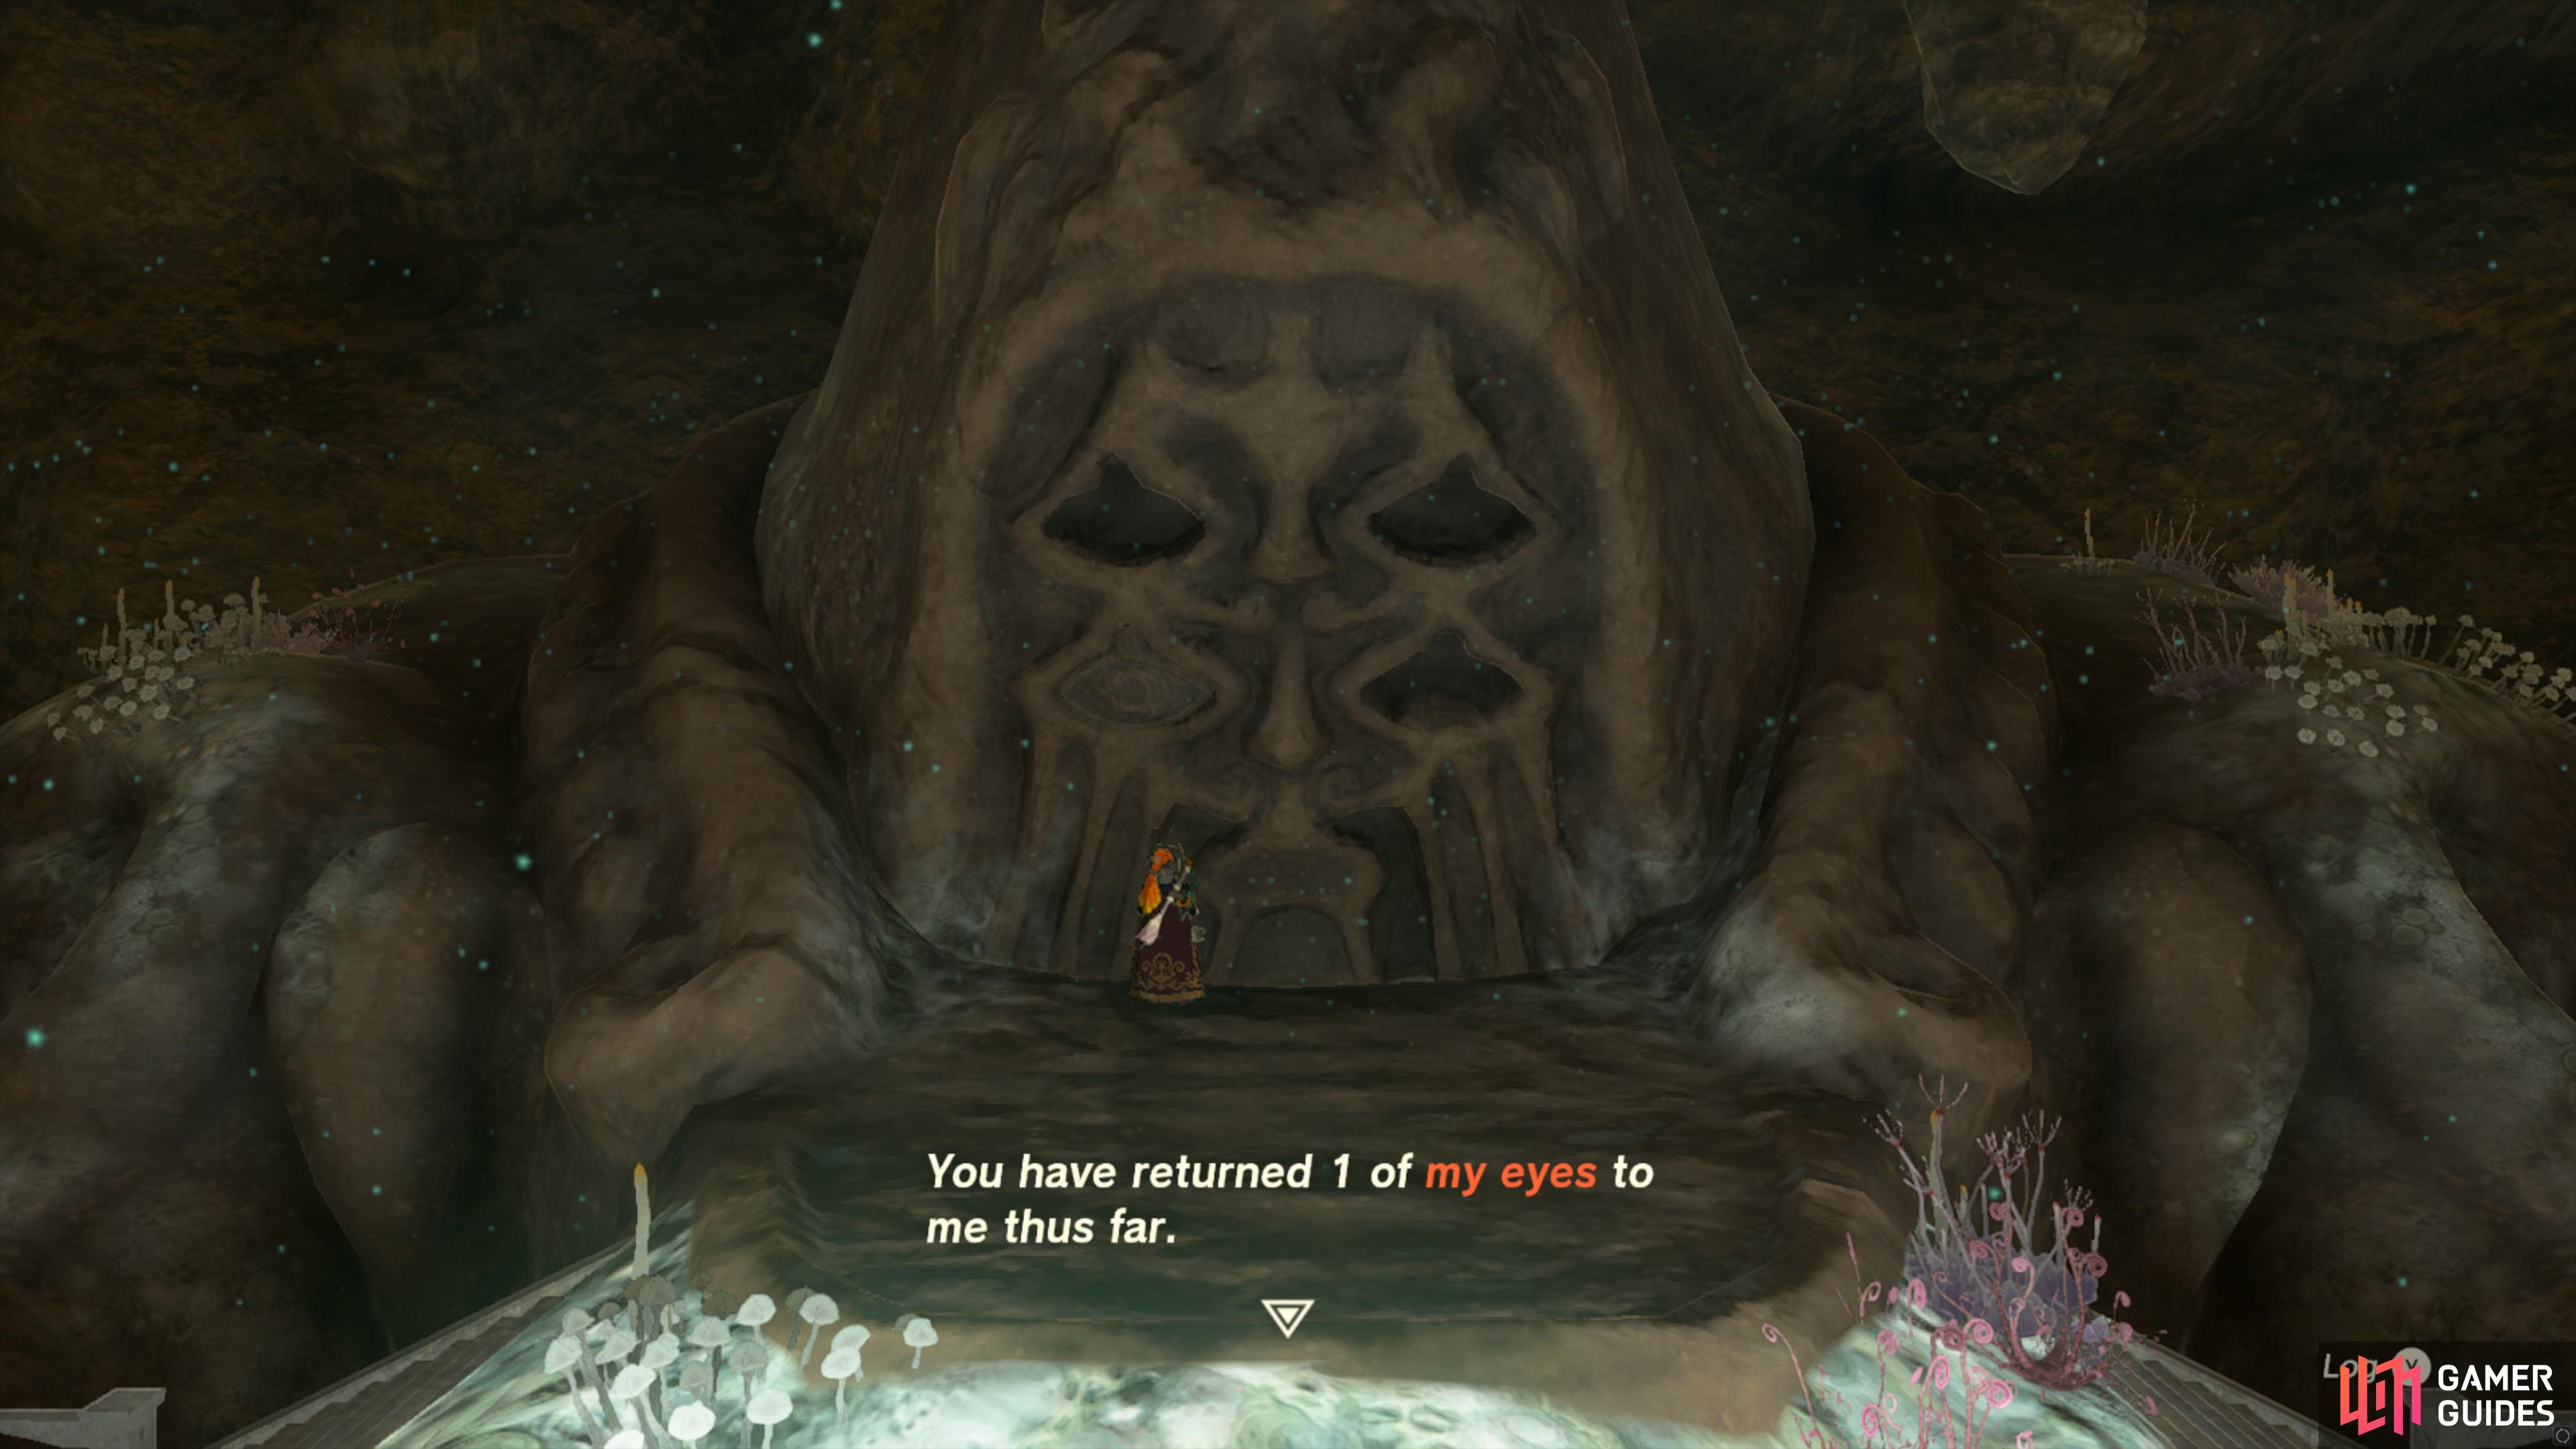
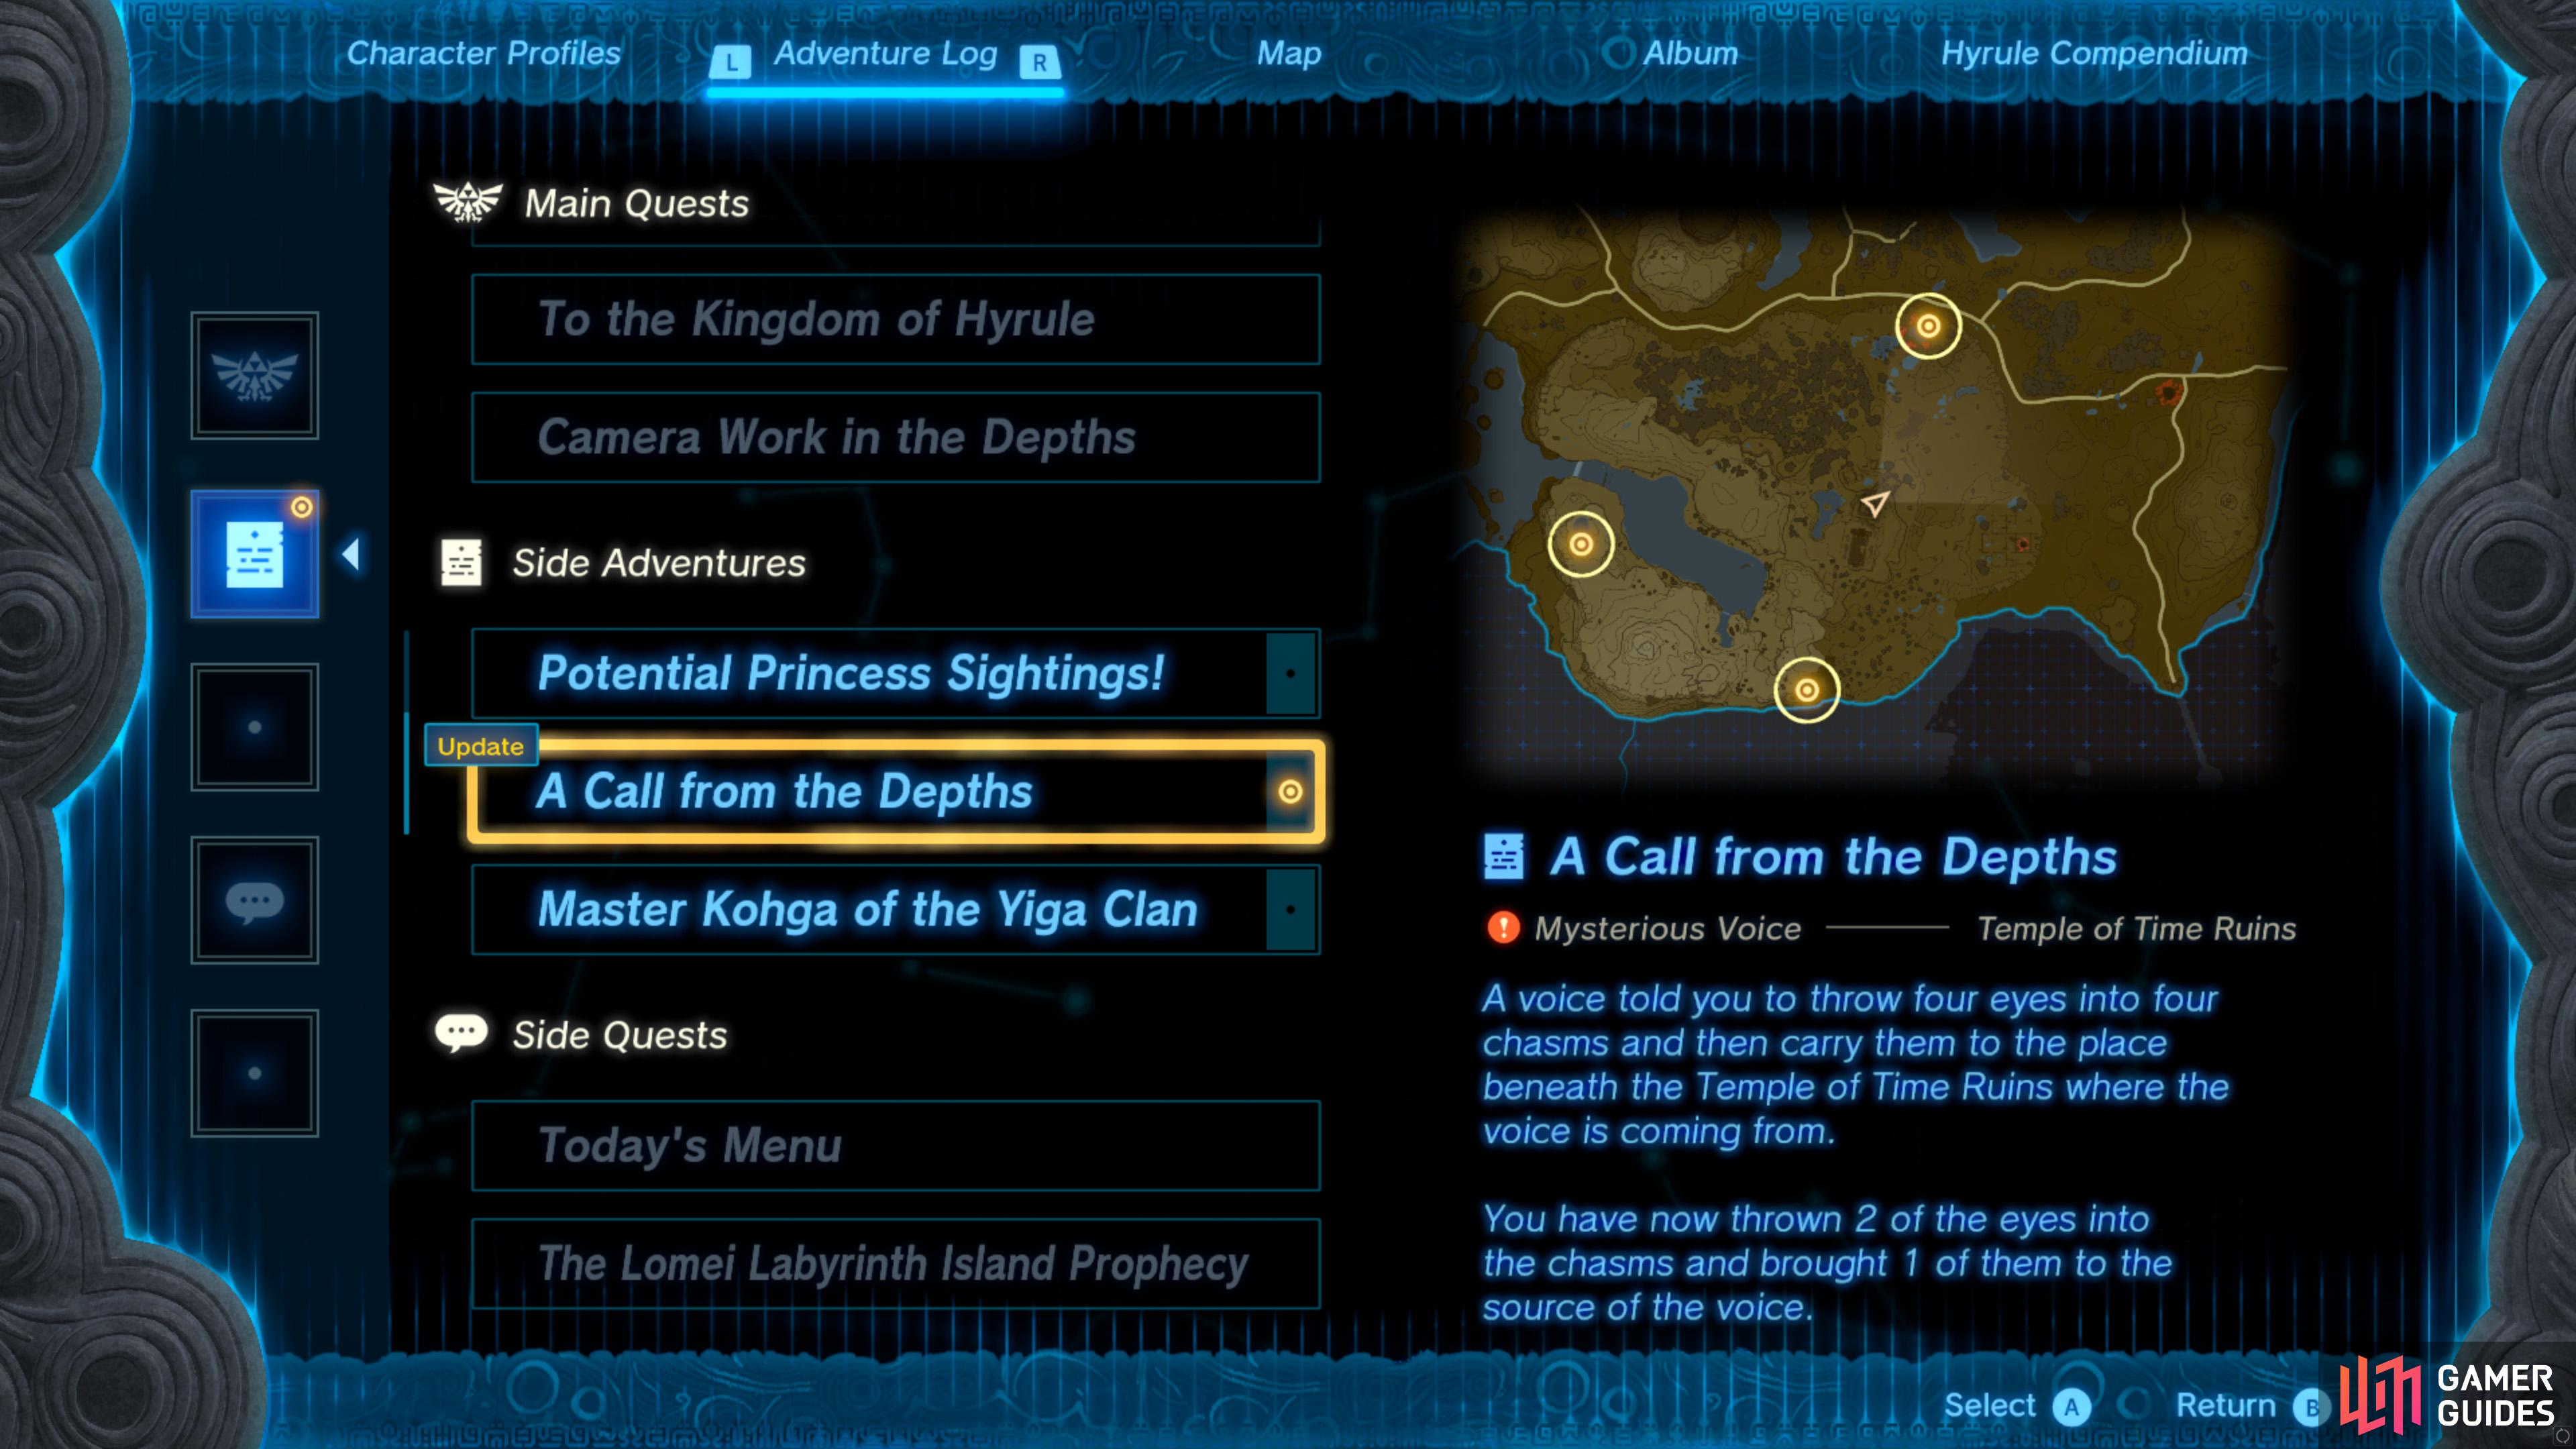
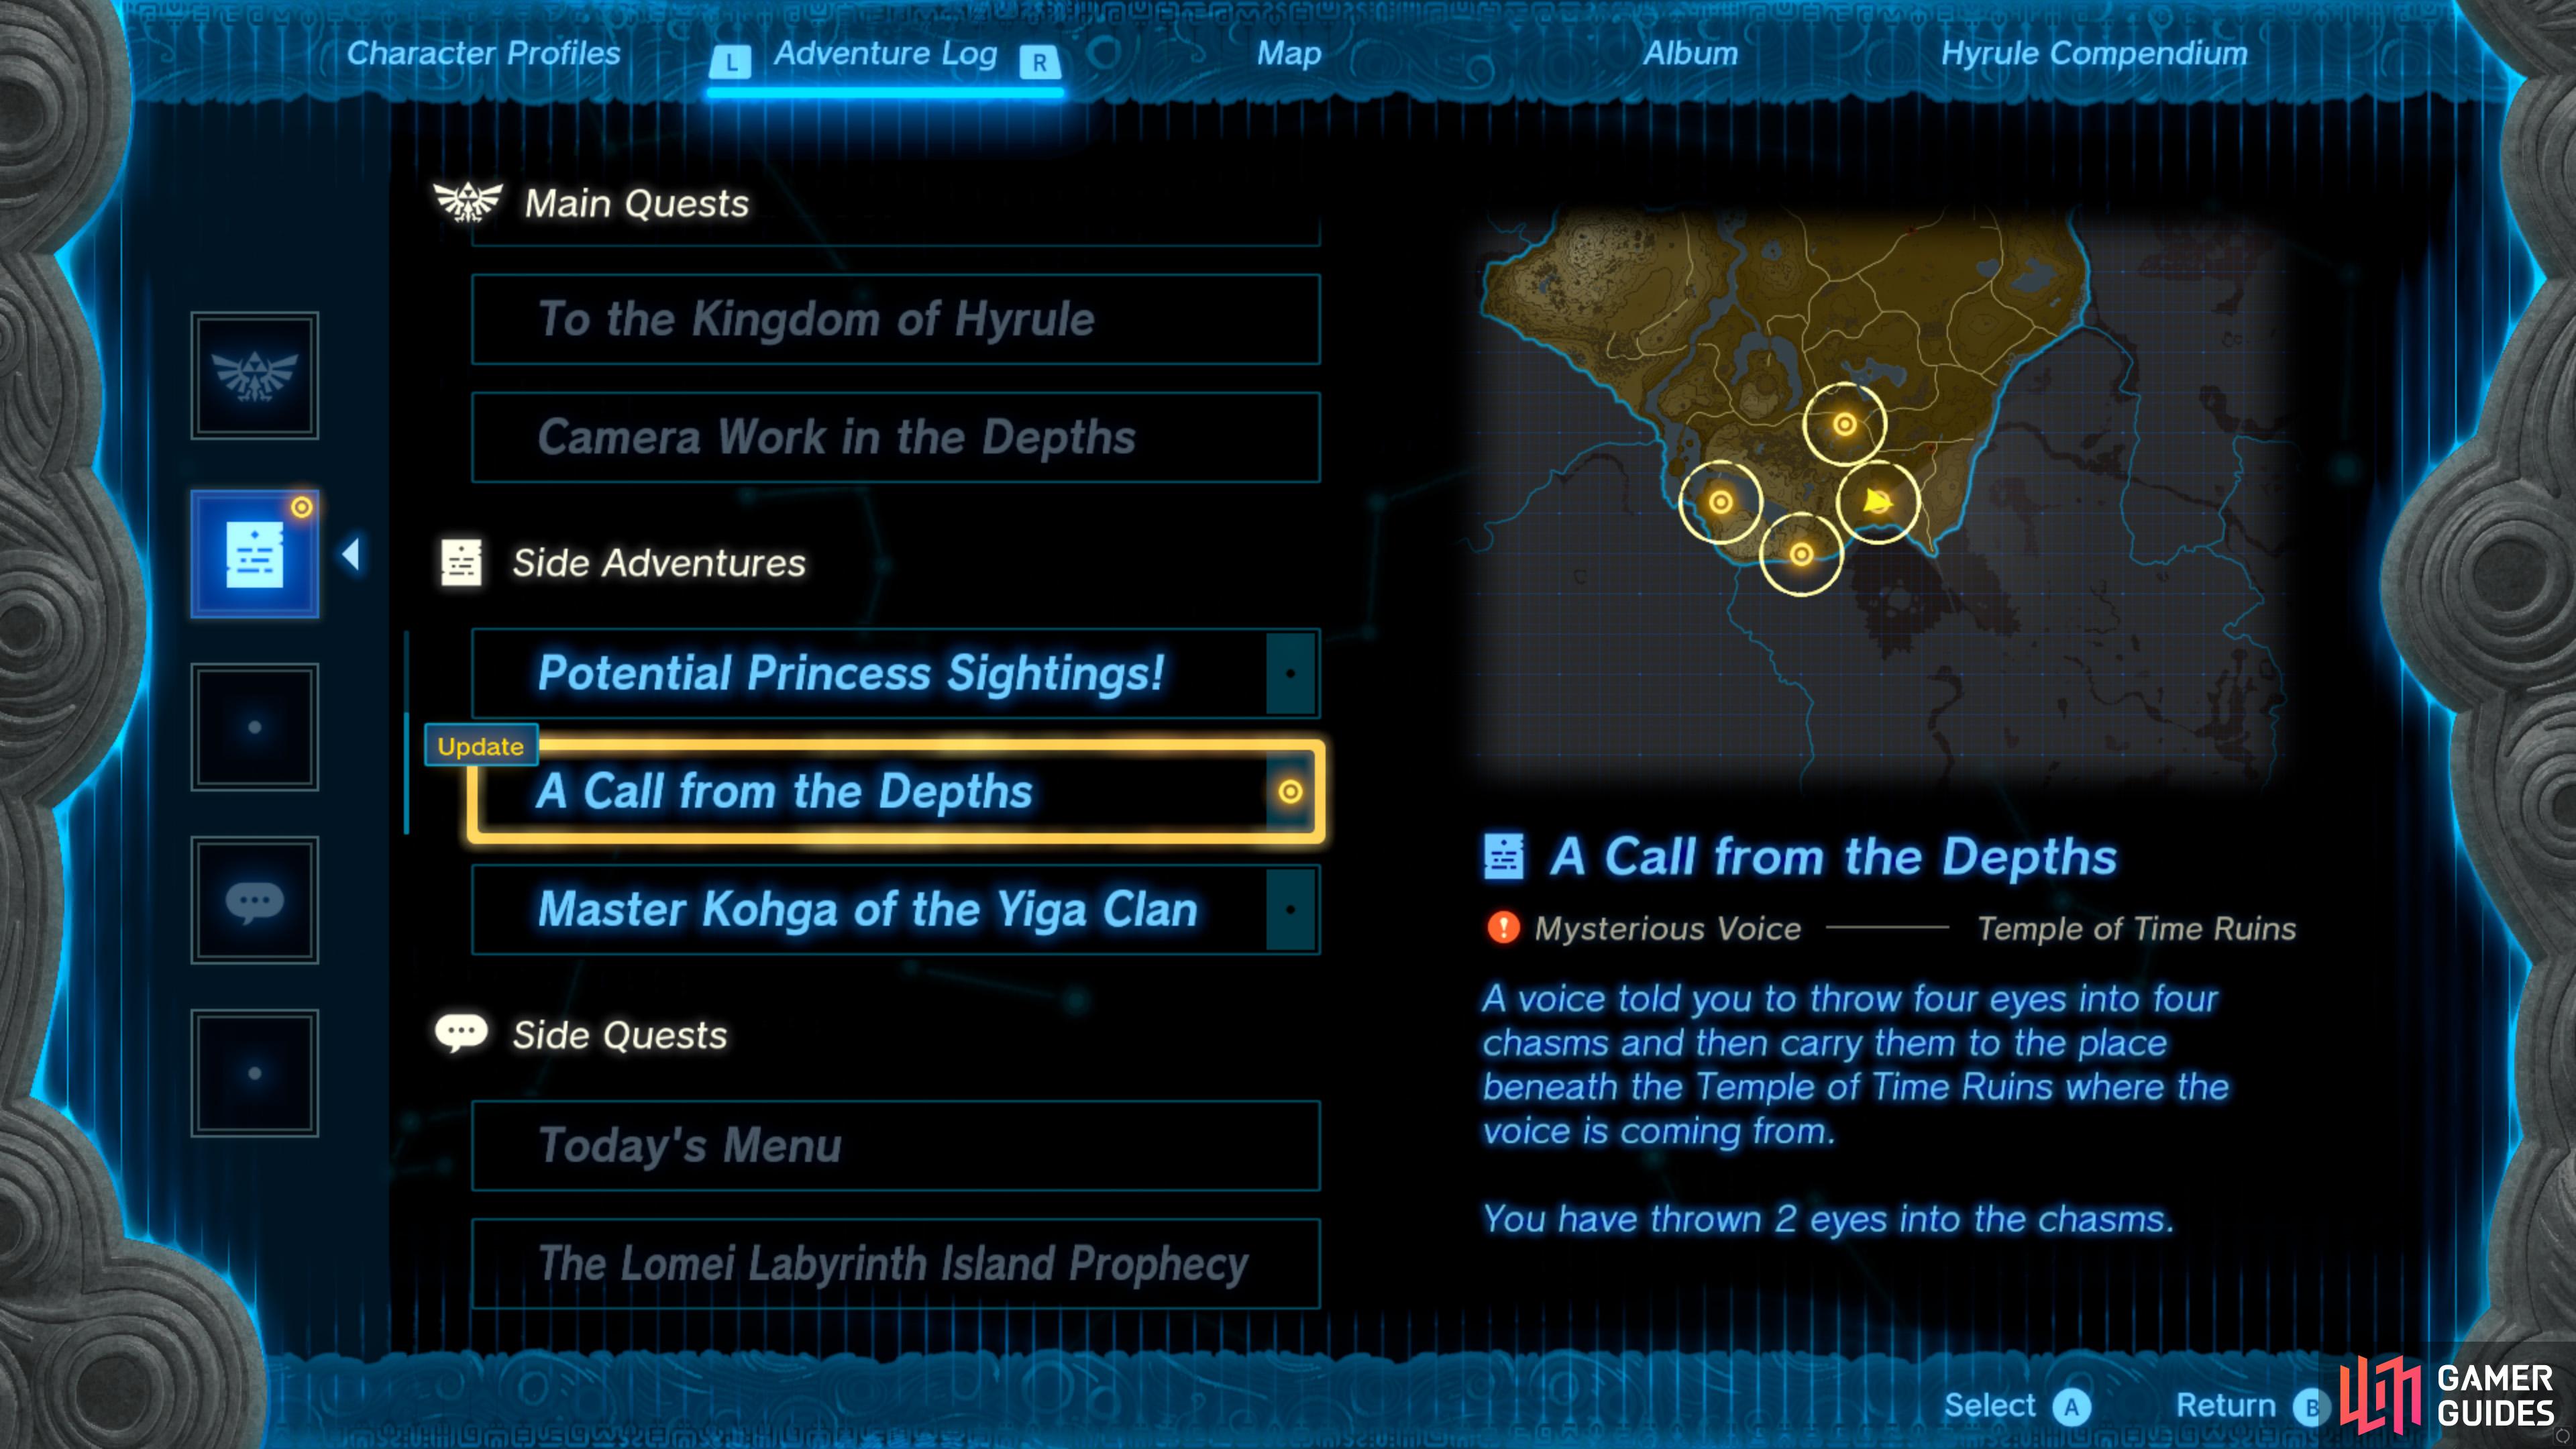
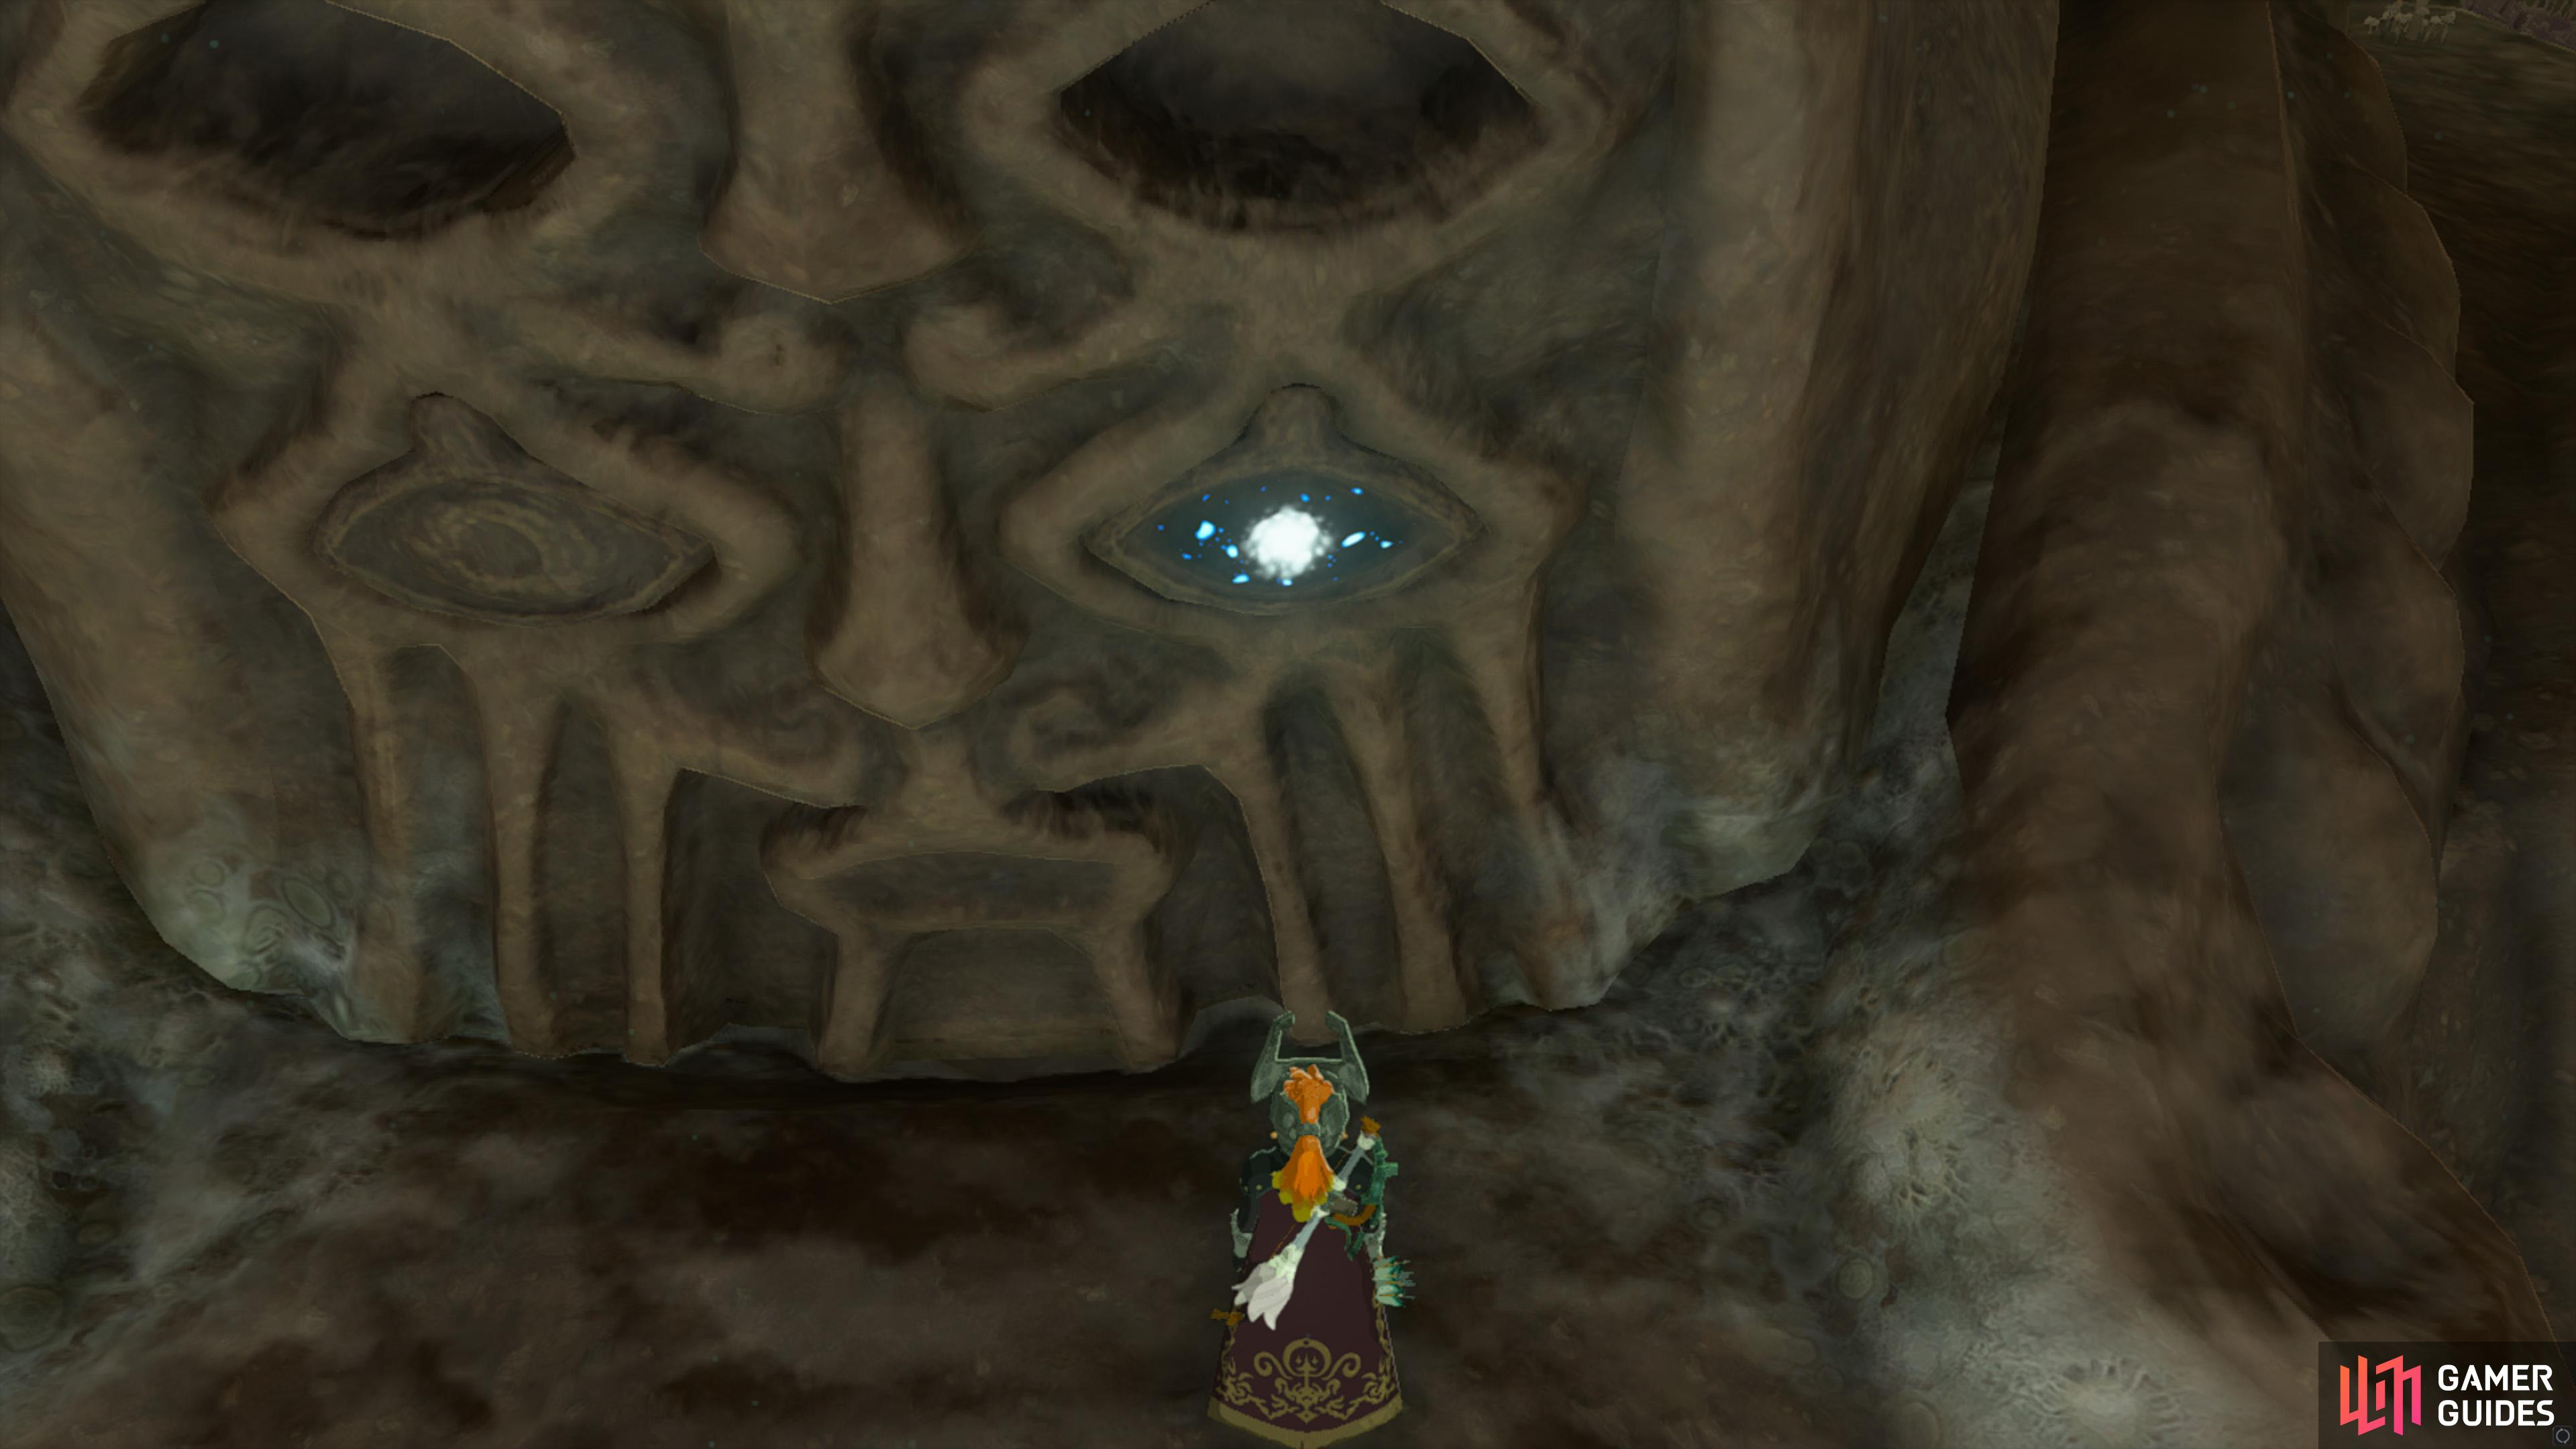
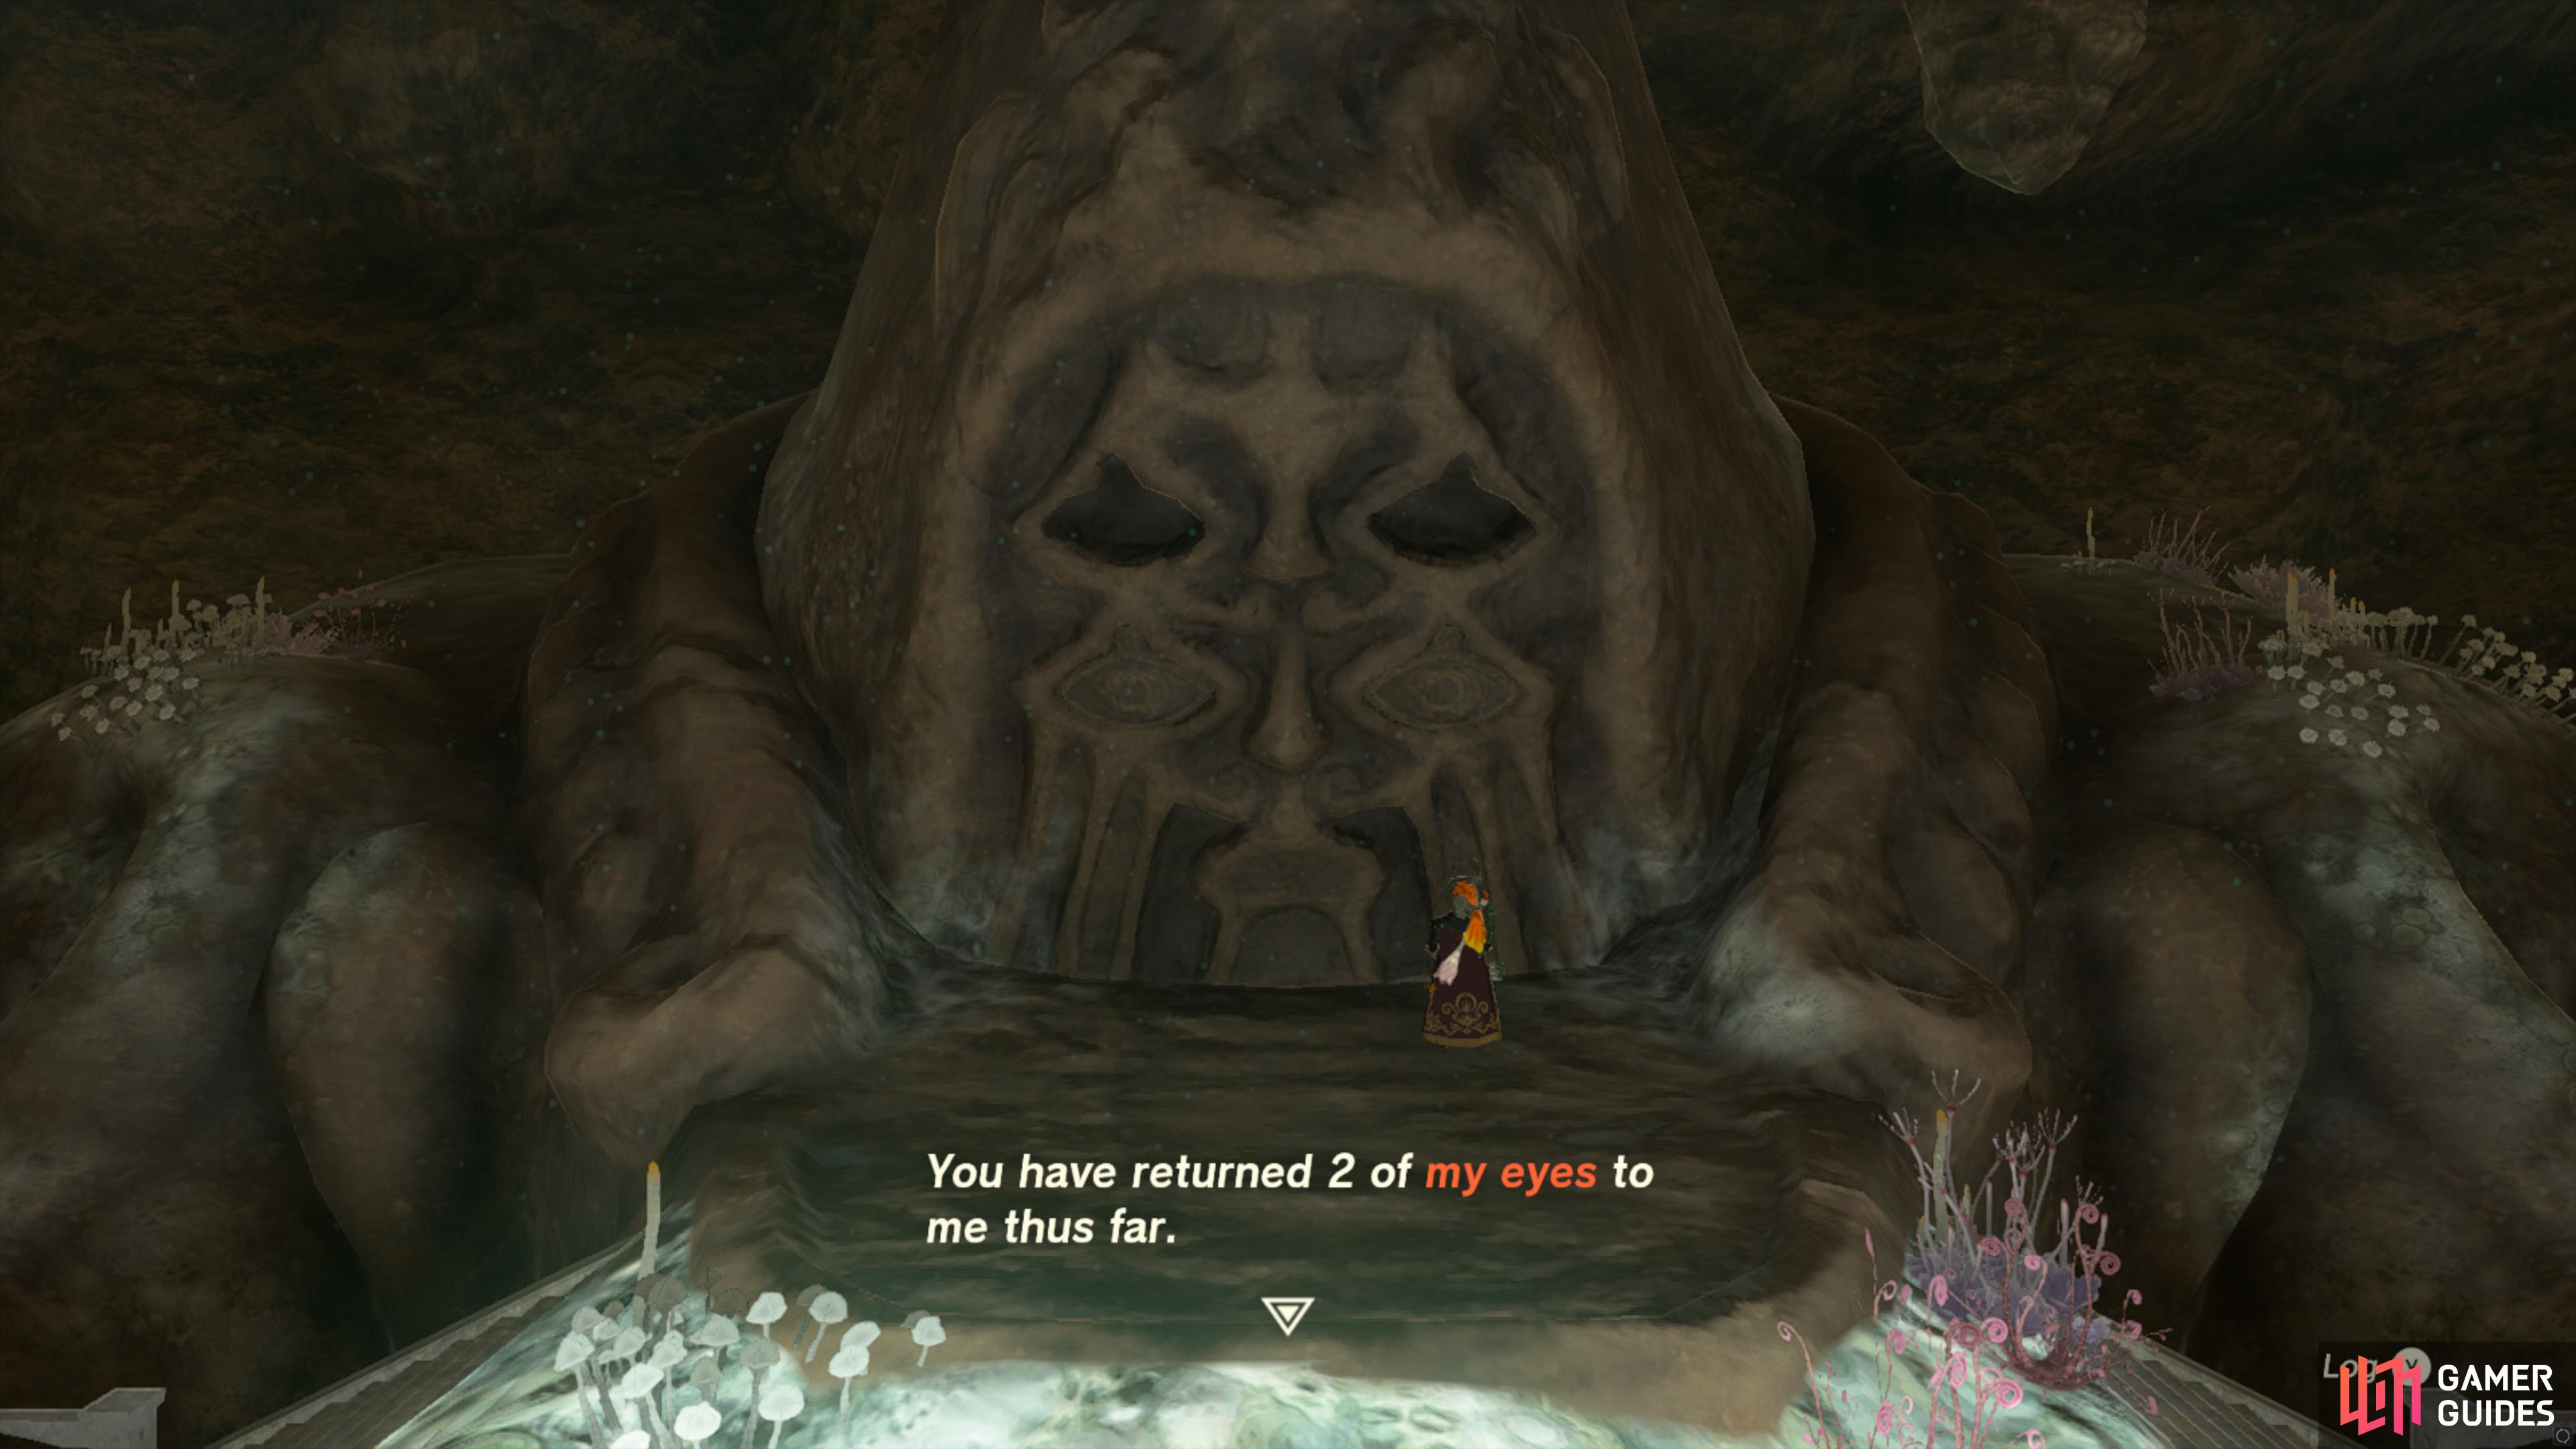
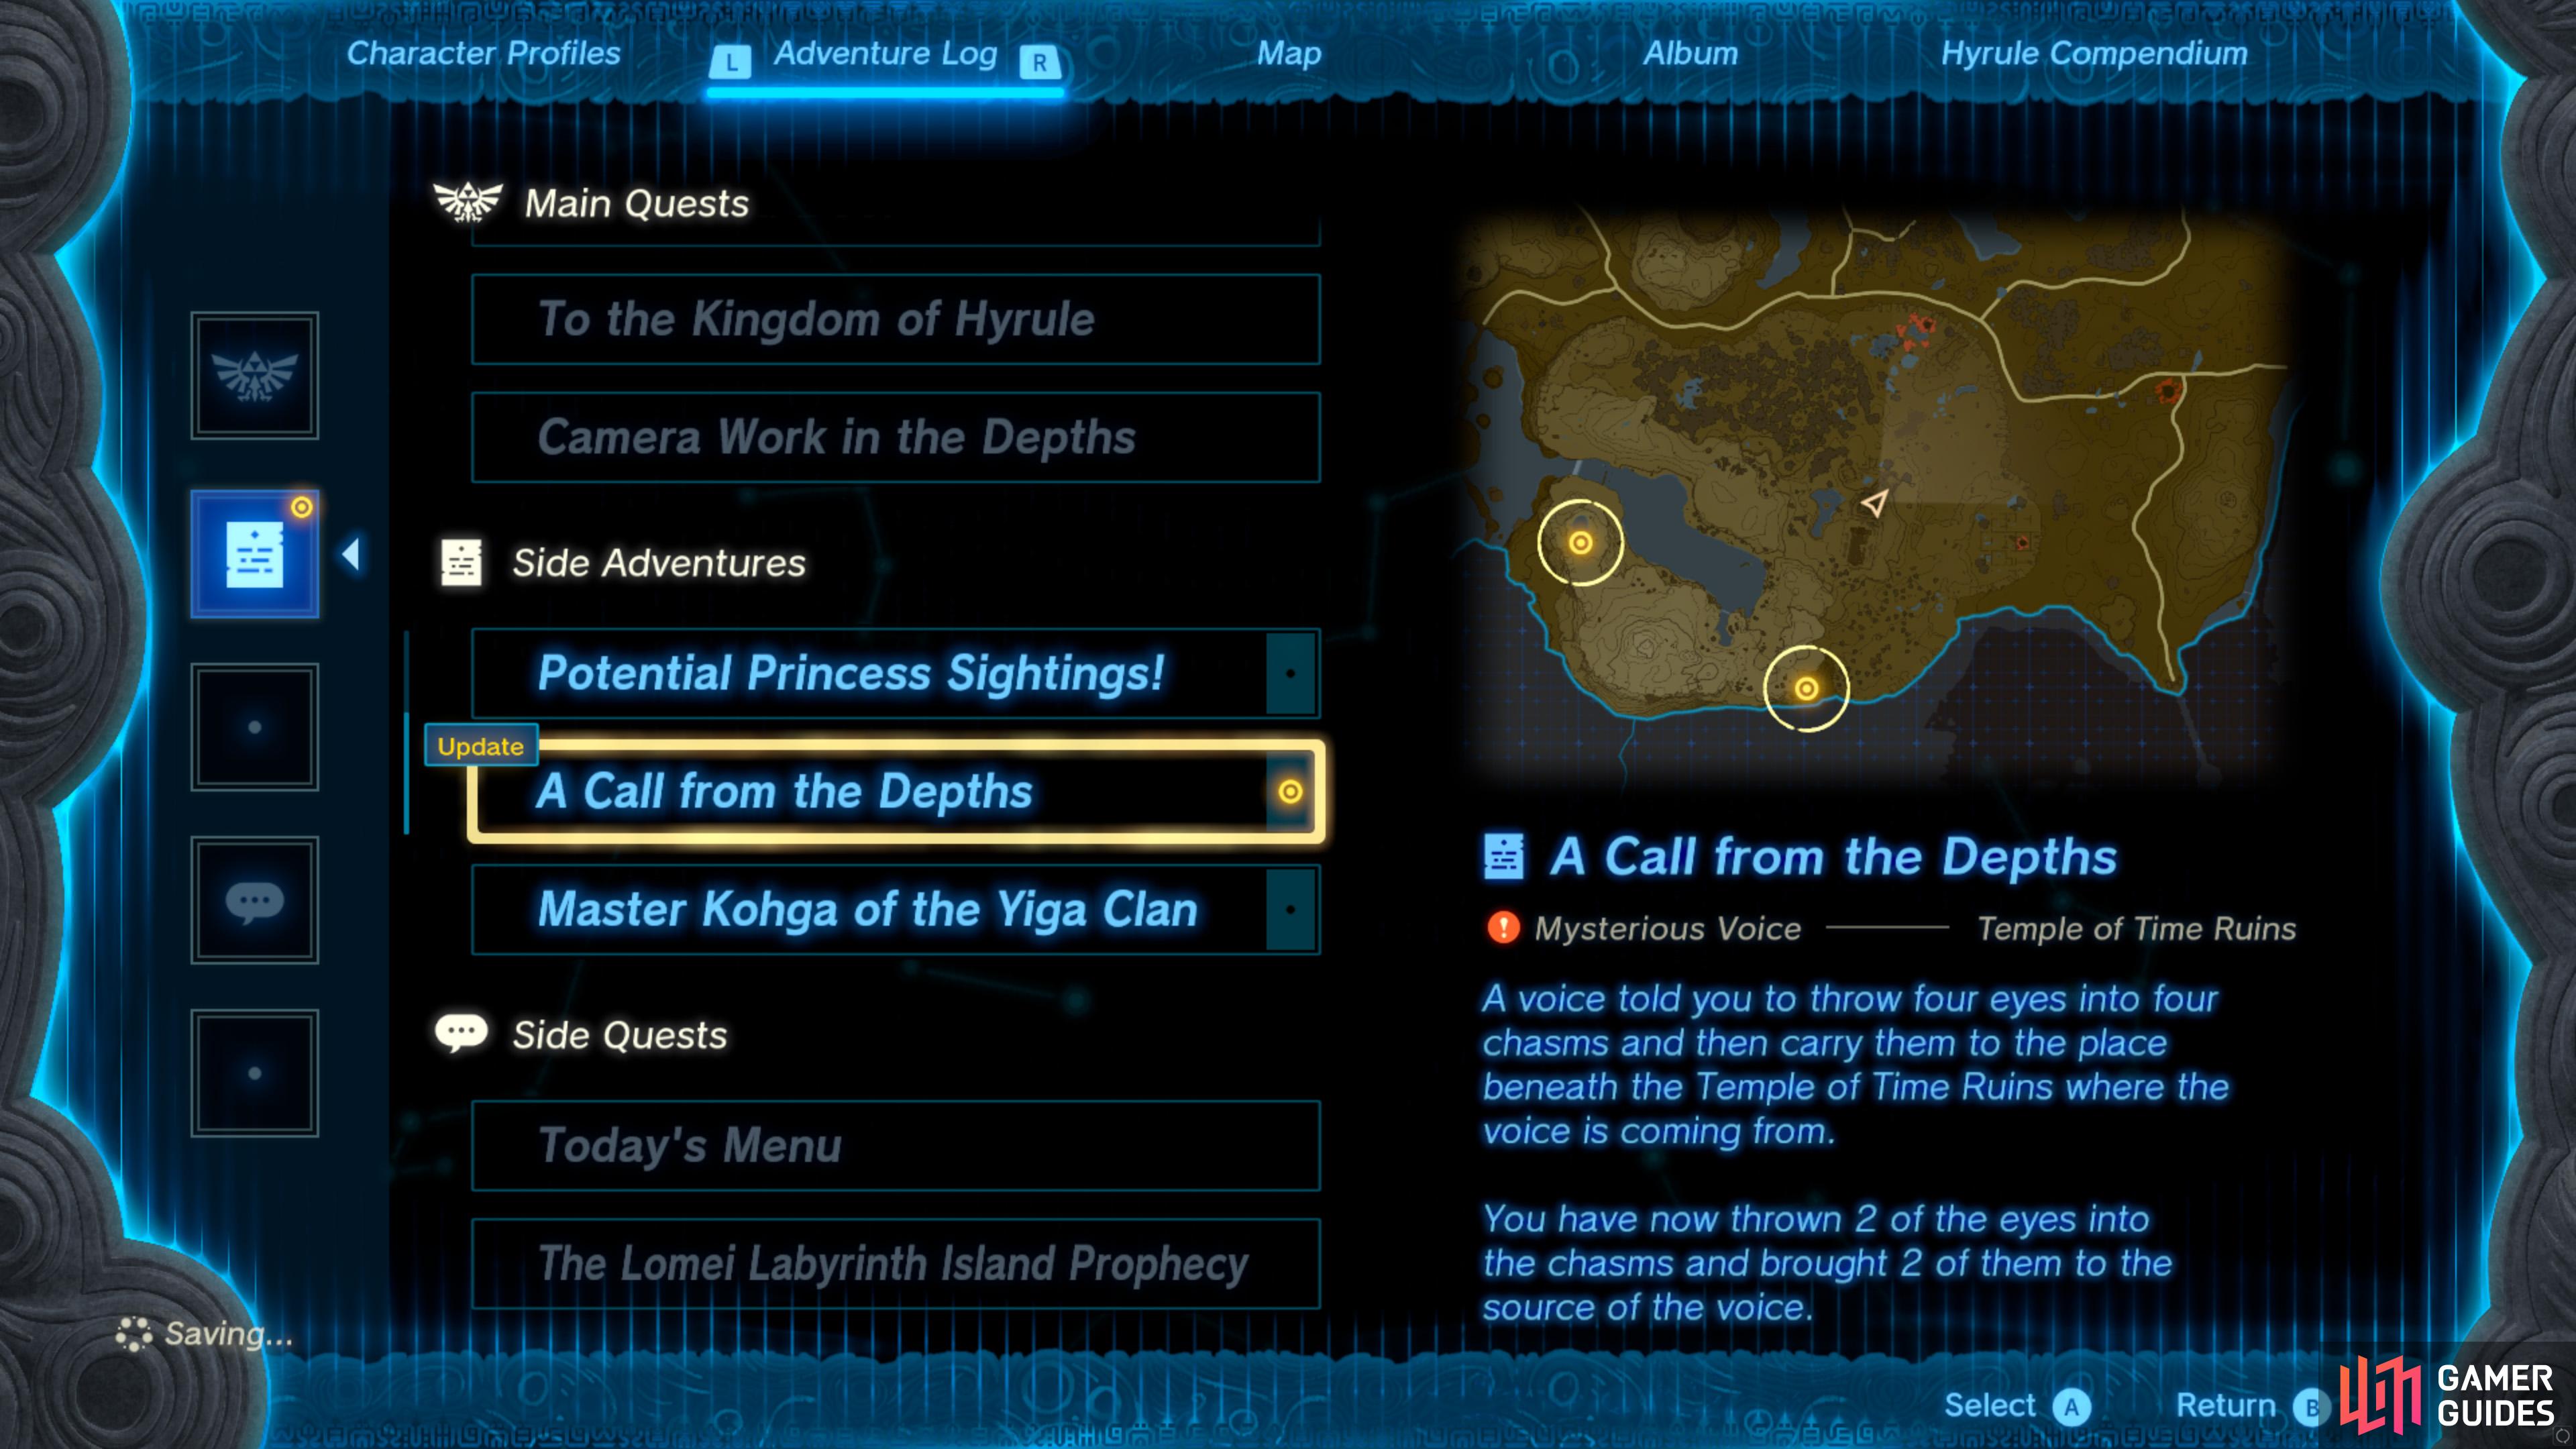
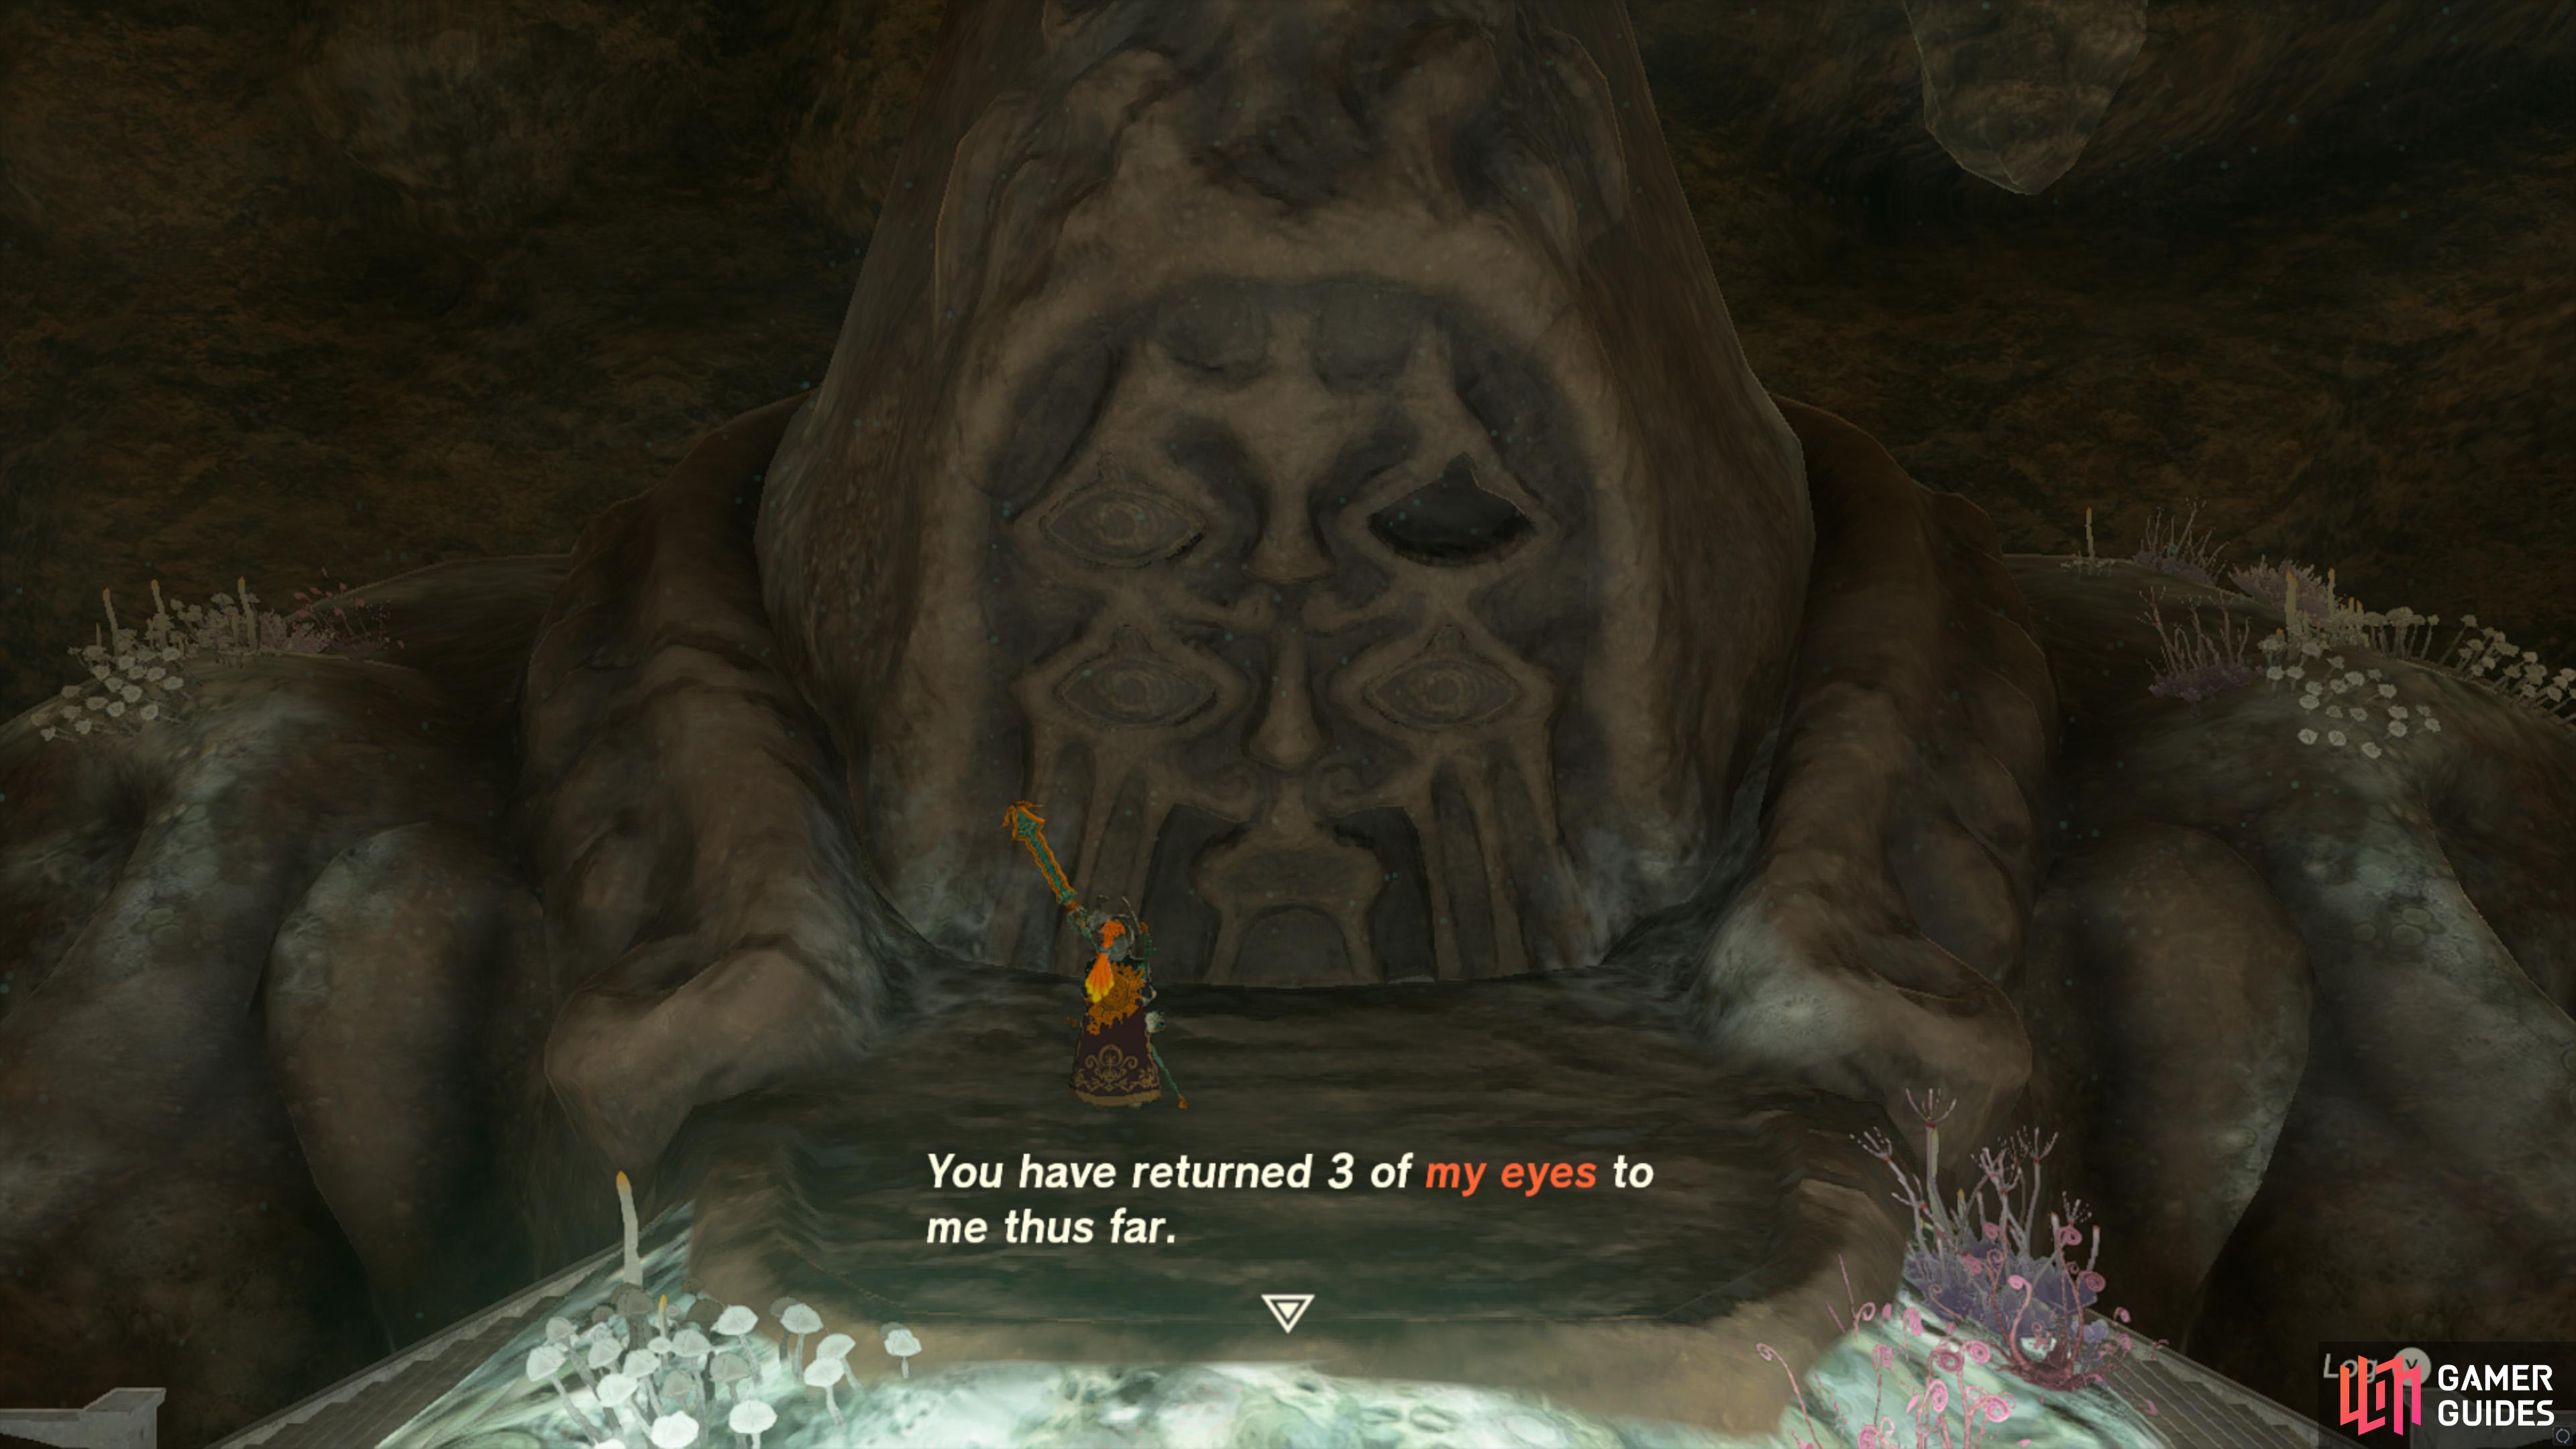
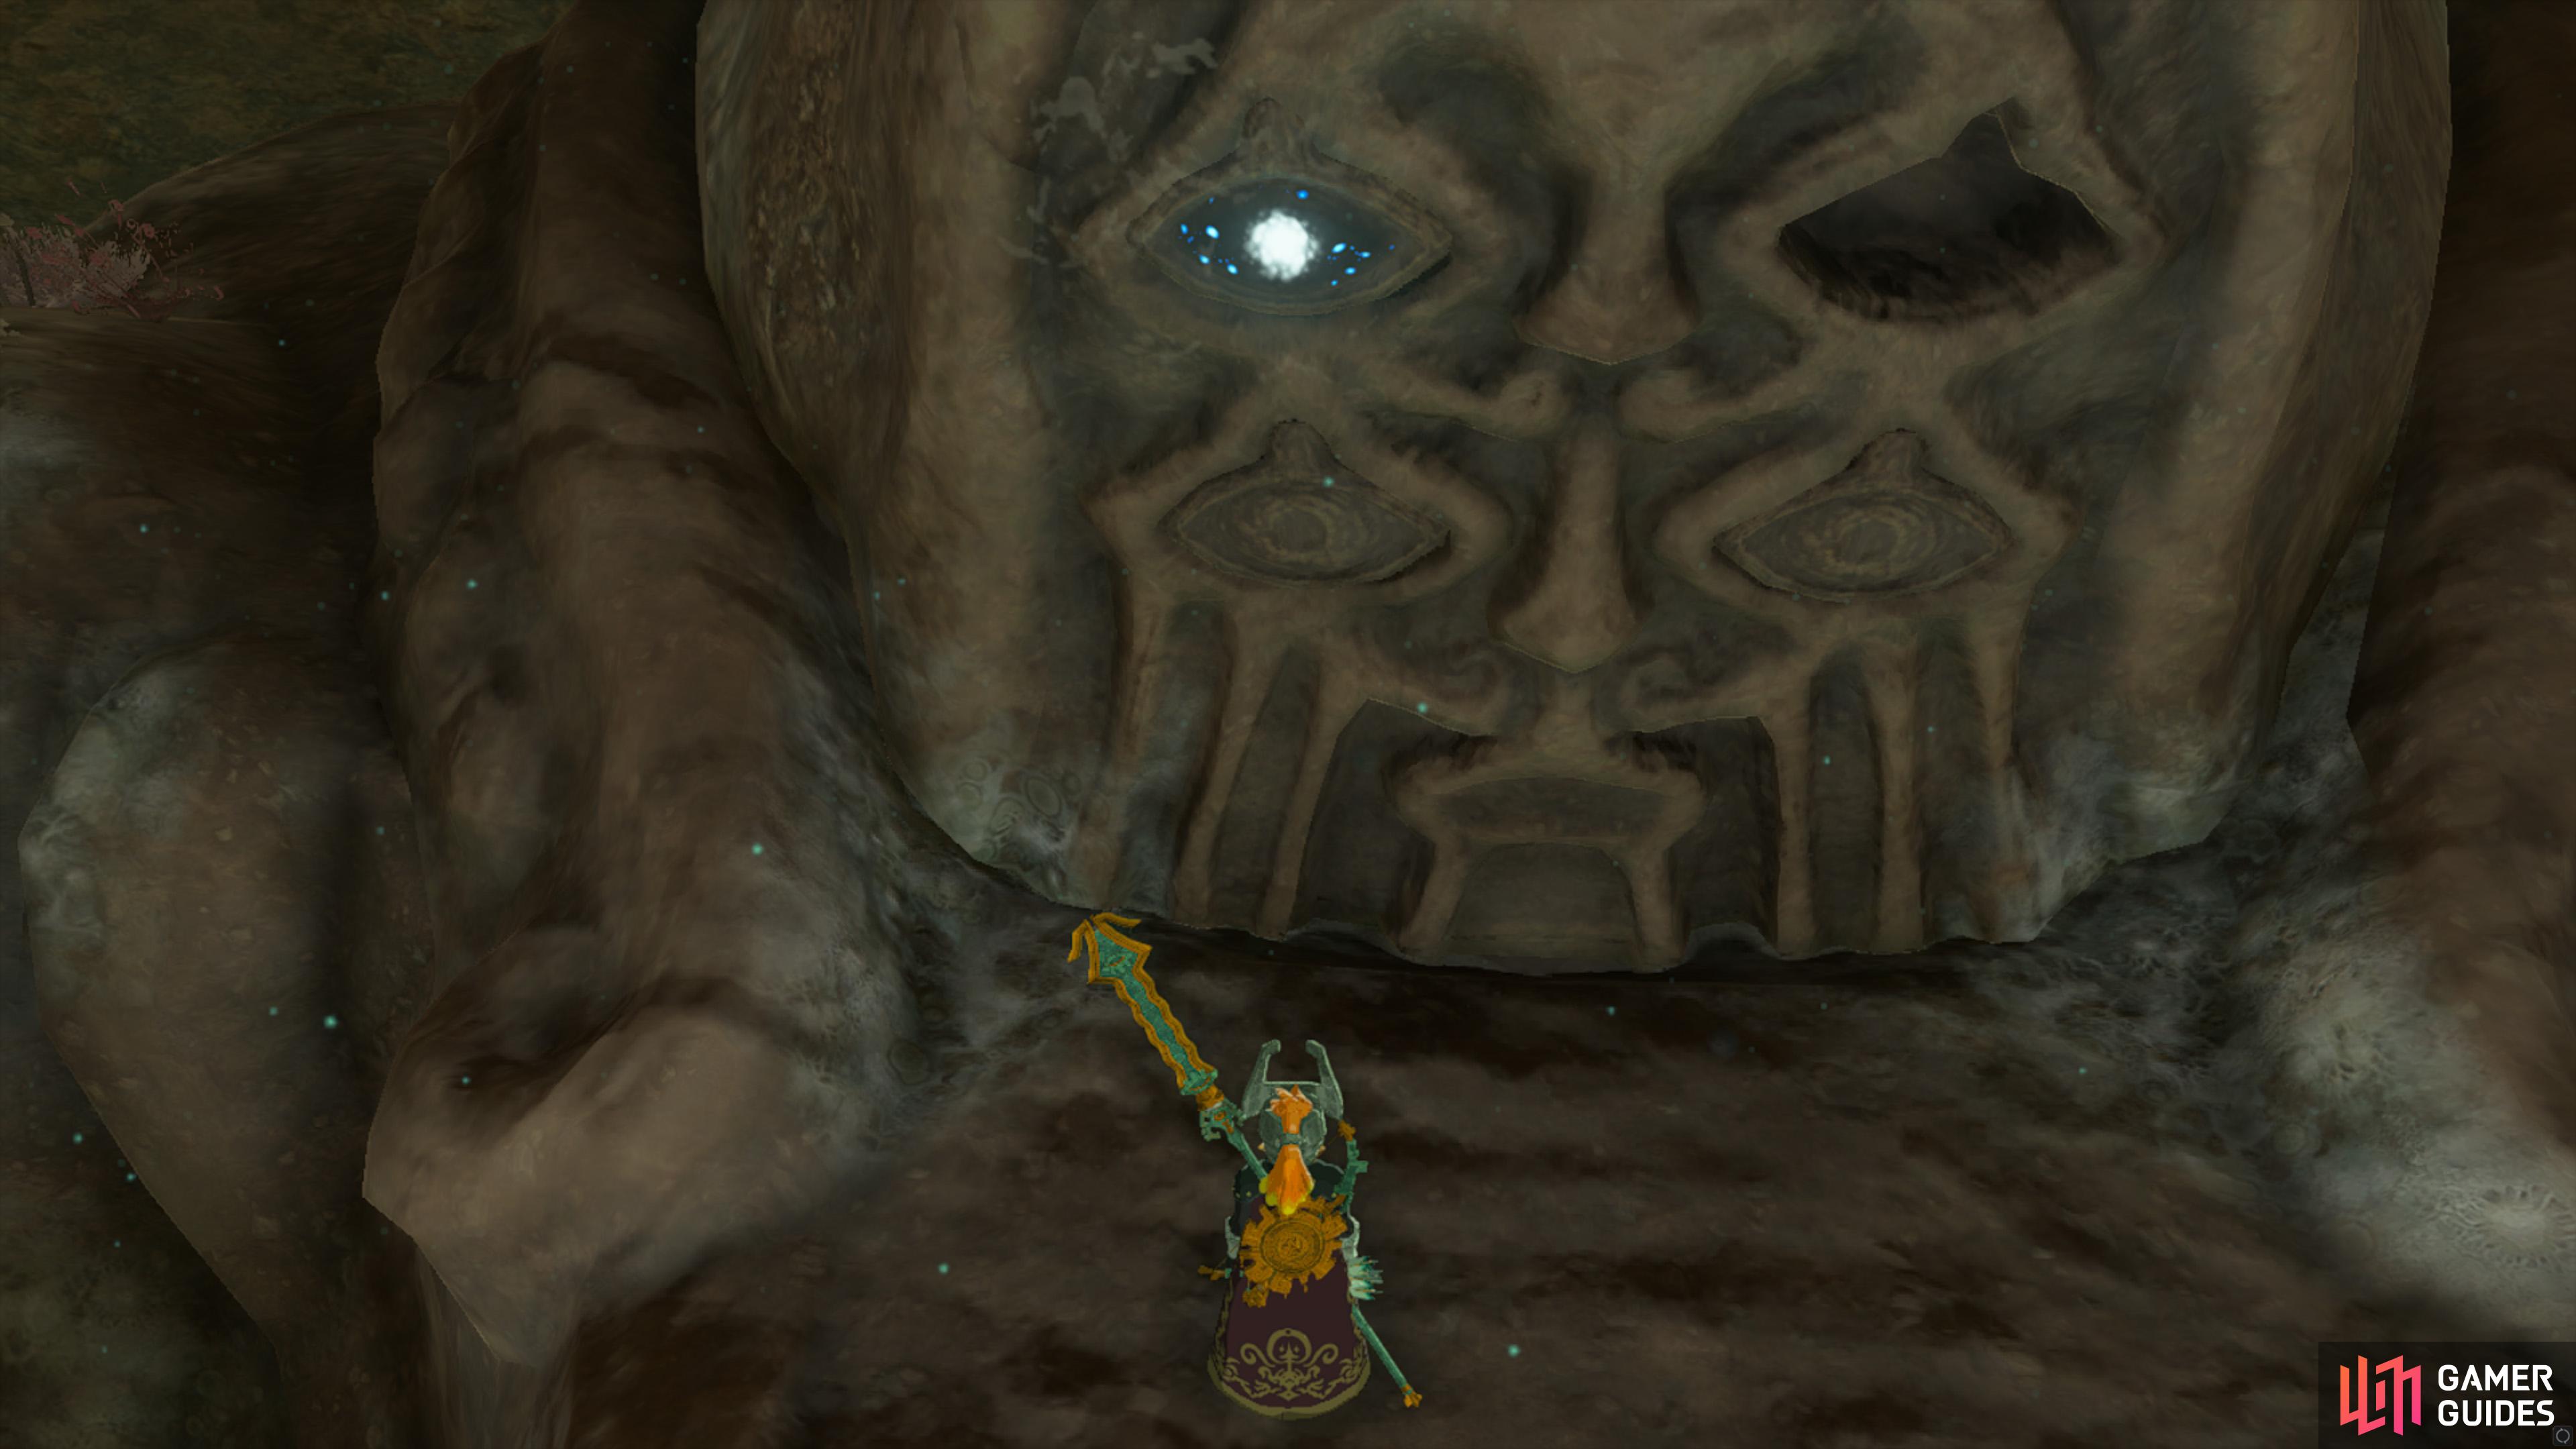
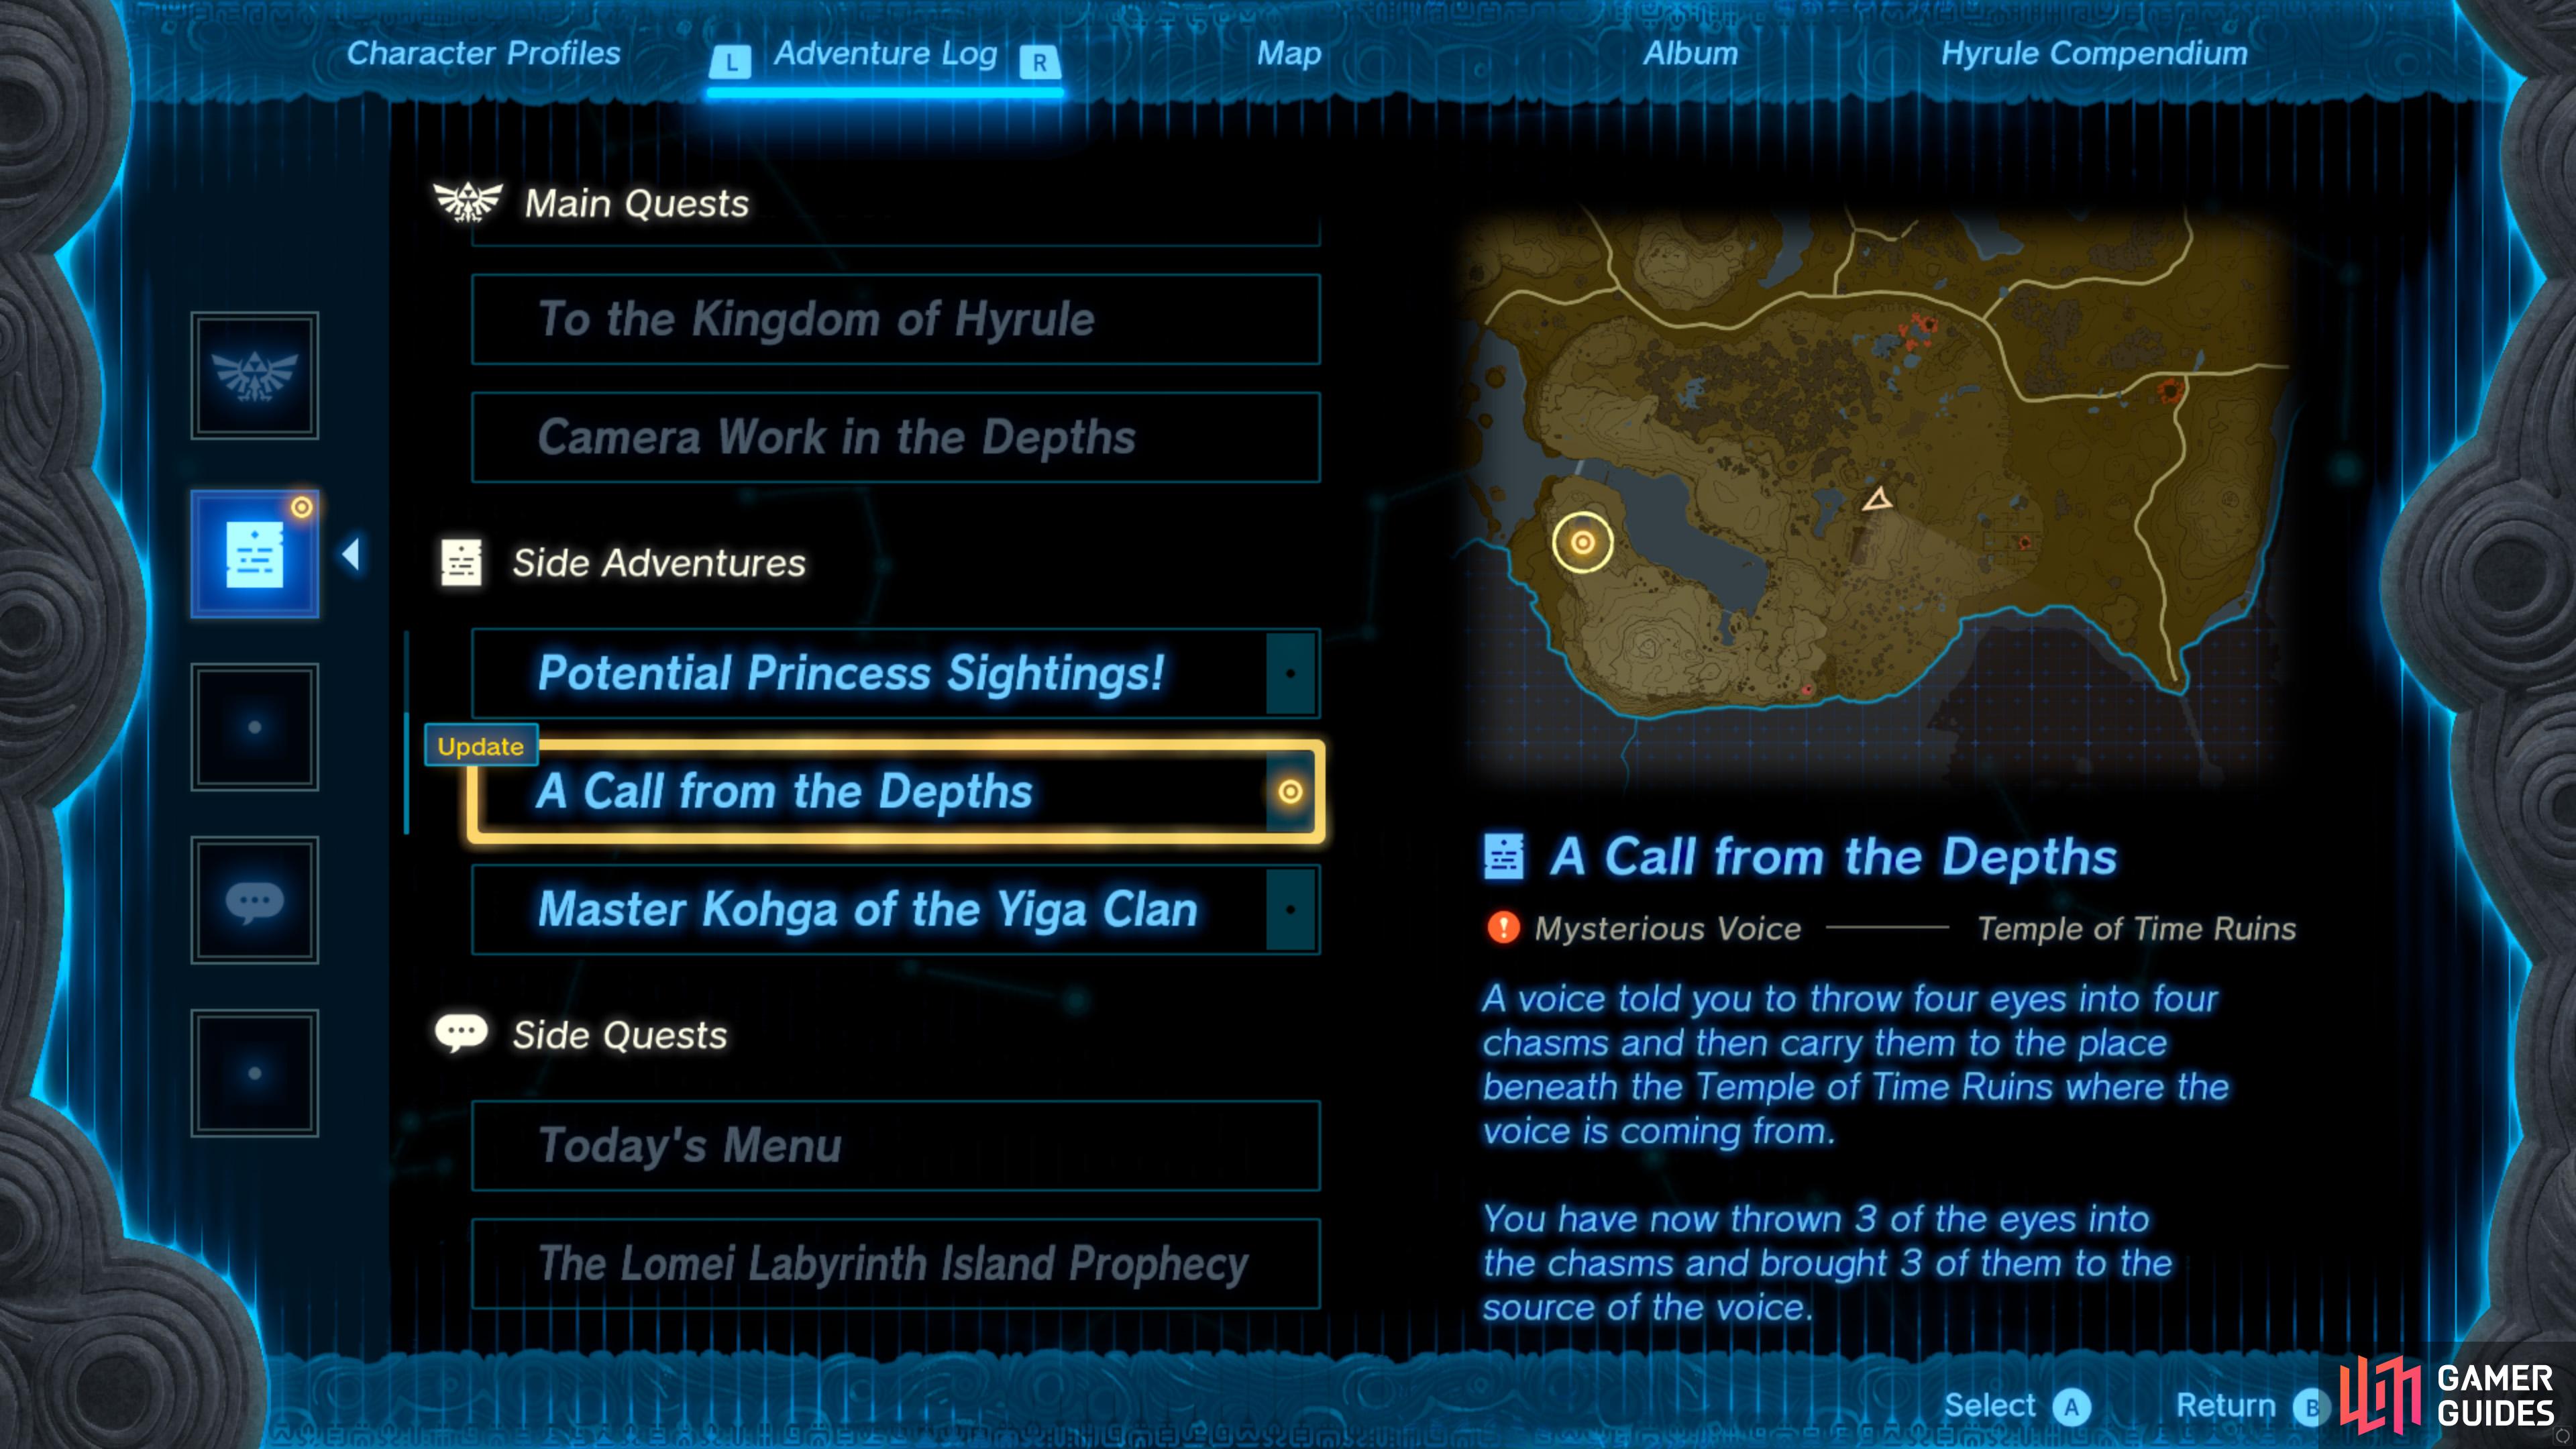
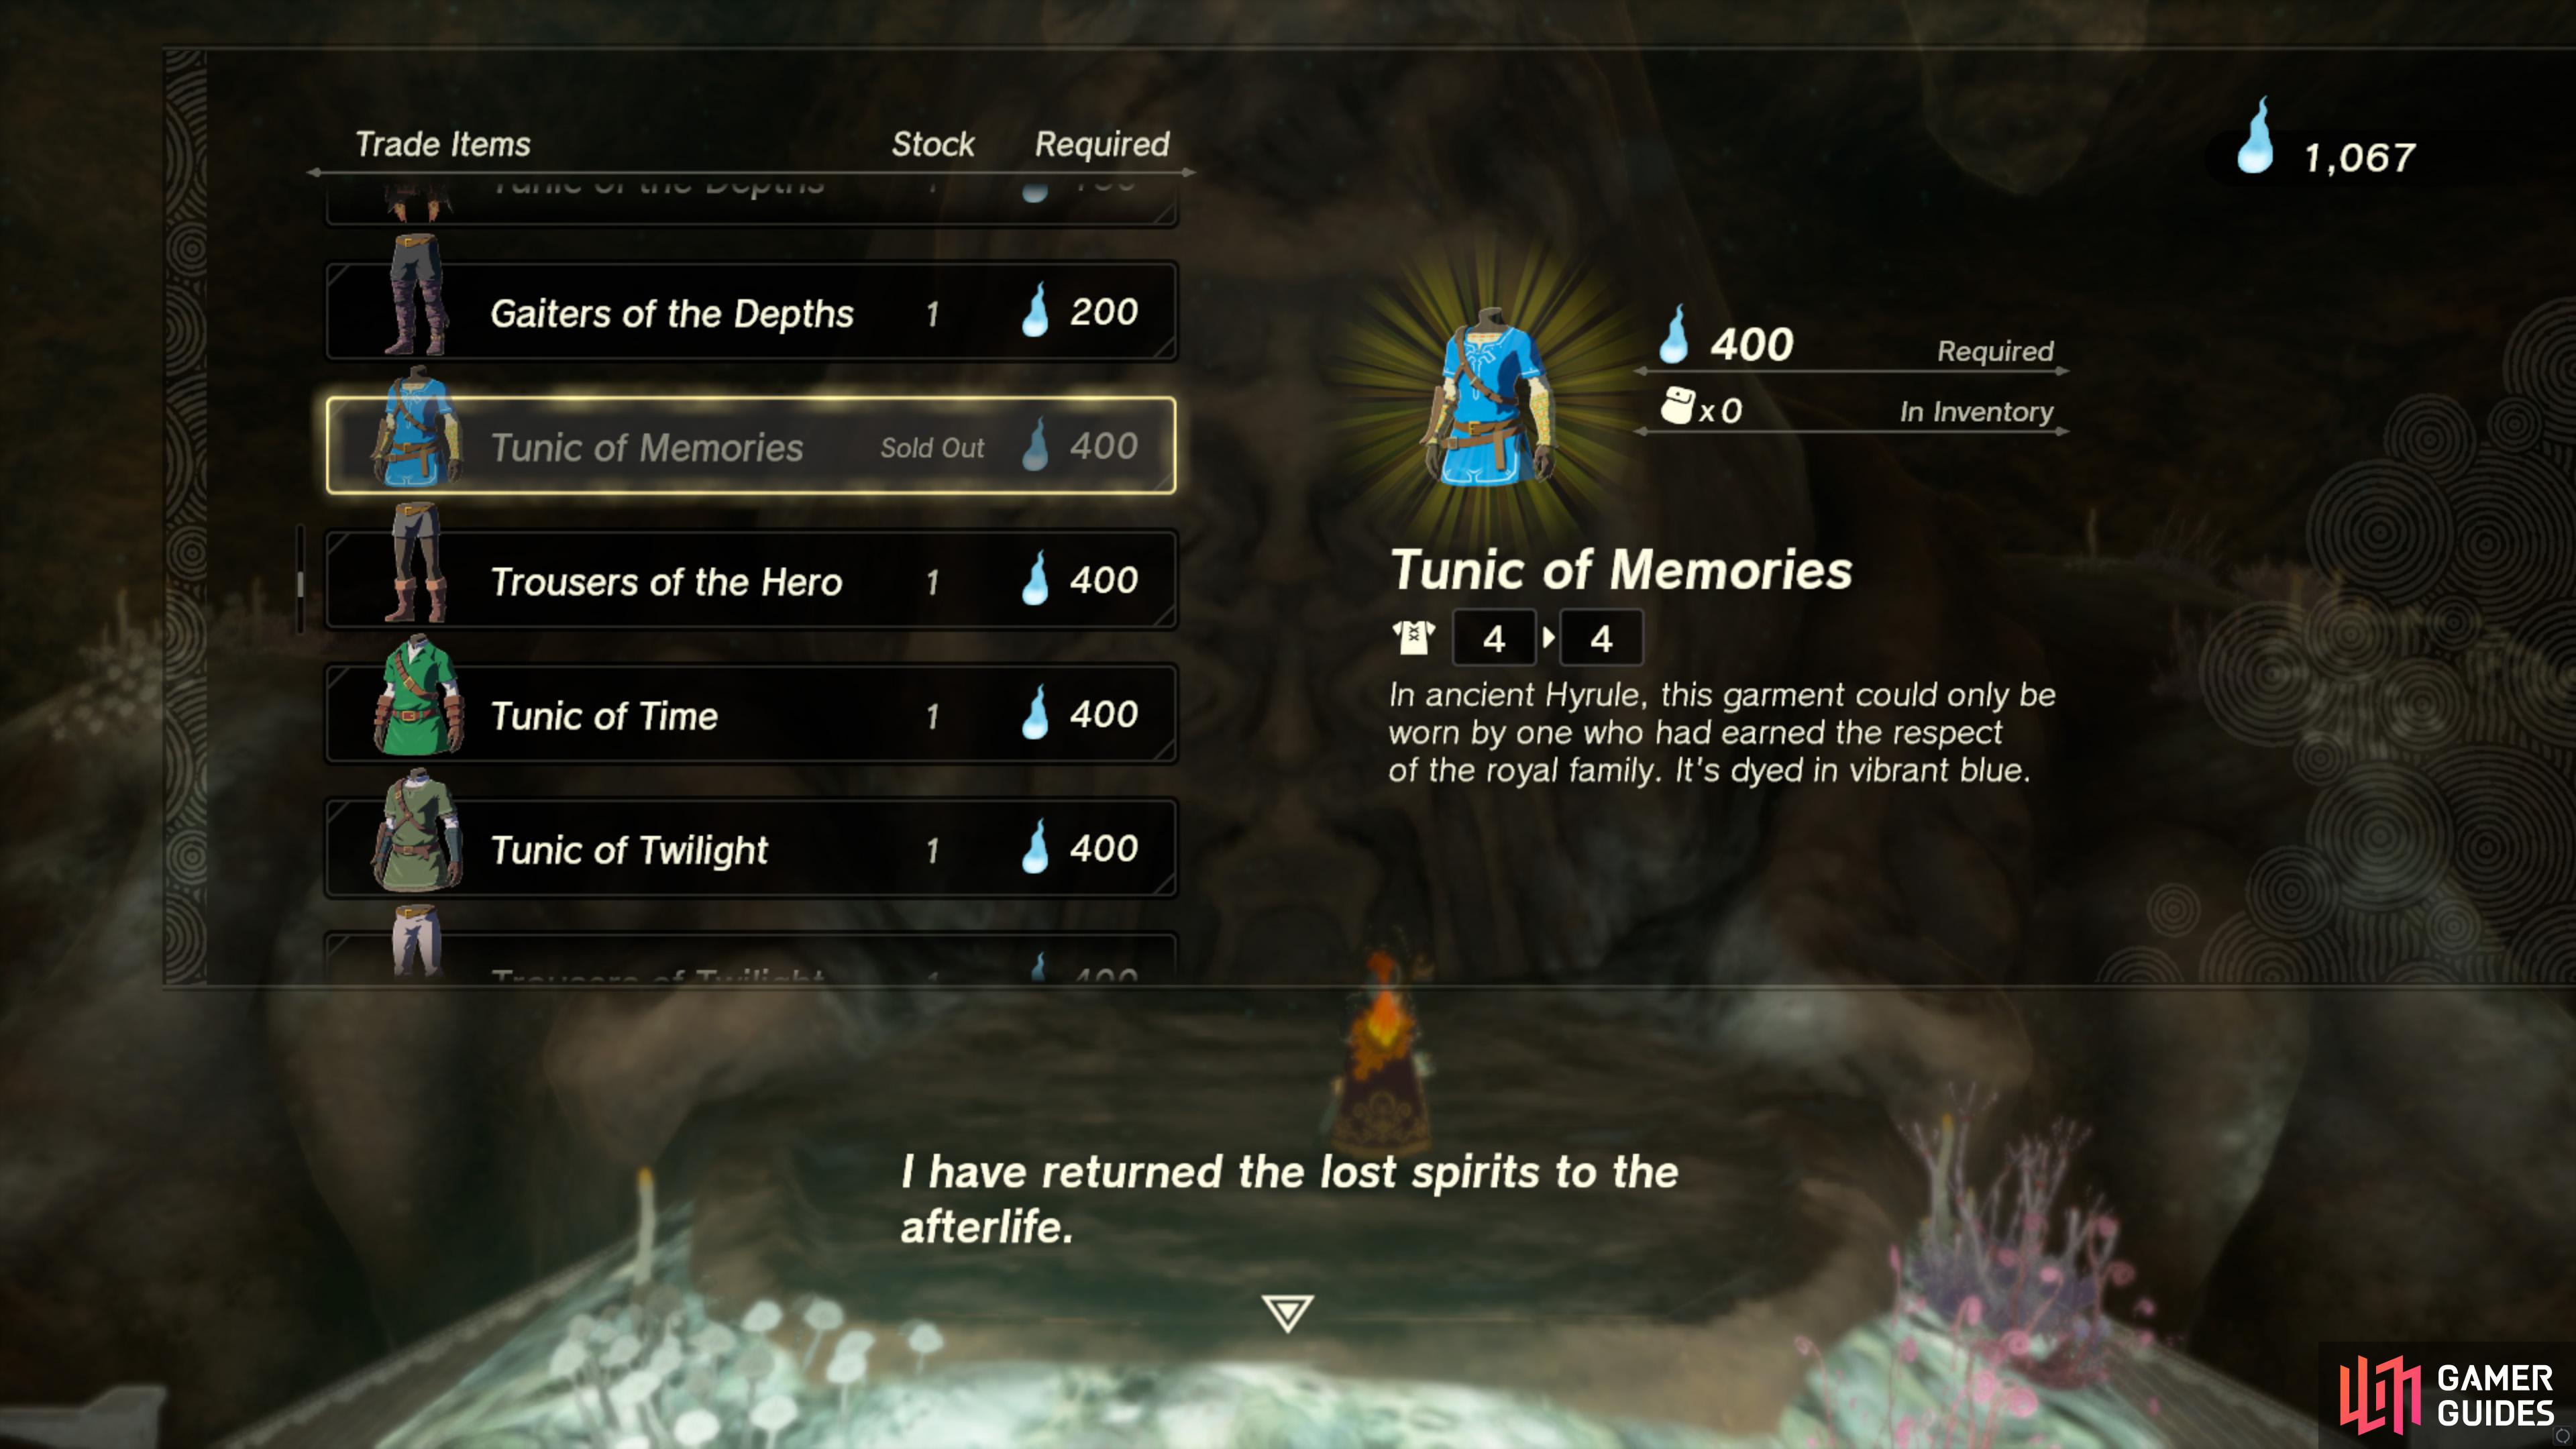
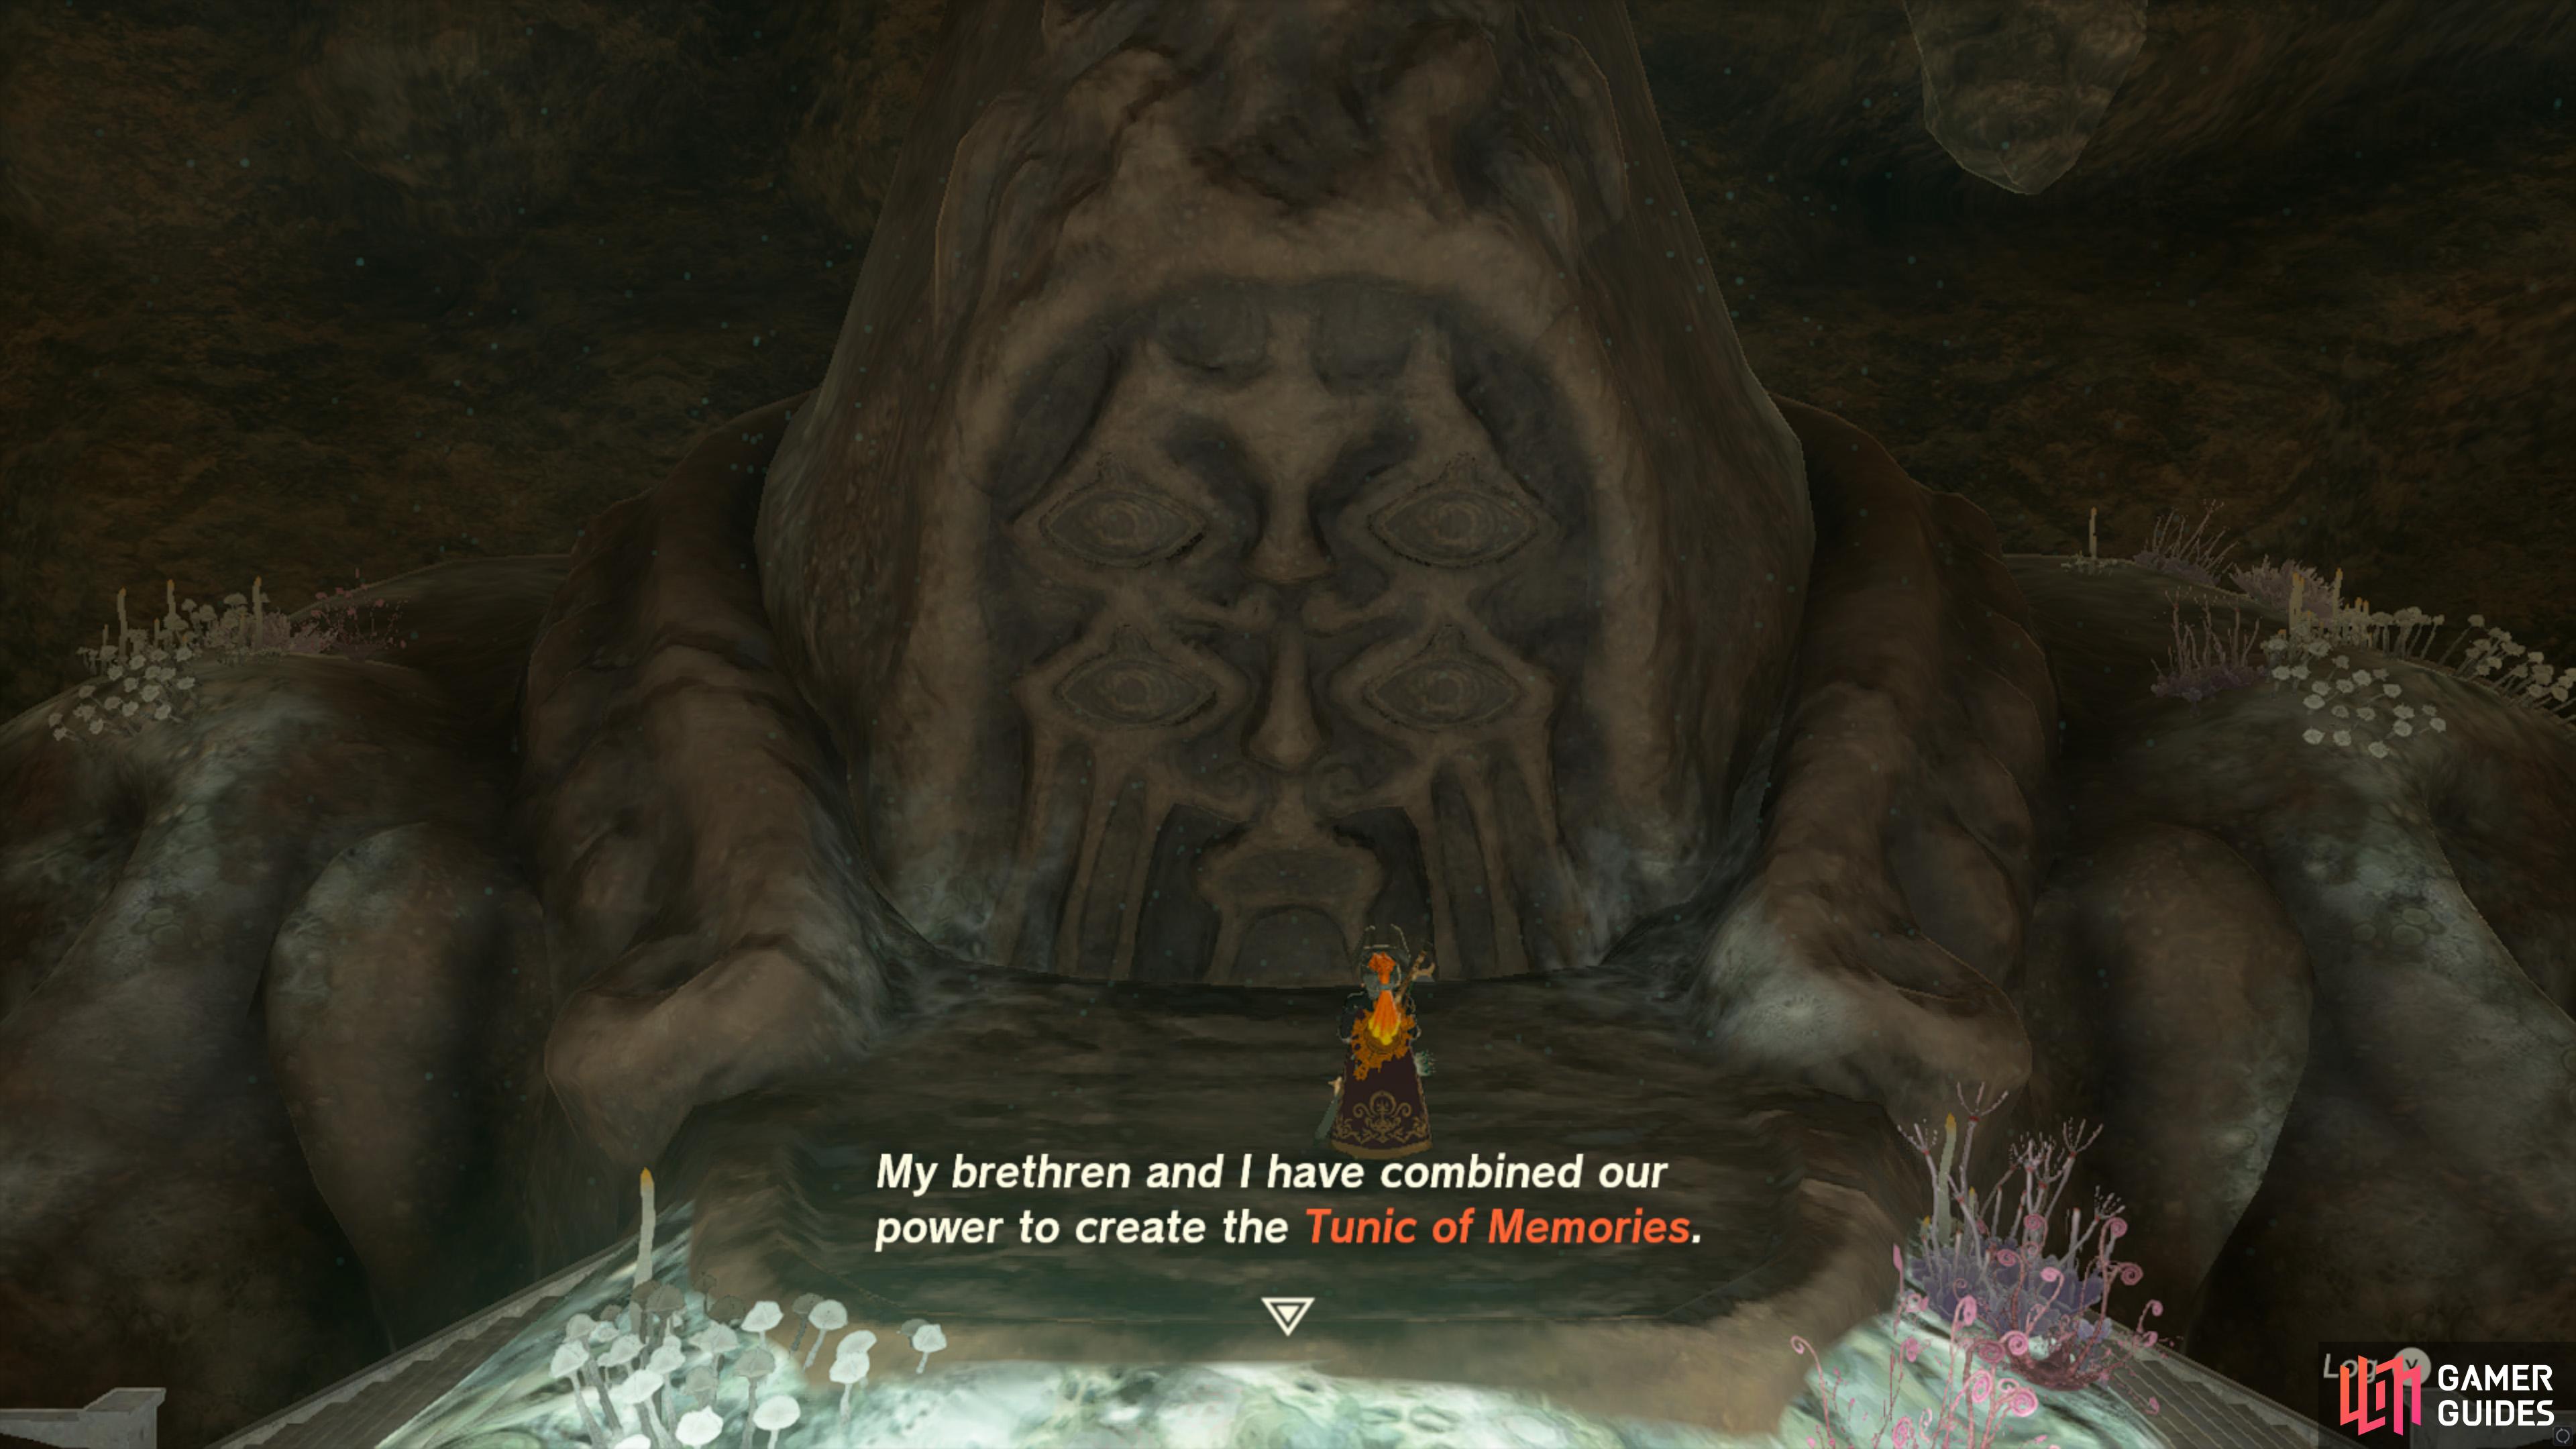
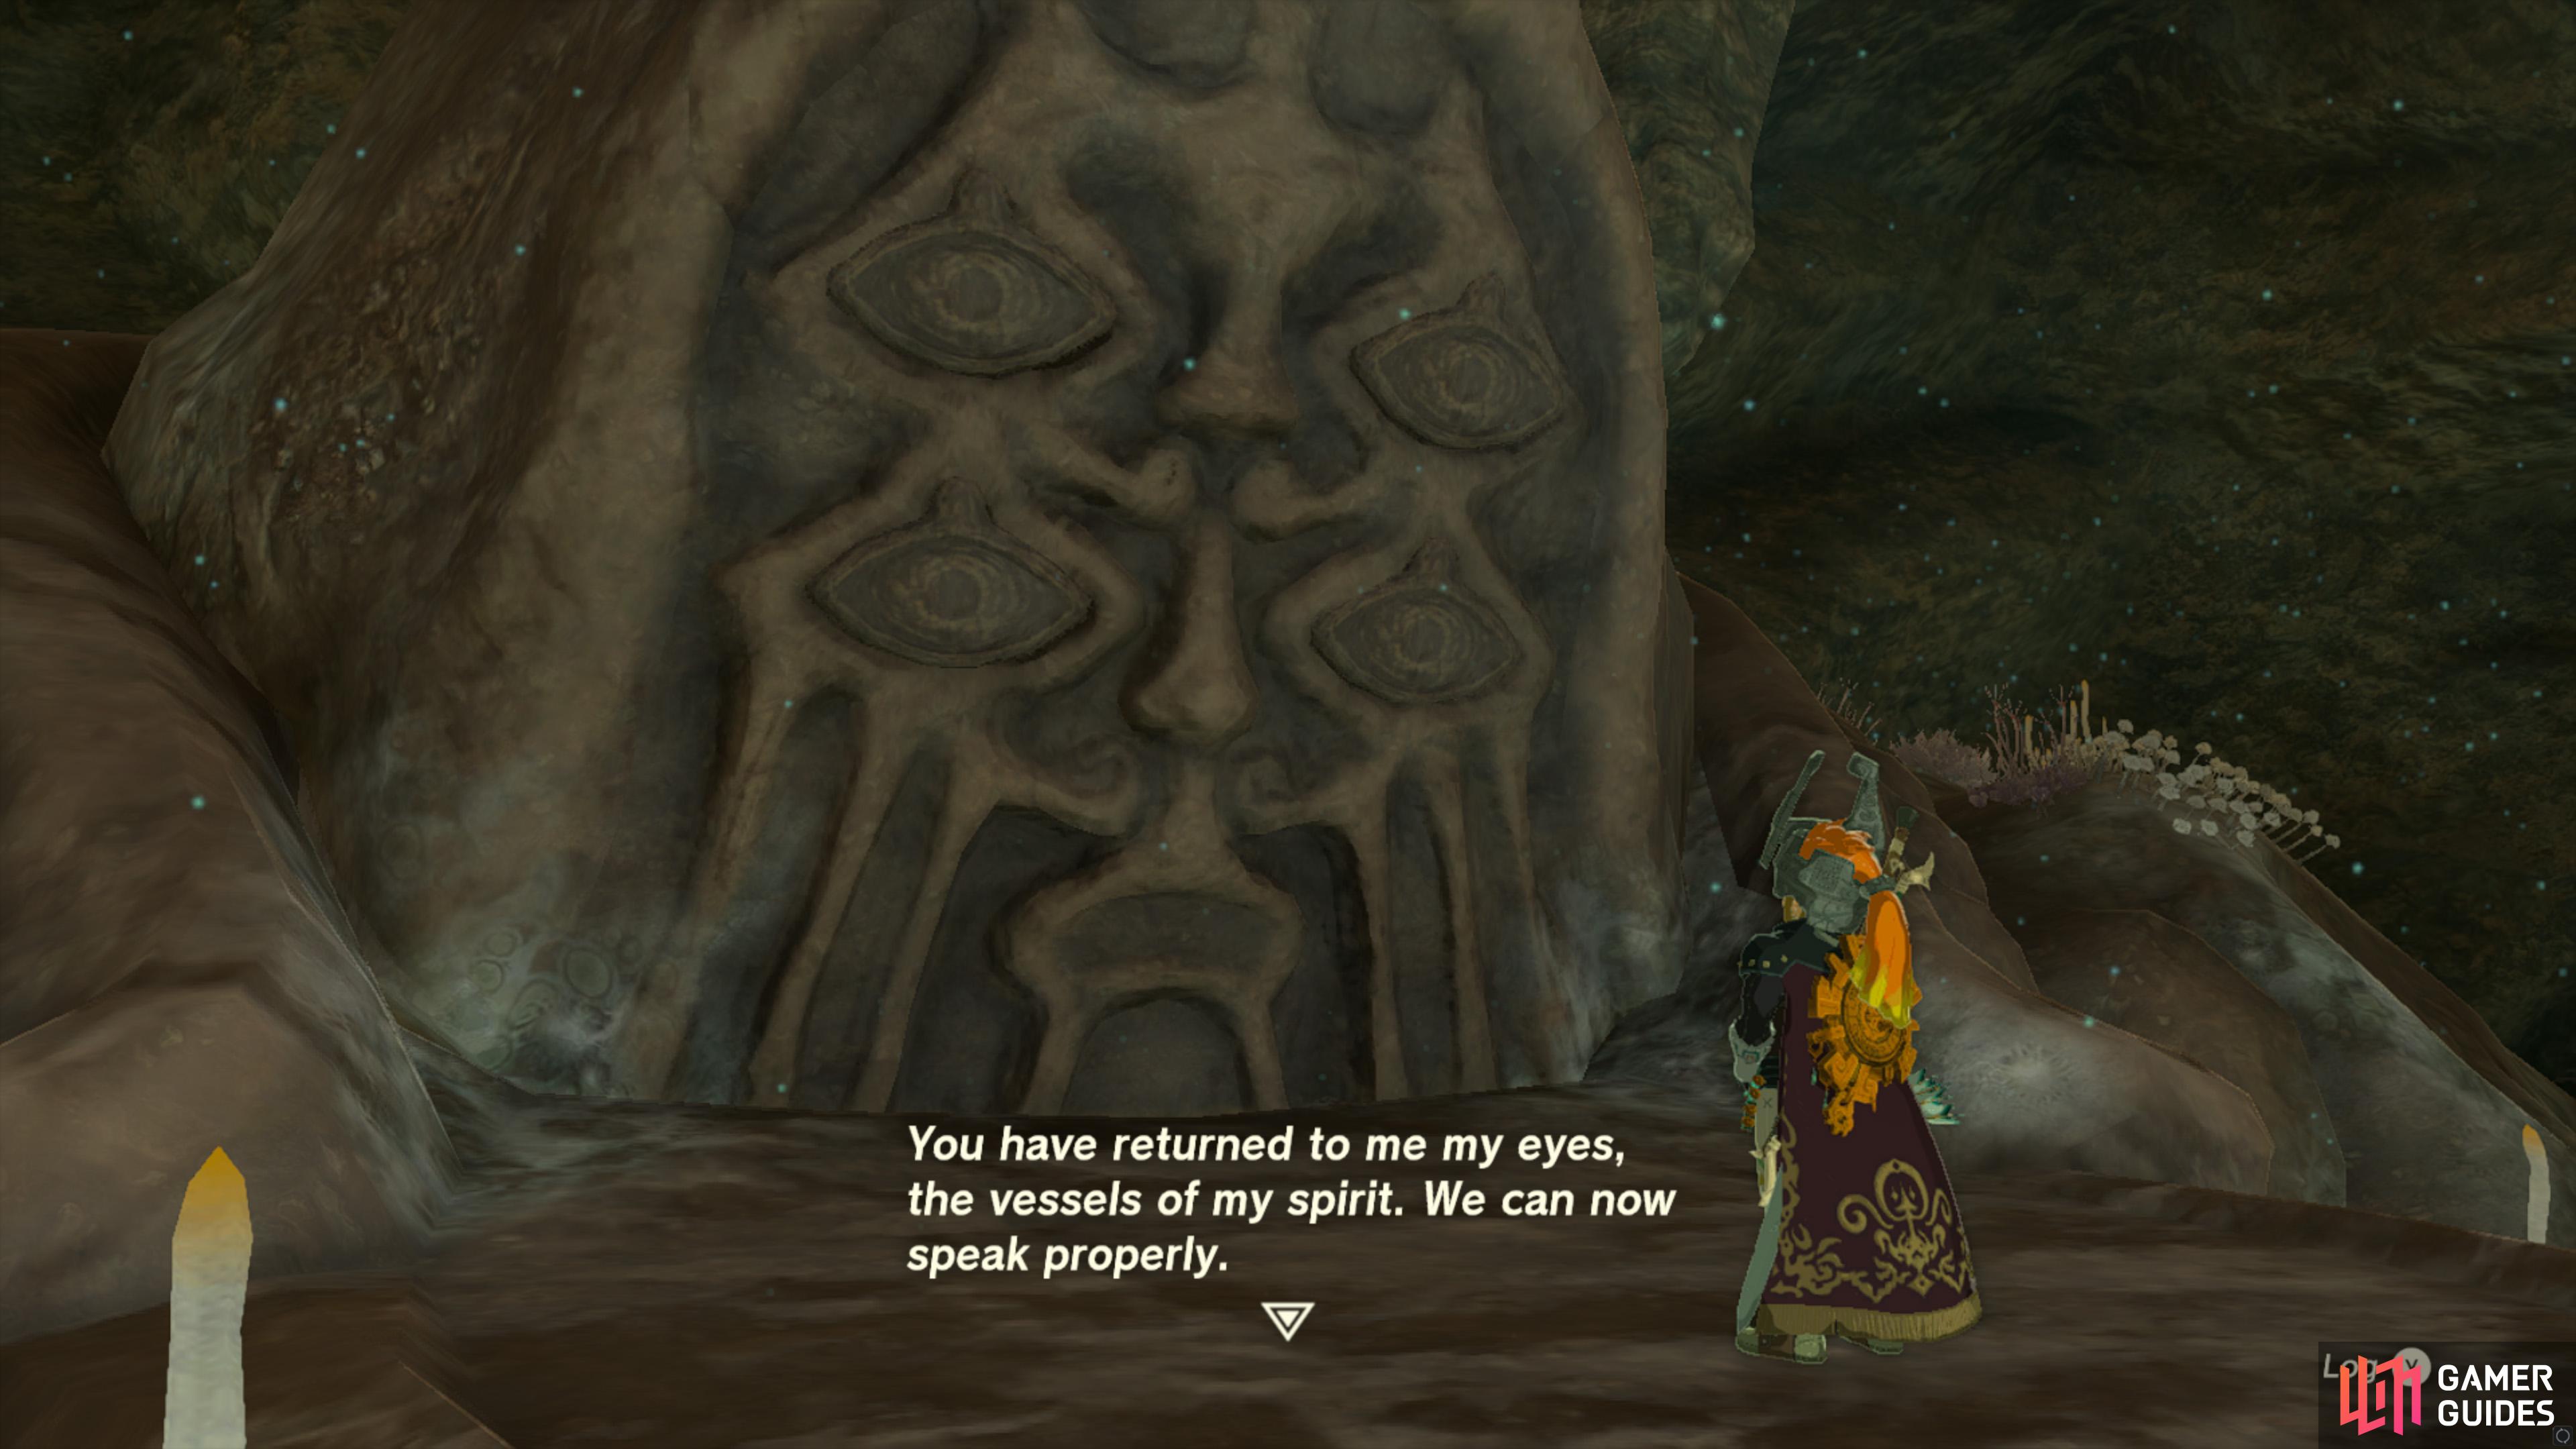
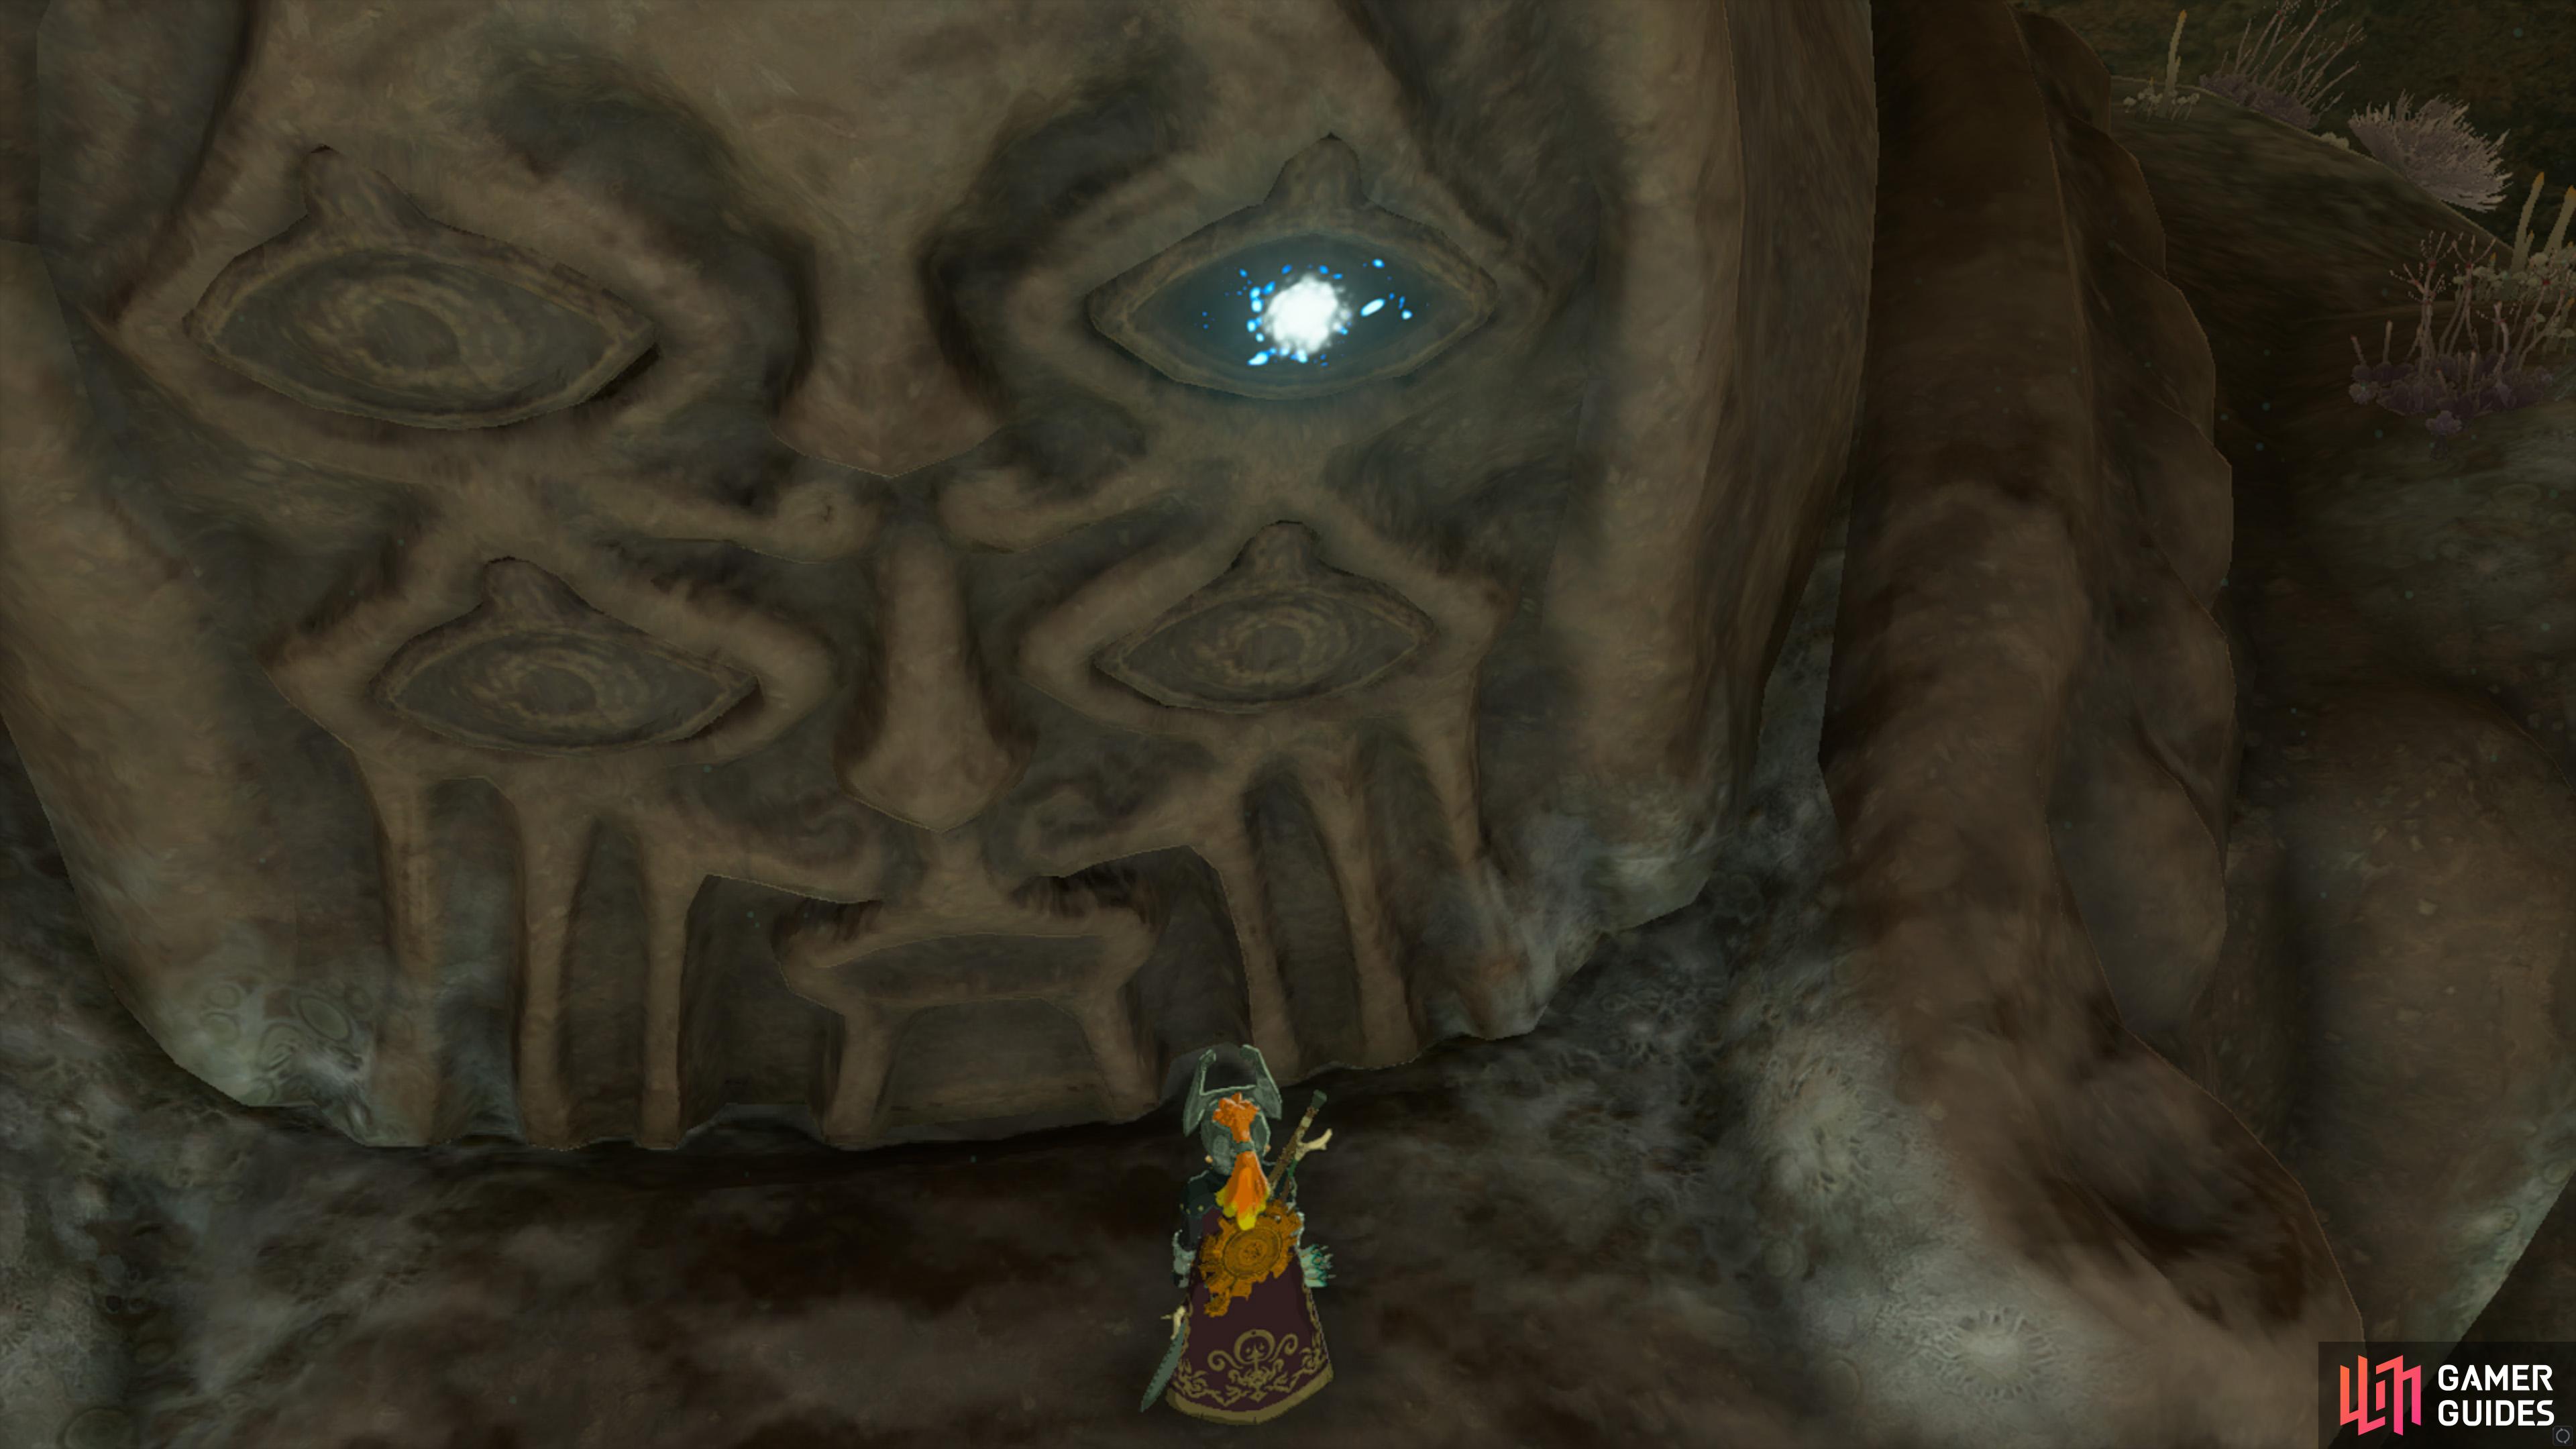
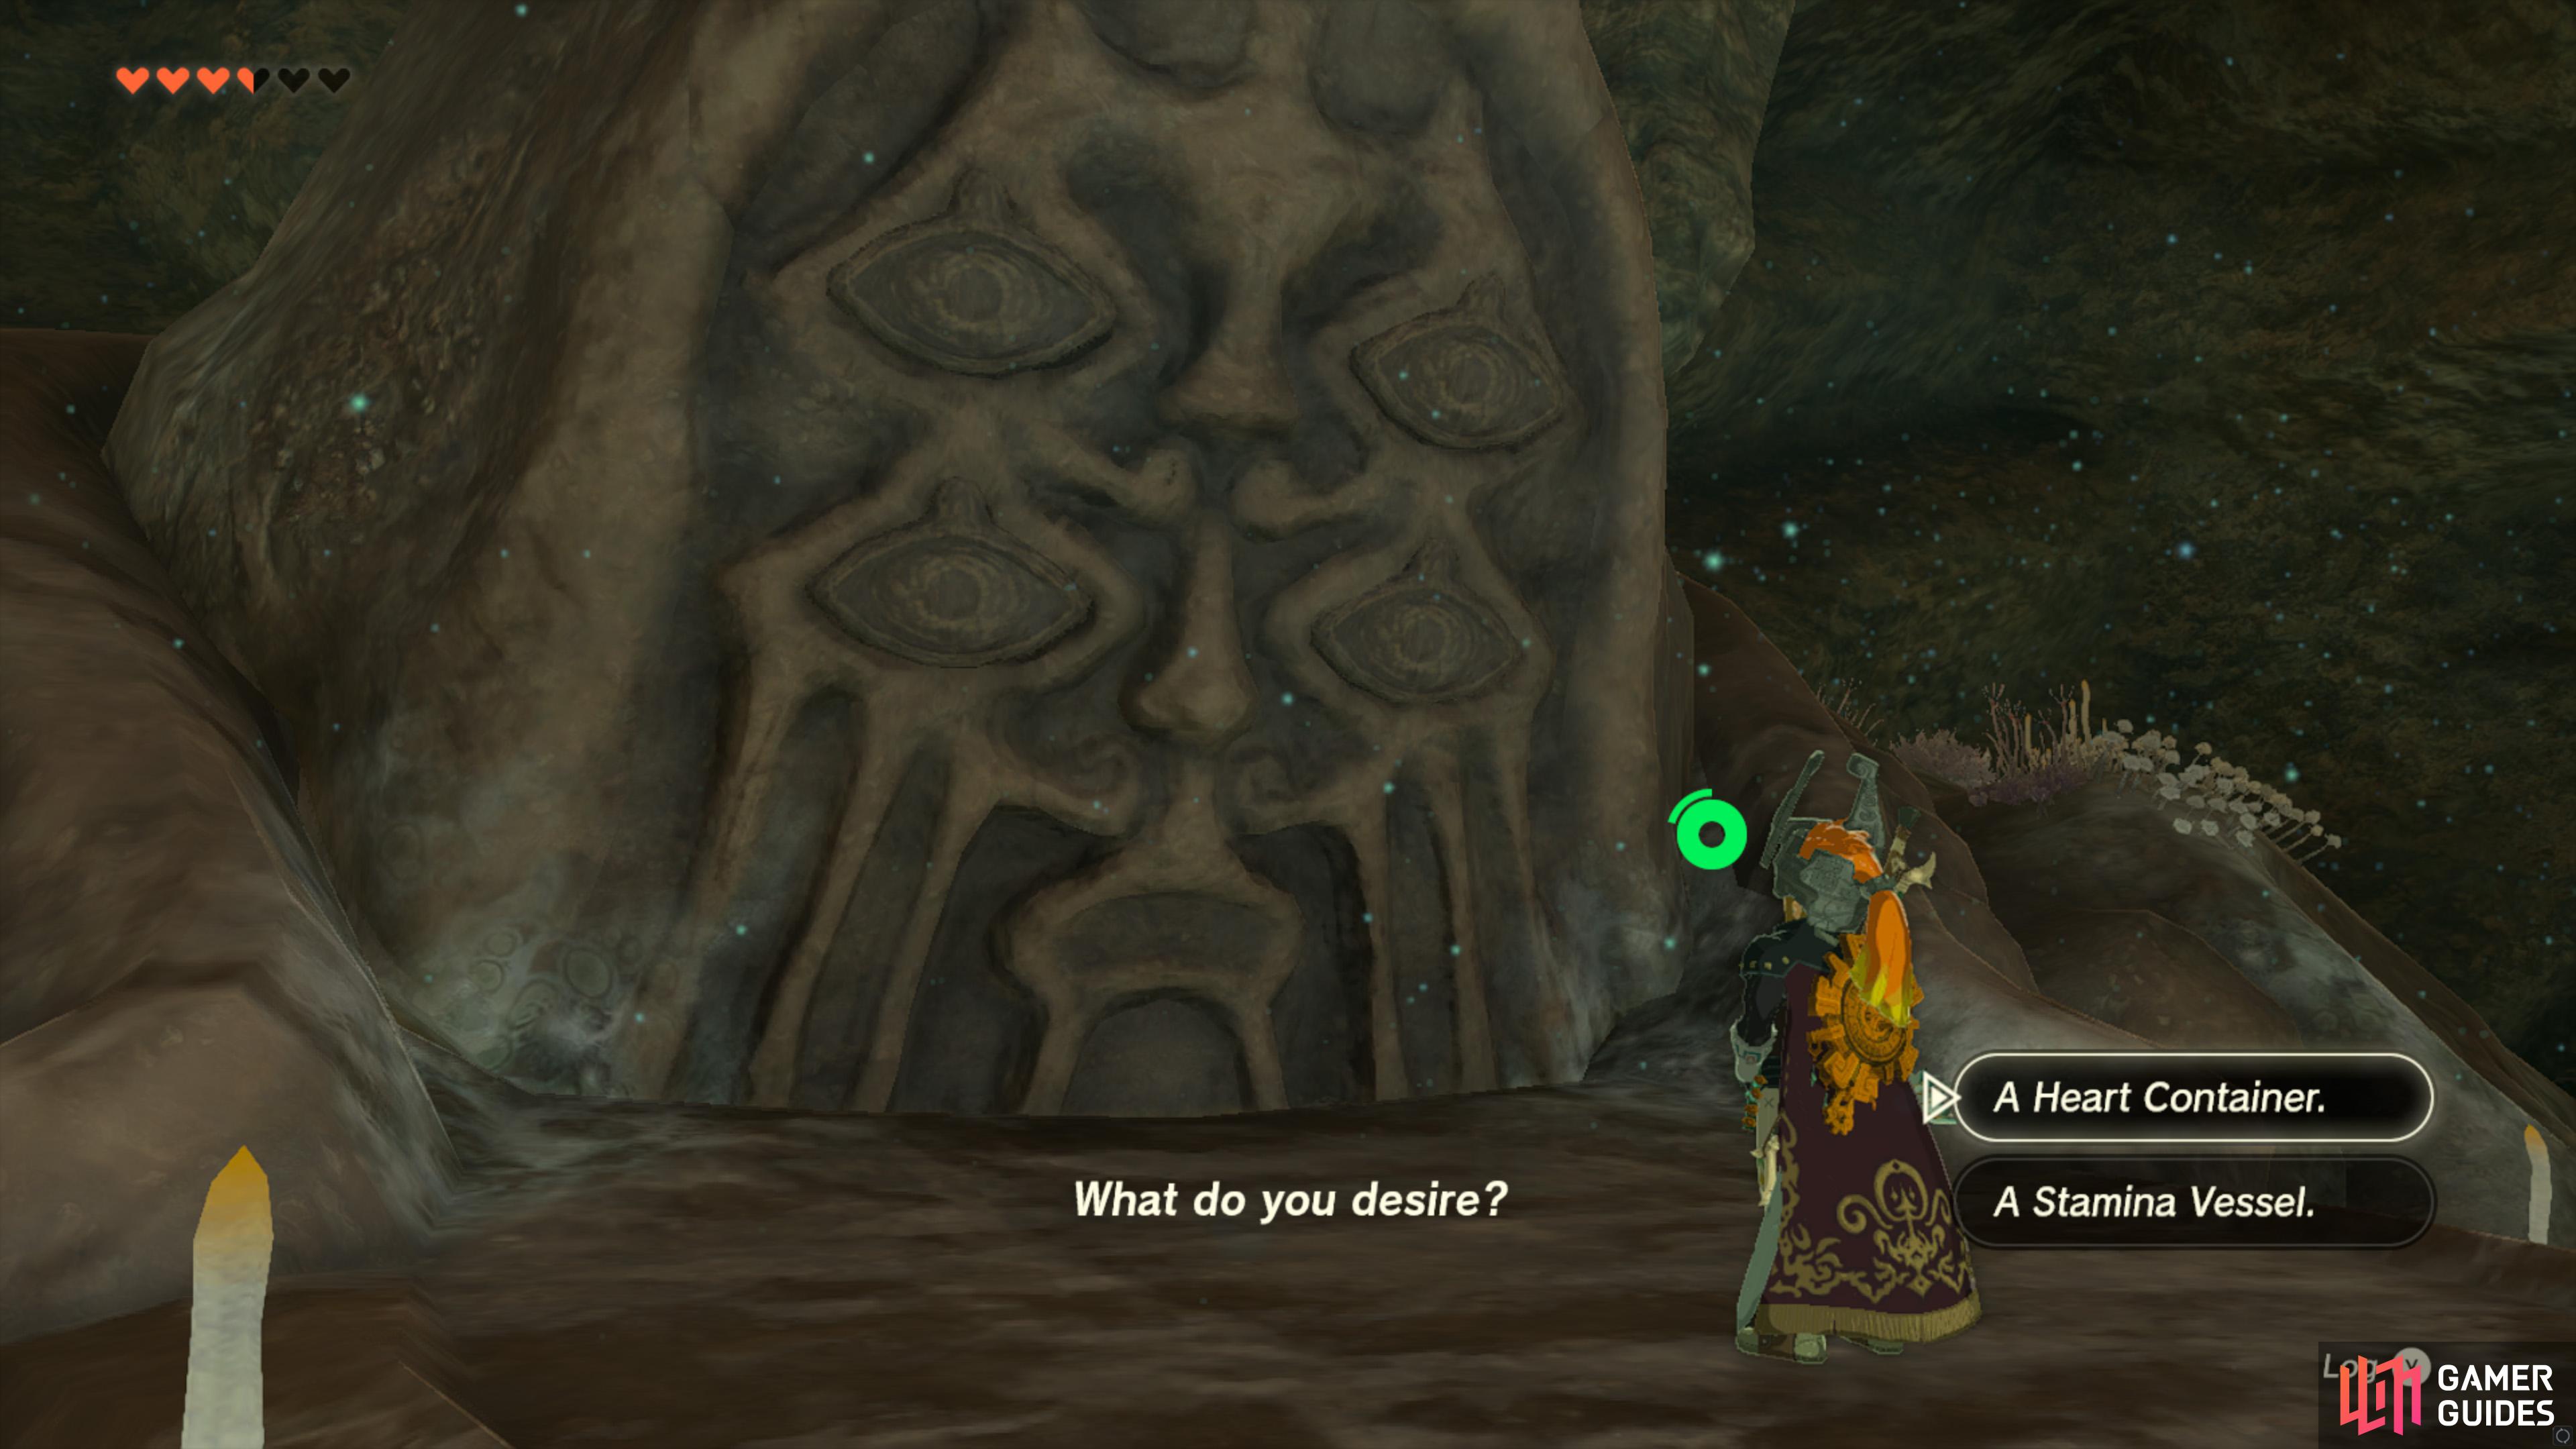
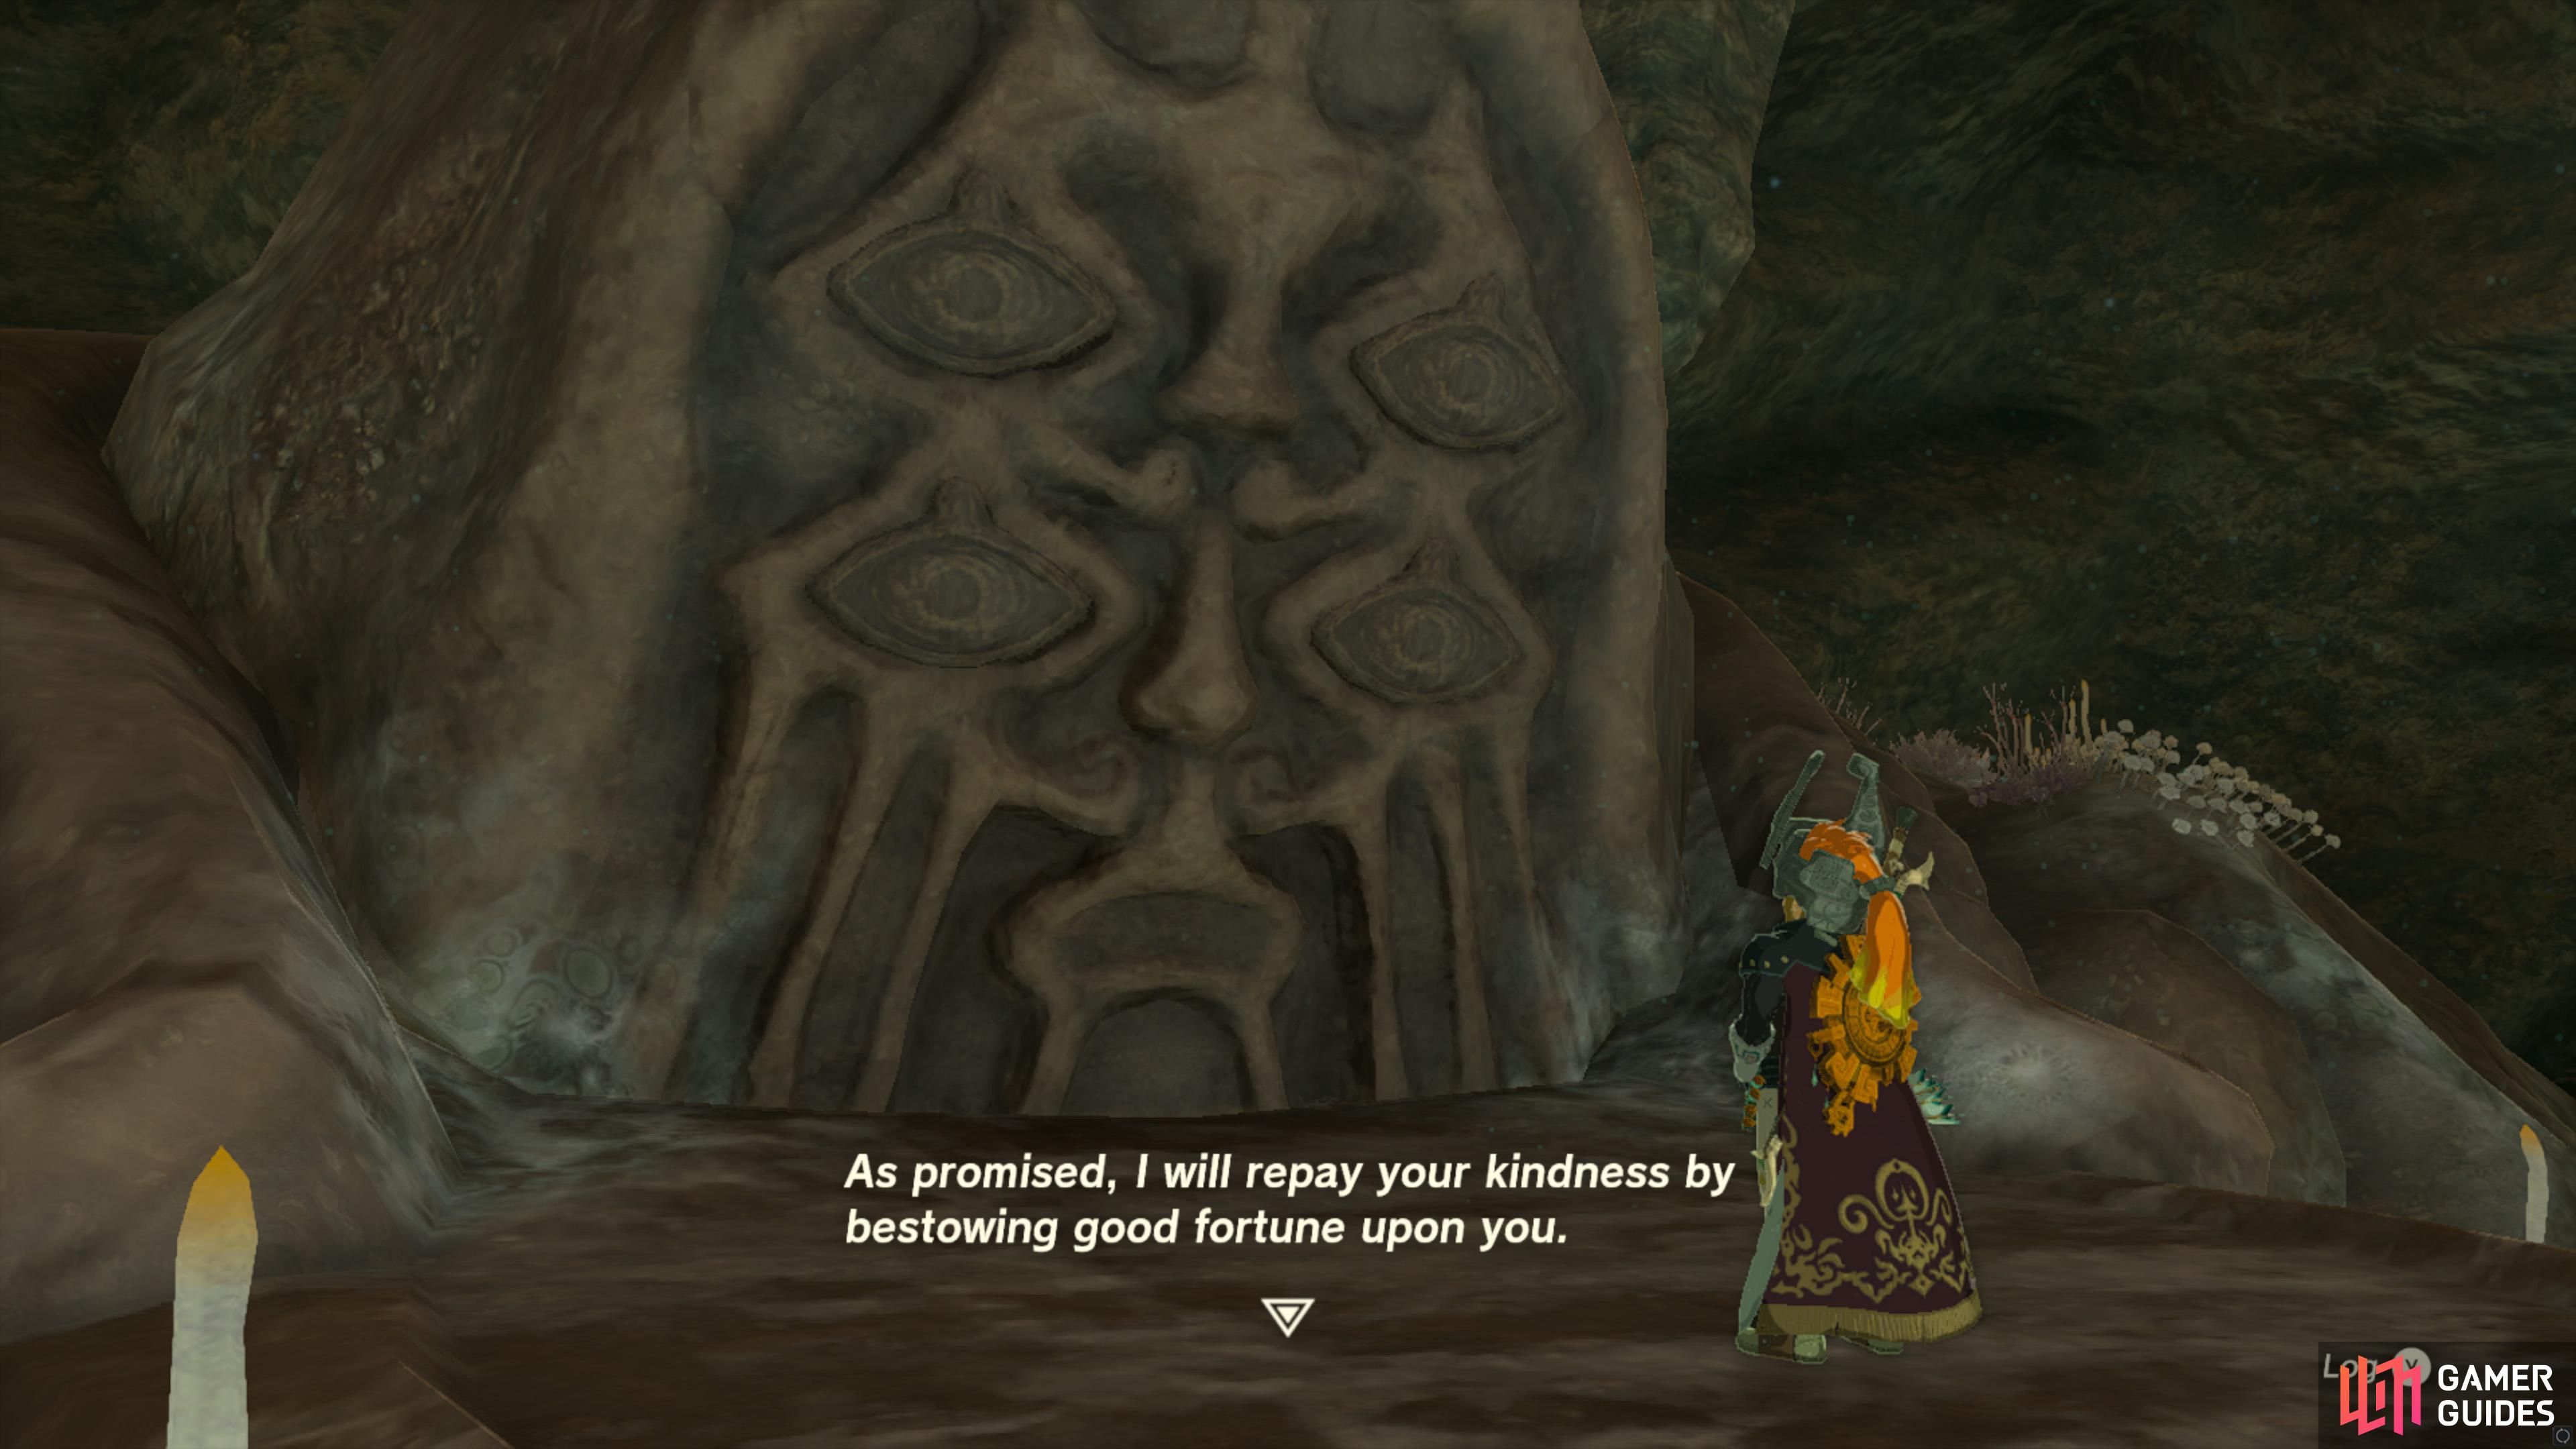
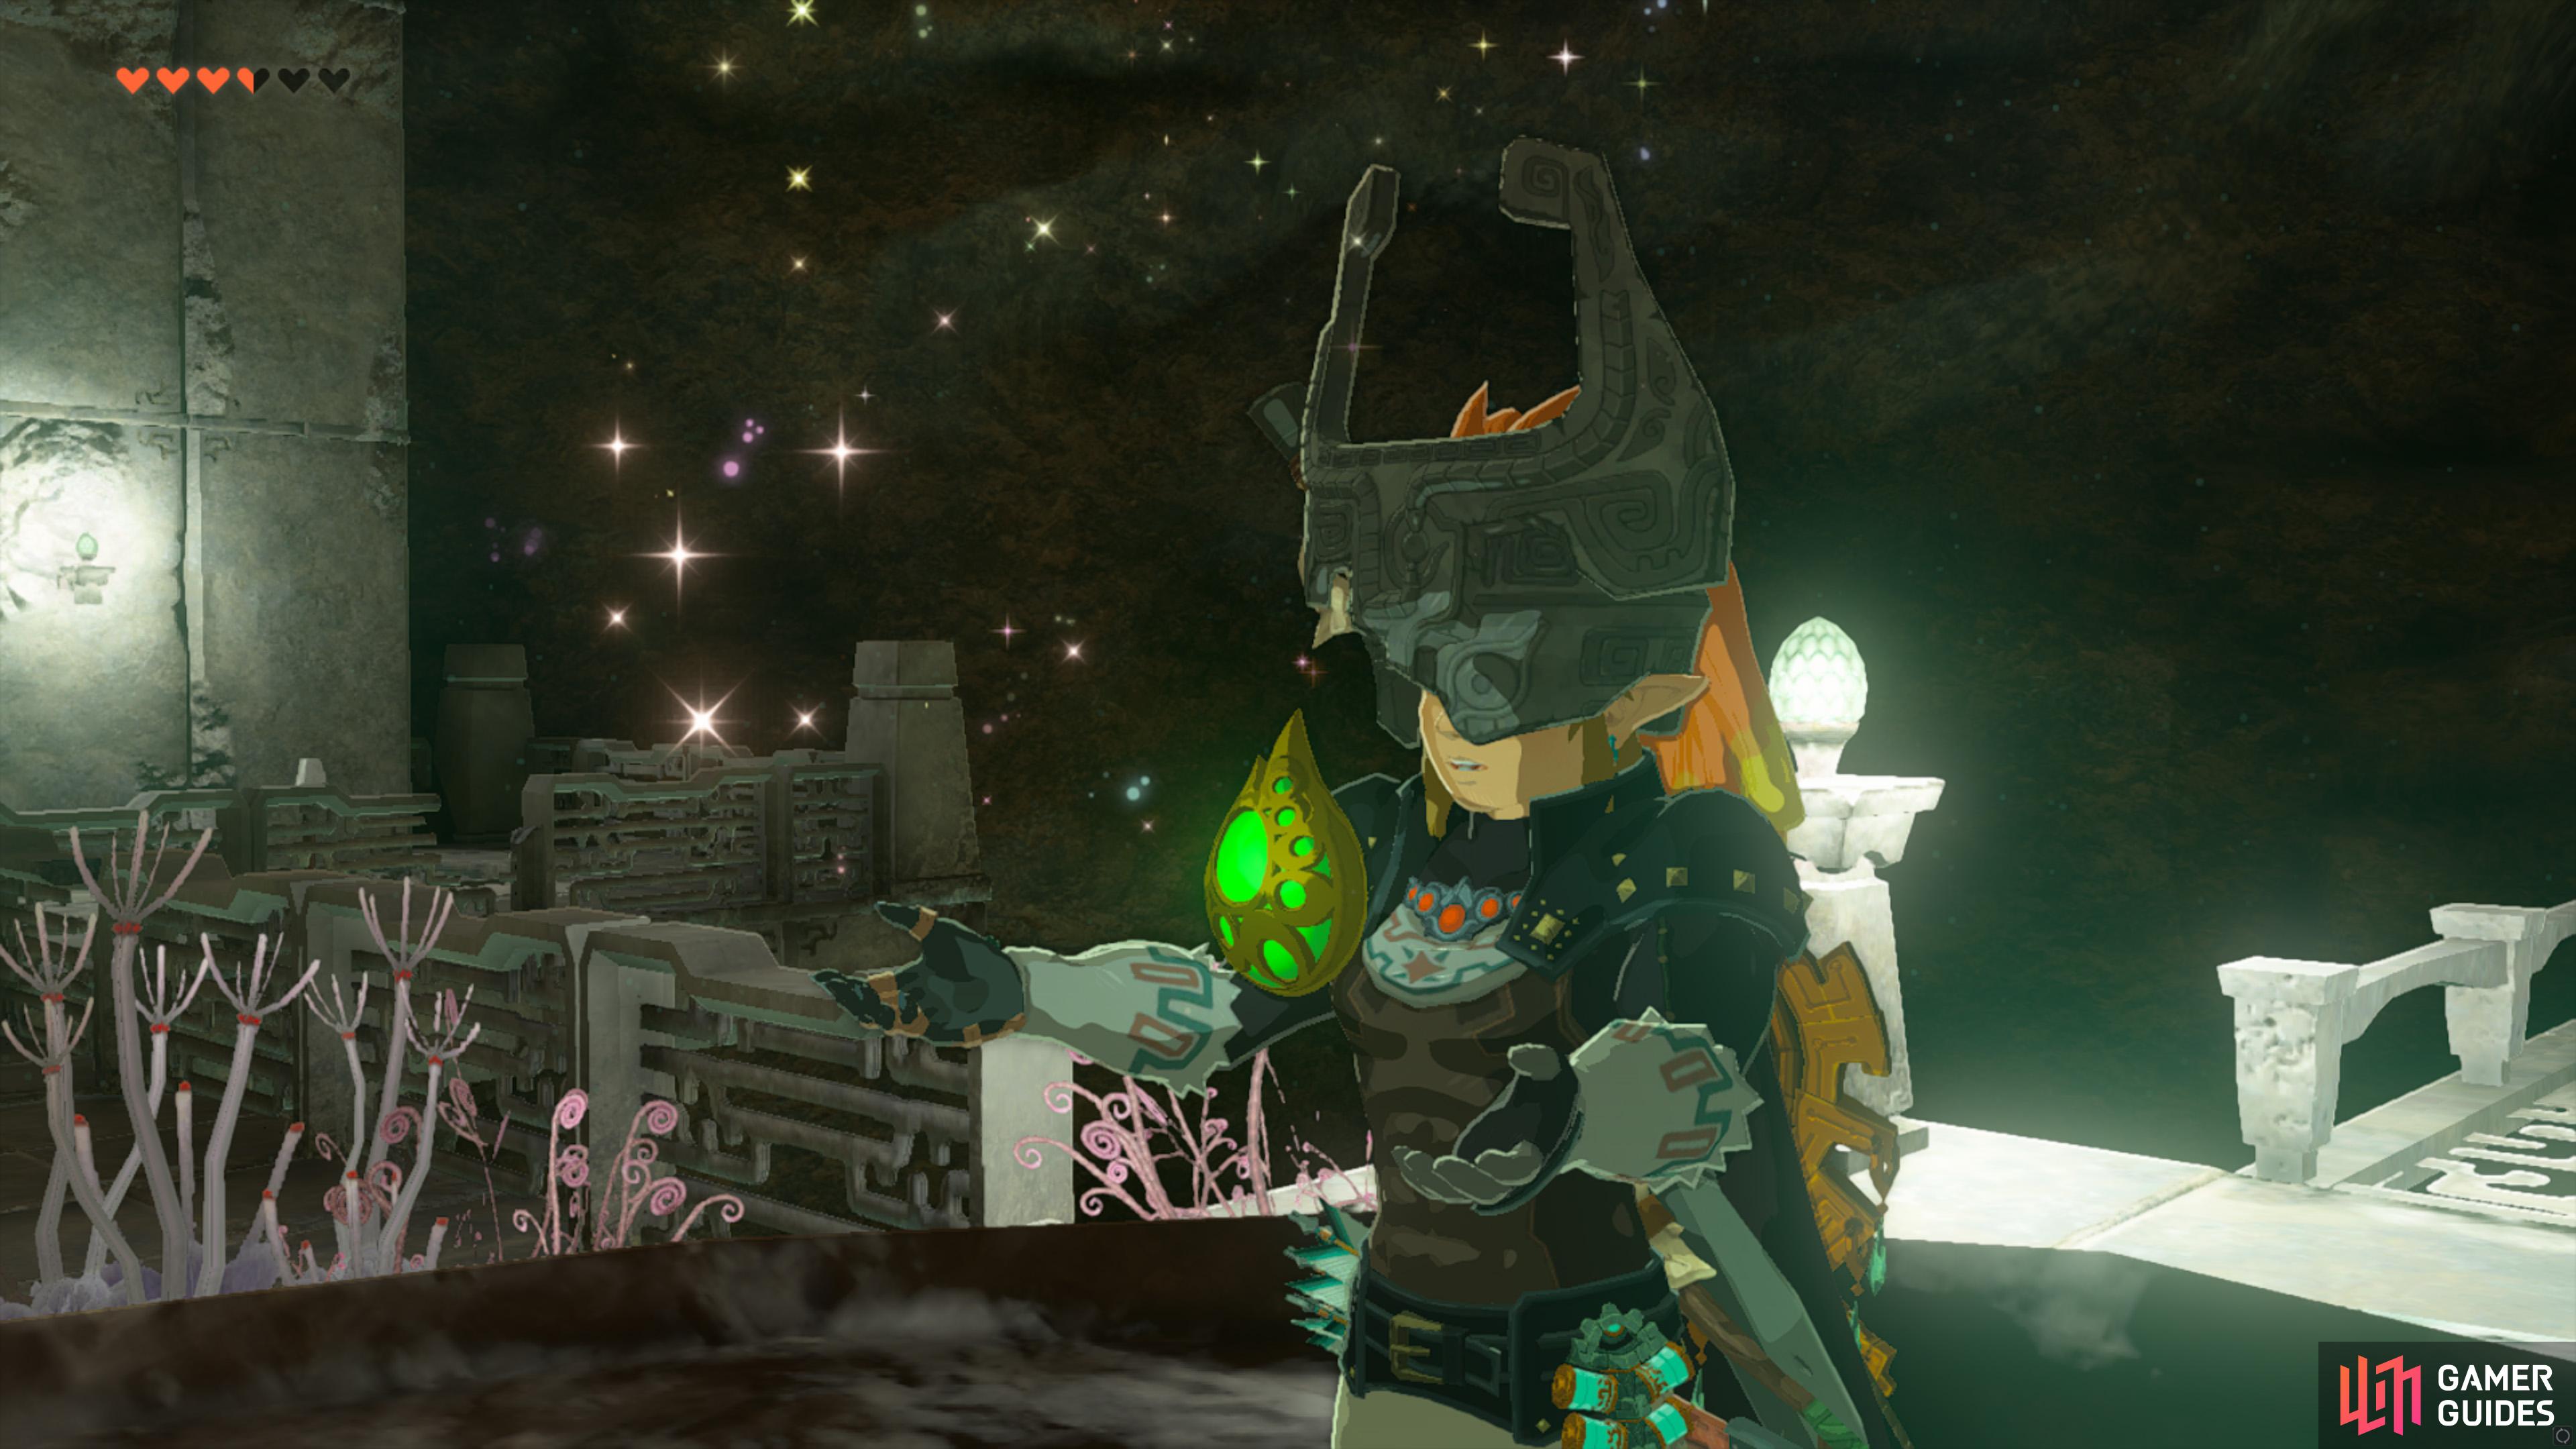
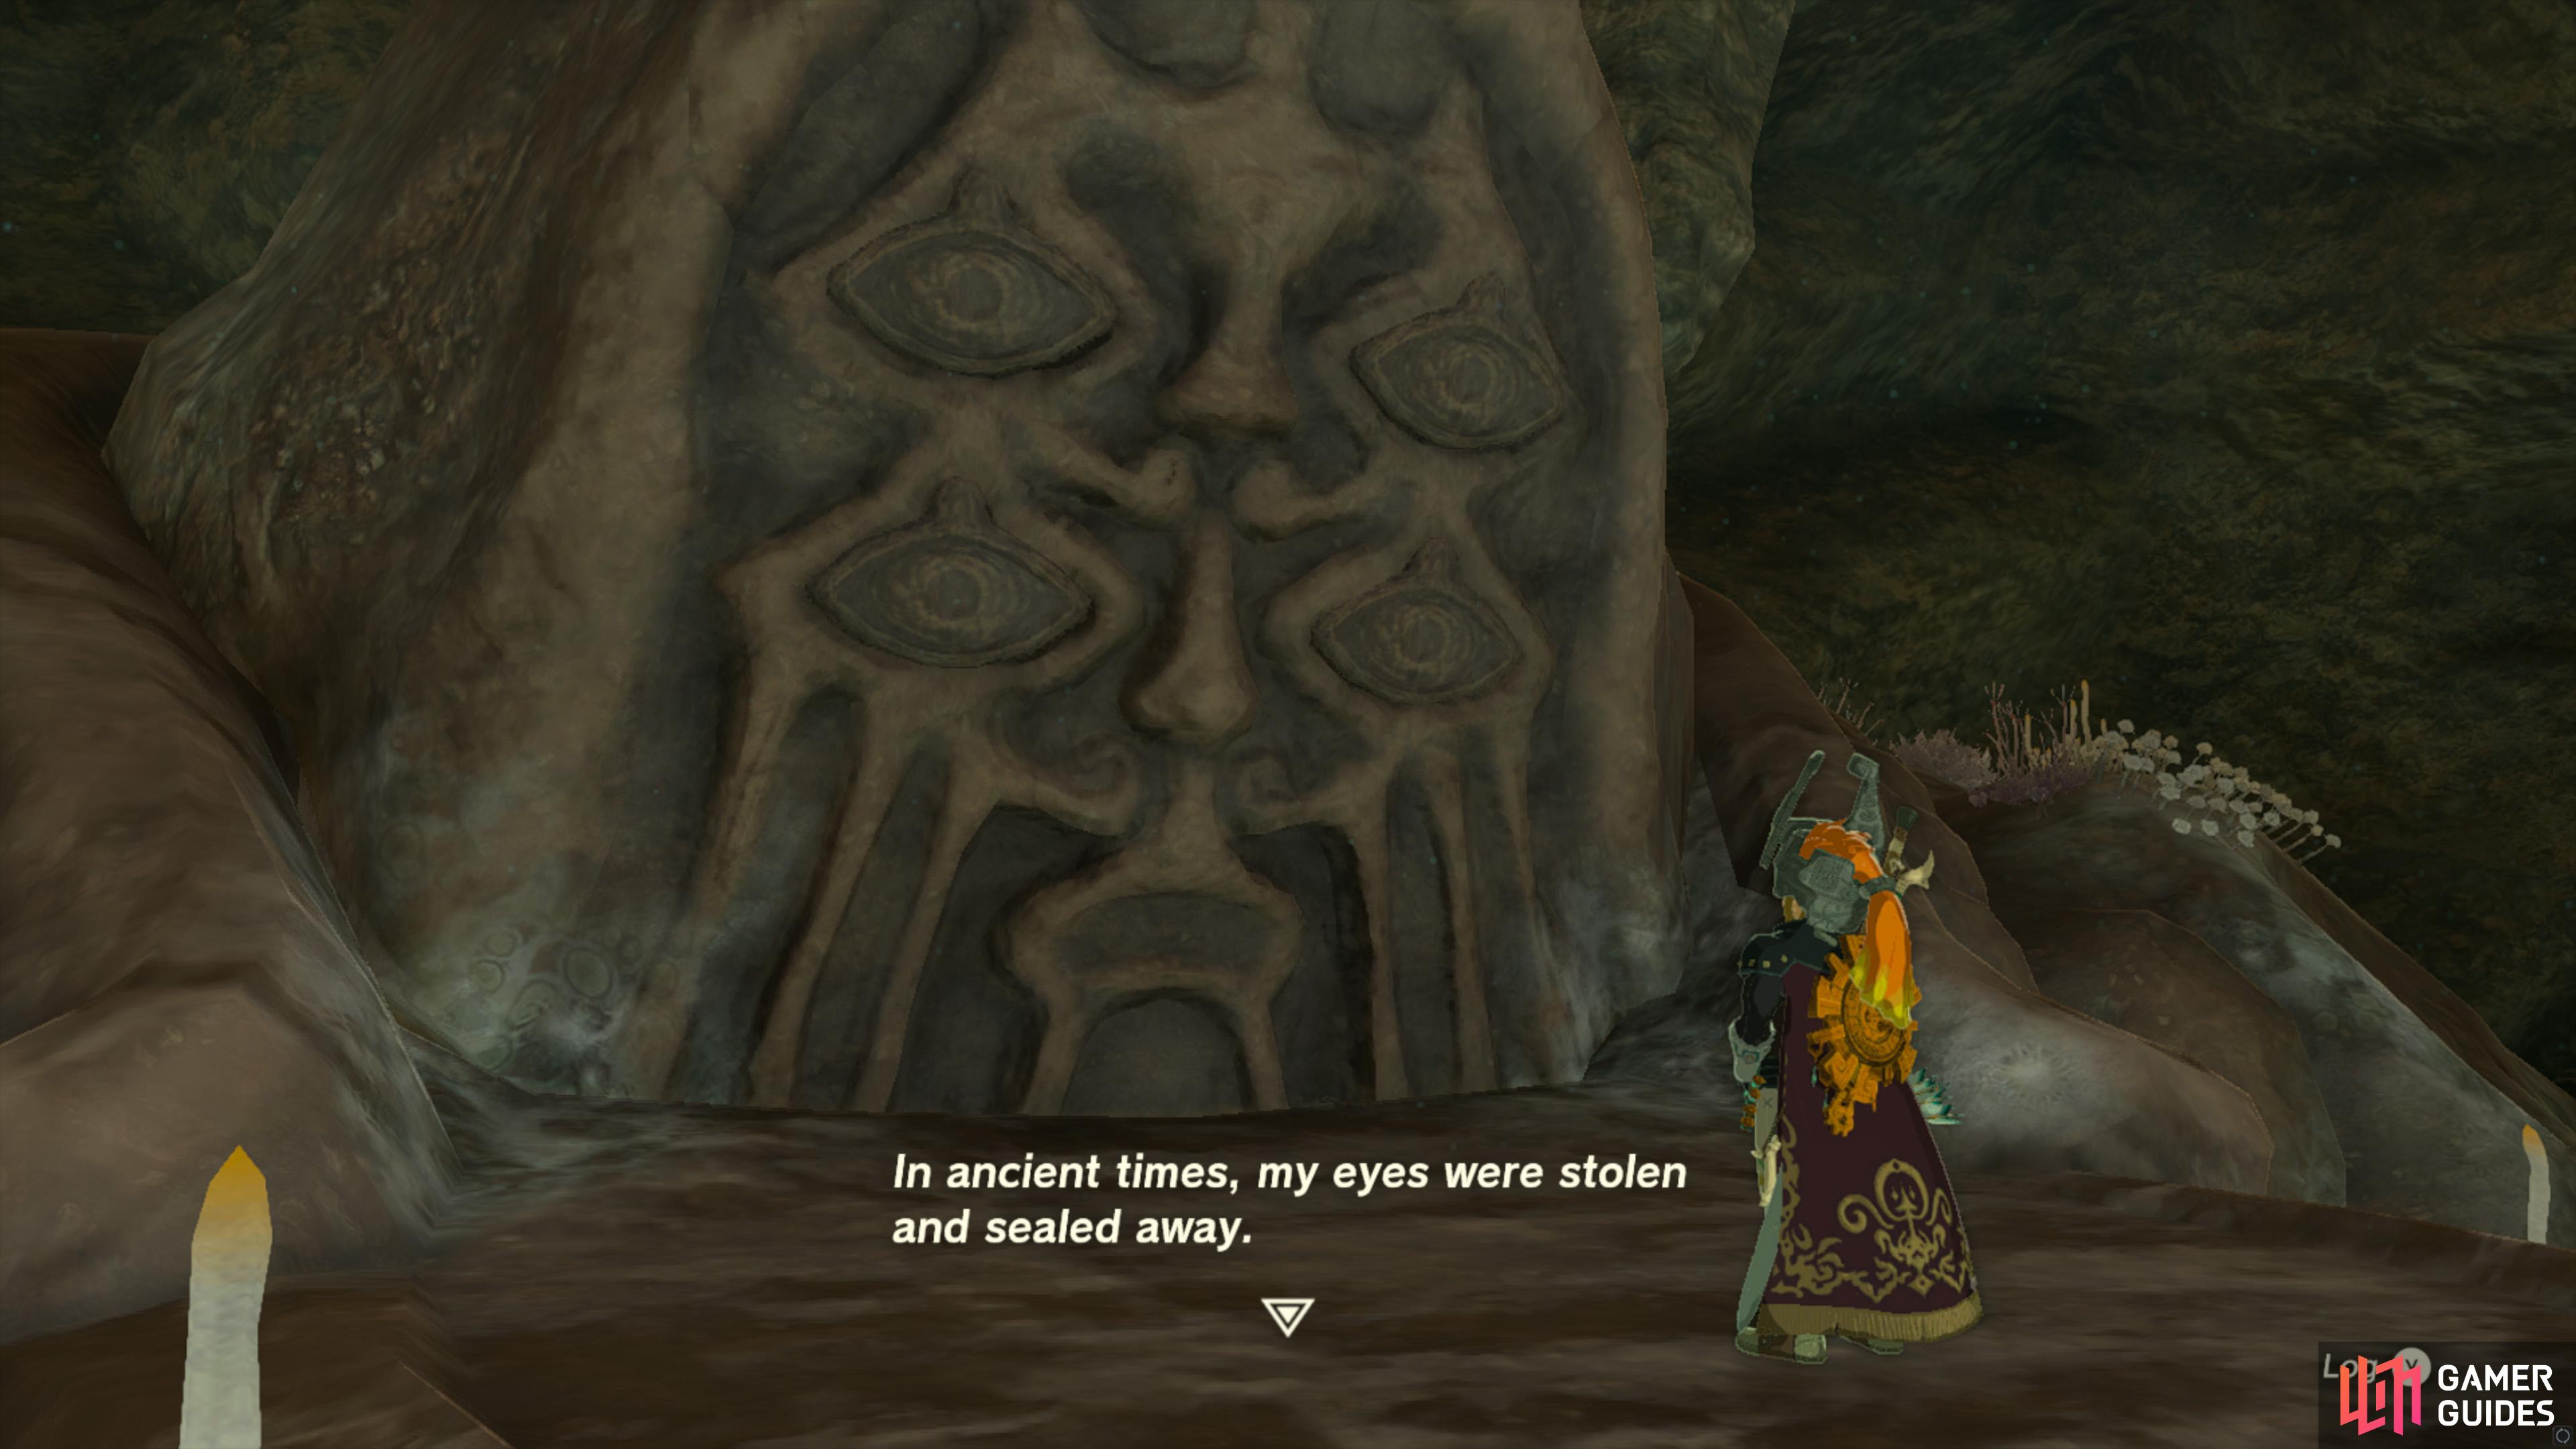
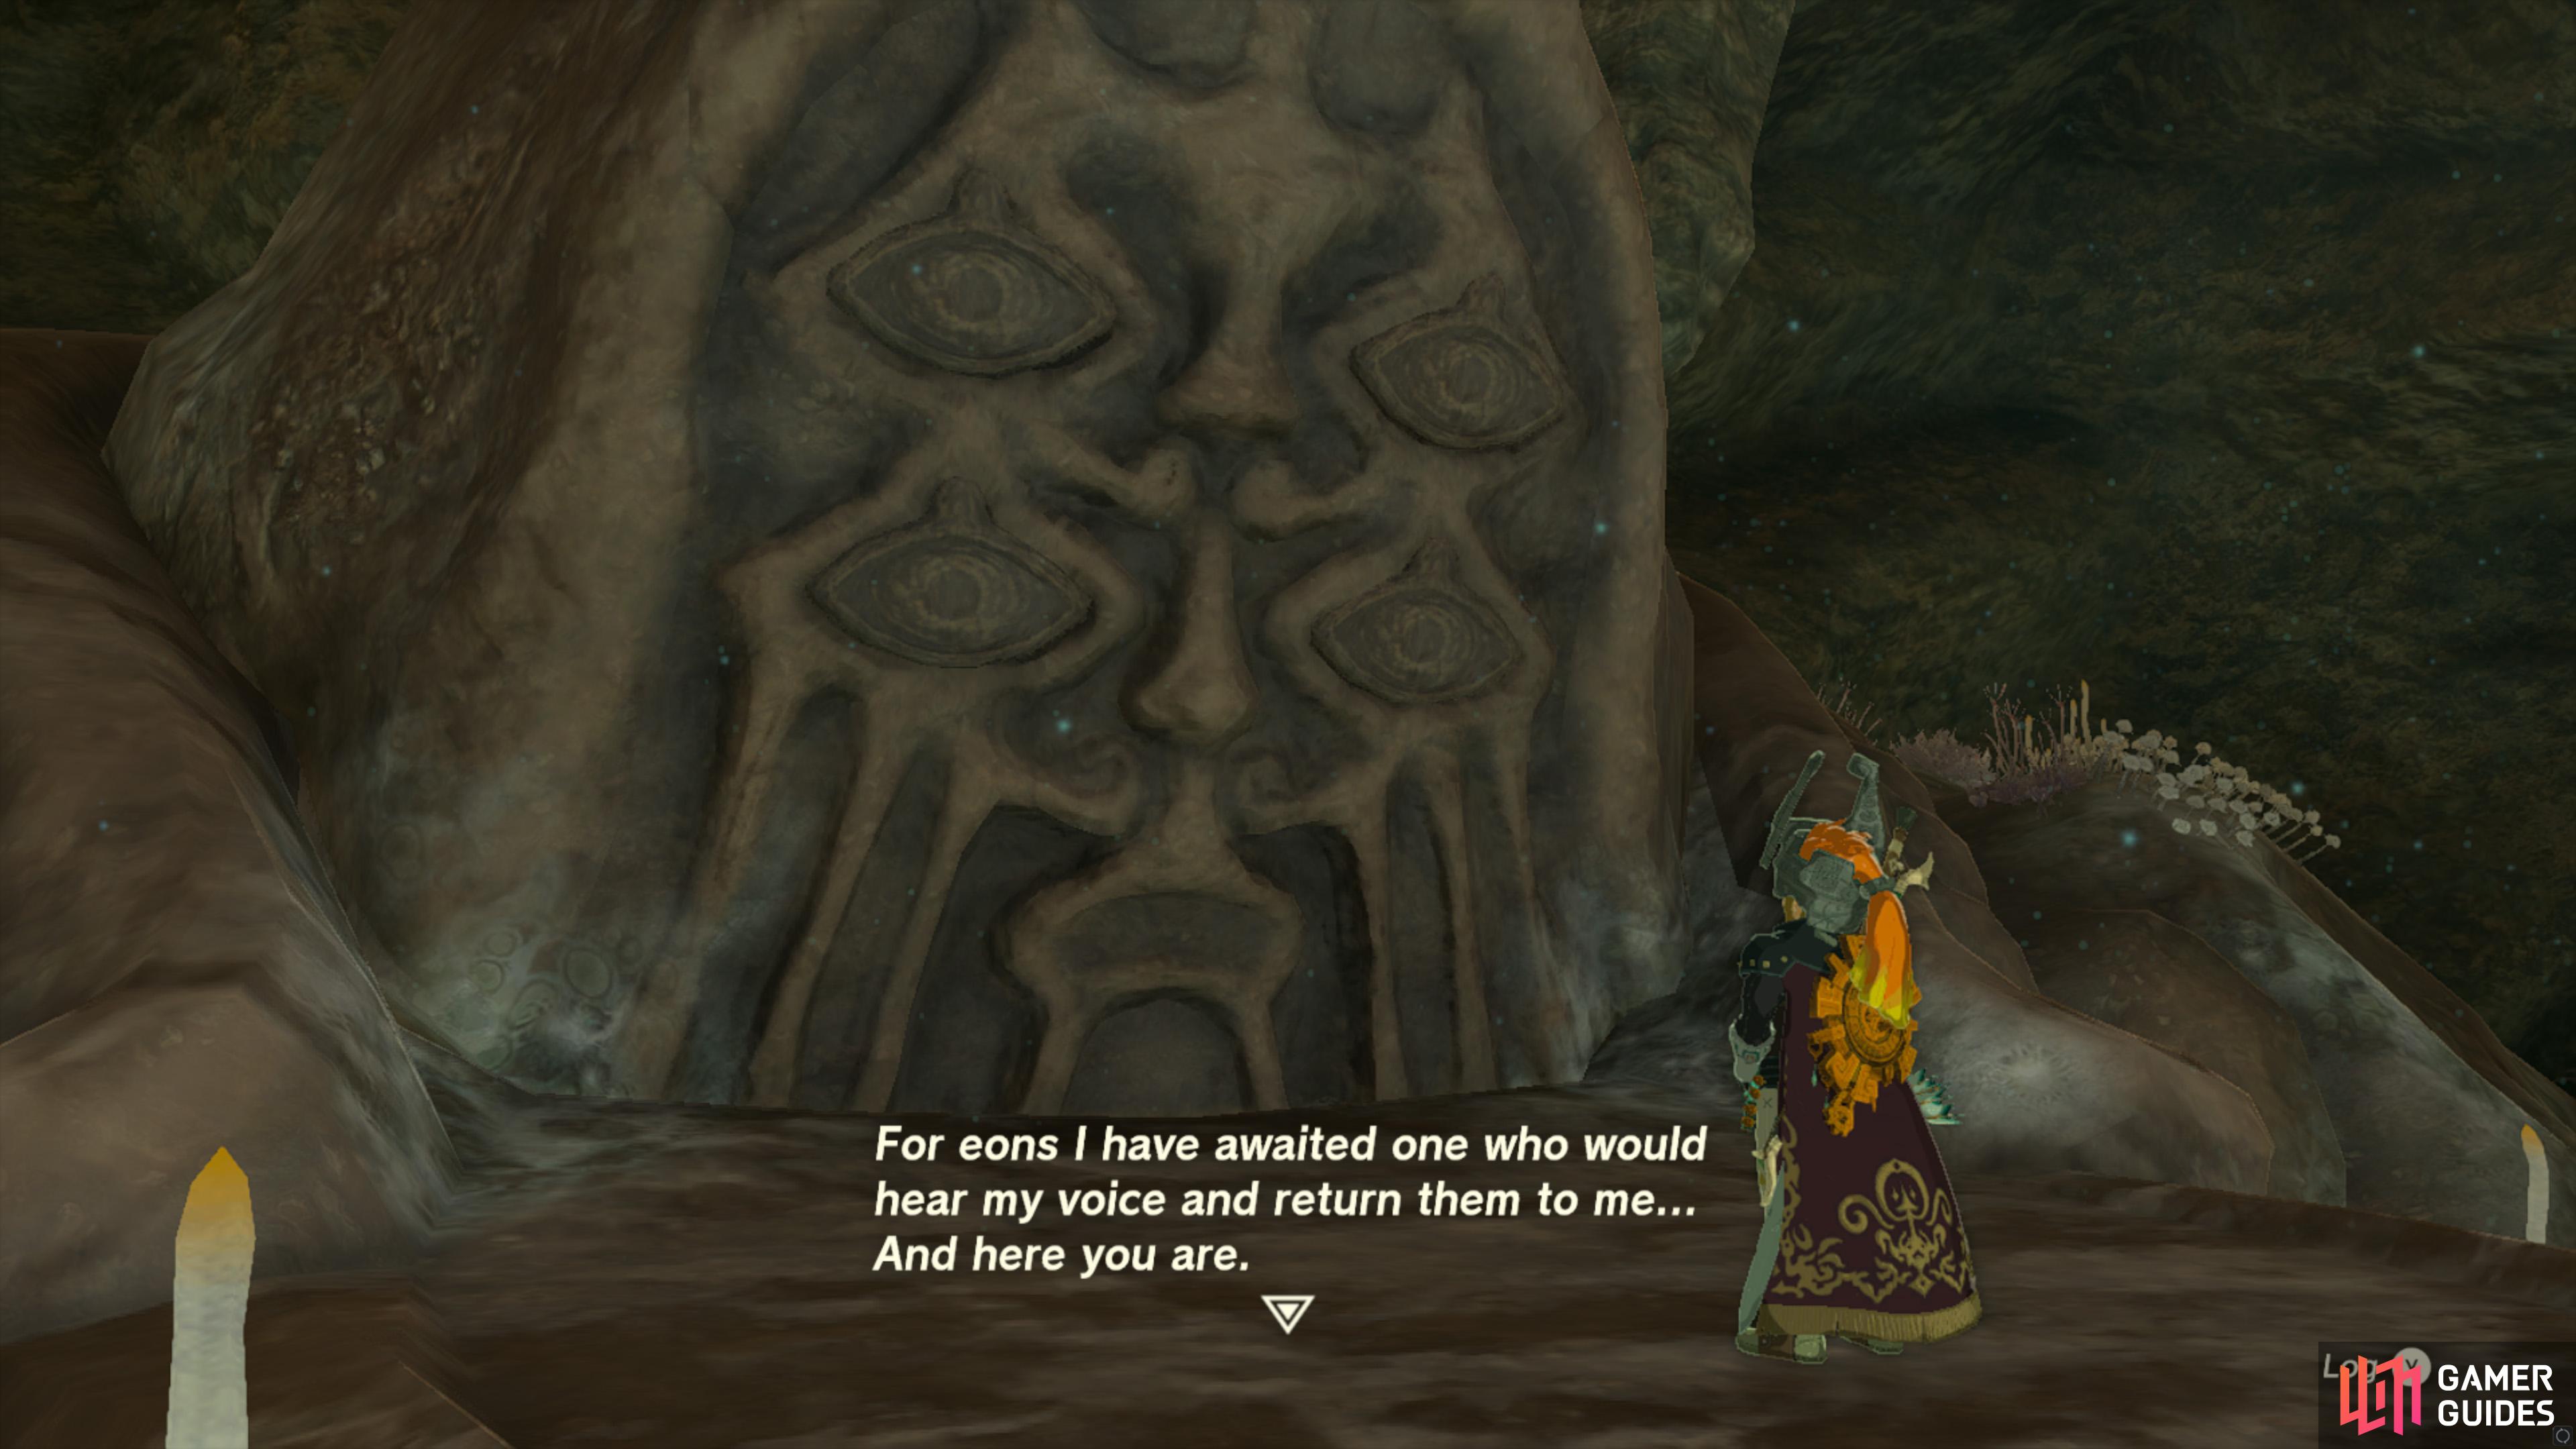
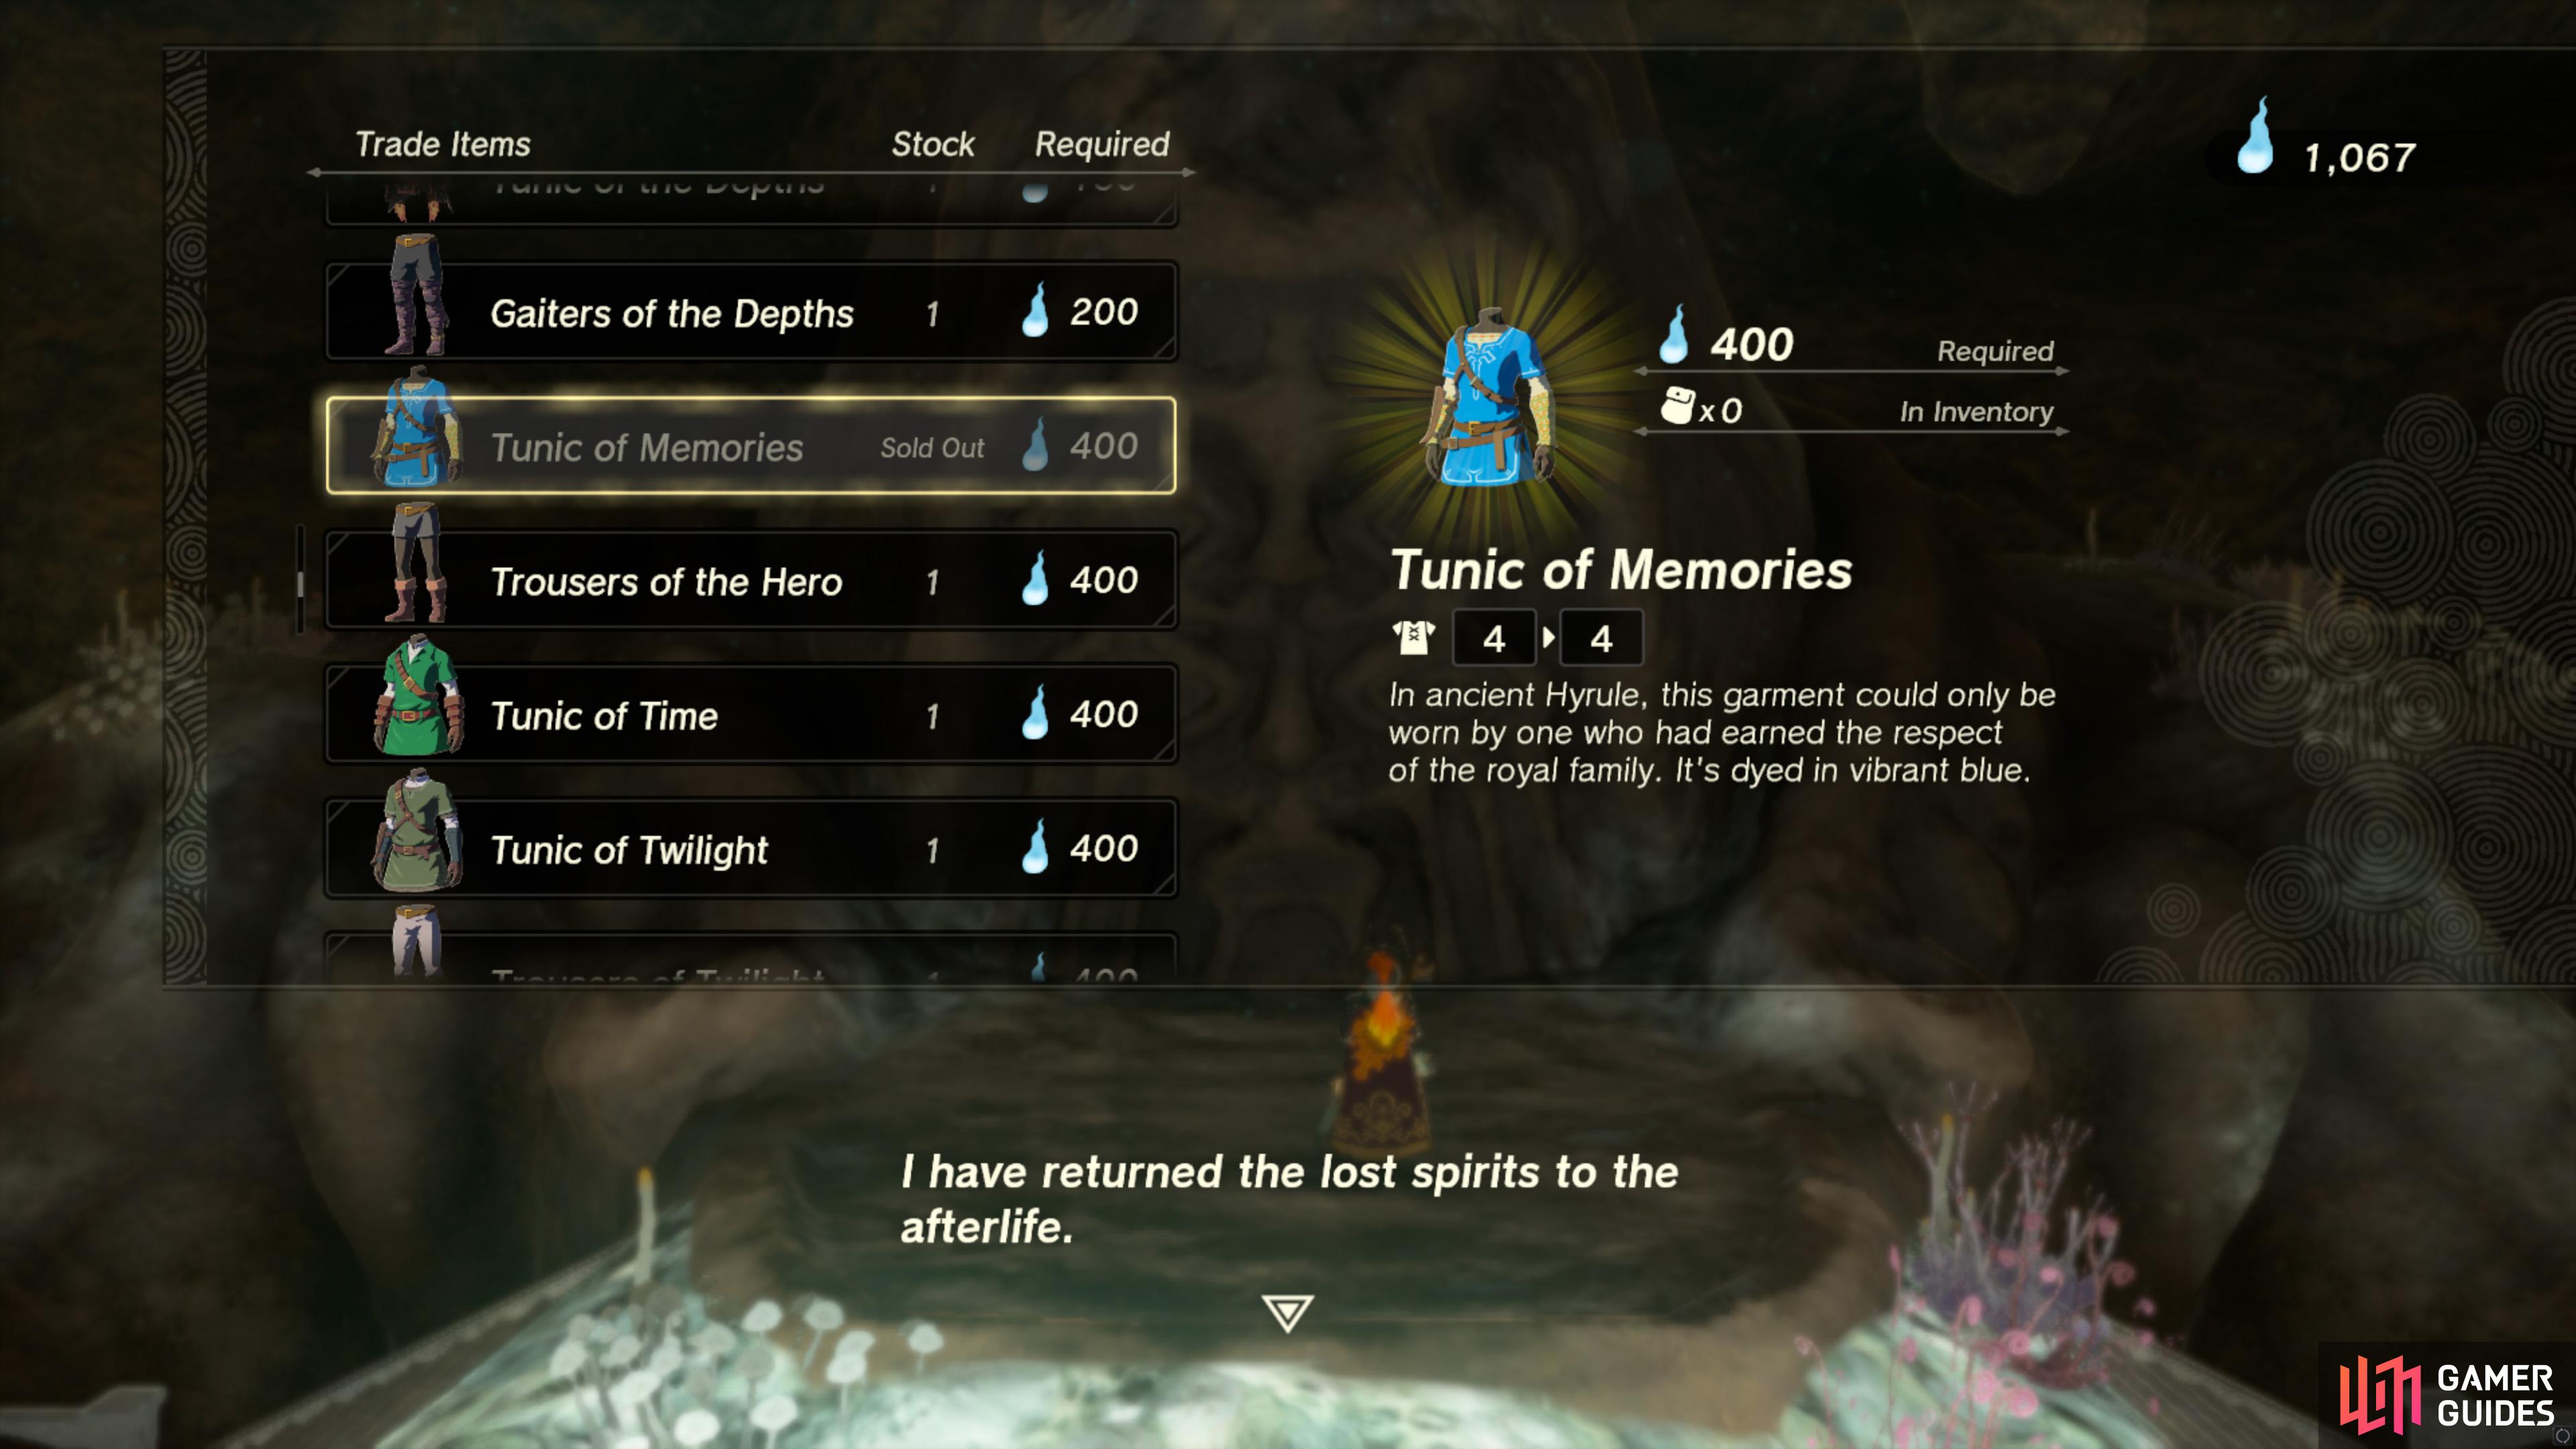
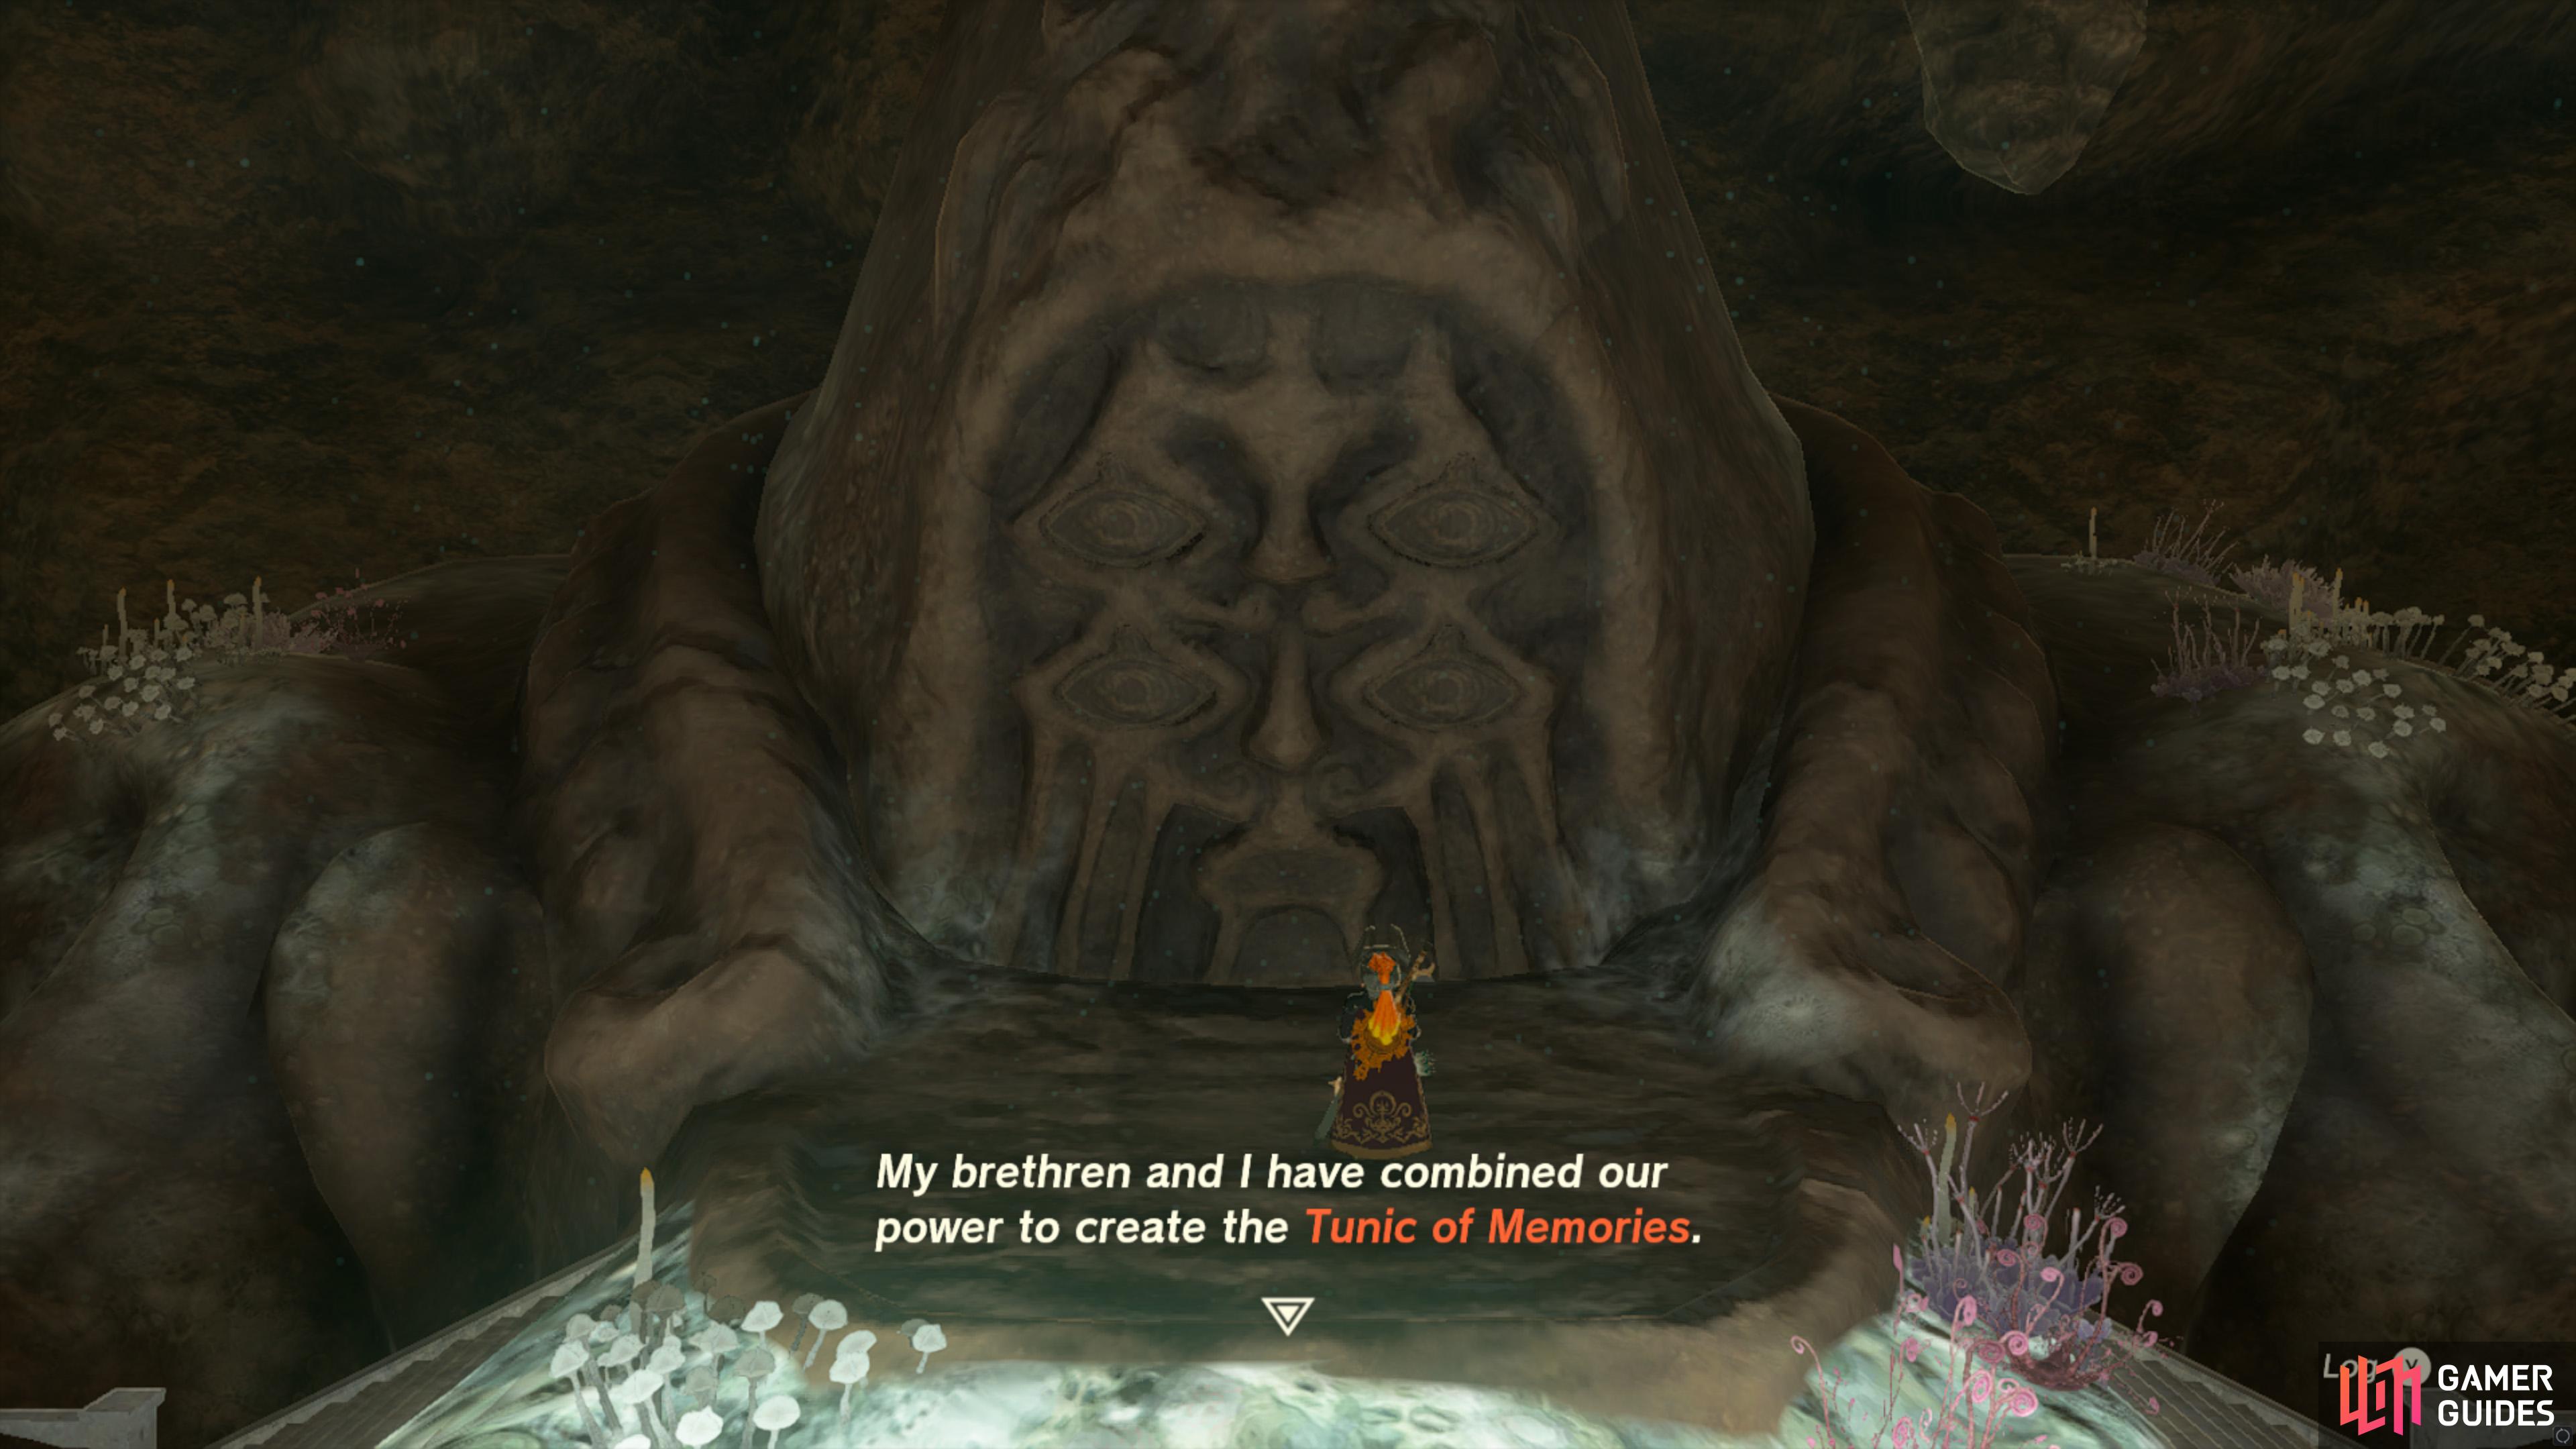
Mysterious Voice - A statue at the castle gates on the Great Plateau guided you to the Temple of Time Ruins. There, a mysterious voice gave you instructions, but who is it? It told you to throw four eyes into four chasms and carry them to the place beneath the temple where the voice is coming from. Updated A voice told you to throw four eyes into four chasms and then carry them to the place beneath the Temple of Time Ruins where the voice is coming from. You have thrown one eye into a chasm. Updated A voice told you to throw four eyes into four chasms and then carry them to the place beneath the Temple of Time Ruins where the voice is coming from. You have thrown 2 eyes into the chasms. Updated A voice told you to throw four eyes into four chasms and then carry them to the place beneath the Temple of Time Ruins where the voice is coming from. You have now thrown 2 of the eyes into the chasms and brought 1 of them to the source of the voice. Updated A voice told you to throw four eyes into four chasms and then carry them to the place beneath the Temple of Time Ruins where the voice is coming from. You have now thrown 2 of the eyes into the chasms and brought 2 of them to the source of the voice. Updated A voice told you to throw four eyes into four chasms and then carry them to the place beneath the Temple of Time Ruins where the voice is coming from. You have now thrown 3 of the eyes into the chasms and brought 3 of them to the source of the voice. Completion Reward:
Completion Reward
Quest Type
Side Adventure
Map(s)
|
|
|||||||||||||||||||||||||||||||||||||||||||||||||||||||||||||||||||||||||||||||||||||||||||||||

|
A Letter to Koyin |
Koyin, a farmer in Hateno Village, dropped a message bottle containing a letter from her great-grandfather into a pond. Worse still, she’s not a good enough swimmer to dive into the pond after it. After retrieving the bottle: You retrieved the message bottle containing a letter from Koyin’s great-grandfather. After reading it over, Koyin has big plans for the farm. She asked you to come to the house later in order to receive your reward.
Quest Type
Side Adventure
Map(s)
|
|
|||||||||||||||||||||||||||||||||||||||||||||||||||||||||||||||||||||||||||||||||||||||||||||||

|
A Monstrous Collection I |
After Completing The Bokoblin sculpture was placed on the stage, and Kilton treated the villagers to a presentation about the monster. It’s been a dream of Kilton’s to teach folks about monsters and help them see that they have good traits too. He’s thrilled to be on his way toward making that dream a reality.
Description
Obtained from
Quest Type
Side Adventure
Map(s)
|
||||||||||||||||||||||||||||||||||||||||||||||||||||||||||||||||||||||||||||||||||||||||||||||||

|
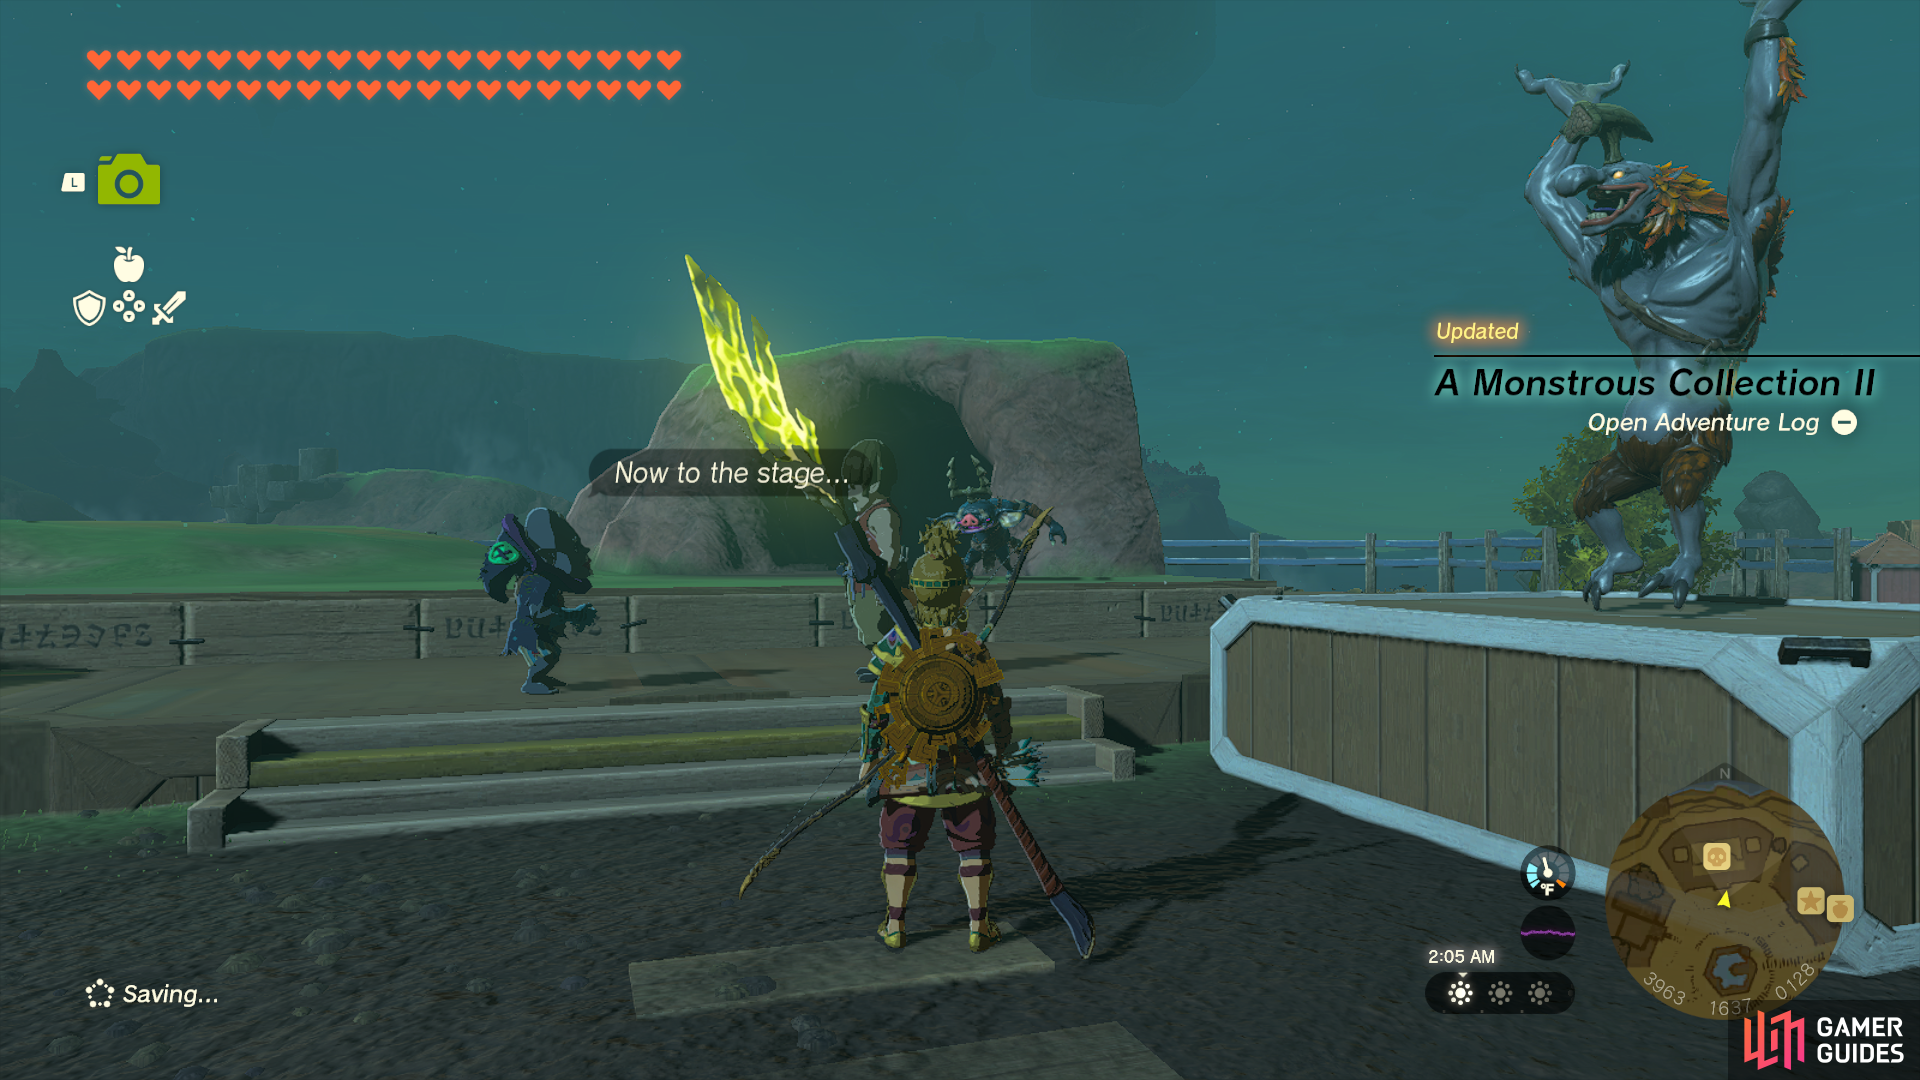
A Monstrous Collection II |
After Completion Kilton called the villagers together to show off the Horriblin scuplture and then treated everyone to a presentation about the monster.Hudson was so happy with how the project turned out, he wants to make more sculptures. If you bring him a picture of a monster, he’s likely to use it as reference for a sculpture.
Quest Type
Side Adventure
Map(s)
|
|
|||||||||||||||||||||||||||||||||||||||||||||||||||||||||||||||||||||||||||||||||||||||||||||||

|
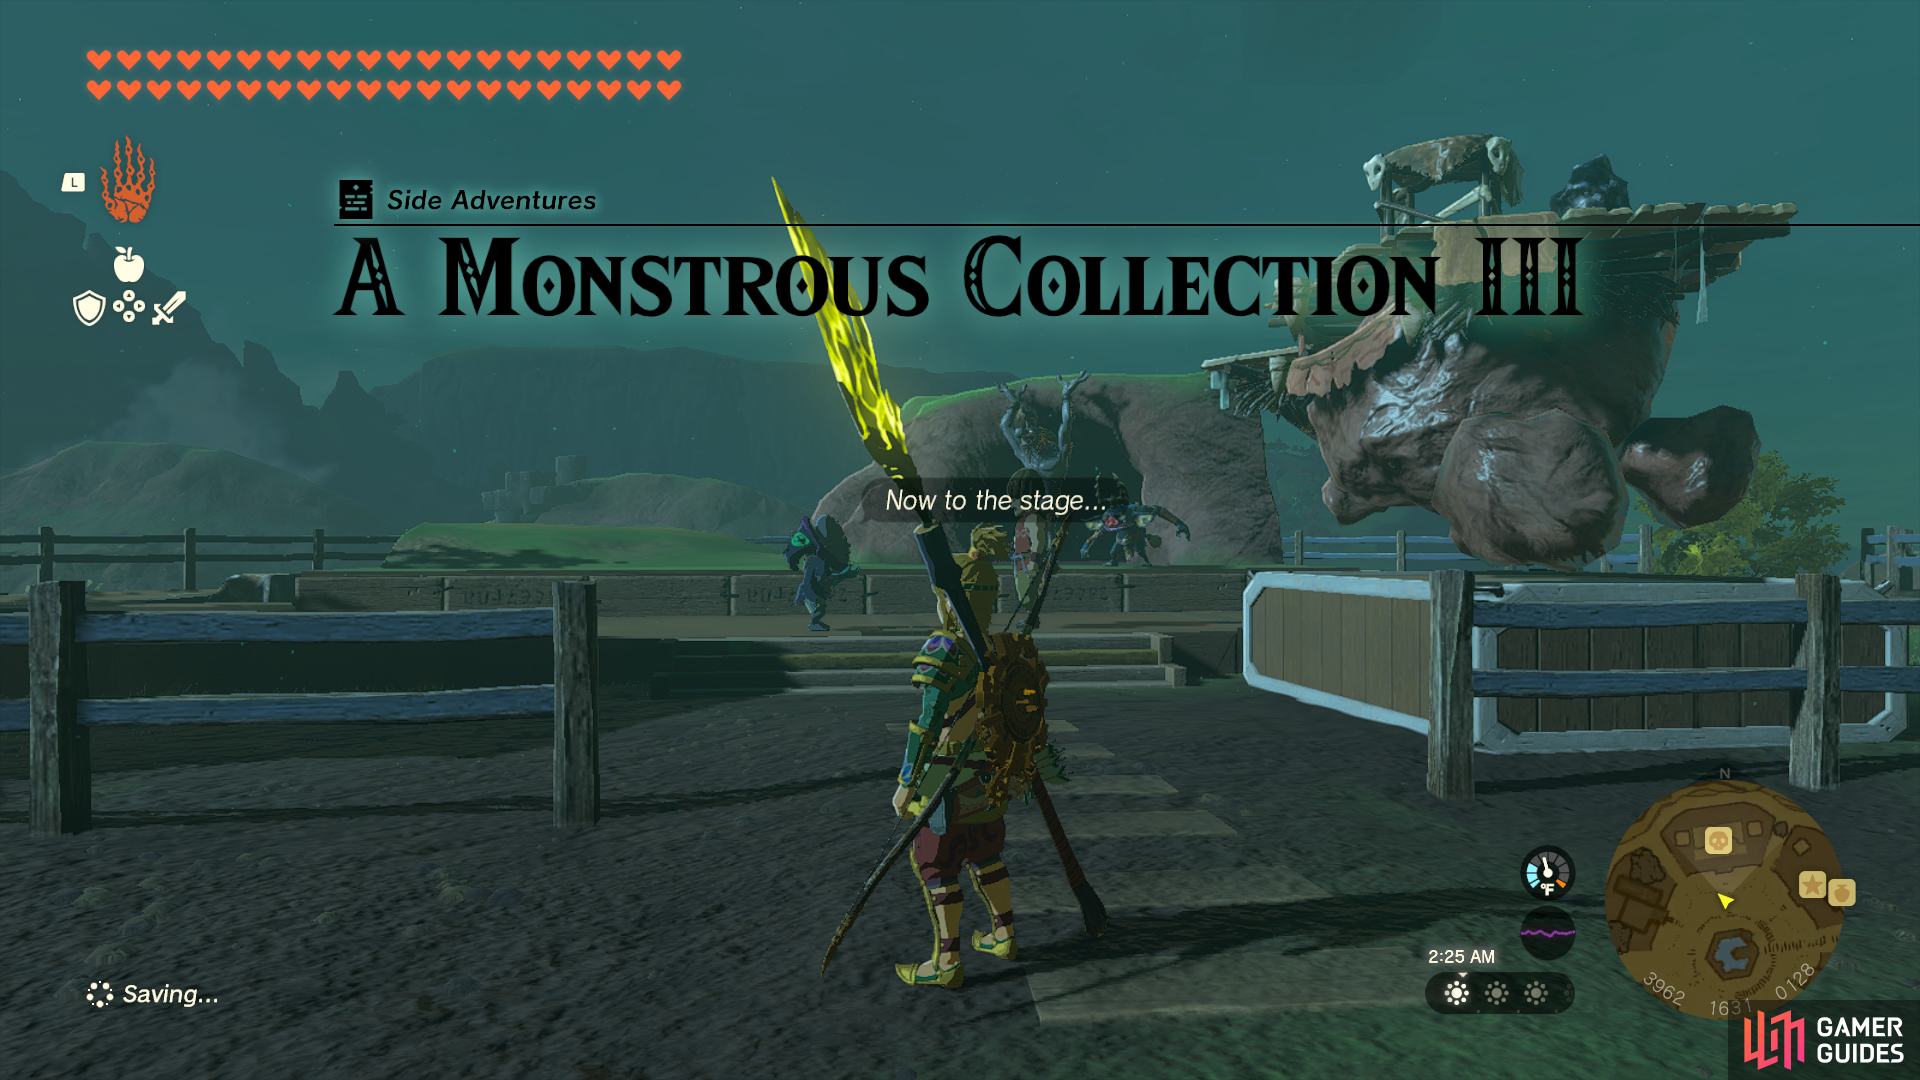
A Monstrous Collection III |
Now that Hudson is willing to make more monster sculptures, After Completion The Battle Talus sculpture was placed on the stage, and Kilton treated the villagers to a presentation about the monster. It’s been a dream of Kilton’s to teach folks about the good side of monsters, so he’s thrilled to be one step closer to making that dream a reality.
Description
Capture a photo of a
Quest Type
Side Adventure
Map(s)
|
|
|||||||||||||||||||||||||||||||||||||||||||||||||||||||||||||||||||||||||||||||||||||||||||||||

|
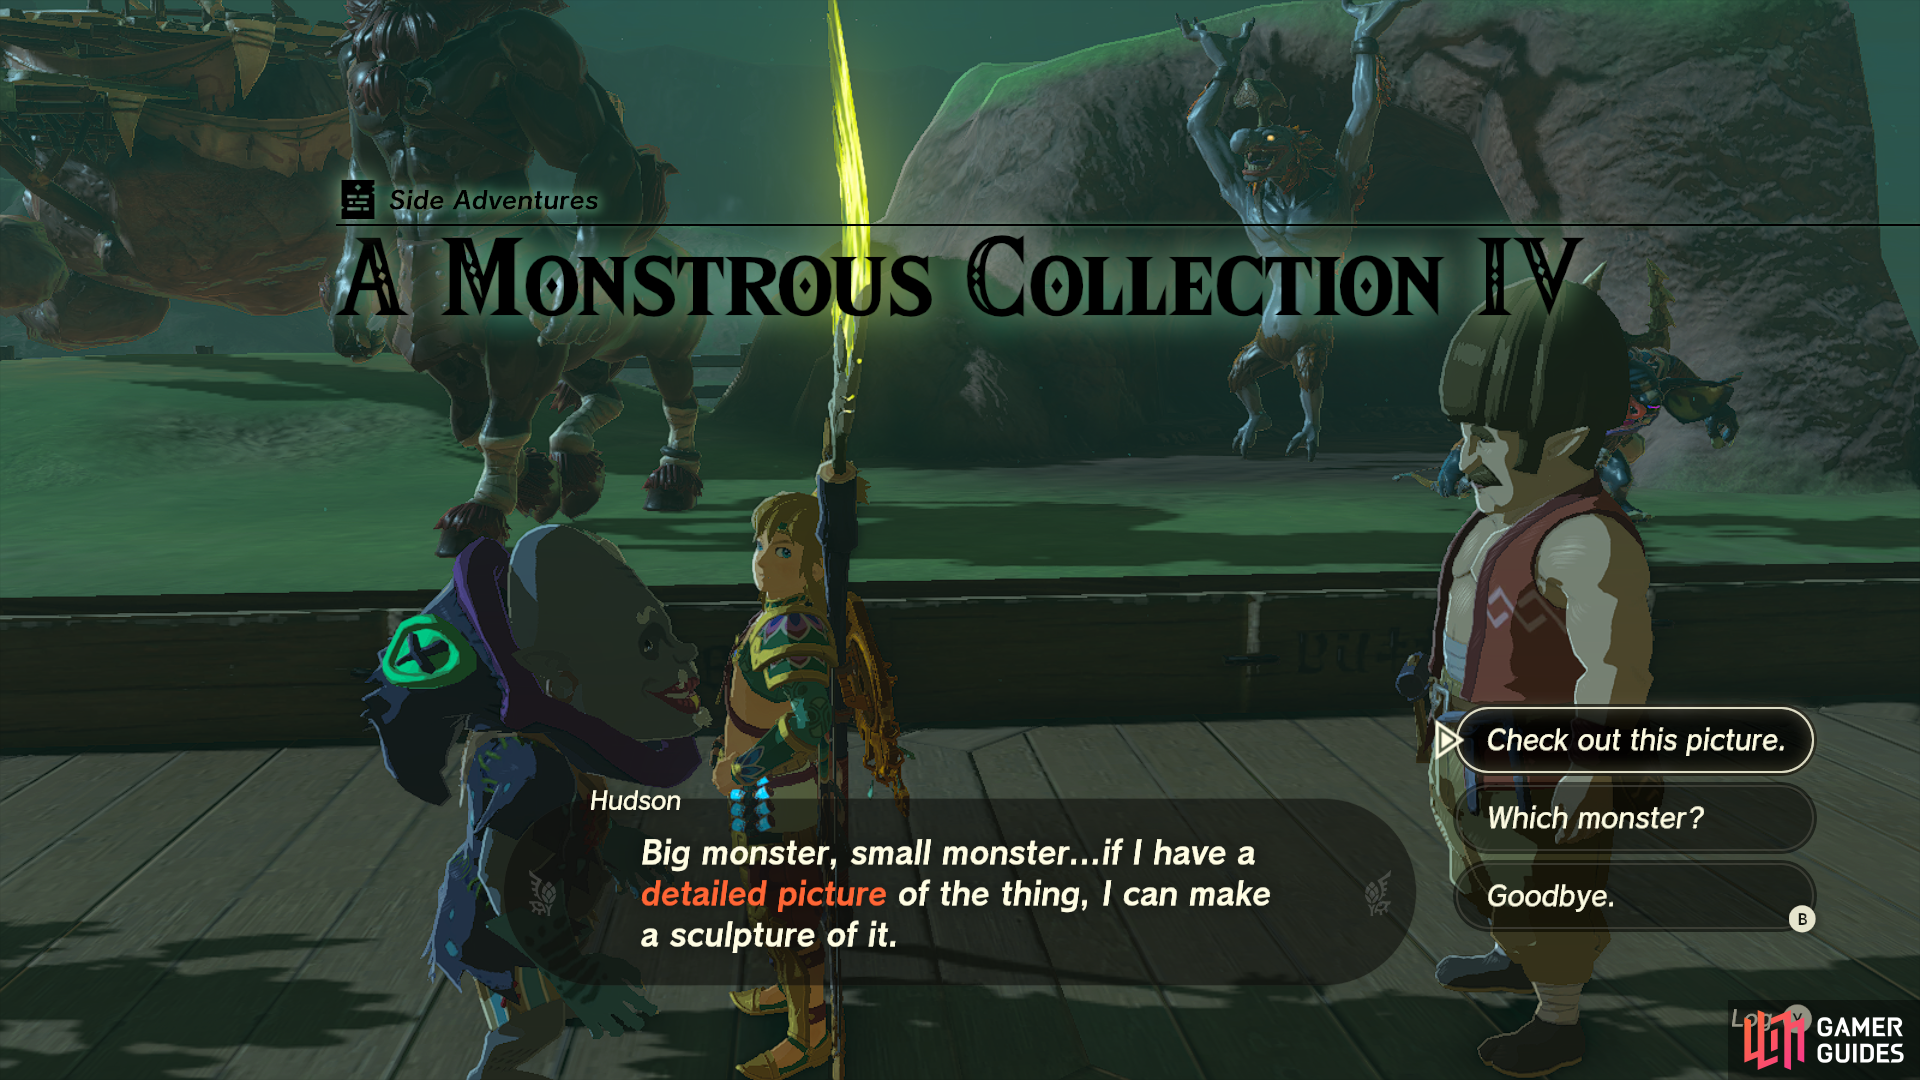
A Monstrous Collection IV |
*Now that Hudson is willing to make more monster sculptures, After Completing The Frox sculpture was placed on the stage, and Kilton treated the villagers to a presentation about the monster. It’s been his dream to teach folks that monsters have good traits too, and he’s thrilled to finally see his dream become a reality.
Quest Type
Side Adventure
Map(s)
|
|
|||||||||||||||||||||||||||||||||||||||||||||||||||||||||||||||||||||||||||||||||||||||||||||||

|
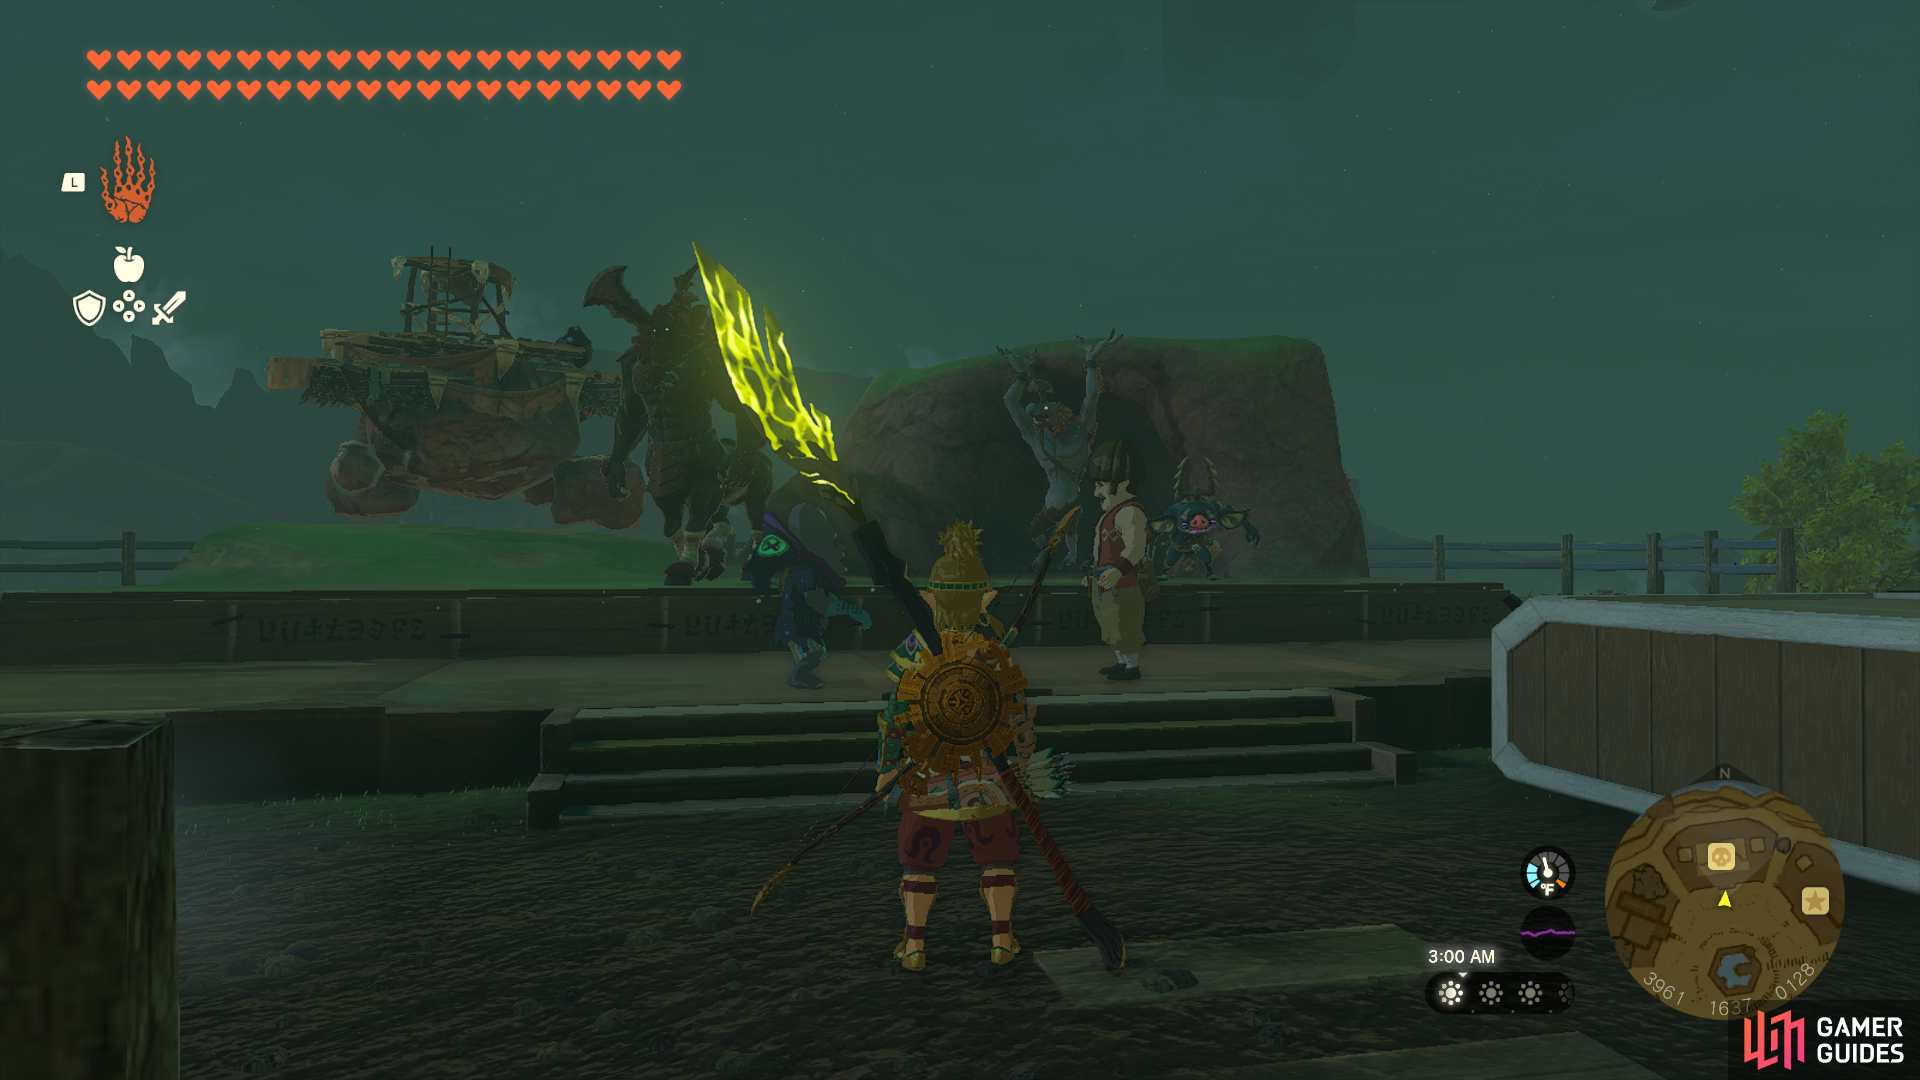
A Monstrous Collection V |
Now that Hudson is willing to make more monster sculptures, After Completing The King Gleeok sculpture was placed on the stage, and Kilton treated the villagers to a presentation about the monster. It’s been a dream of Kilton’s to teach folks about monsters and help them see that they have good traits too. He’s thrilled to be on his way toward making that dream a reality.
Description
Capture a photo of a
Quest Type
Side Adventure
Map(s)
|
|
|||||||||||||||||||||||||||||||||||||||||||||||||||||||||||||||||||||||||||||||||||||||||||||||

|
A New Signature Food |
Reede wants to make the food that his grandfather created with another villager into a new village staple. However, all he remembers about it is its creamy, melty mouthfeel and its unique, pungent aroma.
Description
Available after beginning Team Cece or Team Reede?
Completion Reward
1×
 Silver Rupee
Key Item Silver Rupee
Key Item
Quest Type
Side Adventure
Map(s)
|
||||||||||||||||||||||||||||||||||||||||||||||||||||||||||||||||||||||||||||||||||||||||||||||||

|
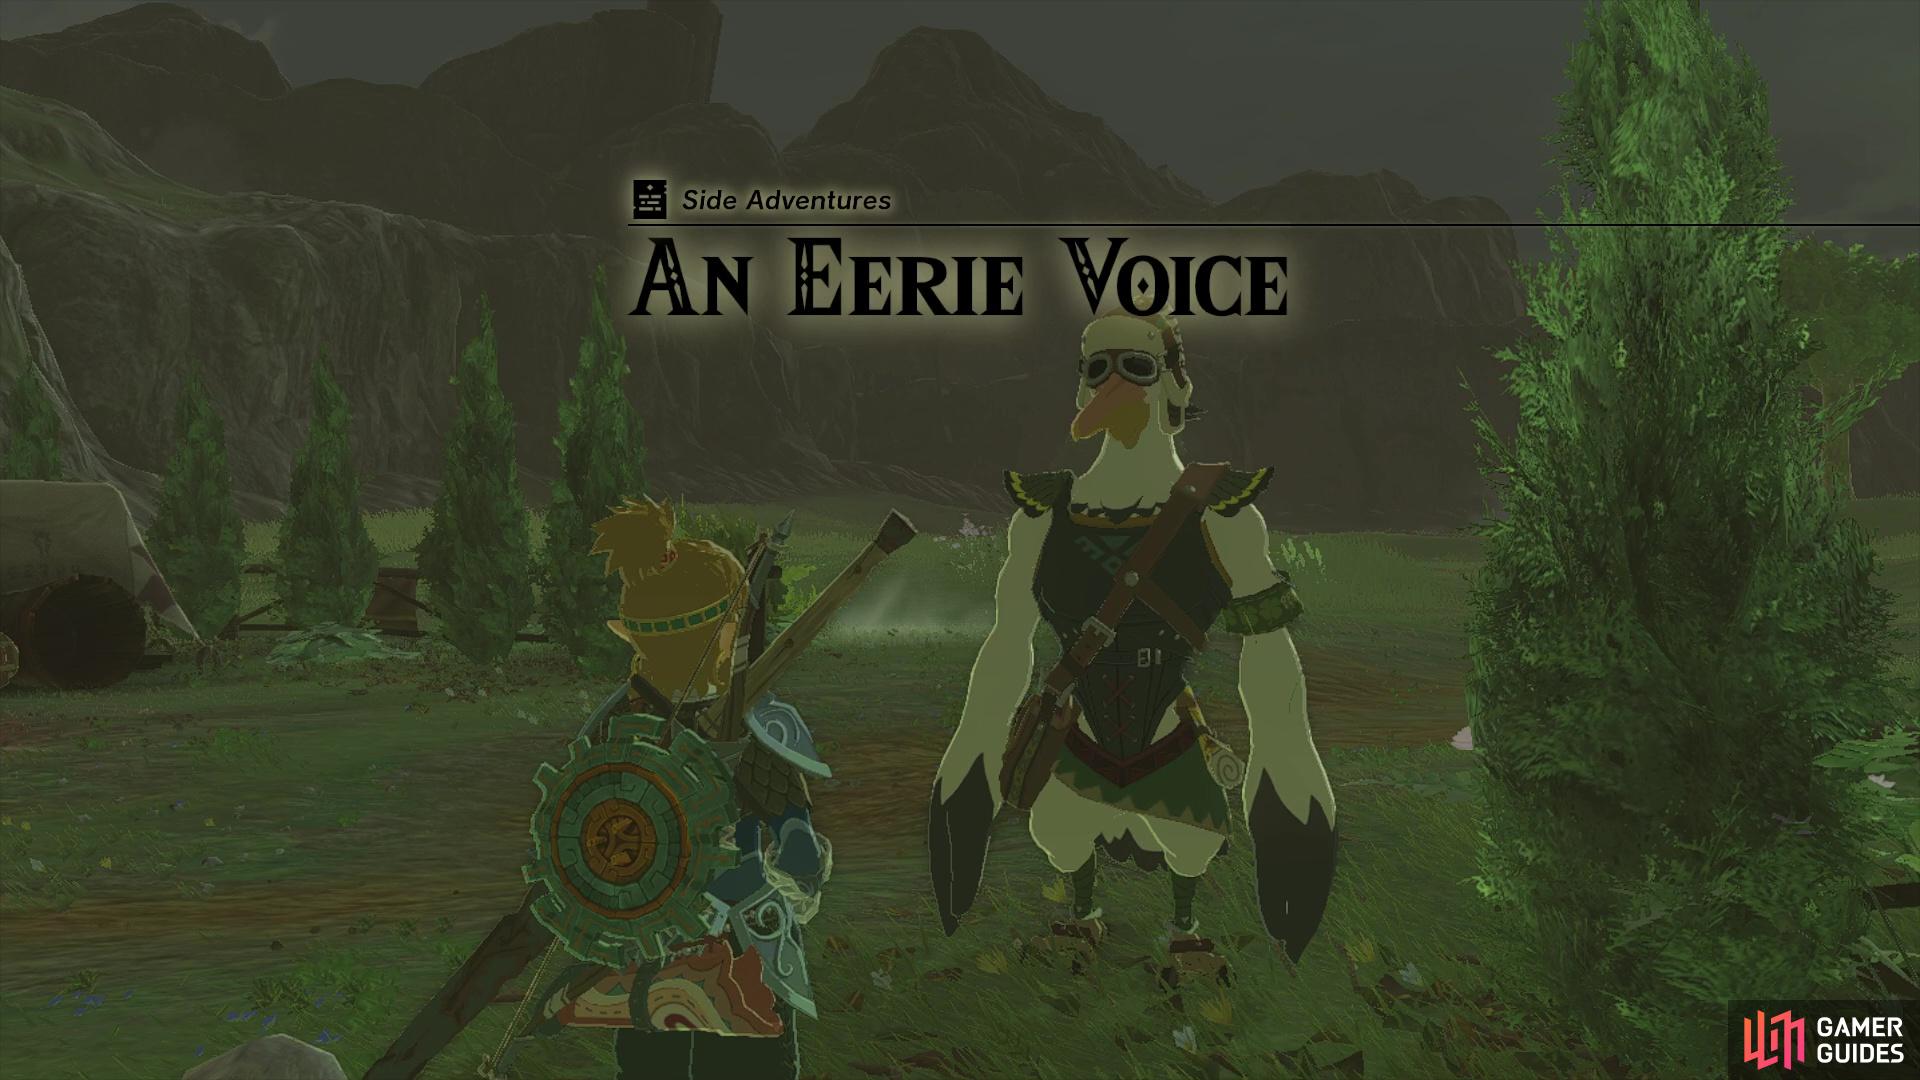
An Eerie Voice |
This quest is started by speaking to This is one of 12 Lucky Clover Gazette side adventures that are found by interacting with different NPCs at various stables. Before you can access any of these stable side adventures (including this one), you’ll have to speak to |
|
|||||||||||||||||||||||||||||||||||||||||||||||||||||||||||||||||||||||||||||||||||||||||||||||

|
Bring Peace to Eldin |
Monsters have infested Eldin, and Toren is leading his squad on a mission to attack their stronghold. The squad plans to get closer to the stronghold first and then launch their attack. Head for the stronghold with the monster-control crew.
Quest Type
Side Adventure
Map(s)
|
||||||||||||||||||||||||||||||||||||||||||||||||||||||||||||||||||||||||||||||||||||||||||||||||

|
Bring Peace to Faron! |
The squad of the monster-control crew led by The creatures have destroyed the only bridge leading to the ship. Without first repairing the bridge, it’ll be difficult for the crew to board the ship.
Quest Type
Side Adventure
Quest NPC
1×
 Flaxel
NPC Flaxel
NPC
Map(s)
|
||||||||||||||||||||||||||||||||||||||||||||||||||||||||||||||||||||||||||||||||||||||||||||||||

|
Bring Peace to Hebra |
Hebra
Quest Type
Side Adventure
Map(s)
|
||||||||||||||||||||||||||||||||||||||||||||||||||||||||||||||||||||||||||||||||||||||||||||||||

|
Bring Peace to Hyrule Field |
A monster-control crew squad led by
Quest Type
Side Adventure
Map(s)
|
||||||||||||||||||||||||||||||||||||||||||||||||||||||||||||||||||||||||||||||||||||||||||||||||

|
Filling Out the Compendium |
Found at the Hateno Research Facility.
Quest Type
Side Adventure
Map(s)
|
||||||||||||||||||||||||||||||||||||||||||||||||||||||||||||||||||||||||||||||||||||||||||||||||

|
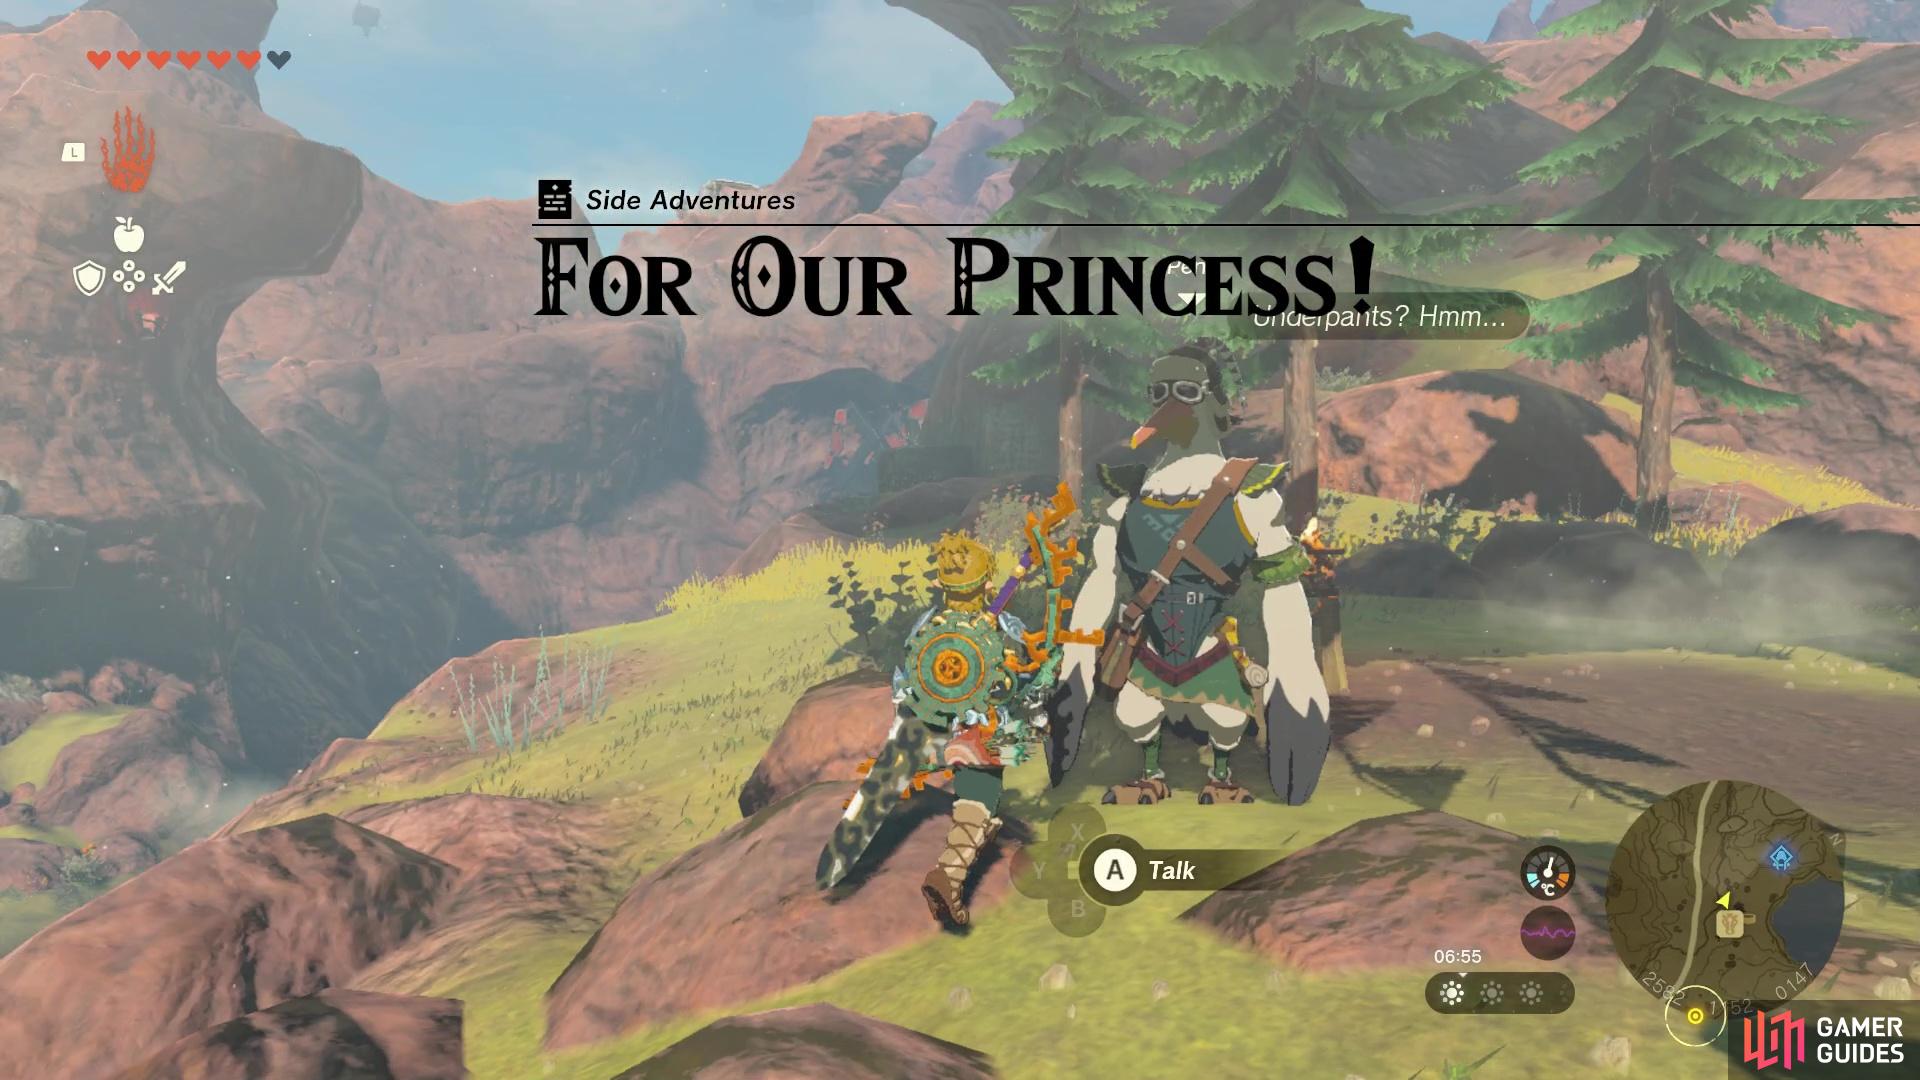
For Our Princess |
The This is one of 12 Lucky Clover Gazette side adventures that are found by interacting with different NPCs at various stables. Before you can access any of these stable side adventures (including this one), you’ll have to speak to |
|
|||||||||||||||||||||||||||||||||||||||||||||||||||||||||||||||||||||||||||||||||||||||||||||||

|
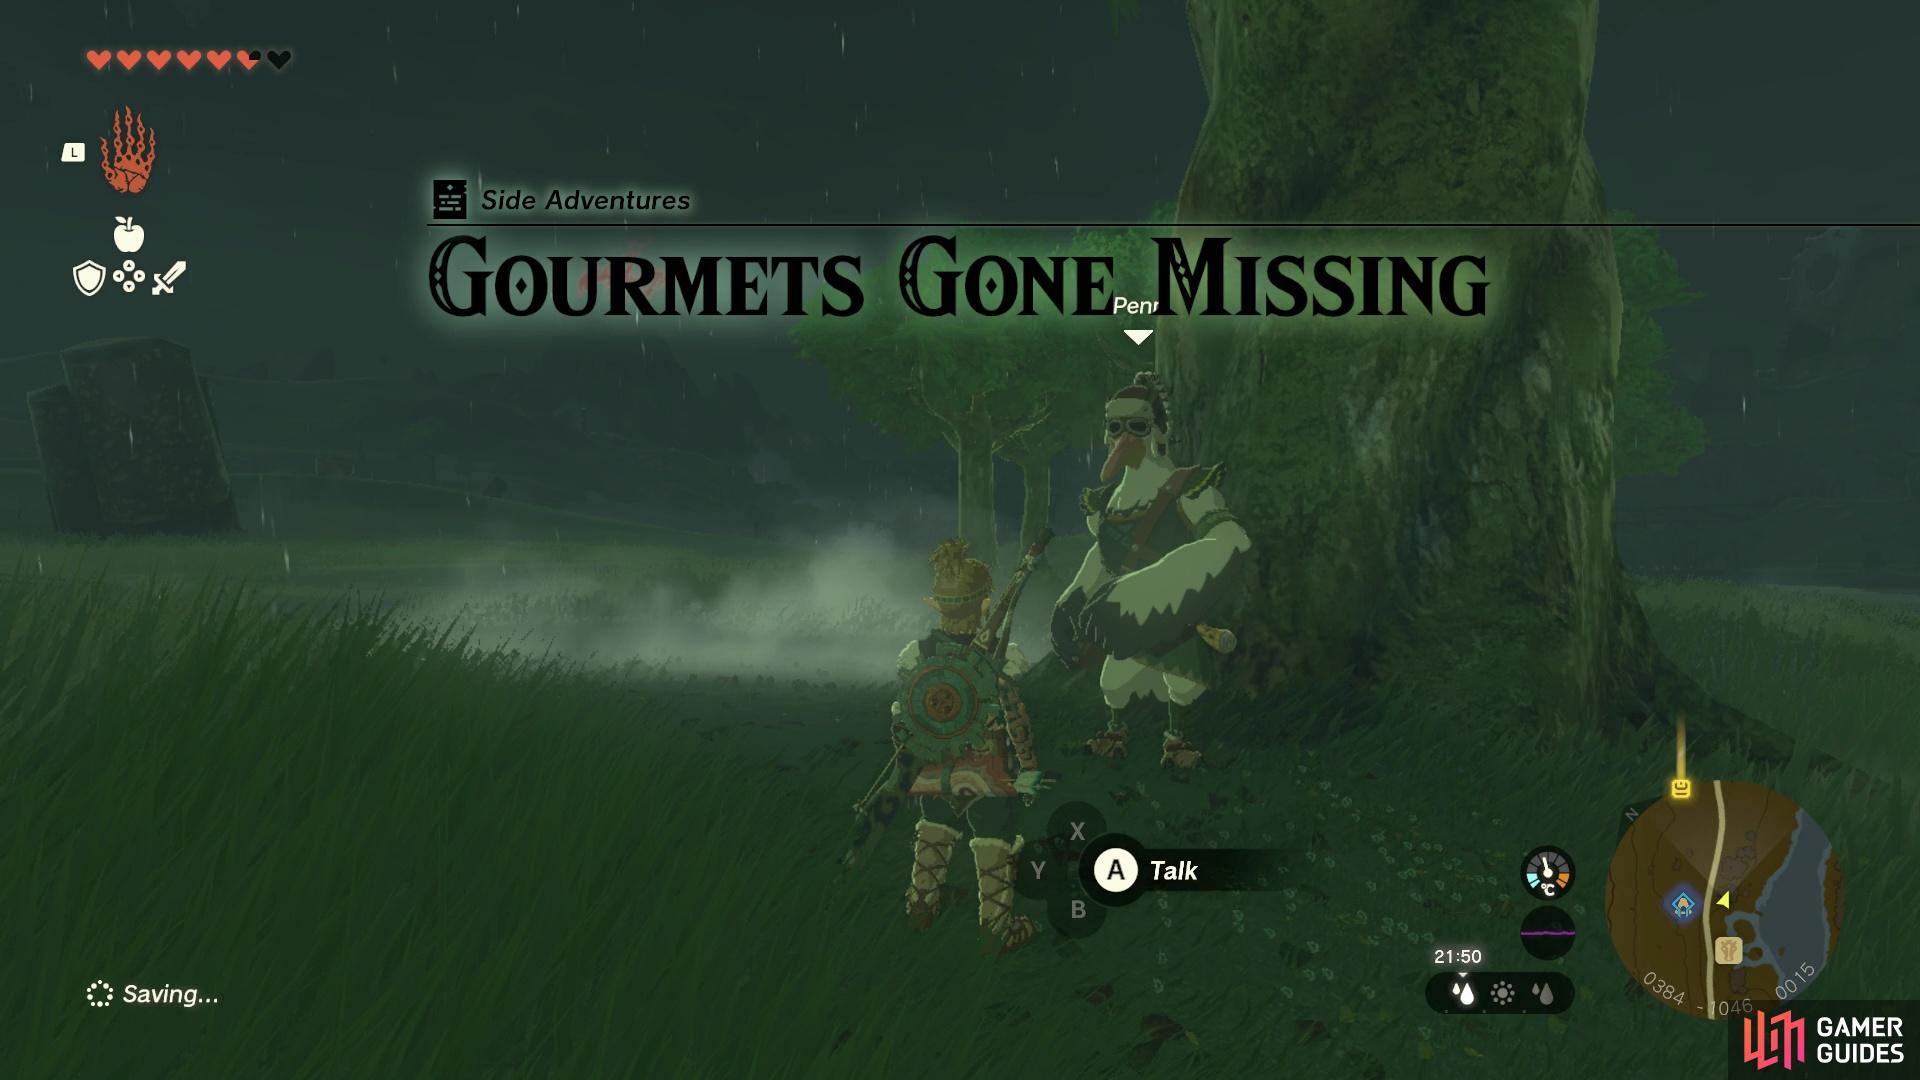
Gourmets Gone Missing |
This side adventure can be started at Riverside Stable. Speak to This is one of 12 Lucky Clover Gazette side adventures that are found by interacting with different NPCs at various stables. Before you can access any of these stable side adventures (including this one), you’ll have to speak to |
|
|||||||||||||||||||||||||||||||||||||||||||||||||||||||||||||||||||||||||||||||||||||||||||||||

|
Hateno Village Research Lab |
Description
Location
 Lookout Landing
Settlements Lookout Landing
Settlements
Quest Type
Side Adventure
Quest NPC
 Robbie
NPC Robbie
NPC
Map(s)
|
||||||||||||||||||||||||||||||||||||||||||||||||||||||||||||||||||||||||||||||||||||||||||||||||

|
Honey Bee, Mine |
|
||||||||||||||||||||||||||||||||||||||||||||||||||||||||||||||||||||||||||||||||||||||||||||||||

|
Infiltrating the Yiga Clan |
Please refer to our guide for Infiltrating the Yiga Clan. To begin this side adventure, head to the front (west) entrance of the Yiga Clan Hideout. You can’t enter without the full Yiga Clan outfit. The pieces of the outfit and their locations are:
Quest Type
Side Adventure
Map(s)
|
||||||||||||||||||||||||||||||||||||||||||||||||||||||||||||||||||||||||||||||||||||||||||||||||

|
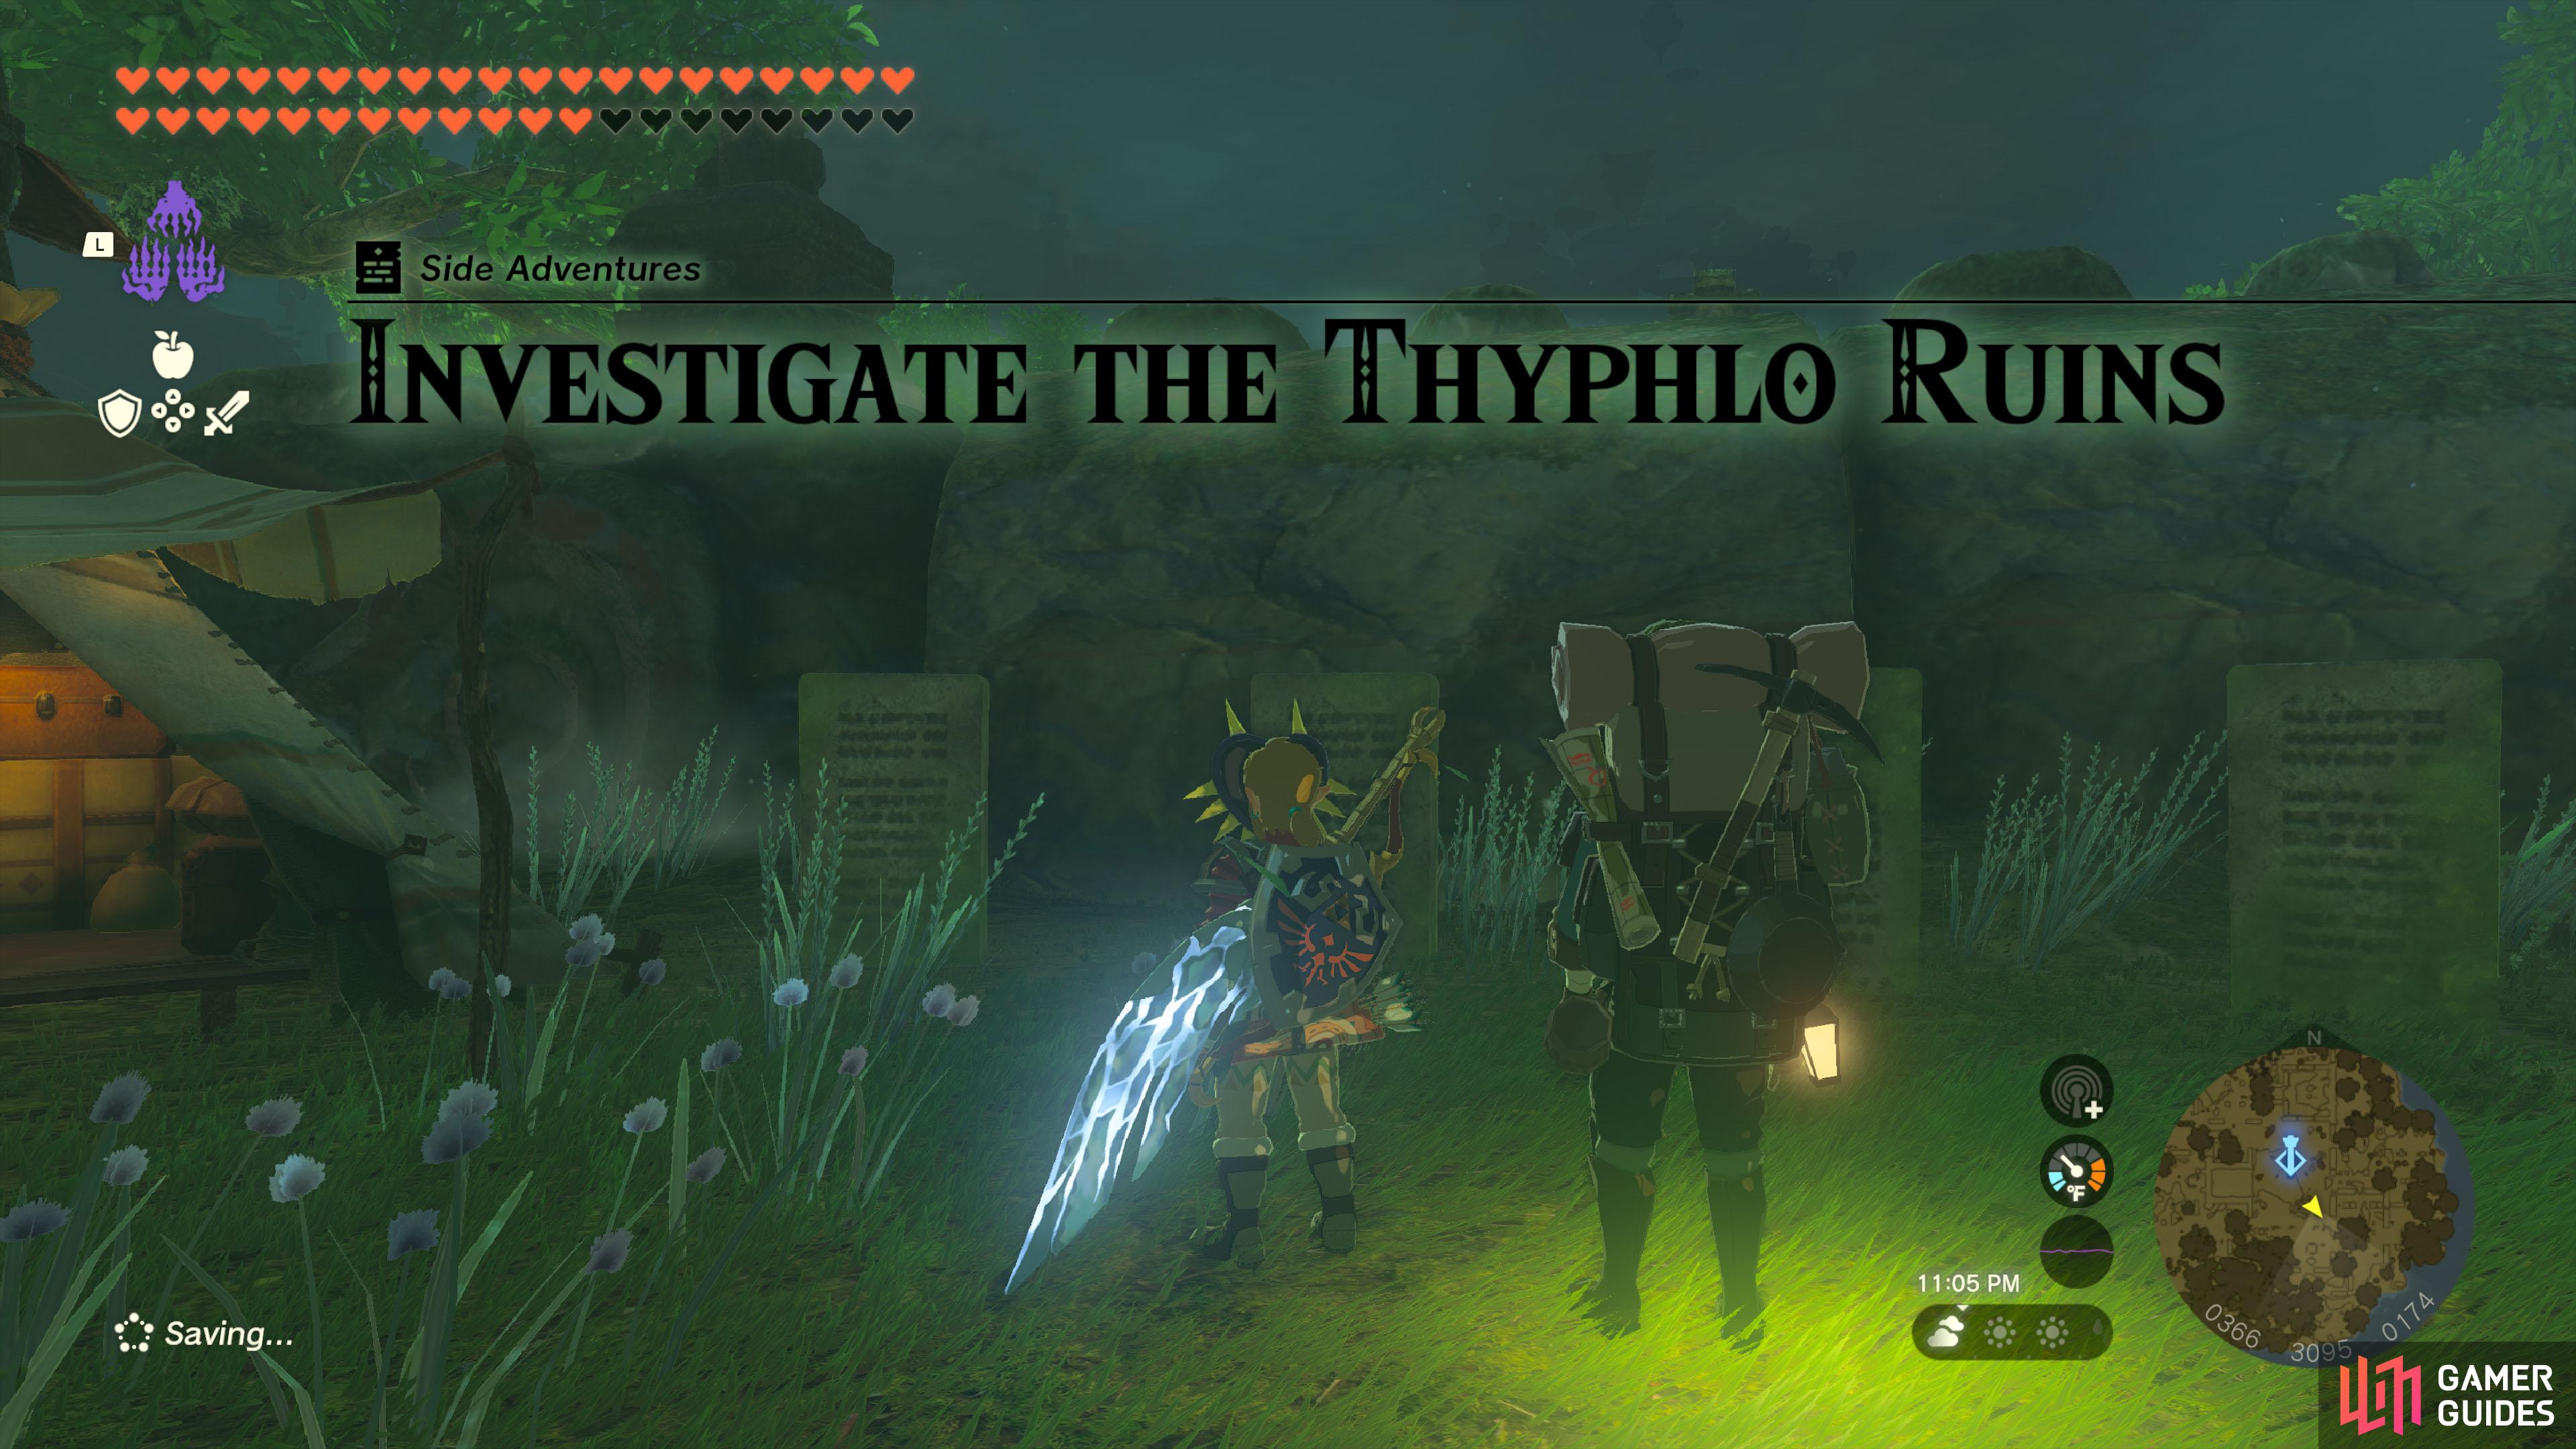
Investigate The Thyphlo Ruins |
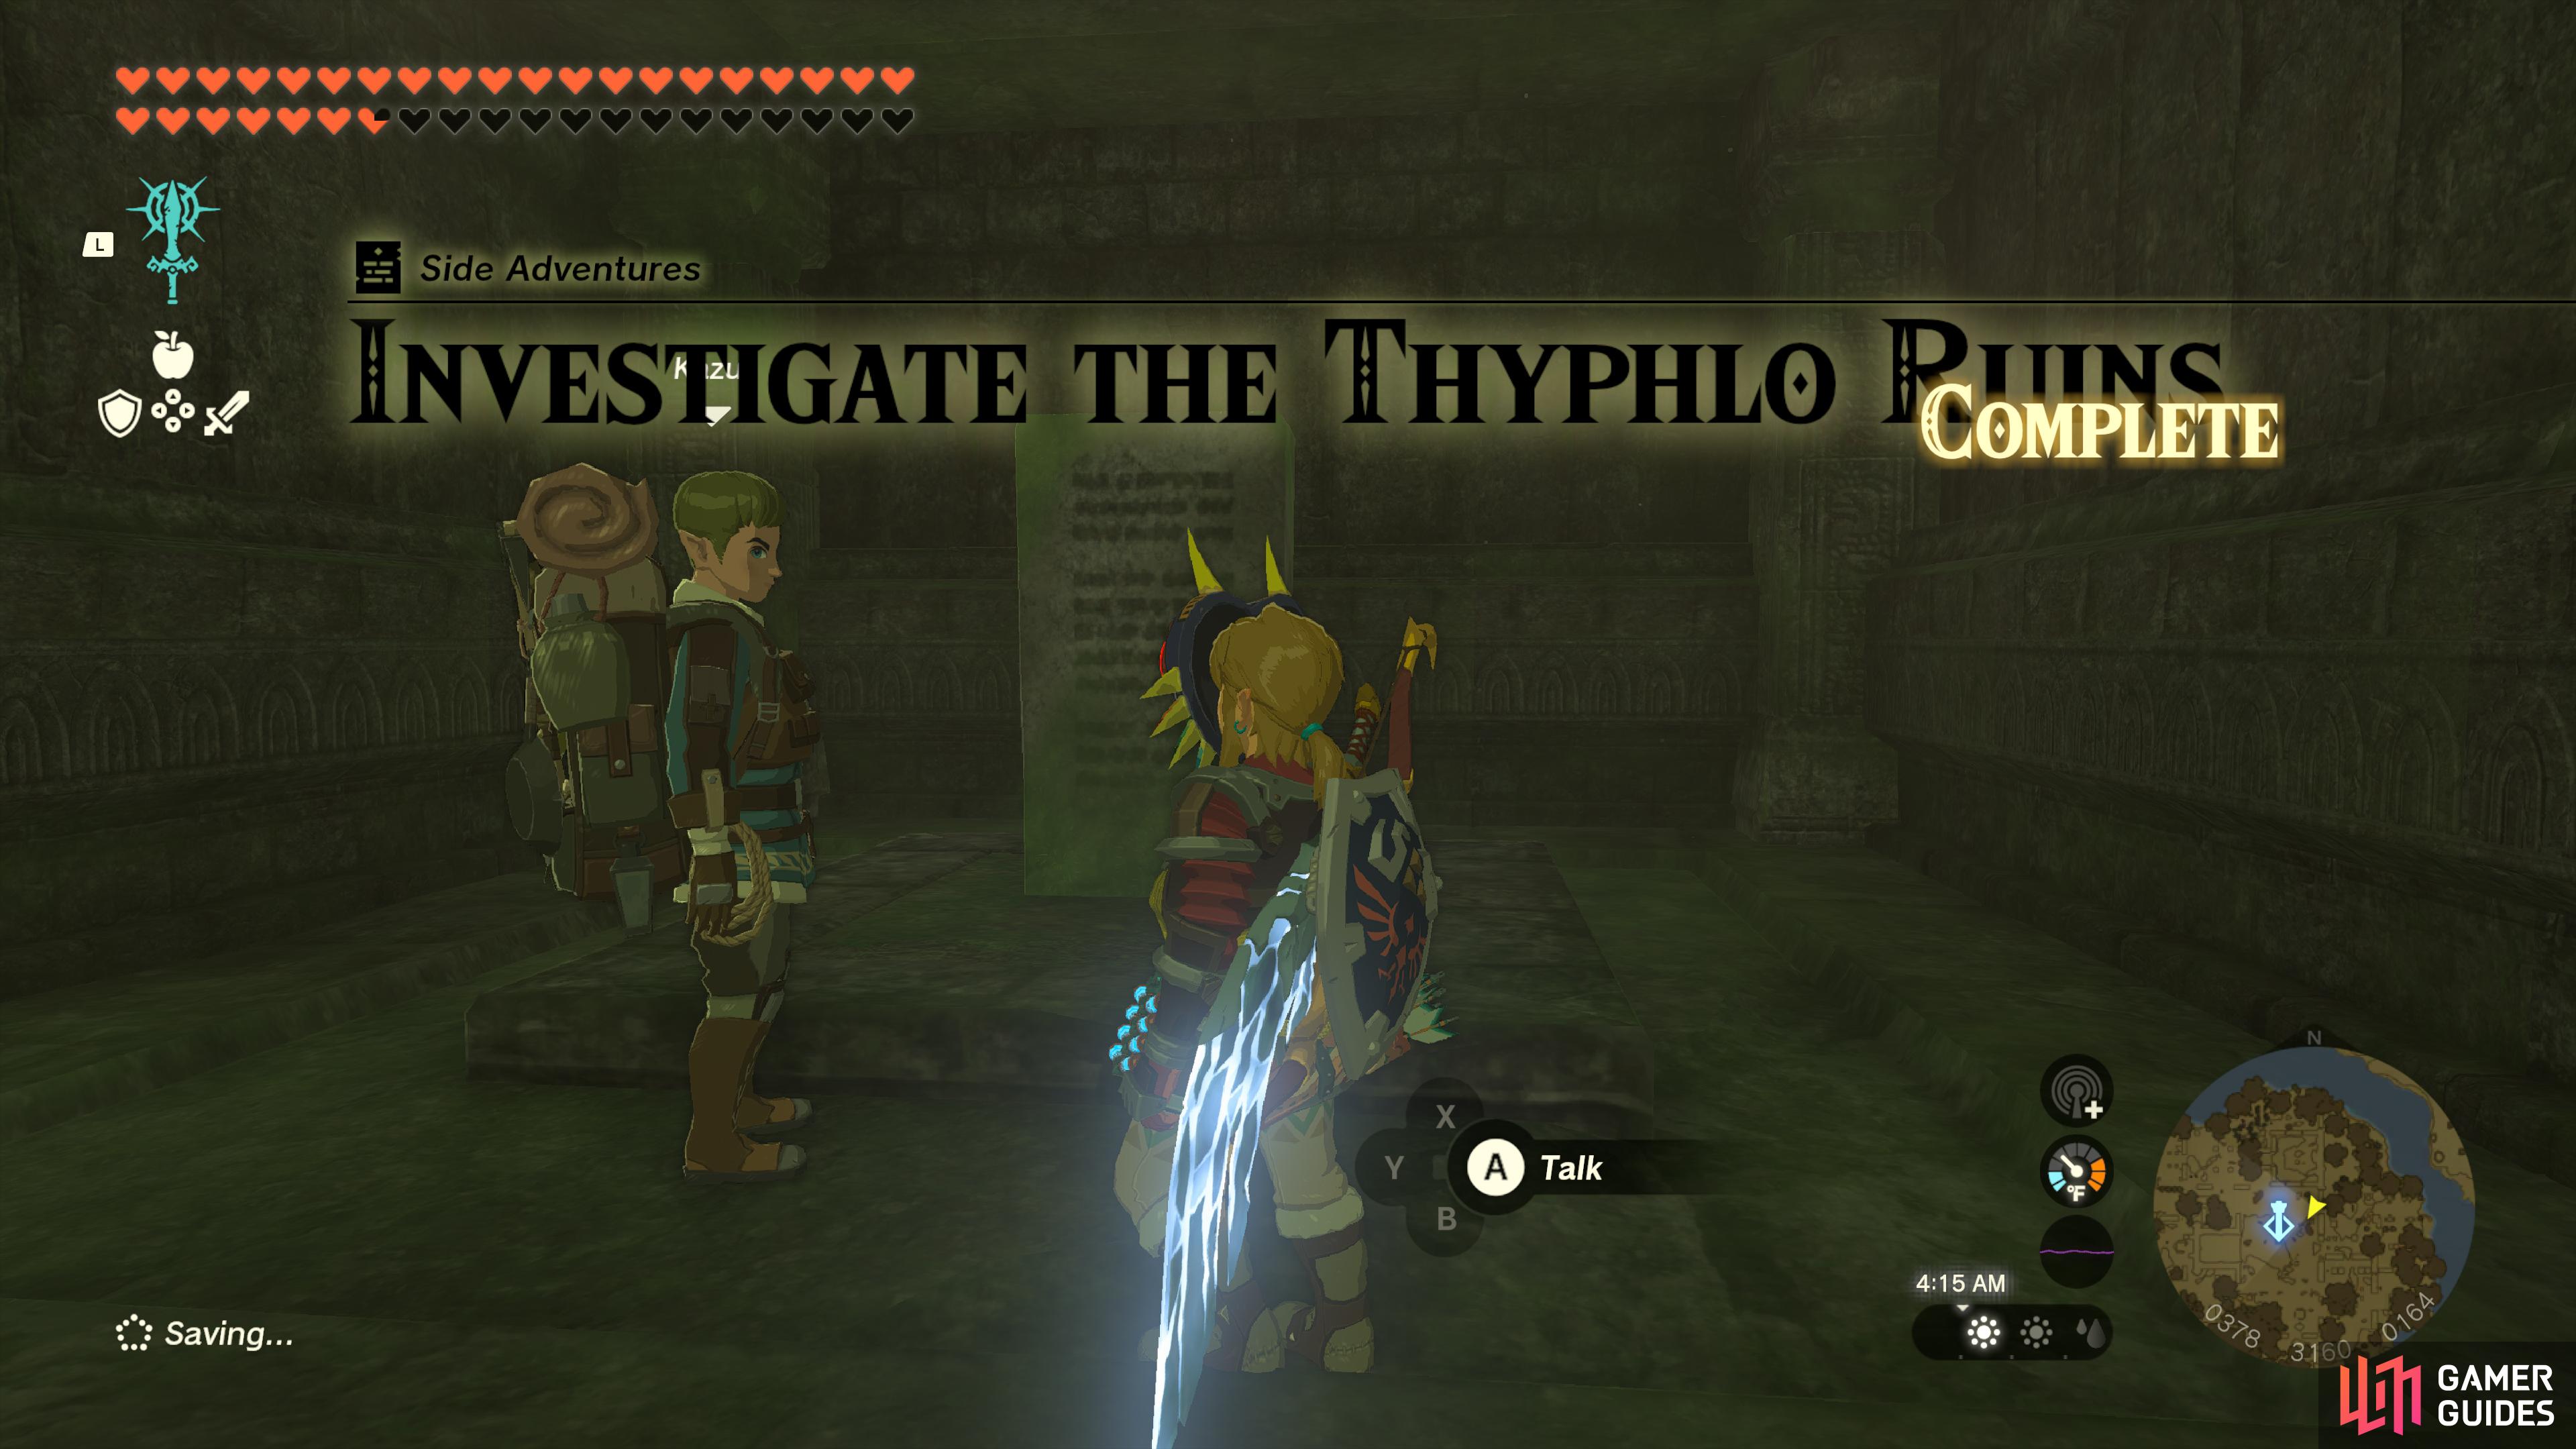
Kazul of the Zonai Survey Team is looking into monoliths at the Thyphlo Ruins. You should see what is written there.
Description
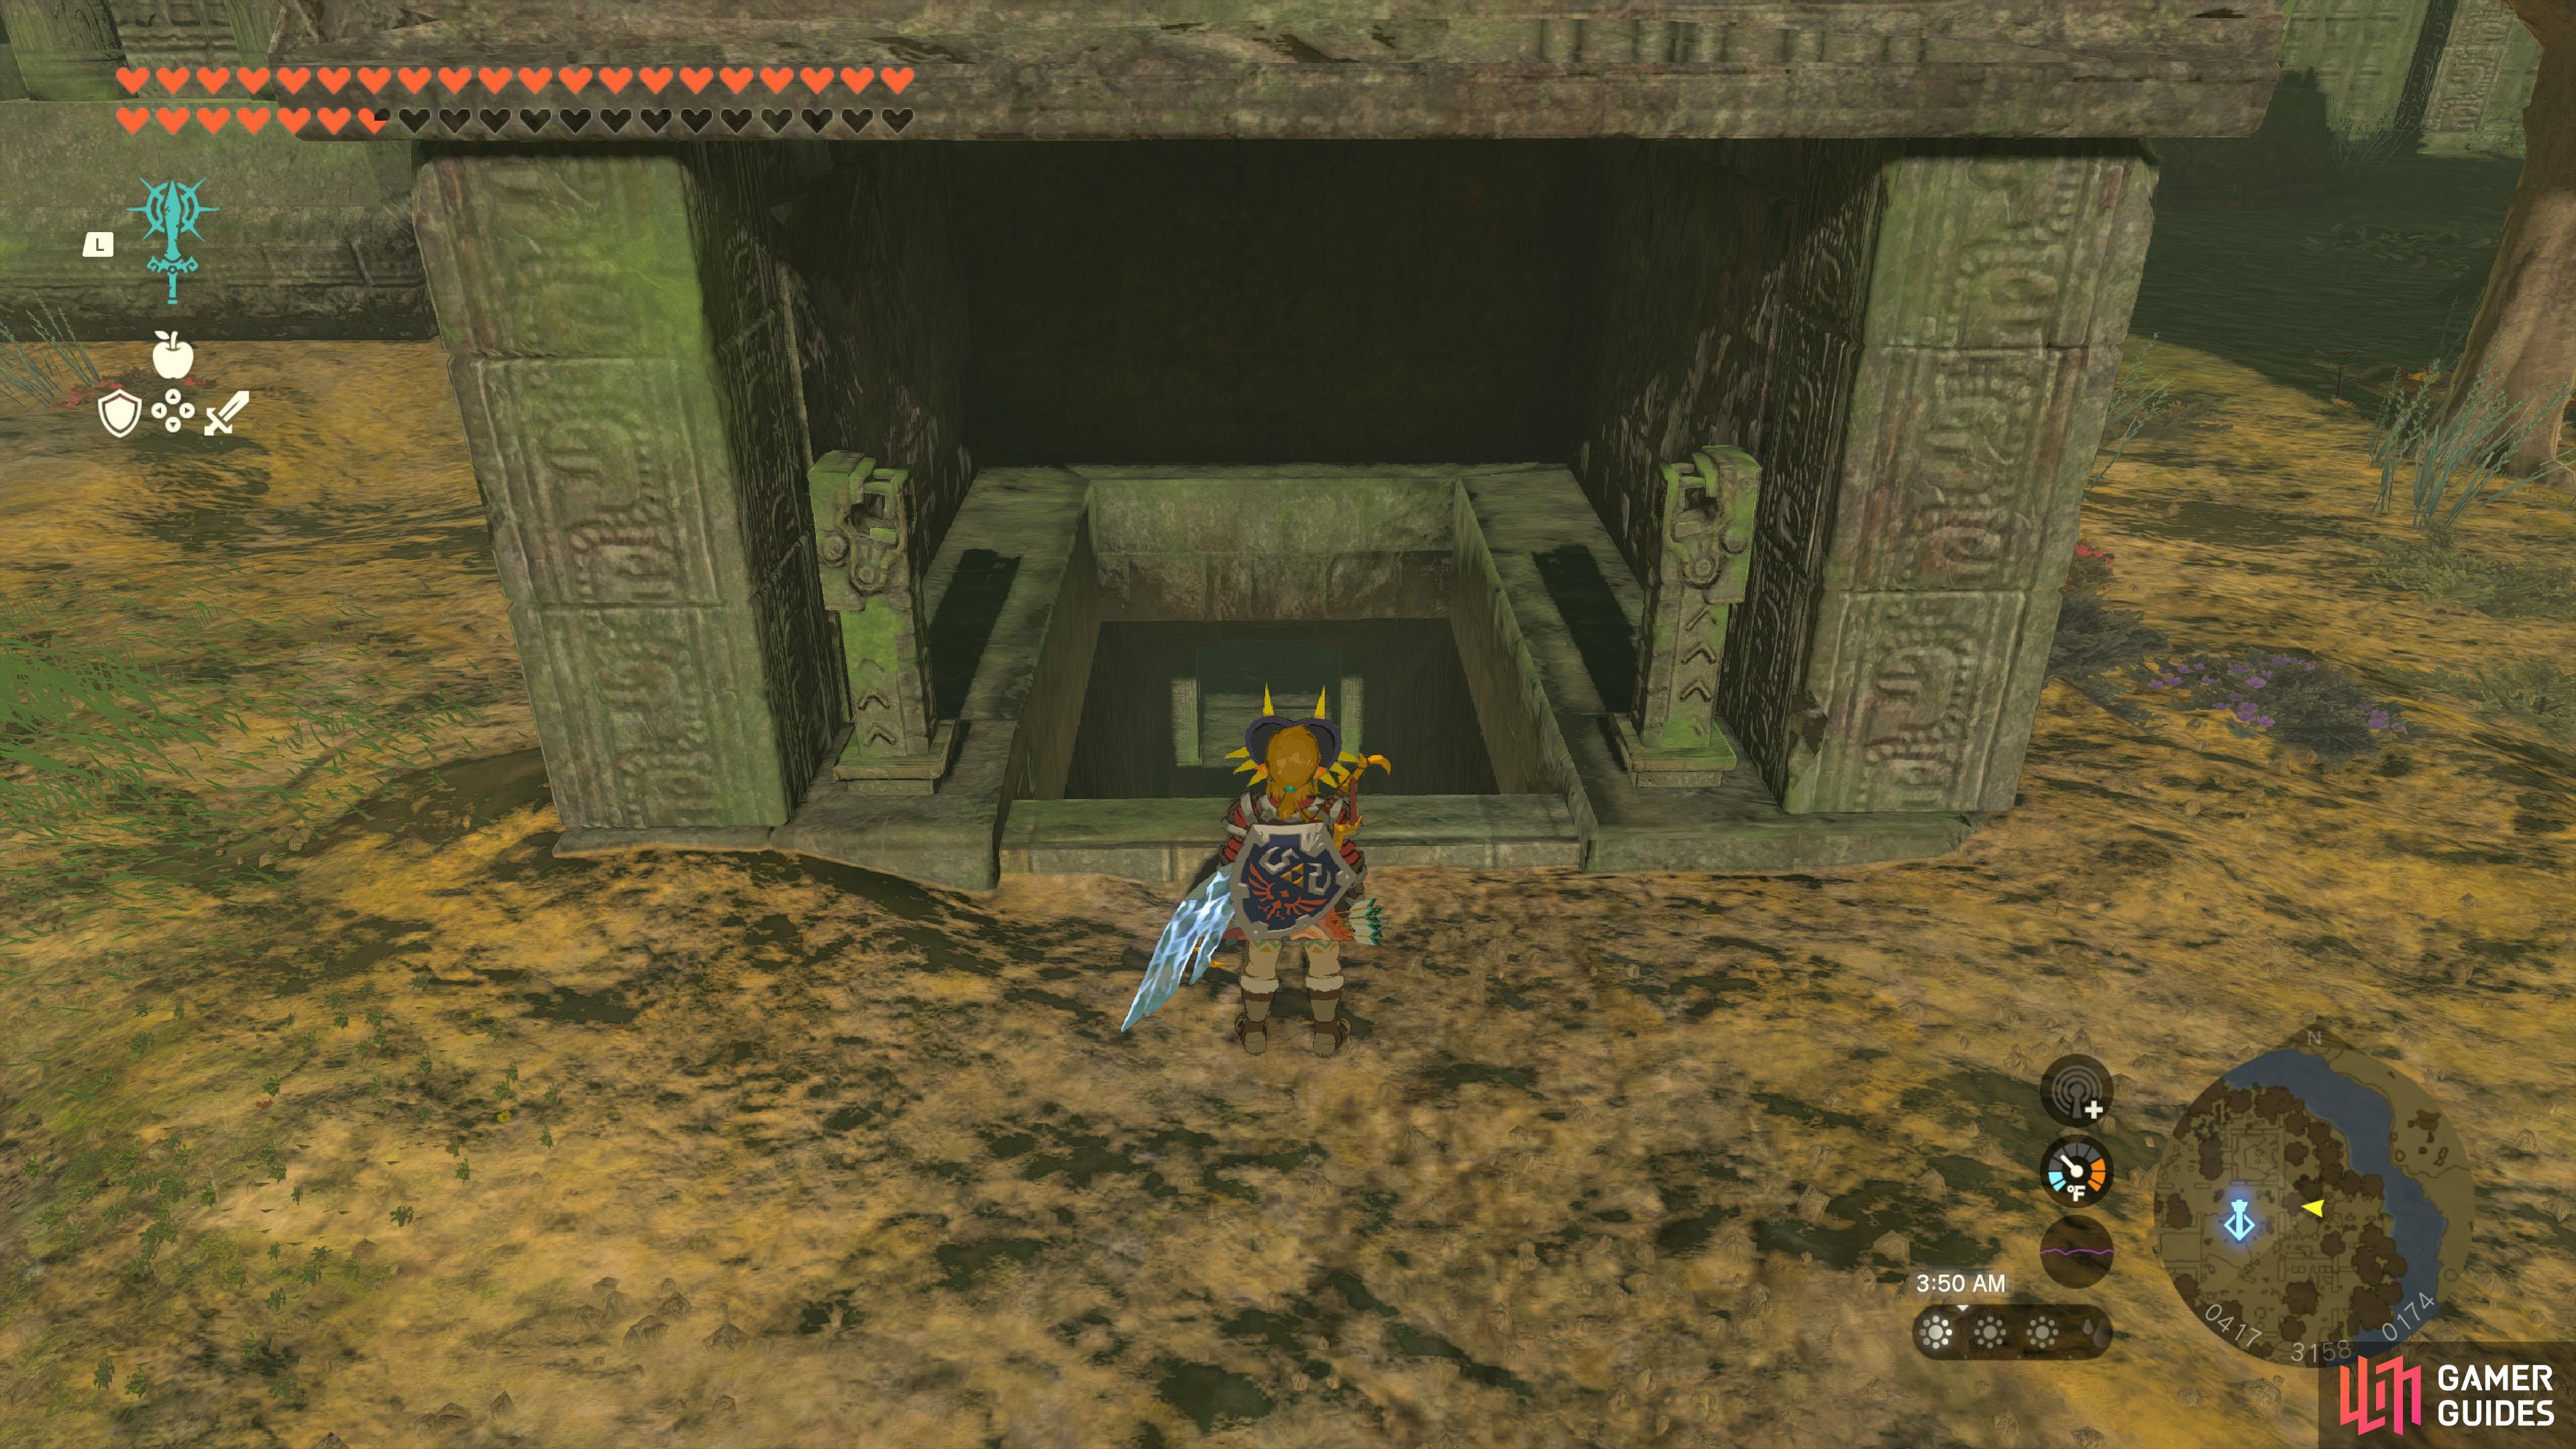
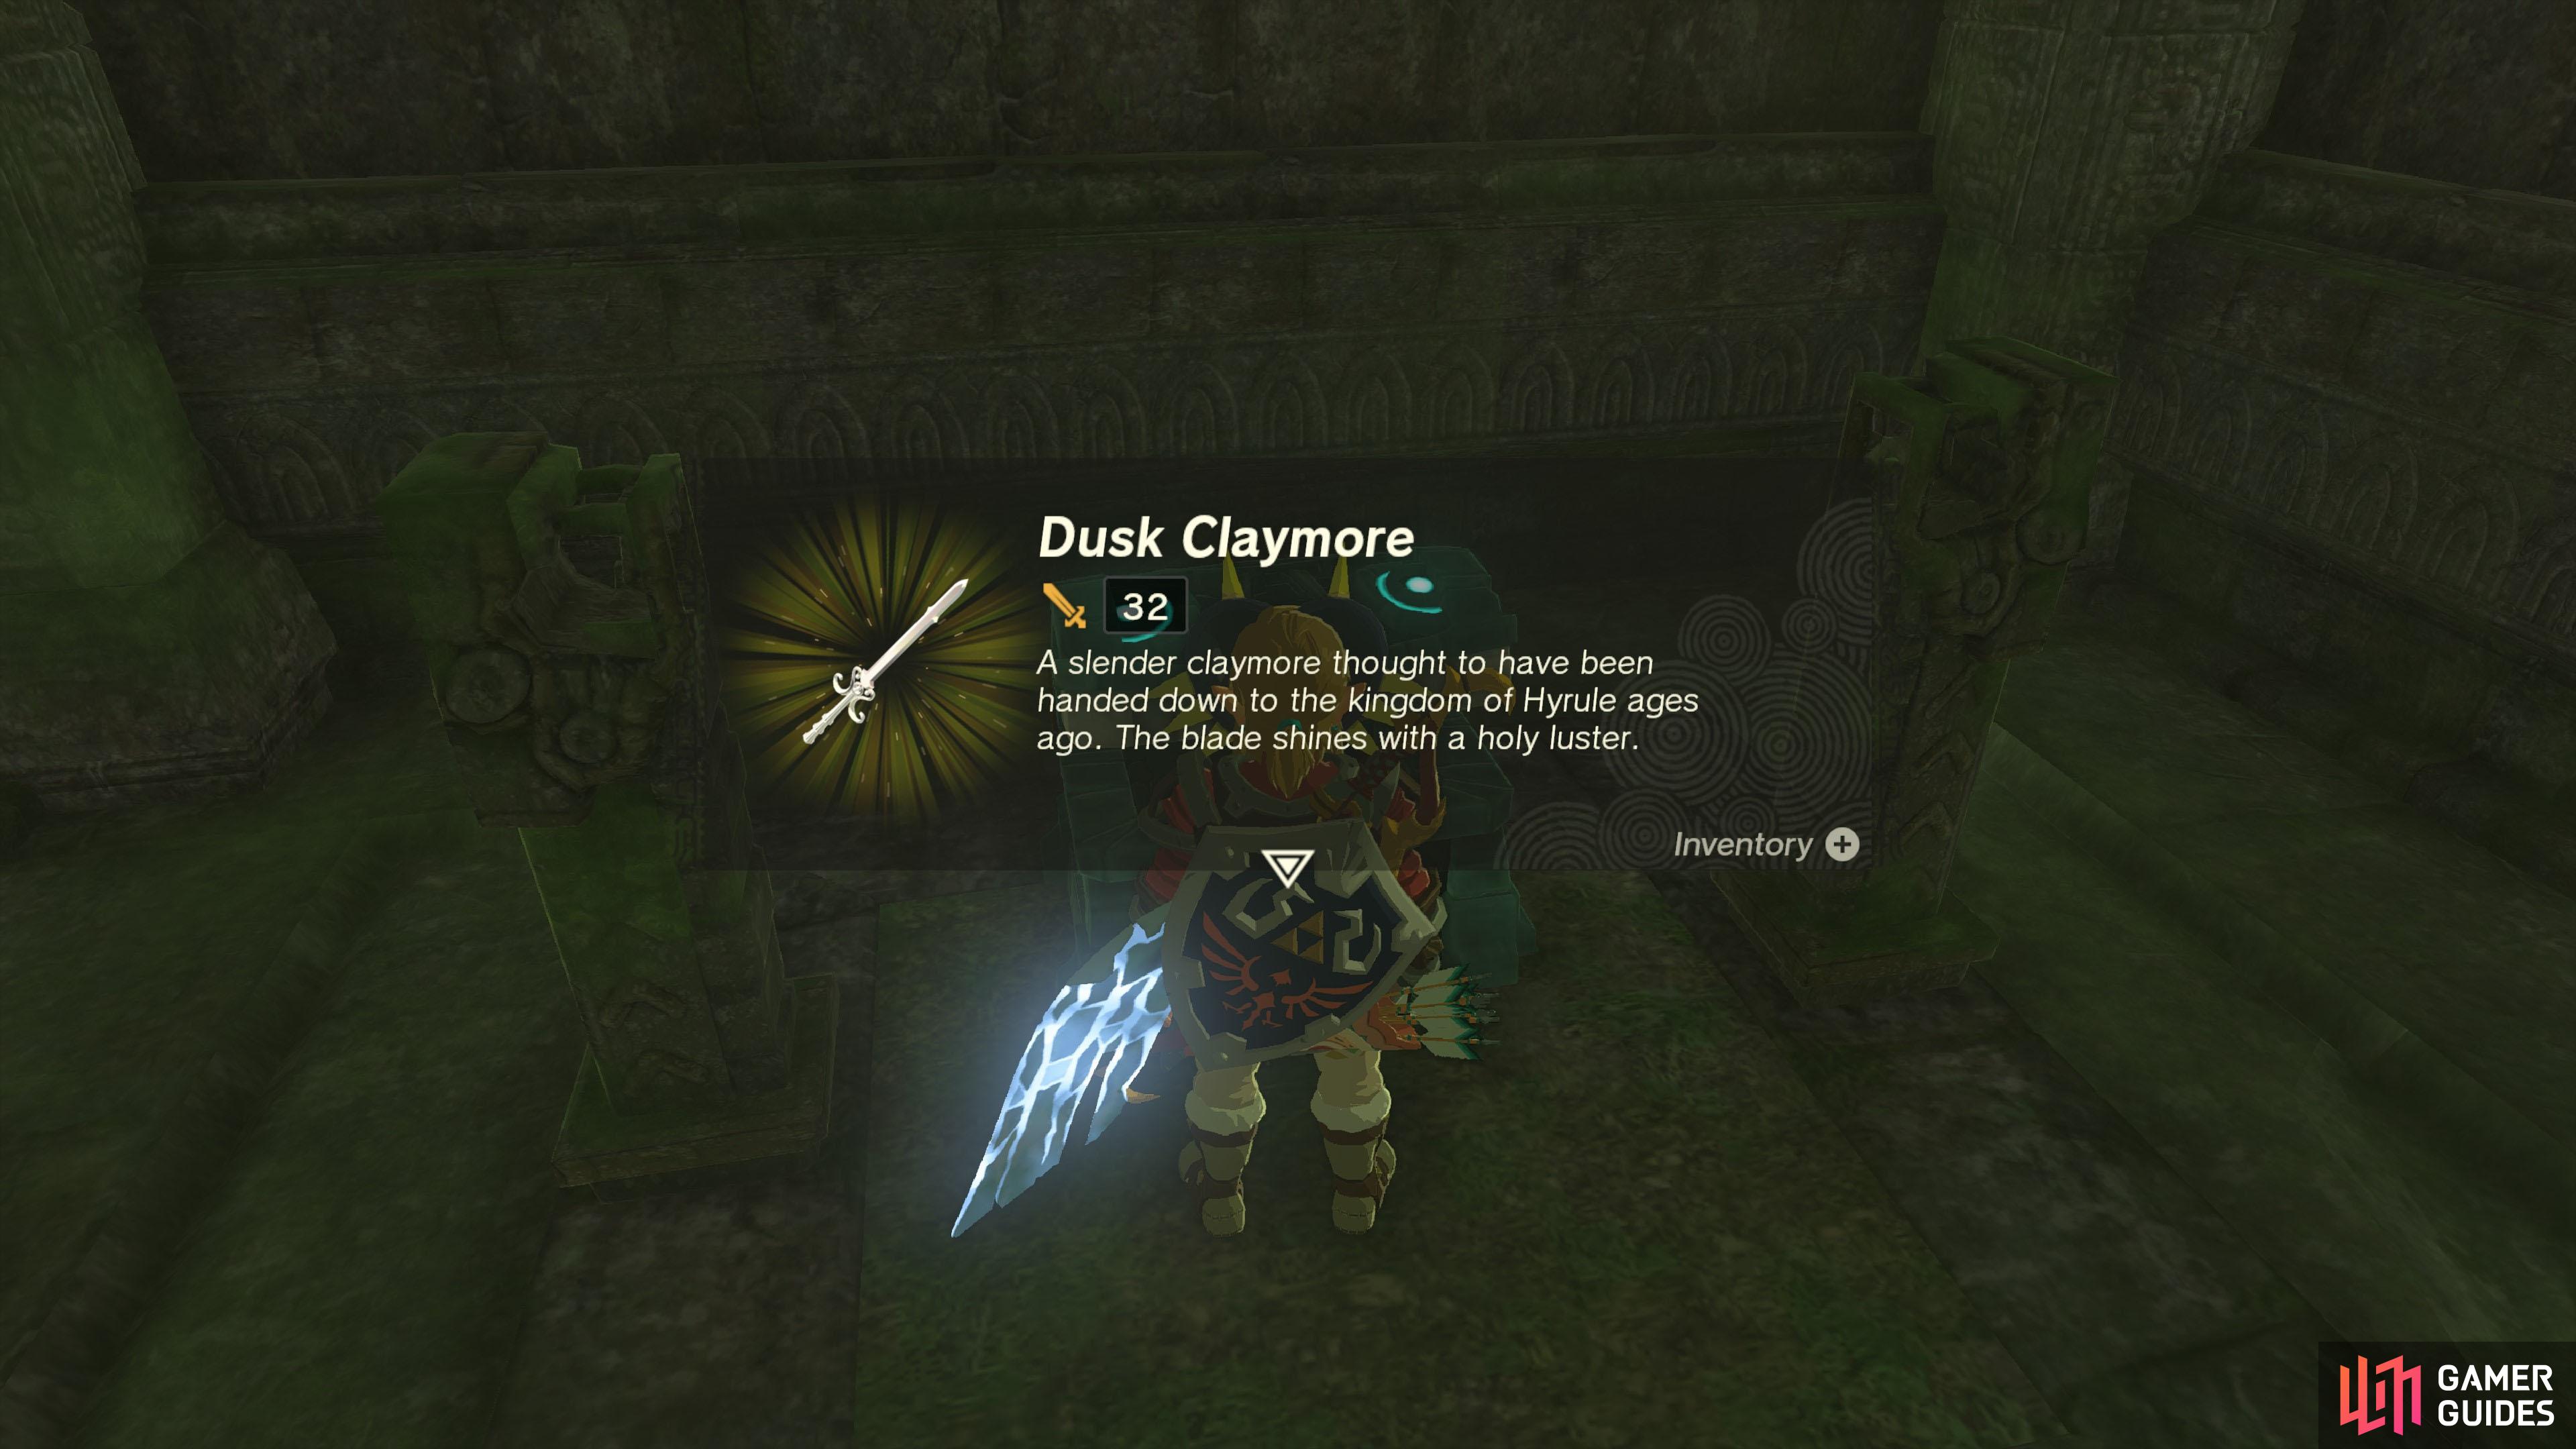
This quest can be started by speaking to Kazul a short distance south-east from Thyphlo Ruins Skyview Tower. Note: You must have completed Kazul will showcase 4 monoliths. Examine each monolith to receive a riddle and a related side adventure: Each of these requires visiting a specific location within the Thyphlo Ruins and utilizing the power of the first four Sages: Tulin, Yunobo, Upon completing all four side adventures, an entrance will open up east from the skyview tower. Inside, there’s a chest with a
Chest Rewards
1×
 Dusk Claymore
Two Handed Dusk Claymore
Two Handed
Completion Reward
Quest Type
Side Adventure
Map(s)
|
|
|||||||||||||||||||||||||||||||||||||||||||||||||||||||||||||||||||||||||||||||||||||||||||||||

|
Legend of The Great Sky Island |
You followed the column of light to the roof of the Talk to the construct when you are ready to try completing the ceremony.
Description
Great Sky Island
Quest Type
Side Adventure
Map(s)
|
||||||||||||||||||||||||||||||||||||||||||||||||||||||||||||||||||||||||||||||||||||||||||||||||

|
Hestu's Concerns |
You ran into the Korok There are trees where he pointed, but what could he be so afraid of?
Description
Quest Type
Side Adventure
Map(s)
|
||||||||||||||||||||||||||||||||||||||||||||||||||||||||||||||||||||||||||||||||||||||||||||||||

|
Lurelin Village Restoration Project |
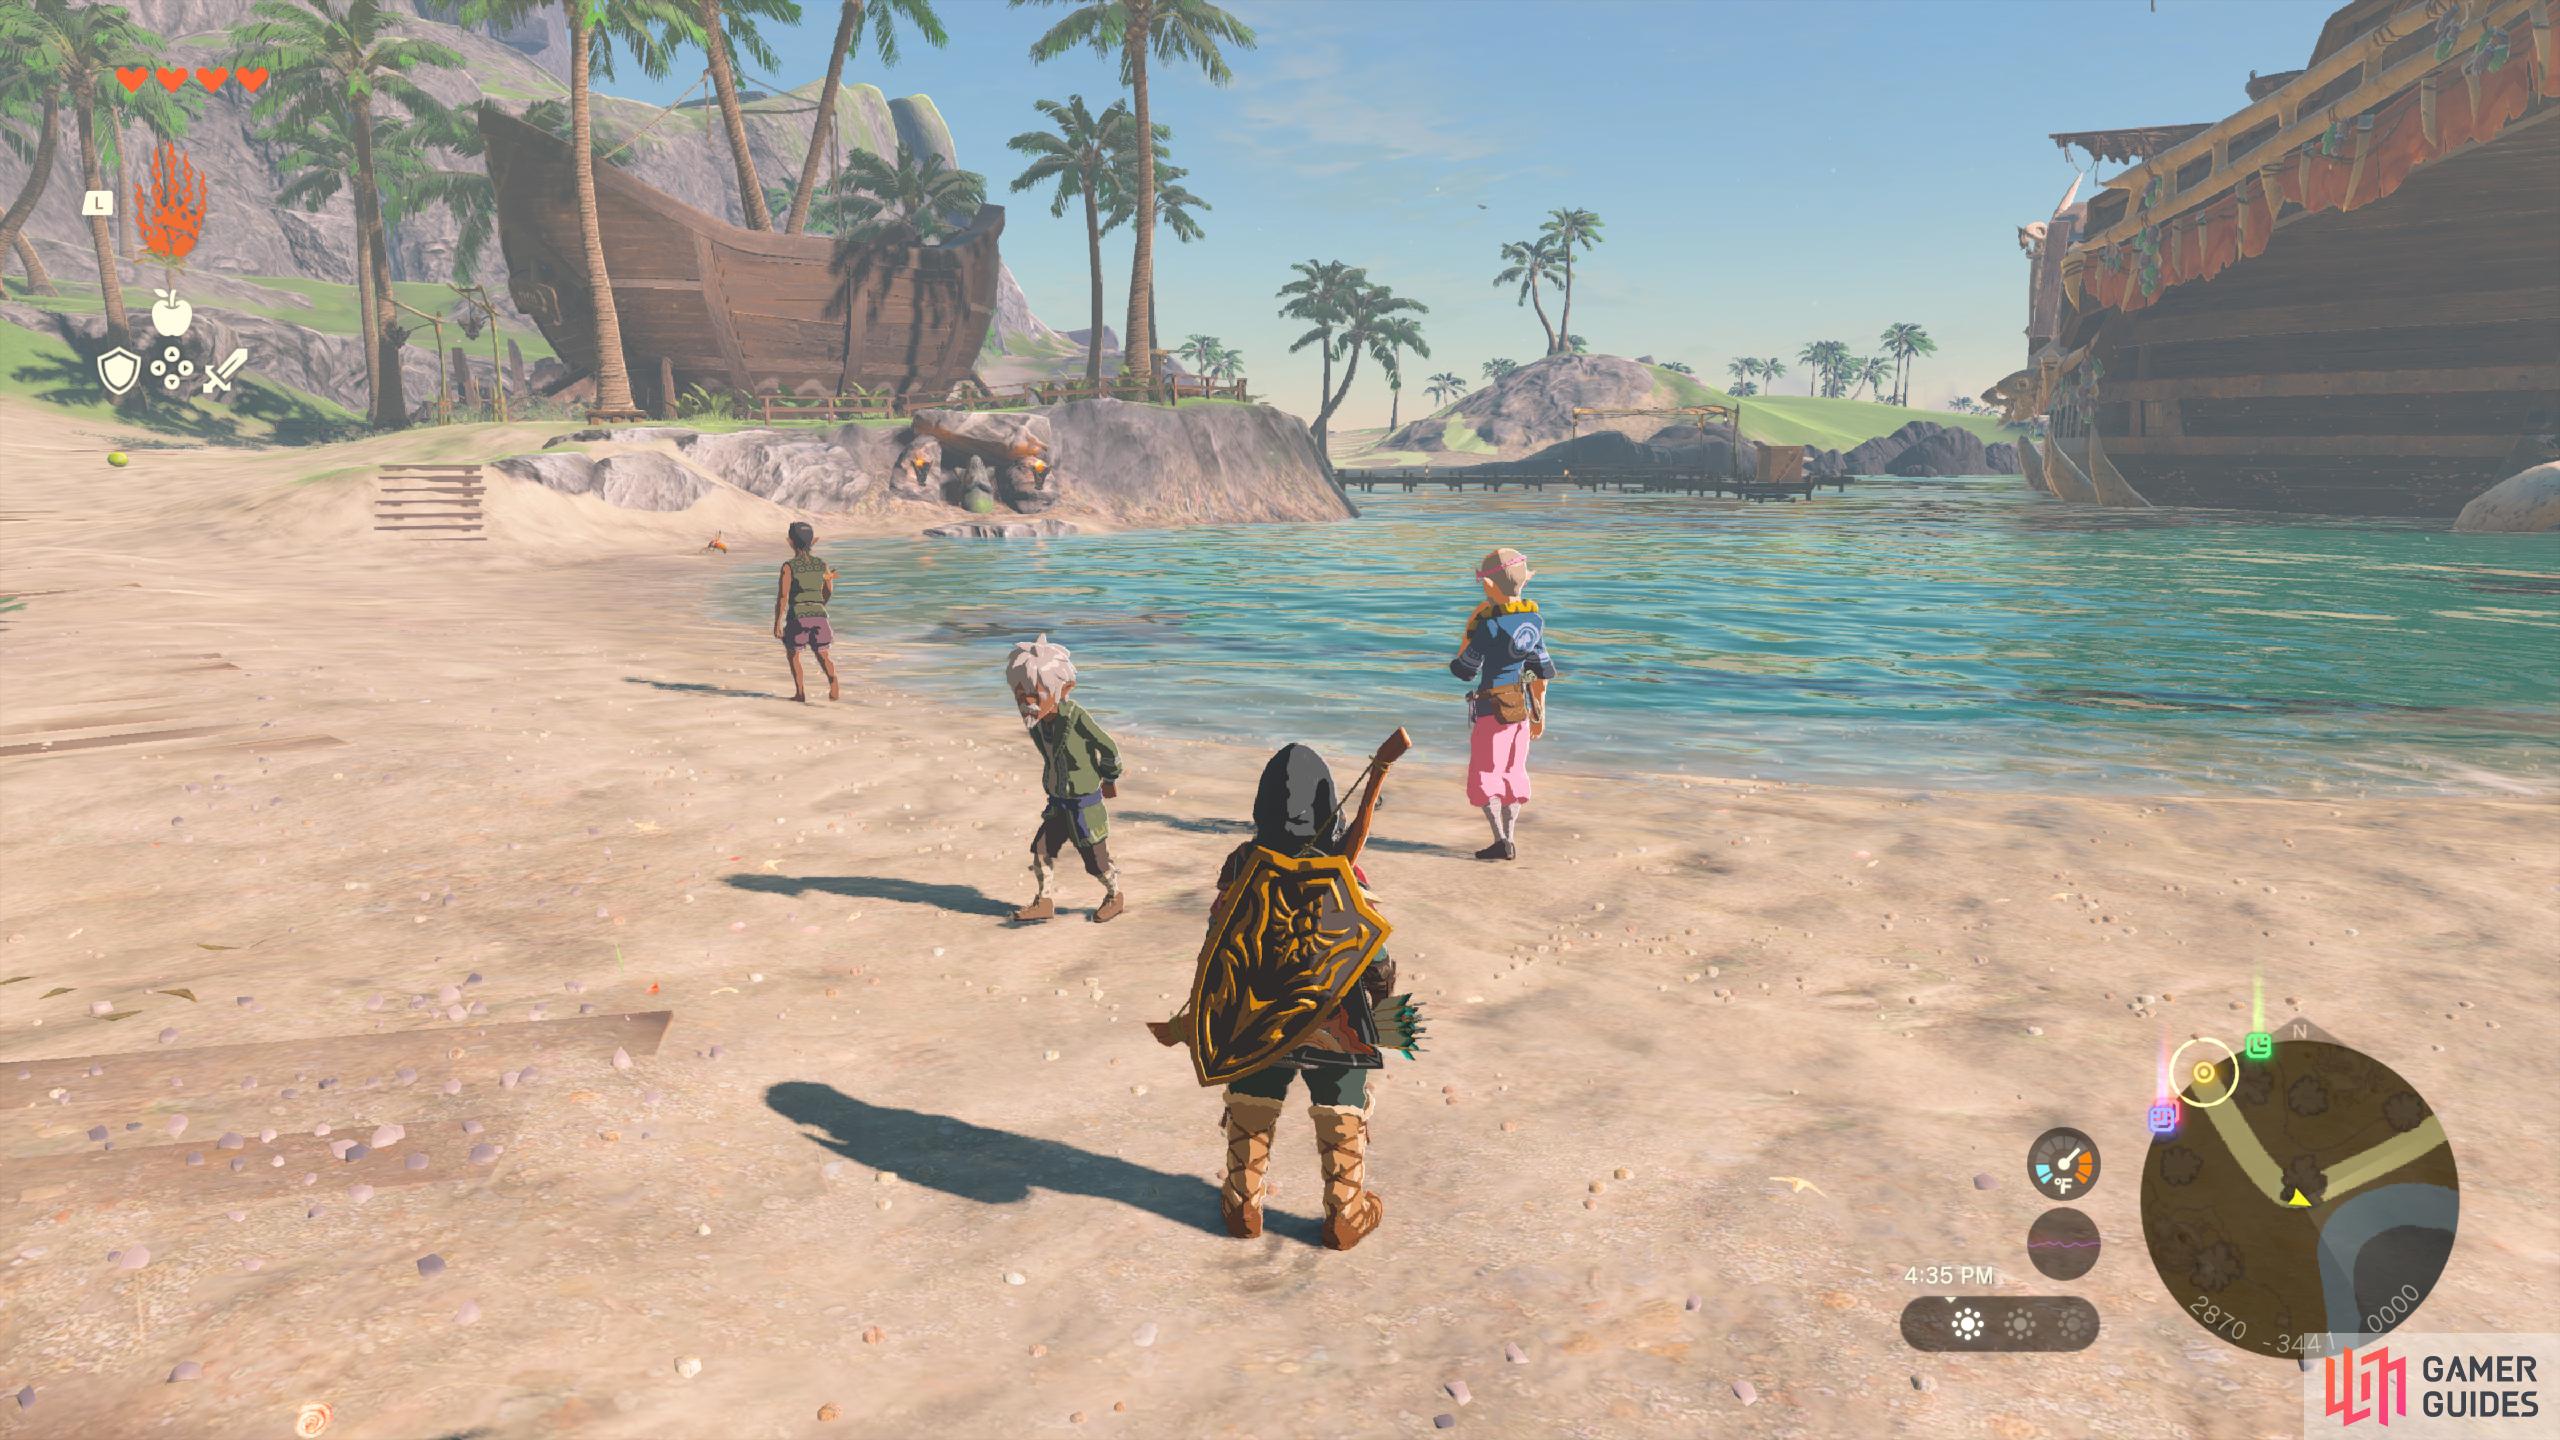
The monsters that took over Help rebuild Lurelin Village. The first step requires you to find 20 Once that’s completed, you’ll need to fix up five different buildings. Speak to
After restoring each building you’ll get a reward. Here is each reward for each building:
On top of that, you’ll get a free bed at the inn for ever, and you can play the Lucky Treasure Shop game. Finally, you’ll also get to watch a crappy dance!
Quest Type
Side Adventure
Map(s)
|
|
|||||||||||||||||||||||||||||||||||||||||||||||||||||||||||||||||||||||||||||||||||||||||||||||

|
Master Kohga of the Yiga Clan |
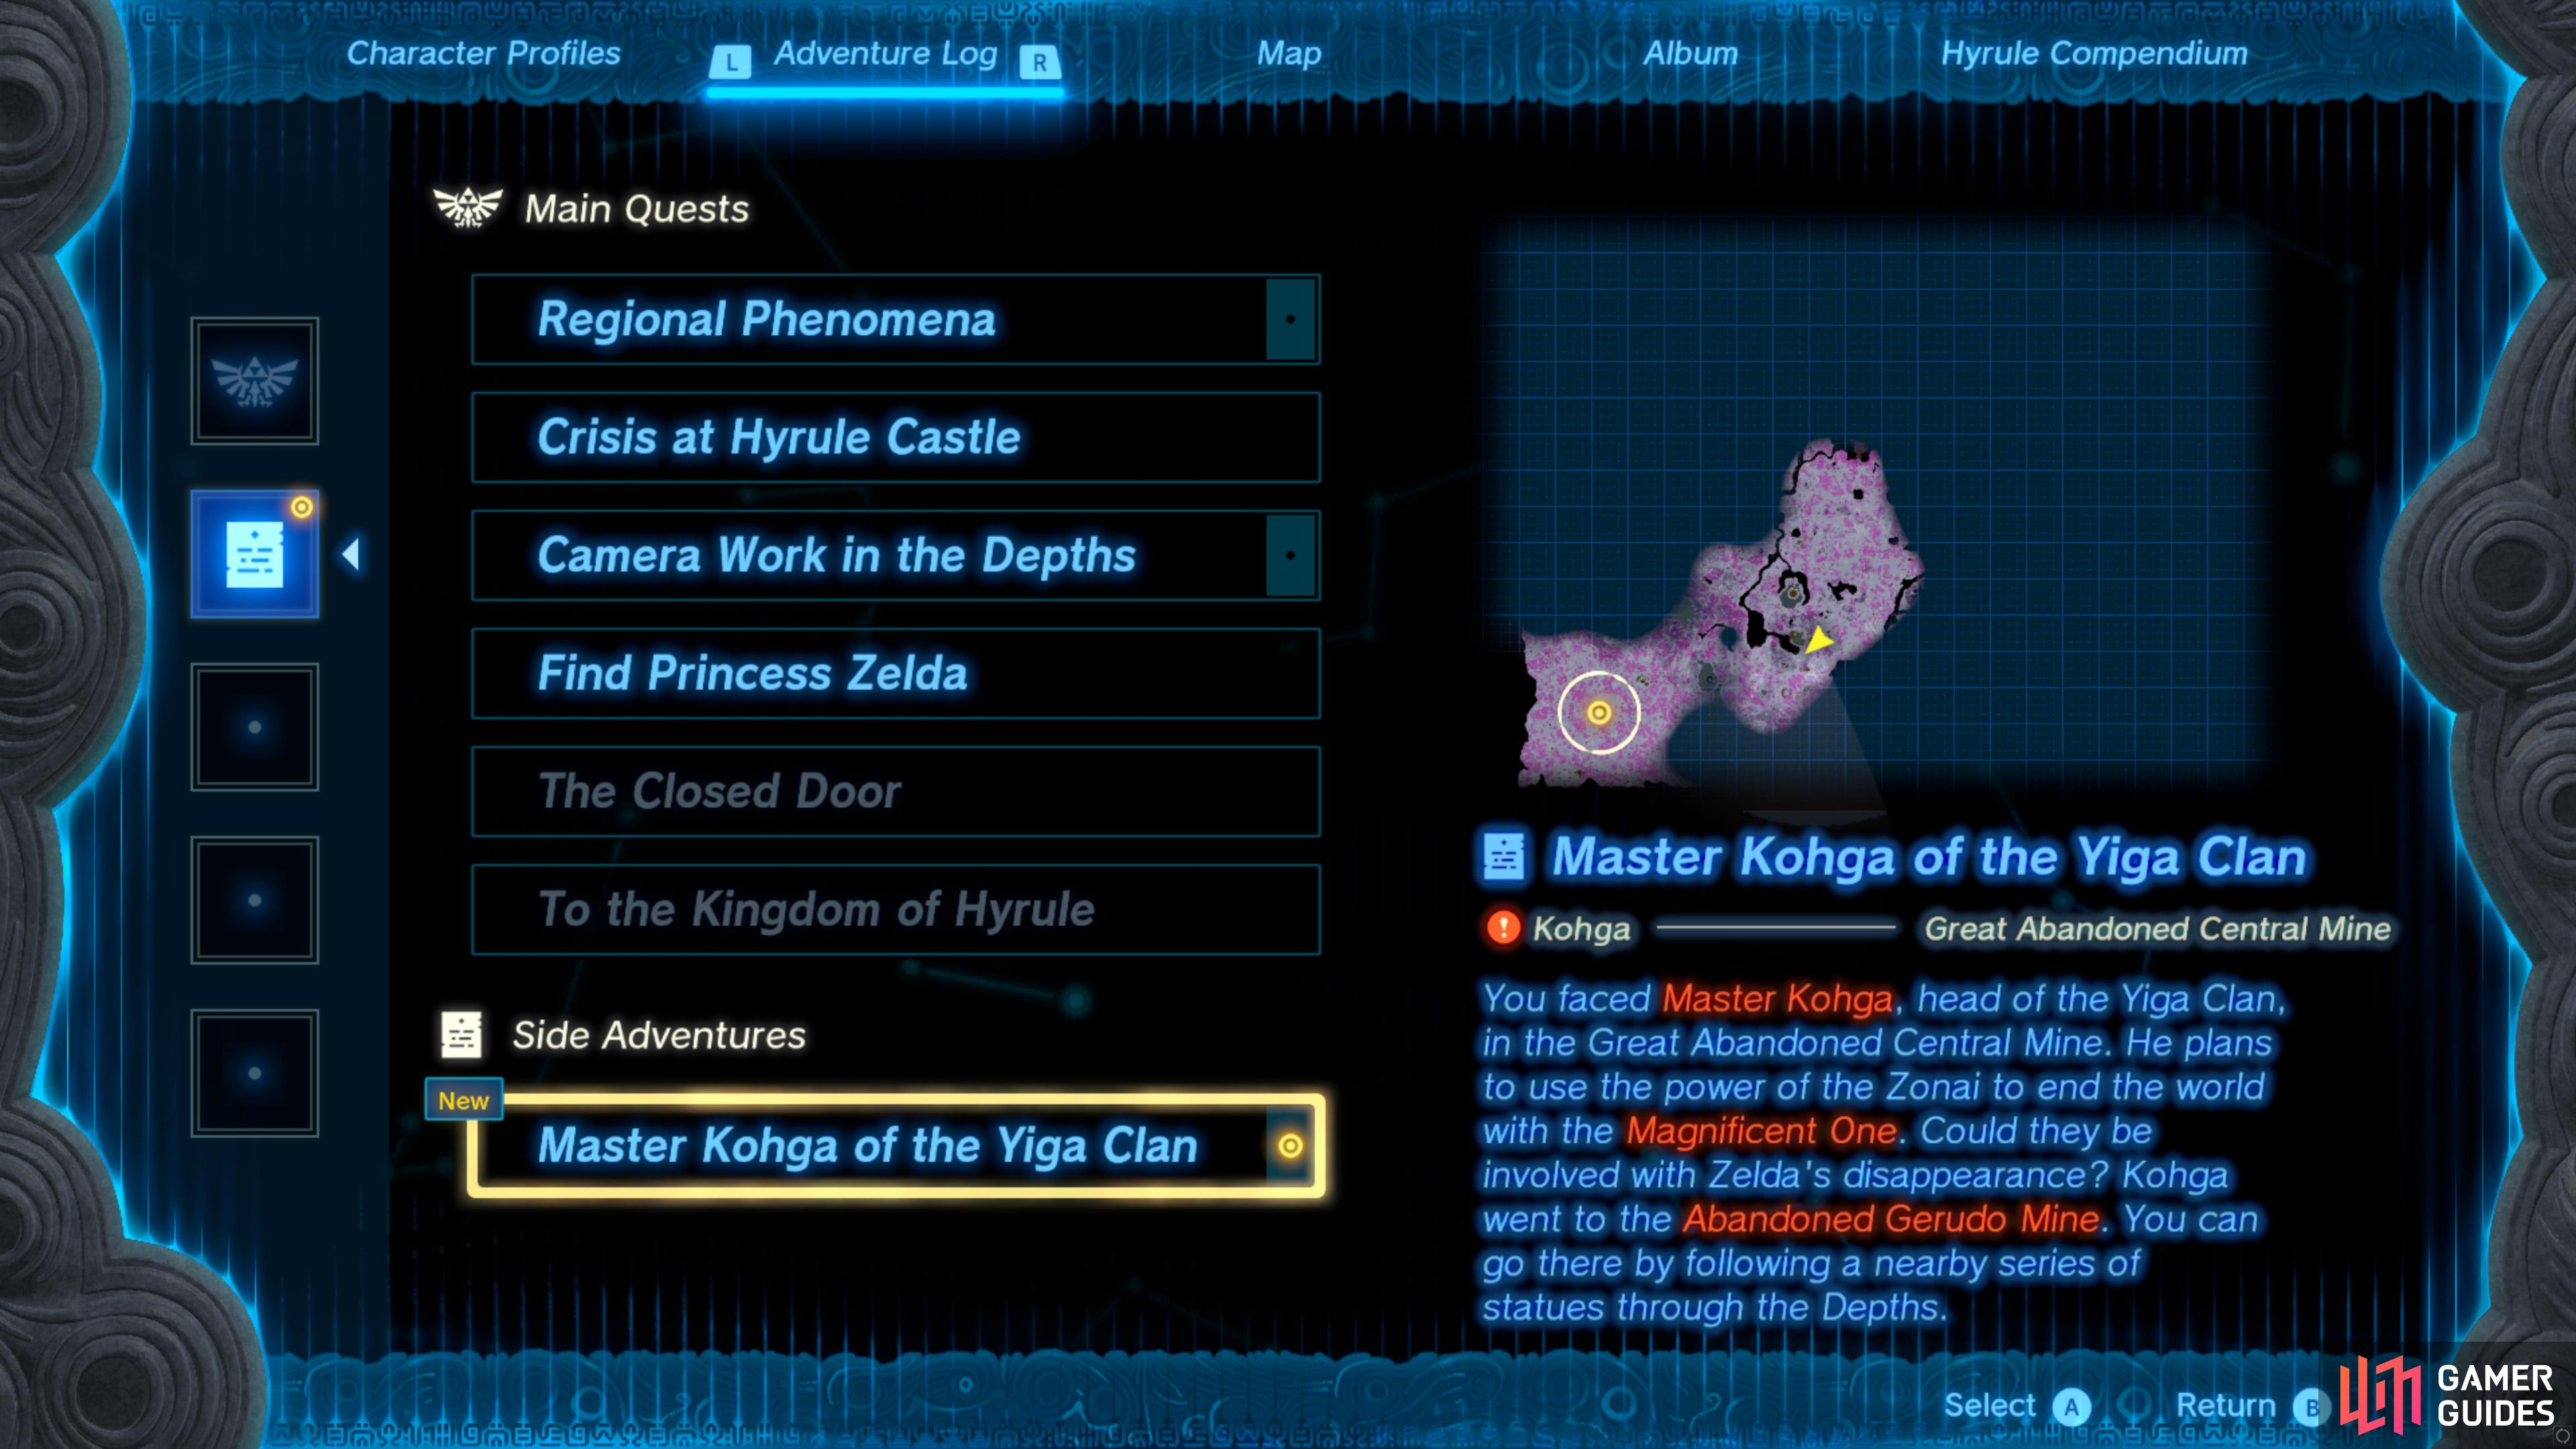
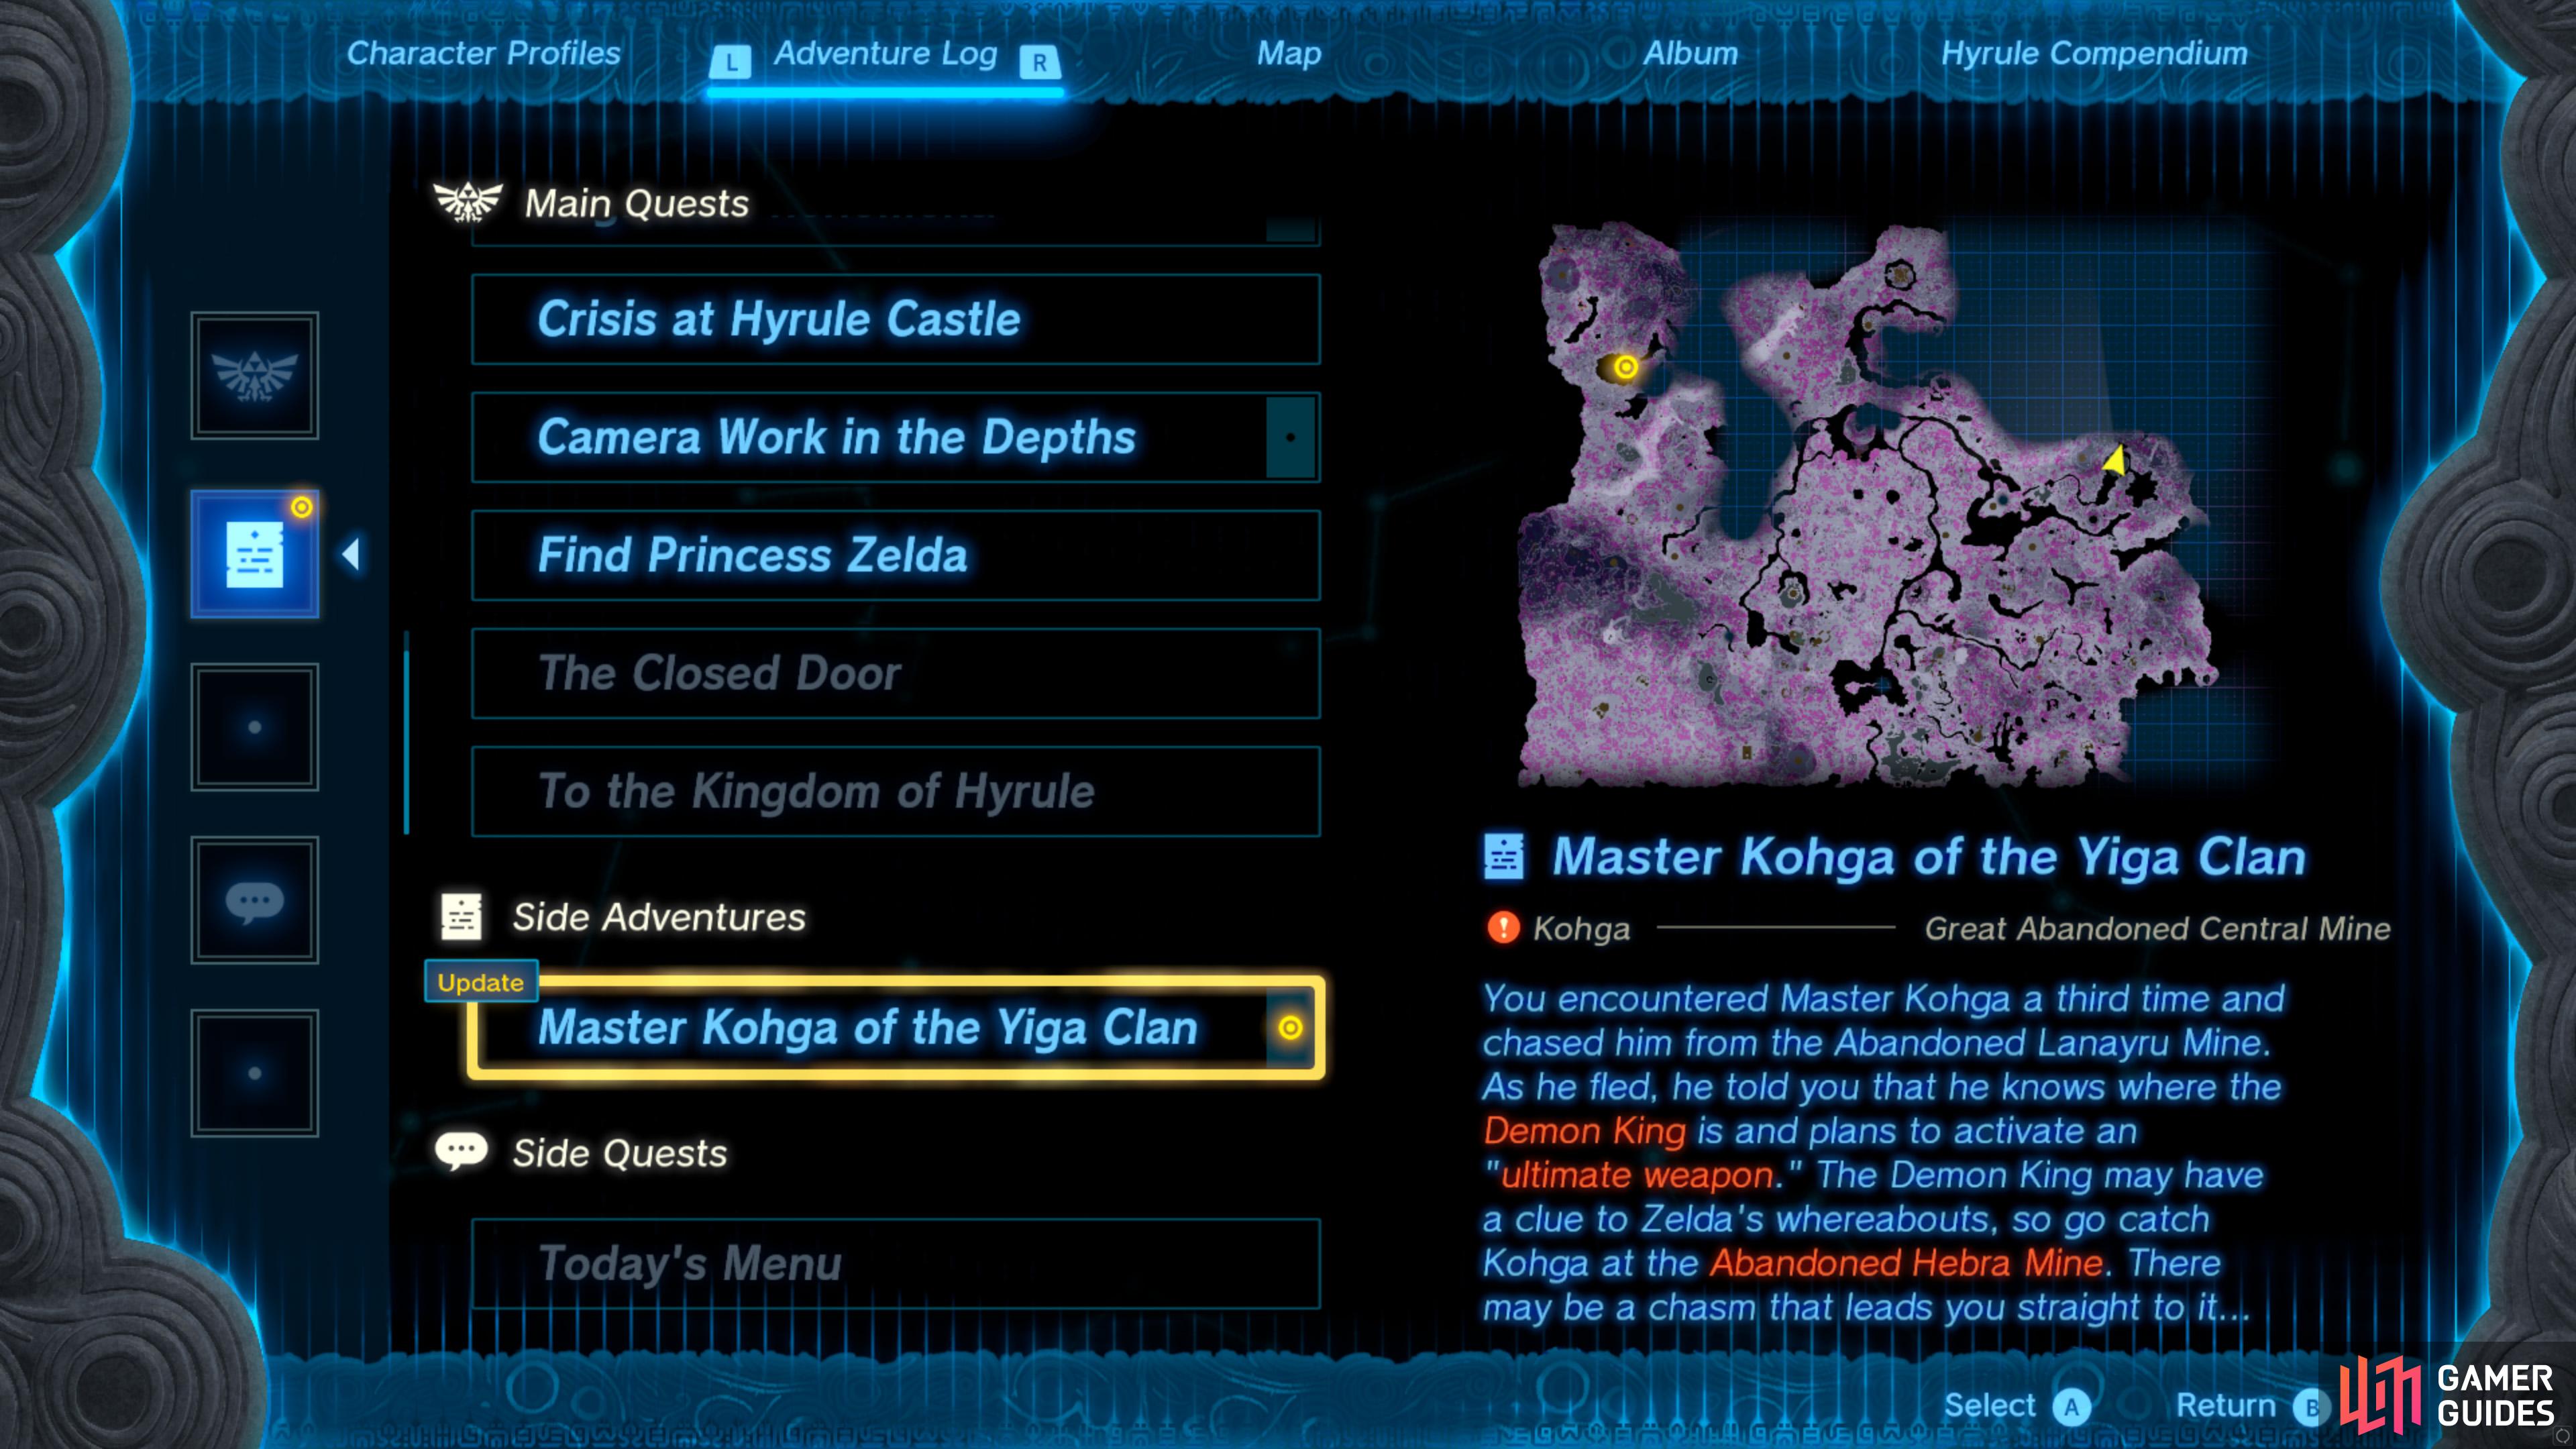
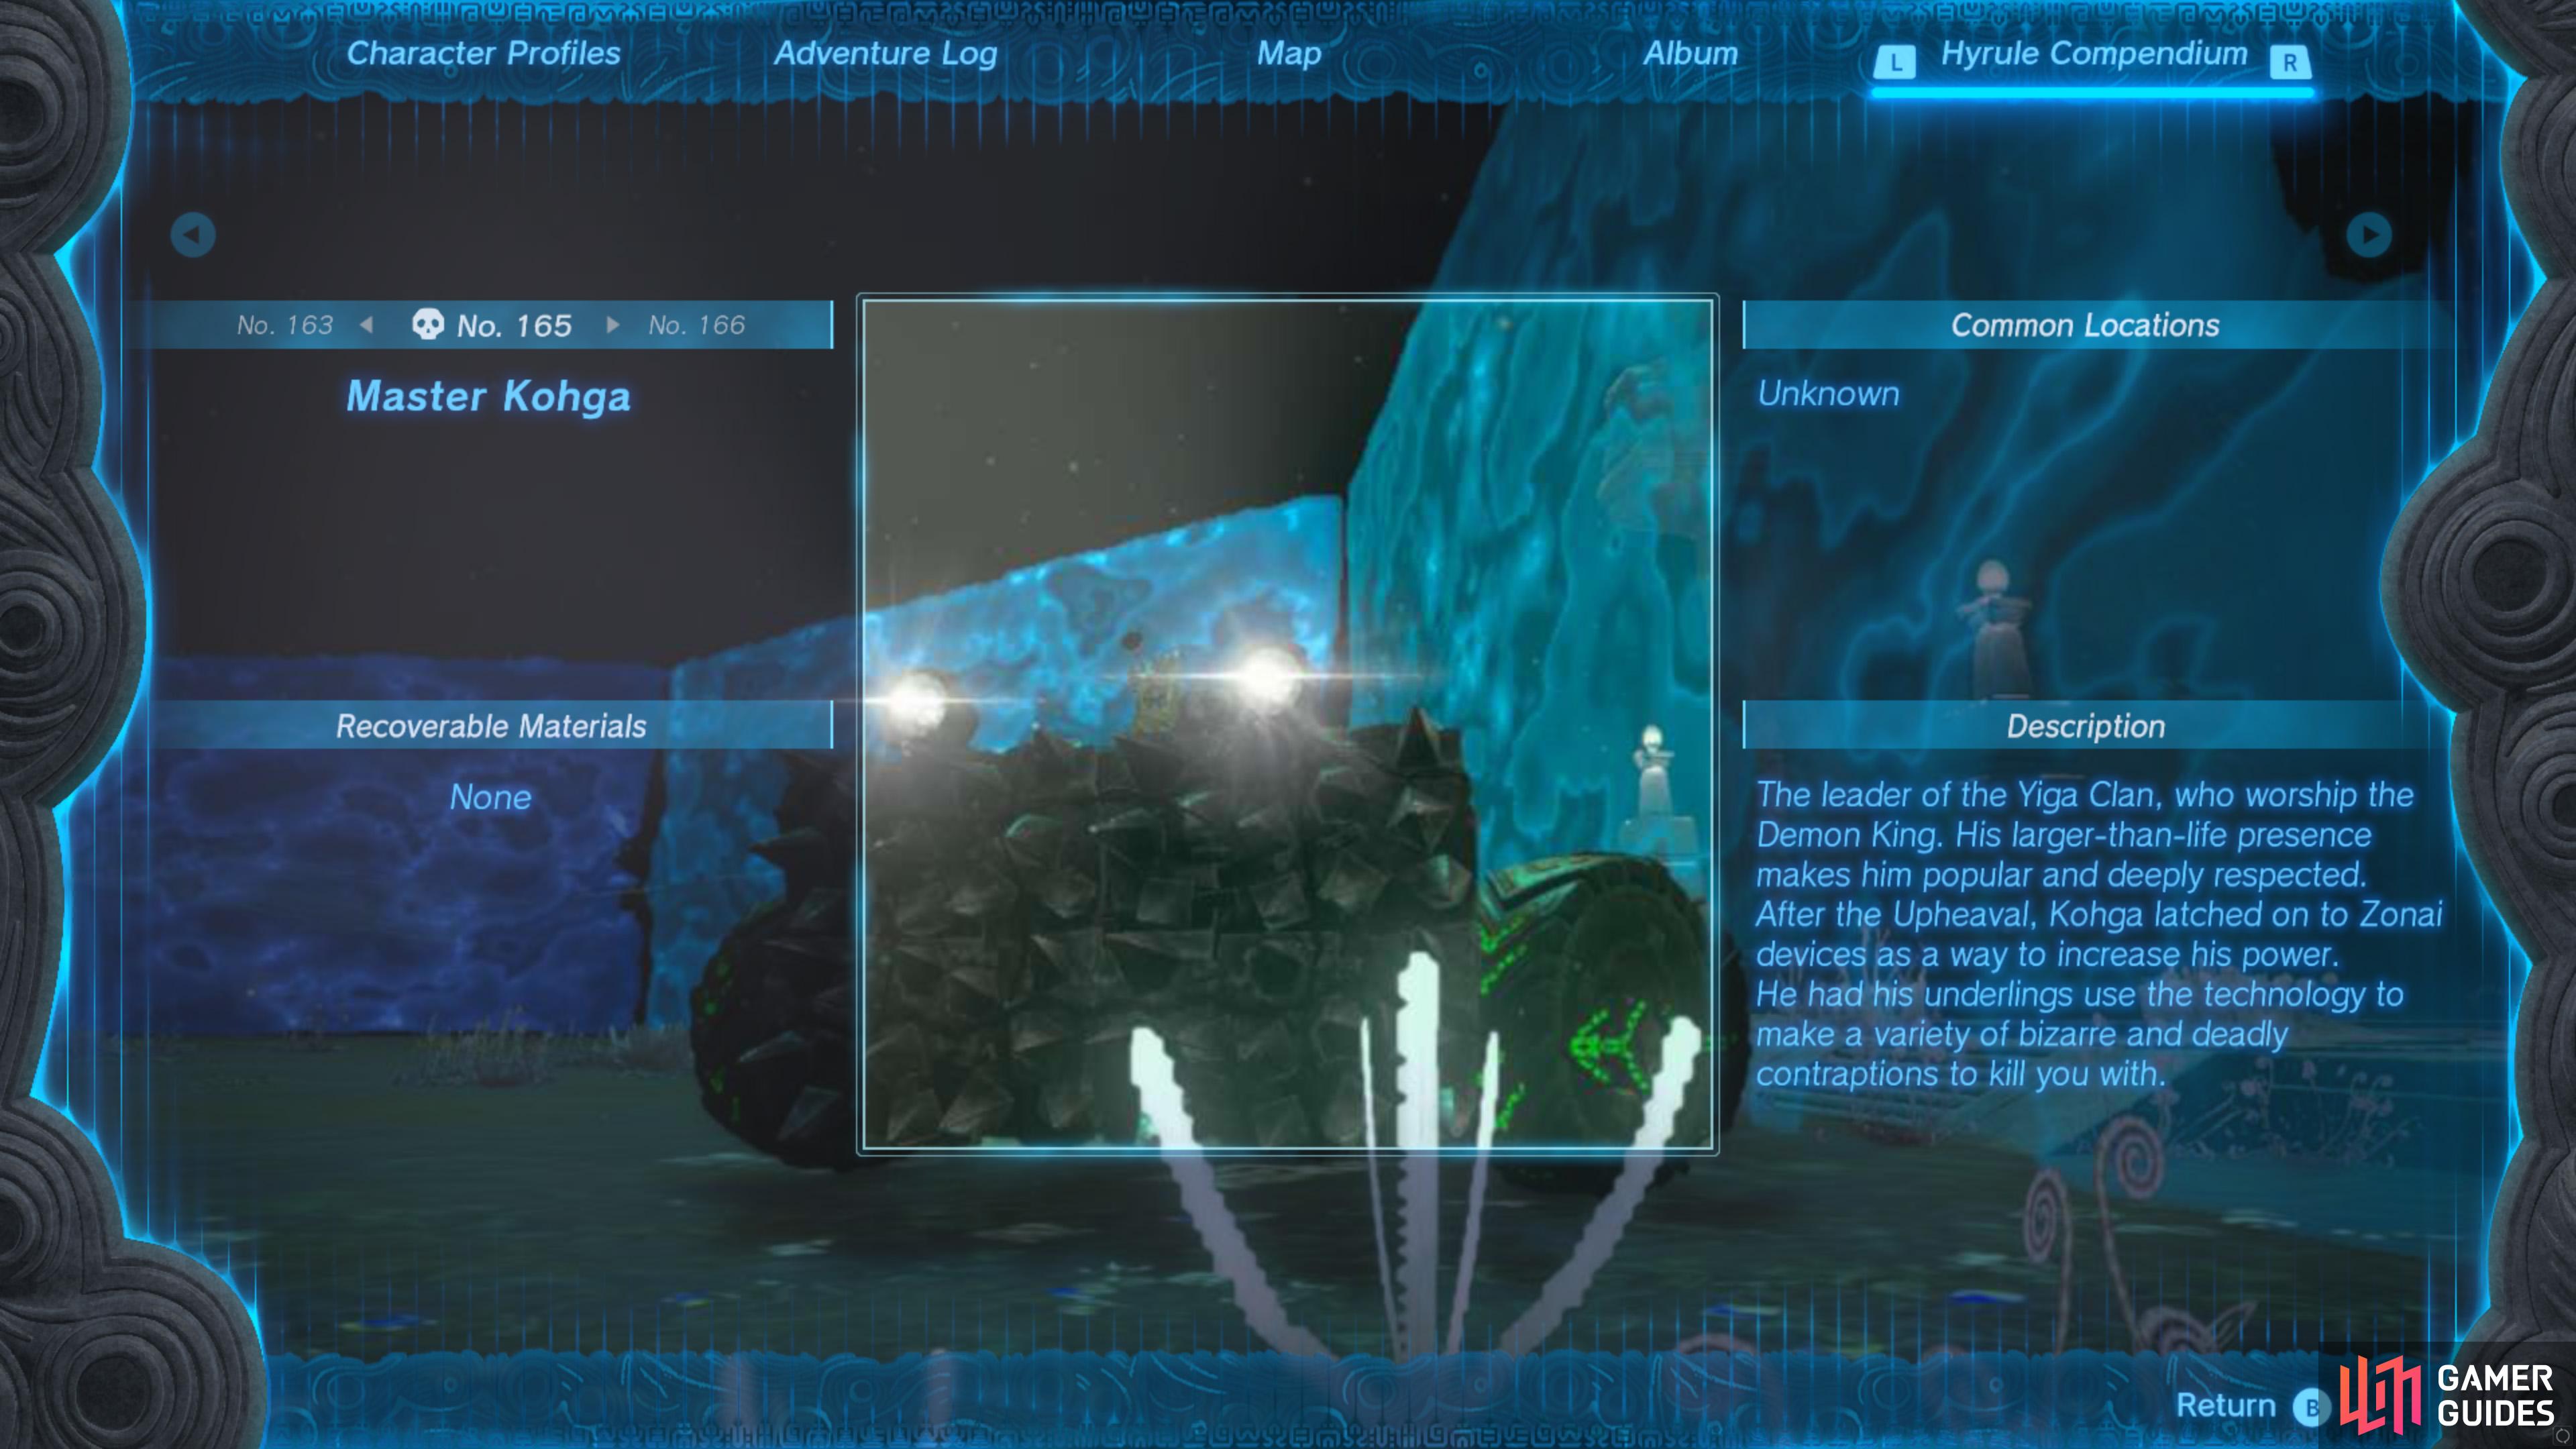
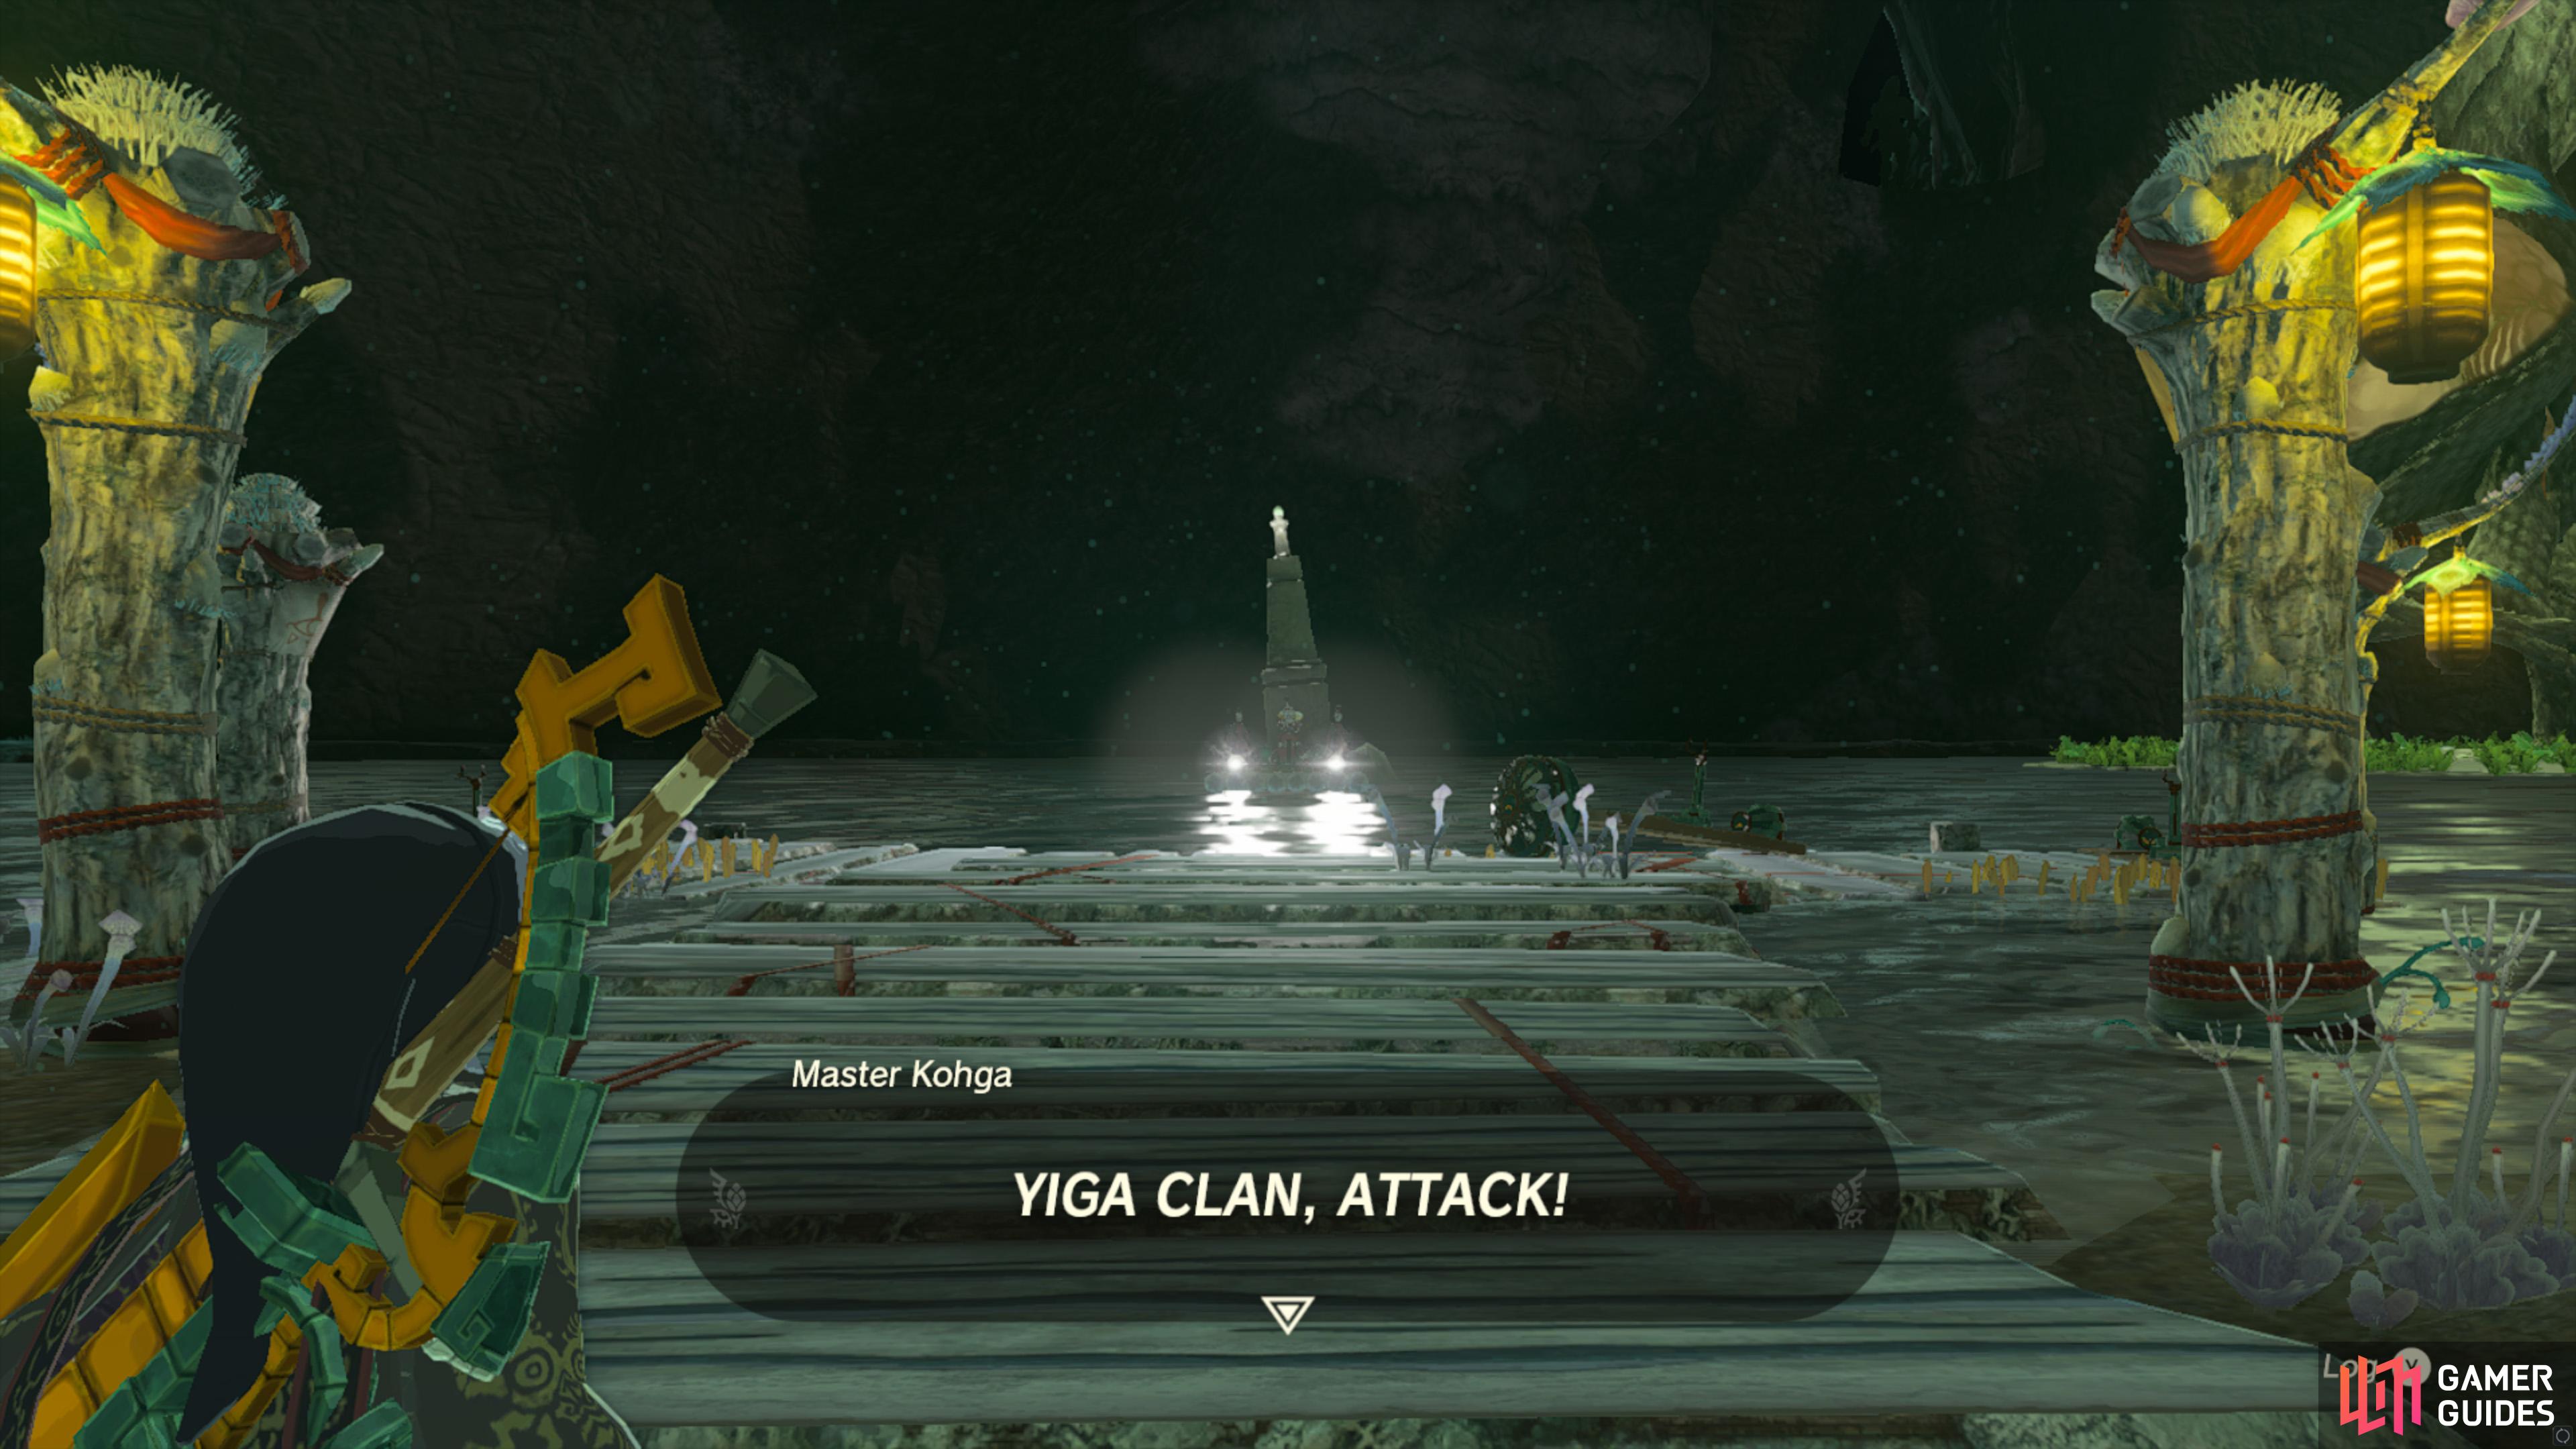
Part 1: Great Abandoned Central Mine Boss Fight You faced You fight Master Kohga inside an area on his motorized spiked ramming buggy after interacting with the Part 2: Abandoned Gerudo Mine Boss Fight You successfully drove Master Kohga Master Kohga from the Abandoned Gerudo Mine, and learned his true aim. He plans to restore a powerful weapon for “the man himself.” Pursue Kohga to the Abandoned Lanayru Mine. A line of statues stretching from one of the chasms either in the Lanayru Wetlands Lanayru Wetlands or amidst the mountains south of there will guide you to the mine. You will then fight Master Kohga at the Abandoned Gerudo Mine. This time he will be flying and you need to knock him off using arrows. Part 3: Abandoned Gerudo Mine Boss Fight You encountered Master Kohga a third time and chased him from the Abandoned Lanayru Mine. As he fled, he told you that he knows where the Demon King is and plans to activate an “ultimate weapon.” The Demon King may have a clue to Zelda’s whereabouts, so go catch Kohga at the Abandoned Hebra Mine. There may be a chasm that leads you straight it You will fight Master Kohga at the Abandoned Lanayru Mine. This time he will be on a raft with two archer companions. The easiest way to defeat him is to fire arrows at his raft with bomb flowers or keese eyeballs. You do not need to board a boat to defeat him.
Quest Type
Side Adventure
Map(s)
|

|
|||||||||||||||||||||||||||||||||||||||||||||||||||||||||||||||||||||||||||||||||||||||||||||||

|
Mattison's Independence |
Hudson and Rhondson of Hudson Construction were discussing the pending departure of someone named Mattison. Rhondson seemed upbeat about it, but Hudson looked sad. He appears to be worried about something.
Description
If you need help completing this quest, please check our Mattison’s Independence guide.
Quest Type
Side Adventure
Map(s)
|
||||||||||||||||||||||||||||||||||||||||||||||||||||||||||||||||||||||||||||||||||||||||||||||||

|
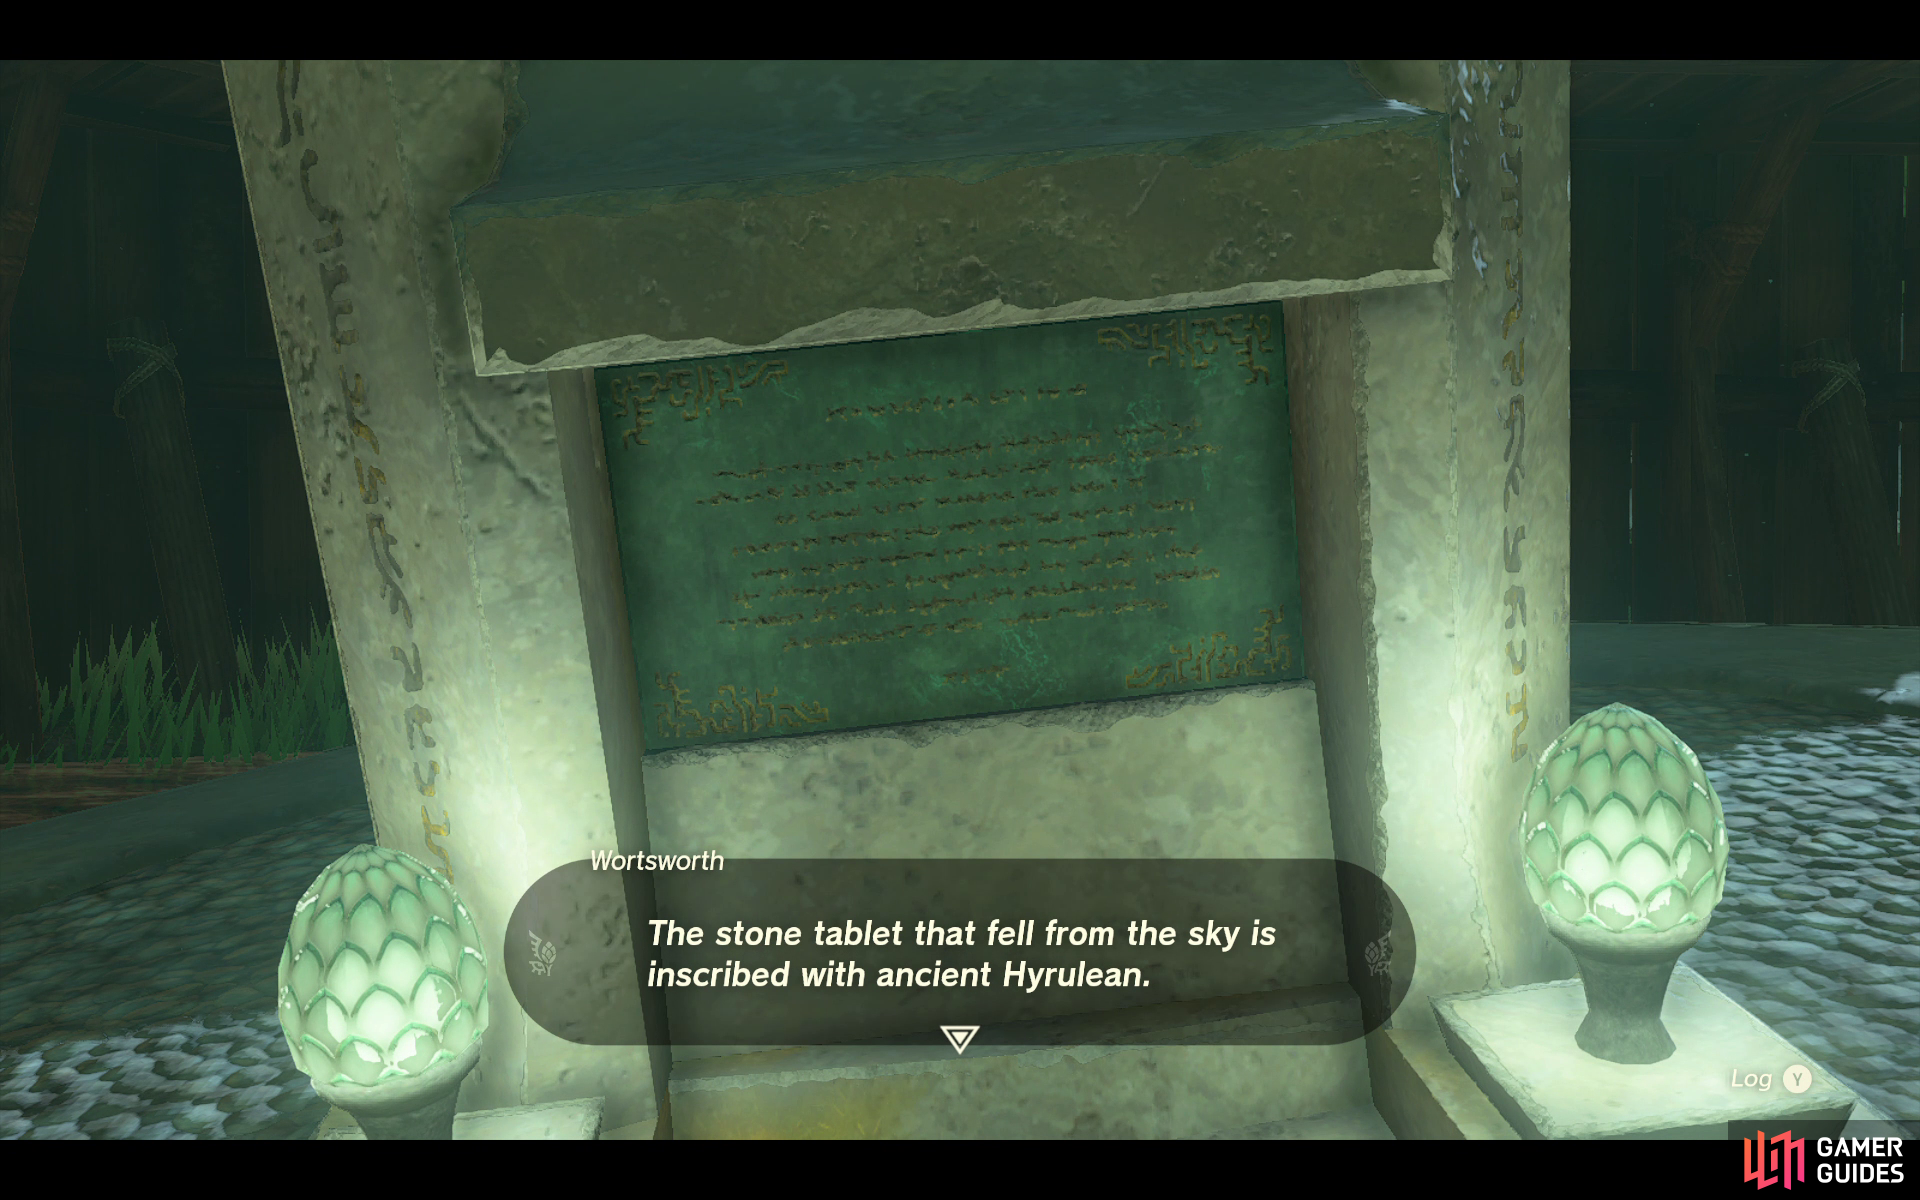
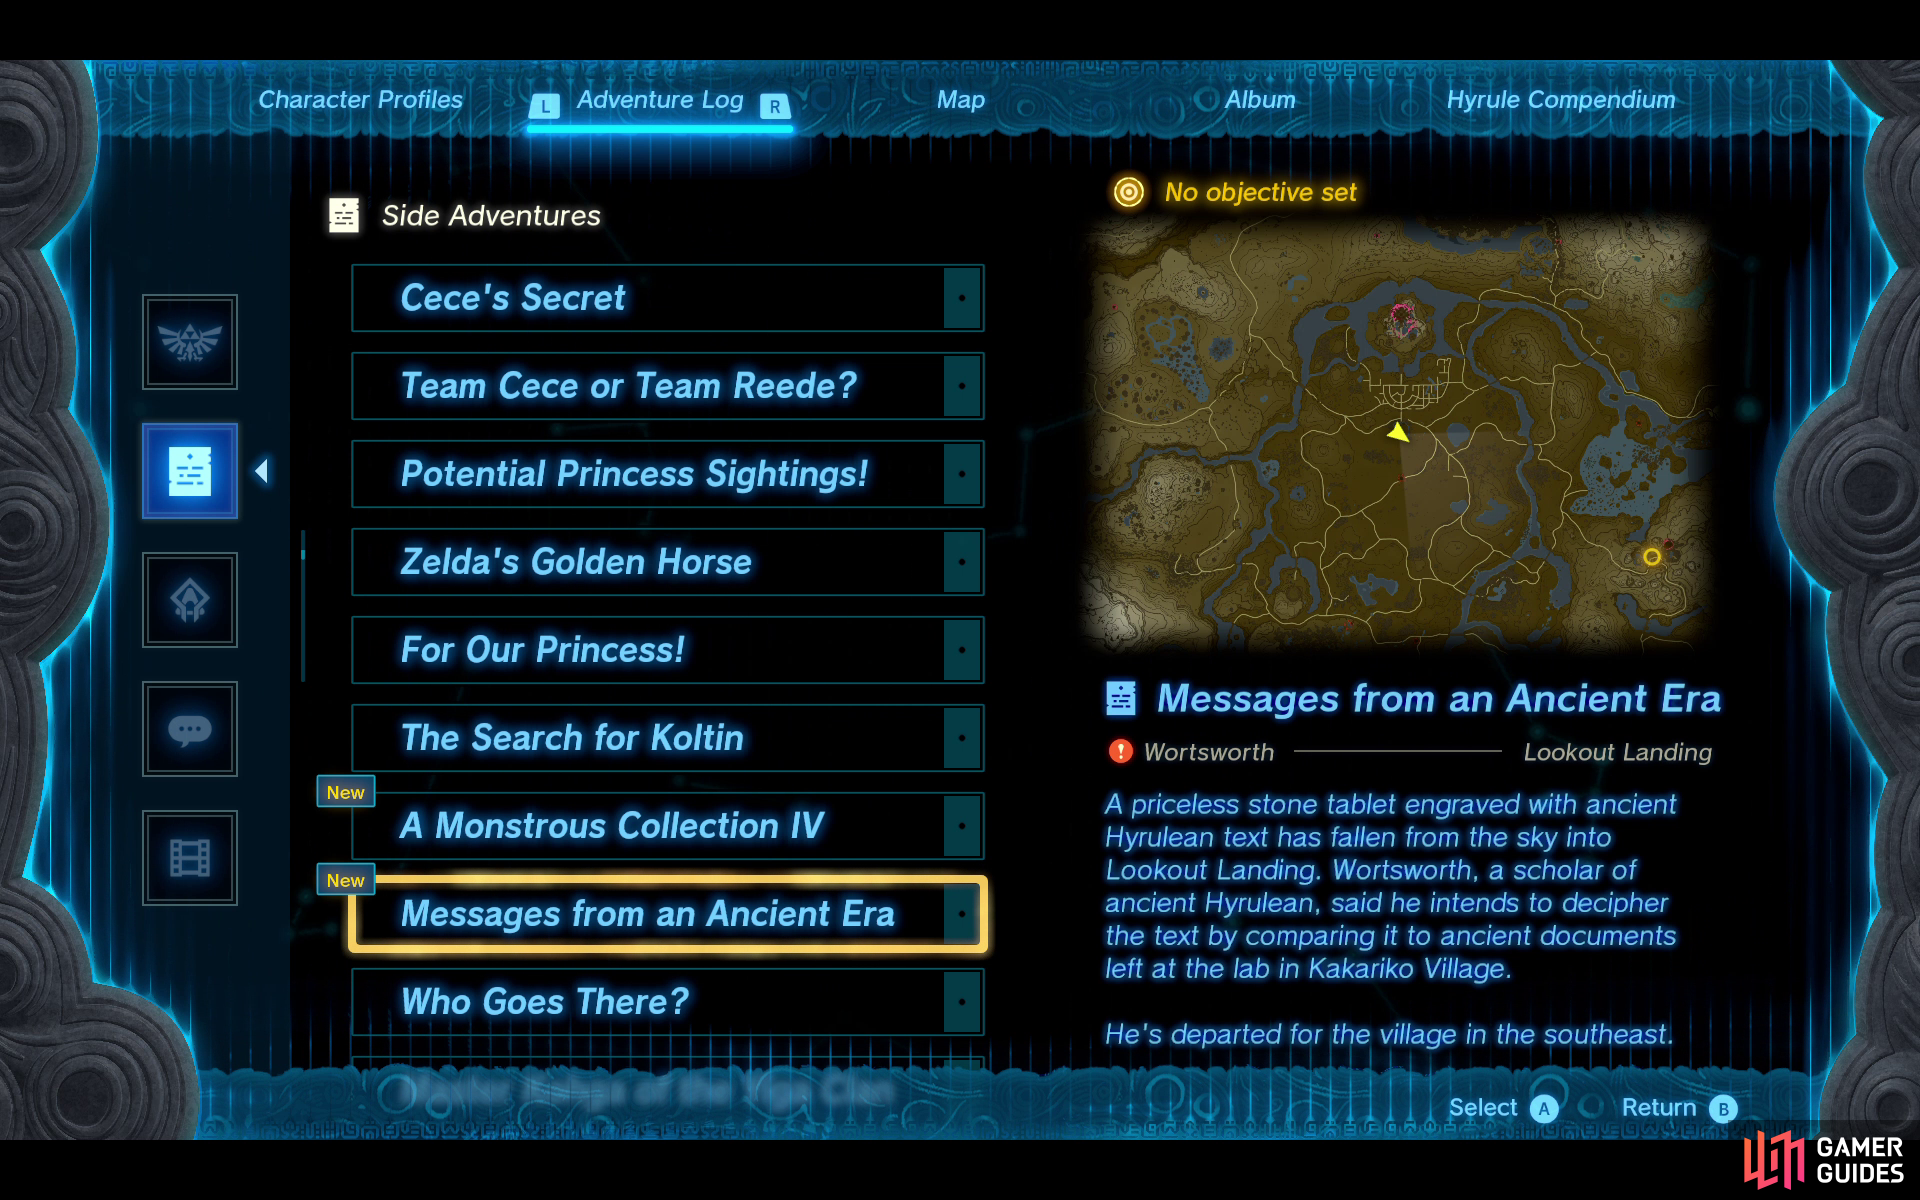
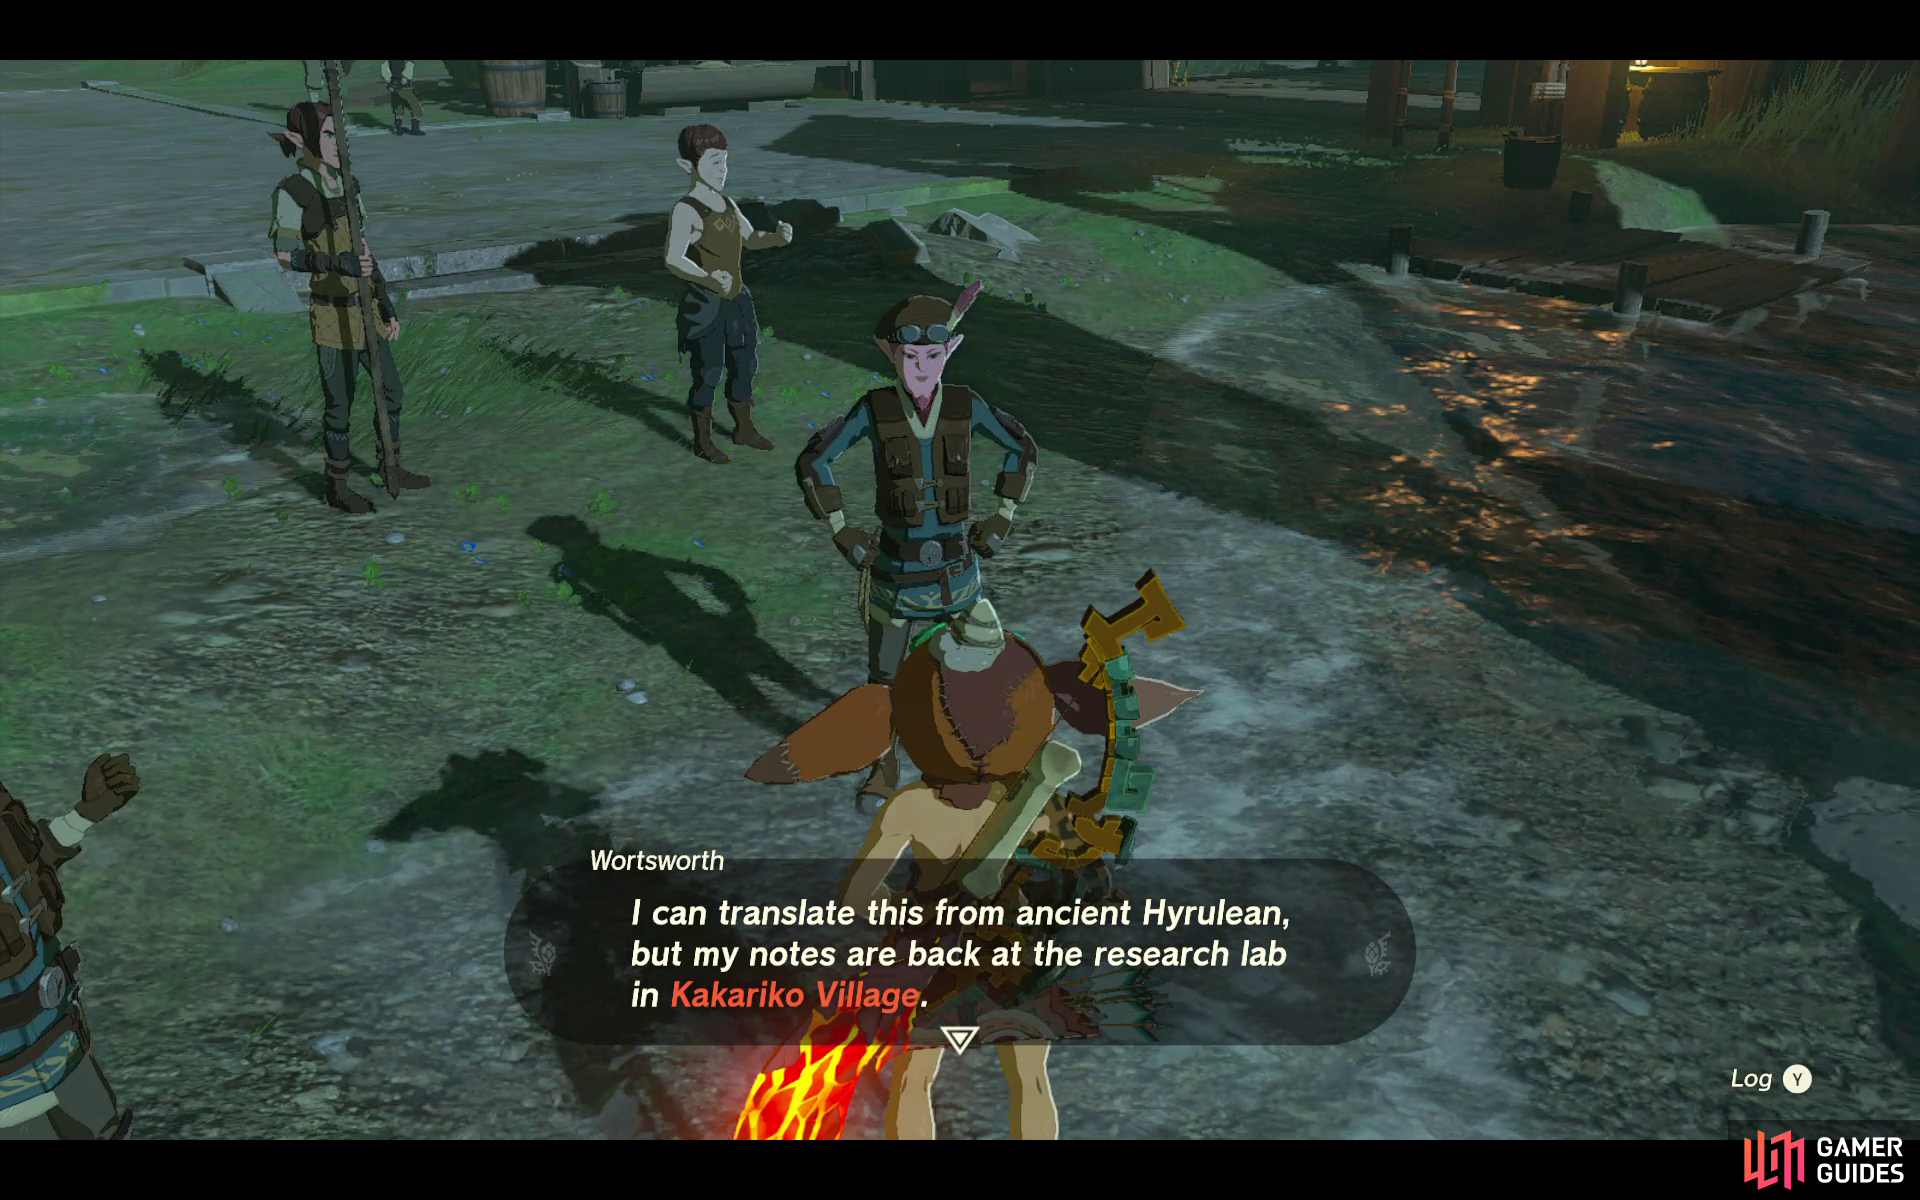
Messages from an Ancient Era |
A priceless stone tablet engraved with ancient Hyrulean text has fallen from the sky into
Description
Locate and photograph twelve
Location
Lookout Landing
Settlements
Completion Reward
12×
Silver Rupee
Key Item  Zonai Survey Team Fabric
Paraglider Fabrics Zonai Survey Team Fabric
Paraglider Fabrics
Quest Type
Side Adventure
Quest NPC
Wortsworth
NPC
Map(s)
|
|
|||||||||||||||||||||||||||||||||||||||||||||||||||||||||||||||||||||||||||||||||||||||||||||||

|
Presenting: Sensor + |
Must do the following prior to starting this side adventure:
Once you’ve finished those, speak with
Quest Type
Side Adventure
Map(s)
|
|
|||||||||||||||||||||||||||||||||||||||||||||||||||||||||||||||||||||||||||||||||||||||||||||||

|
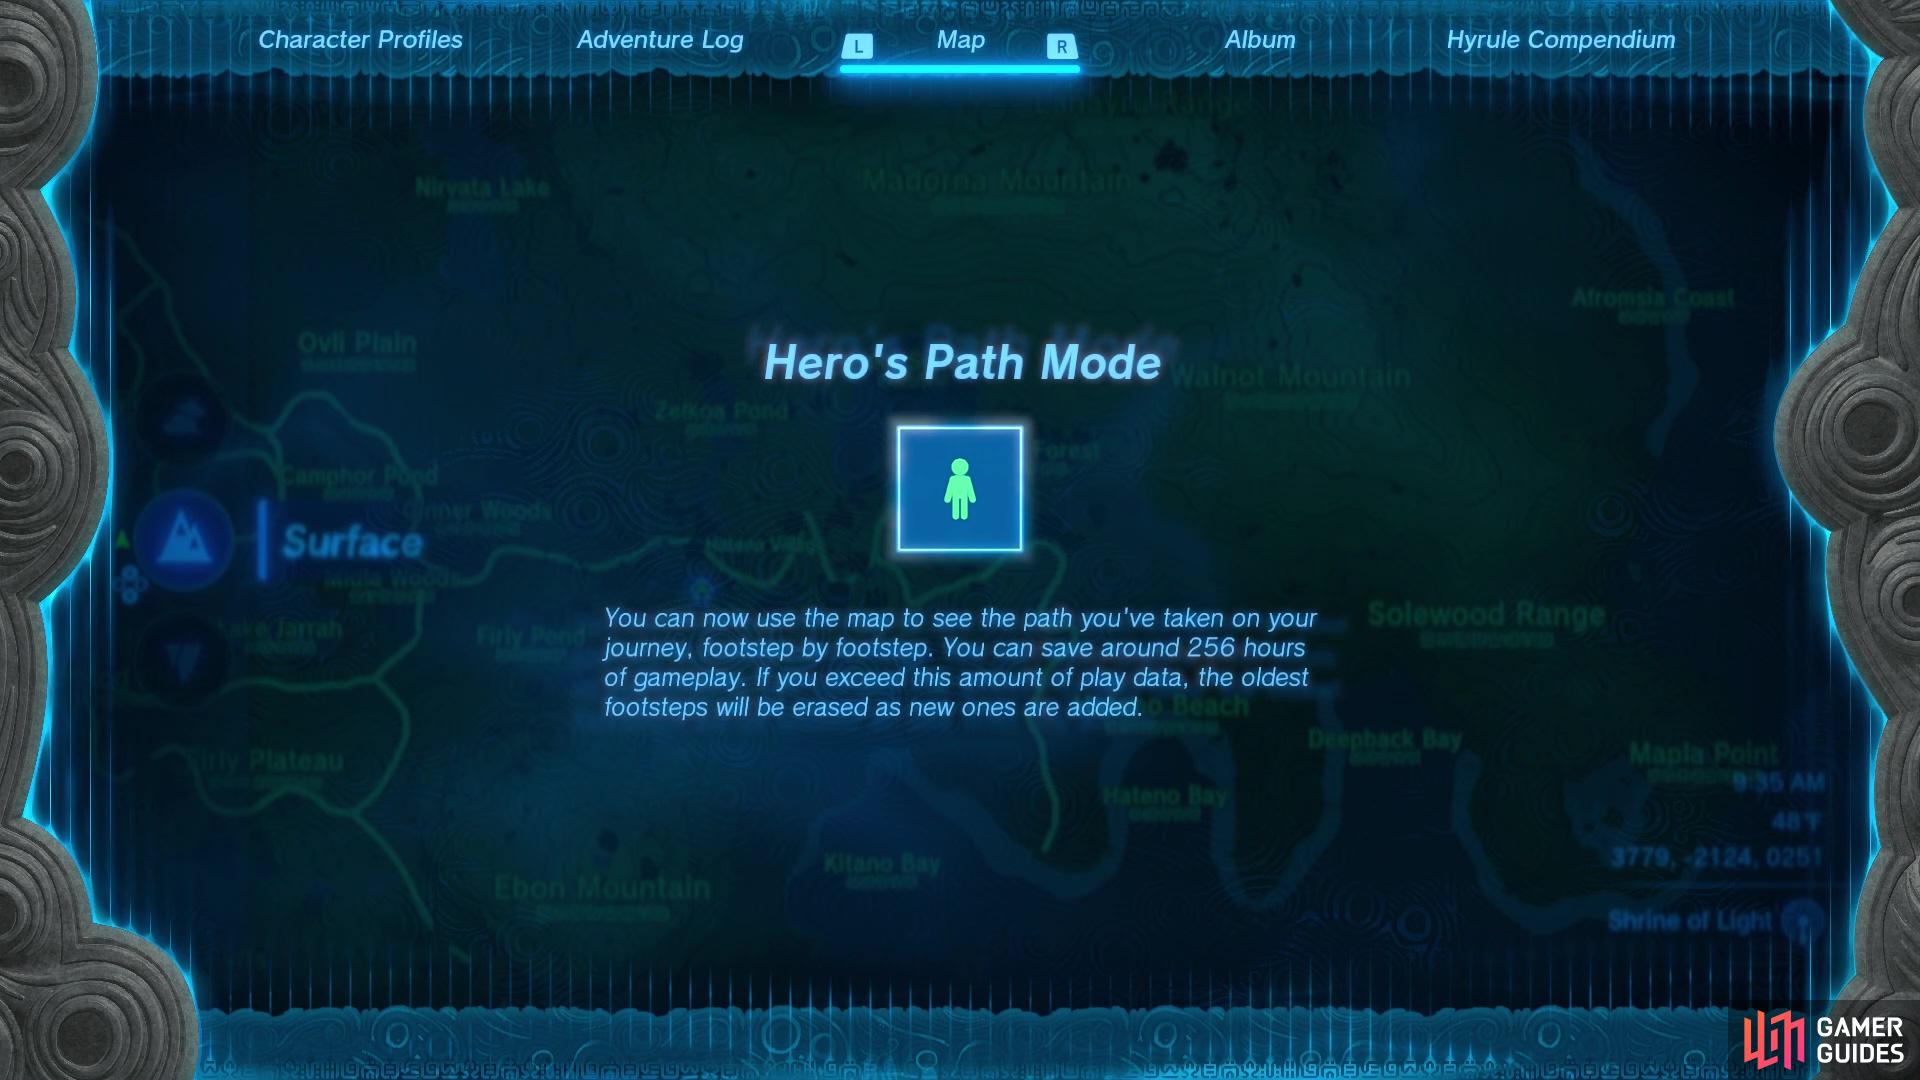
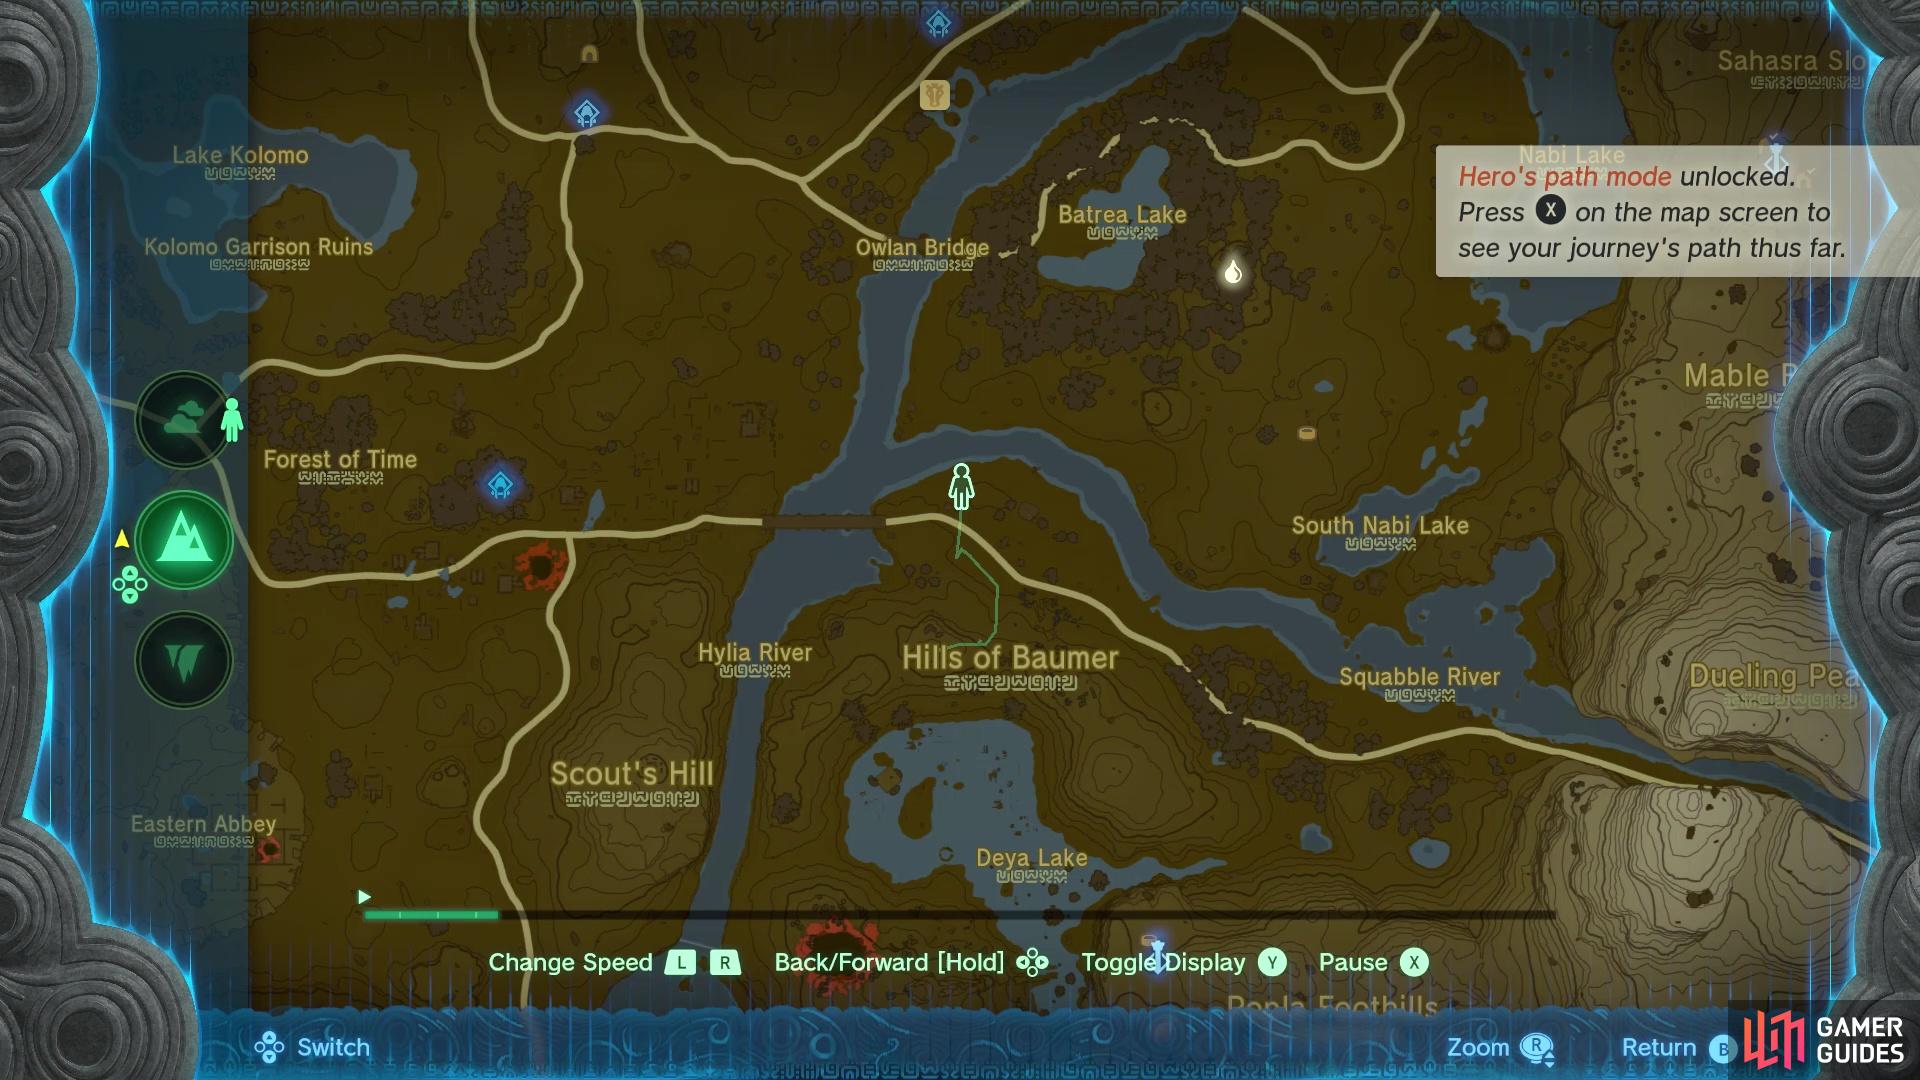
Presenting: Hero’s Path Mode |
Must do the following prior to starting this side adventure:
Once you’ve finished those, speak with
Quest Type
Side Adventure
Map(s)
|
|
|||||||||||||||||||||||||||||||||||||||||||||||||||||||||||||||||||||||||||||||||||||||||||||||

|
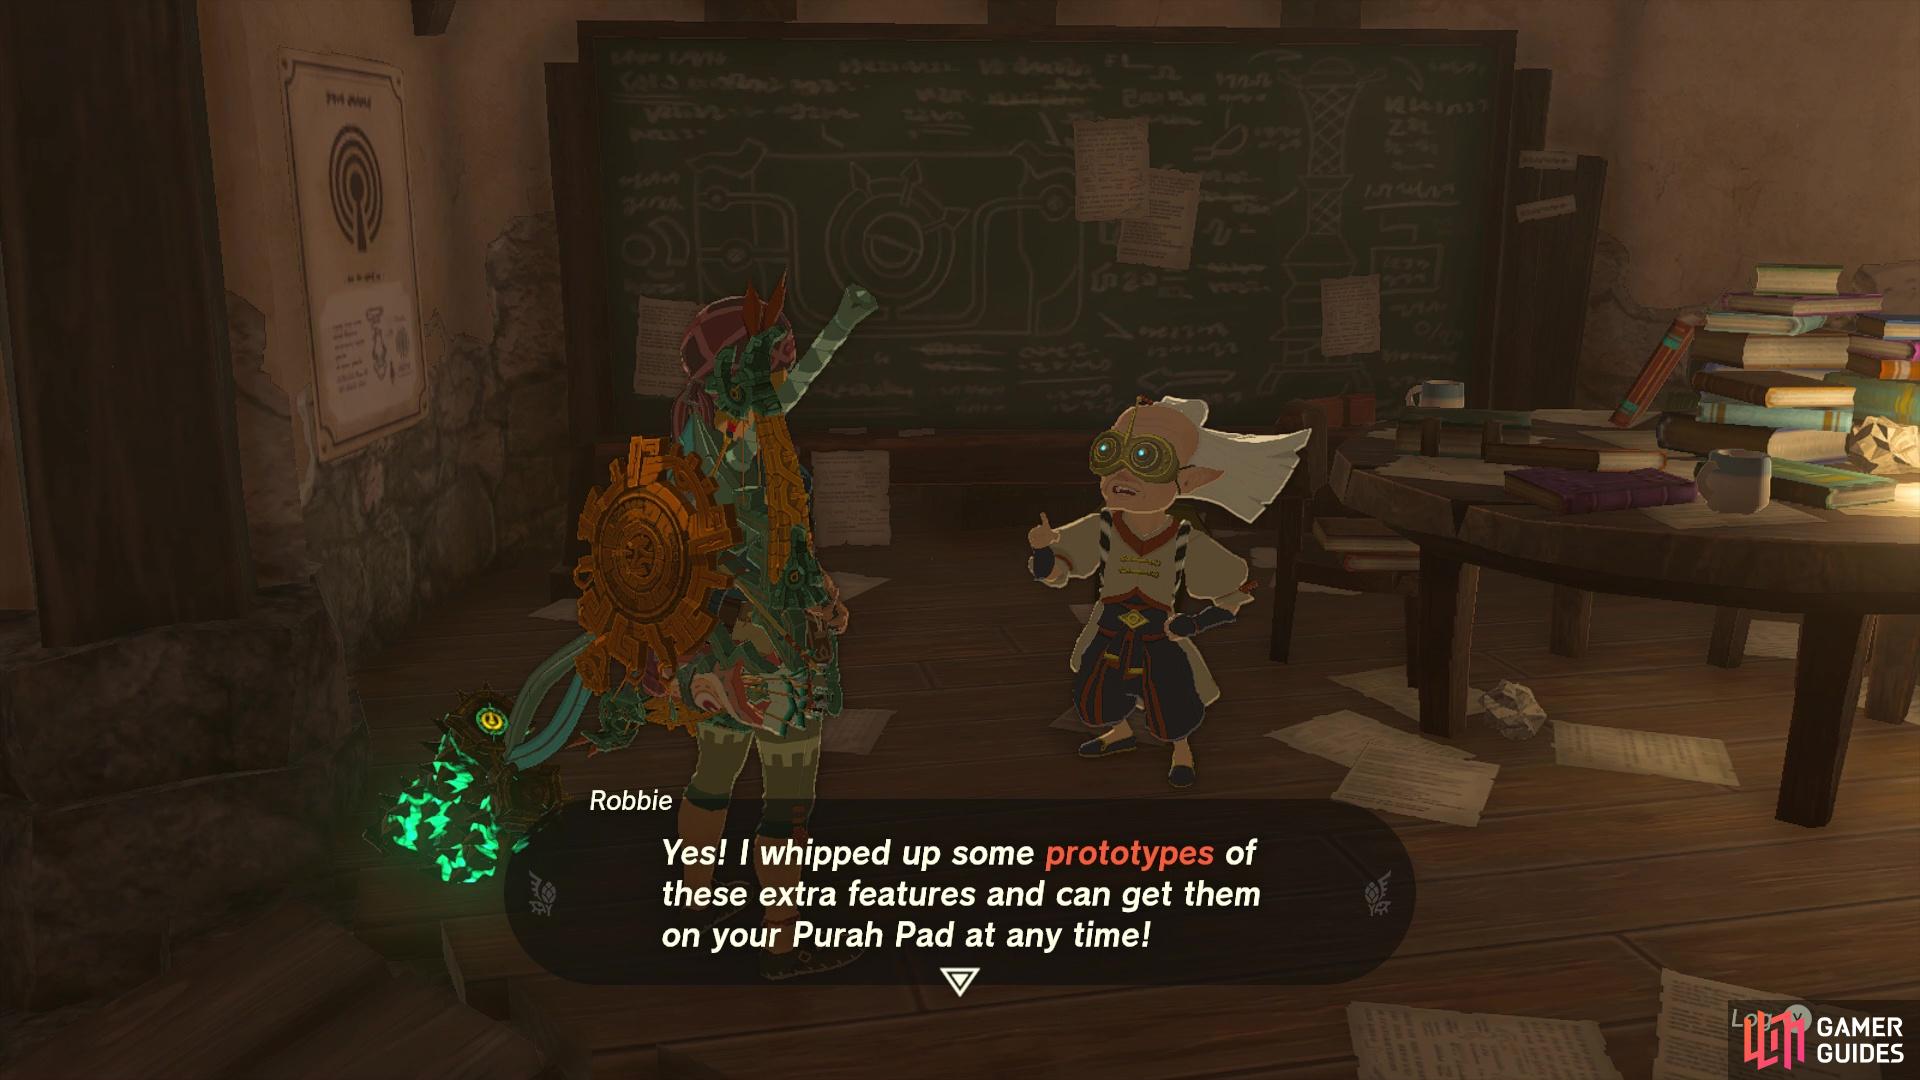
Presenting: The Travel Medallion |
Must do the following prior to starting this side adventure:
Once you’ve finished those, speak with After doing that, you can get two more charges for it by finding and activating the Skyview Towers. Doing 10 of those will get you the second charge, and getting all 15 will net you the third charge. Only after doing all of that will this side adventure be done.
Quest Type
Side Adventure
Map(s)
|
|
|||||||||||||||||||||||||||||||||||||||||||||||||||||||||||||||||||||||||||||||||||||||||||||||

|
Potential Princess Sightings! |
The newspaper editor Traysi says that people all over Hyrule have been seeing someone who might be Princess !Zelda.
Quest Type
Side Adventure
Map(s)
|
|
|||||||||||||||||||||||||||||||||||||||||||||||||||||||||||||||||||||||||||||||||||||||||||||||

|
Princess Zelda Kidnapped?! |
This side adventure can be picked up by talking to This is one of 12 Lucky Clover Gazette side adventures that are found by interacting with different NPCs at various stables. Before you can access any of these stable side adventures (including this one), you’ll have to speak to |
|
|||||||||||||||||||||||||||||||||||||||||||||||||||||||||||||||||||||||||||||||||||||||||||||||

|
Reede's Secret |
Every evening, Reede shuts himself up in the shed at his house. His wife, Clavia, is getting suspicious of his behavior. She’s asked you to go into the shed in the middle of the day while Reede isn’t there and look around. The shed is normally locked and can’t be entered through the door.
Description
Available after beginning Team Cece or Team Reede?
Completion Reward
10×
 Hylian Tomato
Materials Hylian Tomato
Materials
Quest Type
Side Adventure
Map(s)
|
||||||||||||||||||||||||||||||||||||||||||||||||||||||||||||||||||||||||||||||||||||||||||||||||

|
Ruffian-Infested Village |
Quest Type
Side Adventure
Map(s)
|

|
|||||||||||||||||||||||||||||||||||||||||||||||||||||||||||||||||||||||||||||||||||||||||||||||

|
Serenade to Cotera |
|
||||||||||||||||||||||||||||||||||||||||||||||||||||||||||||||||||||||||||||||||||||||||||||||||

|
Serenade to Kaysa |
|
||||||||||||||||||||||||||||||||||||||||||||||||||||||||||||||||||||||||||||||||||||||||||||||||

|
Serenade to Mija |
|
||||||||||||||||||||||||||||||||||||||||||||||||||||||||||||||||||||||||||||||||||||||||||||||||

|
The All-Clucking Cucco |
This side adventure can be started at South Akkala Stable. Speak to This is one of 12 Lucky Clover Gazette side adventures that are found by interacting with different NPCs at various stables. Before you can access any of these stable side adventures (including this one), you’ll have to speak to |
|
|||||||||||||||||||||||||||||||||||||||||||||||||||||||||||||||||||||||||||||||||||||||||||||||

|
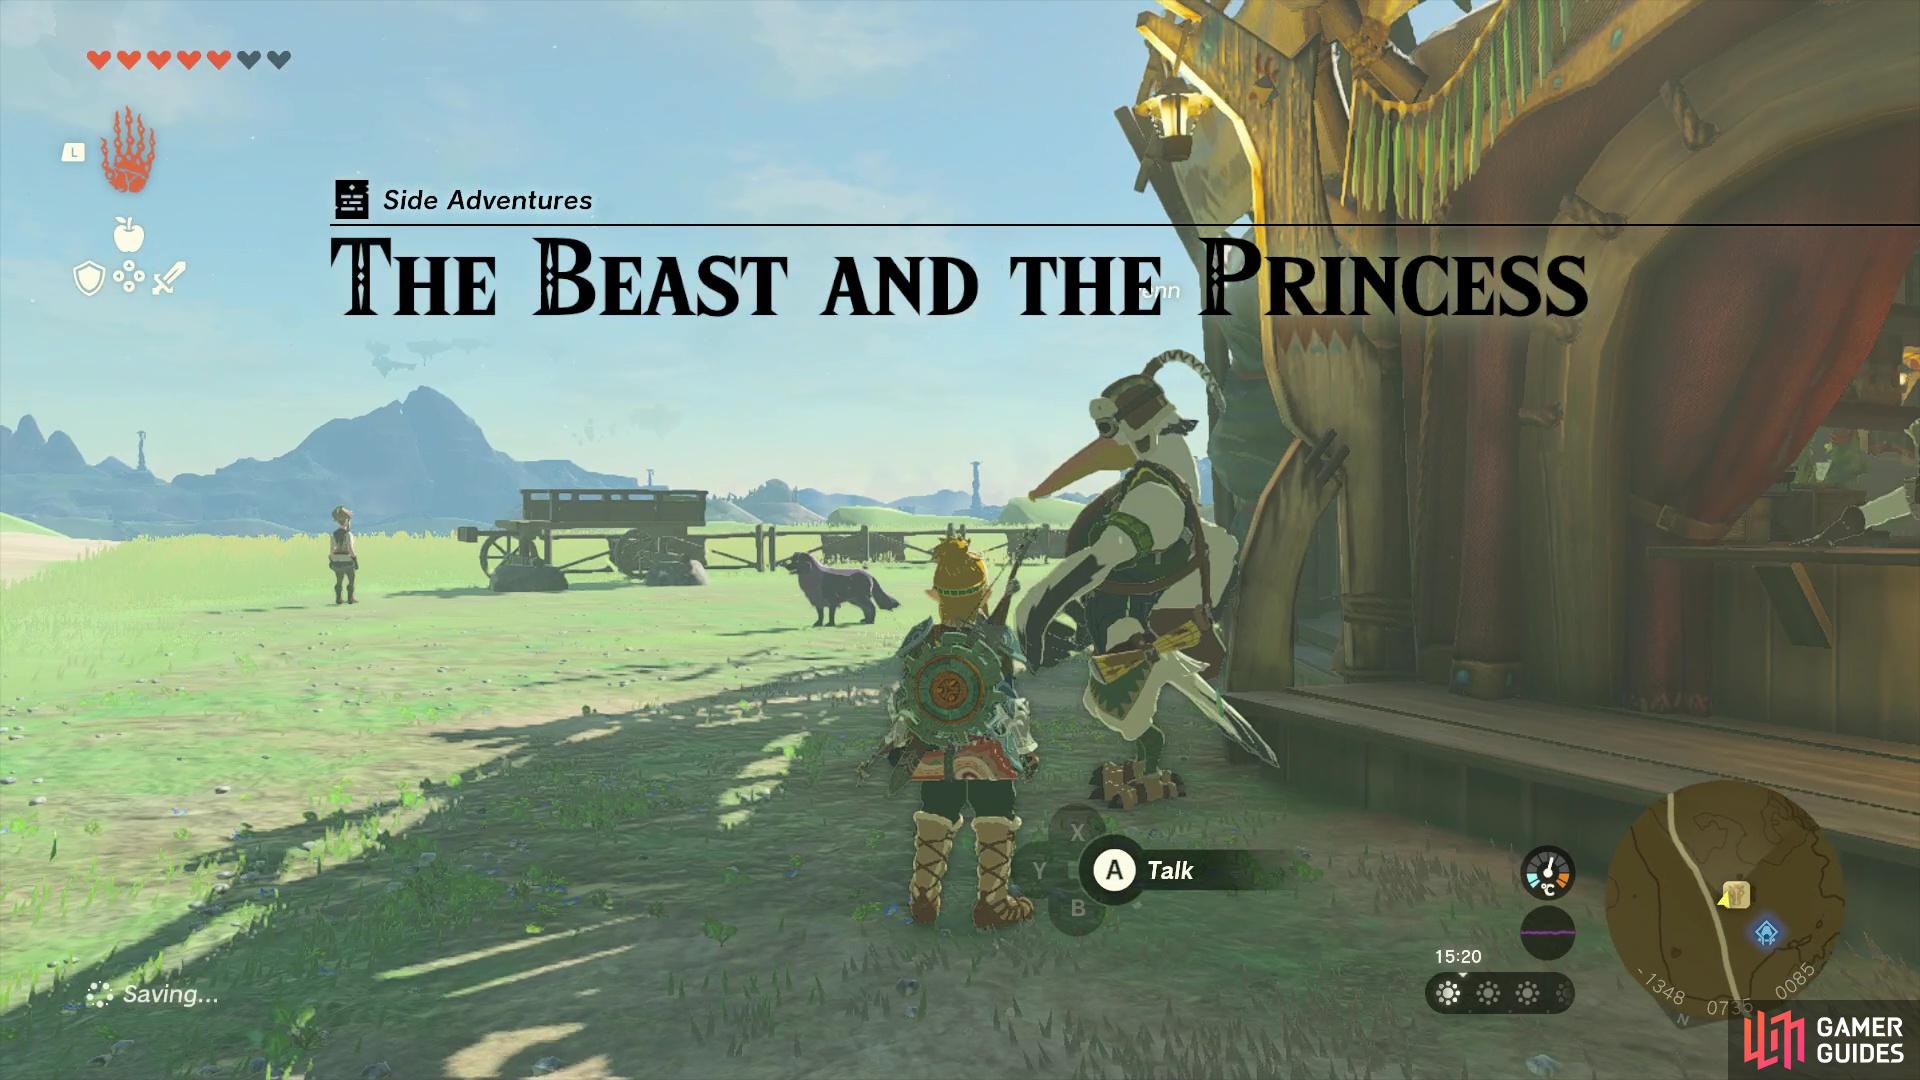
The Beast and the Princess |
This side quest is started by speaking to This is one of 12 Lucky Clover Gazette side adventures that are found by interacting with different NPCs at various stables. Before you can access any of these stable side adventures (including this one), you’ll have to speak to
Quest Type
Side Adventure
Map(s)
|
|
|||||||||||||||||||||||||||||||||||||||||||||||||||||||||||||||||||||||||||||||||||||||||||||||

|
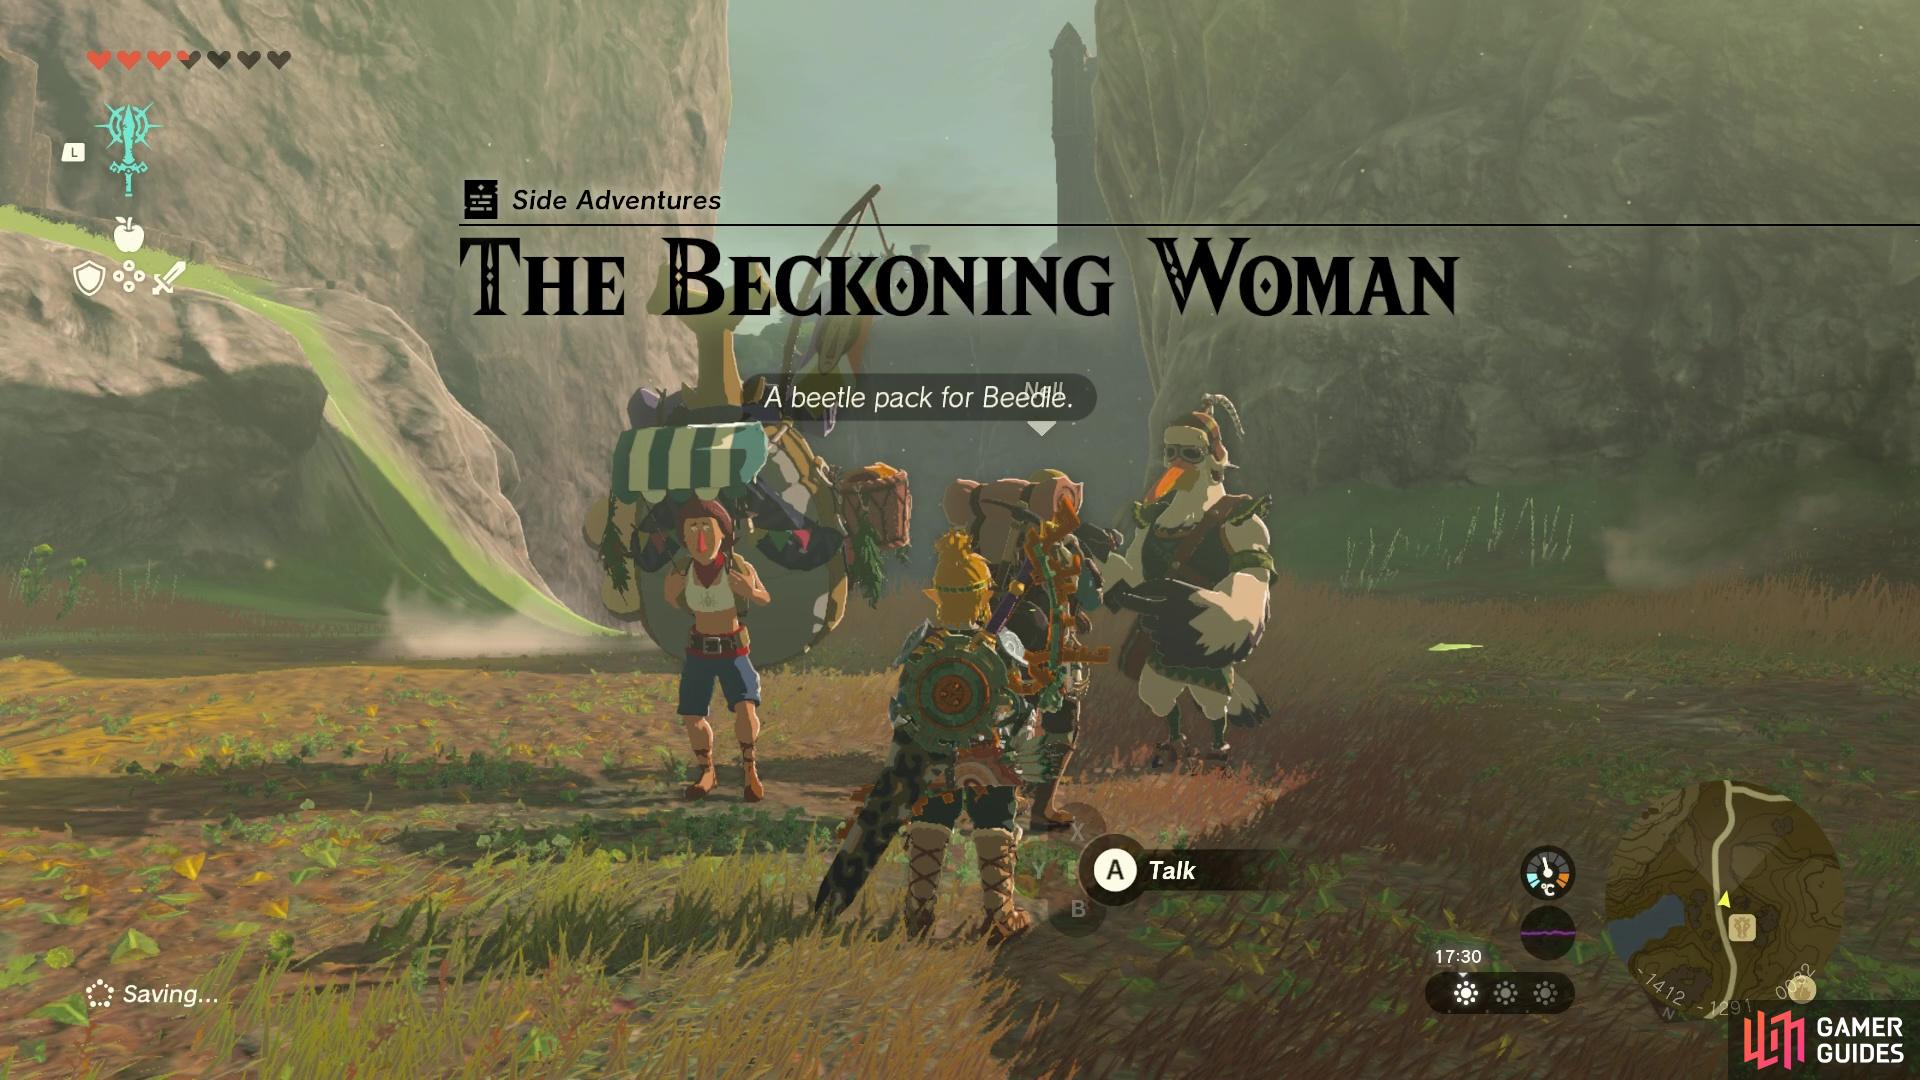
The Beckoning Woman |
This side adventure can be started in Outskirt Stable. Speak to This is one of 12 Lucky Clover Gazette side adventures that are found by interacting with different NPCs at various stables. Before you can access any of these stable side adventures (including this one), you’ll have to speak to |
|
|||||||||||||||||||||||||||||||||||||||||||||||||||||||||||||||||||||||||||||||||||||||||||||||

|
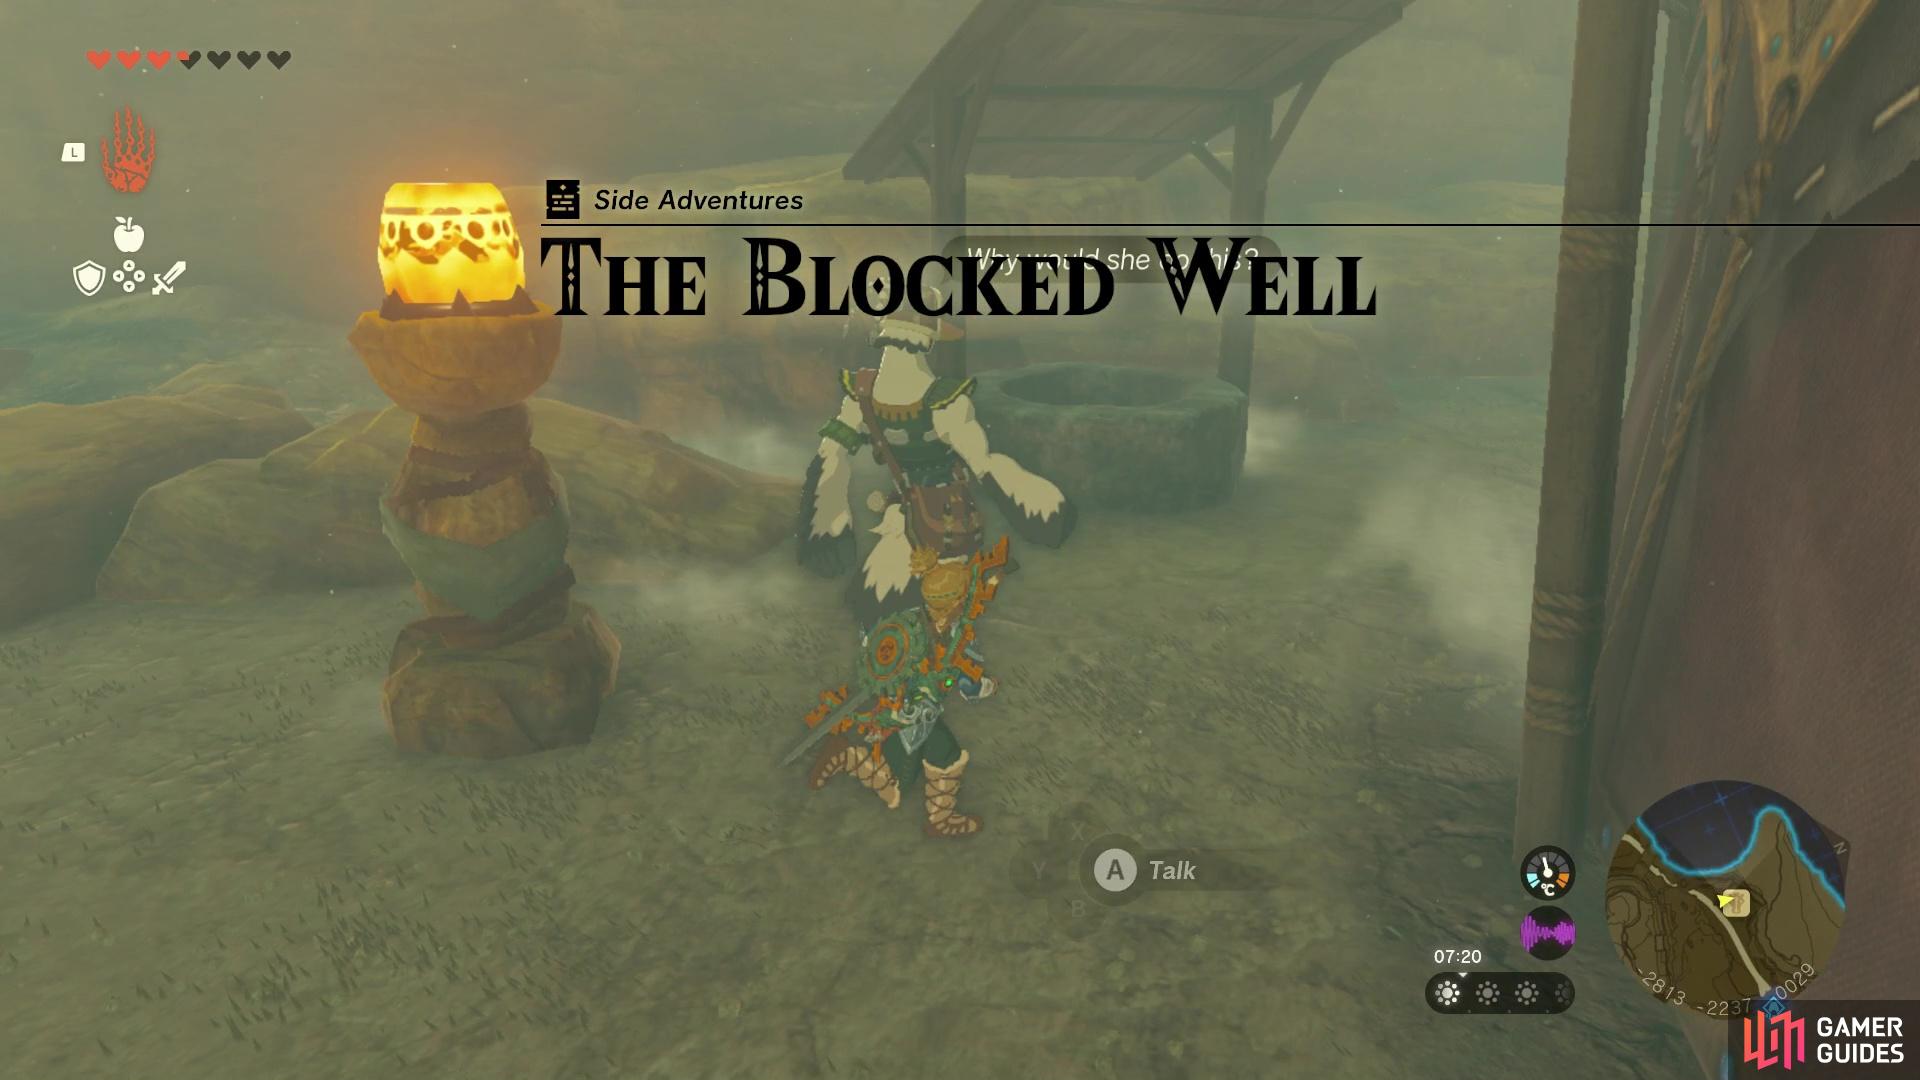
The Blocked Well |
Penn thinks it’d be helpful to go down the well to look for clues, but his wings are too wide for him to fit.
Description
This side adventure can be started in Gerudo Canyon Stable. Speak to This is one of 12 Lucky Clover Gazette side adventures that are found by interacting with different NPCs at various stables. Before you can access any of these stable side adventures (including this one), you’ll have to speak to
Quest Type
Side Adventure
Quest NPC
 Penn
NPC Penn
NPC
Map(s)
|
|
|||||||||||||||||||||||||||||||||||||||||||||||||||||||||||||||||||||||||||||||||||||||||||||||

|
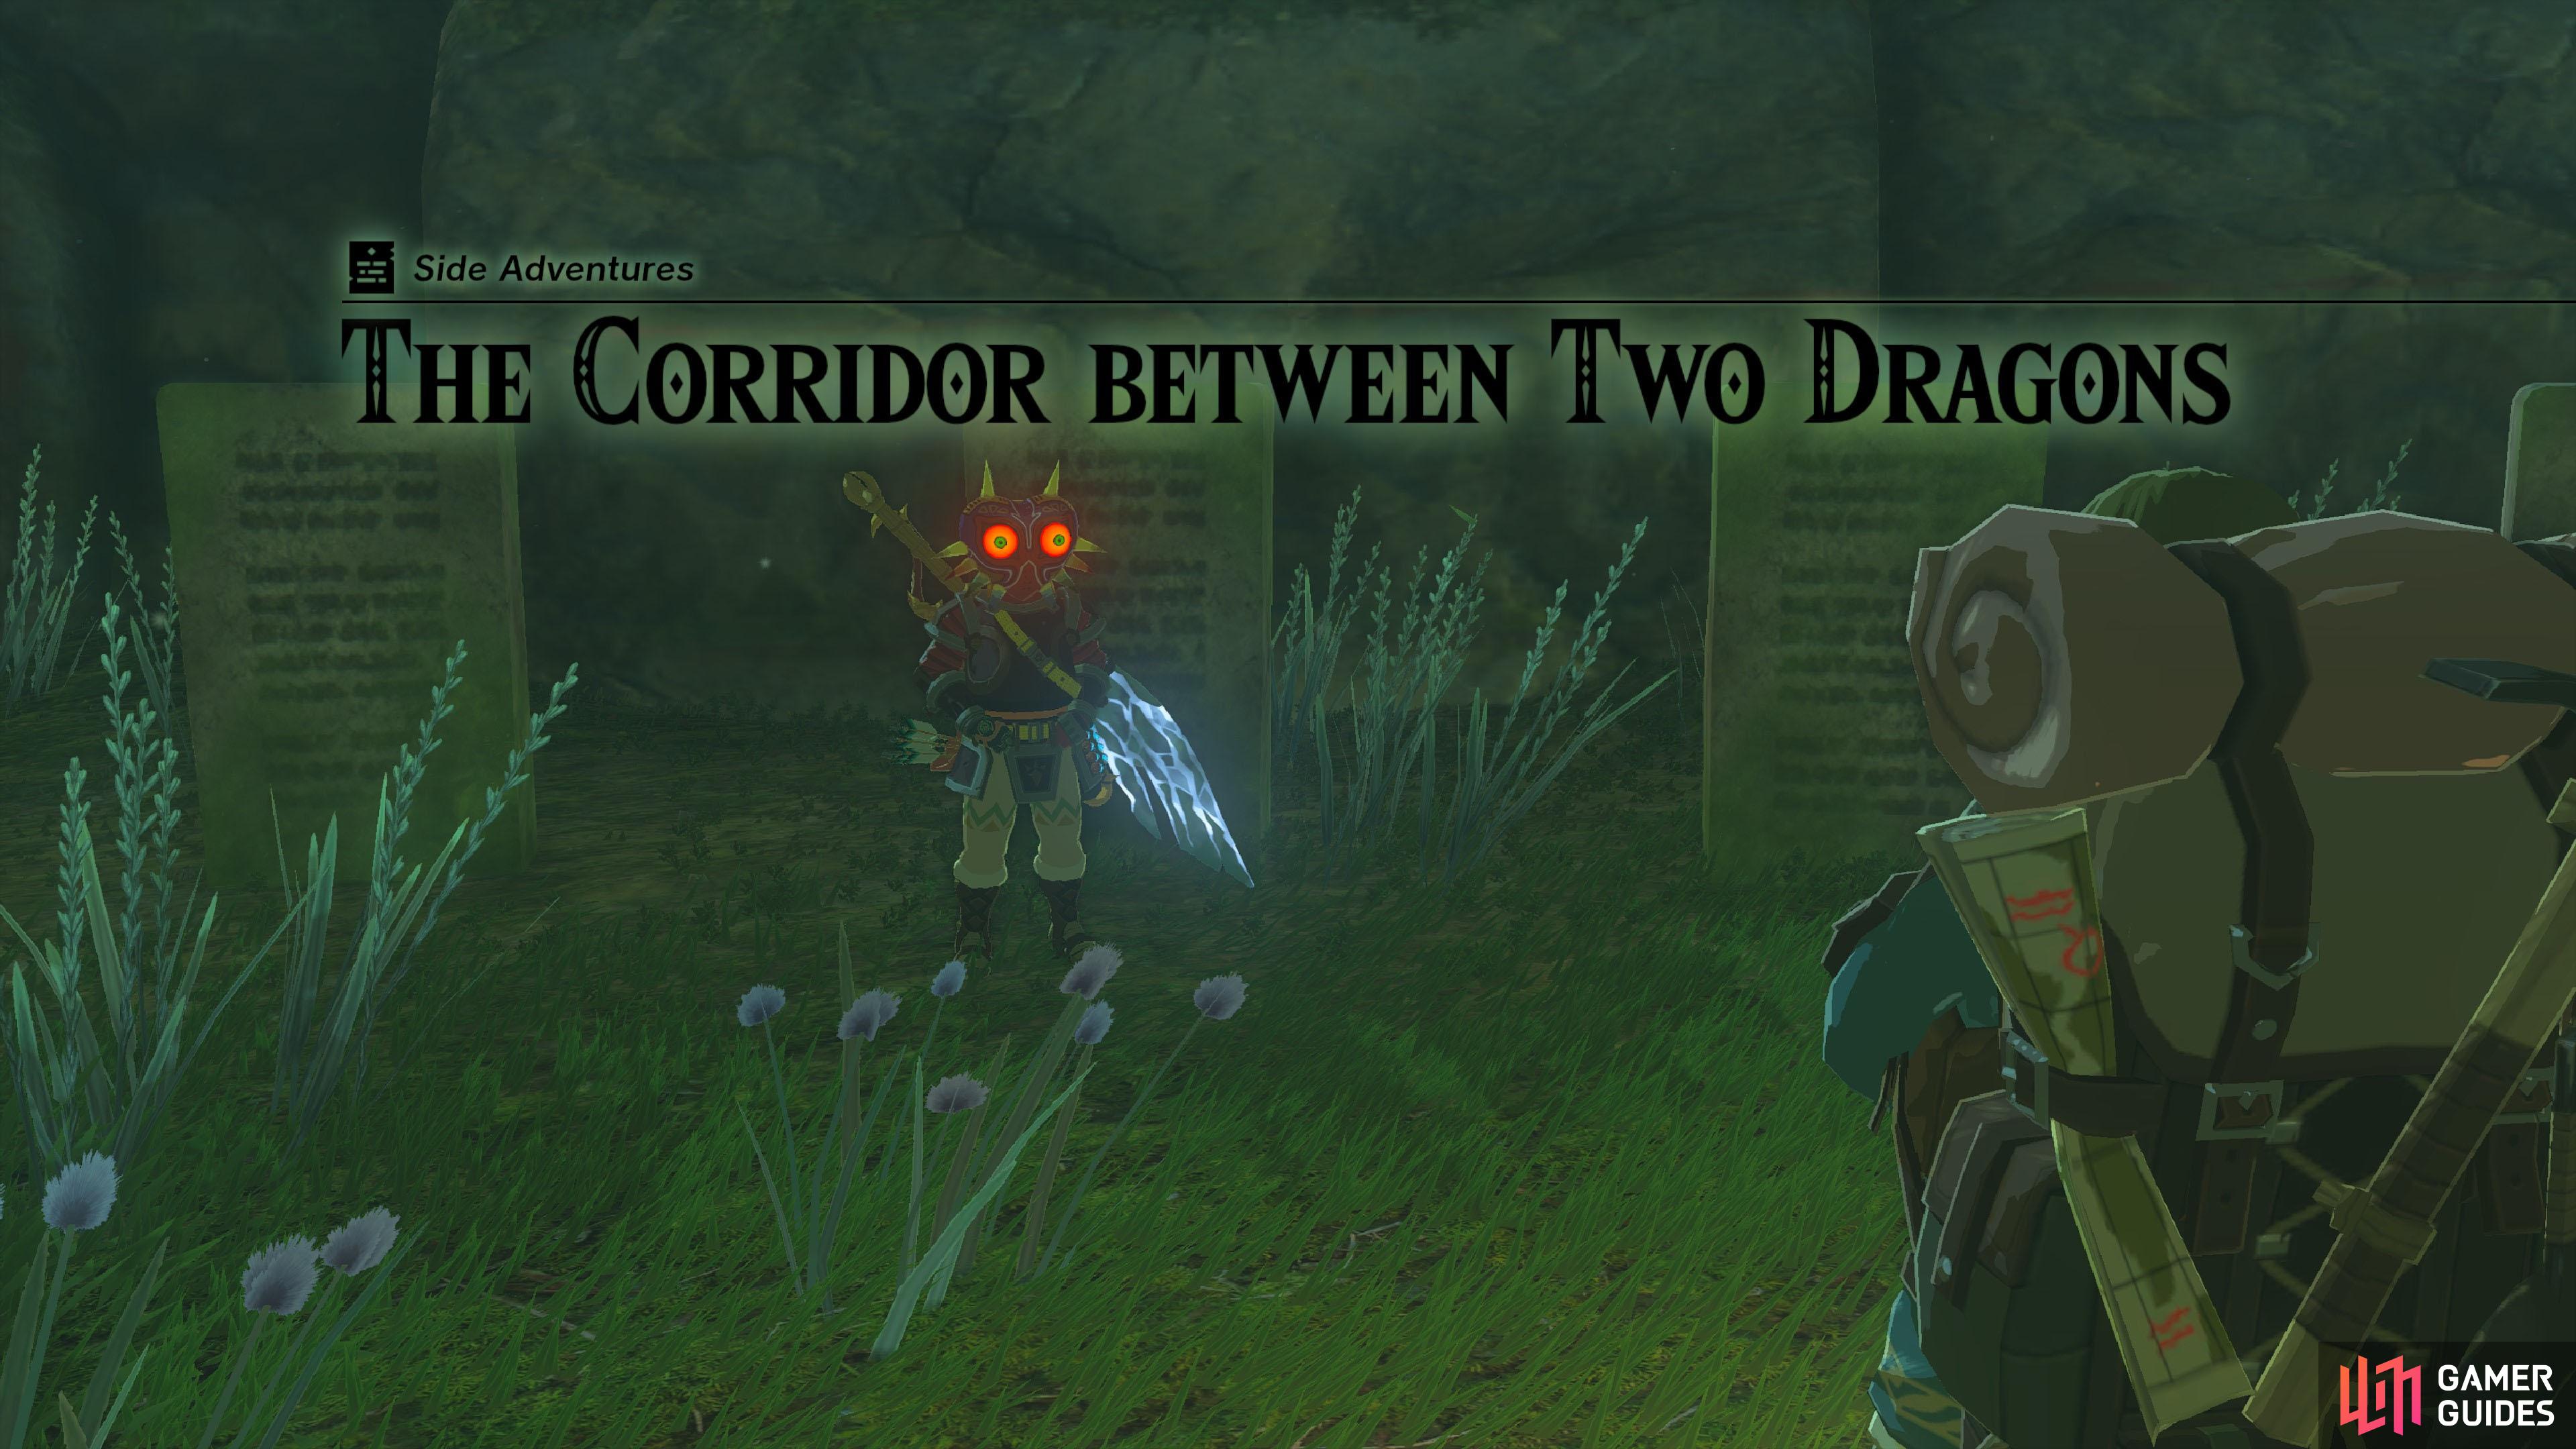
The Corridor Between Two Dragons |
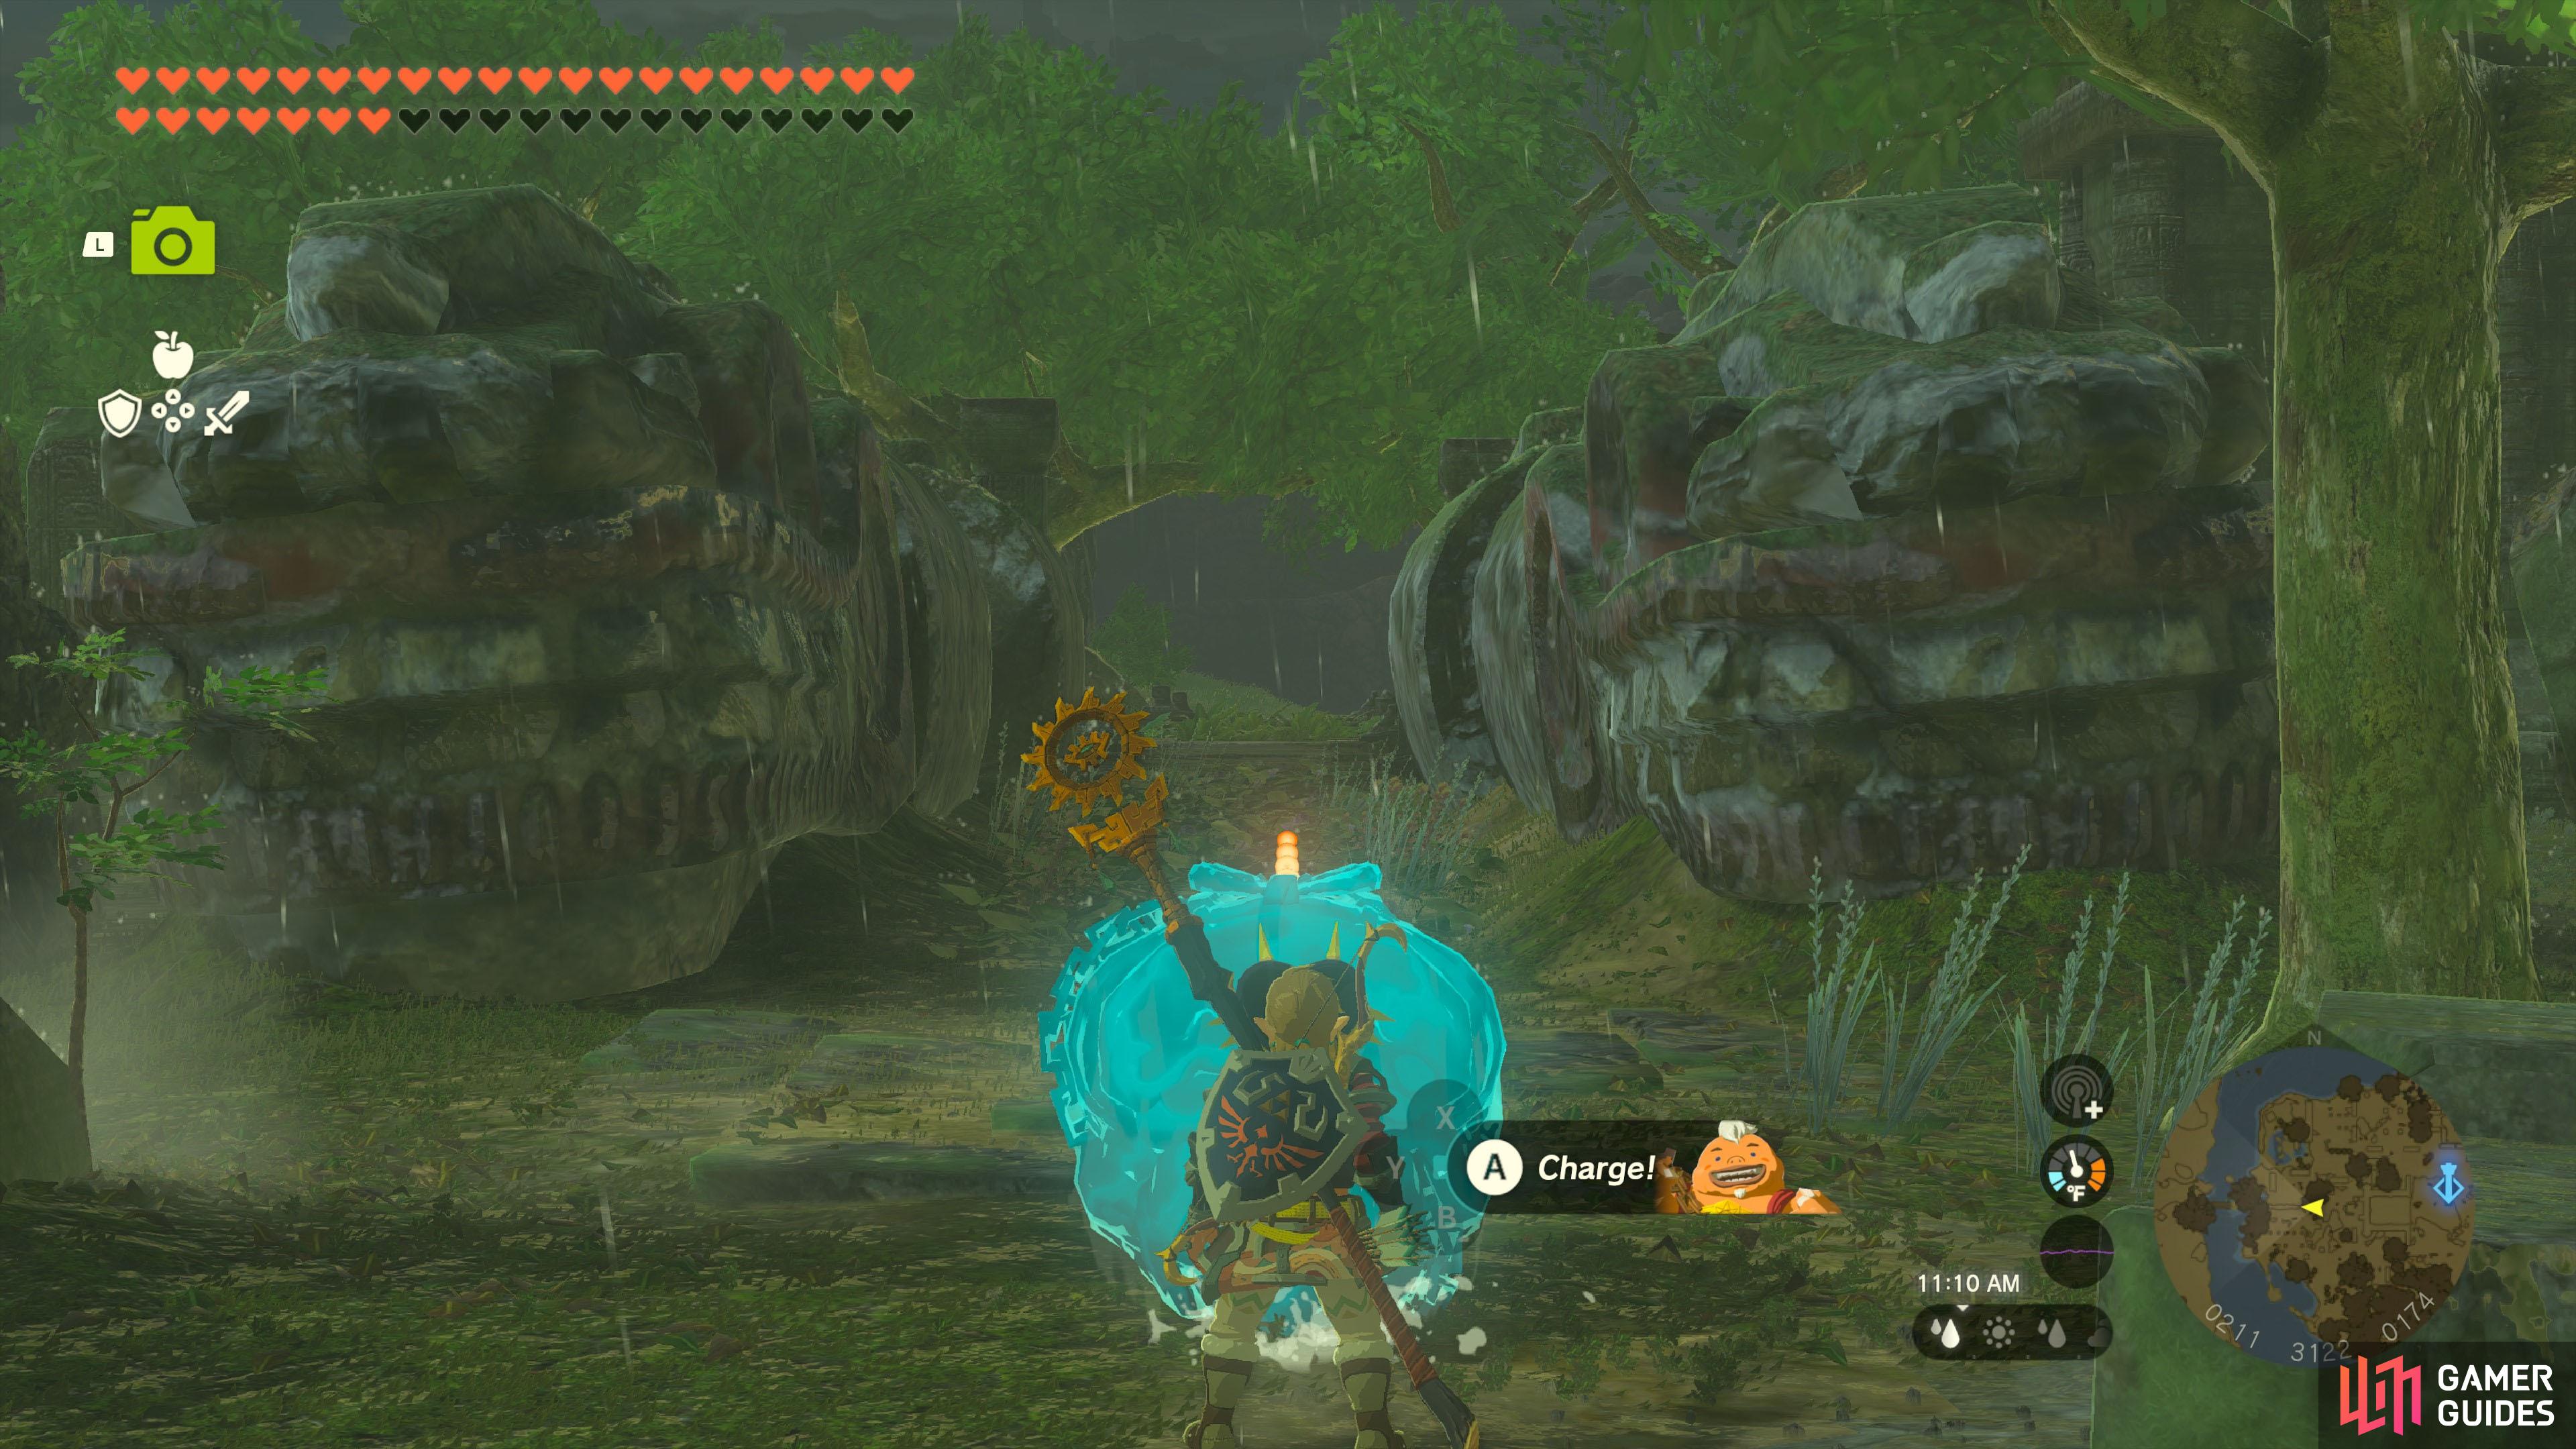
The Zonai Survey Team member Kazul found a monolith inscribed with the following: “Display the power of the Sage of Fire to blaze through the space between two dragons, from head to tail.” Try investigating Thyphlo Ruins to find the place described on the monolith.
Description
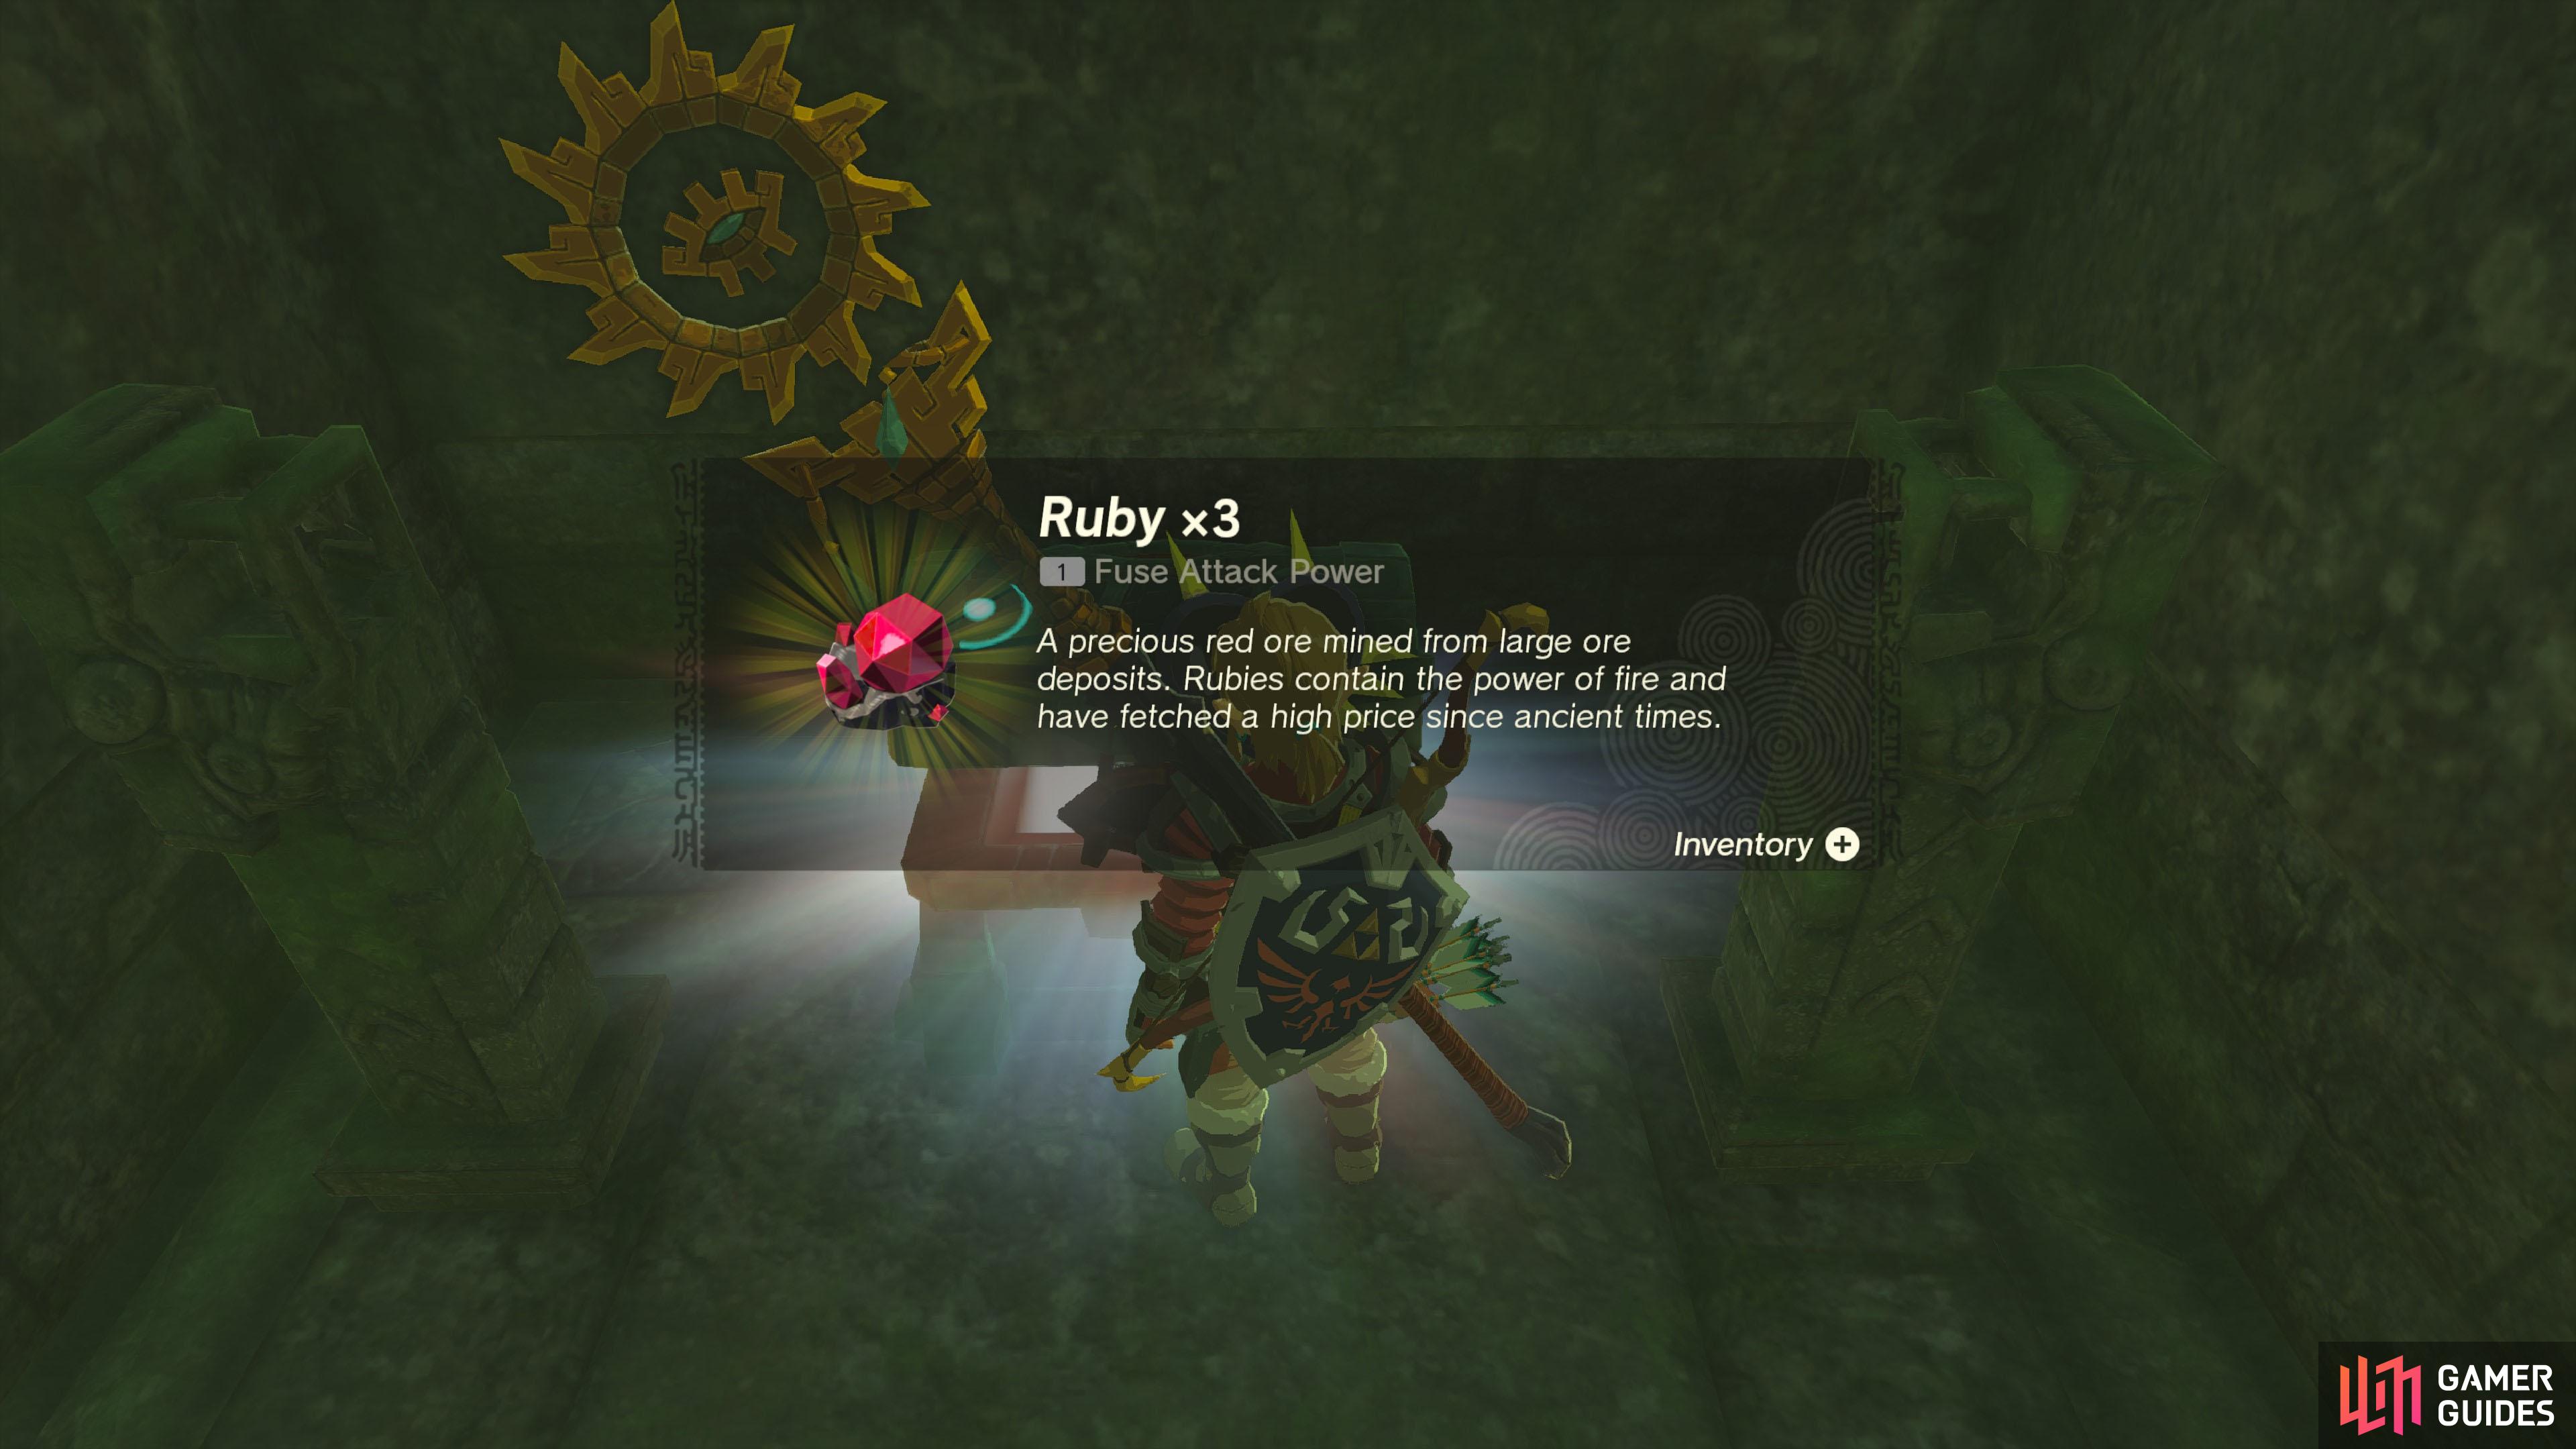
You will receive this side adventure upon investigating the second from left monolith after initiating Head west from the skyview tower. Near the edge of this island, halfway up, you should use the heads of two dragons parallel to each other. Use Yunobo’s Charge ability between the heads. Do so and a chest will rise up behind you. Open the chest and claim the contents to complete this side adventure.
Quest Type
Side Adventure
Map(s)
|
|
|||||||||||||||||||||||||||||||||||||||||||||||||||||||||||||||||||||||||||||||||||||||||||||||

|
The Flute Player's Plan |
|
||||||||||||||||||||||||||||||||||||||||||||||||||||||||||||||||||||||||||||||||||||||||||||||||

|
The Hornist's Dramatic Escape |
Help Eustice escape the hole in Tabantha Frontier.
Map(s)
|
||||||||||||||||||||||||||||||||||||||||||||||||||||||||||||||||||||||||||||||||||||||||||||||||

|
The Hunt for Bubbul Gems |
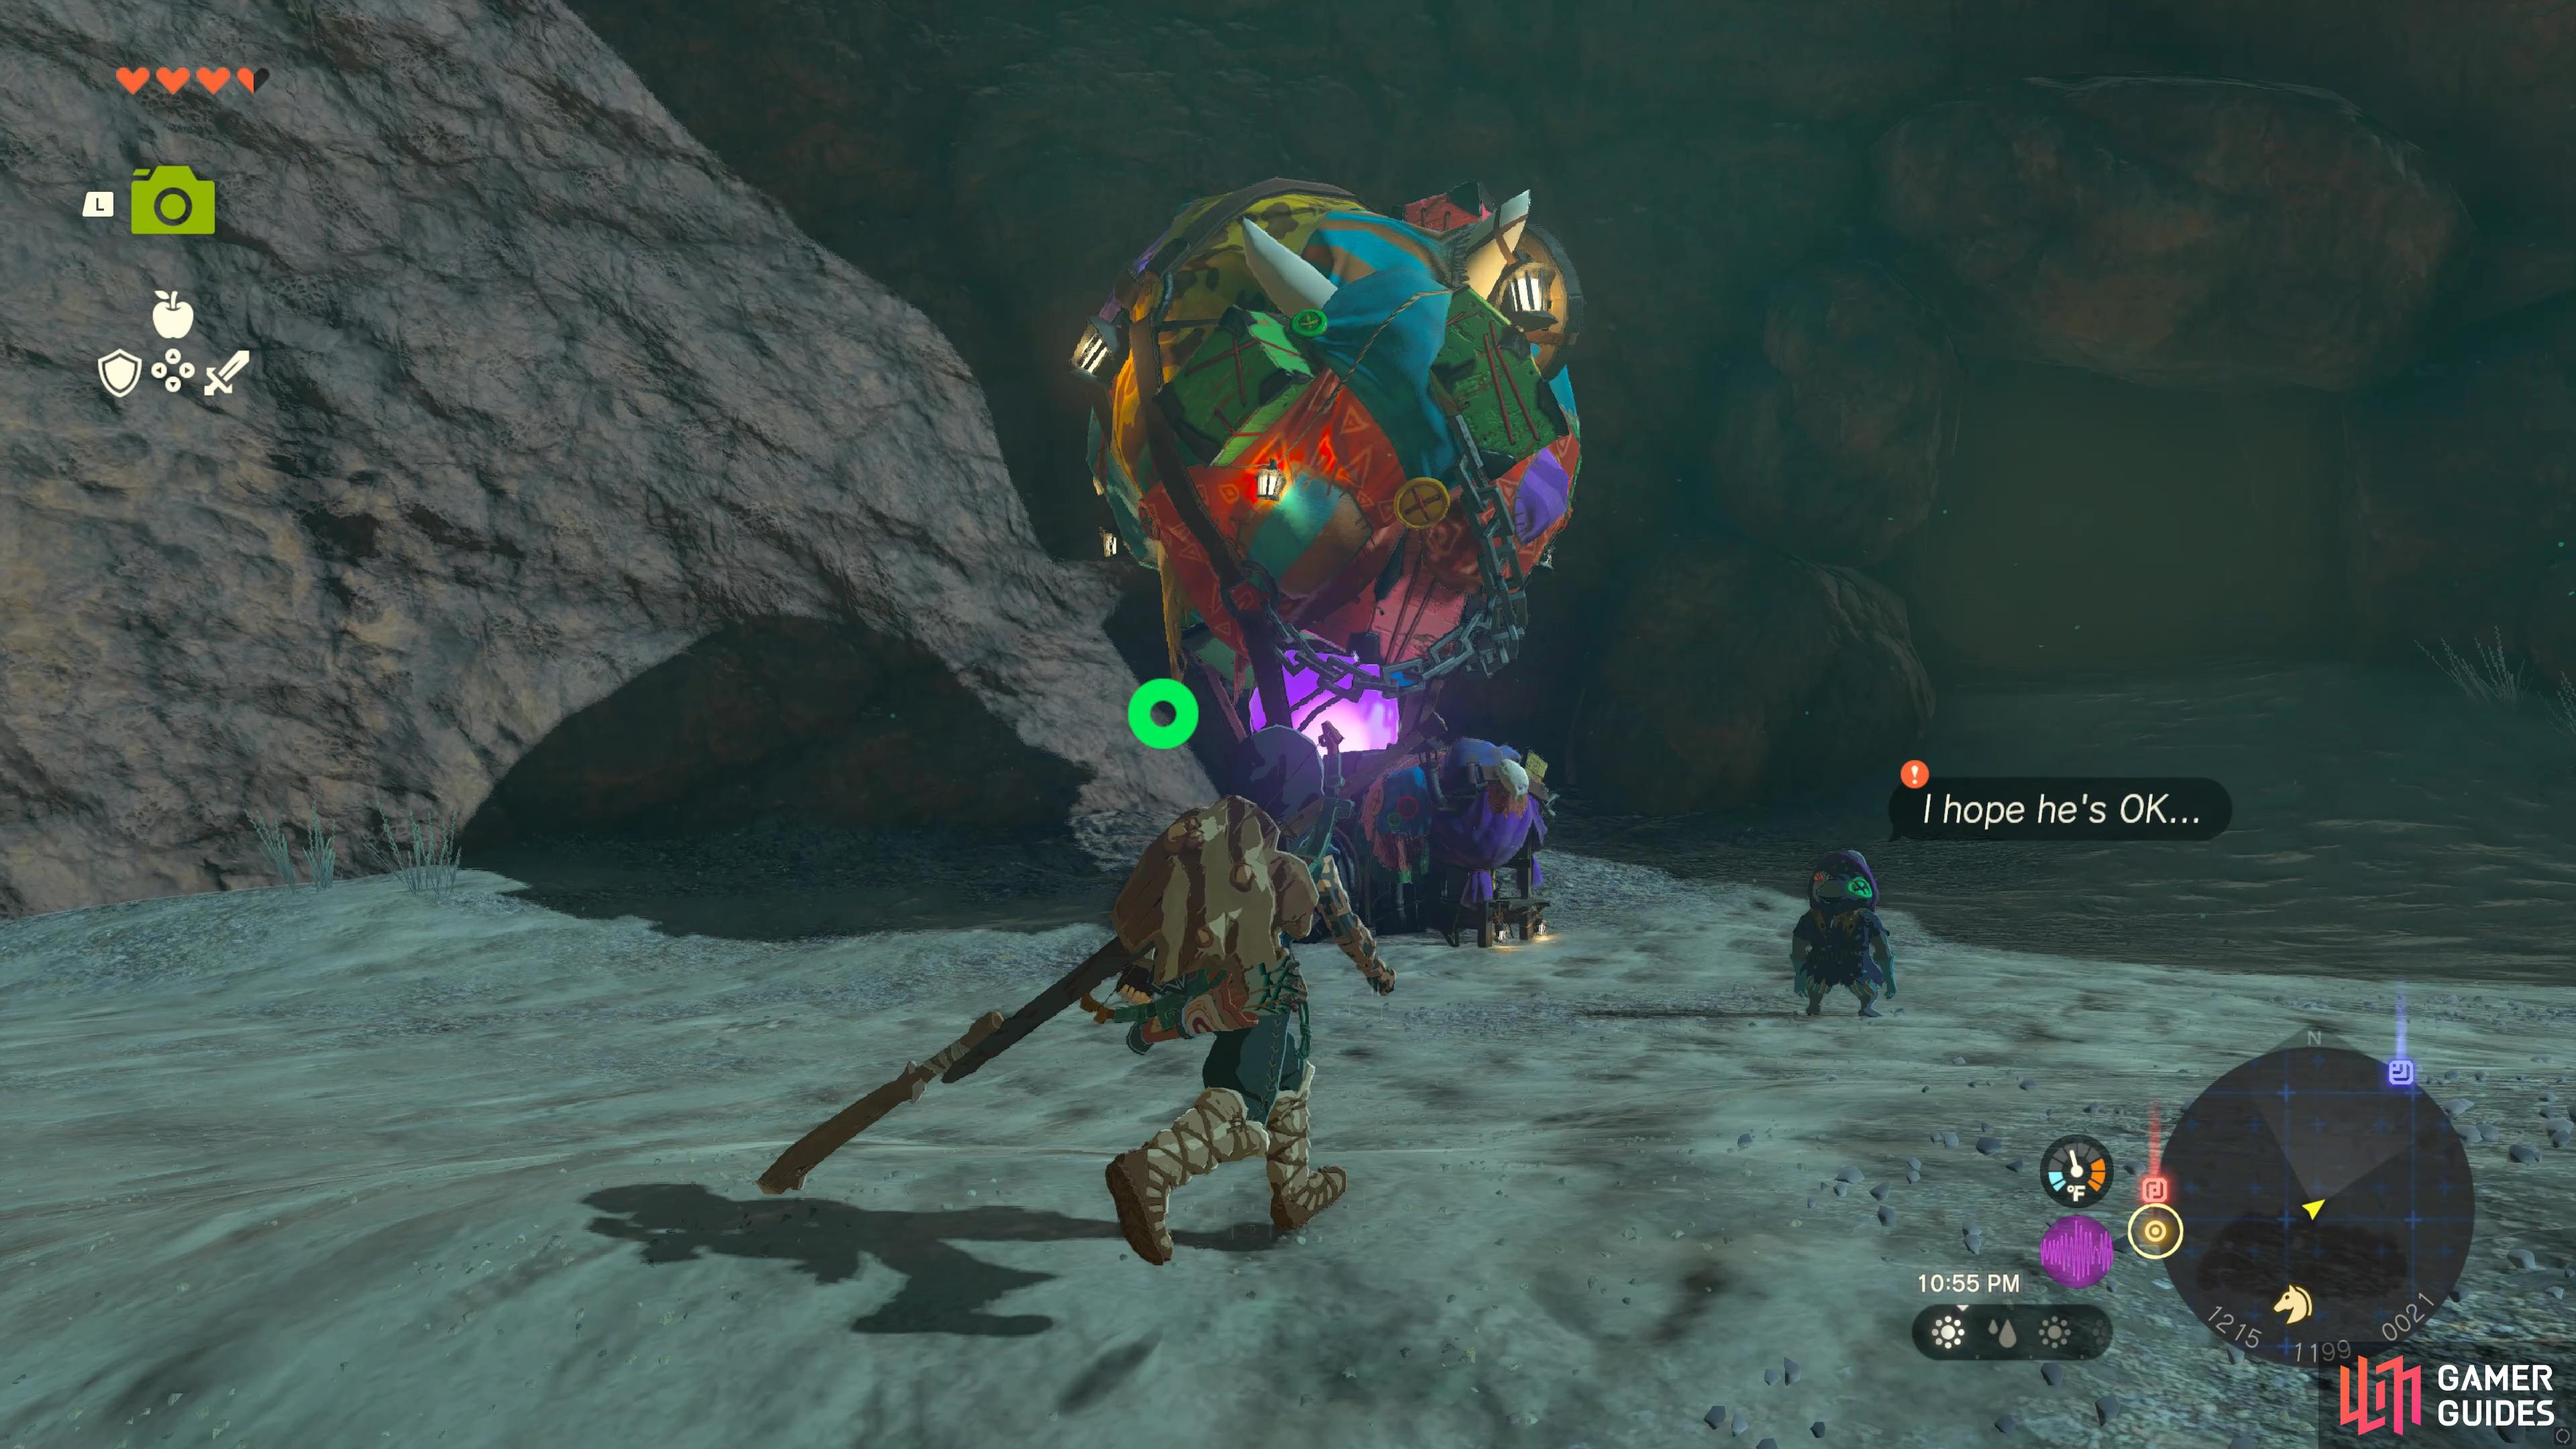
The quest can be started on the north bank of Pico Pond in Eldin Canyon. Koltin dreams of becoming a legendary creature known as a Satori. He says he needs a Bubbel gem in order to achieve this dream. Strange creatures known as Bubbulfrogs can be found in caves all over the world and have been known to drop these items when weakened. Head into After completion: You gave Koltin a Bubbul gem, and he gave you a reward as thanks! Koltin has taken his stall and set out on a journey to collect Bubbul gems in hopes of fulfilling his dream to become a Satori.
Quest Type
Side Adventure
Map(s)
|
|
|||||||||||||||||||||||||||||||||||||||||||||||||||||||||||||||||||||||||||||||||||||||||||||||

|
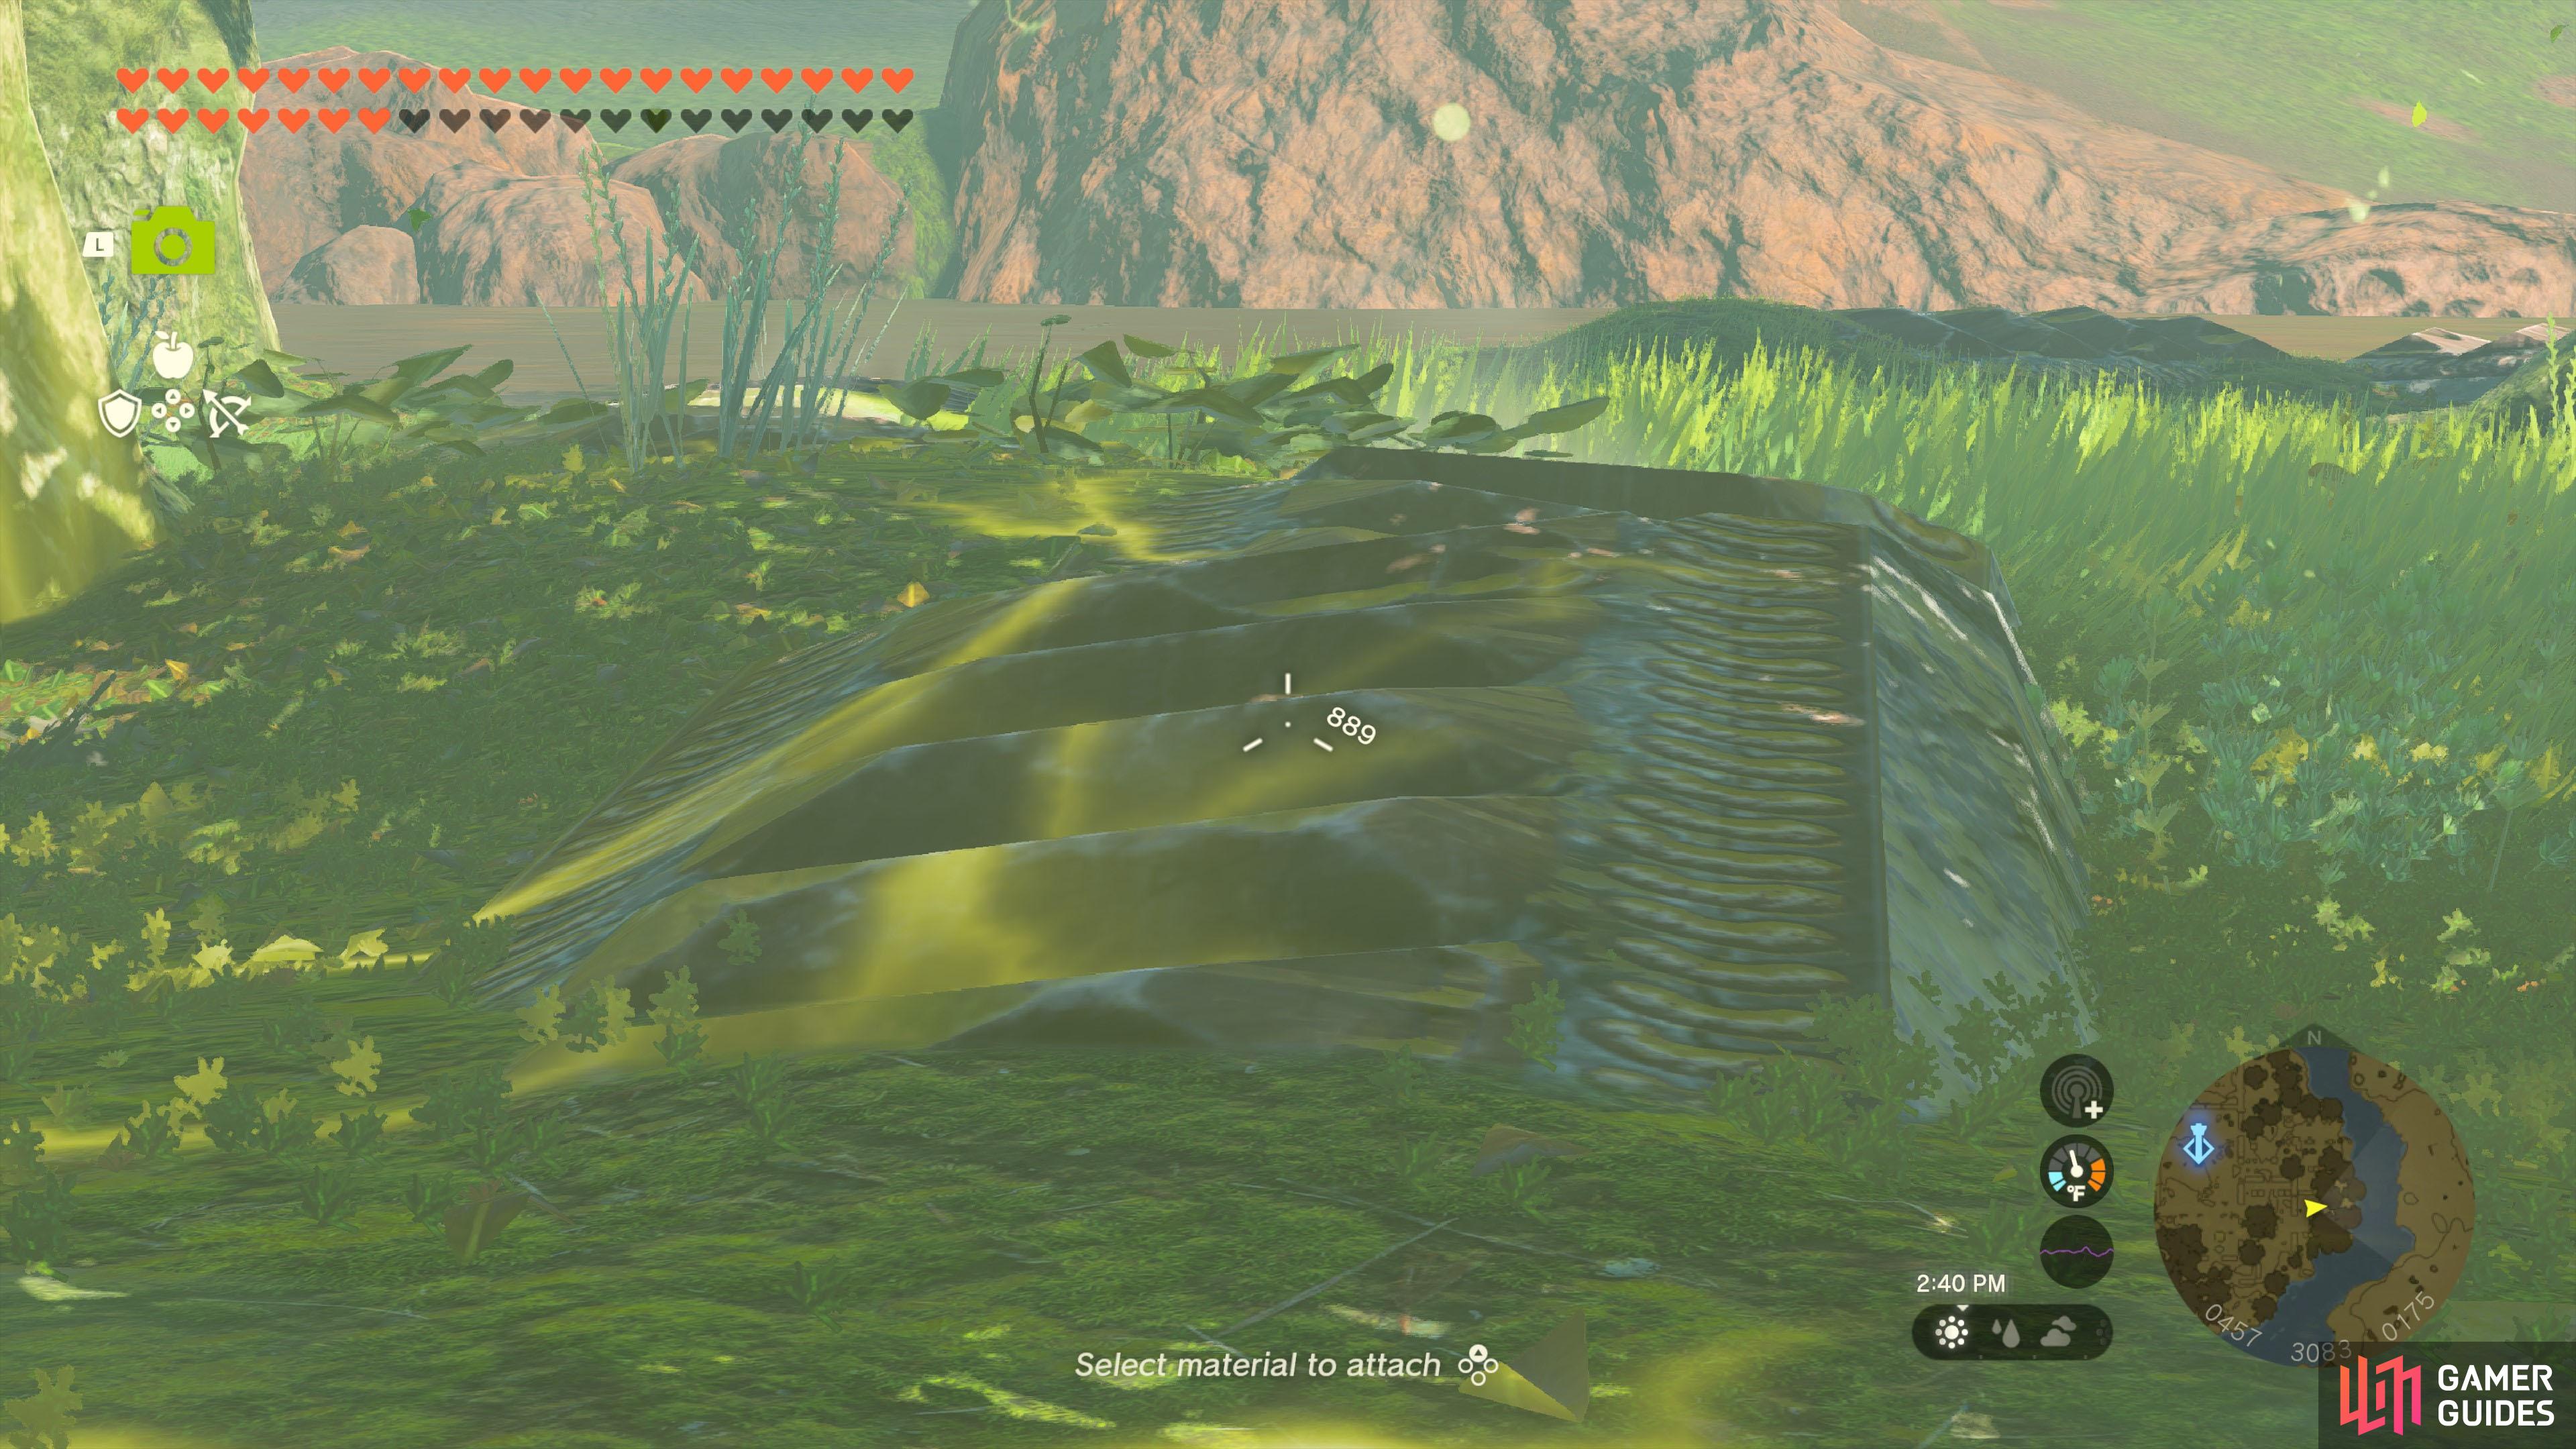
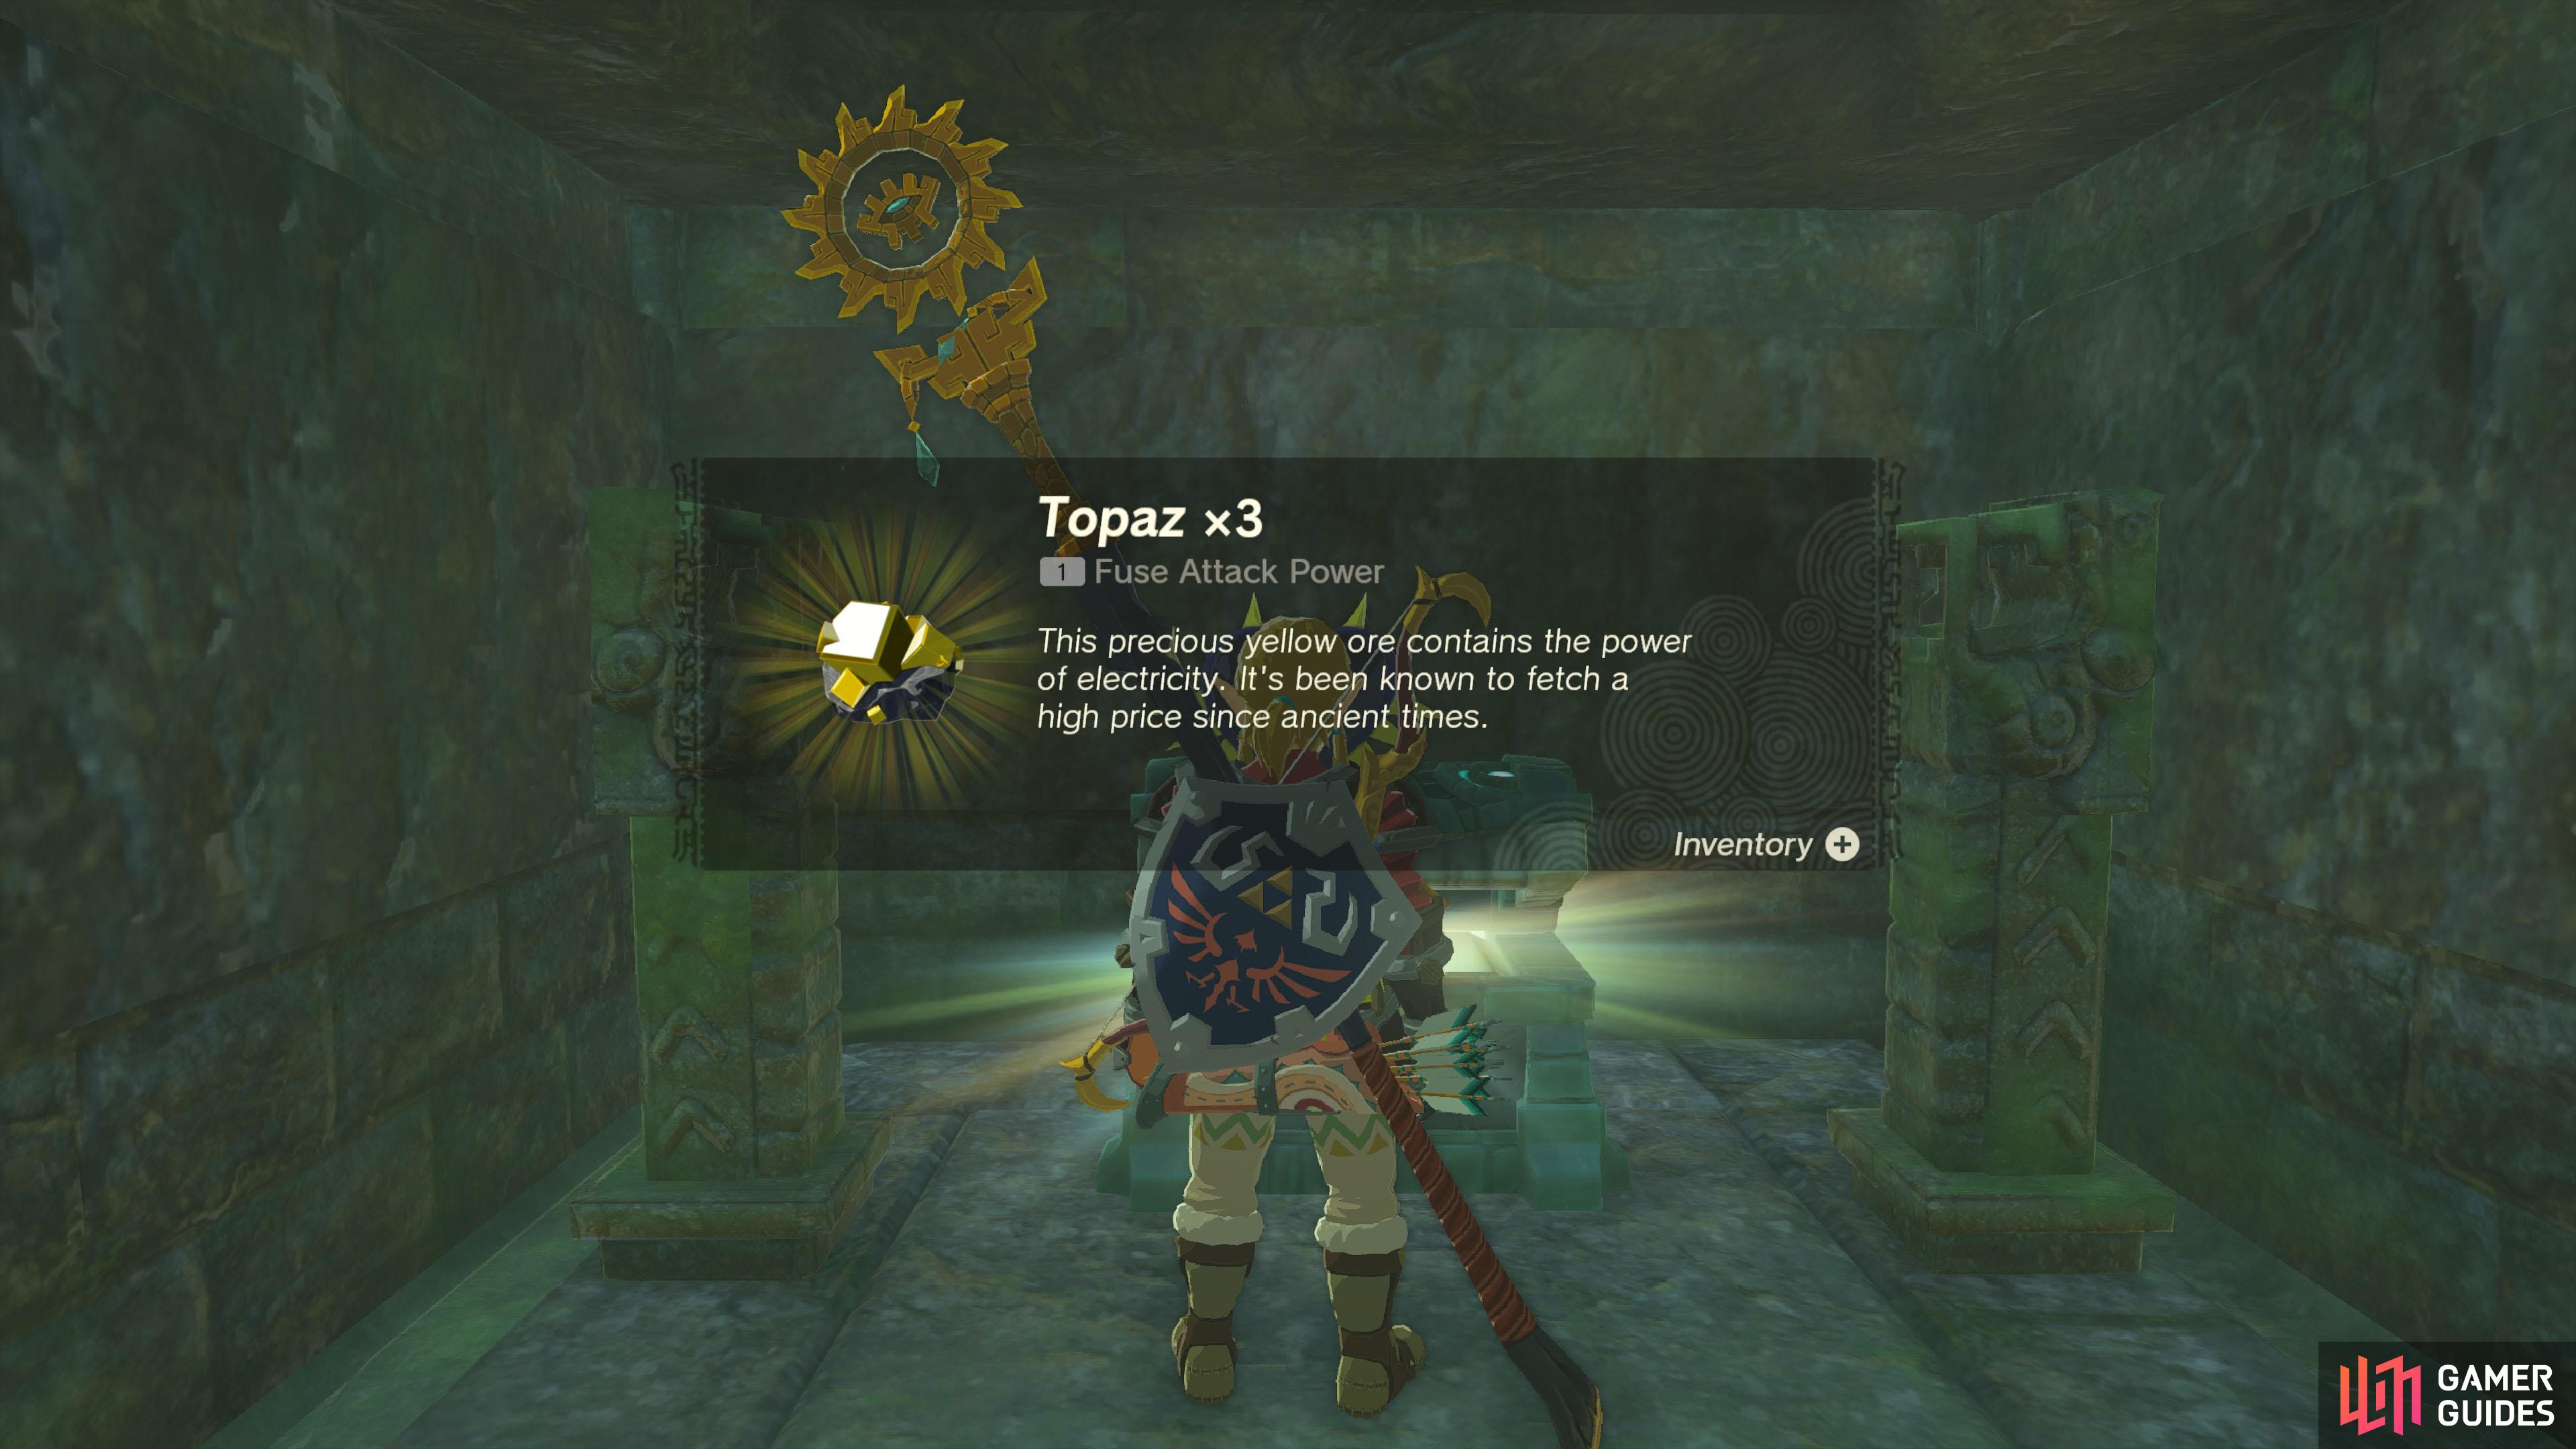
The Long Dragon |
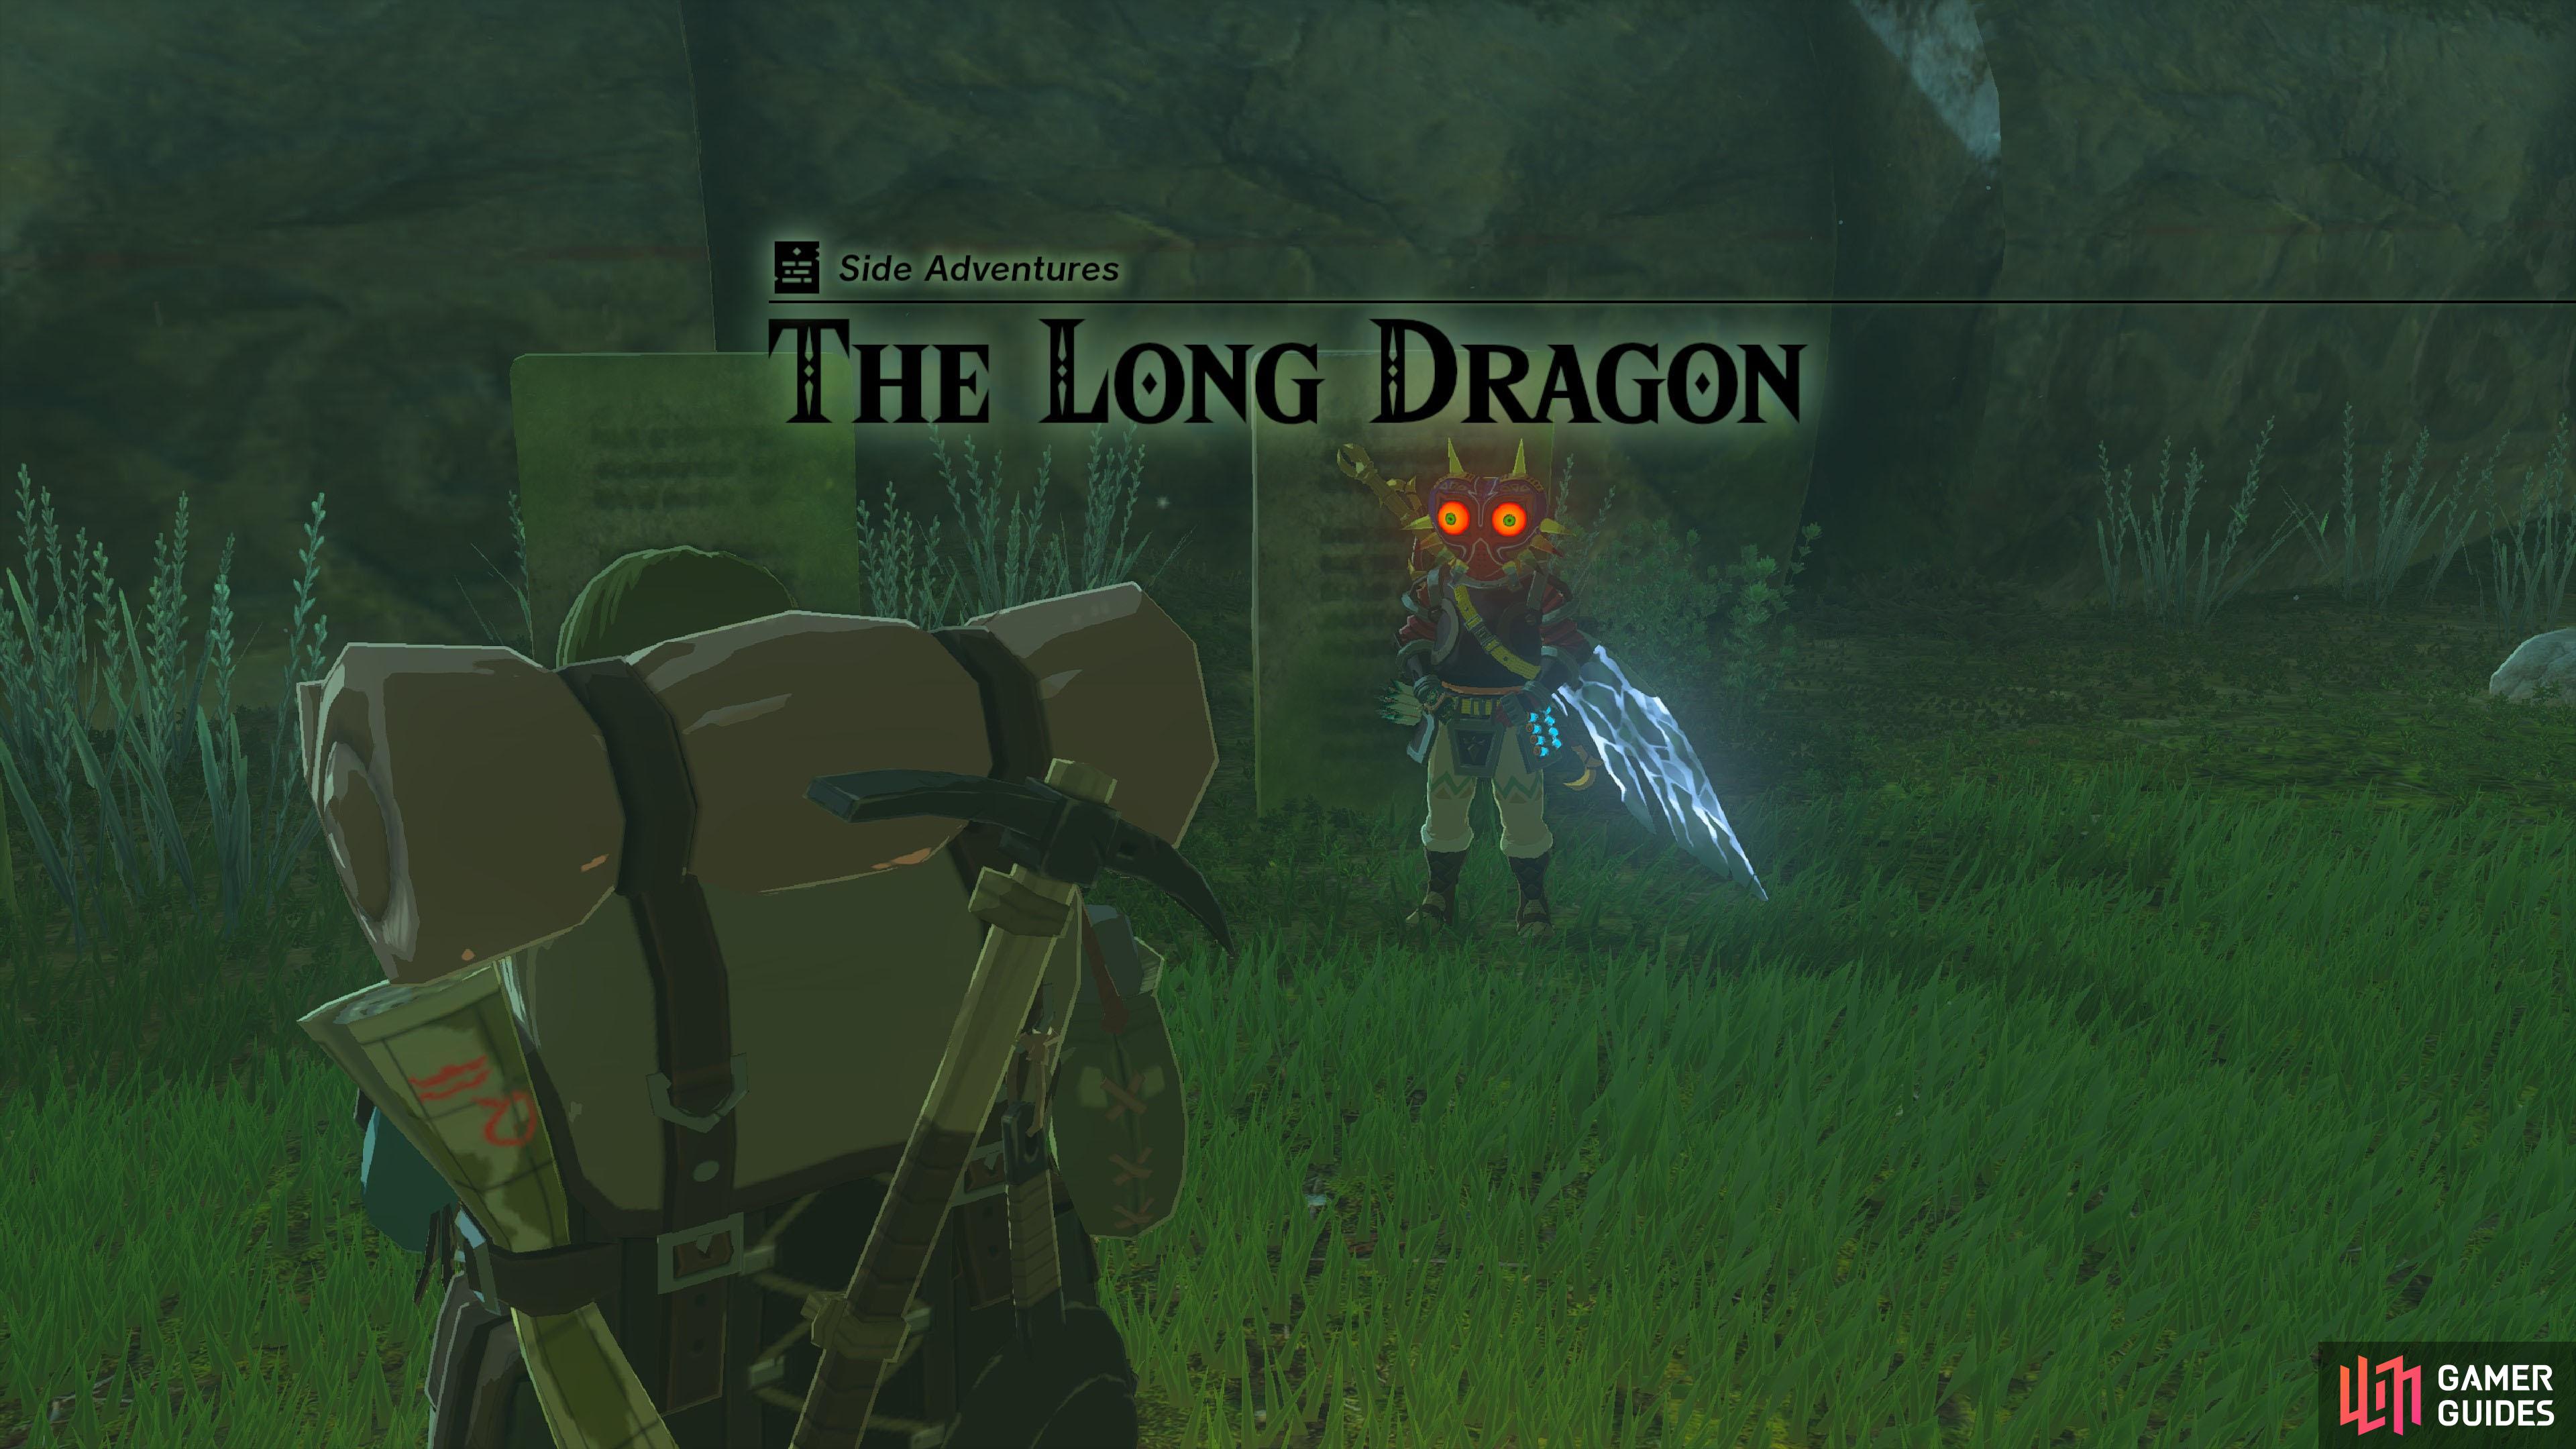
The Zonai researcher Kazul found a monolith inscribed with the following: “Display the power of the Sage of Lightning at the end of the long dragon that protects the mountain of death.” Try investigating Thyphlo Ruins to find the place described on the monolith.
Description
You can begin this side adventure by examining the right-most monolith after initiating Head towards the south-east corner of this island. There’s a Summon
Quest Type
Side Adventure
Map(s)
|
|
|||||||||||||||||||||||||||||||||||||||||||||||||||||||||||||||||||||||||||||||||||||||||||||||

|
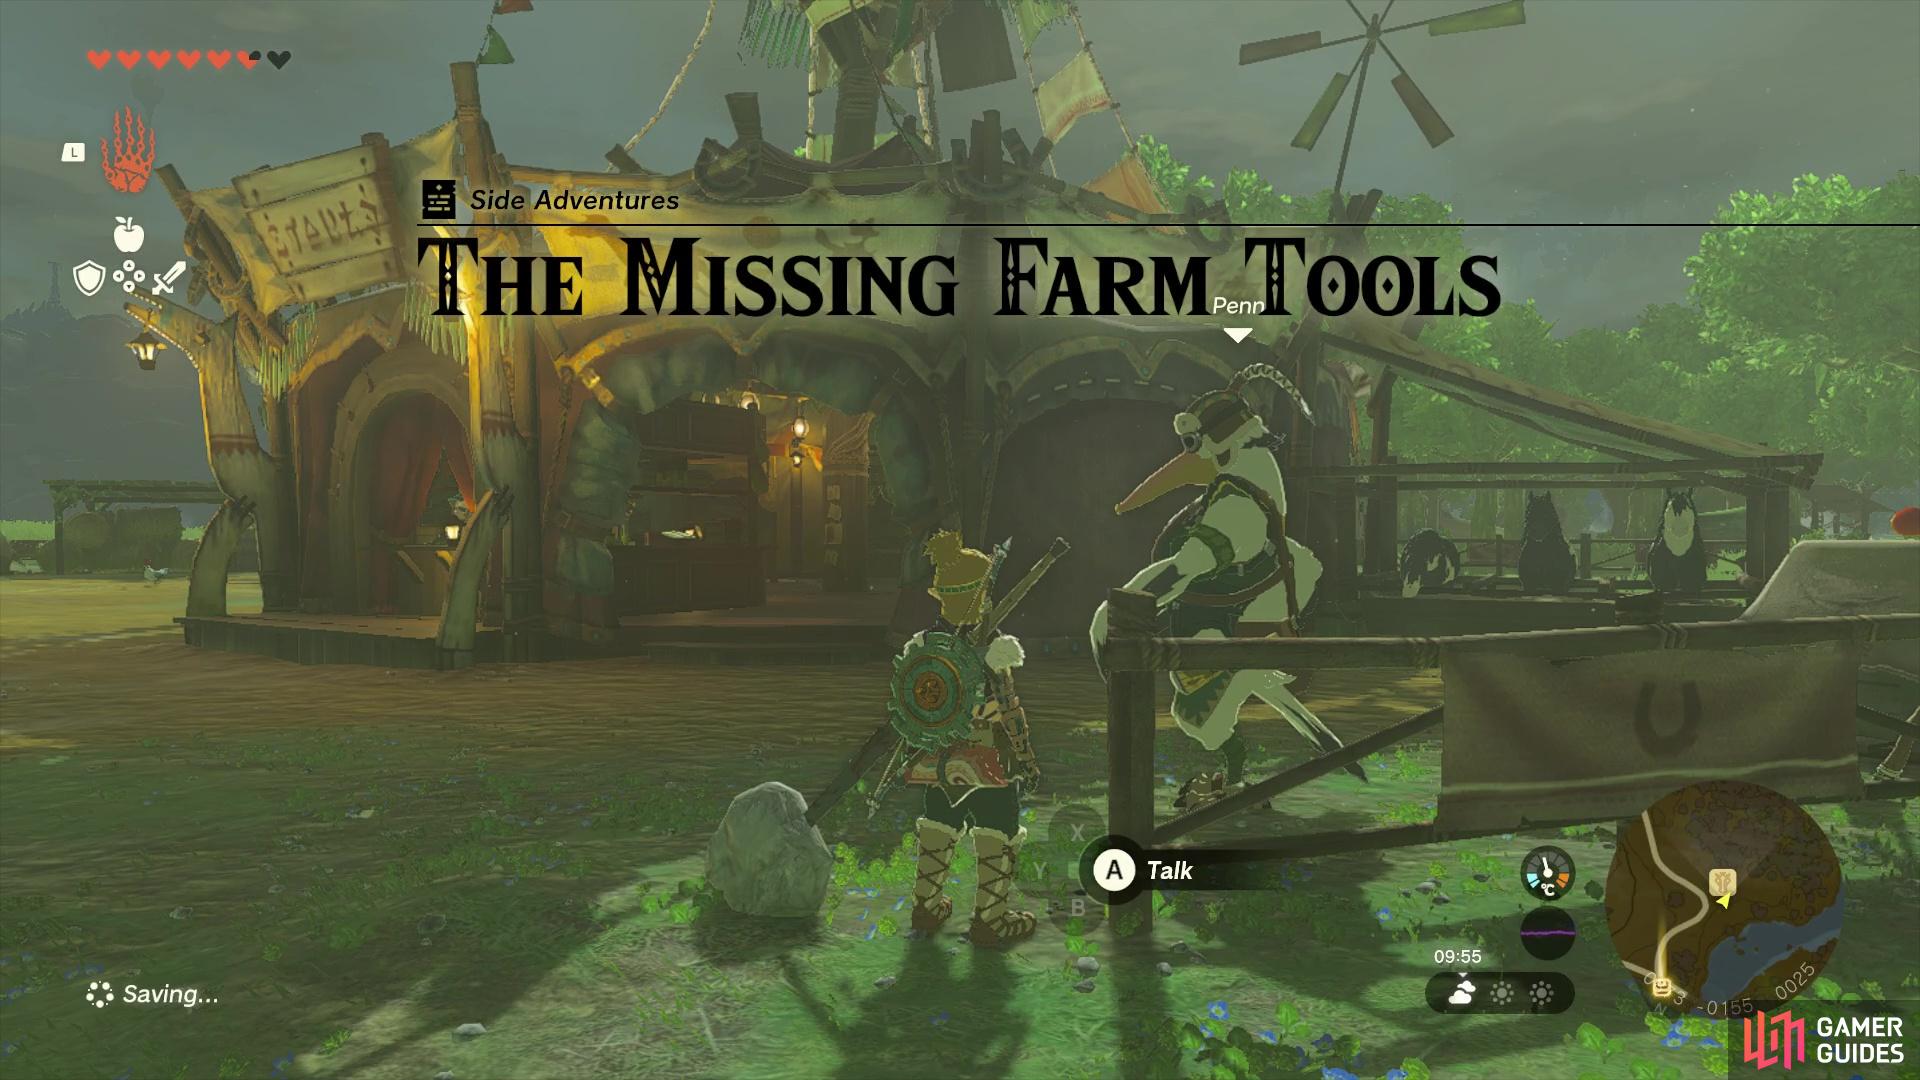
The Missing Farm Tools |
This side adventure is started by speaking to This is one of 12 Lucky Clover Gazette side adventures that are found by interacting with different NPCs at various stables. Before you can access any of these stable side adventures (including this one), you’ll have to speak to
Quest Type
Side Adventure
Map(s)
|
|
|||||||||||||||||||||||||||||||||||||||||||||||||||||||||||||||||||||||||||||||||||||||||||||||

|
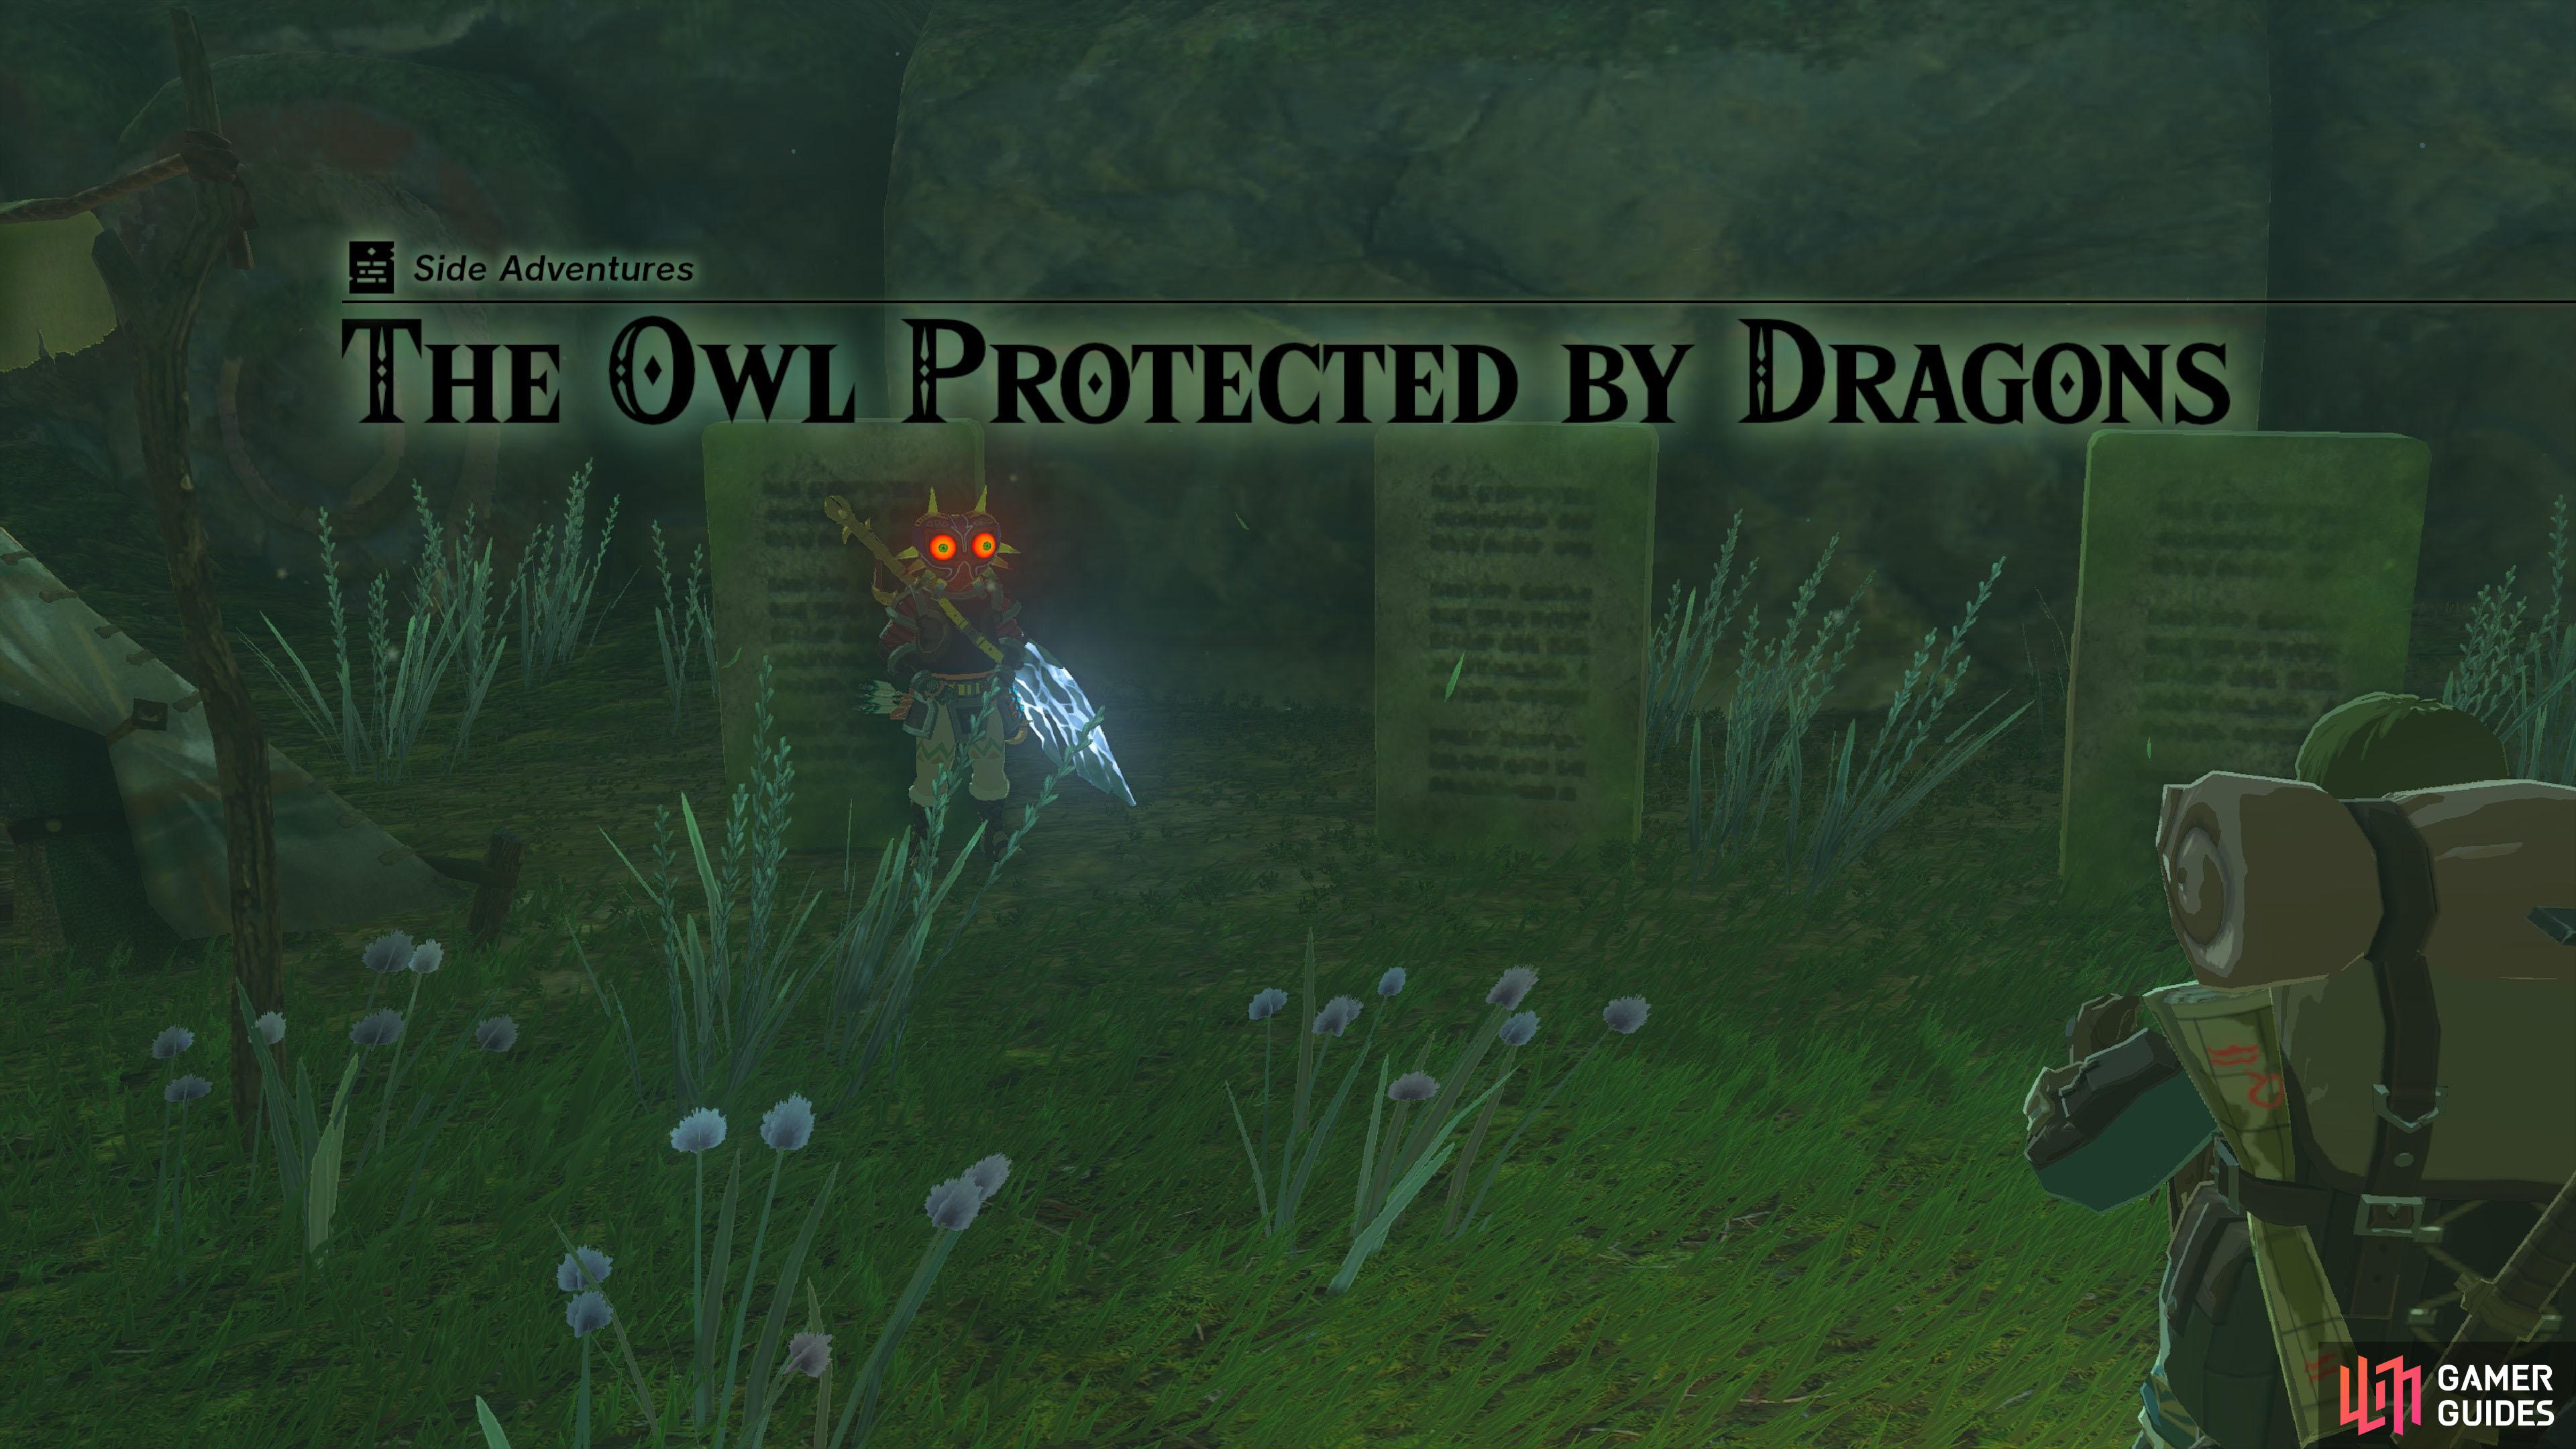
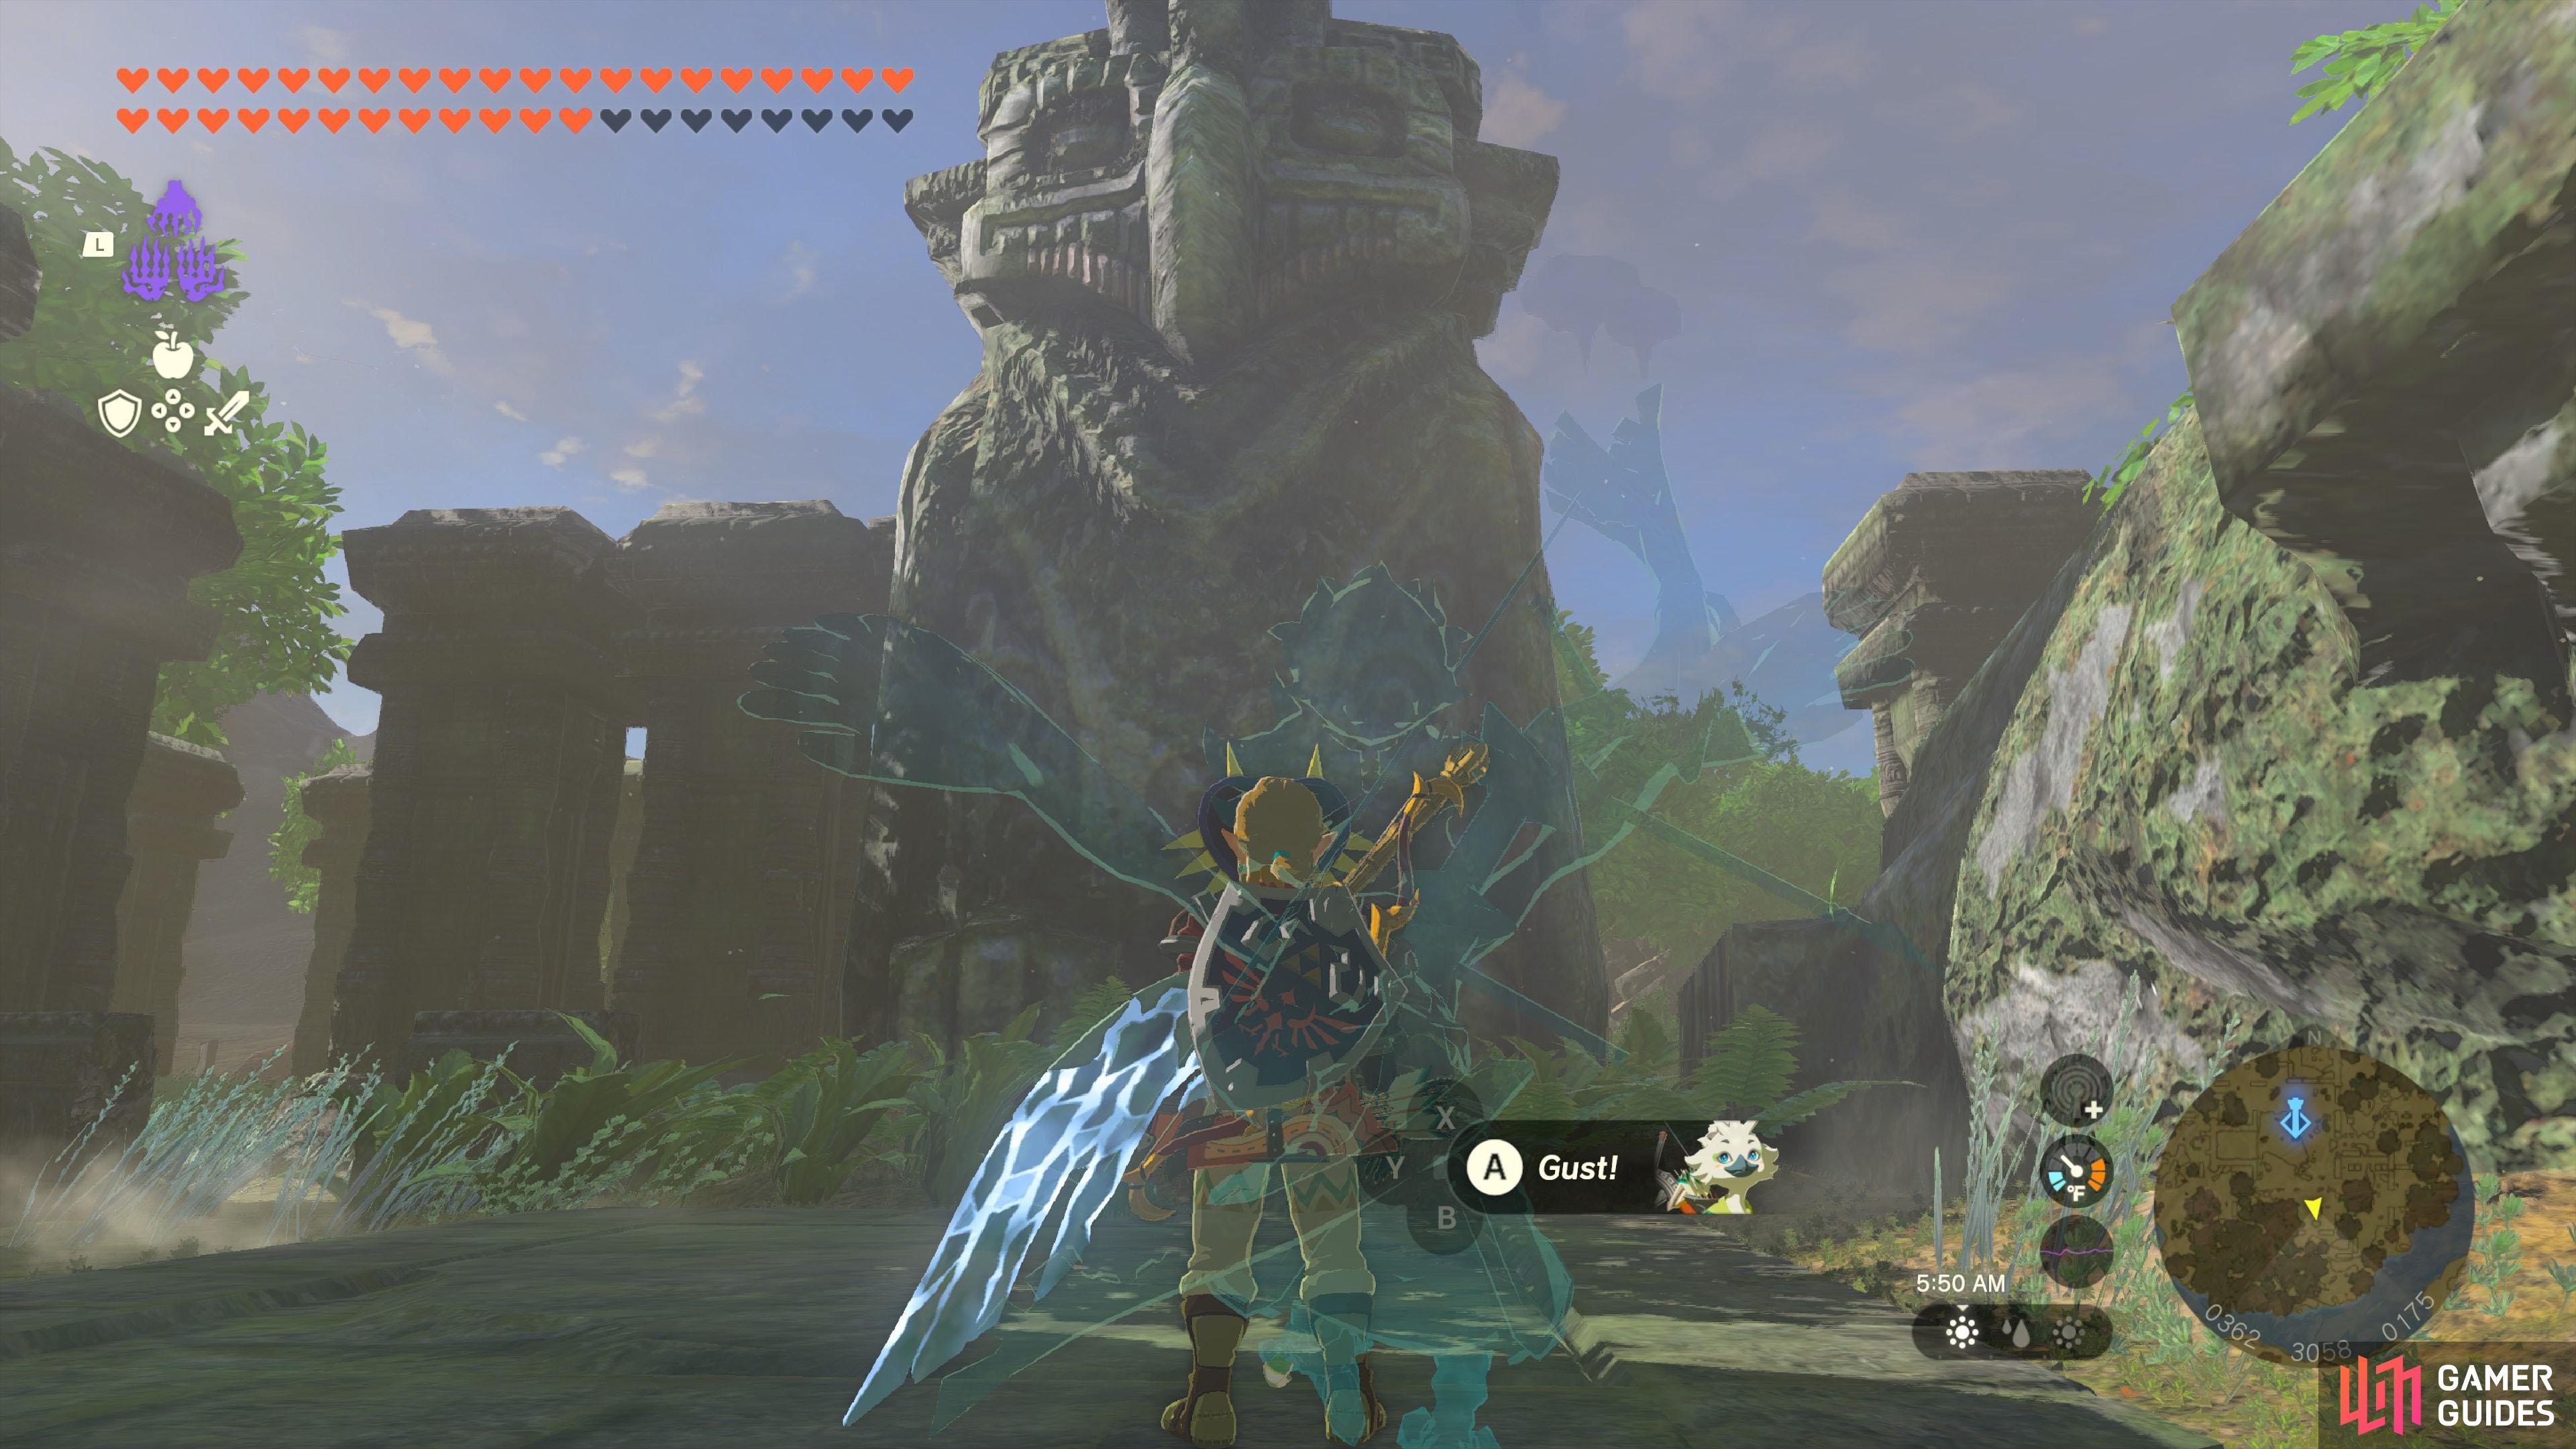
The Owl Protected by Dragons |
The Zonai researcher Kazul found a monolith inscribed with the following: “Display the power of the Sage of Wind to the owl protected by many dragons.” Try investigating Thyphlo Ruins to find the place described on the monolith.
Description
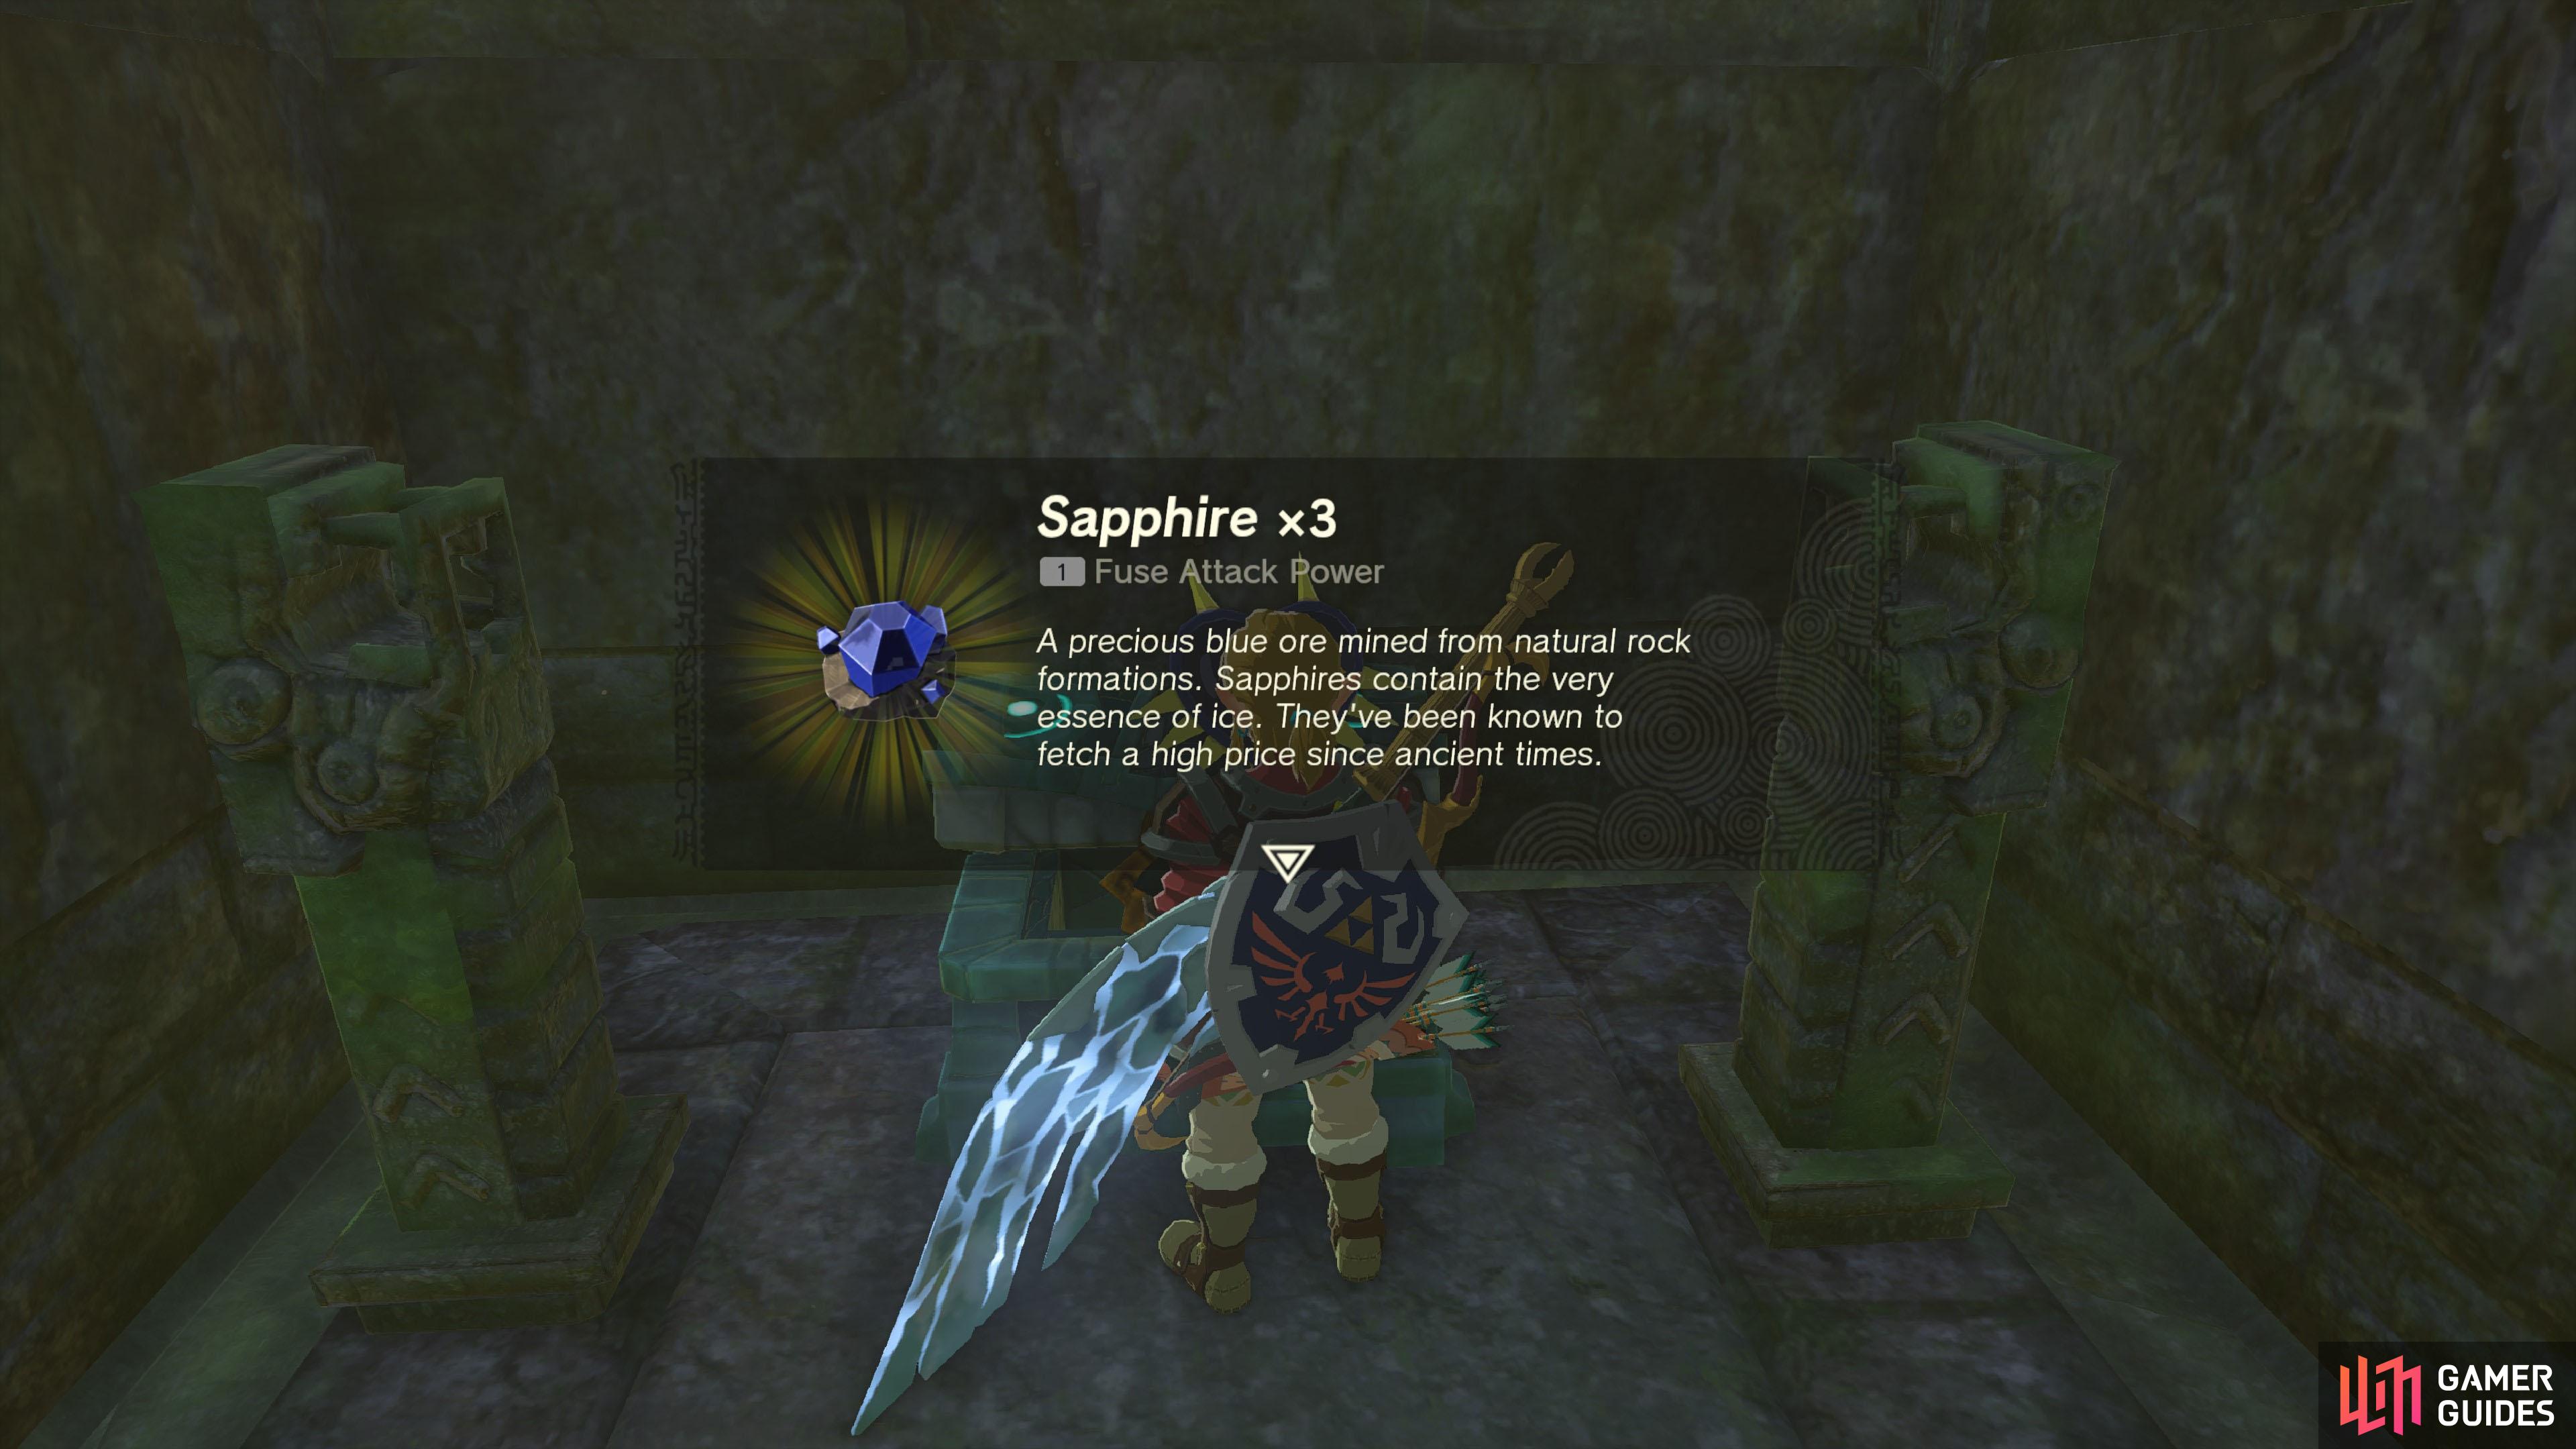
You will receive this side adventure upon investigating the left-most monolith after initiating Head a short distance south from this monolith. There should be a giant owl statue. Stand in front of this statue and use Tulin’s Gust ability where the large square tile is. This will cause the square tile to rise up, revealing a chest inside. Open it to complete this side adventure.
Chest Rewards
3×
 Sapphire
Materials Sapphire
Materials
Quest Type
Side Adventure
Map(s)
|
|
|||||||||||||||||||||||||||||||||||||||||||||||||||||||||||||||||||||||||||||||||||||||||||||||

|
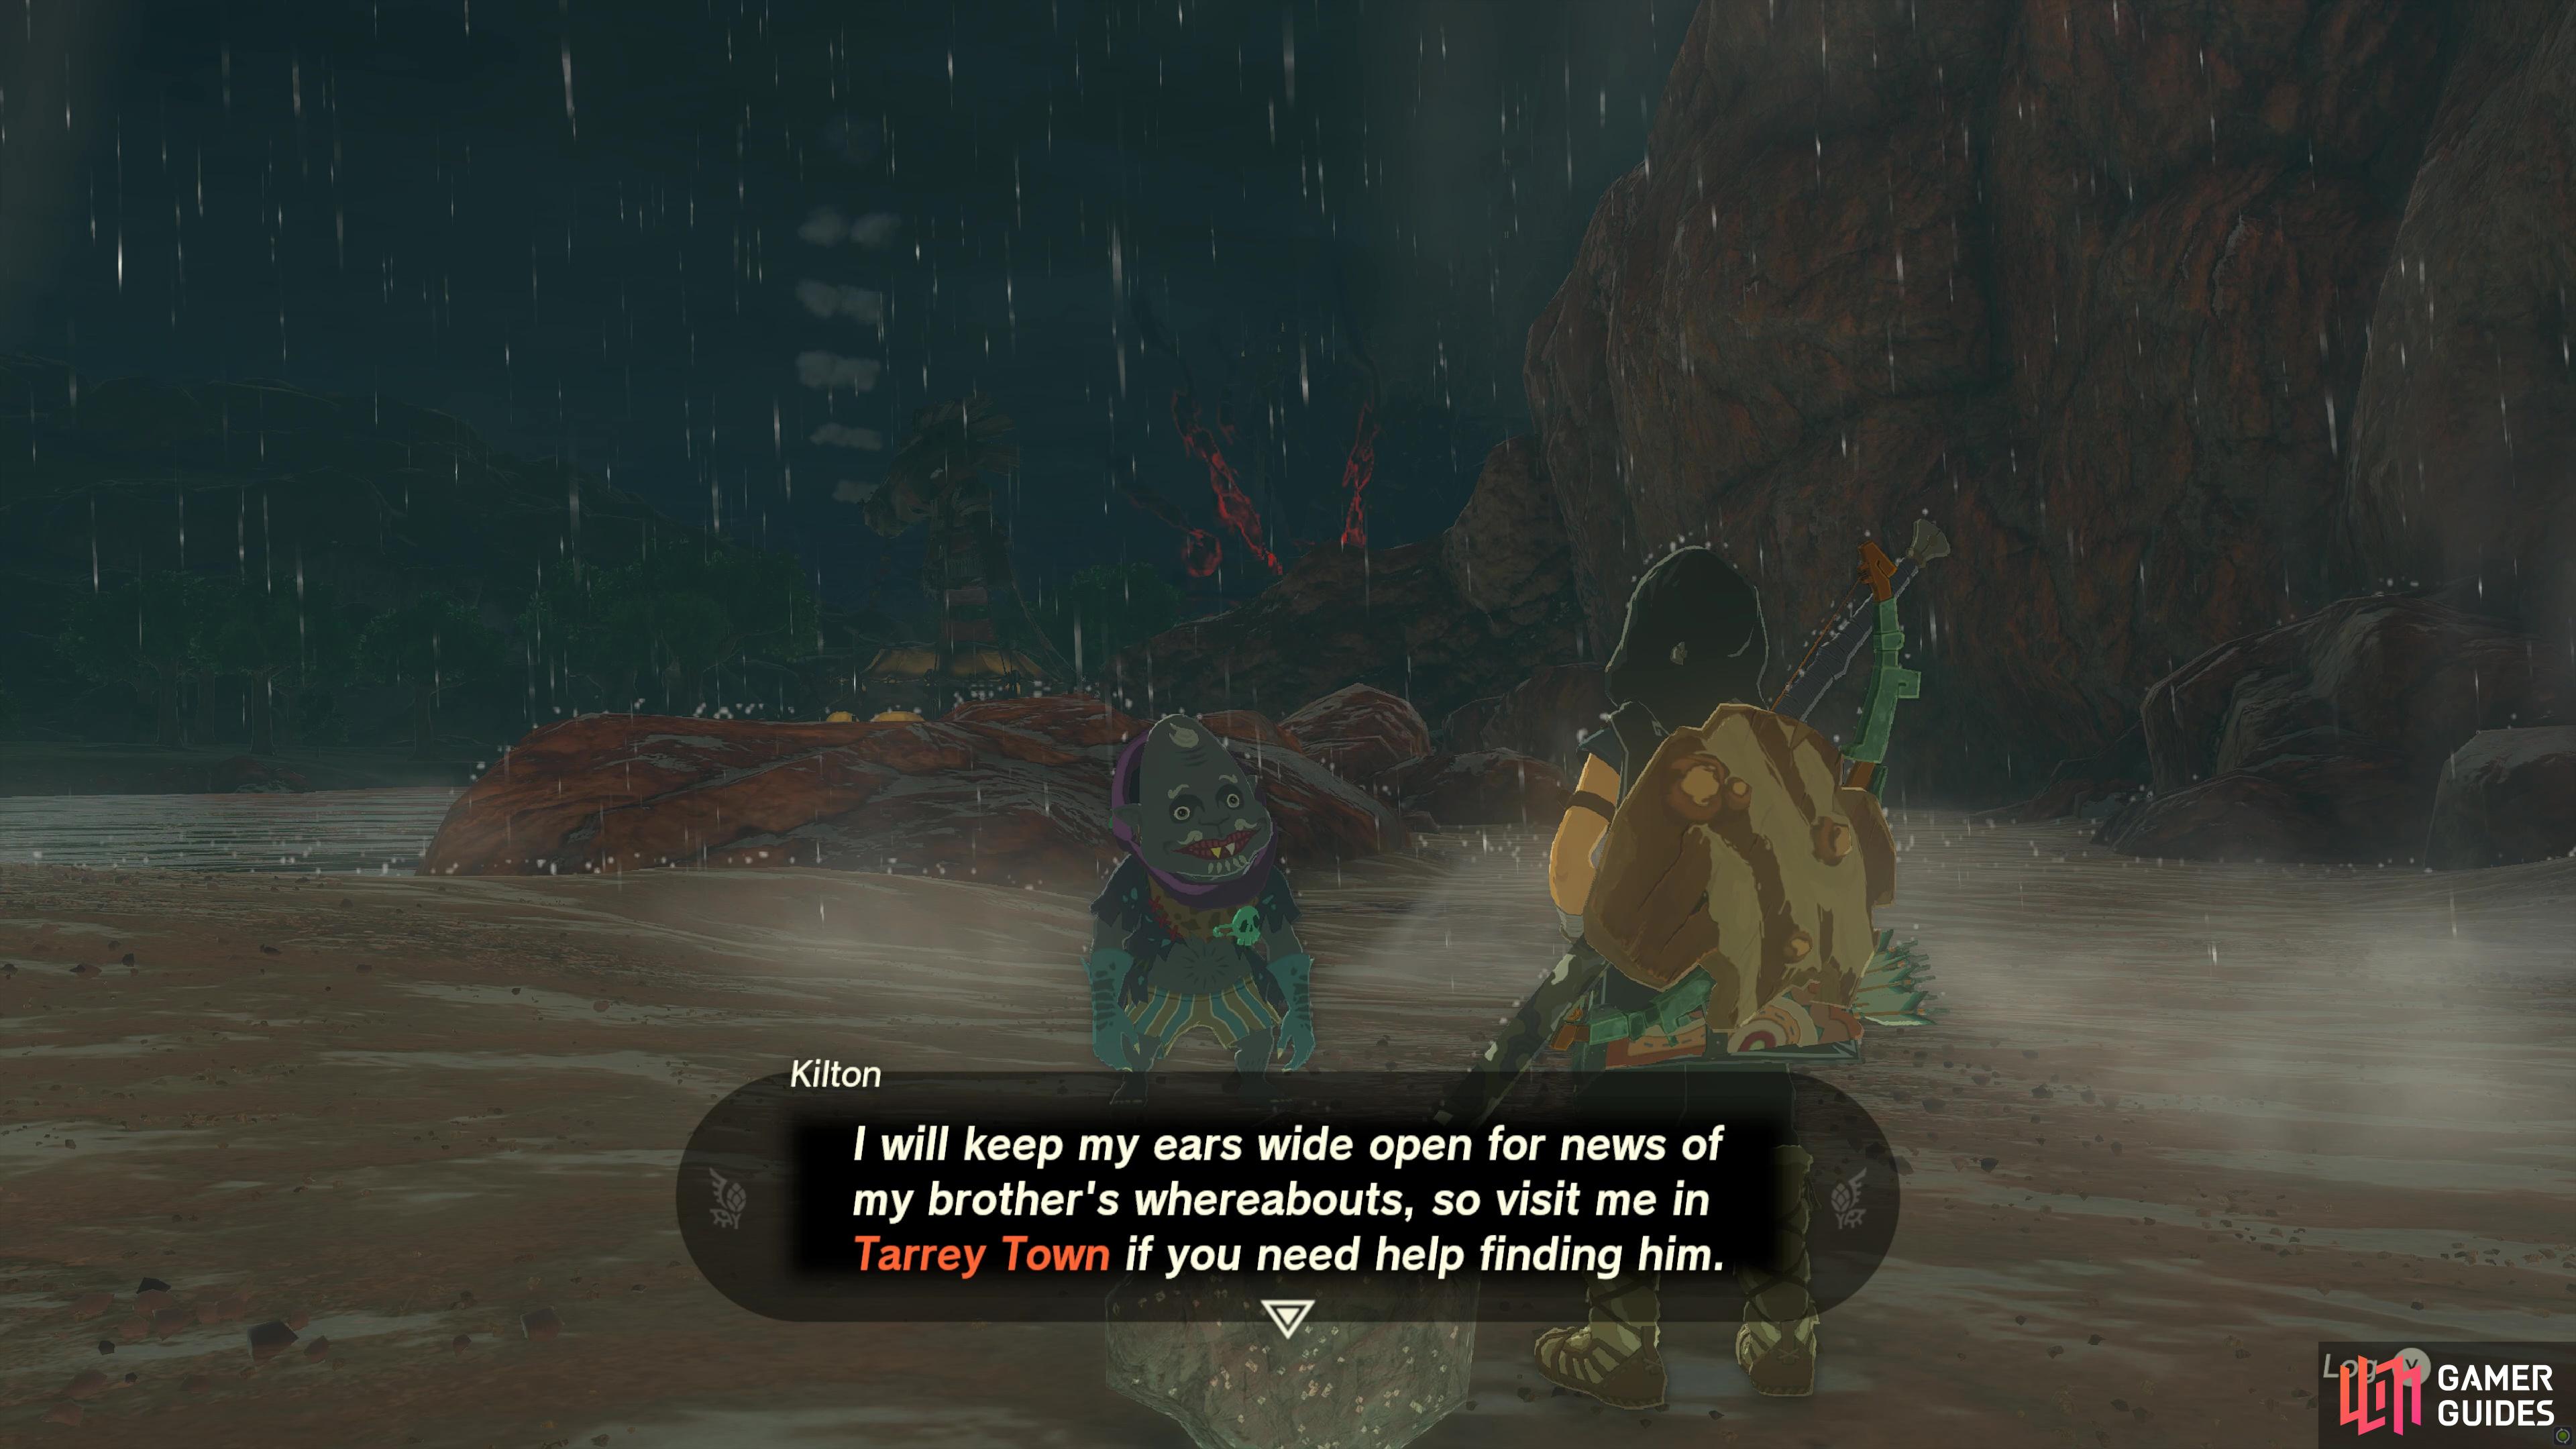
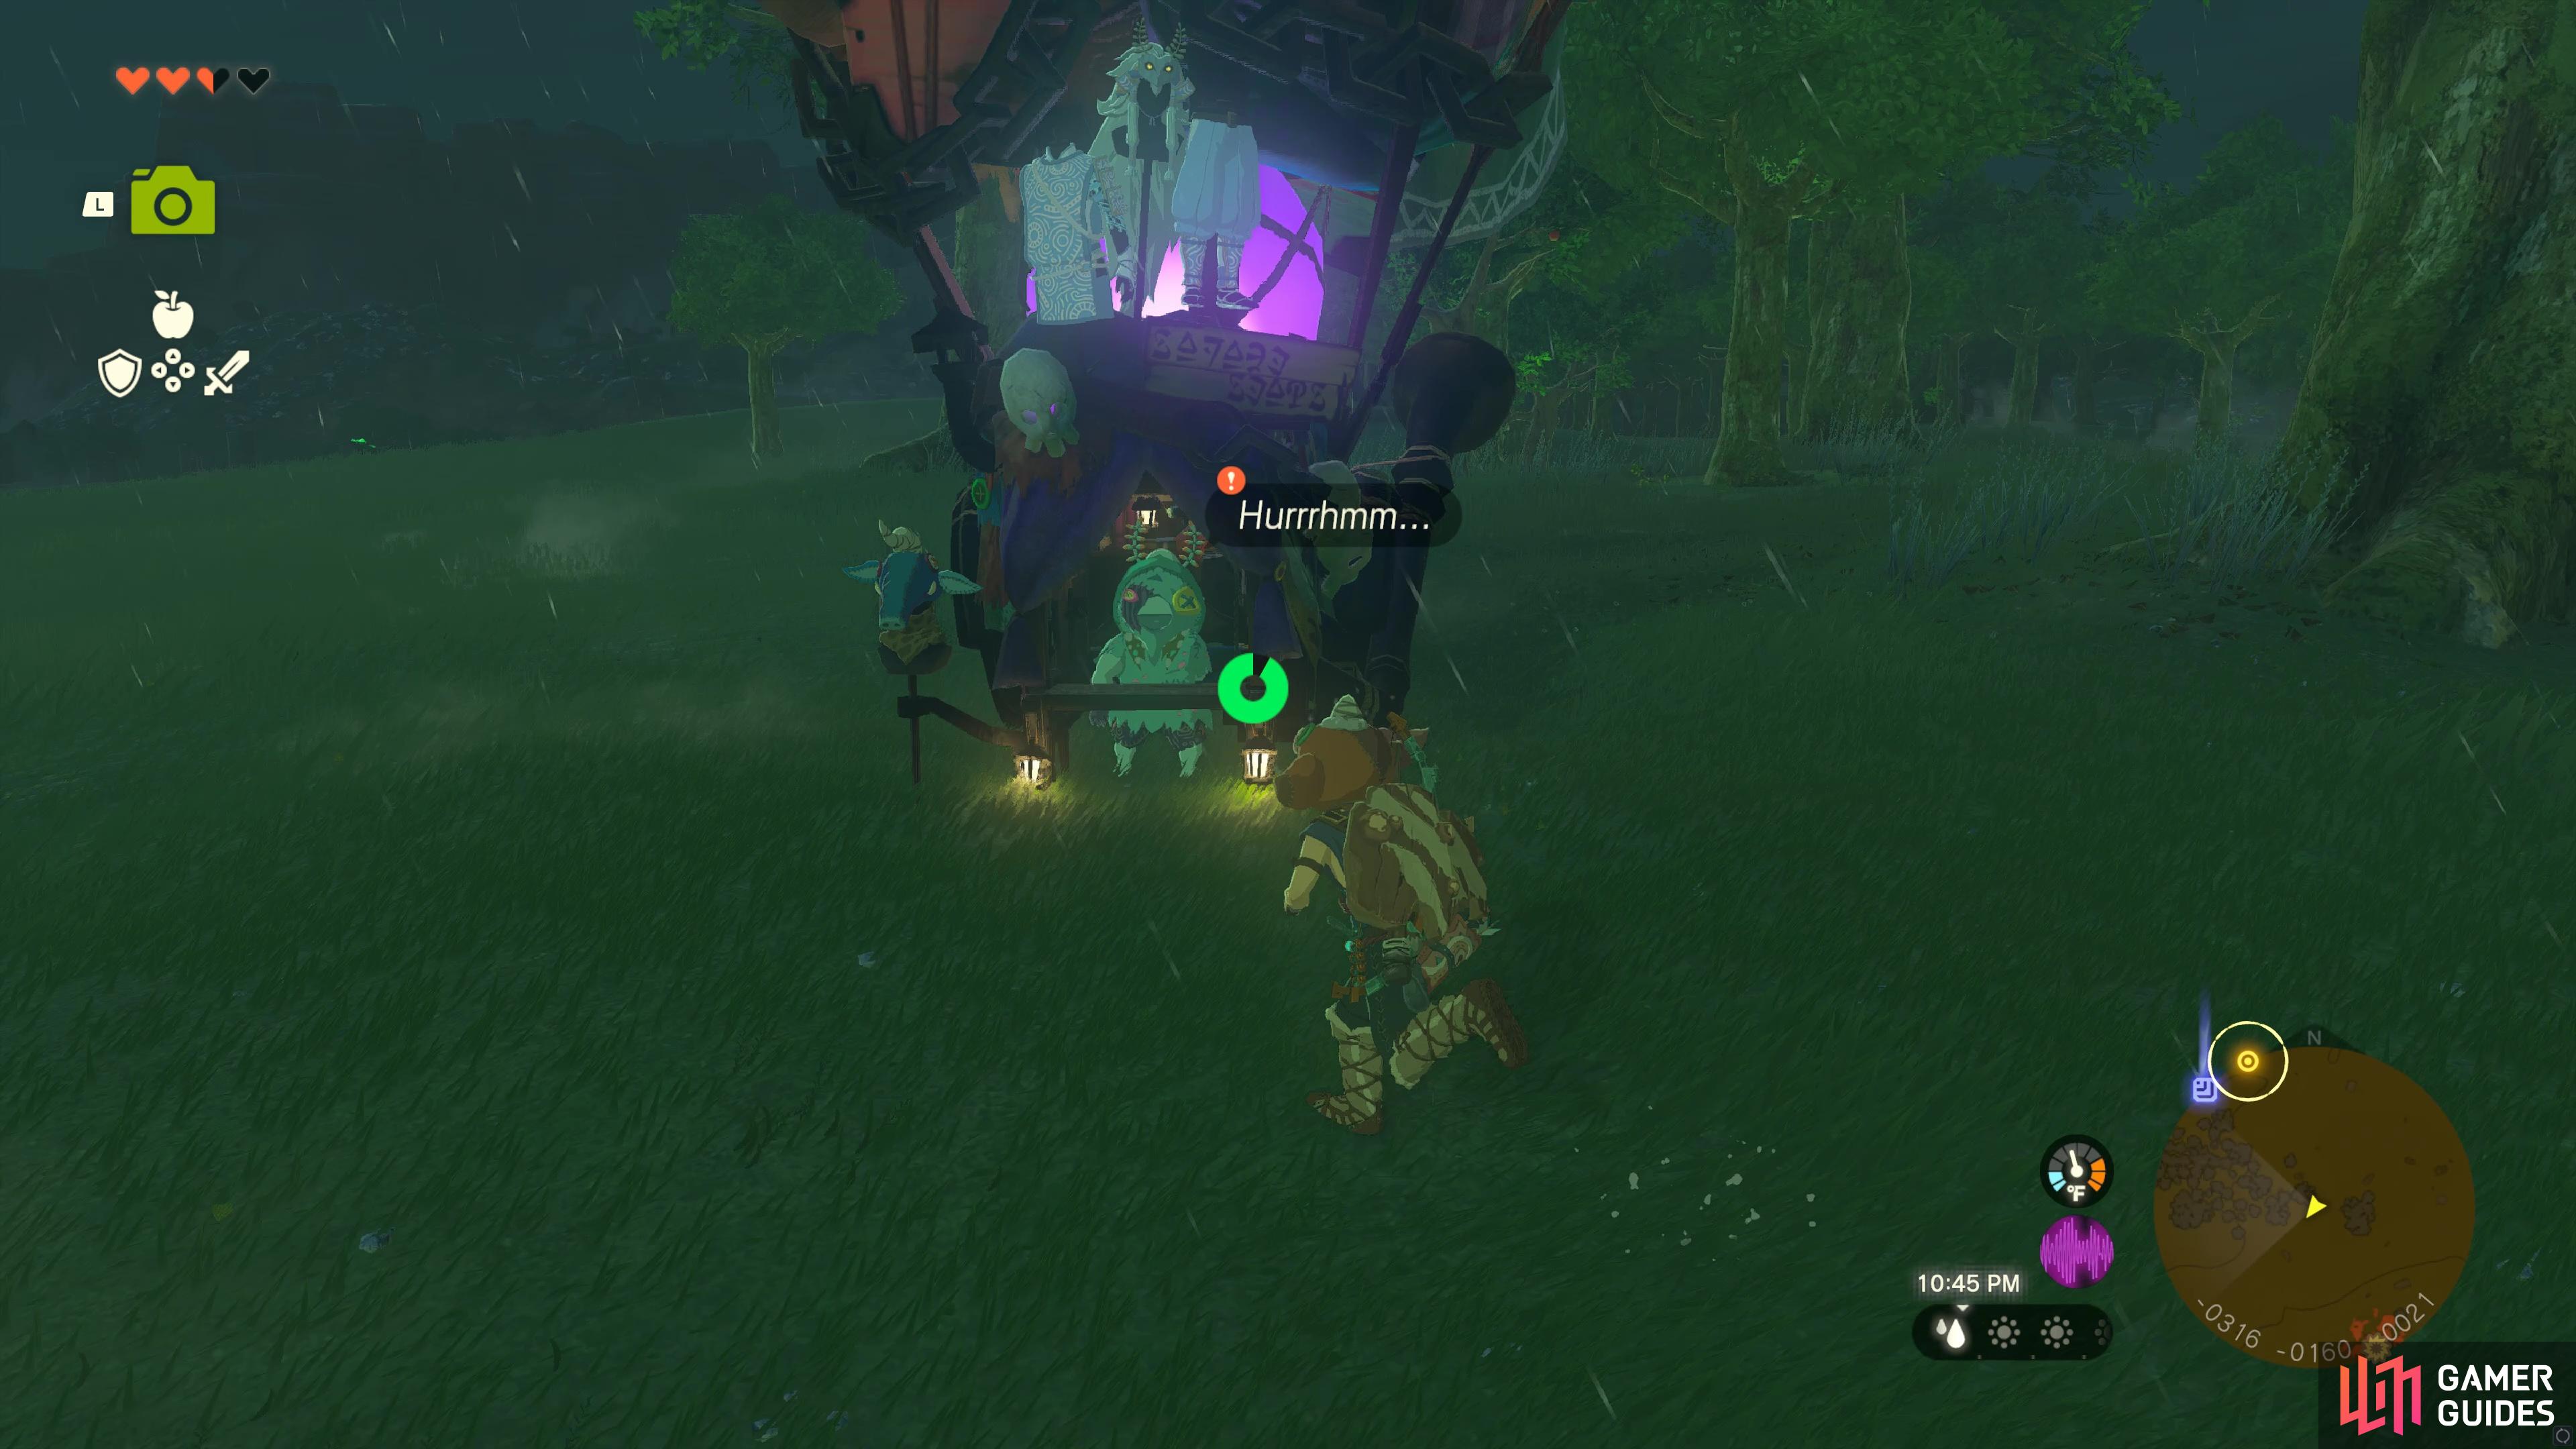
The Search For Koltin |
Koltin has taken his stall and set out on a journey to find something called Bubbul gems. Travel around Hyrule and see if you can find him. His older brother, Kilton, has settled down in !Tarrey Town and may have an idea where Koltin is. Begin the quest by completing After finding him once: You found Koltin! He dreams of becoming a legendary creature known as a Satori. To make this dream a reality, Koltin is traveling around Hyrule at night with his stall seeking out Bubbul gems. Bring him what he wants, and he’ll trade you the treasures he’s collected.
Quest Type
Side Adventure
Map(s)
|
|
|||||||||||||||||||||||||||||||||||||||||||||||||||||||||||||||||||||||||||||||||||||||||||||||

|
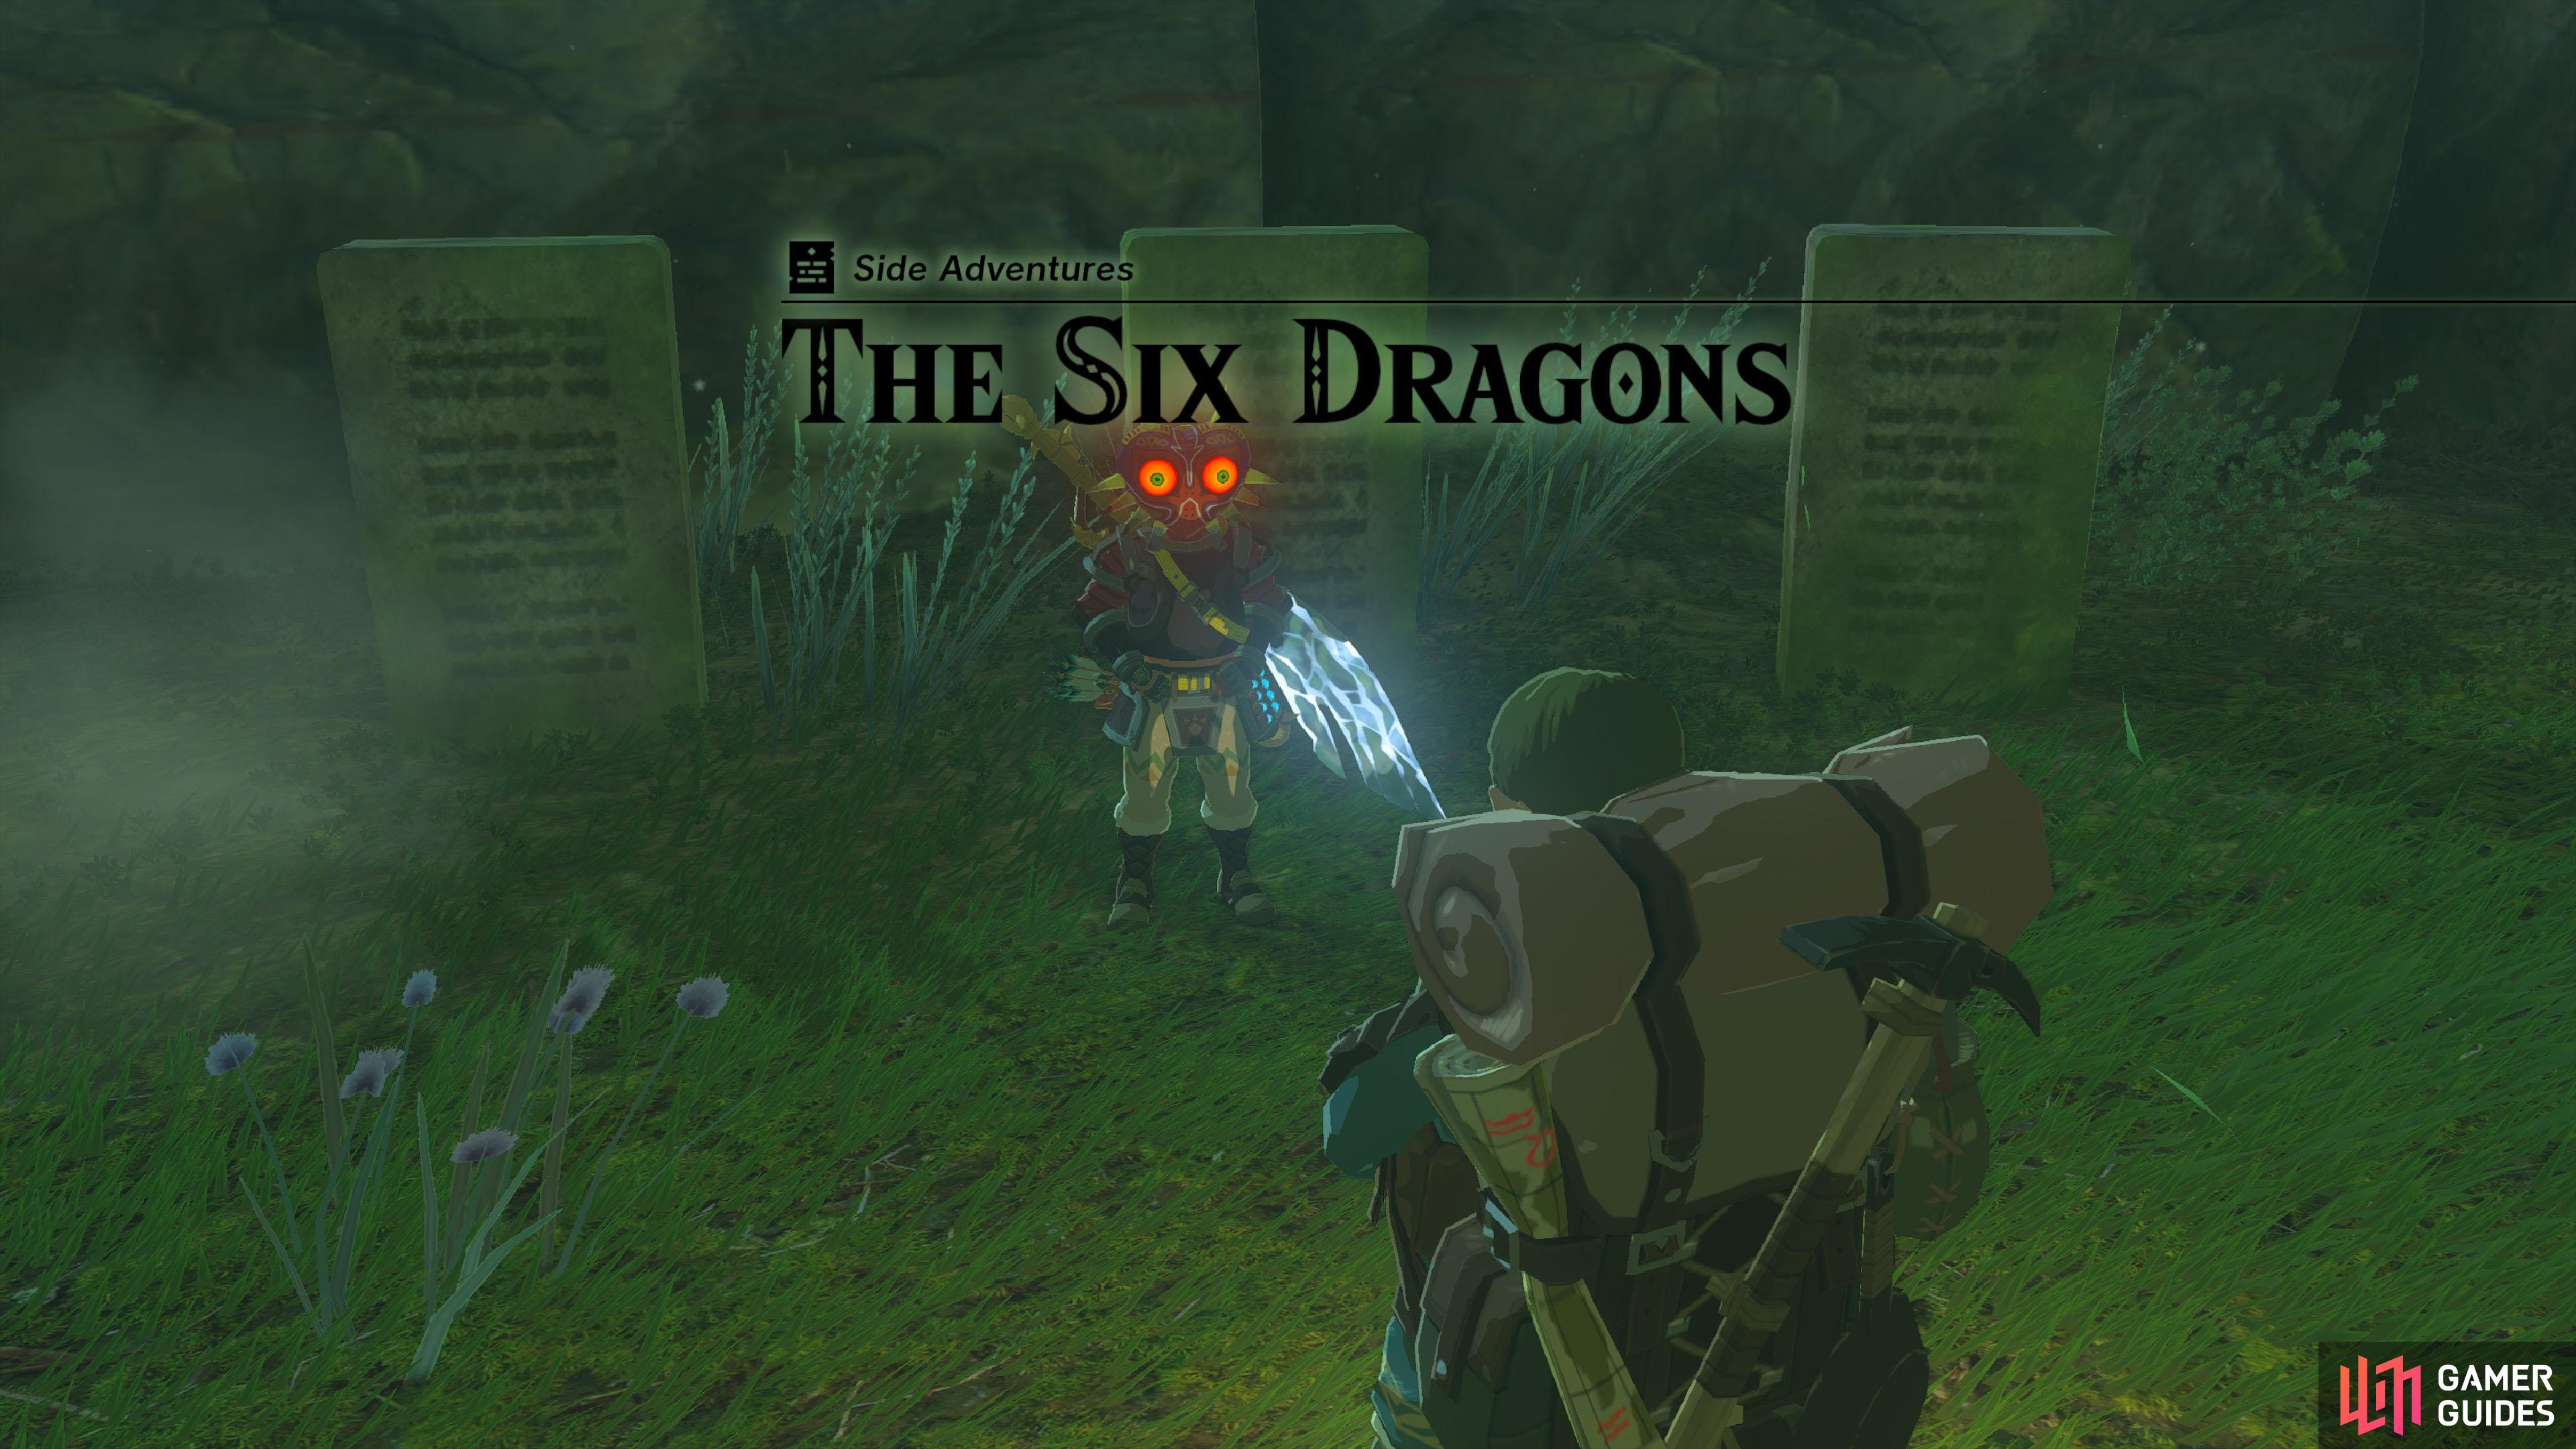
The Six Dragons |
The Zonai researcher Kazul found a monolith inscribed with the following: “Display the power of the Sage of Water in the presence of the six dragons.” Try investigating Thyphlo Ruins to find the place described on the monolith.
Description
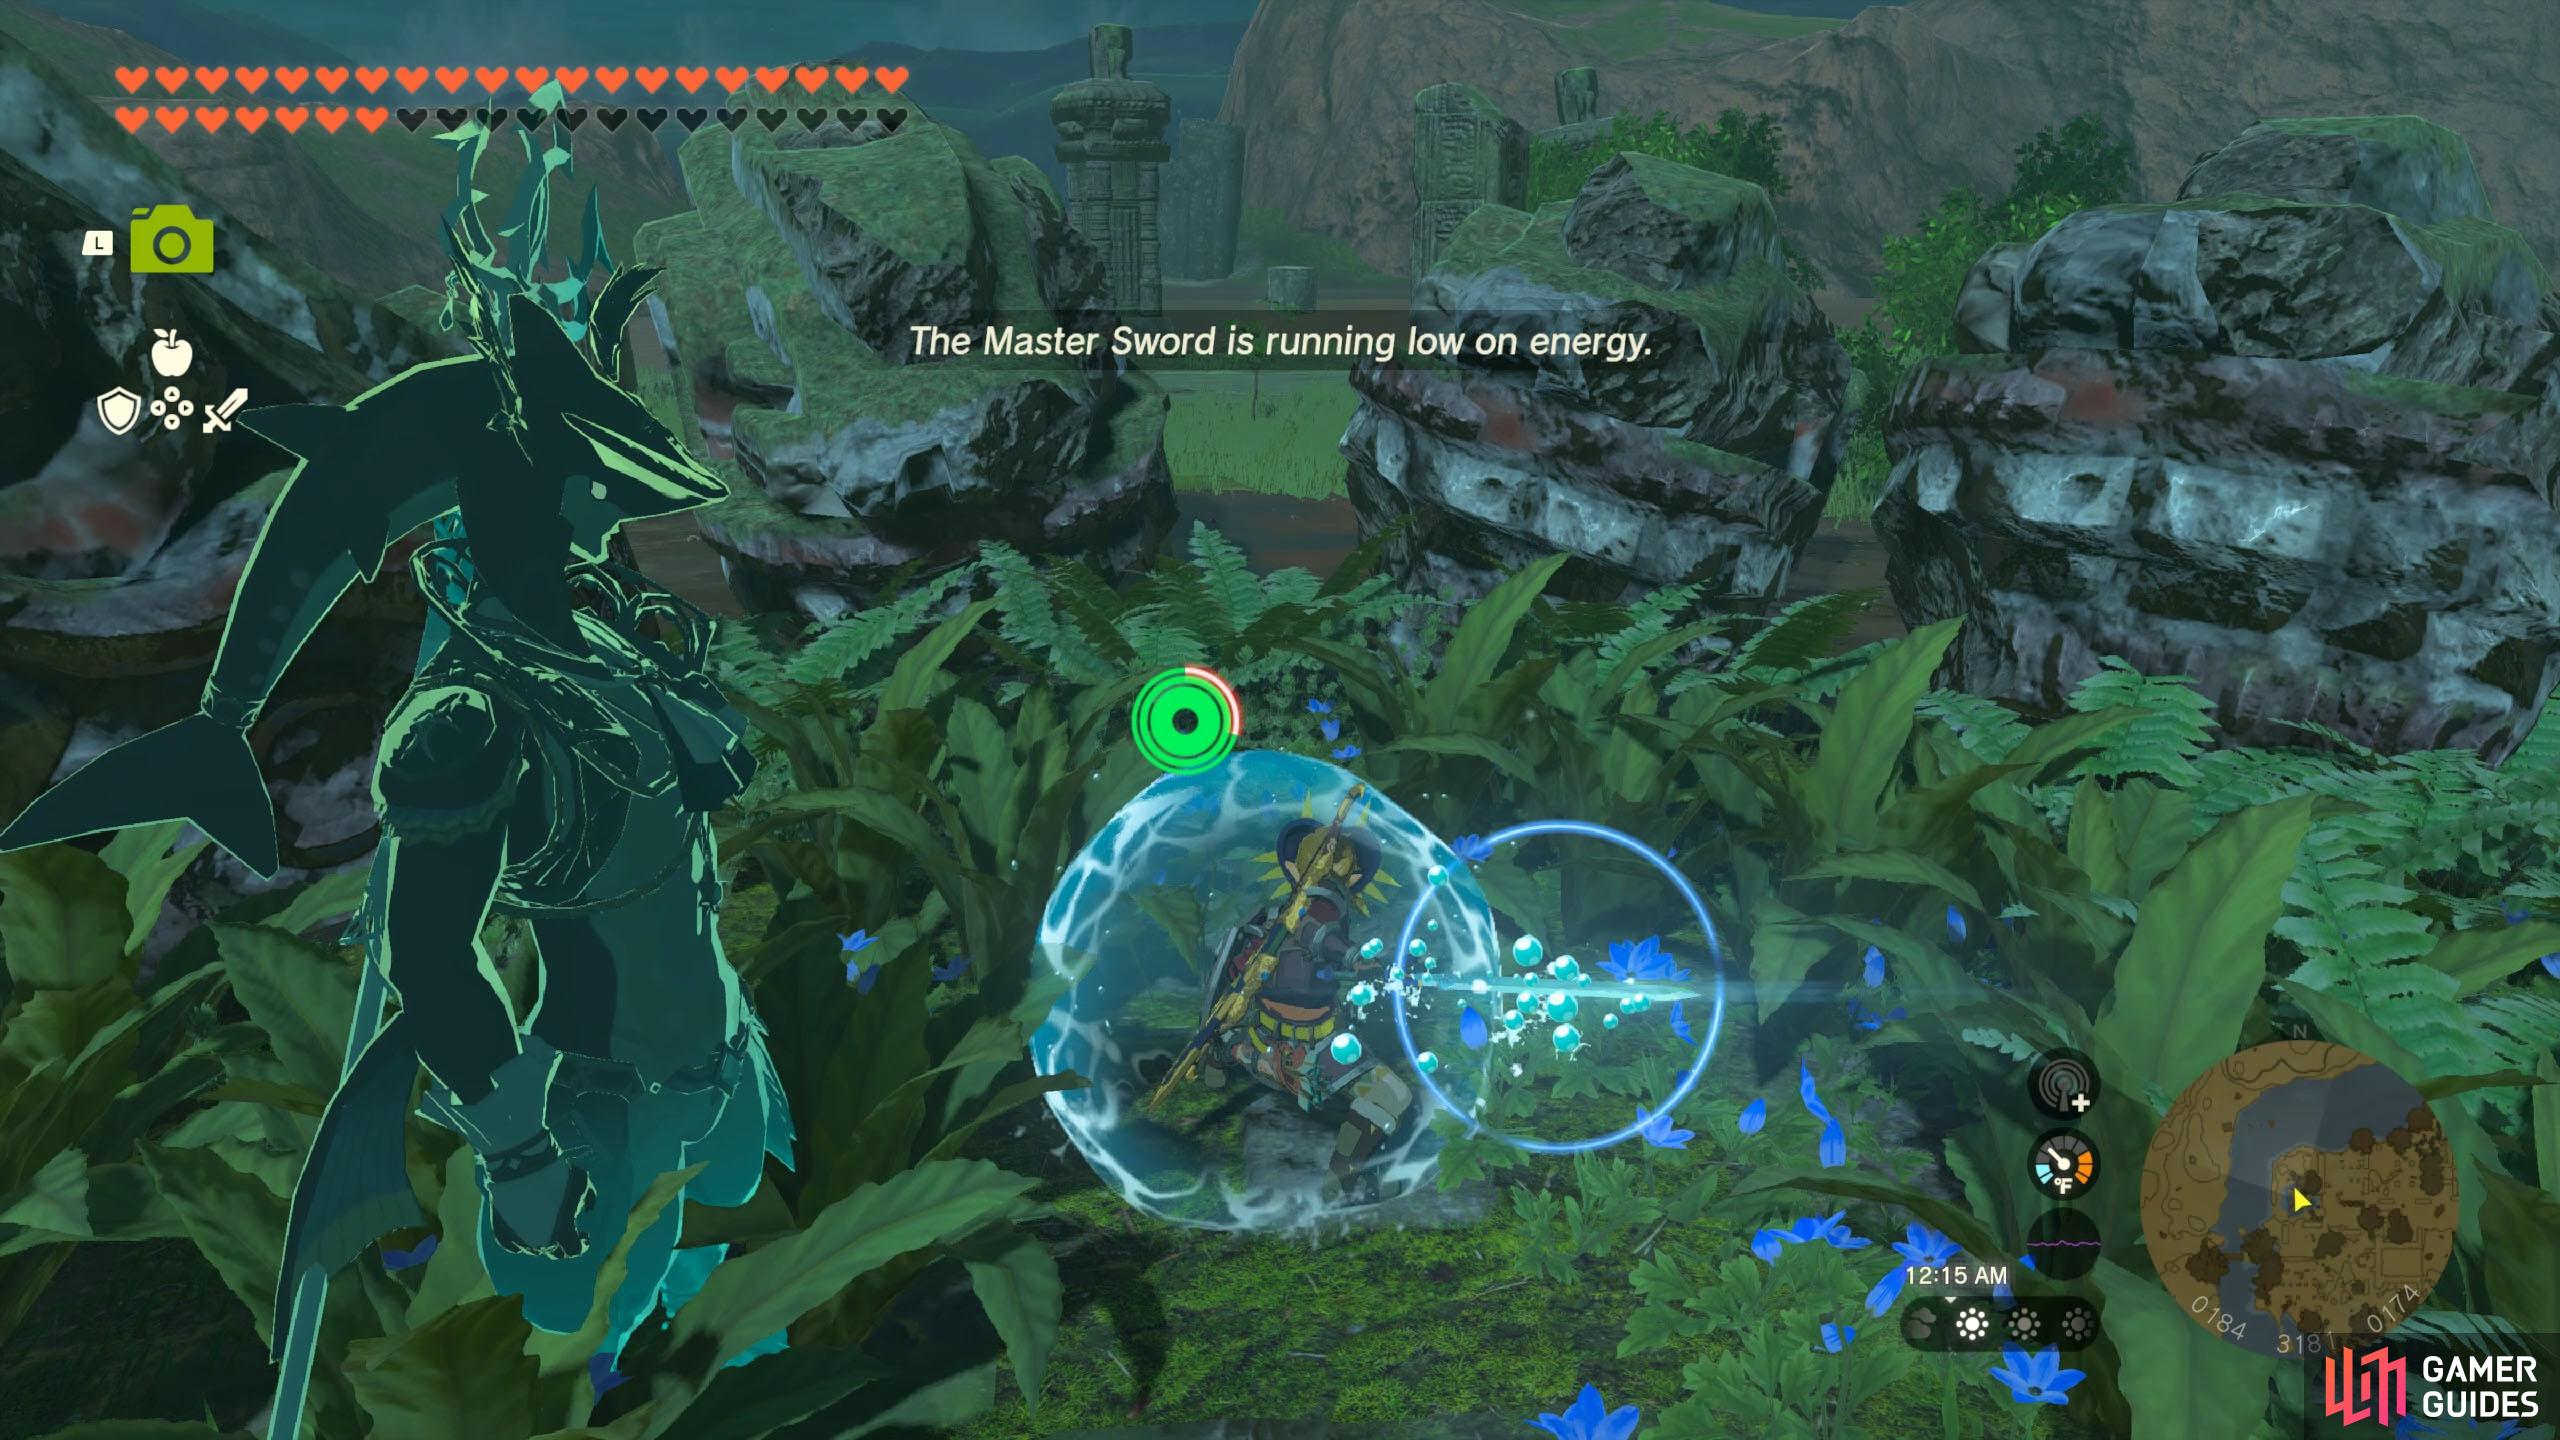
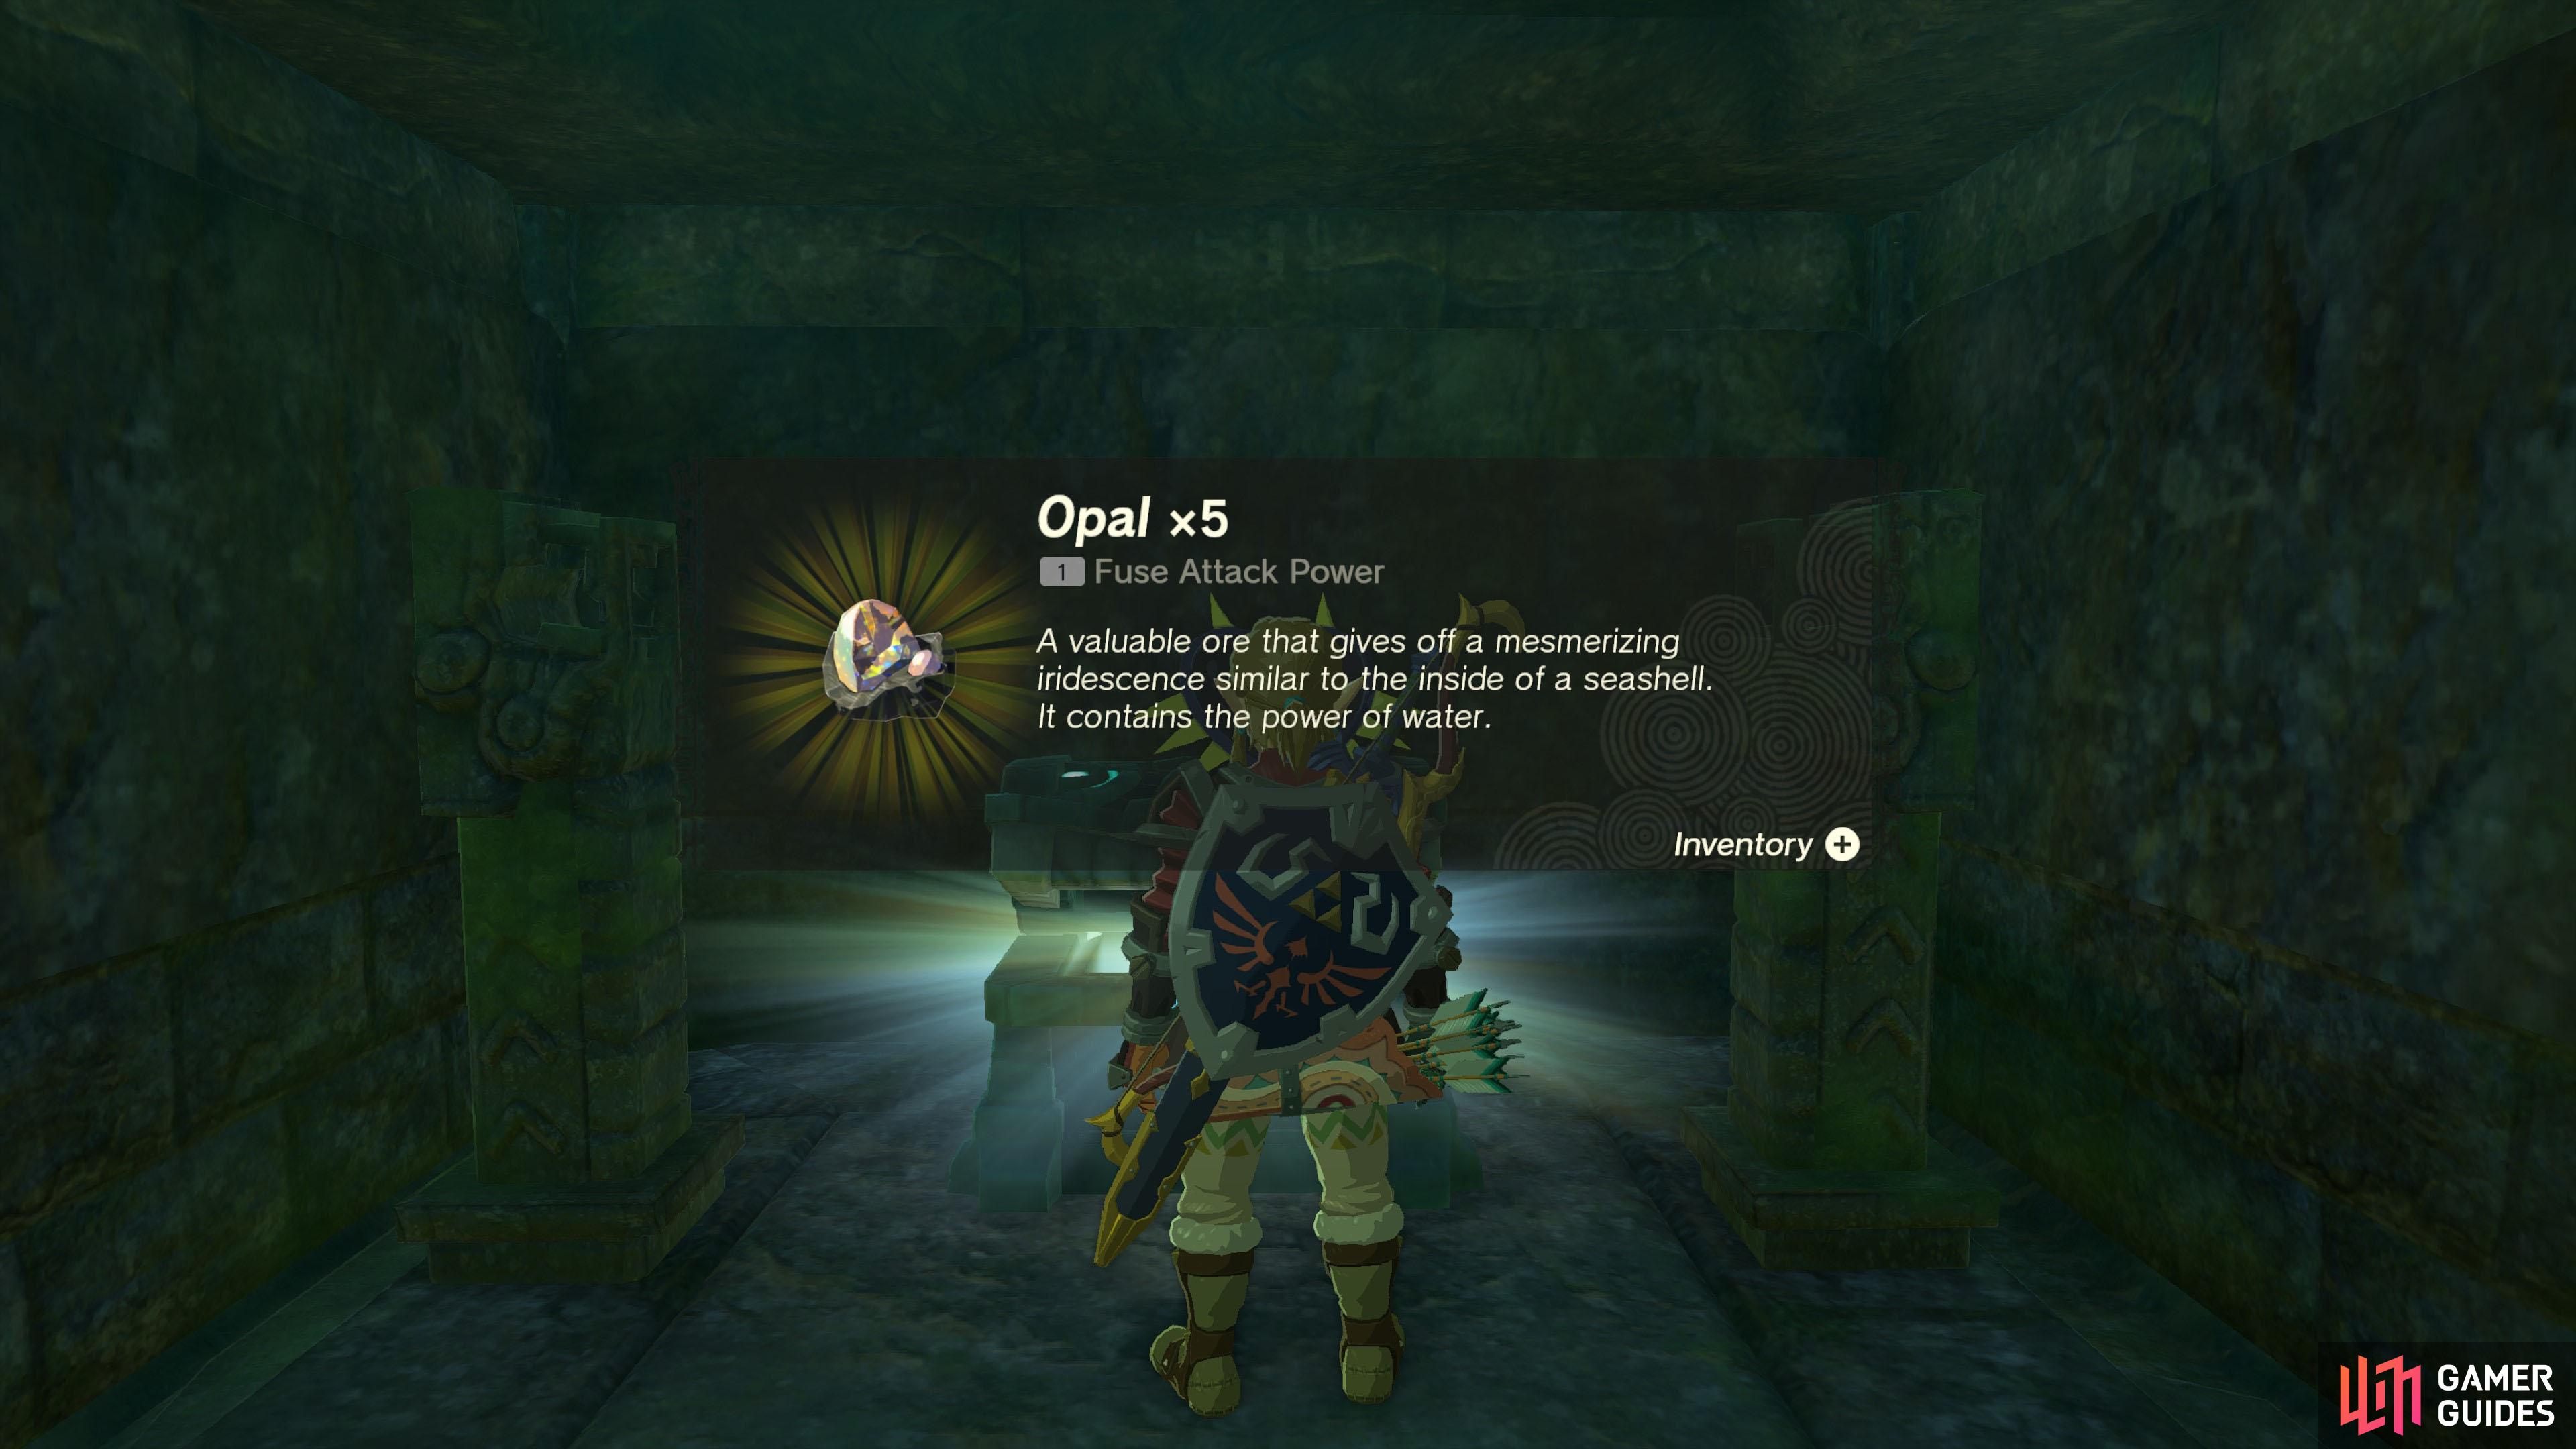
You will receive this side adventure upon investigating the second from right monolith after initiating Make your way to the north-west corner of this island. If you view the in-game map, you’re looking for a place almost completely surrounded by a small swamp. Stand in the middle of this swamp, where six dragon heads are facing you. Now use This will make a chest rise up nearby to the north-west, across the swamp. Watch out for annoying Octorok nearby. Open the chest and pocket the goods to complete this side adventure.
Chest Rewards
3×
 Opal
Materials Opal
Materials
Quest Type
Side Adventure
Map(s)
|
|
|||||||||||||||||||||||||||||||||||||||||||||||||||||||||||||||||||||||||||||||||||||||||||||||

|
The Yiga Clan Exam |
Received from the Blademaster inside the The Blademaster will ask you to offer Note: If you are viewing from our interactive map, please click the View in Database link to use the Map Marker links.
Quest Type
Side Adventure
Map(s)
|
||||||||||||||||||||||||||||||||||||||||||||||||||||||||||||||||||||||||||||||||||||||||||||||||


 Large Zonai Charge
 Big Battery (Capsule)
 Diamond