
Your ability to successfully hunt monsters is mostly skill-based, but your gear also plays a significant role - especially your weapons. There are other things you can do to improve your odds of hunting a monster, however, as the environment is absolutely crawling with useful materials that can be crafted into restoratives and tools, and you may want to spend some time going out of your way to harvest these from time to time. This page will discuss how to efficiently harvest materials in ![]() Monster Hunter Wilds, including what you should especially be on the lookout for!
Monster Hunter Wilds, including what you should especially be on the lookout for!
Page Breakdown
| Quick Search |
|---|
| Harvesting Materials |
| Material Farming Gear |
| Best Materials |
Harvesting Materials
During the main questline (chapters 1-3) you’ll sometimes find yourself burdened with downtime between hunts where you can roam off and explore regions freely. After the start of chapter 4, this free time becomes the norm, as quests only begin when you talk to a relevant NPC or start a hunt via Alma. In any event, when you have the opportunity to do so you can freely roam the various regions of the Forbidden Lands, and gather what resources you stumble across. At a glance it’s a simple activity, as all resources are clearly marked on the map - all you have to do is walk up to them and gather them.
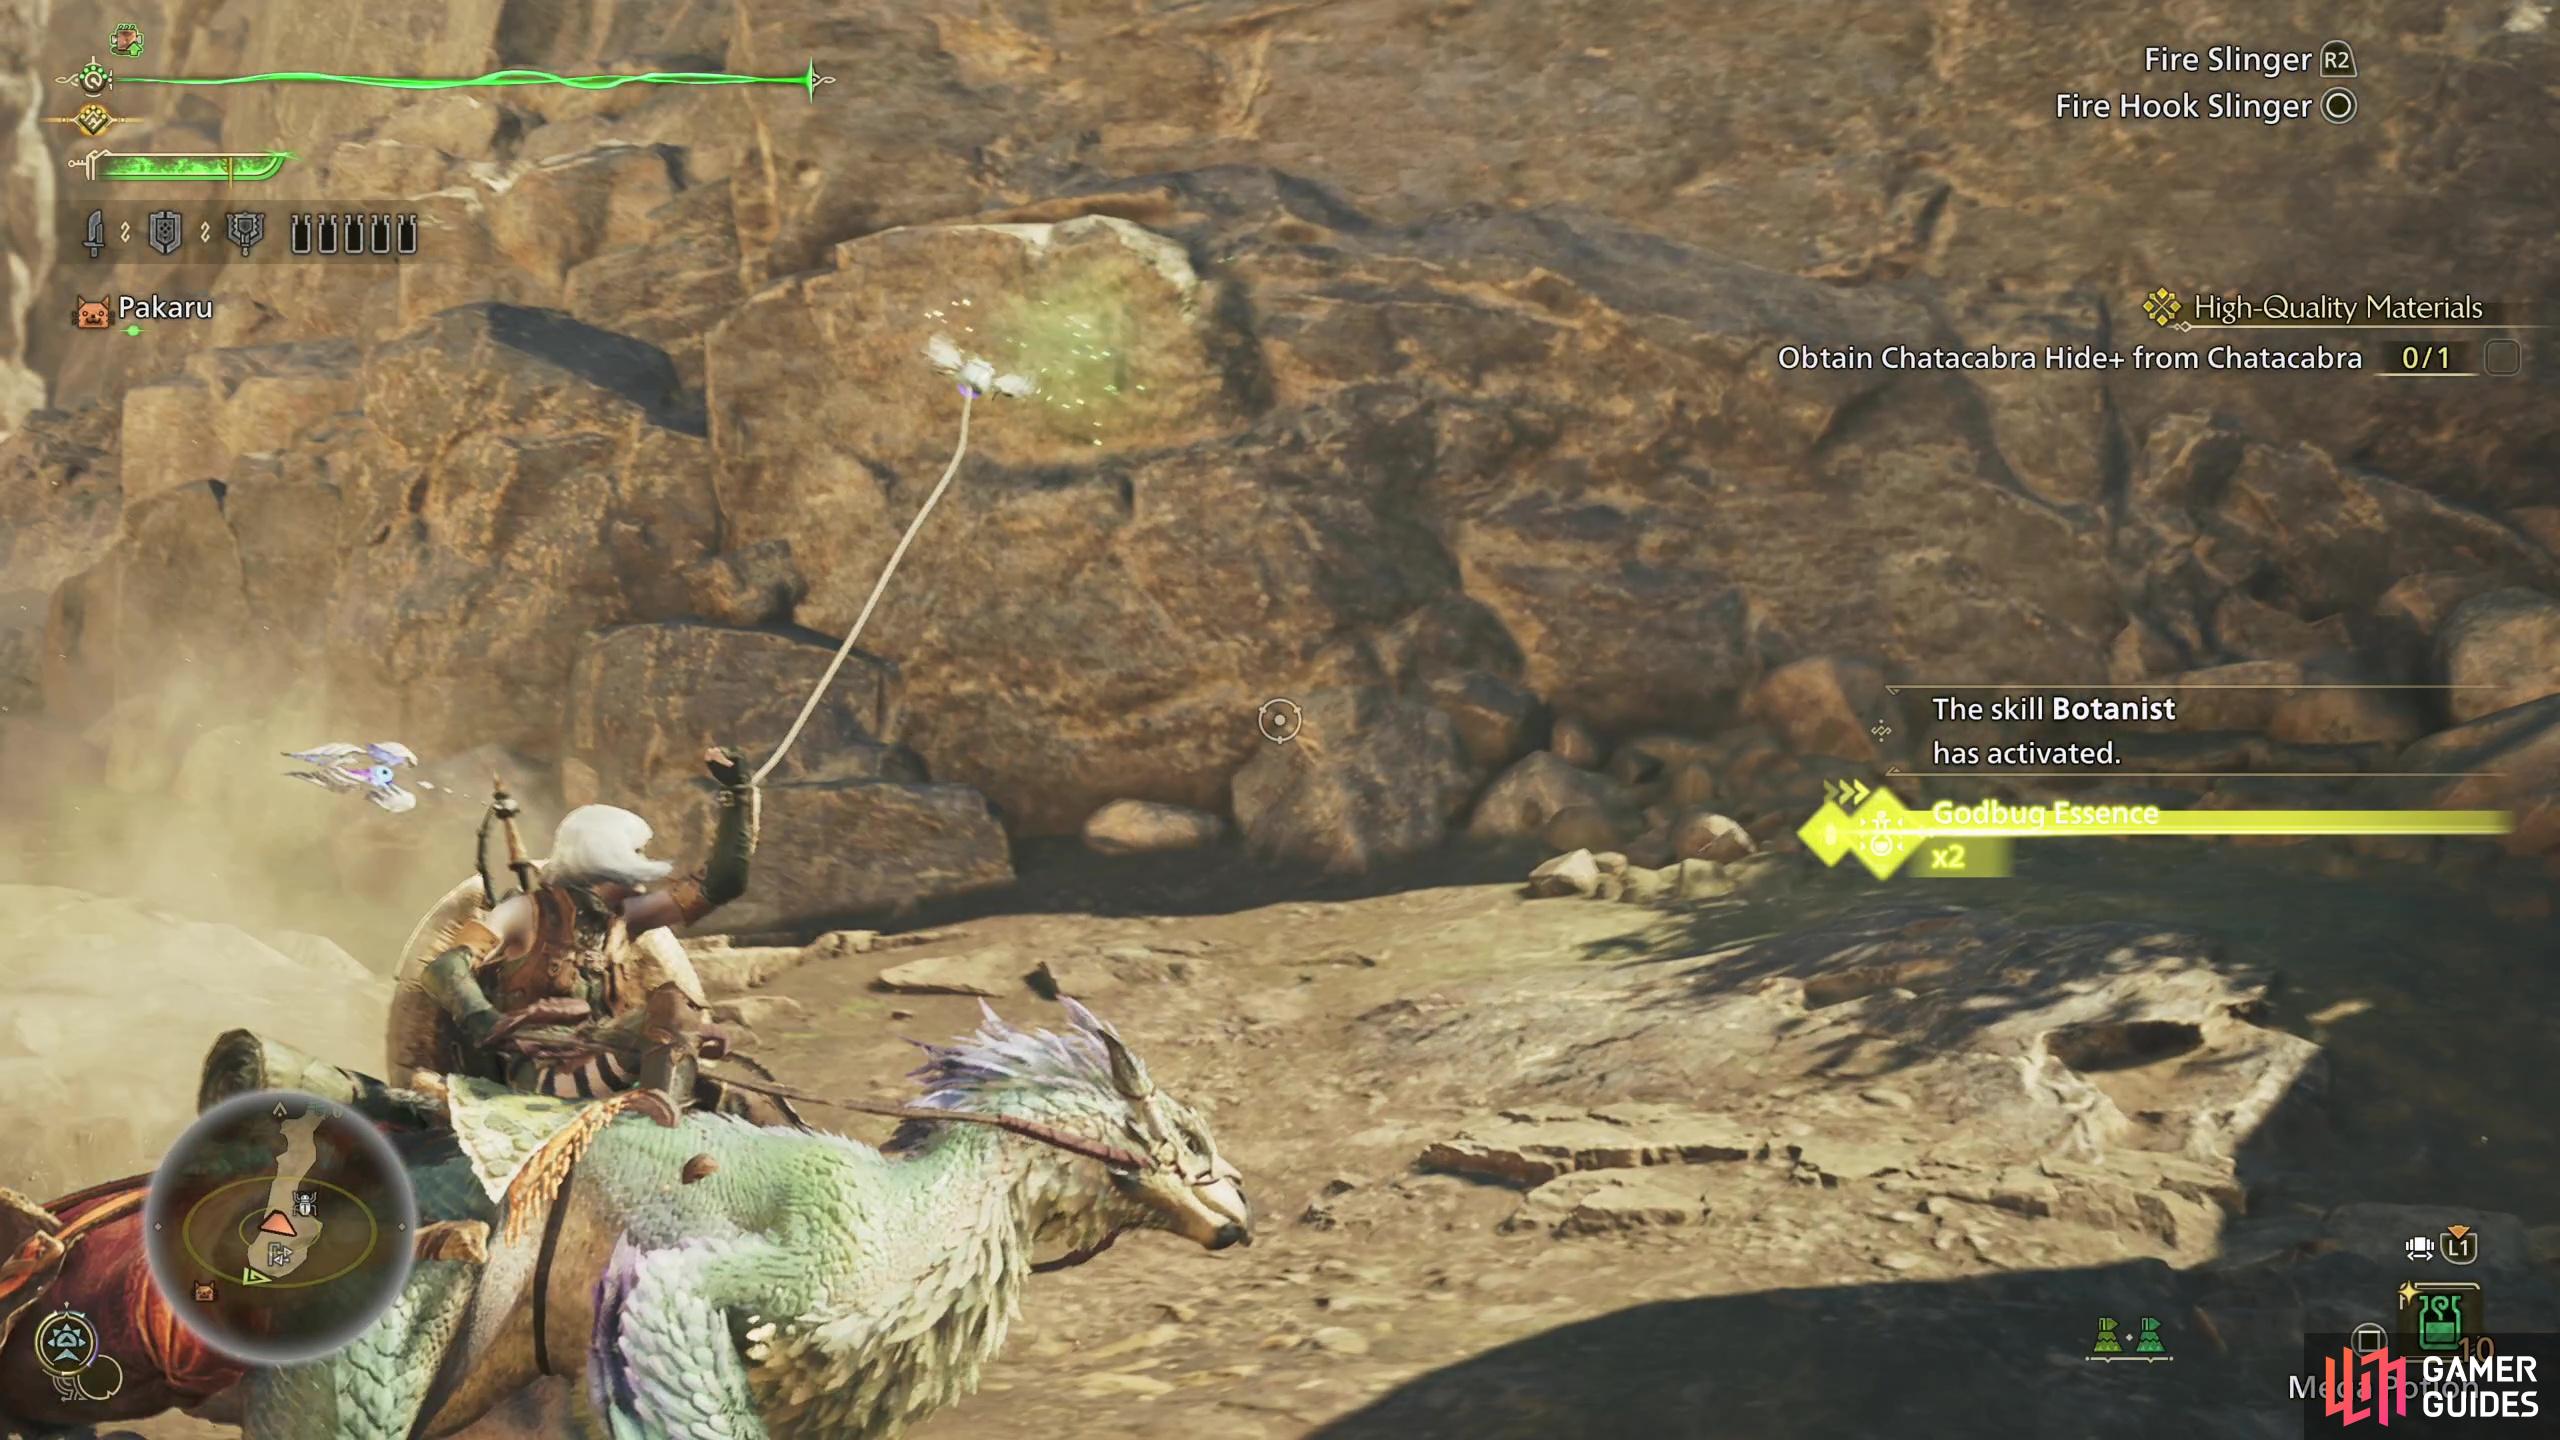
(1 of 4) You can gather materials with the hook slinger, even from the back of the Seikret!
The odd item that is out-of-reach of your grasping paws can instead be collected via your Hook Slinger, and in fact most materials can be acquired this way. You can even harvest via Hook Slinger while riding on your Seikret, making material collection a leisurely activity you can (and should) engage in even while enroute to other objectives! Endemic life can be collected by equipped your ![]() Capture Net as well, and aside from ore veins (which must be loosened up with a pickaxe strike at close range before the now-loosened materials can be harvested), every material in the game can be farmed on the go by using the Hook Slinger. These items will be listed on the left hand side of the screen as you get within Hook Slinger range (a generous 40m) and you can target them from this pop-up list by using the
Capture Net as well, and aside from ore veins (which must be loosened up with a pickaxe strike at close range before the now-loosened materials can be harvested), every material in the game can be farmed on the go by using the Hook Slinger. These items will be listed on the left hand side of the screen as you get within Hook Slinger range (a generous 40m) and you can target them from this pop-up list by using the  .
.
All materials will respawn over time, although depending on time of day and weather, different materials may appear in different locations. It’s also worth noting that even aside from the weather and hour, upsurges of certain materials and endemic life can occur, and rare gathering spots that yield rare special items can spawn. Starting in chapter 4, keep an eye on a region’s “Environment Overview” to track these opportunities. For information about changing time, check out the How to Skip Time and Change Weather page. Simply put, however, you may want to pay attention to these factors before you go farming materials if you’re looking for something specific.
Material Farming Gear
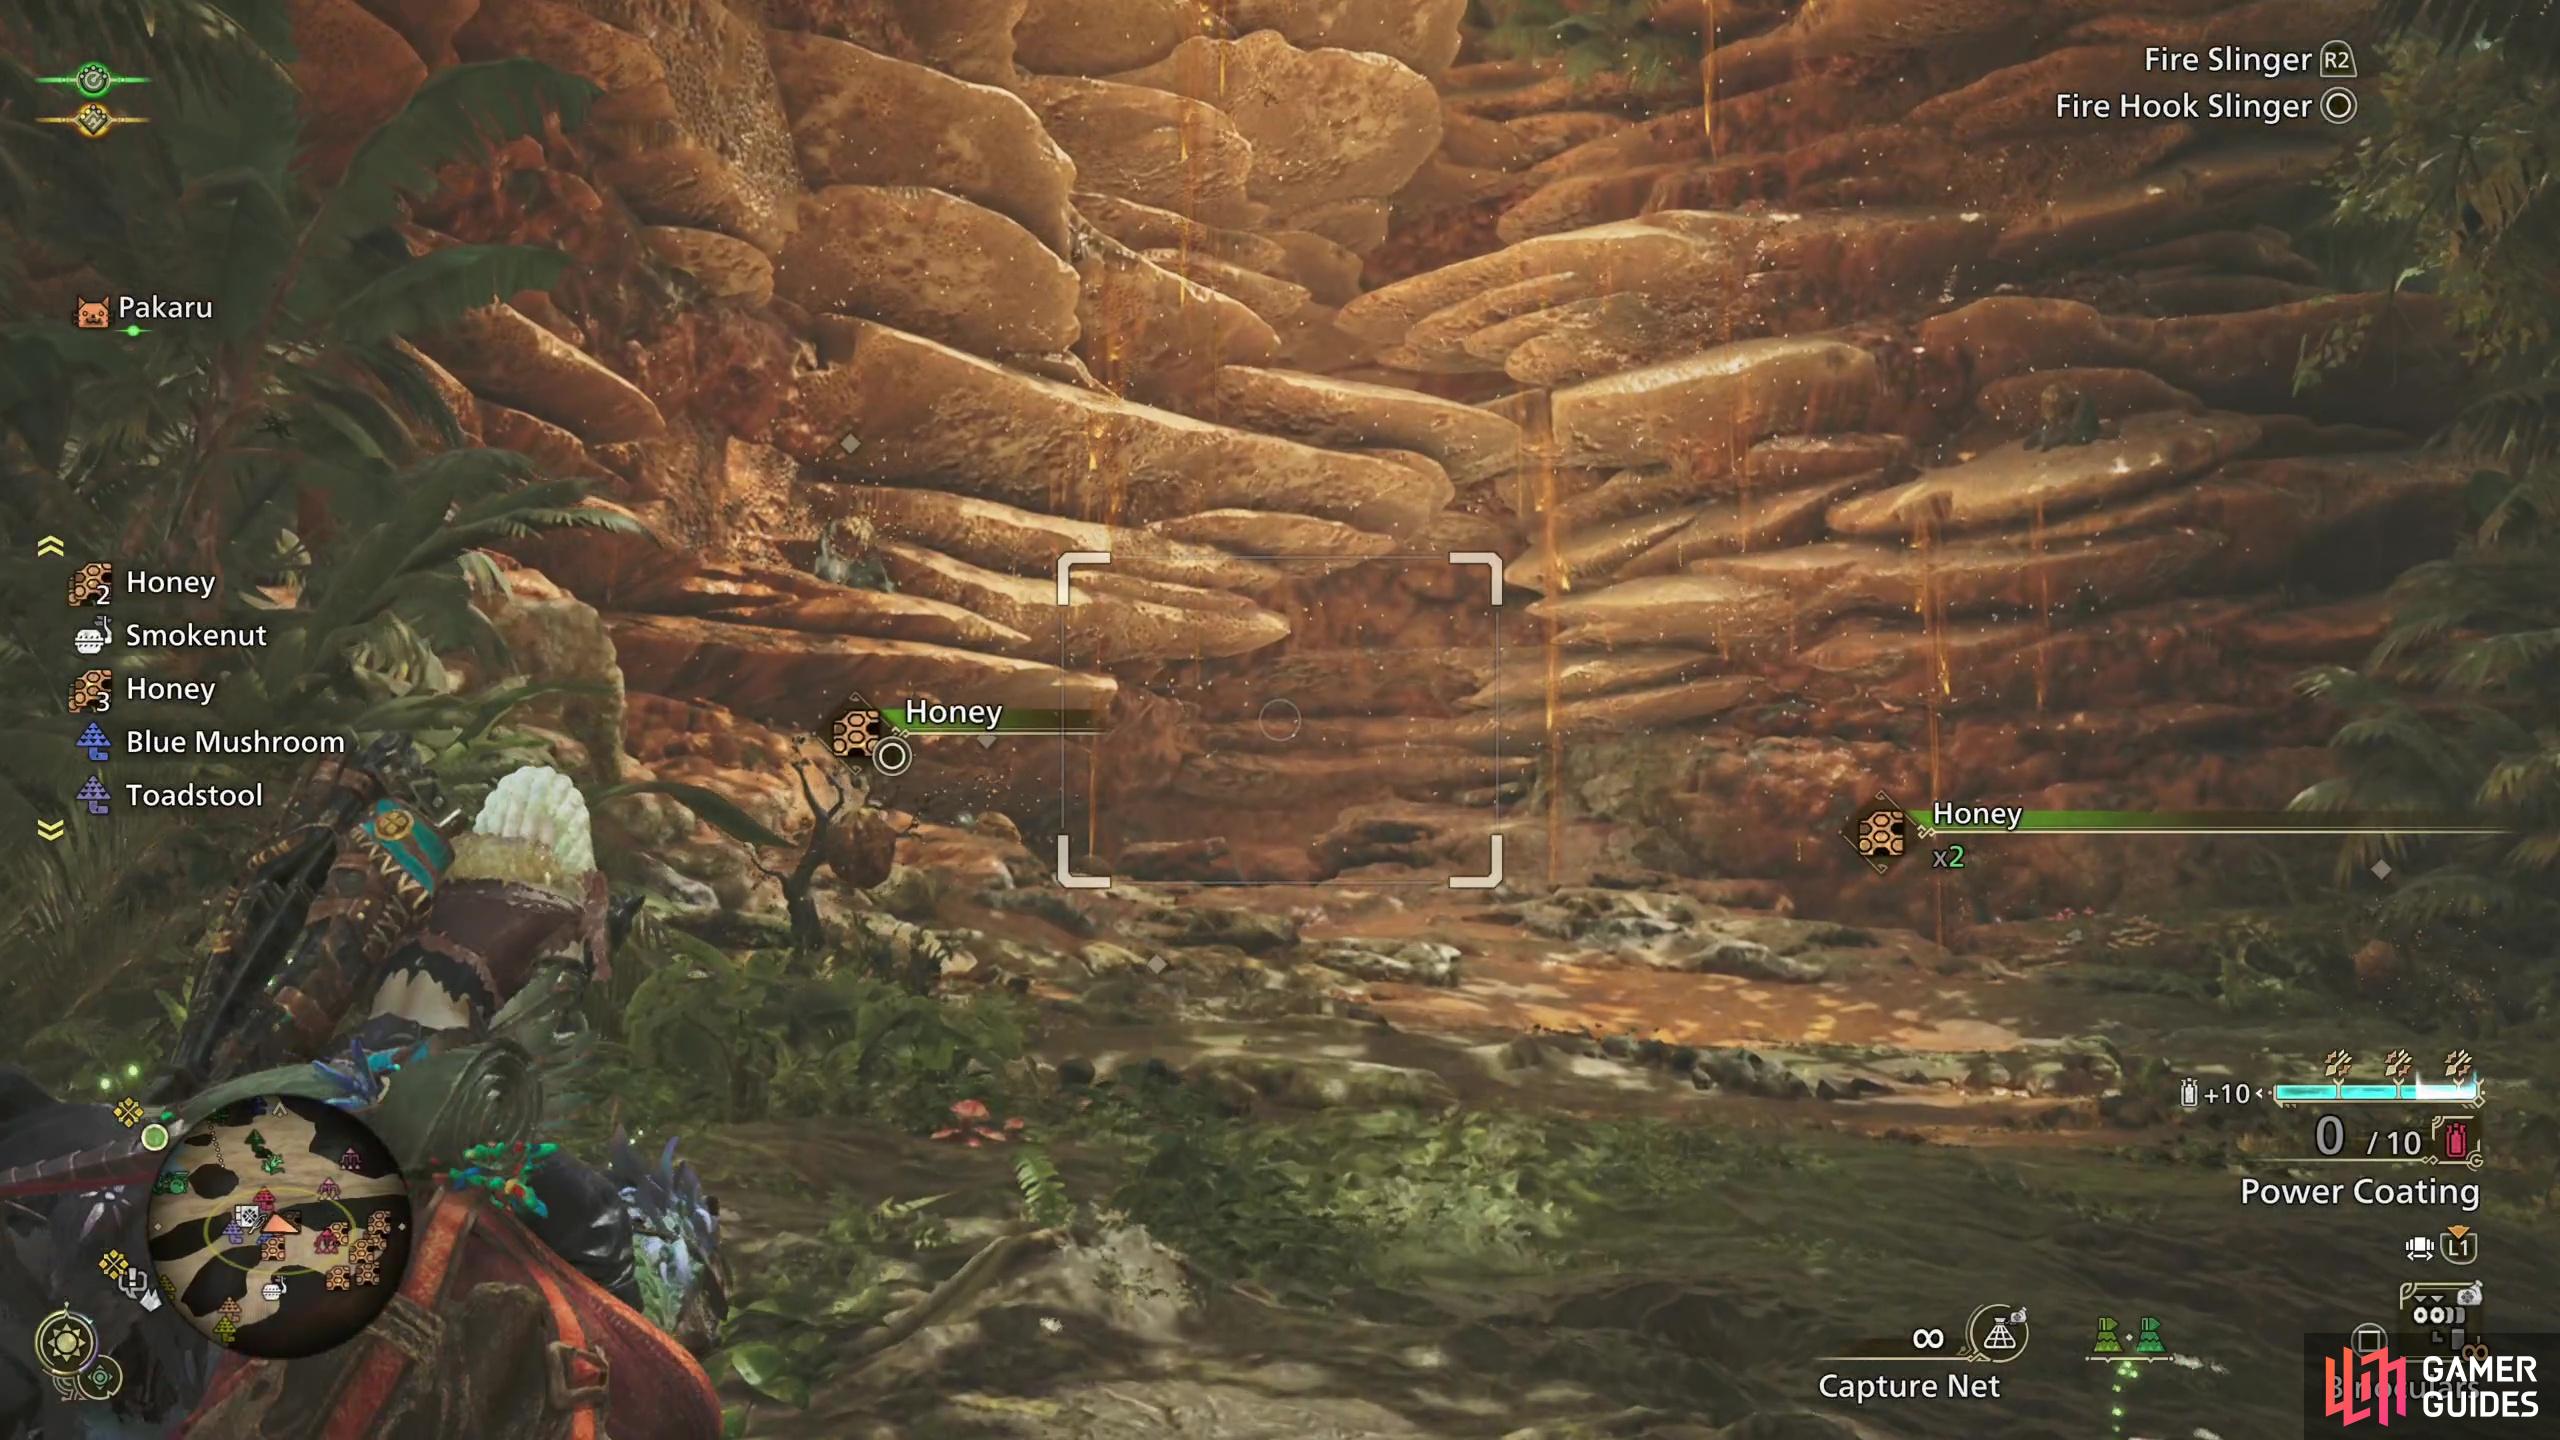
Snagging the odd bit of ![]() Honey as you ride from hunt to hunt is a good way to keep stocked up opportunistically, but to really fill up your coffers you’ll want to engage in dedicated material-gathering hunts from time to time, and to maximize your gains you’ll want to have certain skills. These include the following:
Honey as you ride from hunt to hunt is a good way to keep stocked up opportunistically, but to really fill up your coffers you’ll want to engage in dedicated material-gathering hunts from time to time, and to maximize your gains you’ll want to have certain skills. These include the following:
 Botanist: Grants an additional herb (Lv1), fruit, nut or seed (Lv2), insect (Lv3) and mushroom (Lv4) every time you gather.
 Geologist: Grants an additional item from bonepiles (Lv1), special item (Lv2) or item when gathering from mining outcrops (Lv3) every time you gather.
 Entomologist: You can defeat small monsters without destroying their bodies, allowing you to harvest their remains.
Botanist and Geologist are the must-haves, as they directly increase the materials you gather every time you gather… just about anything! This will boost your material collection rate by 50-100%, which saves you a ton of time and makes you much more productive. Entomologist isn’t quite on that level, but sometimes you’ll want to harvest insectoid small monsters, like ![]() Bulaqchi and
Bulaqchi and ![]() Vespoids, and an item with this skill on it will ensure you’ve got something to carve afterwards. And now for some nice-to-haves…:
Vespoids, and an item with this skill on it will ensure you’ve got something to carve afterwards. And now for some nice-to-haves…:
 Adaptability: No damage from heat/cold or environments. It just makes exploring the Oilwell Basin and Iceshard Cliffs much easier when you don’t have to worry about
  Hot Drinks and
  Cool Drinks.
 Aquatic/Oilsilt Mobility: Less scale of the consideration above - you won’t be slowed down by oil or water. You really only need one rank of this, and even then, the word “need” is being a bit generous. It makes traversing some parts of the Scarlet Forest and Oilwell Basin easier.
 Hunger Resistance: Your max stamina won’t decrease over time (Lv3). Just removes the need to consume rations every once in a while, which is nice.
Early on you’ll have to settle for low-rank Leather armor and whatever decorations you can find.
Later on you can upgrade to high rank Leather armor, which can allow you to create very competent material farming gear!
Gathering these skills may seem daunting at first, but there’s an easy solution, even early-game. First the full ![]() Leather set (which you should have equipped or in your stash at the start of the game) grants Botanist Lv4 and Hunger Resistance Lv1 when equipped, while the full
Leather set (which you should have equipped or in your stash at the start of the game) grants Botanist Lv4 and Hunger Resistance Lv1 when equipped, while the full ![]() Chainmail set will give you Geologist Lv3. It’s not perfect, but it’s a start, and since your access to decorations and armor capable of equipping them are limited until halfway through the main campaign, you’re probably not going to be creating optimal harvesting armor early on. Use Talismans to help get what your armor doesn’t give you and make the best of things while you can.
Chainmail set will give you Geologist Lv3. It’s not perfect, but it’s a start, and since your access to decorations and armor capable of equipping them are limited until halfway through the main campaign, you’re probably not going to be creating optimal harvesting armor early on. Use Talismans to help get what your armor doesn’t give you and make the best of things while you can.
Sample Low-Rank Gathering Armor
| Equipment | Skills | Decorations |
|---|---|---|
| – | ||
| – | ||
| – | ||
| – | ||
| – | ||
| – |
Once you hit chapter 4 and can start fighting high-rank enemies, your options improve considerably. Not only have you been collecting decorations for a bit now (with any luck you got some providing some of the skills you want - if not, there’s plenty of game left to grind them!), but you also have access to armor with enough slots to use them! Even better, there are new high-rank variants of armor sets including Leather and Chainmail, the former of which will now give you Botanist (Lv4) and Hunger Resistance (Lv3) and Geologist (Lv3), respectively. These sets of armor will also get you six decoration slots (Leather) or seven (Chainmail). Leather is the clear winner here, and with six slots you can technically get everything you need - fairly easily with full Leather and a talisman, in fact.
Sample High-Rank Gathering Armor
| Equipment | Skills | Decorations |
|---|---|---|
| 1 | ||
| 1 | ||
| 1 | ||
| 2 | ||
| 1 | ||
| – |
Slap in decorations to give yourself Entomologist Lv1, Adaptability Lv2 and Aquatic/Oilsilt Mobility Lv1 and you’ve still got two slots to spare. Later on you’ll get access to even better material farming armor - the ![]() Azuz Pants α gives Geologist Lv3 and has three decoration slots and the
Azuz Pants α gives Geologist Lv3 and has three decoration slots and the ![]() Sild Hood α gives Botanist Lv3 and has three decoration slots. Not strictly necessary, but if you really want to streamline your farming gear, these are by and far the best choices.
Sild Hood α gives Botanist Lv3 and has three decoration slots. Not strictly necessary, but if you really want to streamline your farming gear, these are by and far the best choices.
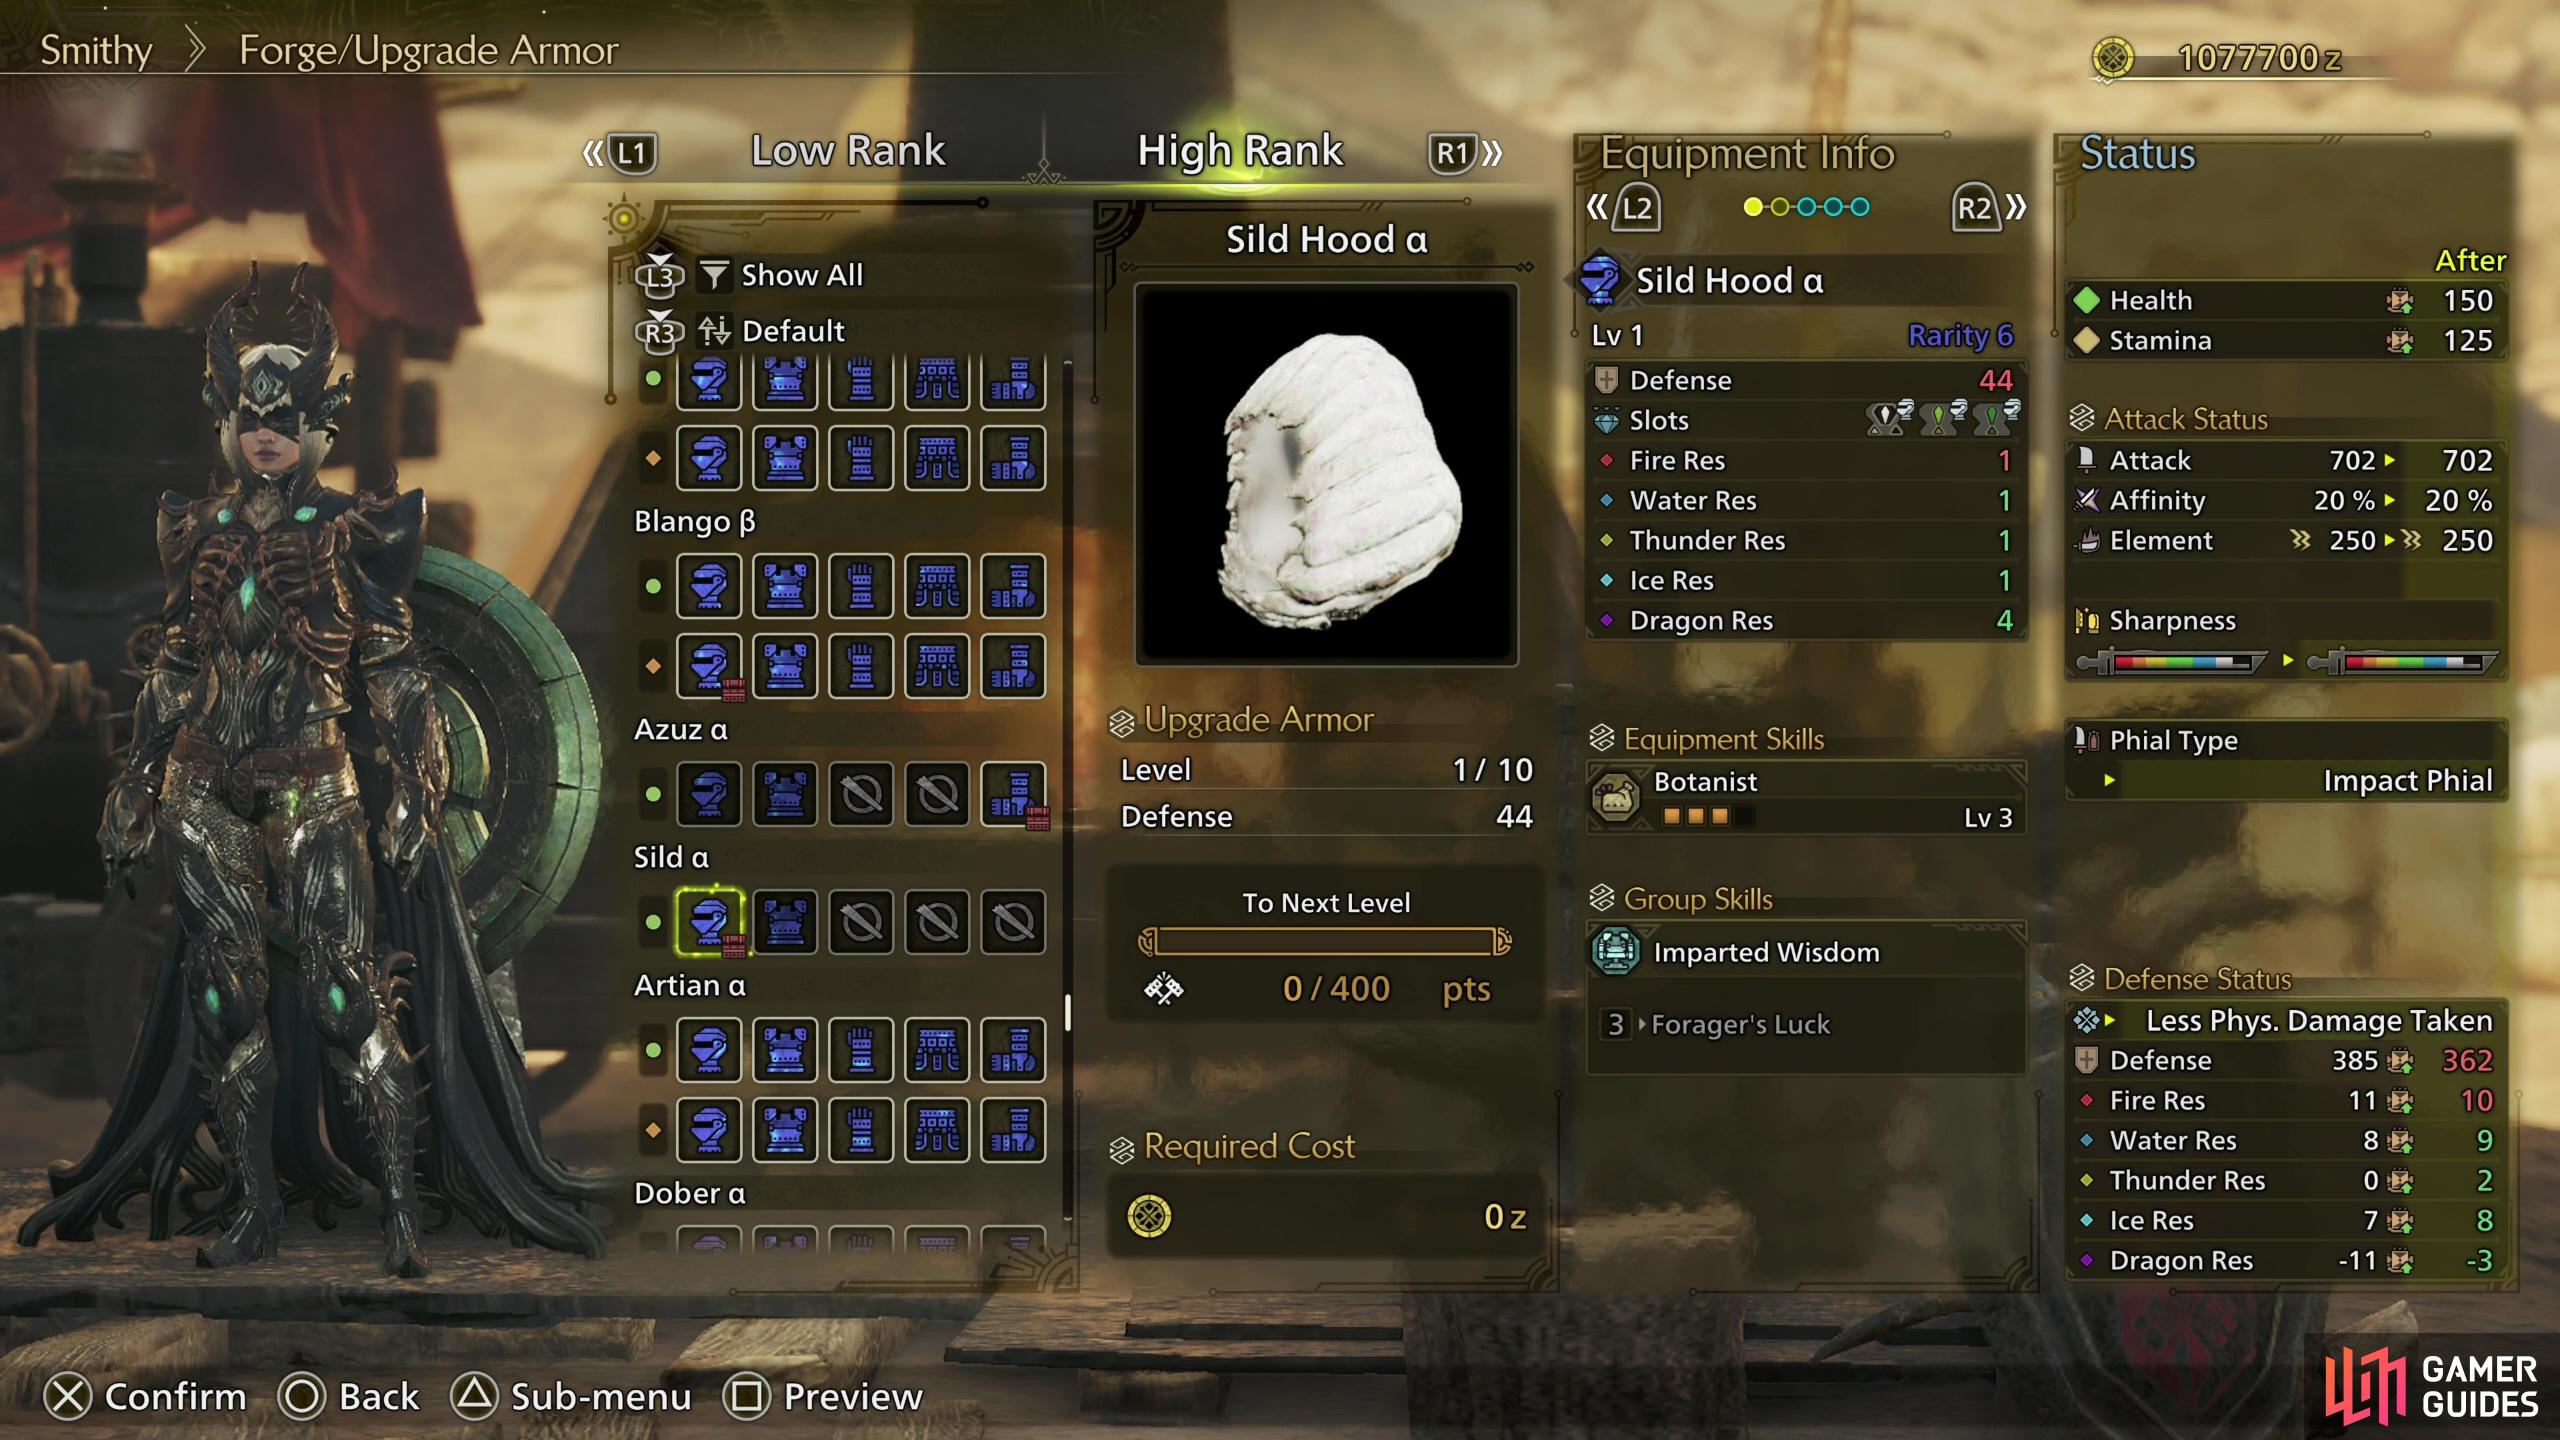
(1 of 3) Eventually you’ll unlock gear that surpasses even high rank Leather armor in terms of the harvesting skills native to it.
Best Materials
You may just want to grab everything that’s not nailed down for a few runs, just to bulk out your materials, but eventually you’ll find yourself using some materials more than others and you should prioritize those accordingly. Here are a few of the materials you should prioritize on resource gathering expeditions:
 Herbs: Used to make
  Potions and by extension,
  Mega Potions. You’re going to need a fair few of these, although you can just buy Potions from the provisioner if you have more money than time.
- Honey: Used to make Mega Potions and
 Catalysts, a necessary material for more potent consumables.
  Dung: Sometimes enemies don’t have the decency to travel alone, and you’ll have to encourage them to shoo with a
  Large Dung Pod. You’ll need Dung to make
  Dung Pods, which in turn can be used to create Large Dung Pods. You can buy Dung Pods from the provisioner if you’d rather keep your hands clean.
 Nitroshroom: Mix these with Dung Pods to create Large Dung Pods.
 Mandragora: Used to create
  Max Potions, one of the most potent healing items in the game. Also used to create
  Immunizers, which in turn are required for
  Ancient Potions,
  Might Pills and Admant Pills. Somewhat uncommon, so grab them when you find them!
 Bitterbug Broth: A component, along with Honey, for creating Immunizers and Catalysts, the latter of which are required to craft
  Demondrugs and
  Armorskin.
 Might Seed: Required to create all sorts of strength-boosting items, like Demondrugs, Might Pills, etc.
 Adamant Seed: Same as Might Seeds, but these produce defense-boosting items like Armorskin and
  Adamant Pills.
 Flashbug Phosphor: Used to create
  Flash Pods - many enemies can be knocked down or stunned when they climb objects, charge attacks, or fly. Always handy to have some equipped.
 Thunderbug Capacitor: Used to create
  Shock Traps, along with
  Trap Tools, which you’ll have to buy from provisioners. If you want to capture monsters, you’ll need these.
 Sleep Herb: Along with
  Parashrooms, these are used to create
  Tranq Bombs, which are required to capture monsters.
- Parashroom: Along with Sleep Herbs, you will need these to craft Tranq Bombs.
You may want to add more materials to this list depending on, say, what ammo you use (if any) or if you want to stack Demondrugs, ![]() Mega Demondrugs,
Mega Demondrugs, ![]() Demon Powder and Might Pills, etc.
Demon Powder and Might Pills, etc.
No Comments