
There are all kinds of tools you can use to improve your odds before and during hunts in ![]() Monster Hunter Wilds - traps to restrain monsters, bombs and ammo to damage or debilitate them, consumables to heal, buff, protect against the environment, and so forth. Most of these are crafted, single-use items. Mantles are a more durable tool that sits somewhere between gear and consumable, being usable multiple times (albeit with a cooldown) to provide various effects. This page will cover how to unlock ever Mantle in Monster Hunter Wilds, how to use mantles, and what they do.
Monster Hunter Wilds - traps to restrain monsters, bombs and ammo to damage or debilitate them, consumables to heal, buff, protect against the environment, and so forth. Most of these are crafted, single-use items. Mantles are a more durable tool that sits somewhere between gear and consumable, being usable multiple times (albeit with a cooldown) to provide various effects. This page will cover how to unlock ever Mantle in Monster Hunter Wilds, how to use mantles, and what they do.
Page Breakdown
| Quick Search |
|---|
| Unlocking Mantles |
| All Mantle Unlocks |
| Best Mantles |
Unlocking Mantles
Mantles unlock very early in the game, during the quest ![]() Village of Whispering Winds, after visiting Kunafa, Windsong Village. The
Village of Whispering Winds, after visiting Kunafa, Windsong Village. The ![]() Ghillie Mantle - your first mantle - will hide you from monsters, allowing you to observe them in peace or sneak past them, but engaging in hostilities will break the disguise. The effect, like with all mantles, is fleeting and this one is of dubious utility in combat. Your first combat-oriented mantle will unlock after you defeat the
Ghillie Mantle - your first mantle - will hide you from monsters, allowing you to observe them in peace or sneak past them, but engaging in hostilities will break the disguise. The effect, like with all mantles, is fleeting and this one is of dubious utility in combat. Your first combat-oriented mantle will unlock after you defeat the ![]() Nu Udra - just talk to Gemma after the fight. She’ll provide you with new mantles as the game progresses, so if you see an exclamation mark over her head, go talk to her. A full list of the game’s mantles and how to unlock them can be found below:
Nu Udra - just talk to Gemma after the fight. She’ll provide you with new mantles as the game progresses, so if you see an exclamation mark over her head, go talk to her. A full list of the game’s mantles and how to unlock them can be found below:
All Mantle Unlocks
| Mantle | Effect | Duration | Cooldown | Unlocked |
|---|---|---|---|---|
| Temporarily conceal yourself from view. The effect ends if you perform an attack or take damage. | 120 seconds | 300 seconds | During |
|
| Reduces damage taken and prevents damage reactions when attacked. Grants protection from wind pressure, roars and tremors. | 90 seconds | 600 seconds | Talk to Gemma after hunting the |
|
| Continually restores health for a period of time. | 60 seconds | 600 seconds | Talk to Gemma after hunting the |
|
| Evading just before an attack triggers a special evasive maneuver that lets you escape unharmed. Upon success, grants a temporary attack boost and alternative combos. | 90 seconds | 600 seconds | Defeat the Frenzied |
|
| Decreases health, but increases affinity and weapon performance when equipped. Repeated attacks on monsters will further increase your attack power and affinity. | 120 seconds | 600 seconds | Talk to Gemma after defeating the |

The first mantle - the Ghillie Mantle - will unlock automatically following the Quematrice hunt,
while others will unlock after you progress the main story, usually requiring you to chat with Gemma.
Using and Equipping Mantles
The Ghillie Mantle is always at your disposal, and you can use it via the item bar or radial menu (if assigned) just like any other tool. Once used, a mantle’s effect will begin along with its cooldown, so the dead time between uses isn’t quite as long as it may seem. Once you’ve unlocked a second mantle - invariably the ![]() Rocksteady Mantle - you can equip it via the “Change Equipment” option in your tent. Only one mantle other than the Ghillie Mantle can be equipped at the same time, and their cooldowns are not linked, so you could use the Ghillie Mantle to spy on a monster, then use whatever other mantle you have equipped.
Rocksteady Mantle - you can equip it via the “Change Equipment” option in your tent. Only one mantle other than the Ghillie Mantle can be equipped at the same time, and their cooldowns are not linked, so you could use the Ghillie Mantle to spy on a monster, then use whatever other mantle you have equipped.

You can equip one mantle - in addition to the Ghillie Mantle, which is always available - via your tent.
Best Mantles
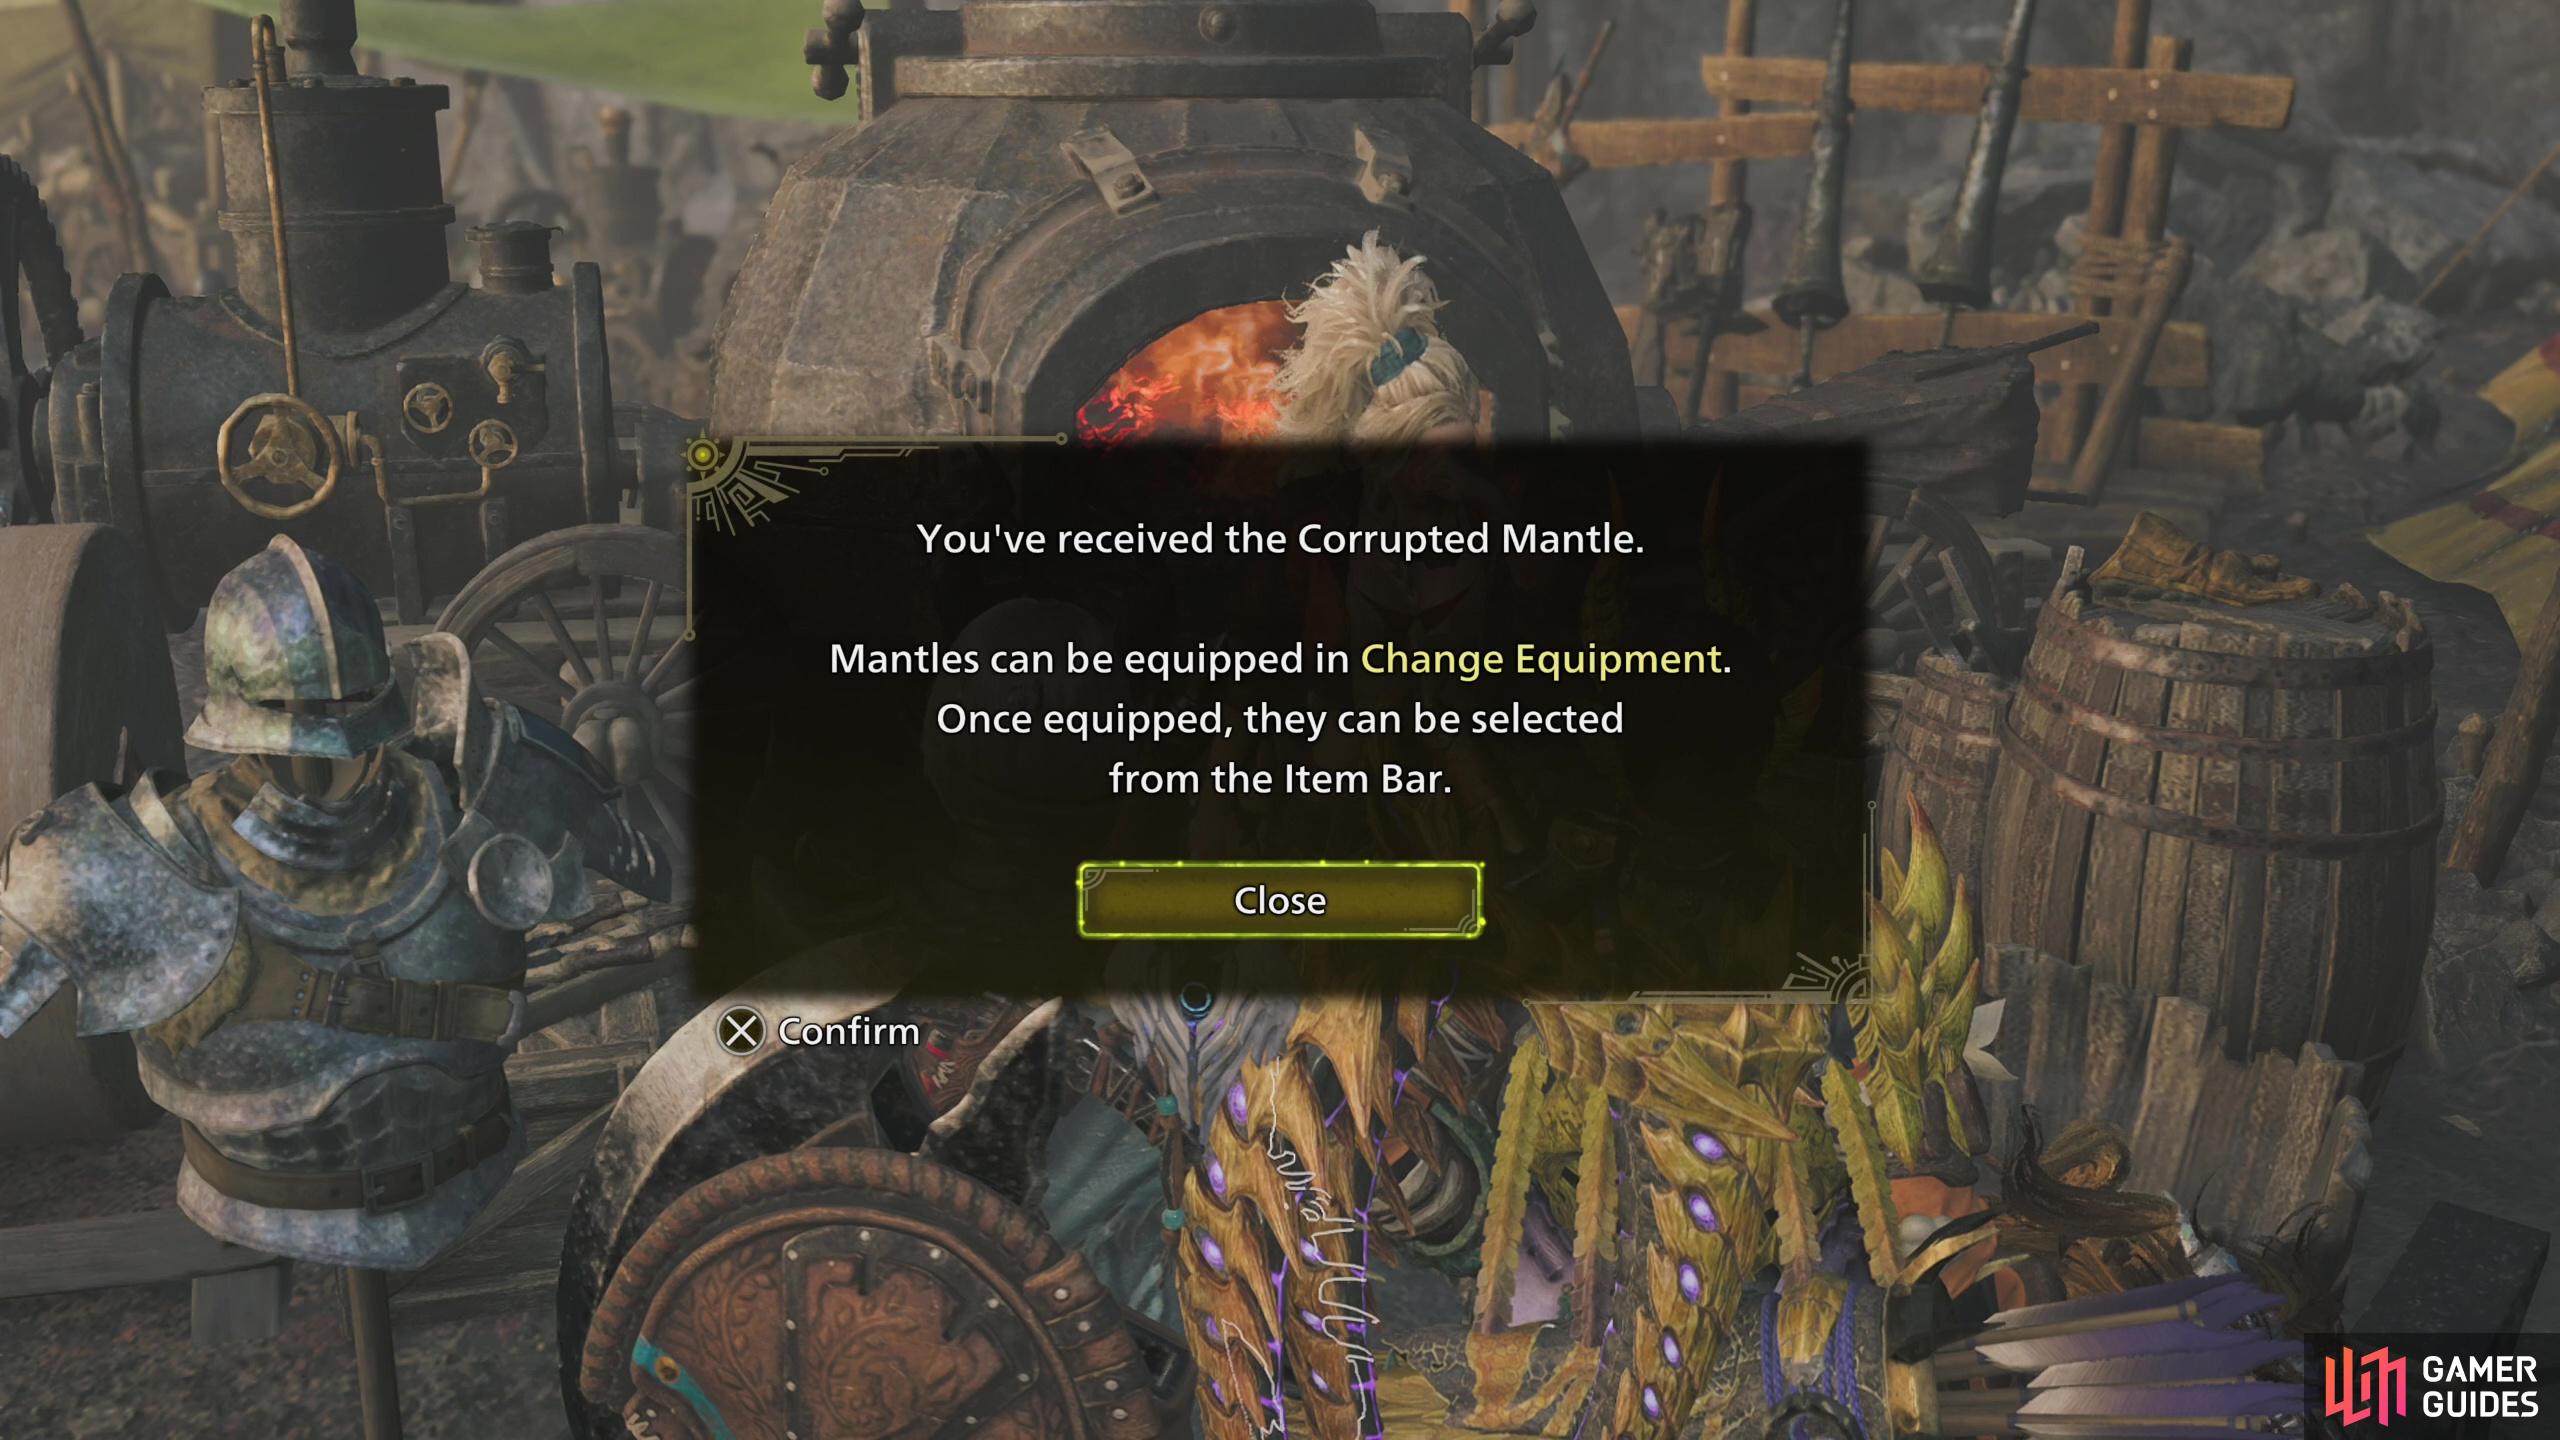
As is common in Monster Hunter games, the endgame meta favors damage output - you don’t need healing or defense if the enemy can’t hit you, so the ![]() Corrupted Mantle is favored by skilled players. The
Corrupted Mantle is favored by skilled players. The ![]() Mending Mantle just functions as another healing item (albeit a potent one with a long cooldown) and the Rocksteady Mantle boosts your defense and mitigates reactions during attacks, roars and tremors - something that can be achieved through skills, avoided (especailly by well-timed dodges. Yes, even roars!) or simply endured. Use whichever flavors suits your playstyle the best, however.
Mending Mantle just functions as another healing item (albeit a potent one with a long cooldown) and the Rocksteady Mantle boosts your defense and mitigates reactions during attacks, roars and tremors - something that can be achieved through skills, avoided (especailly by well-timed dodges. Yes, even roars!) or simply endured. Use whichever flavors suits your playstyle the best, however.
No Comments