
Almost every weapon and piece of armor has some skill or another attached to it, and between those equipment-based skills and the wildcard of whatever Talisman you equip, you’ve got a fair bit of control over your build. Being a hunter is an arduous profession, however, and the road you’re traveling is longer than it may seem - terrifyingly strong monsters await you after the credits roll, including high rank and tempered variants that’ll push you to your limits. Tailoring your loadout to counter your enemy was a boon during the story, but it’ll eventually become a necessity, and you’ll simply need more versatility with your build to keep up. This page will discuss how to find and use decorations (aka jewels) in ![]() Monster Hunter Wilds!
Monster Hunter Wilds!
Page Breakdown
Unlocking Decorations
After you defeat the [![]() Nu Udra] at the end of Chapter 2 you’ll unlock decorations, which, along with Talismans, give you great control over your active skills, and hence, your build. Your first jewels should be dropped by Nu Udra itself, and these will be automatically identified (and turned into proper decorations) immediately after you acquire them. After this, any rank 3+ hunt (any monster you encounter and hunt following Nu Udra) should have a chance of yielding more decorations.
Nu Udra] at the end of Chapter 2 you’ll unlock decorations, which, along with Talismans, give you great control over your active skills, and hence, your build. Your first jewels should be dropped by Nu Udra itself, and these will be automatically identified (and turned into proper decorations) immediately after you acquire them. After this, any rank 3+ hunt (any monster you encounter and hunt following Nu Udra) should have a chance of yielding more decorations.
Defeat Nu Udra and you’ll unlock decorations.
Finding and Equipping Decorations
As mentioned above, talismans and decorations both grant new active skills when equipped, but here the similarities largely end. Talismans are crafted directly by Gemma - there’s no ambiguity with them, you know exactly what you’re getting when you craft it, and it can be worn alongside any other gear with no other requirements or conditions. Decorations, on the other hand, are random drops from rank three monsters or higher monsters - pretty much everything after and including Nu Udra can drop them. Not only are the number of drops random, but so are jewels themselves, each of which can have a random skill, or at higher ranks, two skills. Equip these decorations/jewels into your weapon and armor and you’ll gain the skills granted by said decorations - simple enough, right?
Of course not. Unlike talismans, your armor has a say in what decorations can be equipped, as tier 4+ armor will start to have slots on them. Higher tier armor can have up to three decoration slots, and if that wasn’t complicated enough, these slots have levels as well, represented by a number of triangles under the slot icon. Some jewels are more potent than others and can only be equipped into slots of the appropriate level or higher. Many decorations only require Lv1 decoration slots and give common skills like resistances (elemental and status), ![]() Wide-Range,
Wide-Range, ![]() Adaptability, etc. - useful staples that, like talismans, you may want to swap out regularly depending on what you’re fighting. Once you start fighting rank six or stronger enemies, however, you’ll start getting Lv3 decorations which can have two skills and unlike lower-quality jewels, may have 3-4 skill levels in total on them.
Adaptability, etc. - useful staples that, like talismans, you may want to swap out regularly depending on what you’re fighting. Once you start fighting rank six or stronger enemies, however, you’ll start getting Lv3 decorations which can have two skills and unlike lower-quality jewels, may have 3-4 skill levels in total on them.
Simply put, decorations have levels and so do armor slots, and you’ll need to hunt (read: grind, repeatedly) monsters to get jewels with the desired skills to complete your build. This, along with grinding materials to craft the armor you need to house the decorations you’re farming, makes up a considerable bit of the game’s late-game grind. Unlike talismans, decorations cannot be upgraded.
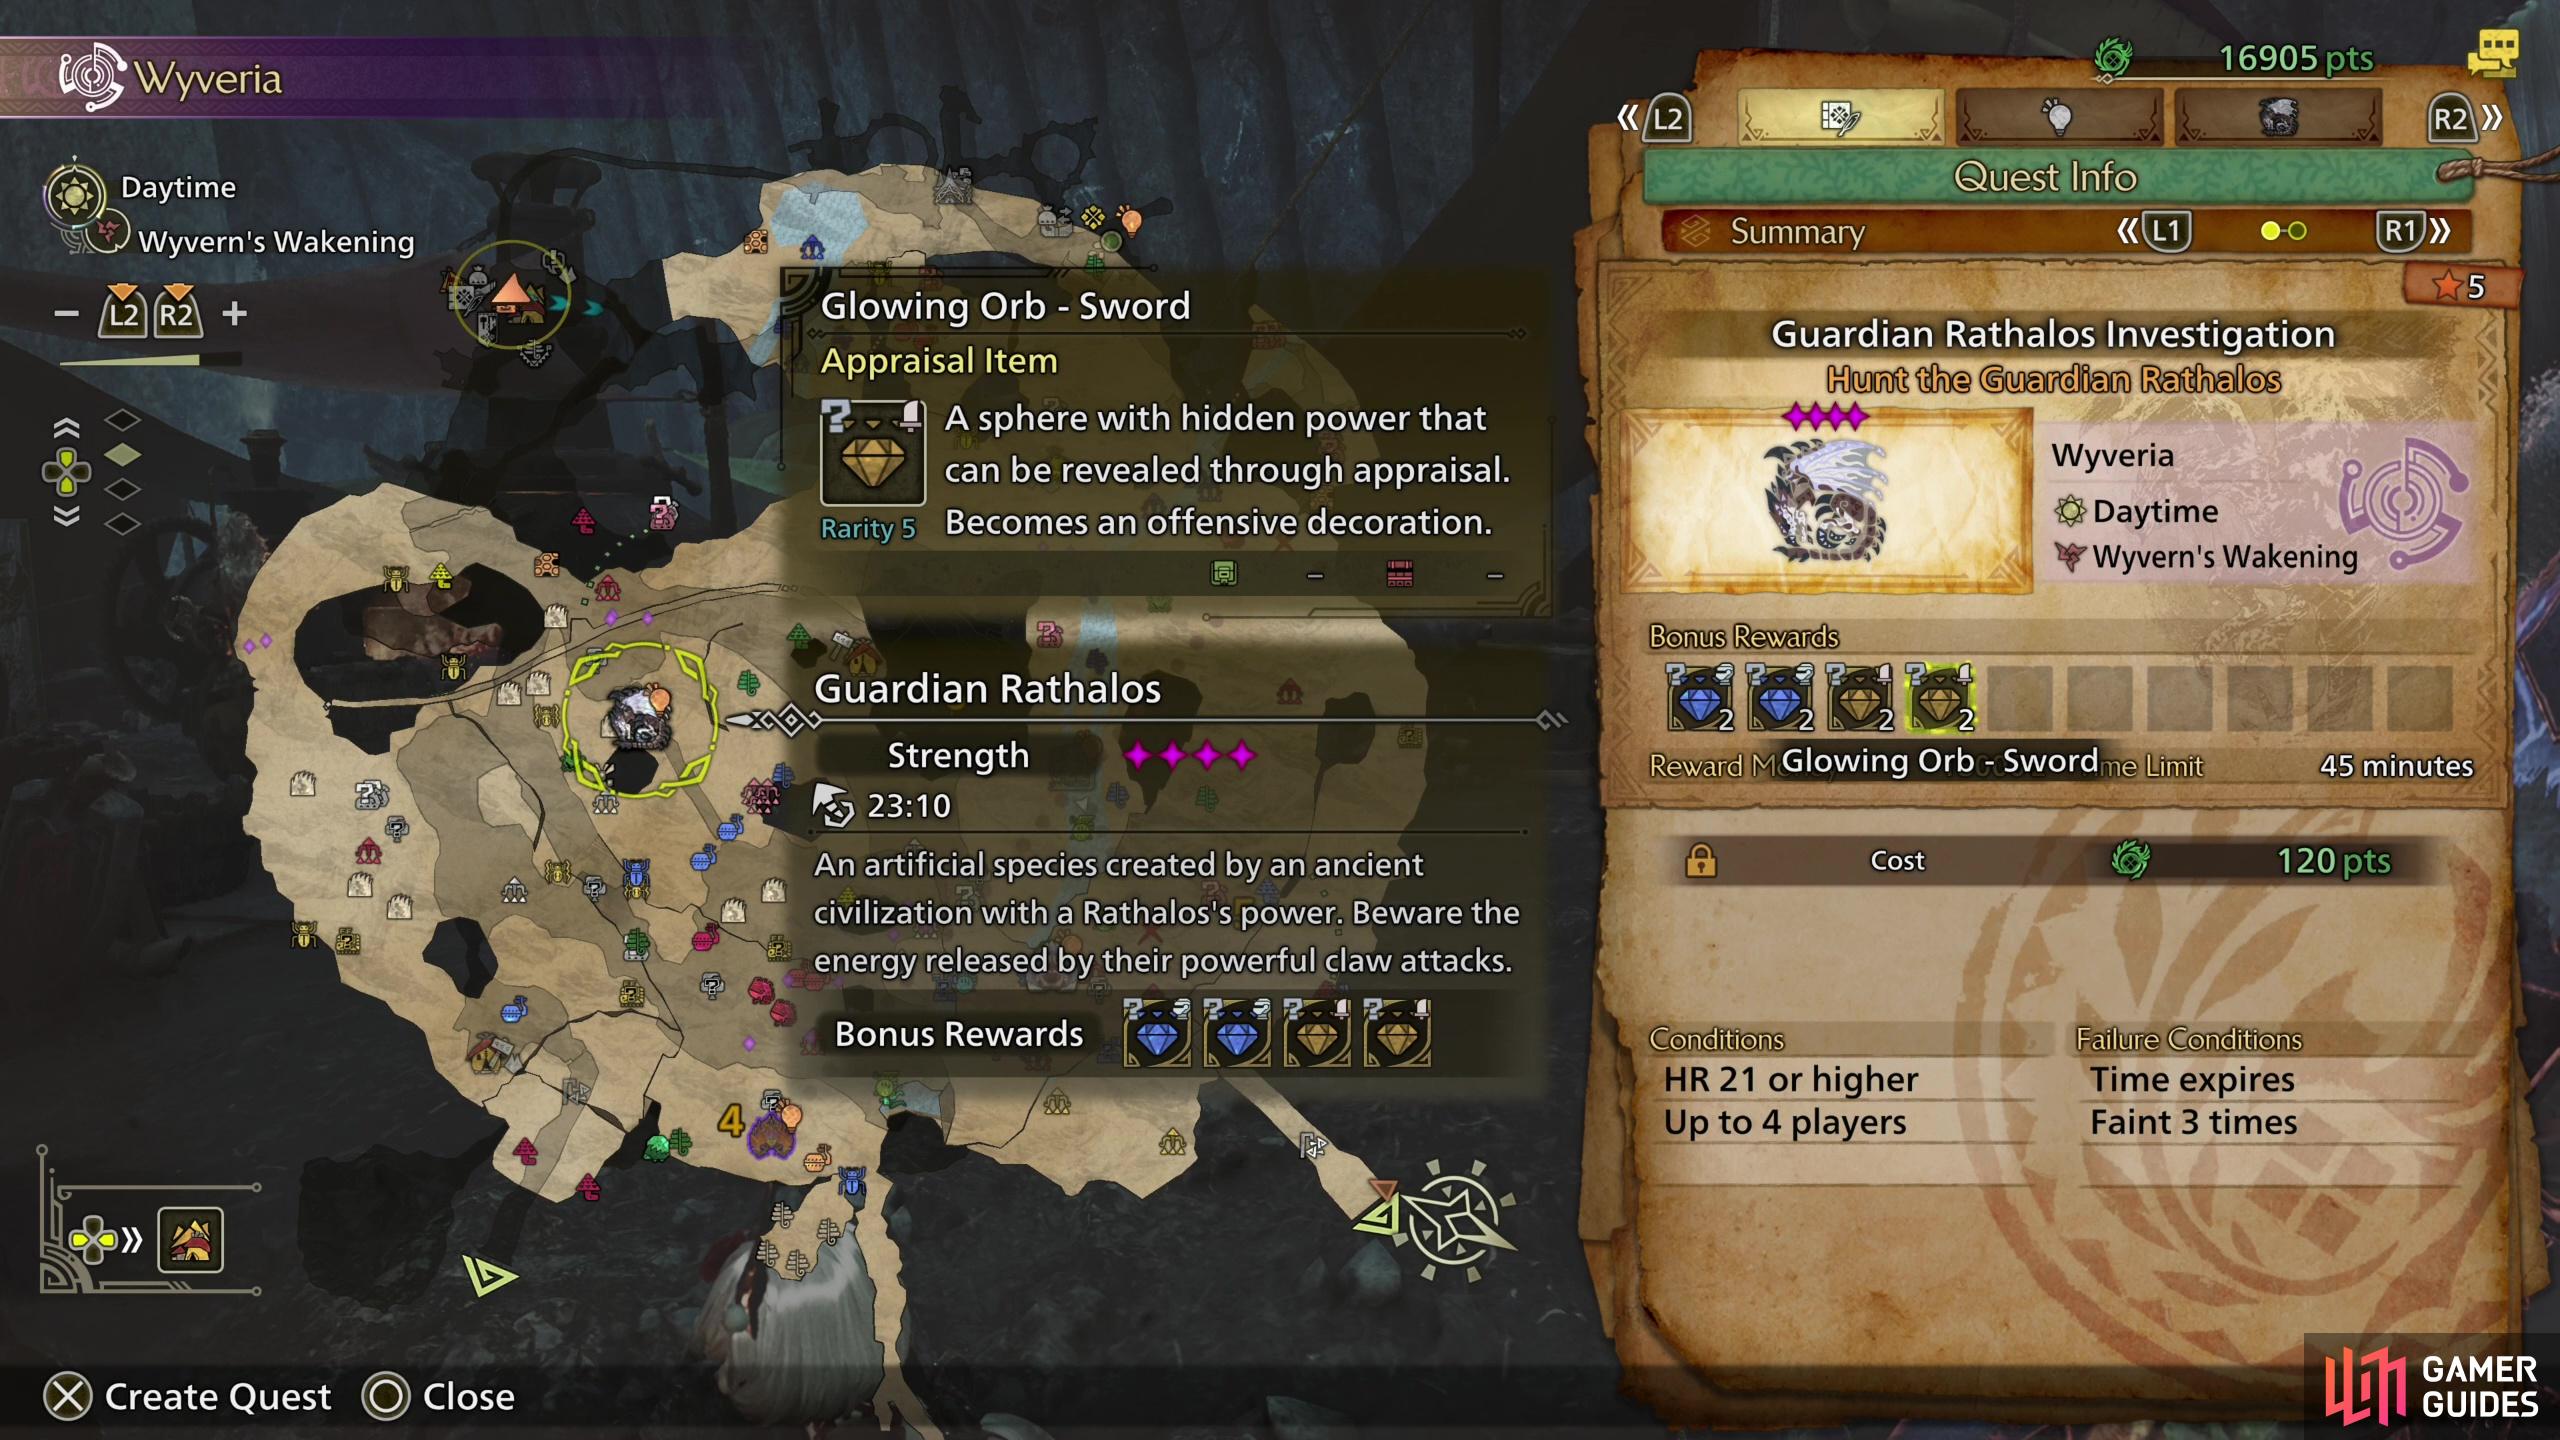
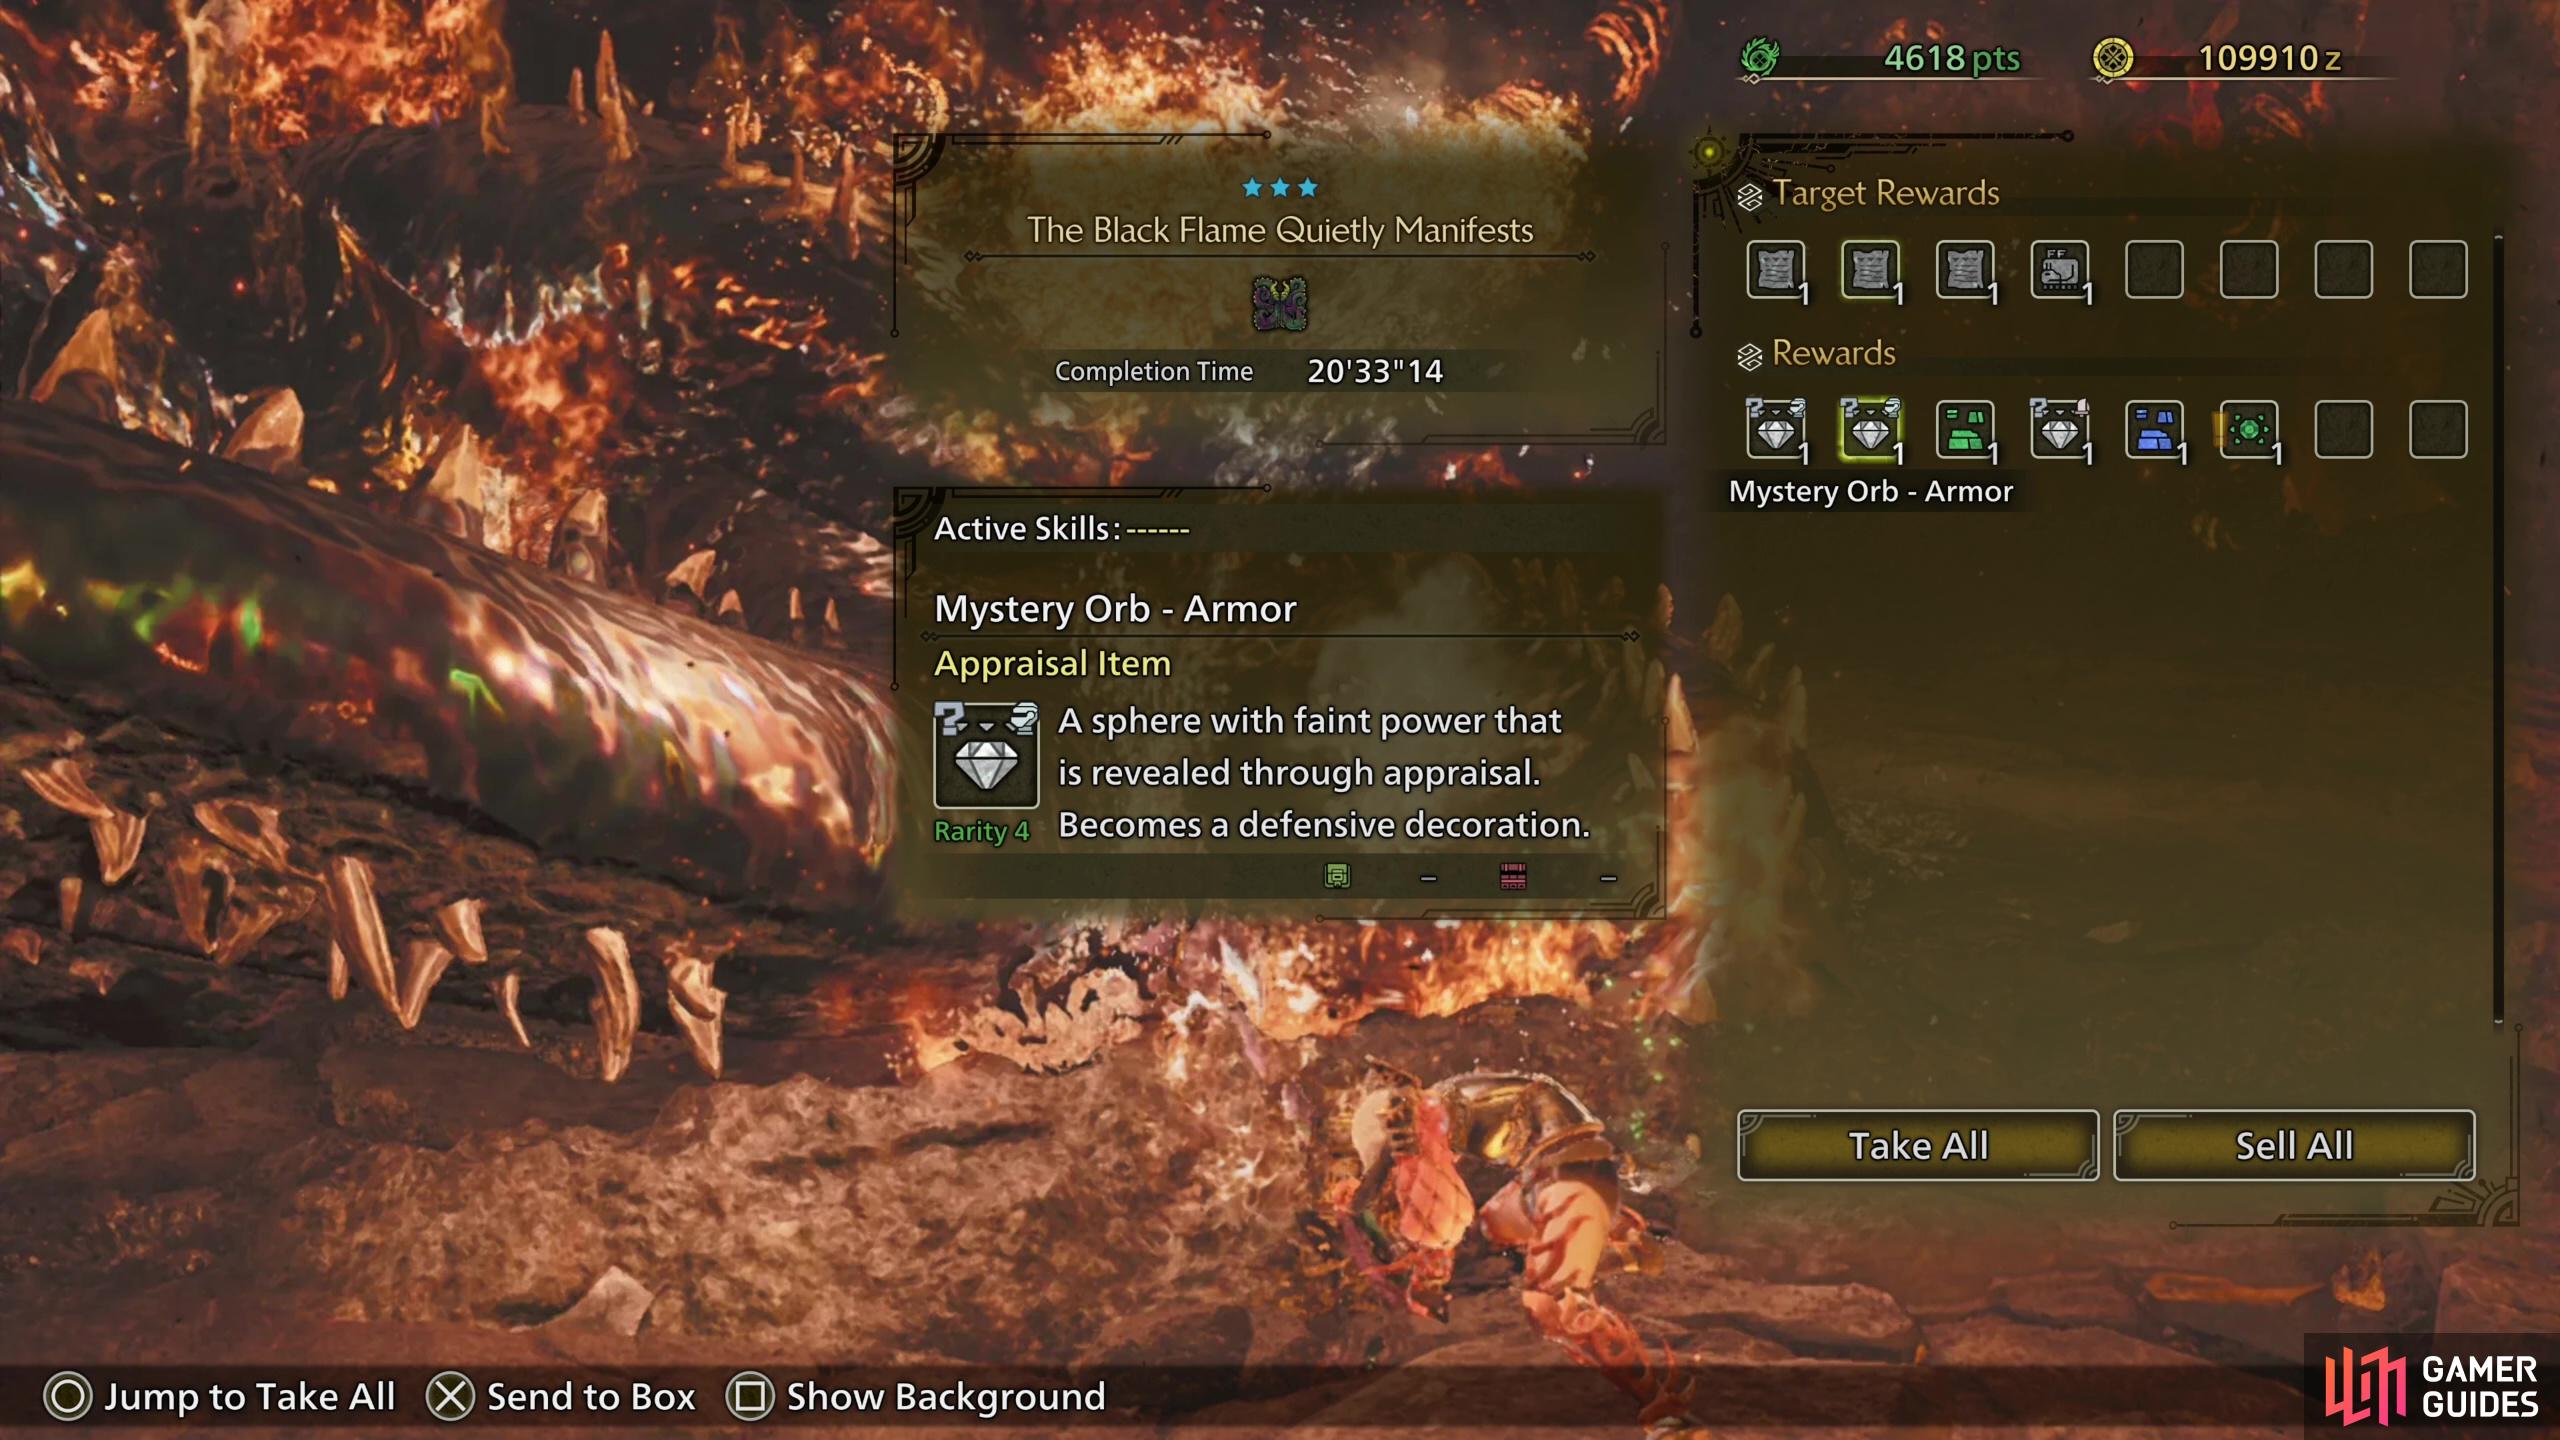
Once you reach the post-game you can target monsters with specific bonus drops - including decorations.

Defeat the monster and you’ll claim the listed bonus items, which can yield a great number of decorations in a single fight!
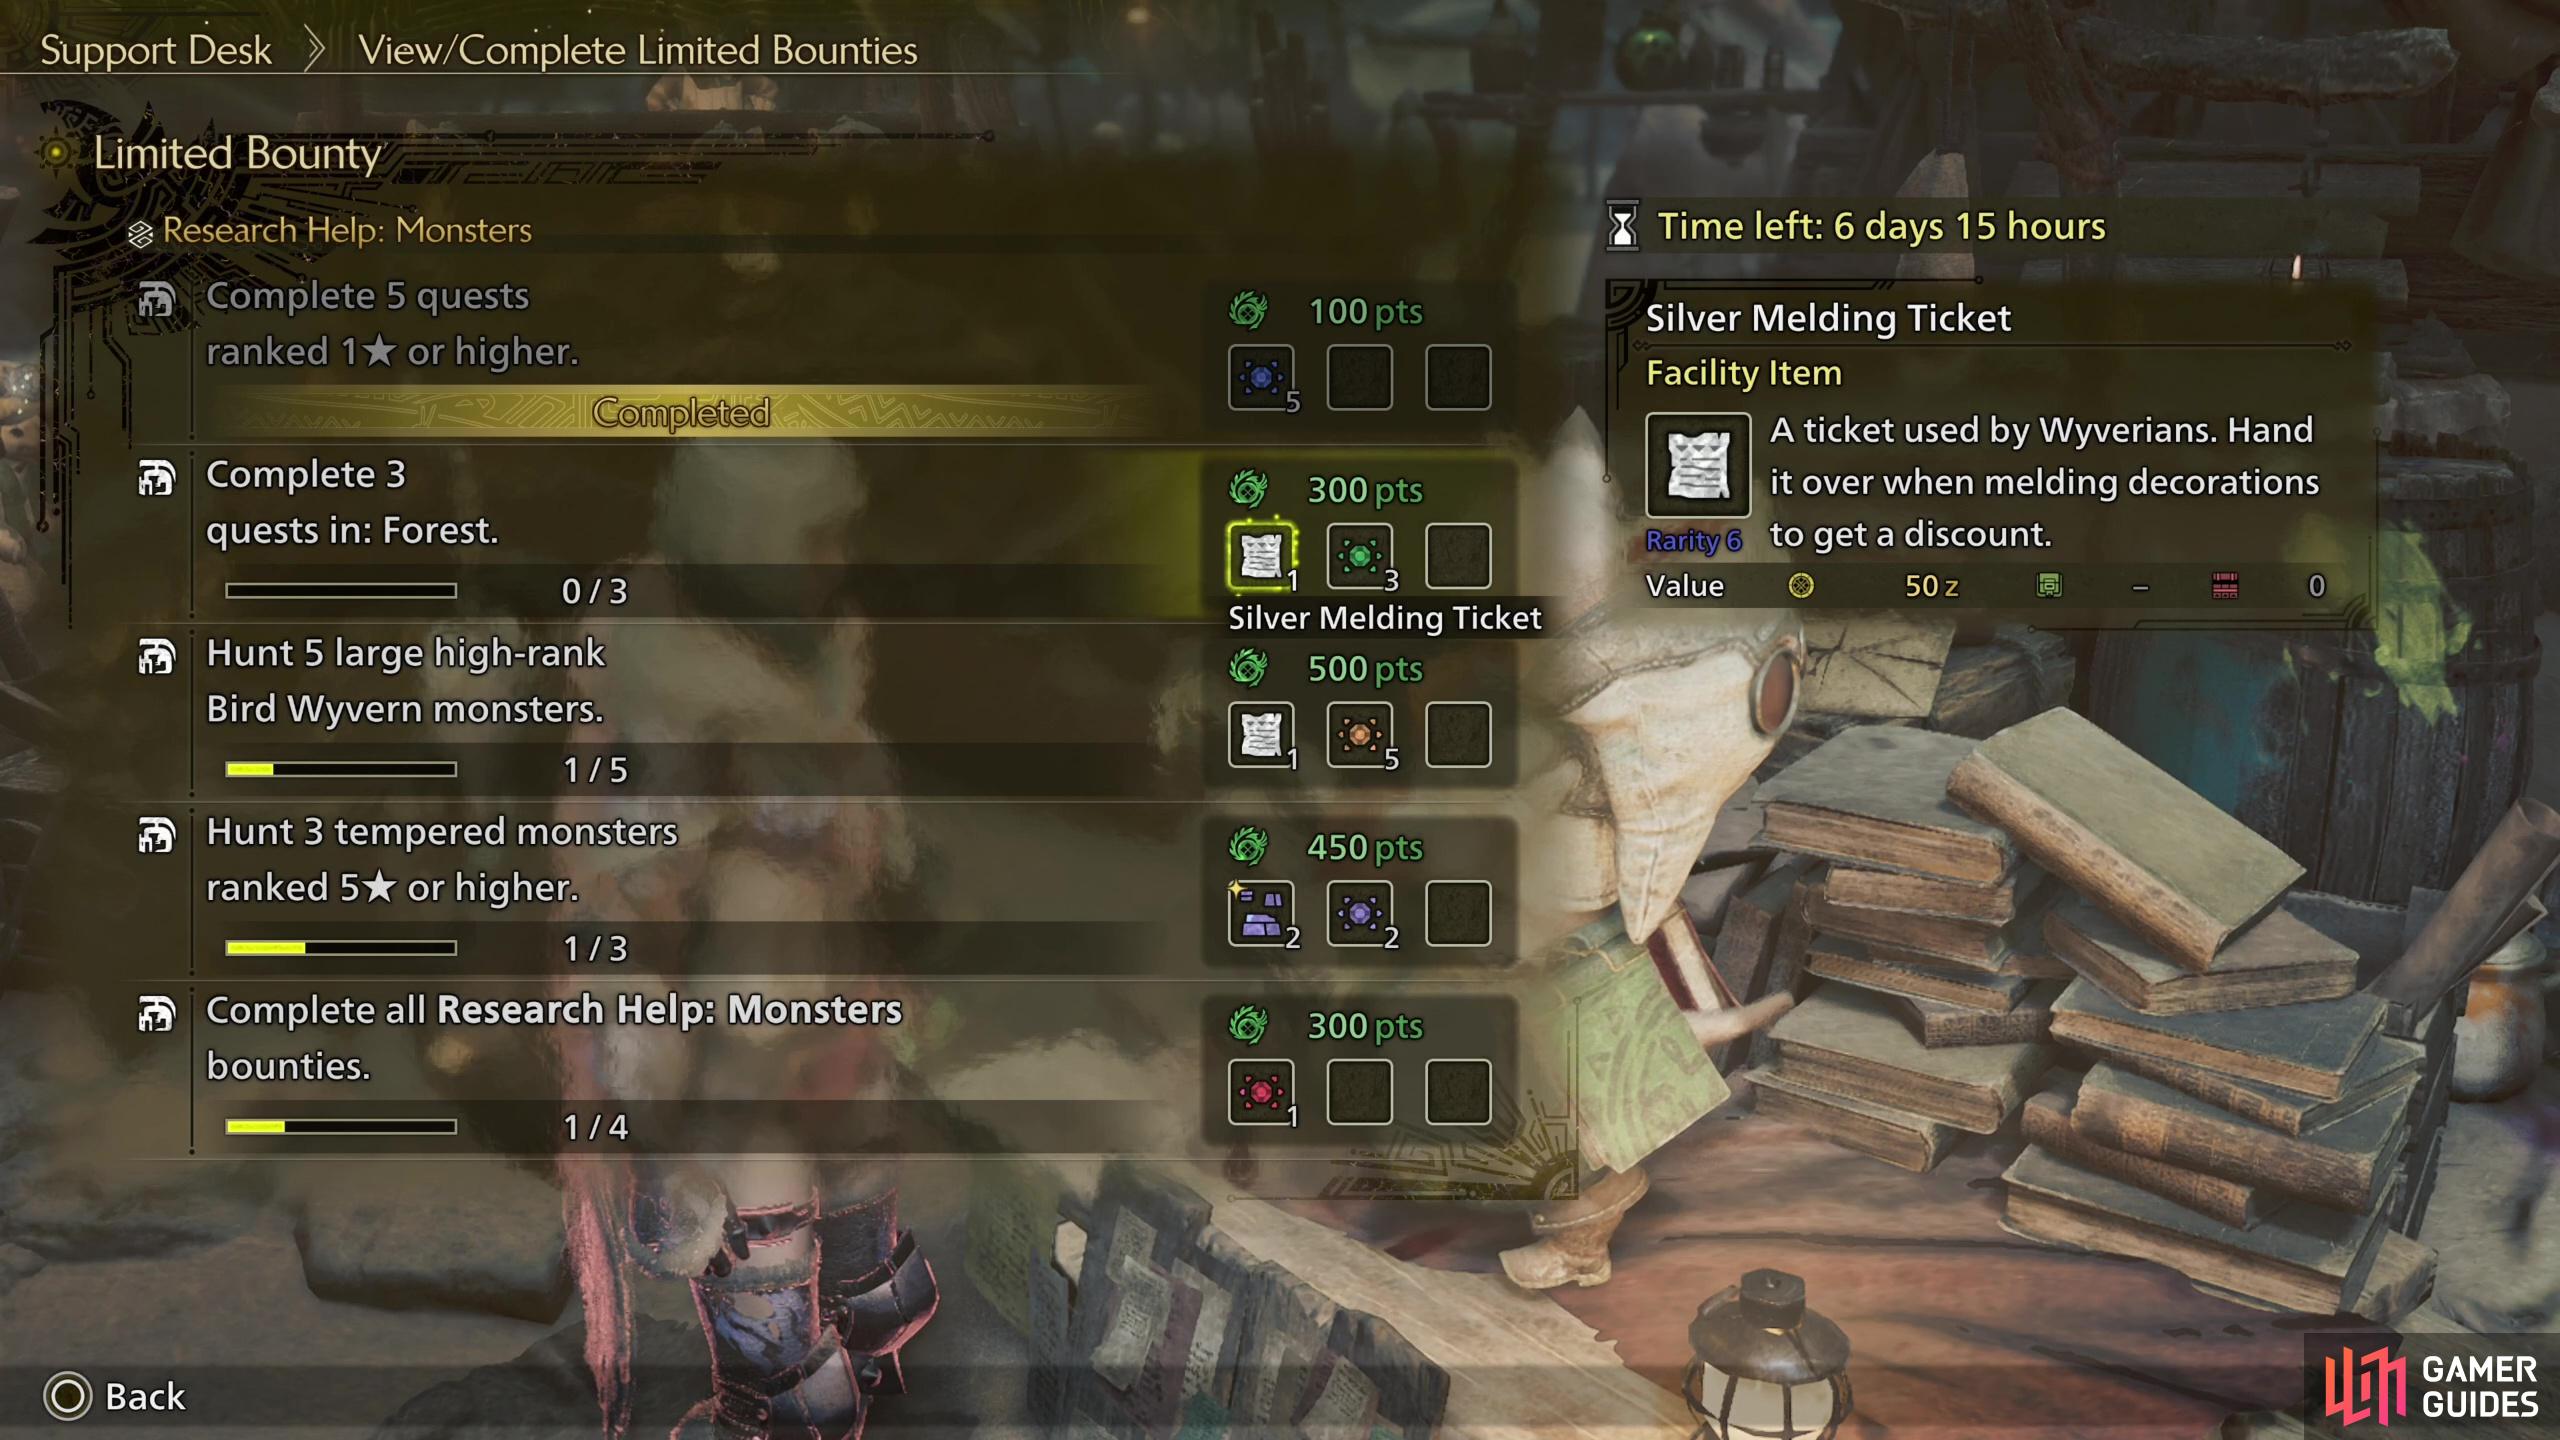
The best way to grind decorations is to wait until you’re in the post-game content, where you will be able to hunt monsters wandering the regions. These high-rank monsters give bonus rewards when defeated, and some of them will yield jewels. These bonus rewards are in addition to any normal drops (including potentially more jewels!), and if you’re lucky you can get a lot of jewels from a single fight - 9+ jewels isn’t impossible. While you can’t see what decorations these jewels will turn into when appraised, you will get a rough idea of their quality and number. You can also complete daily bounties for Melding Tickets, which will allow you to fabricate jewels via the Melding Pot. Speaking of which…
The Melding Pot
Near the end of the main questline you’ll unlock access to the Melding Pot, where you can effectively recycle unwanted decorations (grind enough and you’ll get more of some than you could ever reasonably need). Sacrifice junk jewels, the odd relic and Melding Tickets (earned by completing bounties) to get Melding Points, which can then be used to create orbs of a specific quality and type (weapon or shield). Because of the significant number of Melding Points you get from Melding Tickets, you may want to complete daily bounties to speed up the decoration grind. The exact decorations you’ll get via the Melding Pot are, of course, random…
…at least until you reach the very end of the game (end of the postgame, to be precise), where another feature will be added to the Melding Pot. When it unlocks (check the Melding Pot stirrer for yellow exclamation points after every story hunt) you’ll be able to pick the “Meld Decorations” option, which allows you to select any tier one Decoration and duplicate it by expending various relics and unwanted Decorations. The rarer the relic or Decoration, the more Melding Points it’ll generation, and it generally takes 20 Melding Points to duplicate a tier one relic - handy for when you need to fine-tune resistances and the game isn’t giving you the drops you want!
No Comments