This page is a walkthrough of the entire A World Without Gold questline for Assassin’s Creed Black Flag Resynced. These are eight quests exclusive to the remake, making it a new addition to the story that newcomers and fans of the original can both enjoy.
These missions will be unlocked after completing the Sequence 11 mission ‘Everything is Permitted’, before the final sequence of the game. Considering it’s so late in the main narrative, there will be spoilers to major plot points below, so make sure to continue playing before using this guide.
A World Without Gold has its own section in the quest log, and so it’s not part of the main or side quests. If you have access to it, a little tab with the title will appear at the bottom of the quest log list, indicating you can start (or continue) the questline.
That Bastard Maynard
The first mission in the new addition is That Bastard Maynard, and it is a simple cutscene. Head to Great Inagua and go to the tavern to start it, initiating a scene where Maynard and his crew arrive at Edward’s homestead, offering the King’s Pardon once again but making some pretty clear threats towards Kenway and his pirating pals.
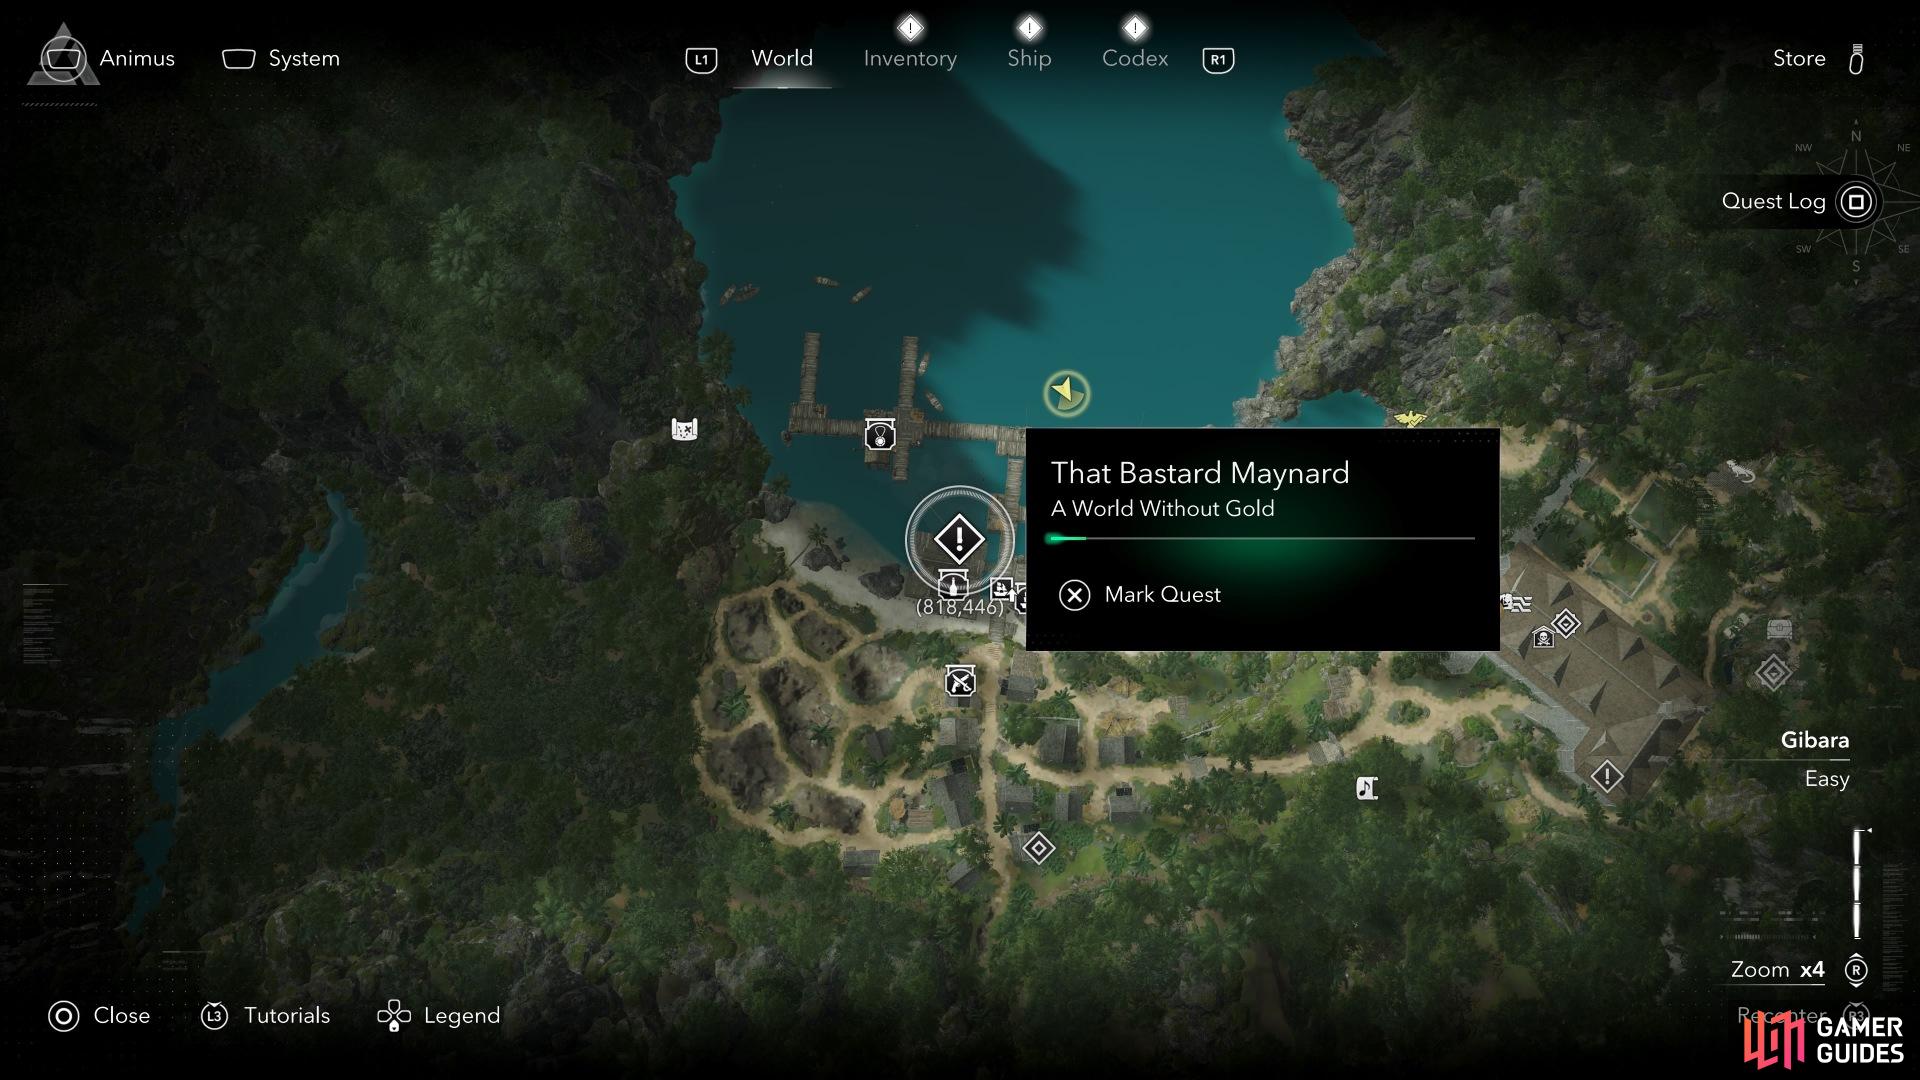
The first mission is fairly easy to find and complete. Bonus.
Just like the history books, Maynard was Blackbeard’s killer, so it’s safe to assume Edward isn’t too happy about seeing him. The quest concludes after the cutscene, and you get instant access to the next quest.
Not Even A Real Captain
Your next stop is Kingston, in order to hopefully assassinate Maynard and stop the would-be captain from destroying Great Inagua’s population. The only unlock requirements for this quest are to complete the previous mission.
There’s a large green circle for you to explore and find Maynard, but unsurprisingly, he’s not around. You’ll need to find a barn surrounded by guards, which can be found in Kingston at the coordinates of (603,157). There are three clues you’ll need to find here.
The first clue is to eavesdrop on two guards, which you can do by hiding behind a wall (use the observe function to find the green marker). If you kill them, well, luckily, they wrote it down for you. The second clue is a note within the barn, attached to the wall, and the last one is outside the barn, near some treasure.
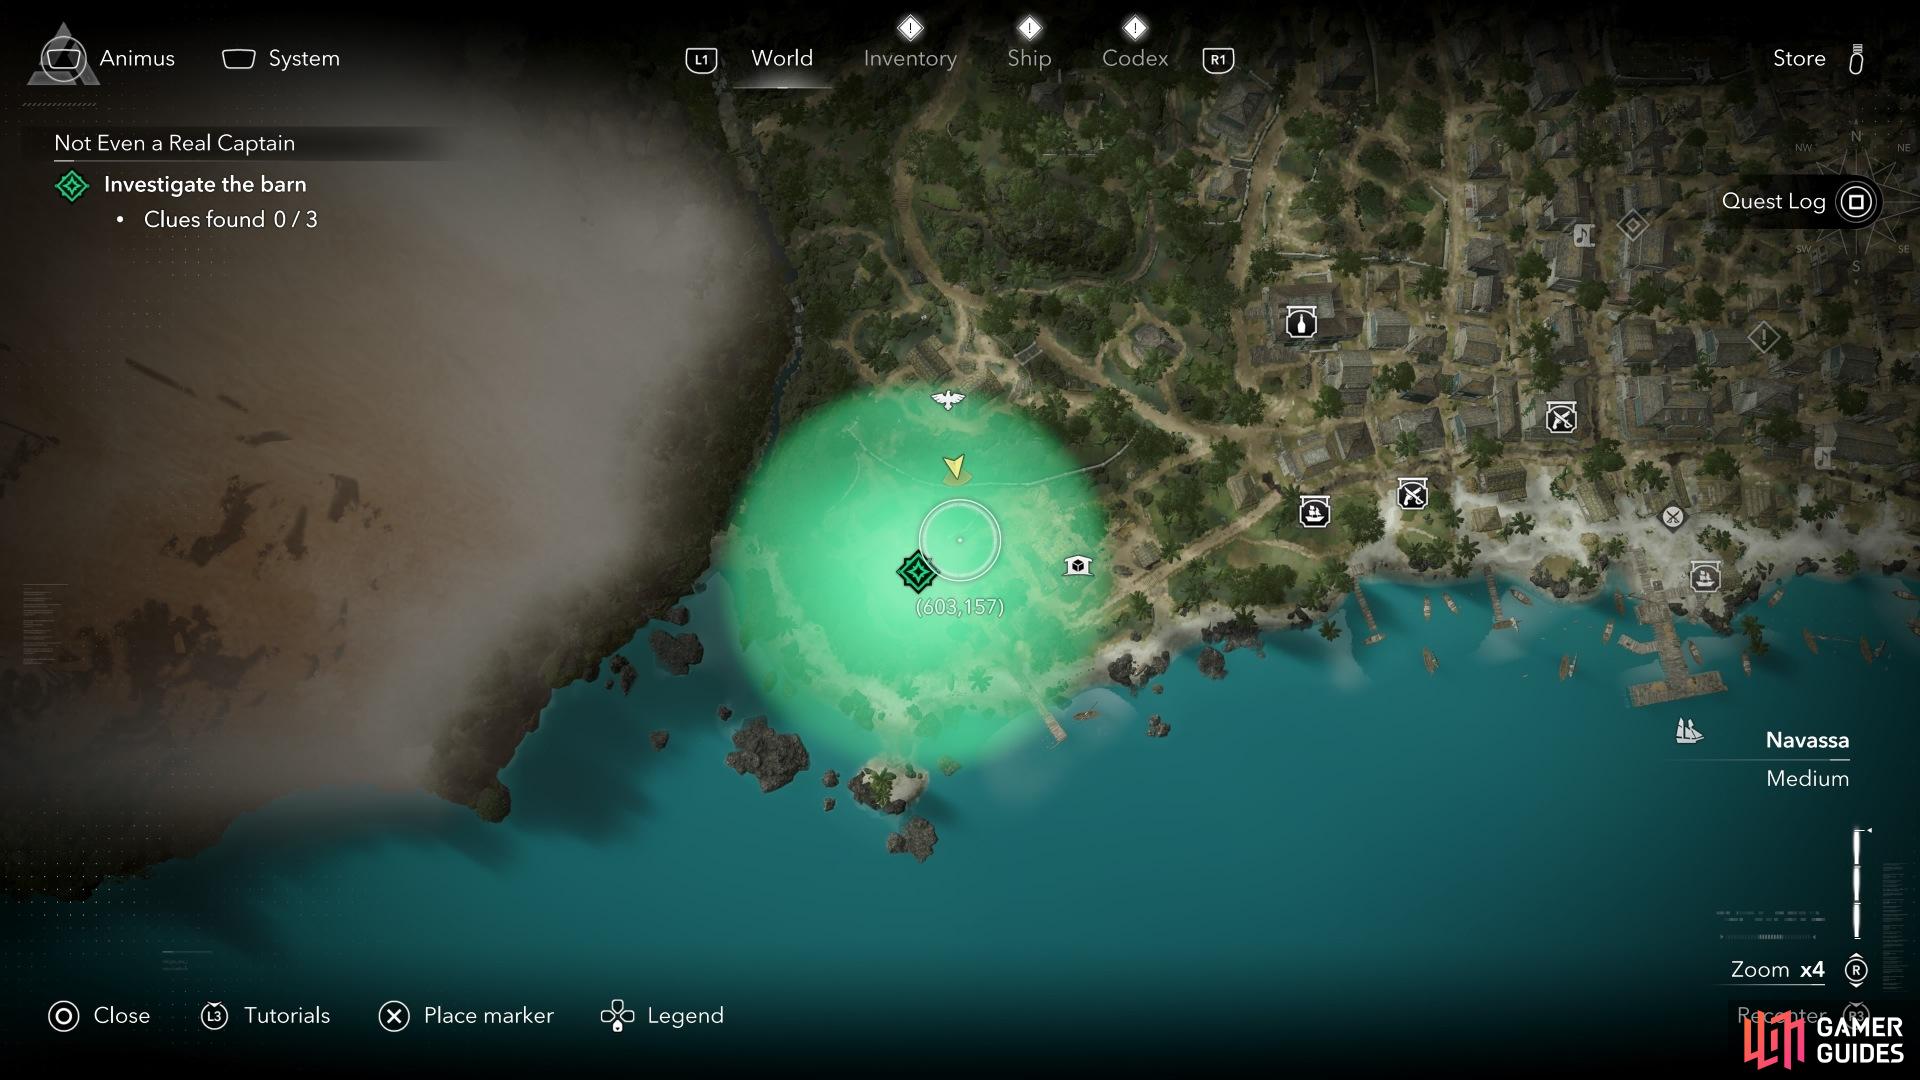
This is where to find Maynard’s barn and the associated clues on his whereabouts
Once you’ve done that, the mission is complete. Head back to the Jackdaw and figure out your next steps.
What The Devil!
After completing the previous quest, What The Devil! is your next step. This mission requires you to find the HMS Demolition, hoping that the sly Maynard will be on board. You can find the vessel at (720,691), just off the southern coast of Eleuthera. You’re also hoping to add a Master Gunner to your ranks.
The main bulk of this mission is being in a naval battle. It’s pretty late in the game, so you should be well-equipped to deal with the HMS Demolition, a large Man-o-War that can demolish the Jackdaw with a few well-placed broadside shots. There are also other English ships protecting it, so that makes things less fun.
Take out the smaller ships first, which allows you to focus on the HMS Demolition. As we mentioned, the broadside cannons can decimate you with one good shot, so it’s worth using the Mortar upgrade, as well as using the flaming cannon balls to open up weak spots for easy damage.
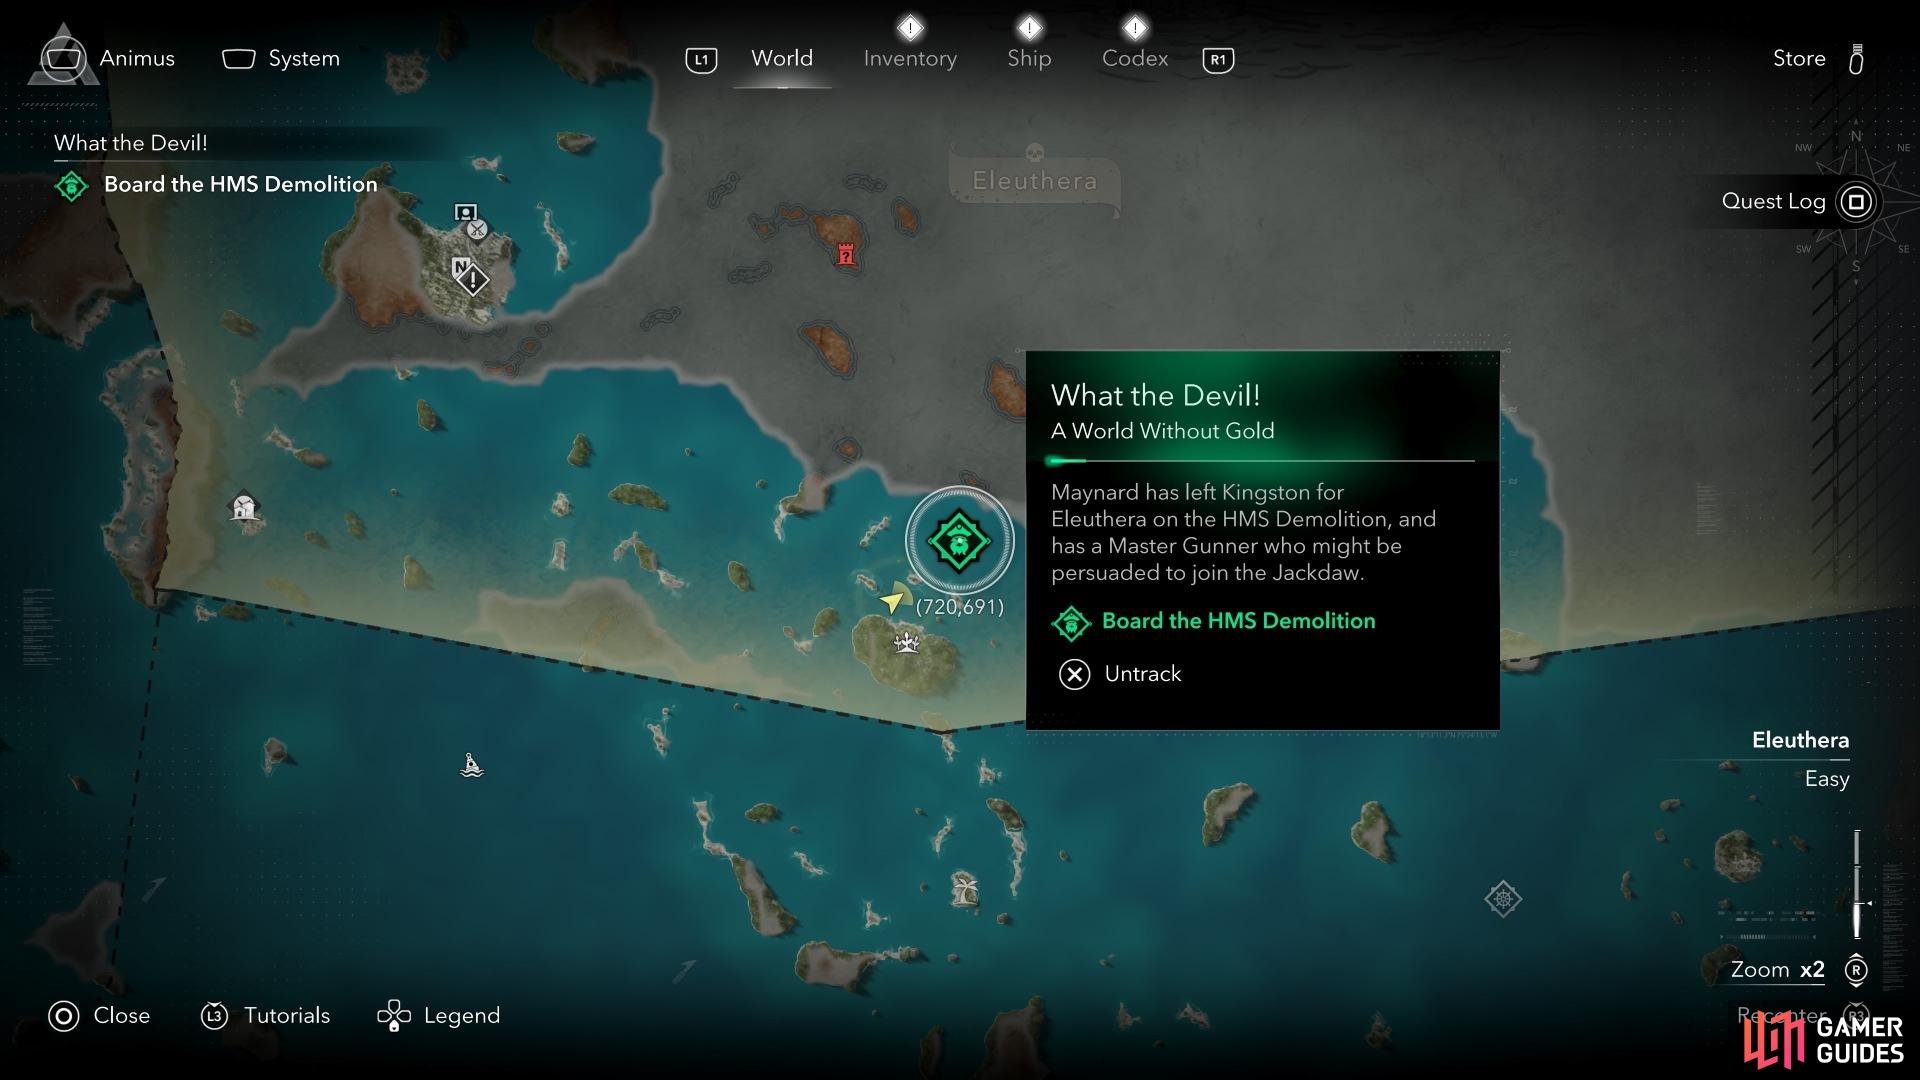
The HMS Demolition can be found in the ocean here, but be warned, it’s quite strong and well-protected
Once you’ve damaged it enough, you’ll be able to board, defeating the enemies similar to your typical pirating adventures. You and the crew will then find a man in a box, whom the Jackdaw’s team lovingly nicknames Deadman. Oh, and he mentions that Maynard is building an armada, so that’s fun.
It’s A Start
This is the only mission that requires other side quests to be complete prior to unlocking. First, you’ll need to complete the Officer Quests for Lucy and Padre, adding them to your crew (that’s ‘The One With The Gun and Loyalty, Discipline, and Courage). After that, you’ll need to head to Great Inagua to discuss the Maynard issue together. Padre suggests asking some Spanish crews to take on Maynard’s upcoming fleet, while Lucy heads to Eleuthera to help you find Maynard’s treasurer.
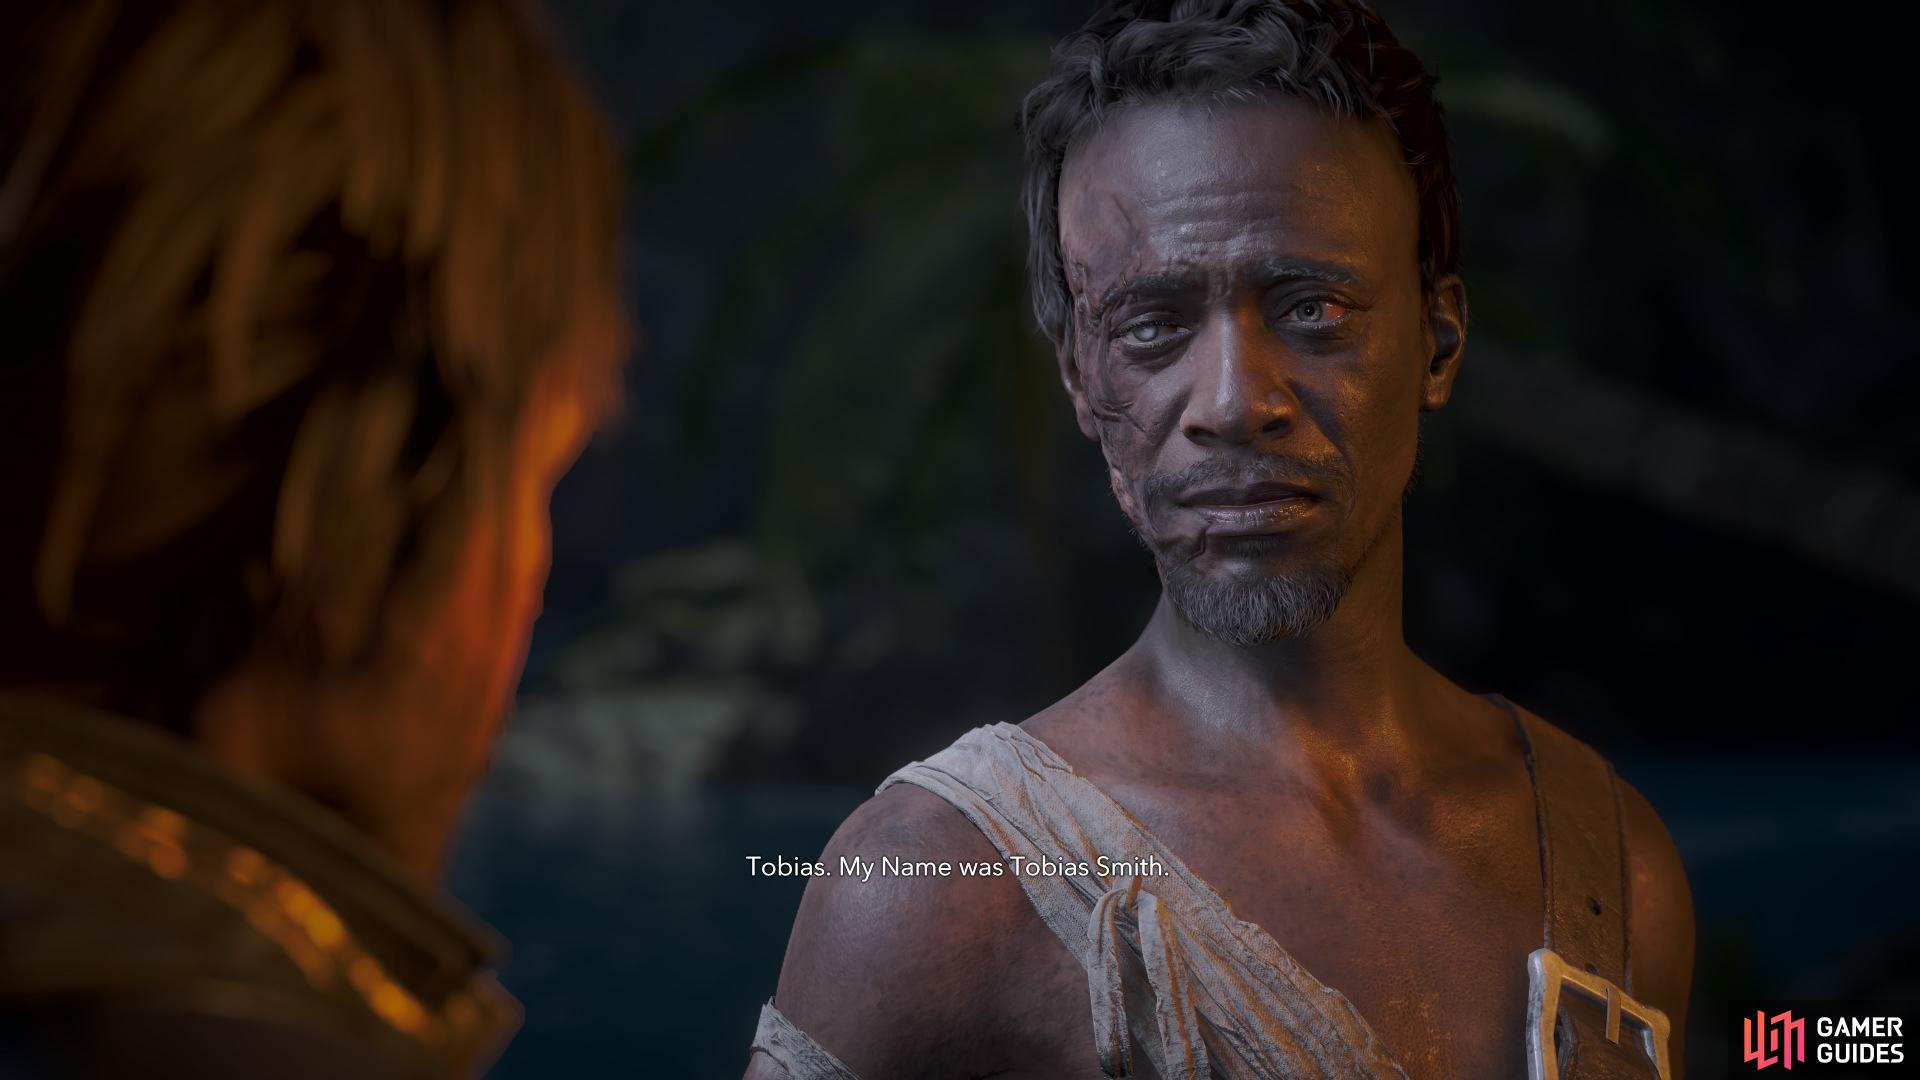
Turns out his name isn’t Deadman… it’s Tobias, Tobias Smith.
The only things you’ll need to do in this quest are to speak to various members of the Jackdaw crew. Padre will ask for your help carrying rum up to the partying crew, before you’re forced to fight your own shipmates in a drunken fight. Lucy will ask you to partake in a shooting contest, while Tobias, the ‘Deadman’ Master Gunner, will speak with you about his near-death situation.
I Just Want to Talk
Head to Eleuthera to start the quest, or specifically, at (595,762). This mission is fairly simple, seeing you find and assassinate Maynard’s treasurer in the hopes of finding the gold he’s using to supply the armada. Once you’ve completed the mission, you next to need to find Padre with the Not Our Natural Allies quest.
Not Our Natural Allies
Unlocking simultaneously with I Just Want to Talk after It’s A Start (meaning you can complete either first), Not Our Natural Allies takes you to the Chinchorro region, on an island at the coordinates of (189,222). You’ll need to meet up with Padre and secure help from your typical enemy - the Spanish.
Turns out, some Spanish fleets are equally fed up with Maynard - lucky you. They’ll help you sink his fleet, which is what you’re about to do right now.
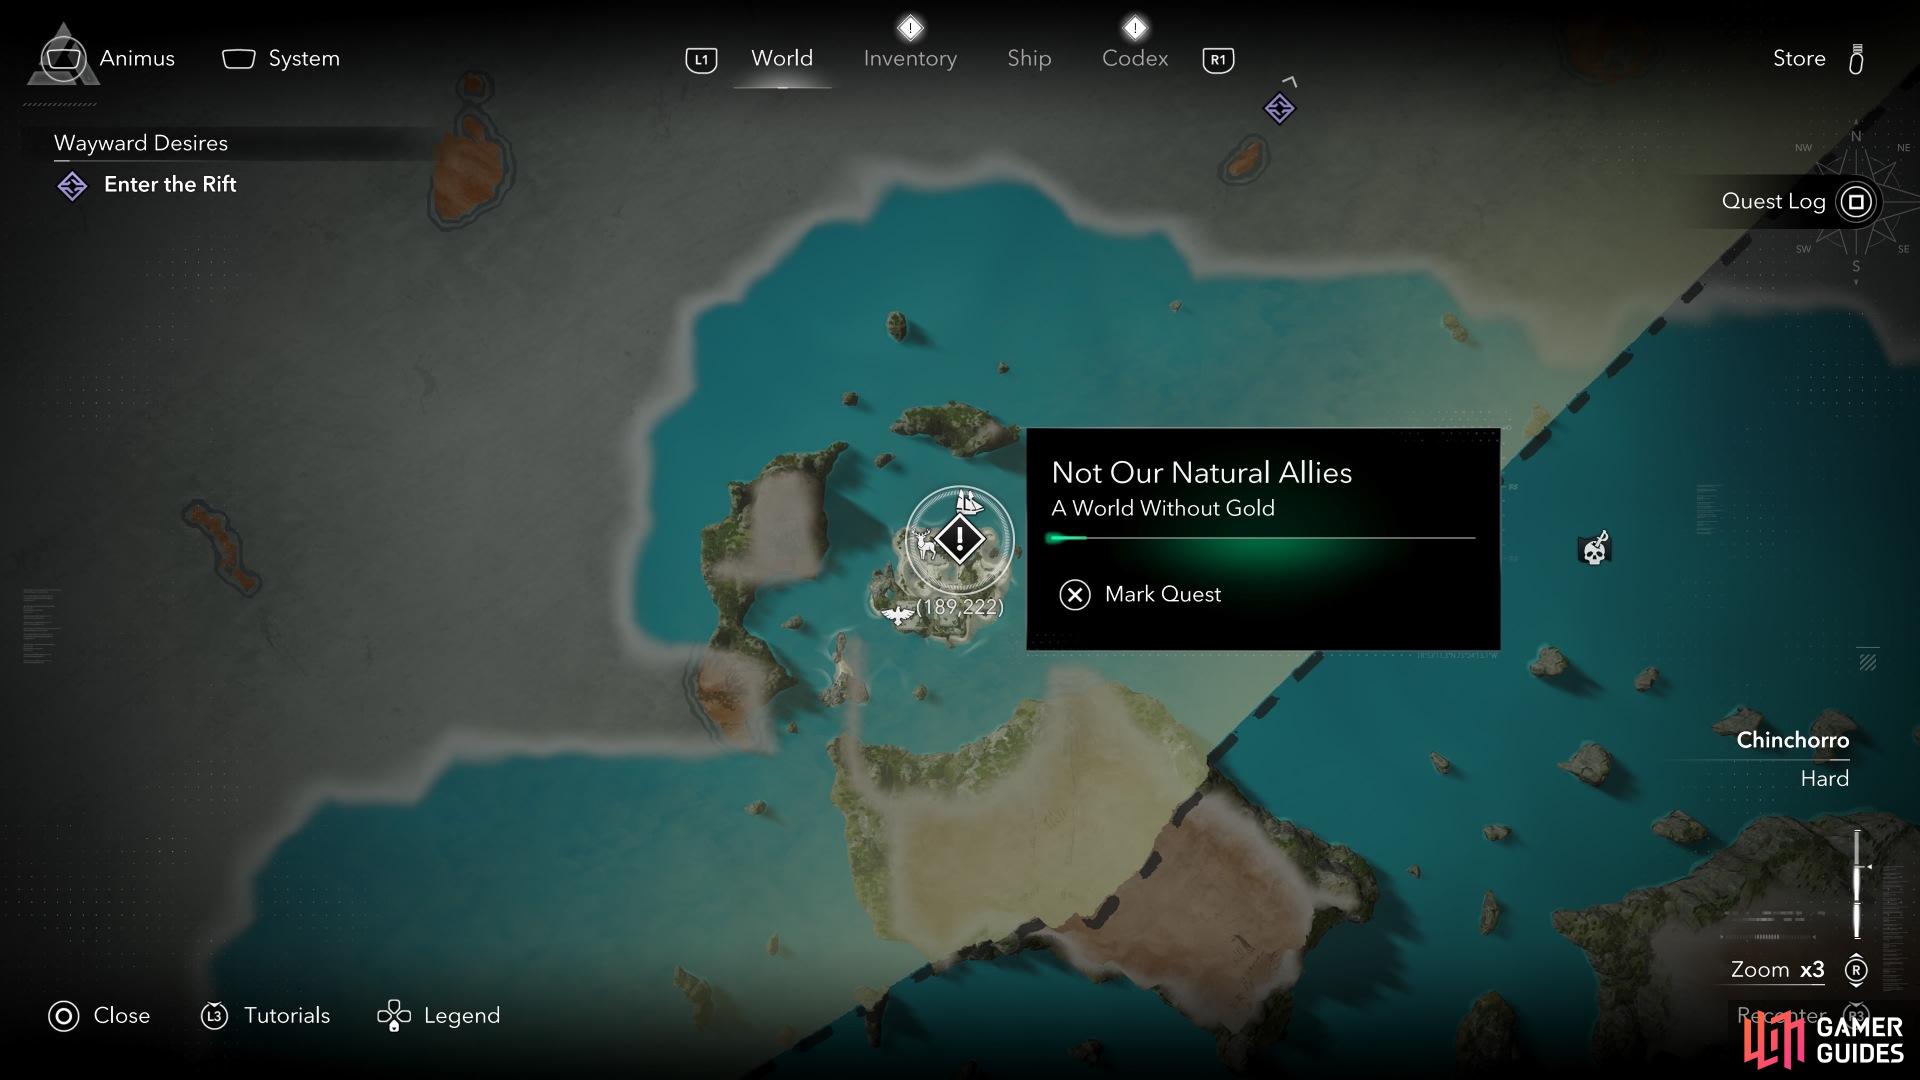
Here’s where Padre and his companions can be found before you face Maynard’s armada
Sail with the Spanish until you find the English fleet. That just means following the marker and using the spyglass when you’re in the area. While there are some strong ships you’ll need to deal with, it’s more about the quantity than quality - there are a lot of ships.
Once you’ve dealt with the first wave (excuse the nautical pun), you’ll need to deal with a second lot of ships. It’s worth saving some of your mortar shots until then, so you have a long-range way to deal with the enemies.
After you’ve defeated the second load of boats, the mission will finish, with Maynard’s armada weakened and, sadly, the loss of Padre’s companions.
A Cockalorum
Next up is a trip to Tortuga, which you can find at (847,336). With the idea of gold stuck in his head and a newly sunken armada, it’s time to head to Maynard’s villa to relieve him of his wealth.
You’ll first dock the Jackdaw close to the destination, but instead of making yourself known, you and Lucy will dive into the waters and swim around toward the villa in a more discreet way. There are still guards, so use your best assassin skills to avoid a fight. Or, just go in and kill whatever enemies you want.
As you head to the villa, Lucy will suggest splitting up, with her taking the first floor and you taking the ground floor. Don’t listen to this command - after you’ve found the first clue near the entrance on the ground floor, head upstairs by climbing up onto a small roof and getting through the window.
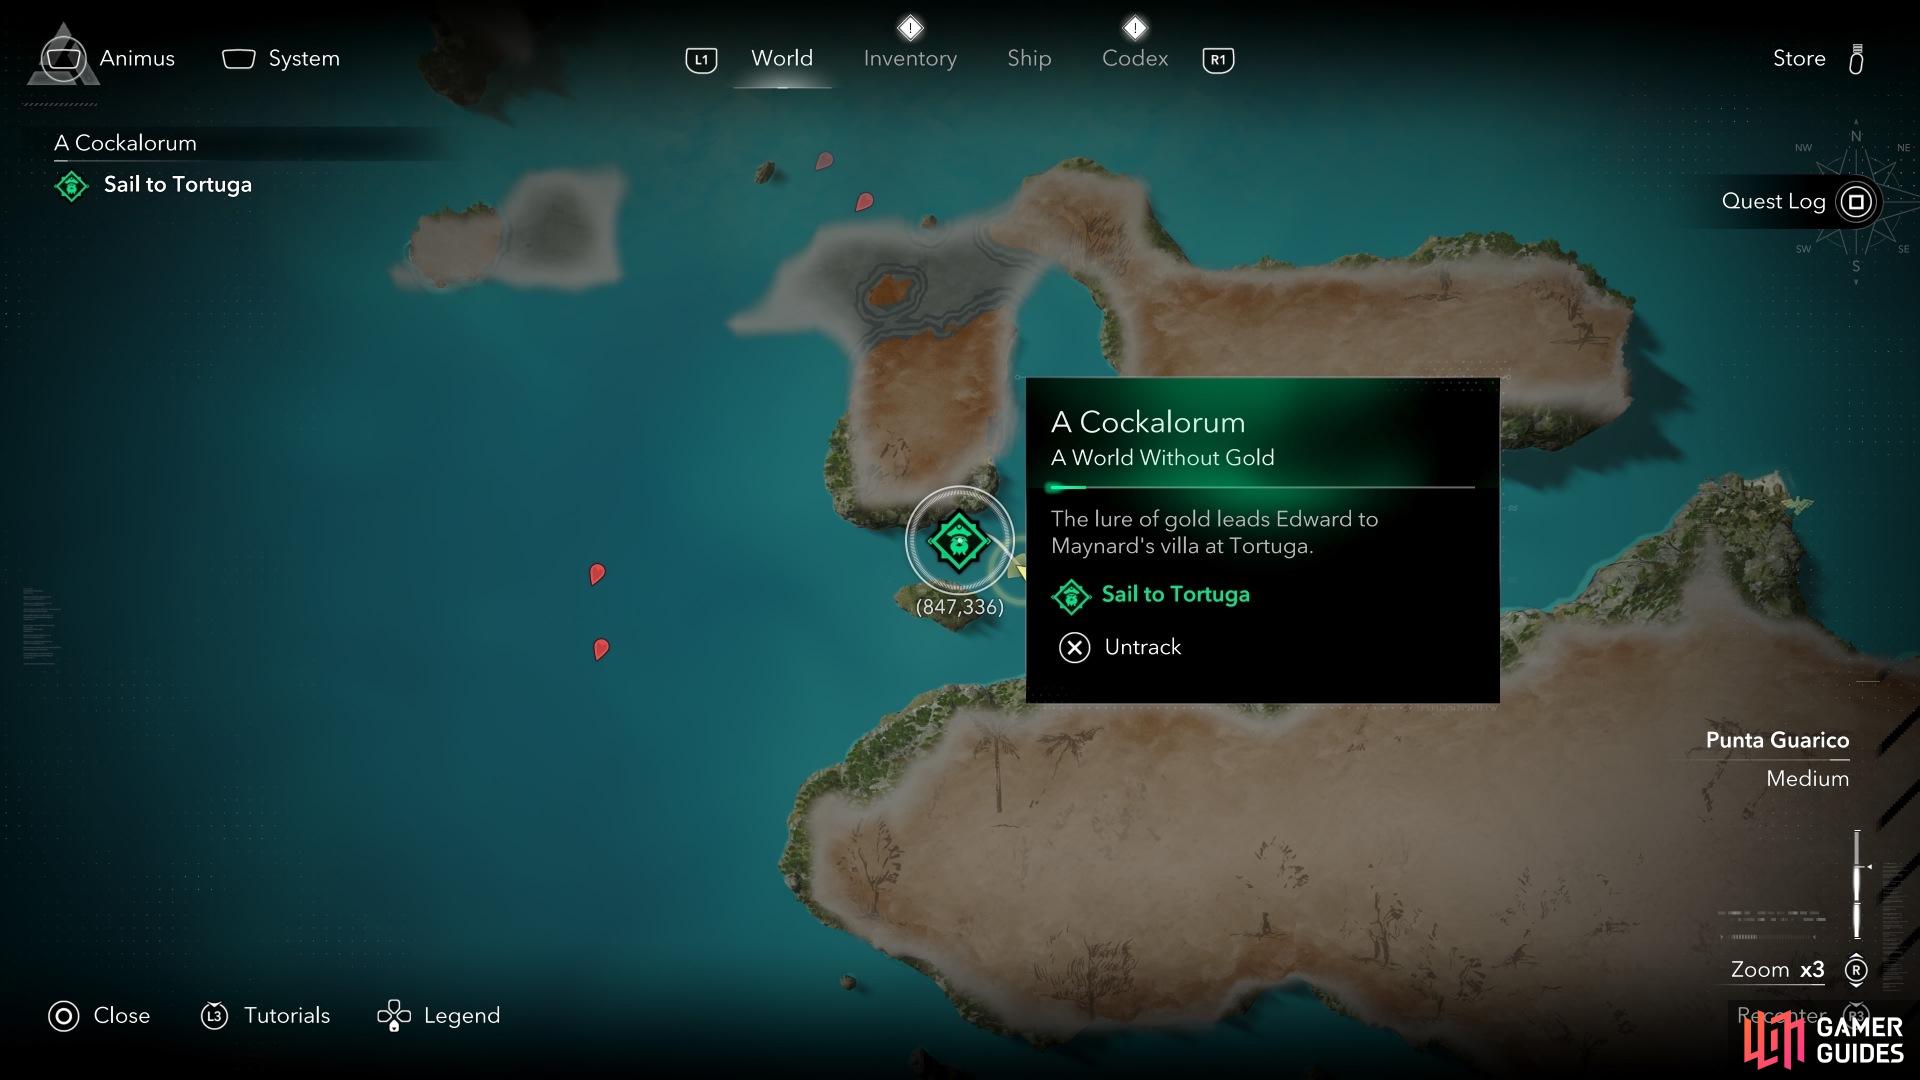
Here’s where to start the quest ‘A Cockalurum’ in Tortuga
Another cutscene will play, and shocker, it’s a trap. Maynard knew the allure of gold would hook Edward, and it’s time to escape before the guards decide to kill you. Head towards the Jackdaw, which your quartermaster Anne Bonney has taken towards the beach. Lucy will make a break for it, but besides some guards hanging about, it’s a fairly brief escape.
A World Without Gold
The final mission takes you to Port Royal, where Maynard has been hiding out. Head to (605,147) with your crew to start the mission, in which everyone is all hands on deck (excuse another nautical pun).
Initially, the mission is split into three sub-objectives. Firstly, you need to help Tobias blow up the warehouse. He handles the explosives himself, thankfully, but you’ll need to help him fight off the guards hanging around, as well as any that may be waiting around outside.
Next, it’s helping Lucy blow up some powder kegs - so more explosions. This is actually the quickest part, as you can simply fire some bullets at the kegs fairly fast, while also wiping out the guards. Not great if you’re doing a stealth-only run, but handy otherwise.
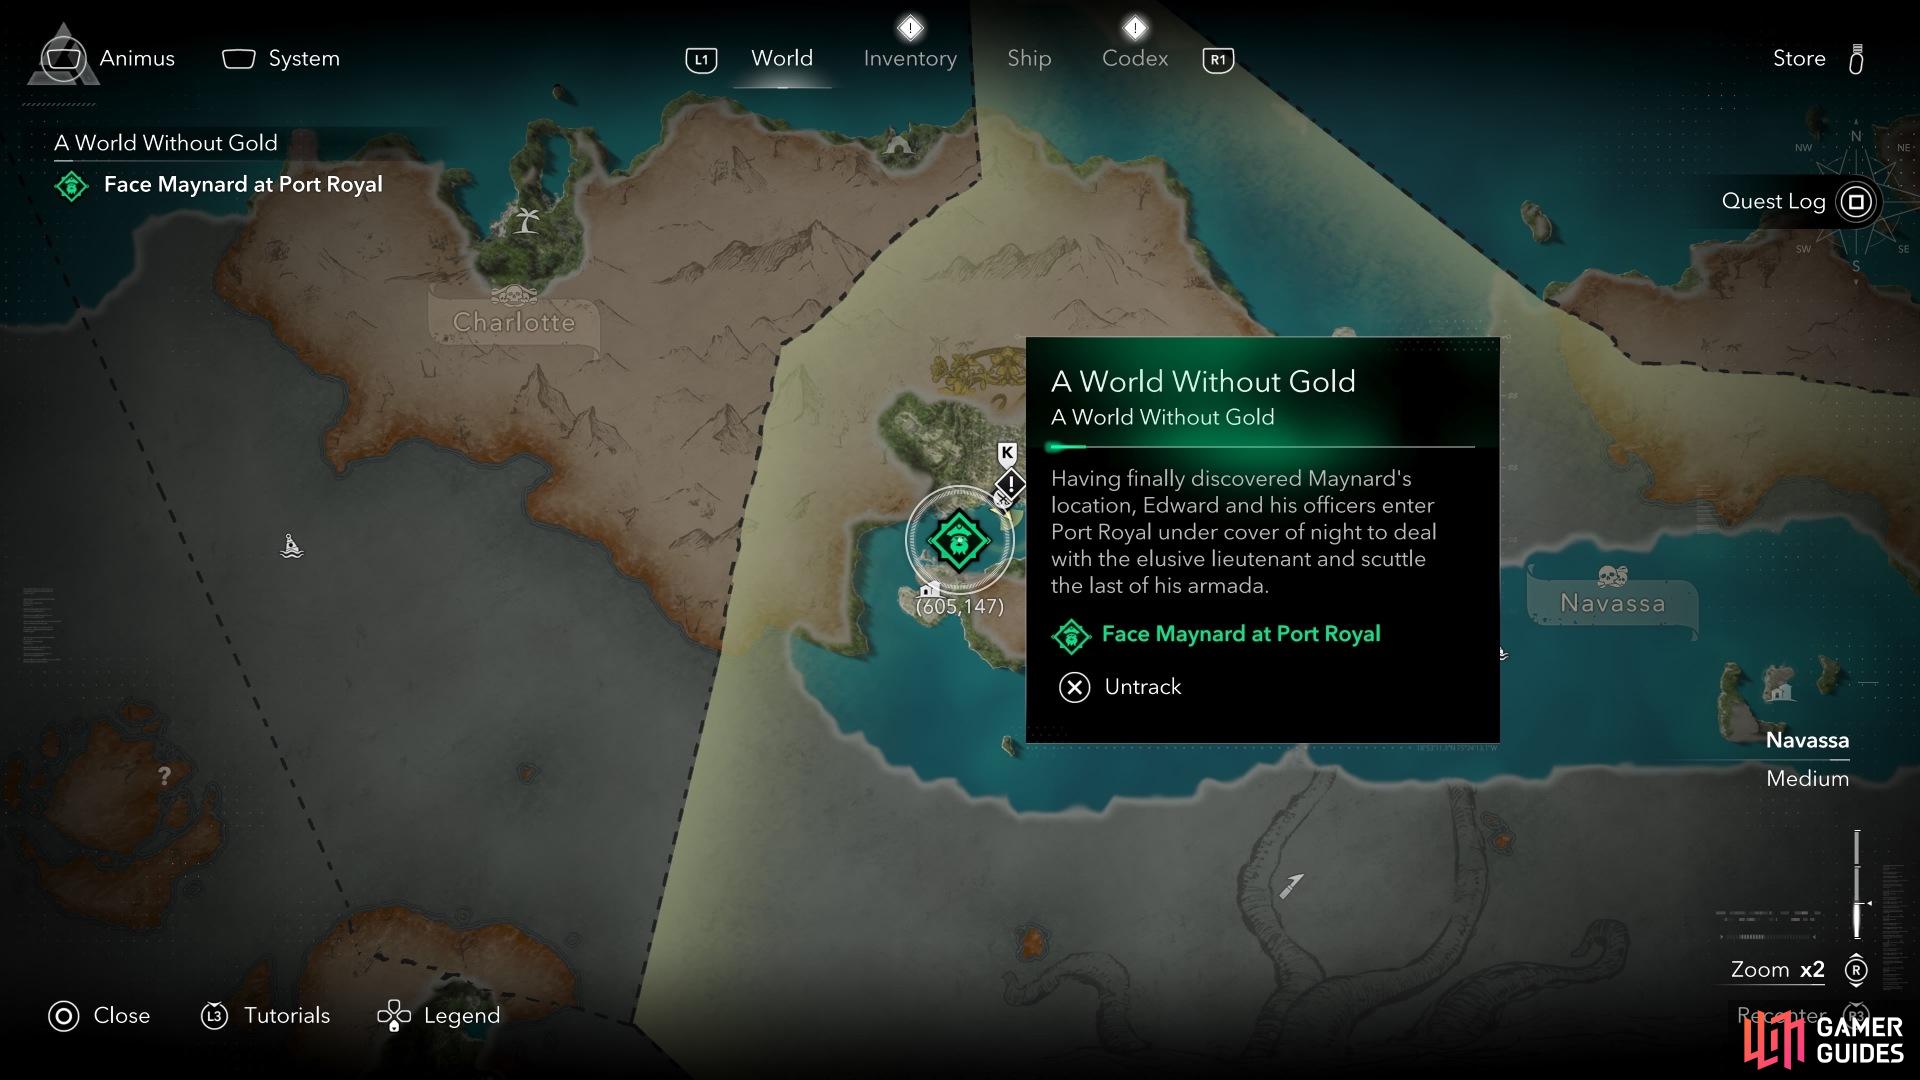
The final quest for A World Without Gold location
Lastly, it’s time to help Padre free some prisoners. Wipe out the guards near them and then release the two imprisoned pirates before regrouping with your officers near the meeting point. Here, Edward says he’s going for the gold again, so it’s time to race over to the boat, climb onto it, and then head into the hold.
Shock. Gasp. Horror. Another trap, and now, Maynard has used that time to capture your naval officers. Fortunately, the Jackdaw is waiting for you, and a very angry Anne Bonney is there to support you as you chase Maynard down. However, the armada Maynard was reportedly building is actually a tank of a boat called The Ipswich, which, as someone British, is hilarious.
This is a major naval battle, but one that’s fairly simple despite the sheer size of the vessel. Avoid the Ipswich and focus on the smaller boats, as any attacks you attempt on Maynard’s boat will be close to meaningless. Once you’ve defeated the smaller ships, The Ipswich will release a bunch of mines. Shoot them with your swivel guns, and they’ll do a third of Ipswich’s health each time.
As The Ipswich reaches critical health, Anne will tell you to ram the boat. So, use the Ram Dash ability and go full power into Maynard’s boat, where a cutscene will play with Edward diving off the fort to face Maynard. This time, it’s another boss fight, but against Blackbeard’s killer himself.
The most damaging part of this encounter is Edward’s insults to Maynard, but the main gist is to keep using the quick-fire skill to damage Maynard’s defence until you can perform takedowns. He uses unstoppable attacks frequently, so be prepared to dodge if you go up close into melee range.
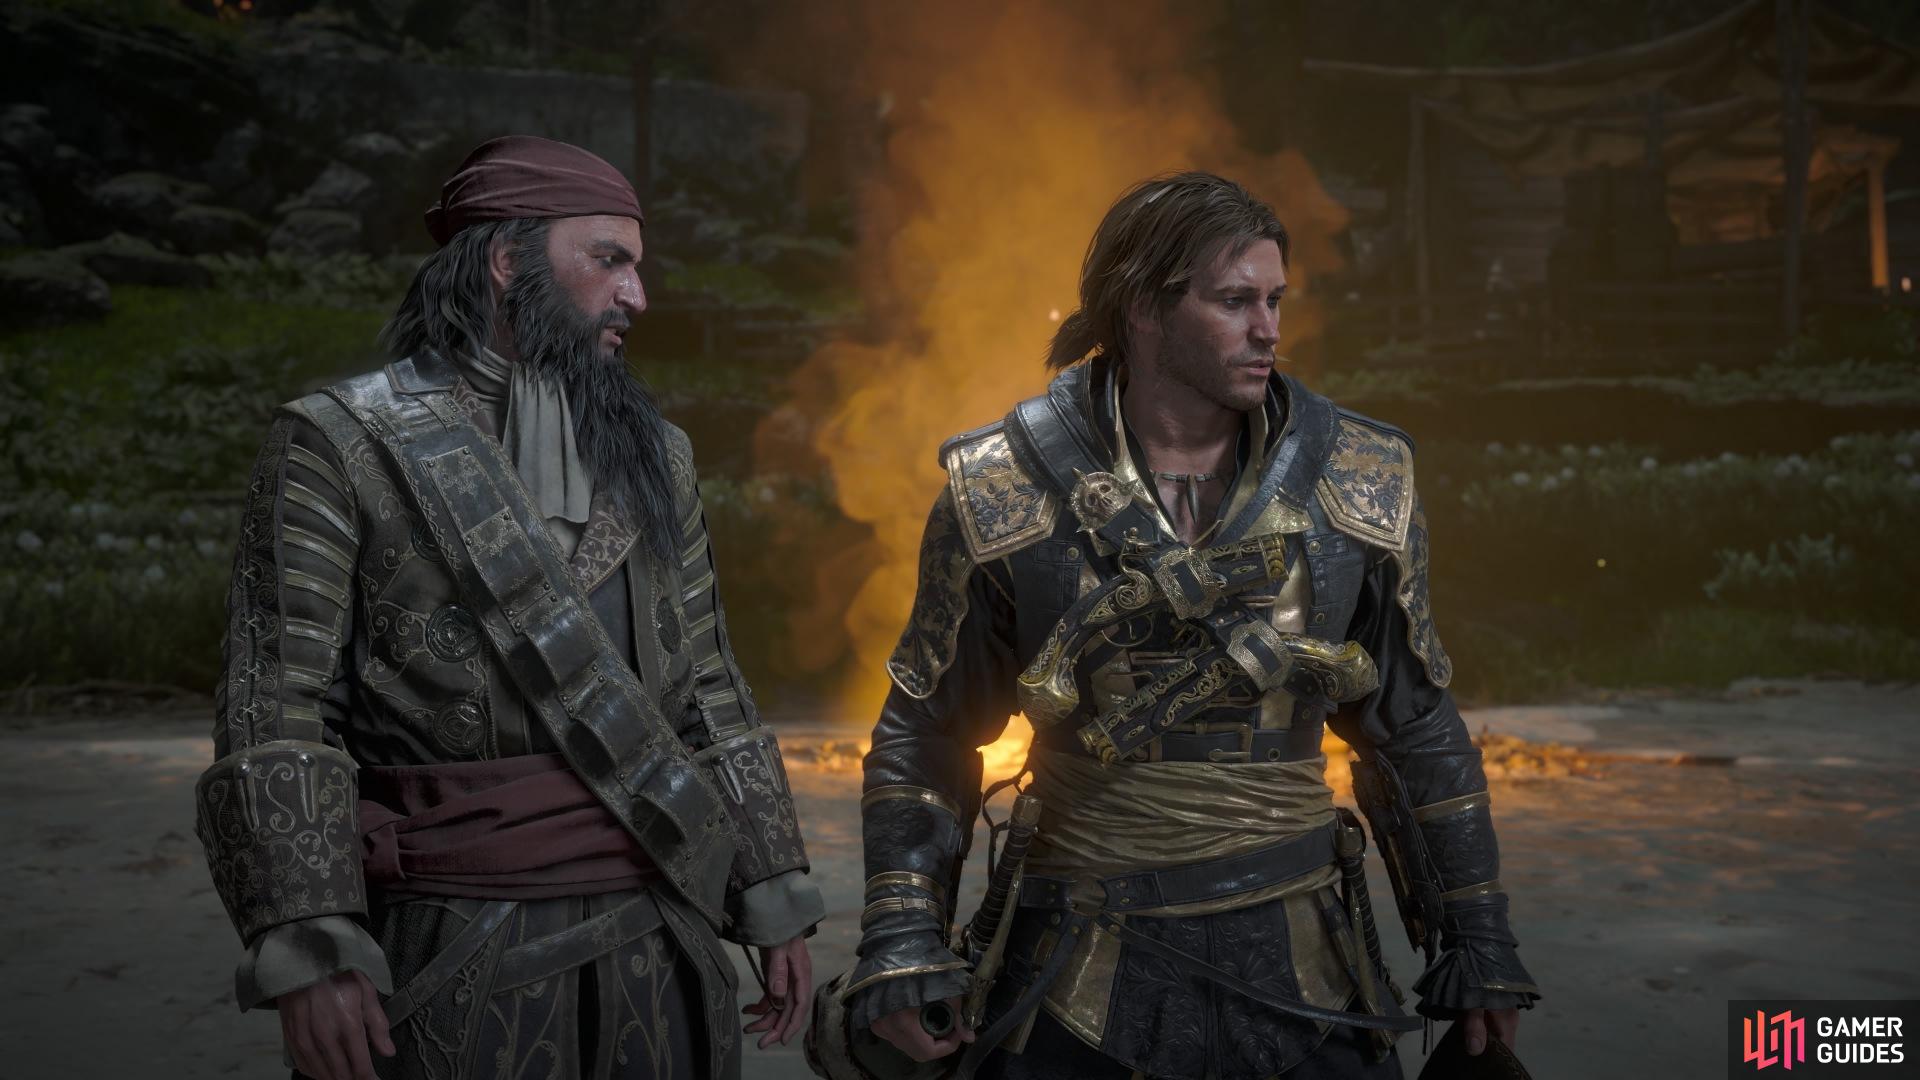
Blackbeard and Edward Kenway enjoying a drink by the campfire
Eventually, you’ll kill him and put a stop to the pirate hunter for good. He forces you to choose between the gold and your officers, and, despite a moment of thinking, Edward makes sure to choose his friends.
The following cutscene shows Edward with his crew, enjoying some evening drinks, before a heartfelt moment with Blackbeard. I won’t spoil it, so you can enjoy it yourself.

No Comments