Side Quests - The Legend of Zelda: Tears of the Kingdom Database
| Icon | Title | Category | Subcategory |
|---|
Side Quests
| Icon | Title | Details | Screenshots | |||||||||||||||||||||||||||||||||||||||||||||||||||||||||||||||||||||||||||||||||||||||||||||||
|---|---|---|---|---|---|---|---|---|---|---|---|---|---|---|---|---|---|---|---|---|---|---|---|---|---|---|---|---|---|---|---|---|---|---|---|---|---|---|---|---|---|---|---|---|---|---|---|---|---|---|---|---|---|---|---|---|---|---|---|---|---|---|---|---|---|---|---|---|---|---|---|---|---|---|---|---|---|---|---|---|---|---|---|---|---|---|---|---|---|---|---|---|---|---|---|---|---|---|

|
A Bottled Cry for Help |
You found a letter inside a bottle that had floated its way to Hateno Bay. It seems its writer is trapped inside a cave and needs your help. Fortunately, they’ve left a trail of brightbloom seeds and flowers in the sea to guide you to the cave. This quests starts by examining a washed-up bottle on the beach of Hateno Bay, among the wreckage.
Quest Type
Side Quest
Map(s)
|

|
|||||||||||||||||||||||||||||||||||||||||||||||||||||||||||||||||||||||||||||||||||||||||||||||

|
A New Champion's Tunic |
According to She wrote that the “torches are the key,” but what does that mean? This quest can be accepted by reading Zelda’s Diary inside
Quest Type
Side Quest
Map(s)
|

|
|||||||||||||||||||||||||||||||||||||||||||||||||||||||||||||||||||||||||||||||||||||||||||||||

|
A Picture for Dueling Peaks Stable |
Tasseren, the owner of Dueling Peaks Stable, wants to hang a painting of Hyrule’s finest sunrise, which is said to be visible from the summit of Tuft Mountain to the southeast of the stable.
Quest Type
Side Quest
Map(s)
|
||||||||||||||||||||||||||||||||||||||||||||||||||||||||||||||||||||||||||||||||||||||||||||||||

|
A Picture for East Akkala Stable |
Rudi, the owner of East Akkala Stable, wants to hang a painting of Octorok Lake when it’s in the shape of an Octorok. The lake, located to the south of the stable, looks like the monster known as an Octorok when the water rises.
Quest Type
Side Quest
Map(s)
|
||||||||||||||||||||||||||||||||||||||||||||||||||||||||||||||||||||||||||||||||||||||||||||||||

|
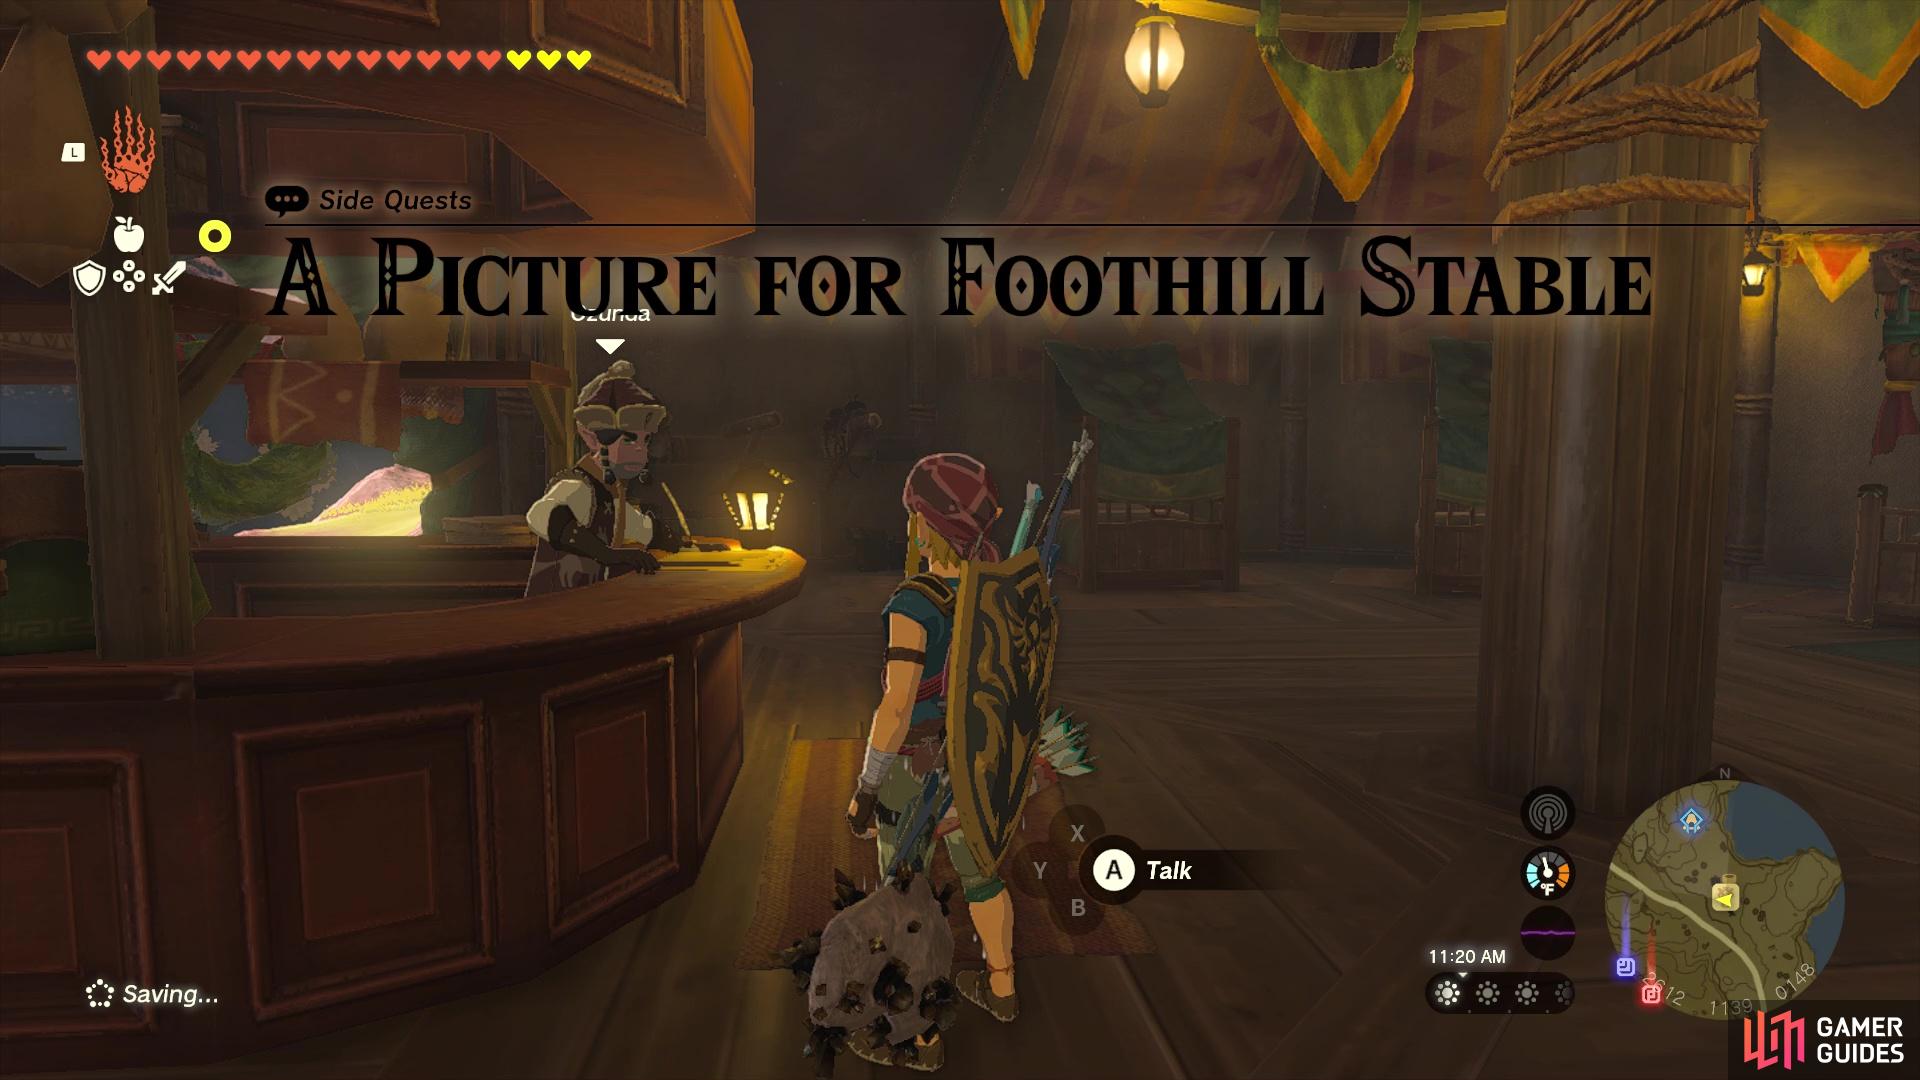
A Picture for Foothill Stable |
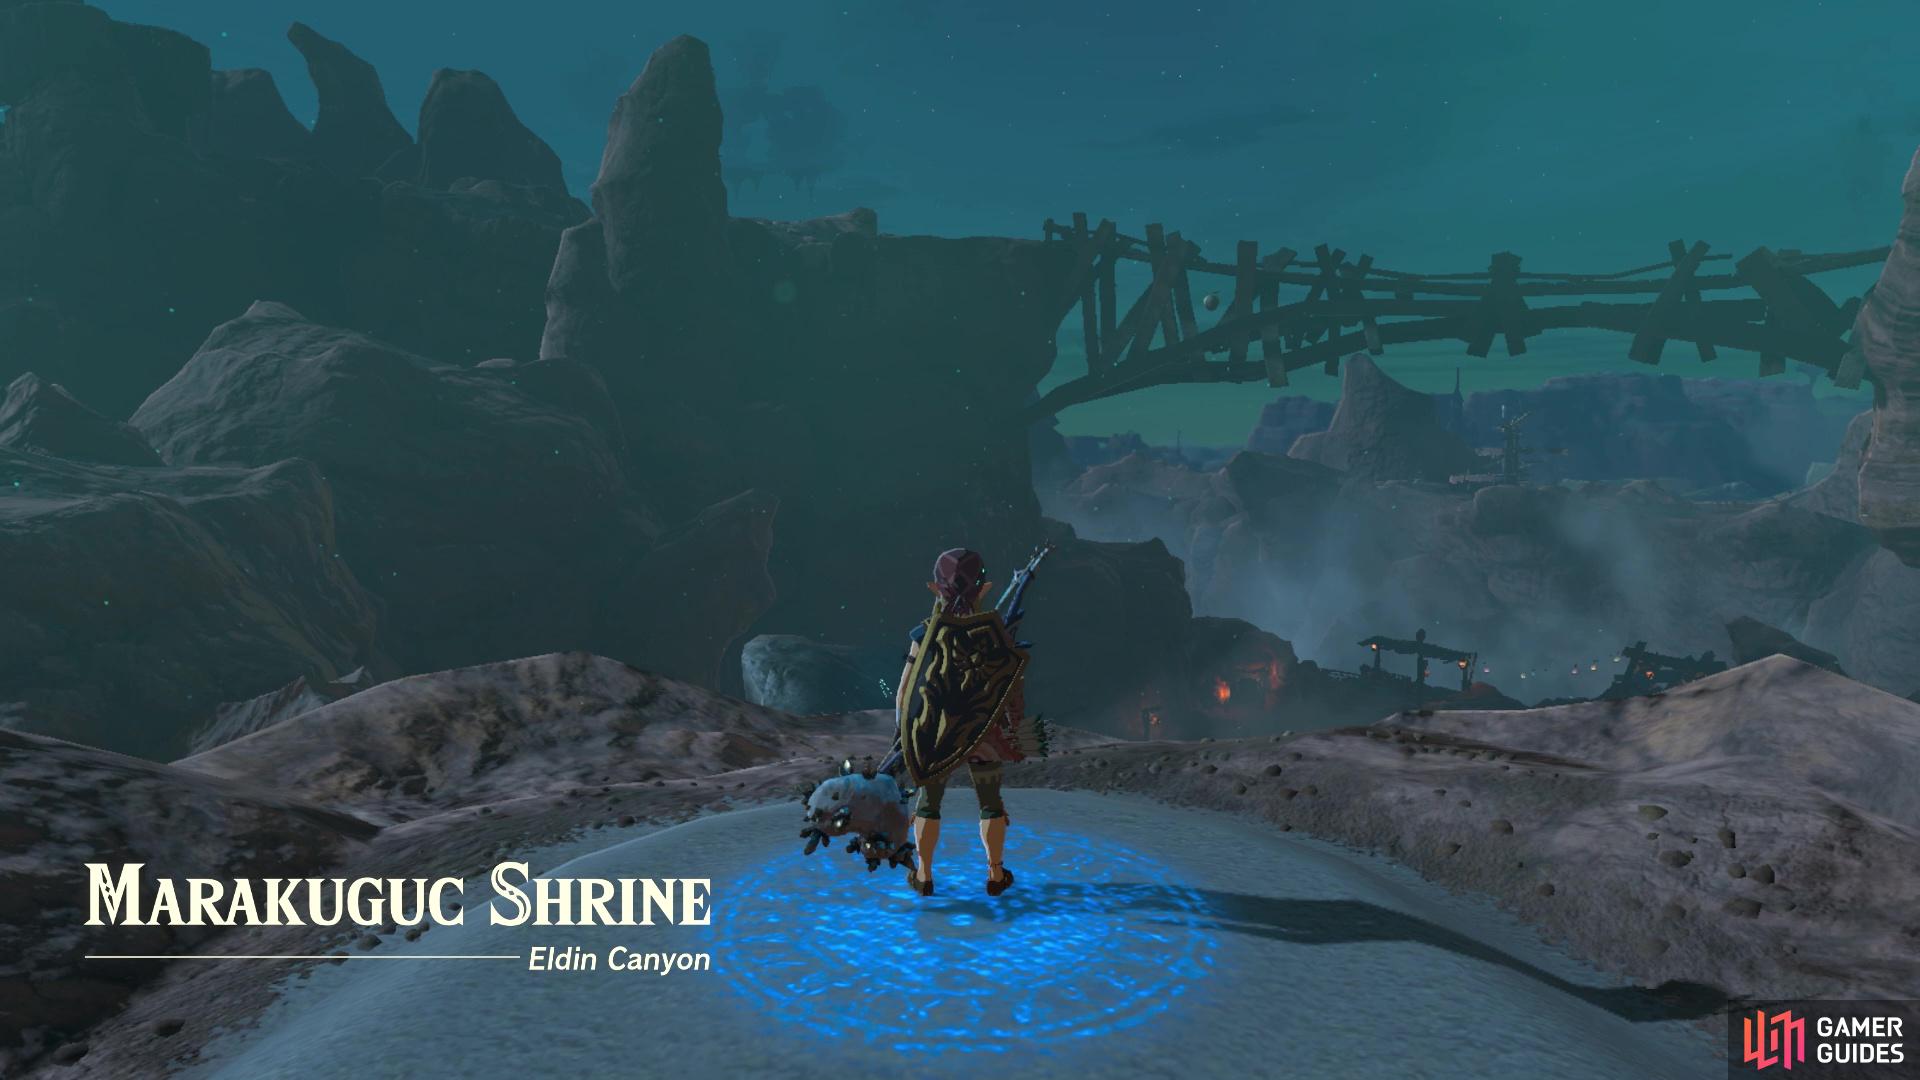
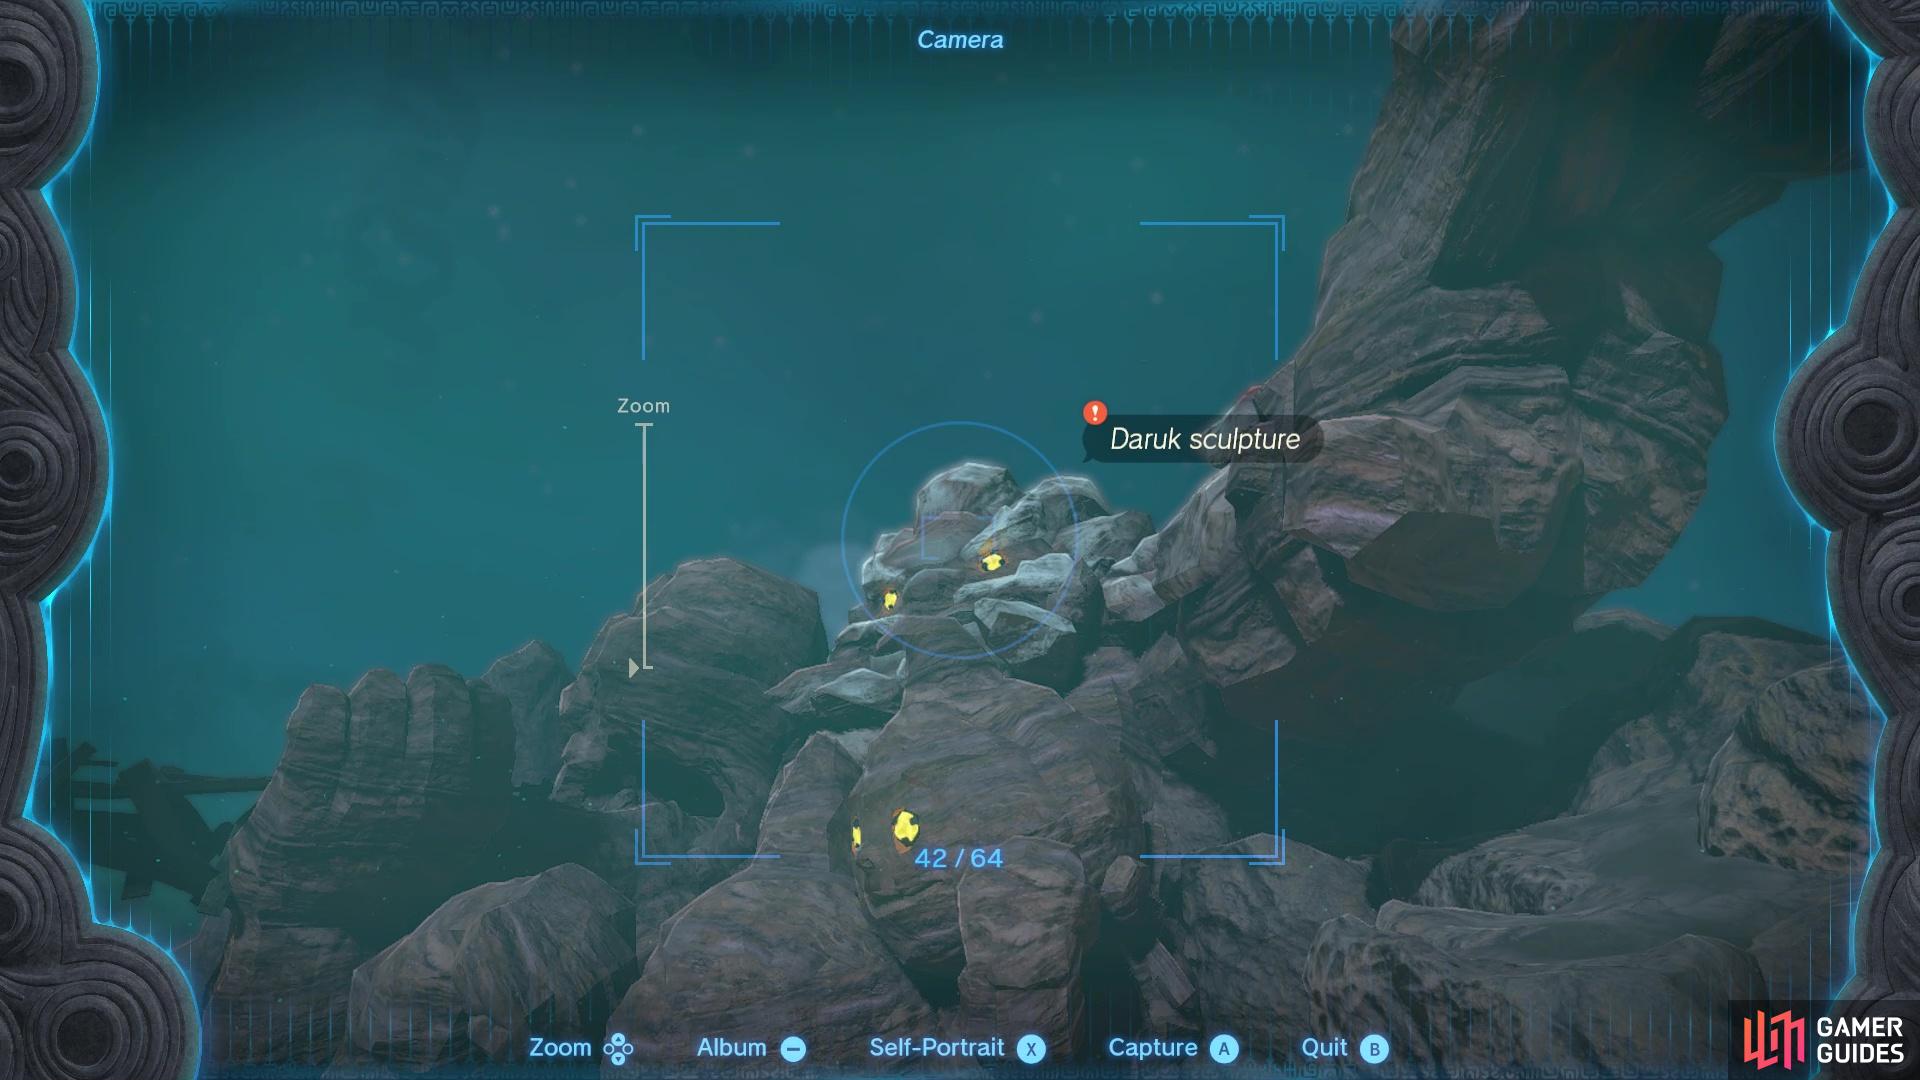
Ozunda, the owner of Foothill Stable, wants to hang a painting of the Daruk sculpture that overlooks Goron City, northwest of the stable.
Description
Start this quest by examining the empty picture frame inside Foothill Stable. The owner of the stable wants a picture of the Daruk statue in Goron City. Can fast travel to
Quest Type
Side Quest
Map(s)
|
|
|||||||||||||||||||||||||||||||||||||||||||||||||||||||||||||||||||||||||||||||||||||||||||||||

|
A Picture for Highland Stable |
Padok, the owner of Highland Stable, wants to hang a painting of a giant white stallion on the stable wall. He heard about the horse from travelers heading to the Lake of the
Quest Type
Side Quest
Map(s)
|
||||||||||||||||||||||||||||||||||||||||||||||||||||||||||||||||||||||||||||||||||||||||||||||||

|
A Picture for Lakeside Stable |
Anly, the owner of Lakeside Stable, wants to hang a painting of Floria Falls as seen on a clear day. This view is best captured while looking at the falls from
Quest Type
Side Quest
Map(s)
|
||||||||||||||||||||||||||||||||||||||||||||||||||||||||||||||||||||||||||||||||||||||||||||||||

|
A Picture for New Serenne Stable |
Sprinn, the owner of New Serenne Stable, wants to decorate his establishment with a painting of a geoglyph. They’ve appeared all over Hyrule. In fact, one can be found very near the stable.
Quest Type
Side Quest
Map(s)
|
||||||||||||||||||||||||||||||||||||||||||||||||||||||||||||||||||||||||||||||||||||||||||||||||

|
A Picture for Outskirt Stable |
Embry, the owner of Outskirt Stable, wants to hang a picture of a special, mystical cherry-blossom tree that can be found on Satori Mountain, northwest of the stable.
Quest Type
Side Quest
Map(s)
|
||||||||||||||||||||||||||||||||||||||||||||||||||||||||||||||||||||||||||||||||||||||||||||||||

|
A Picture for Riverside Stable |
Ember, the owner of Riverside Stable, wants to hang a painting of a Great
Quest Type
Side Quest
Map(s)
|
||||||||||||||||||||||||||||||||||||||||||||||||||||||||||||||||||||||||||||||||||||||||||||||||

|
A Picture for South Akkala Stable |
Dmitri, the owner of South Akkala Stable, wants to hang a painting of the Unity Bell in Tarrey Town.
Quest Type
Side Quest
Map(s)
|
||||||||||||||||||||||||||||||||||||||||||||||||||||||||||||||||||||||||||||||||||||||||||||||||

|
A Picture for Tabantha Bridge Stable |
Dabi, the owner of Tabantha Bridge Stable, wants to decorate his establishment with a painting of the Ancient Columns at sunrise. The columns can be found on the top of the cliff across Tabantha Great Bridge.
Quest Type
Side Quest
Map(s)
|
||||||||||||||||||||||||||||||||||||||||||||||||||||||||||||||||||||||||||||||||||||||||||||||||

|
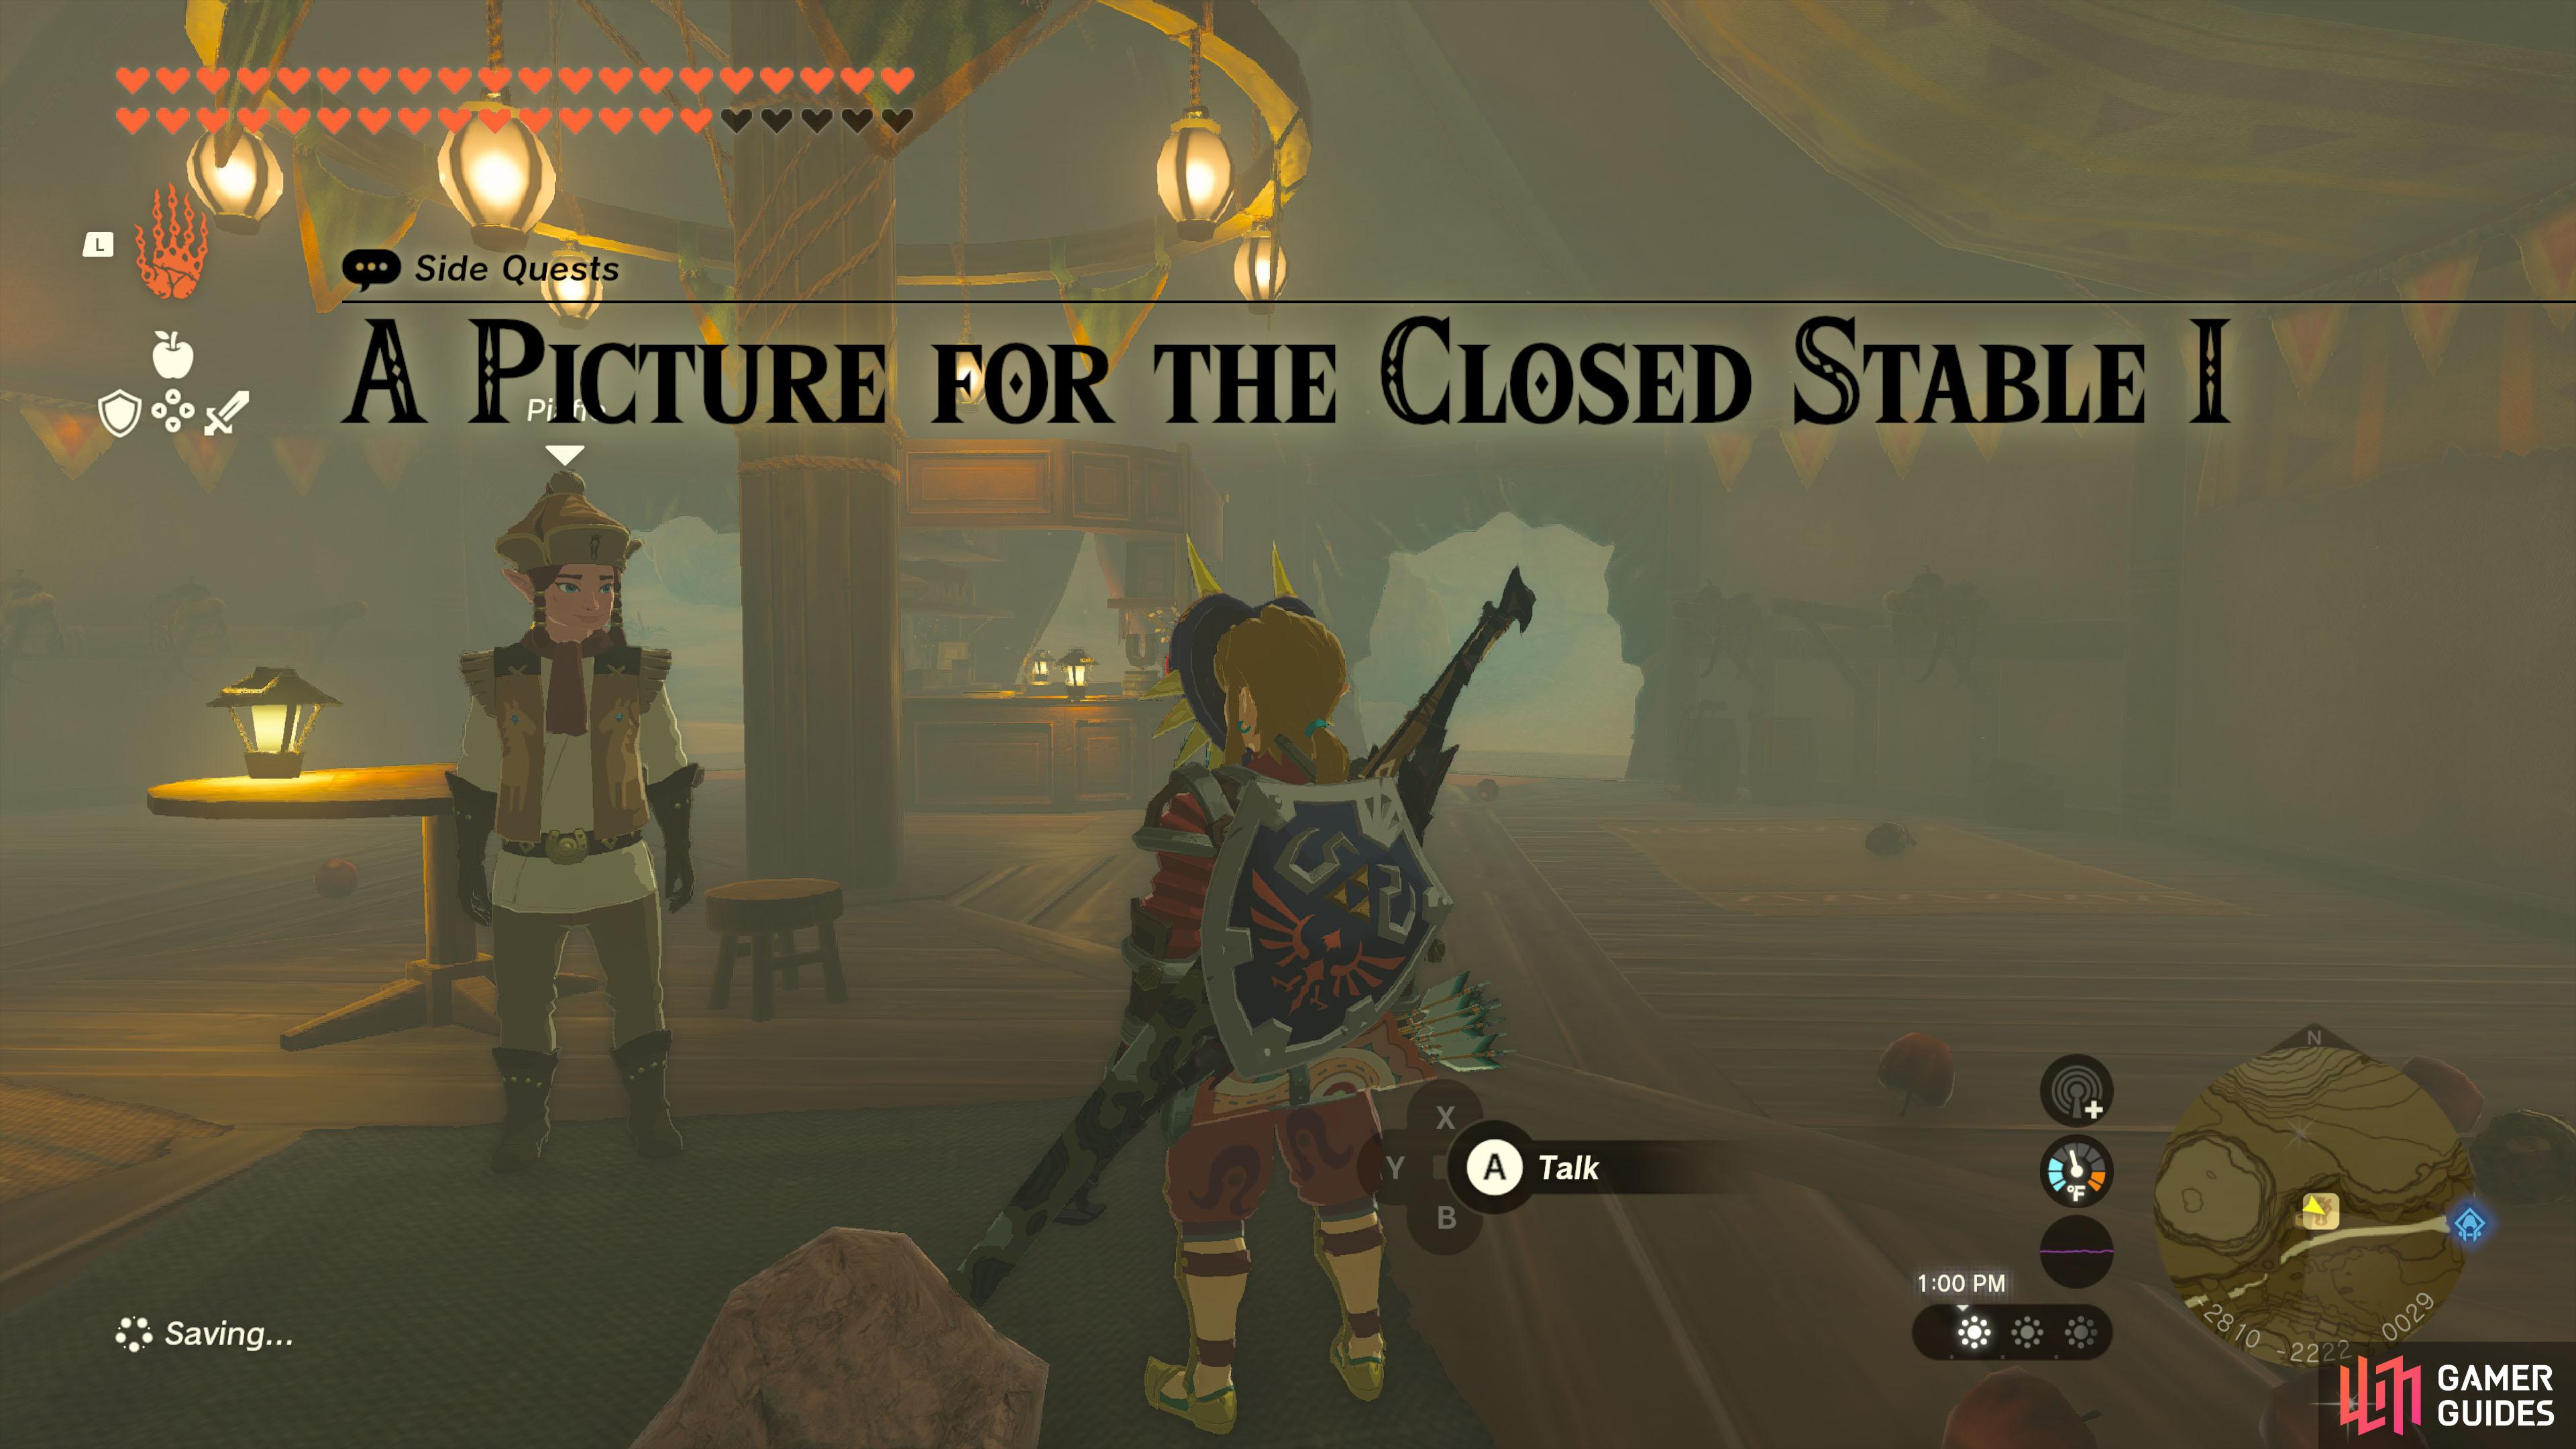
A Picture for the Closed Stable I |
Maybe there’s a way to take a picture of it and show it to Piaffe.
Description
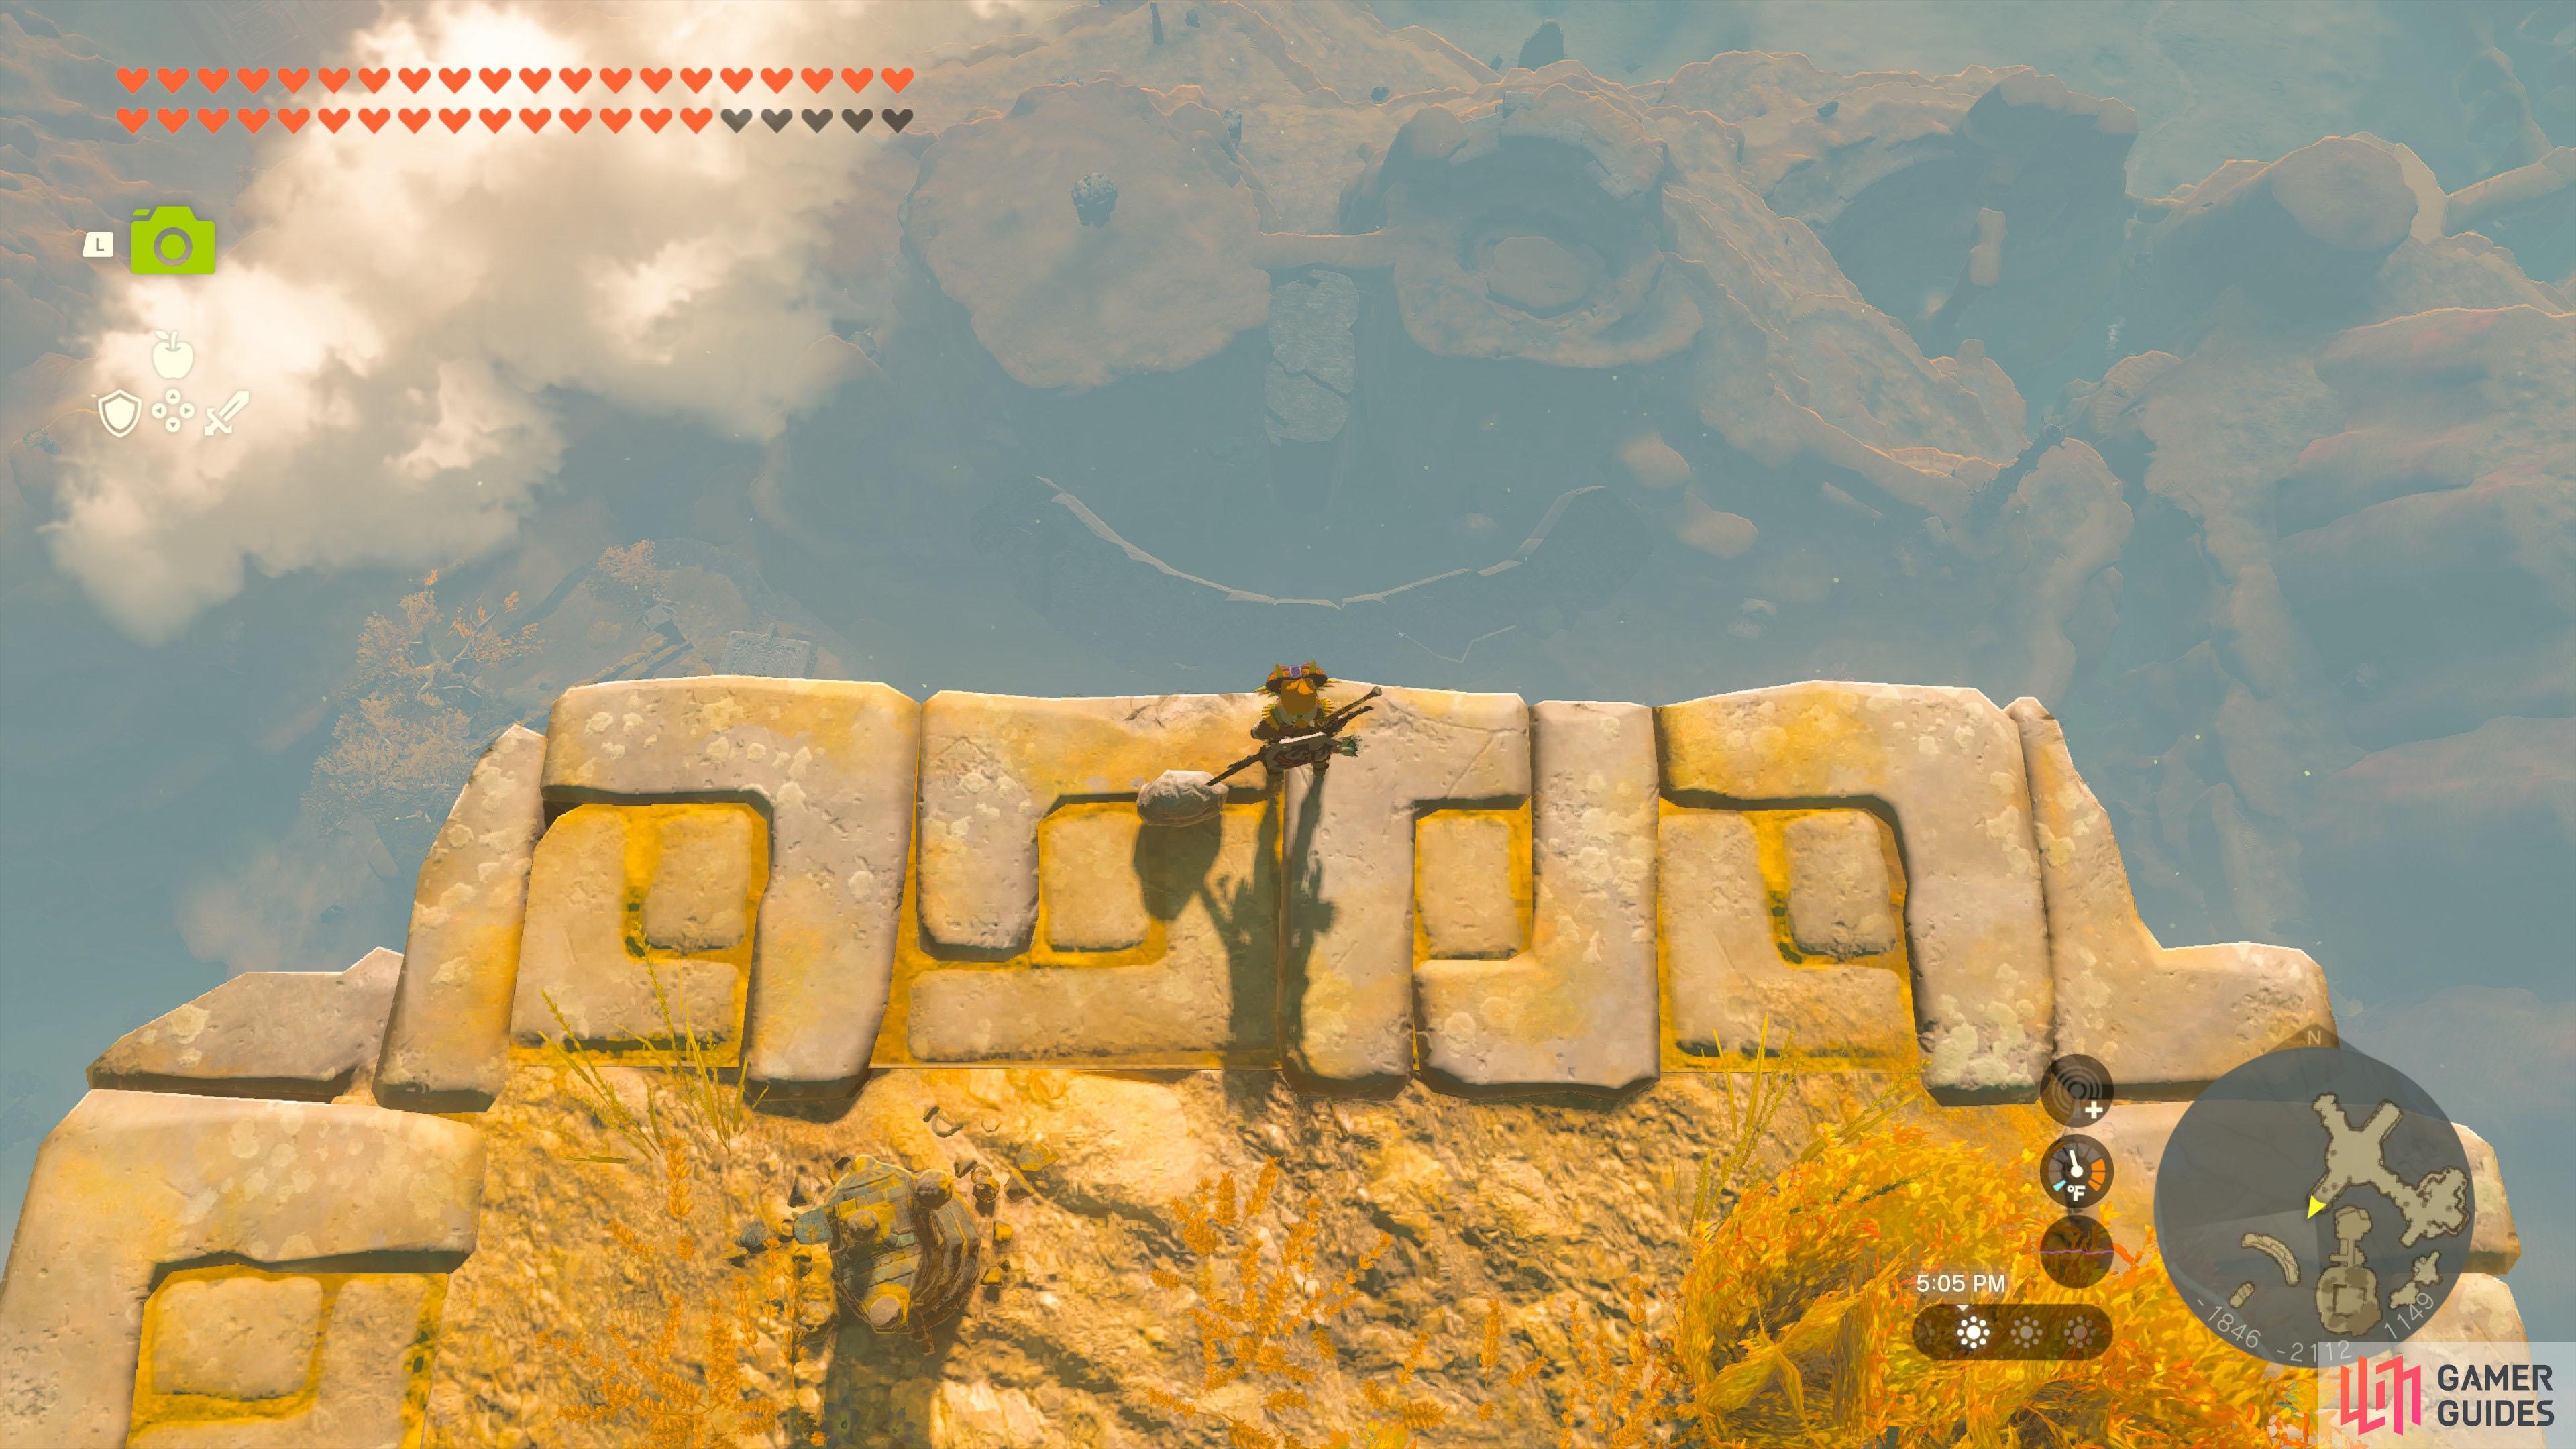
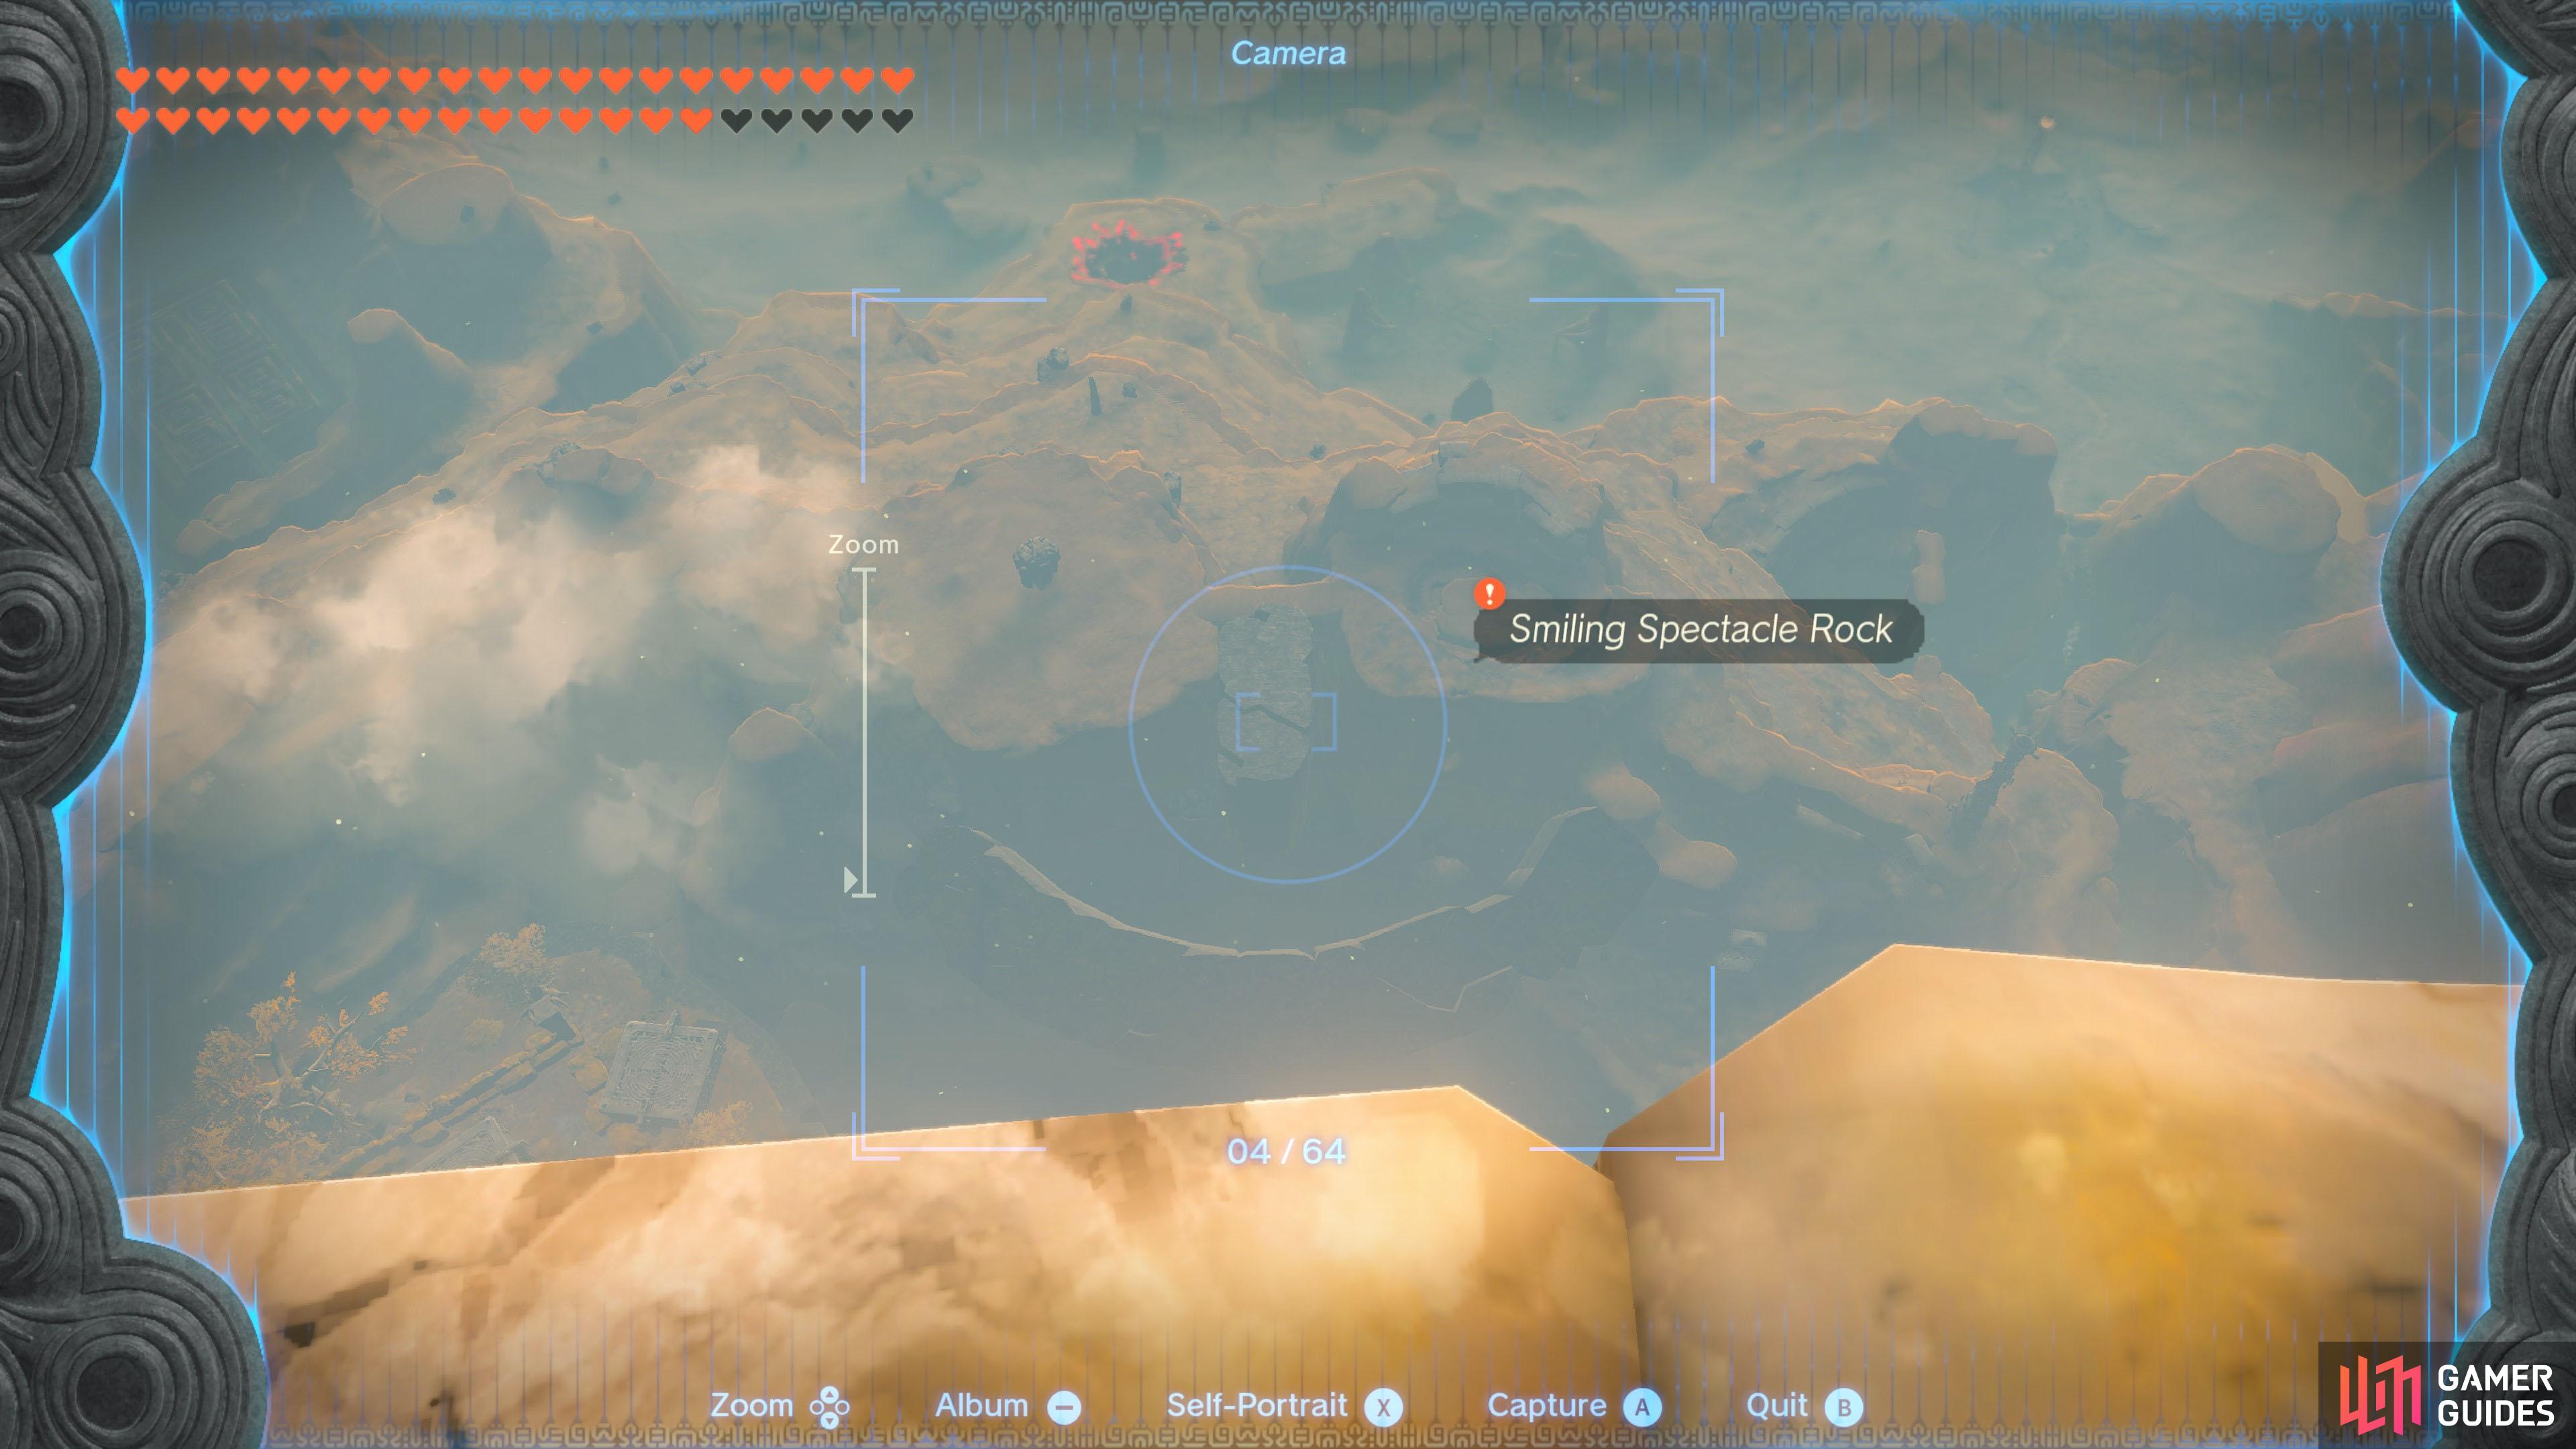
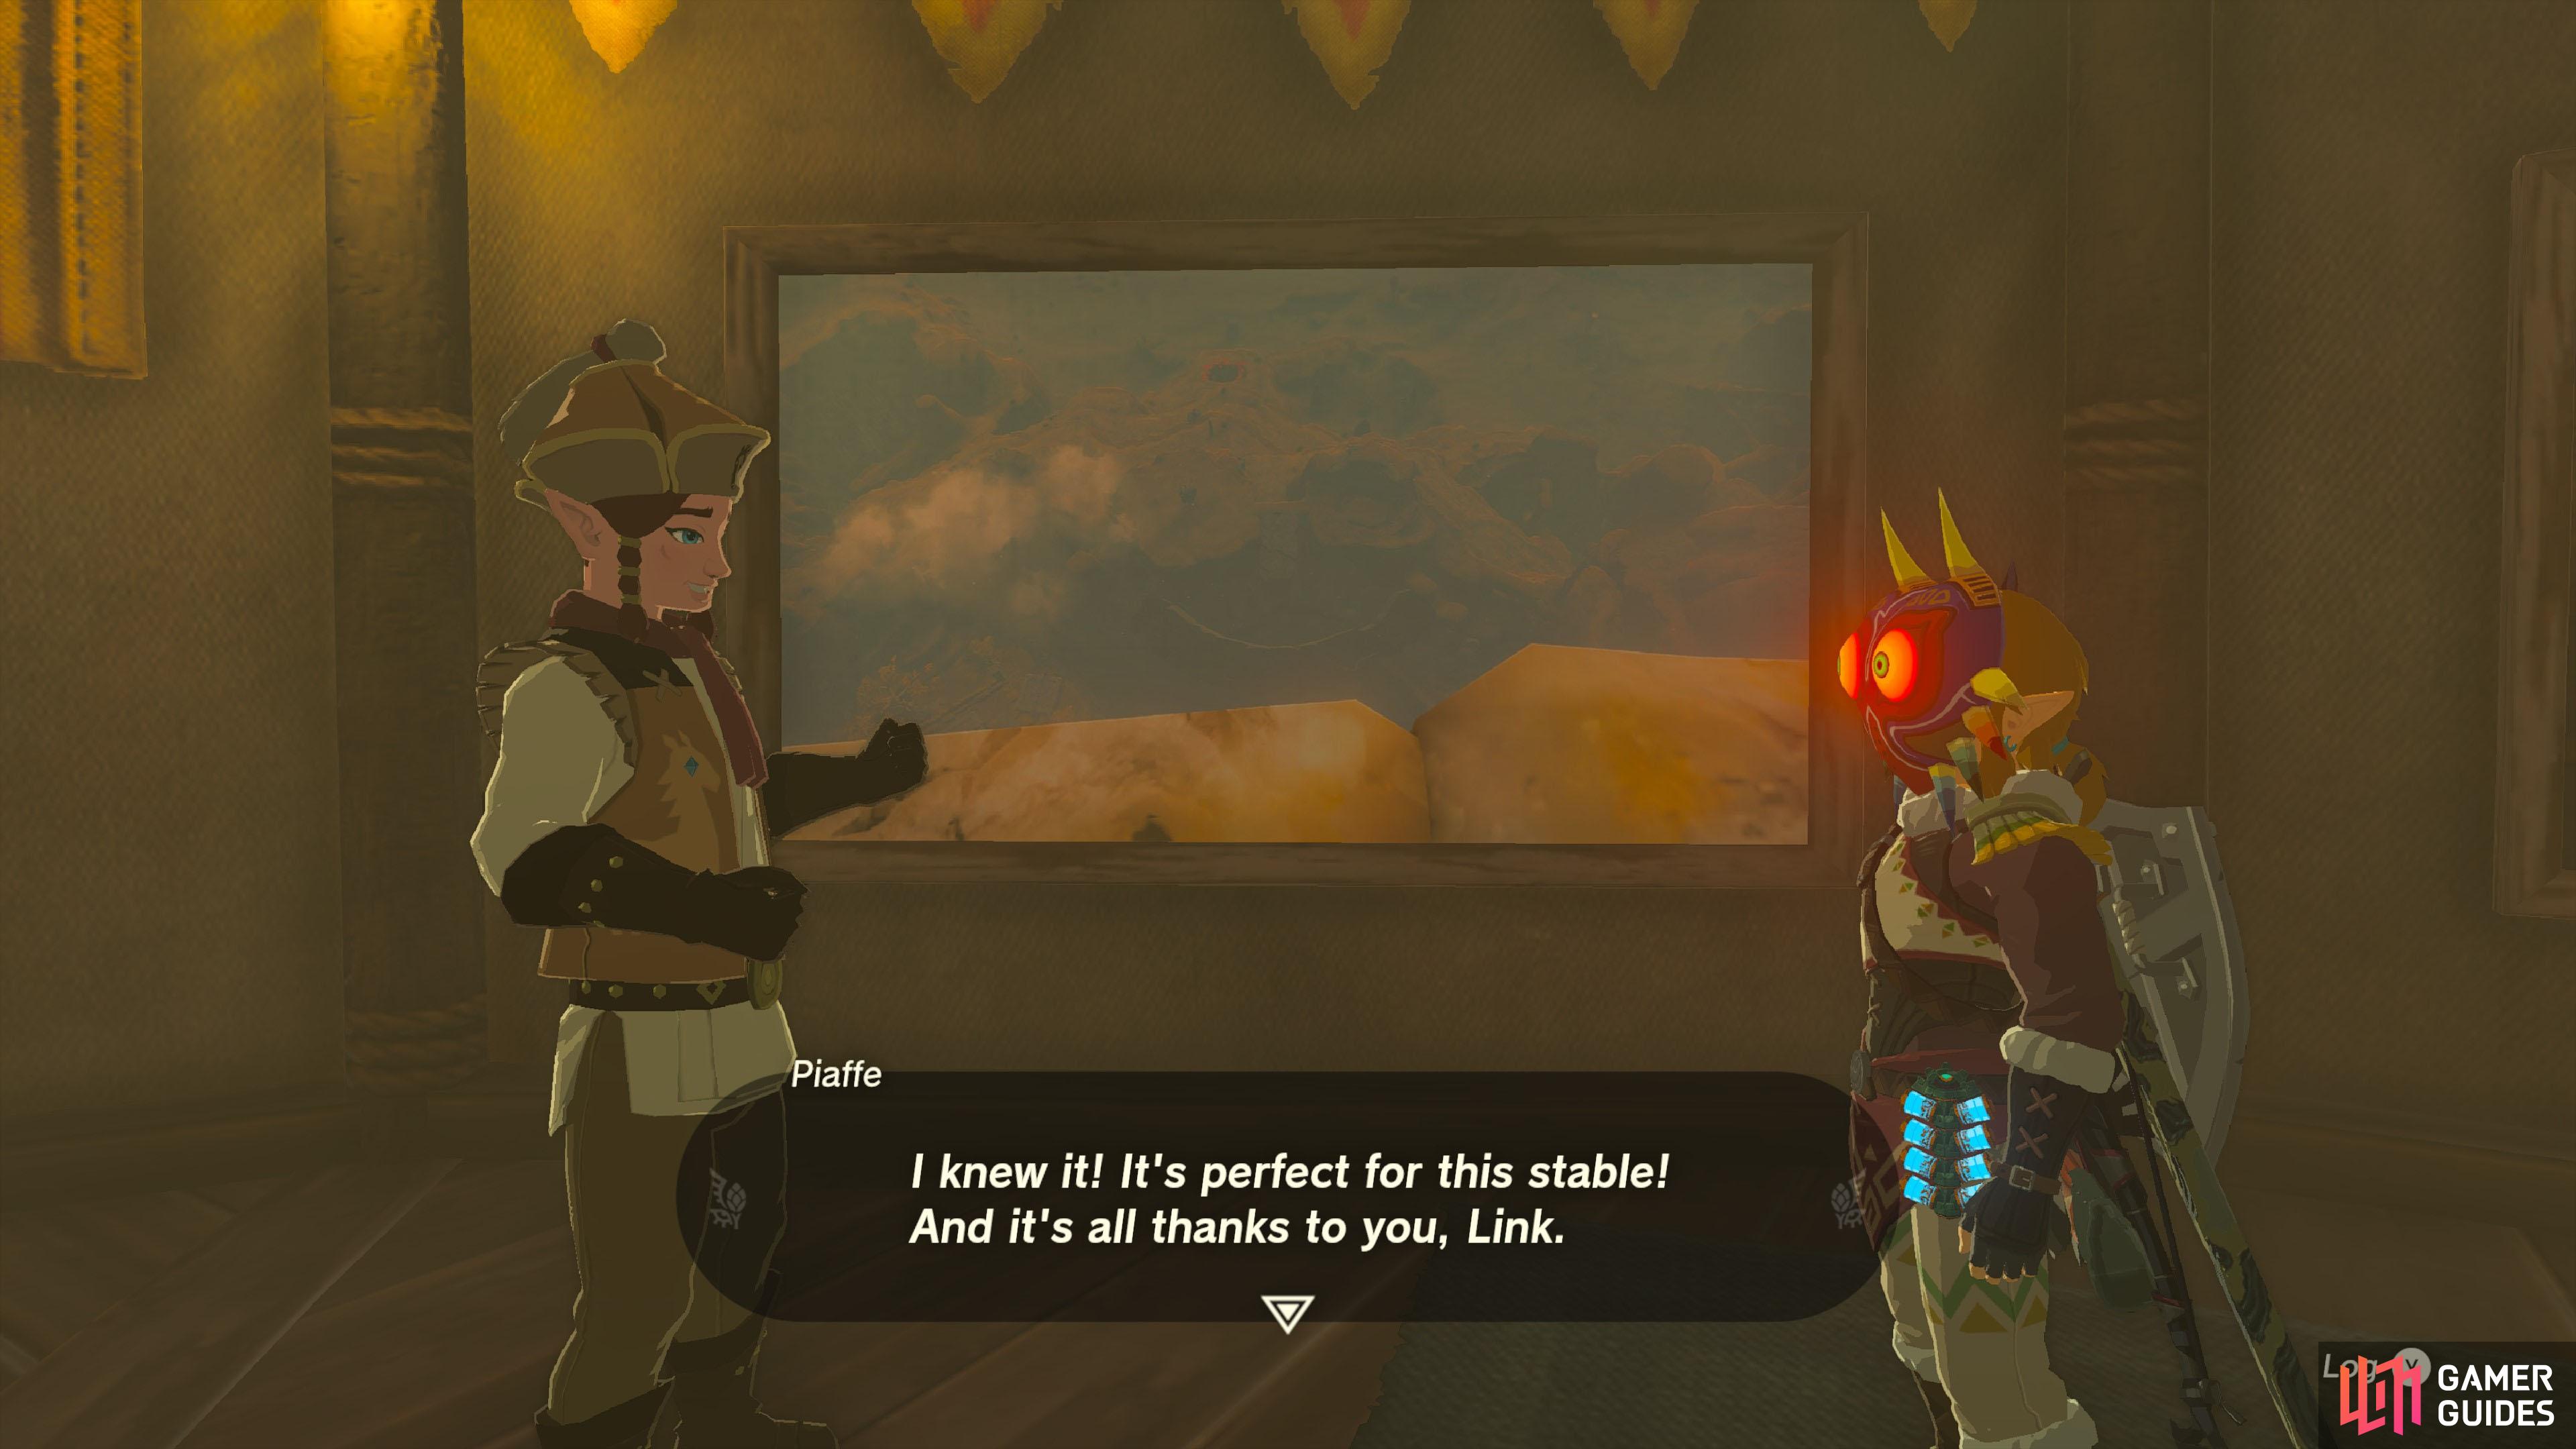
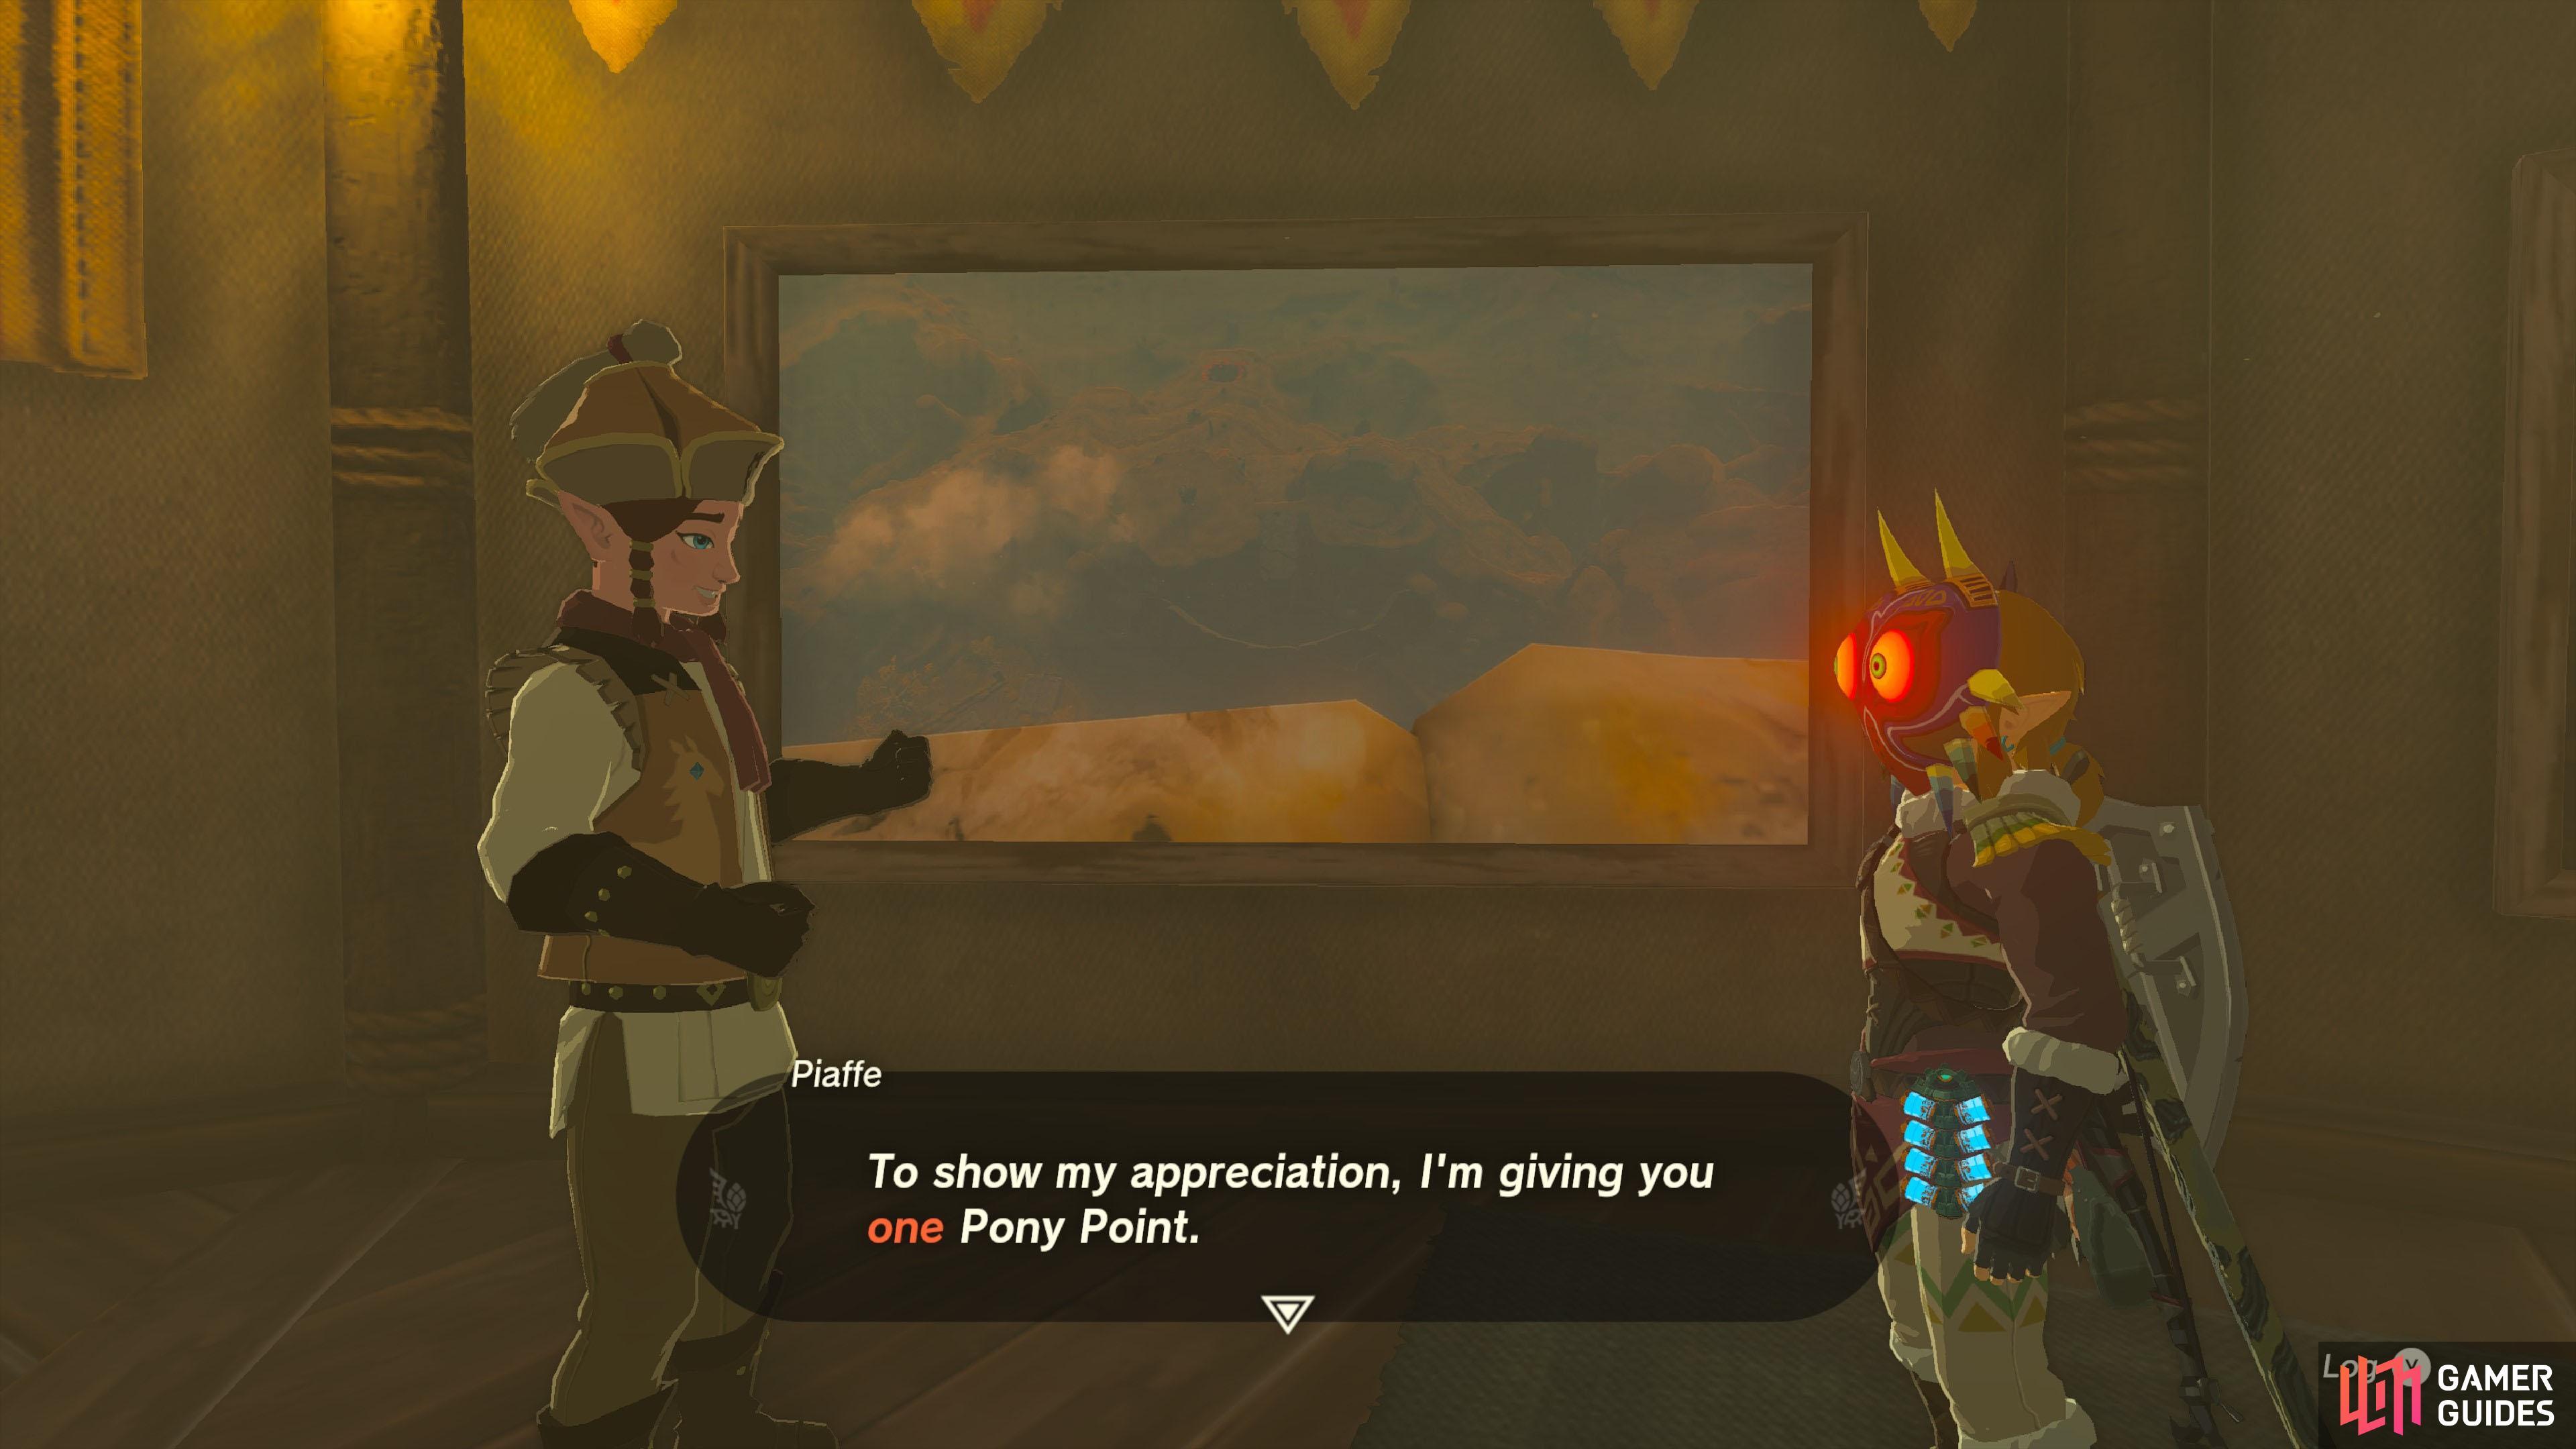
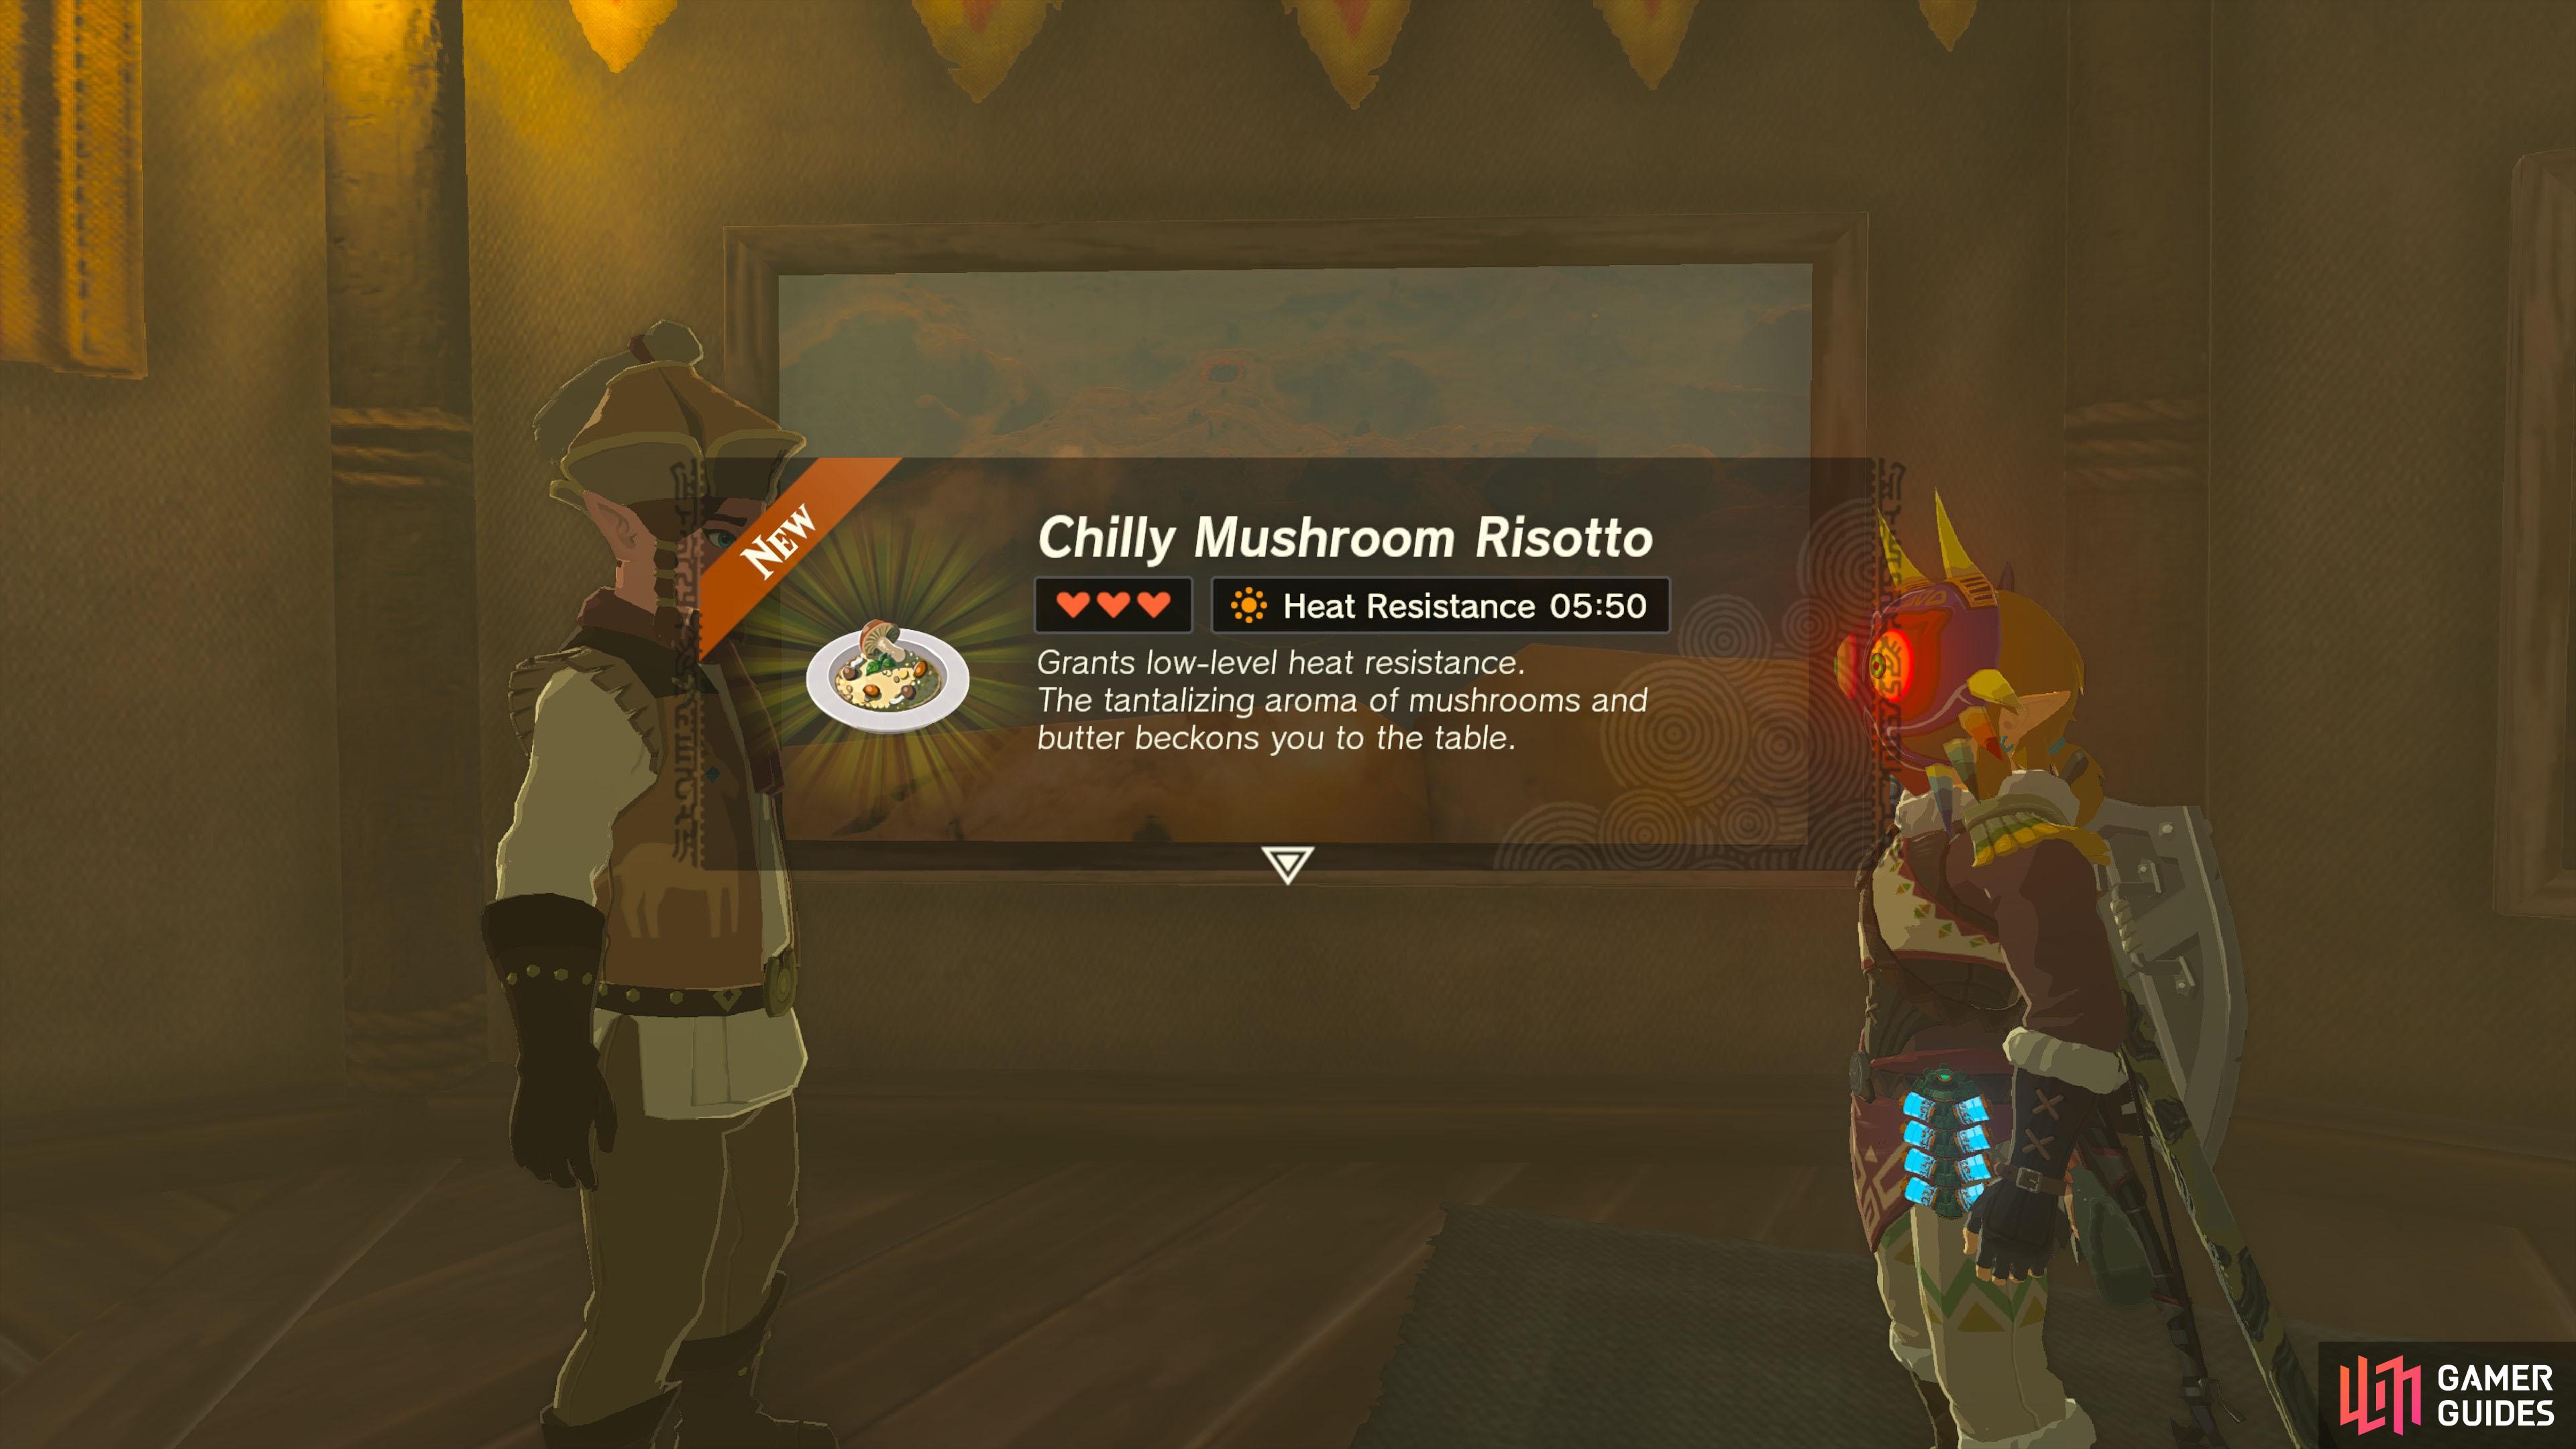
You can receive this quest from After completing that quest, he’ll mention the stable association left behind two picture frames. If you’ve progressed the story enough, Piaffe will unwrap the frames. Otherwise, keep playing. Examine the two unwrapped frames to trigger this quest and a similar quest. For this quest, you should head over to the sky island where the Rakashog Shrine is. Quickest way is to launch yourself from Gerudo Canyon Skyview Tower. If you have a decent amount of stamina upgrades, you can glide directly to the sky island. Otherwise, shoot an arrow fused with a Hover Stone to create a rest spot in mid-air. Stand near the west side of the sky island, facing Spectacle Rock. The two floating rocks nearby should align to create a smiling face. Bring out your camera and take a picture. Afterwards, return to the stable and show your picture to Piaffe. You’ll receive 1 Pony Point and some food.
Quest Type
Side Quest
Quest NPC
 Piaffe
NPC Piaffe
NPC
Map(s)
|
|
|||||||||||||||||||||||||||||||||||||||||||||||||||||||||||||||||||||||||||||||||||||||||||||||

|
A Picture for the Closed Stable II |
Maybe there’s a way to take a picture of it and show it to Piaffe.
Description
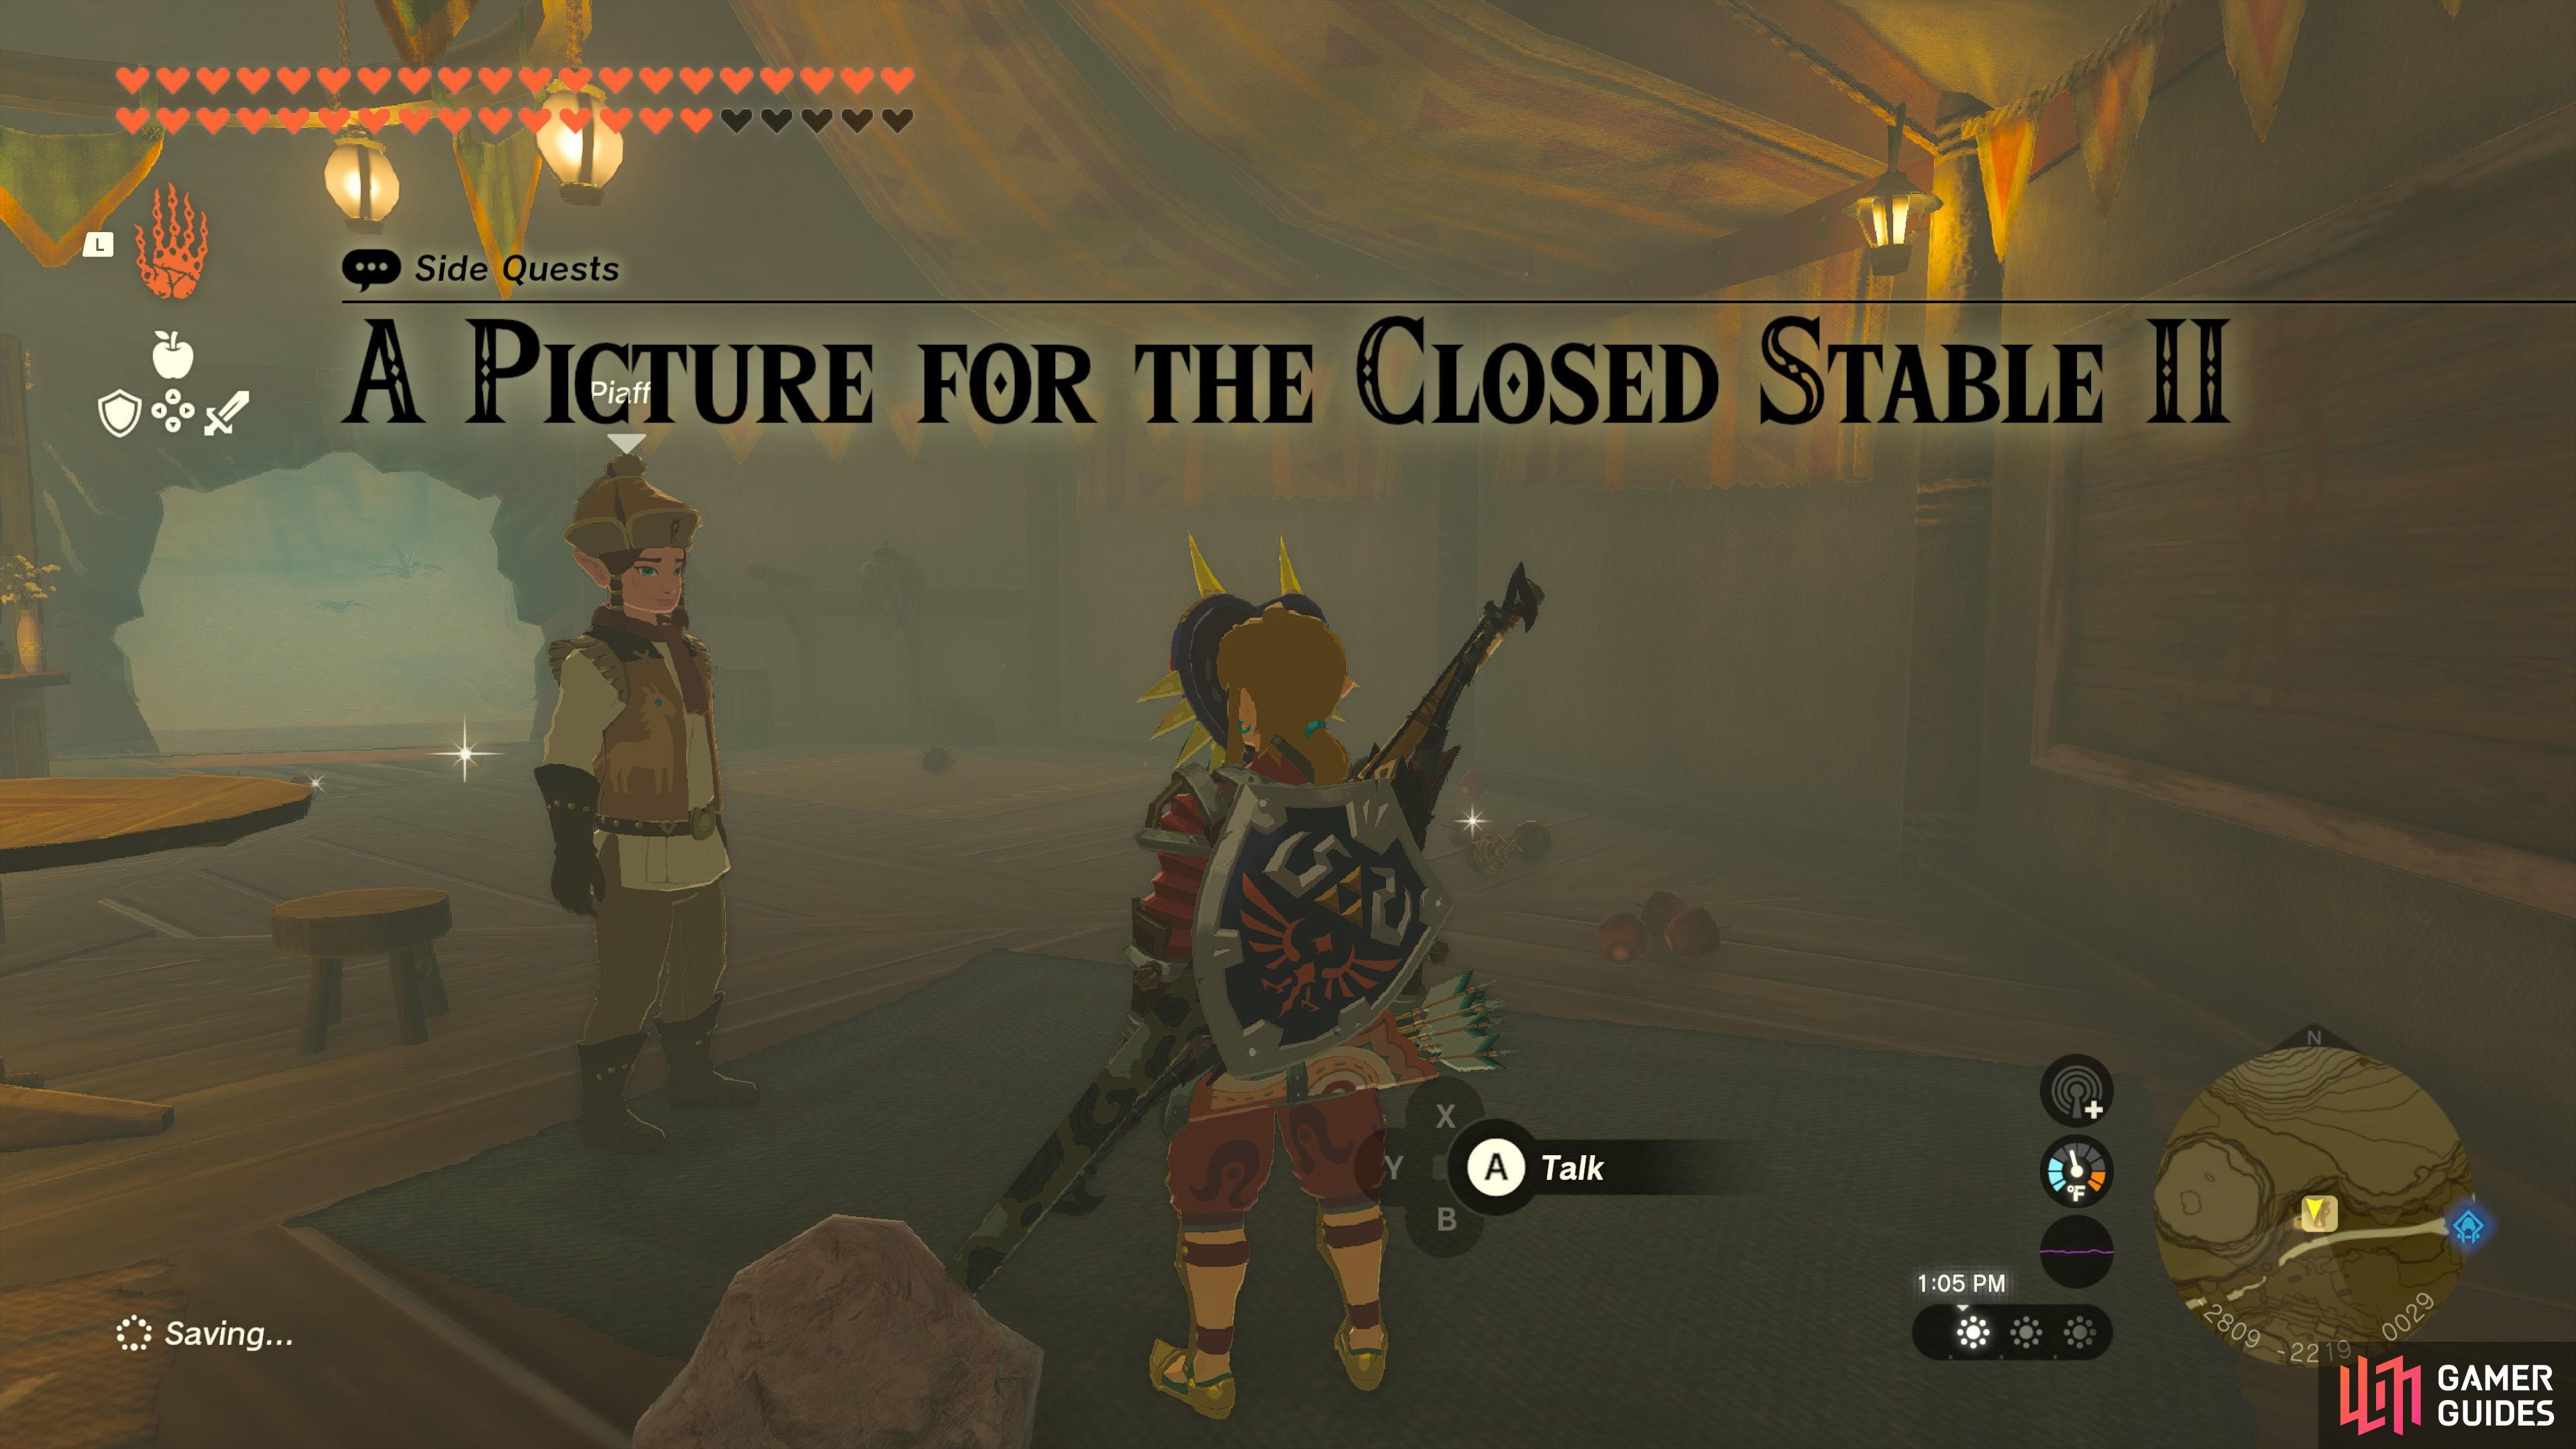
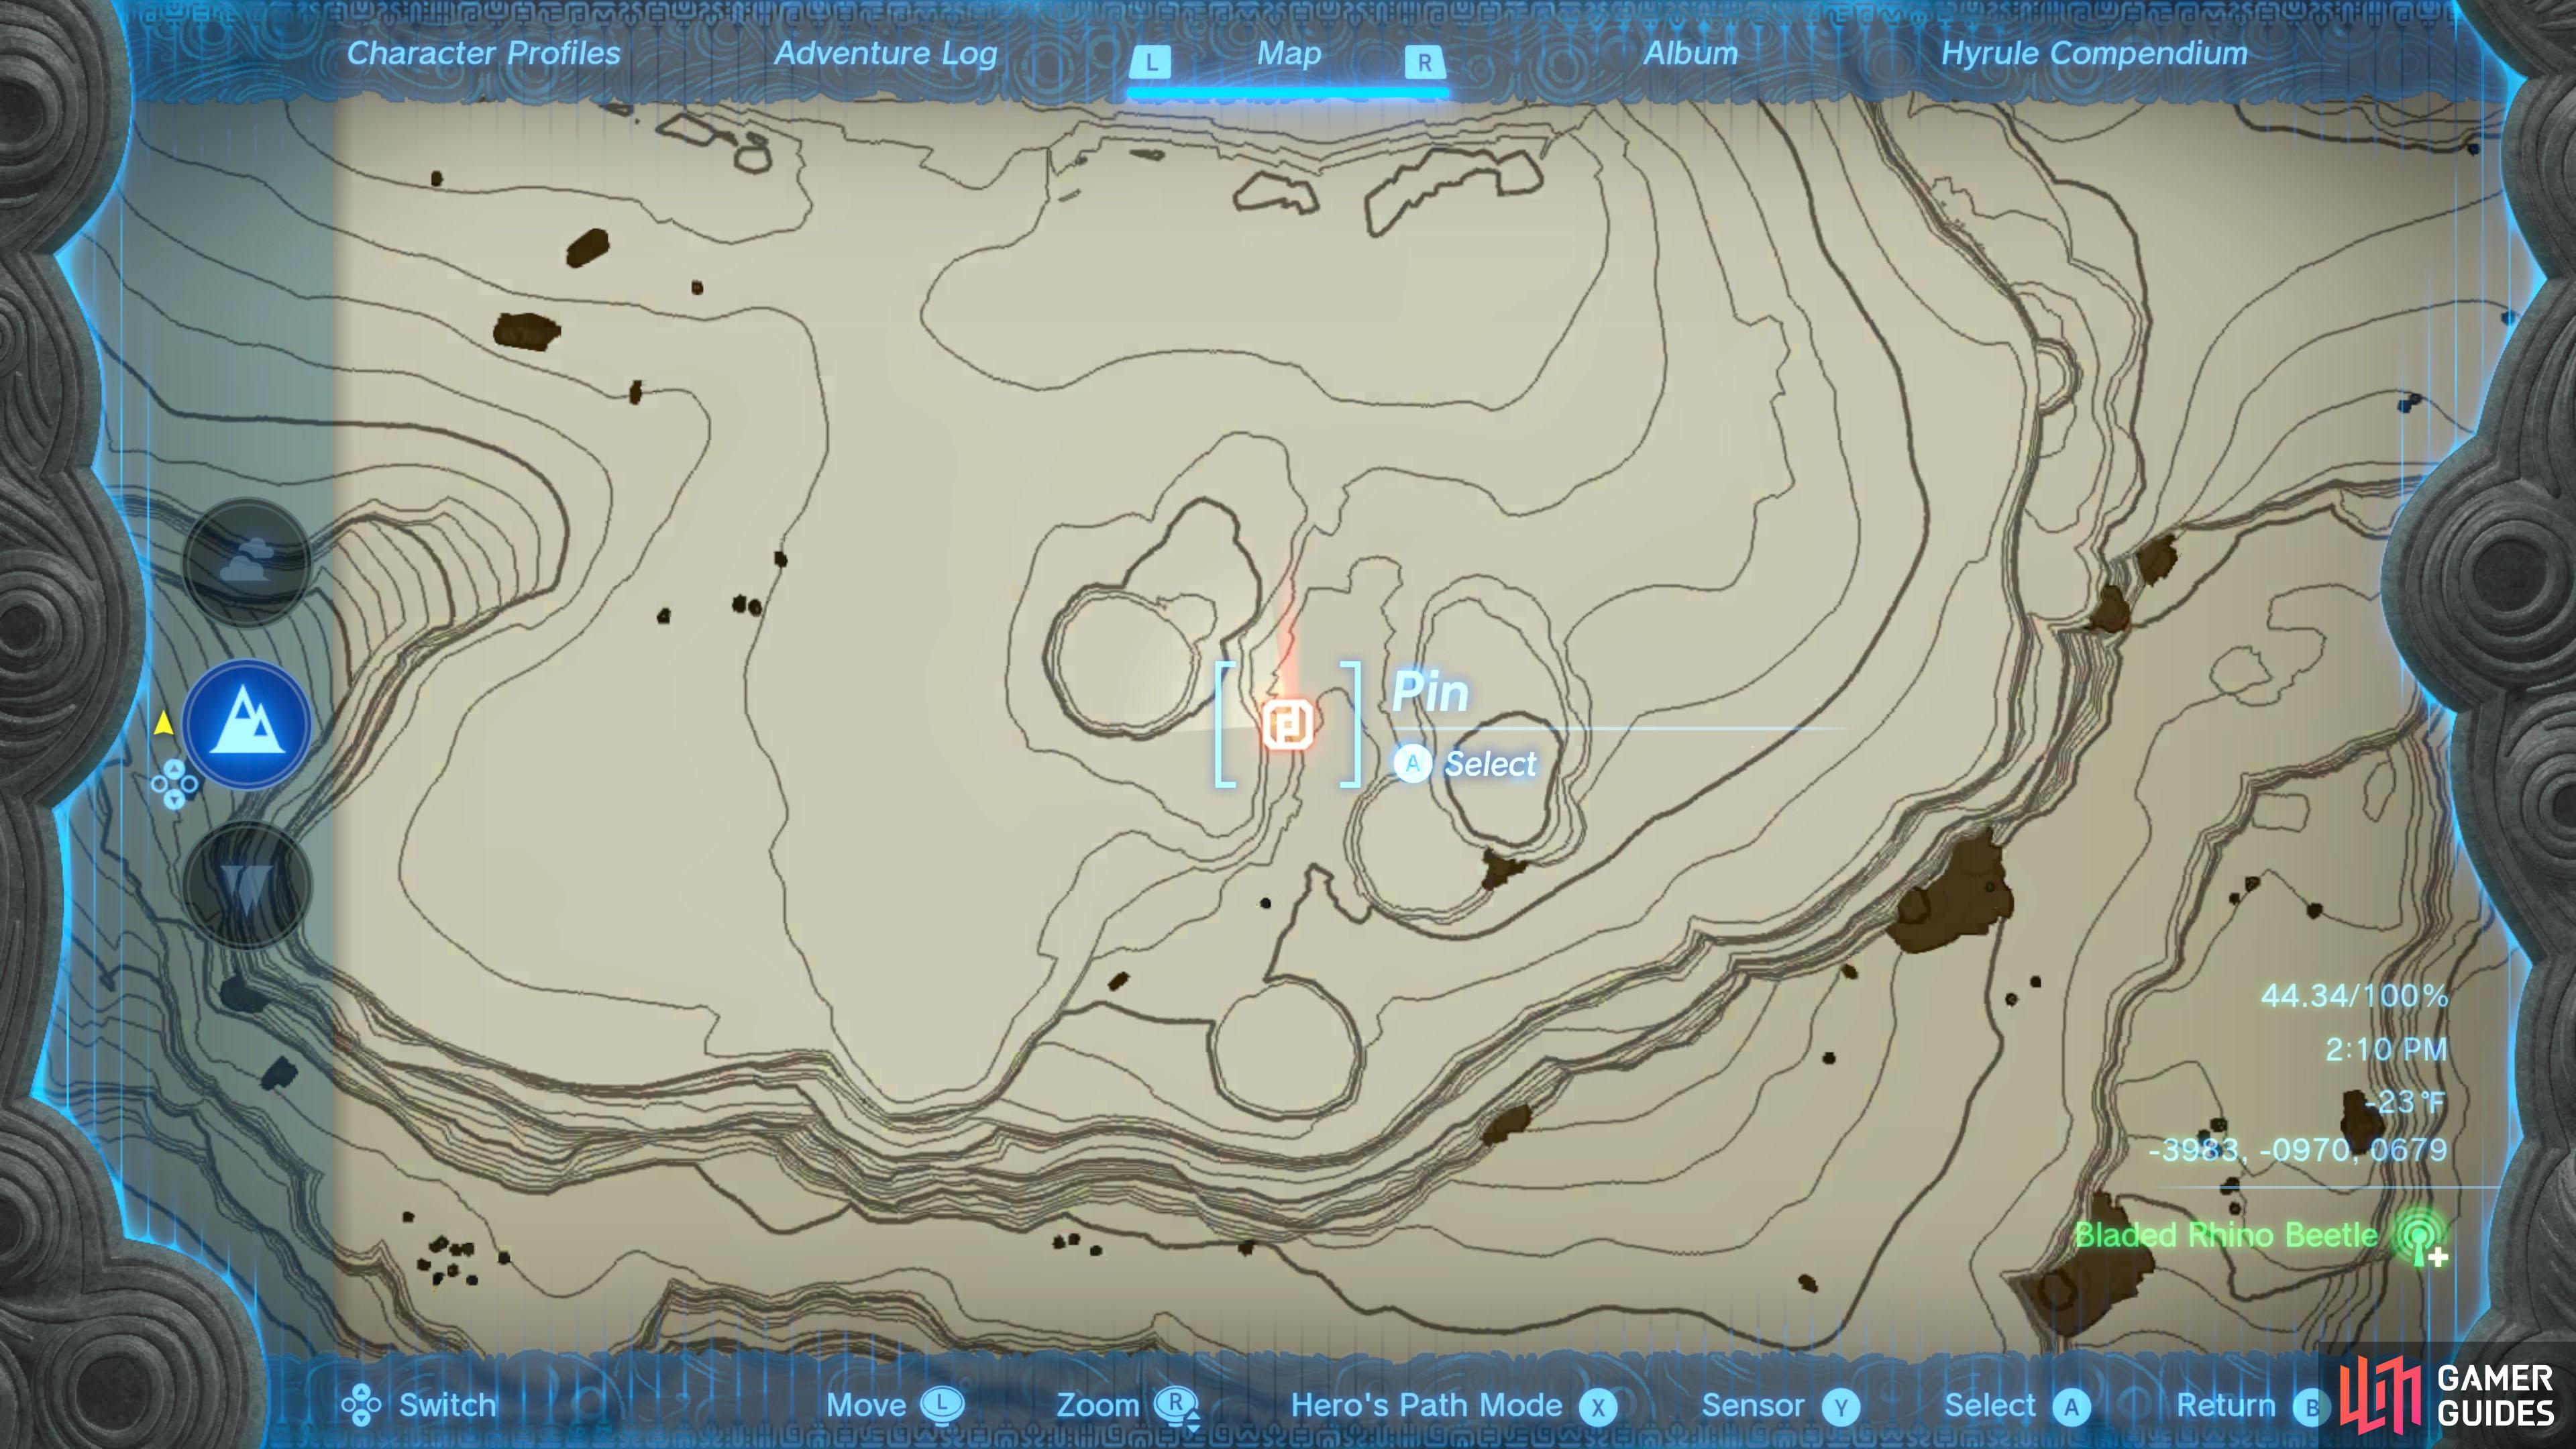
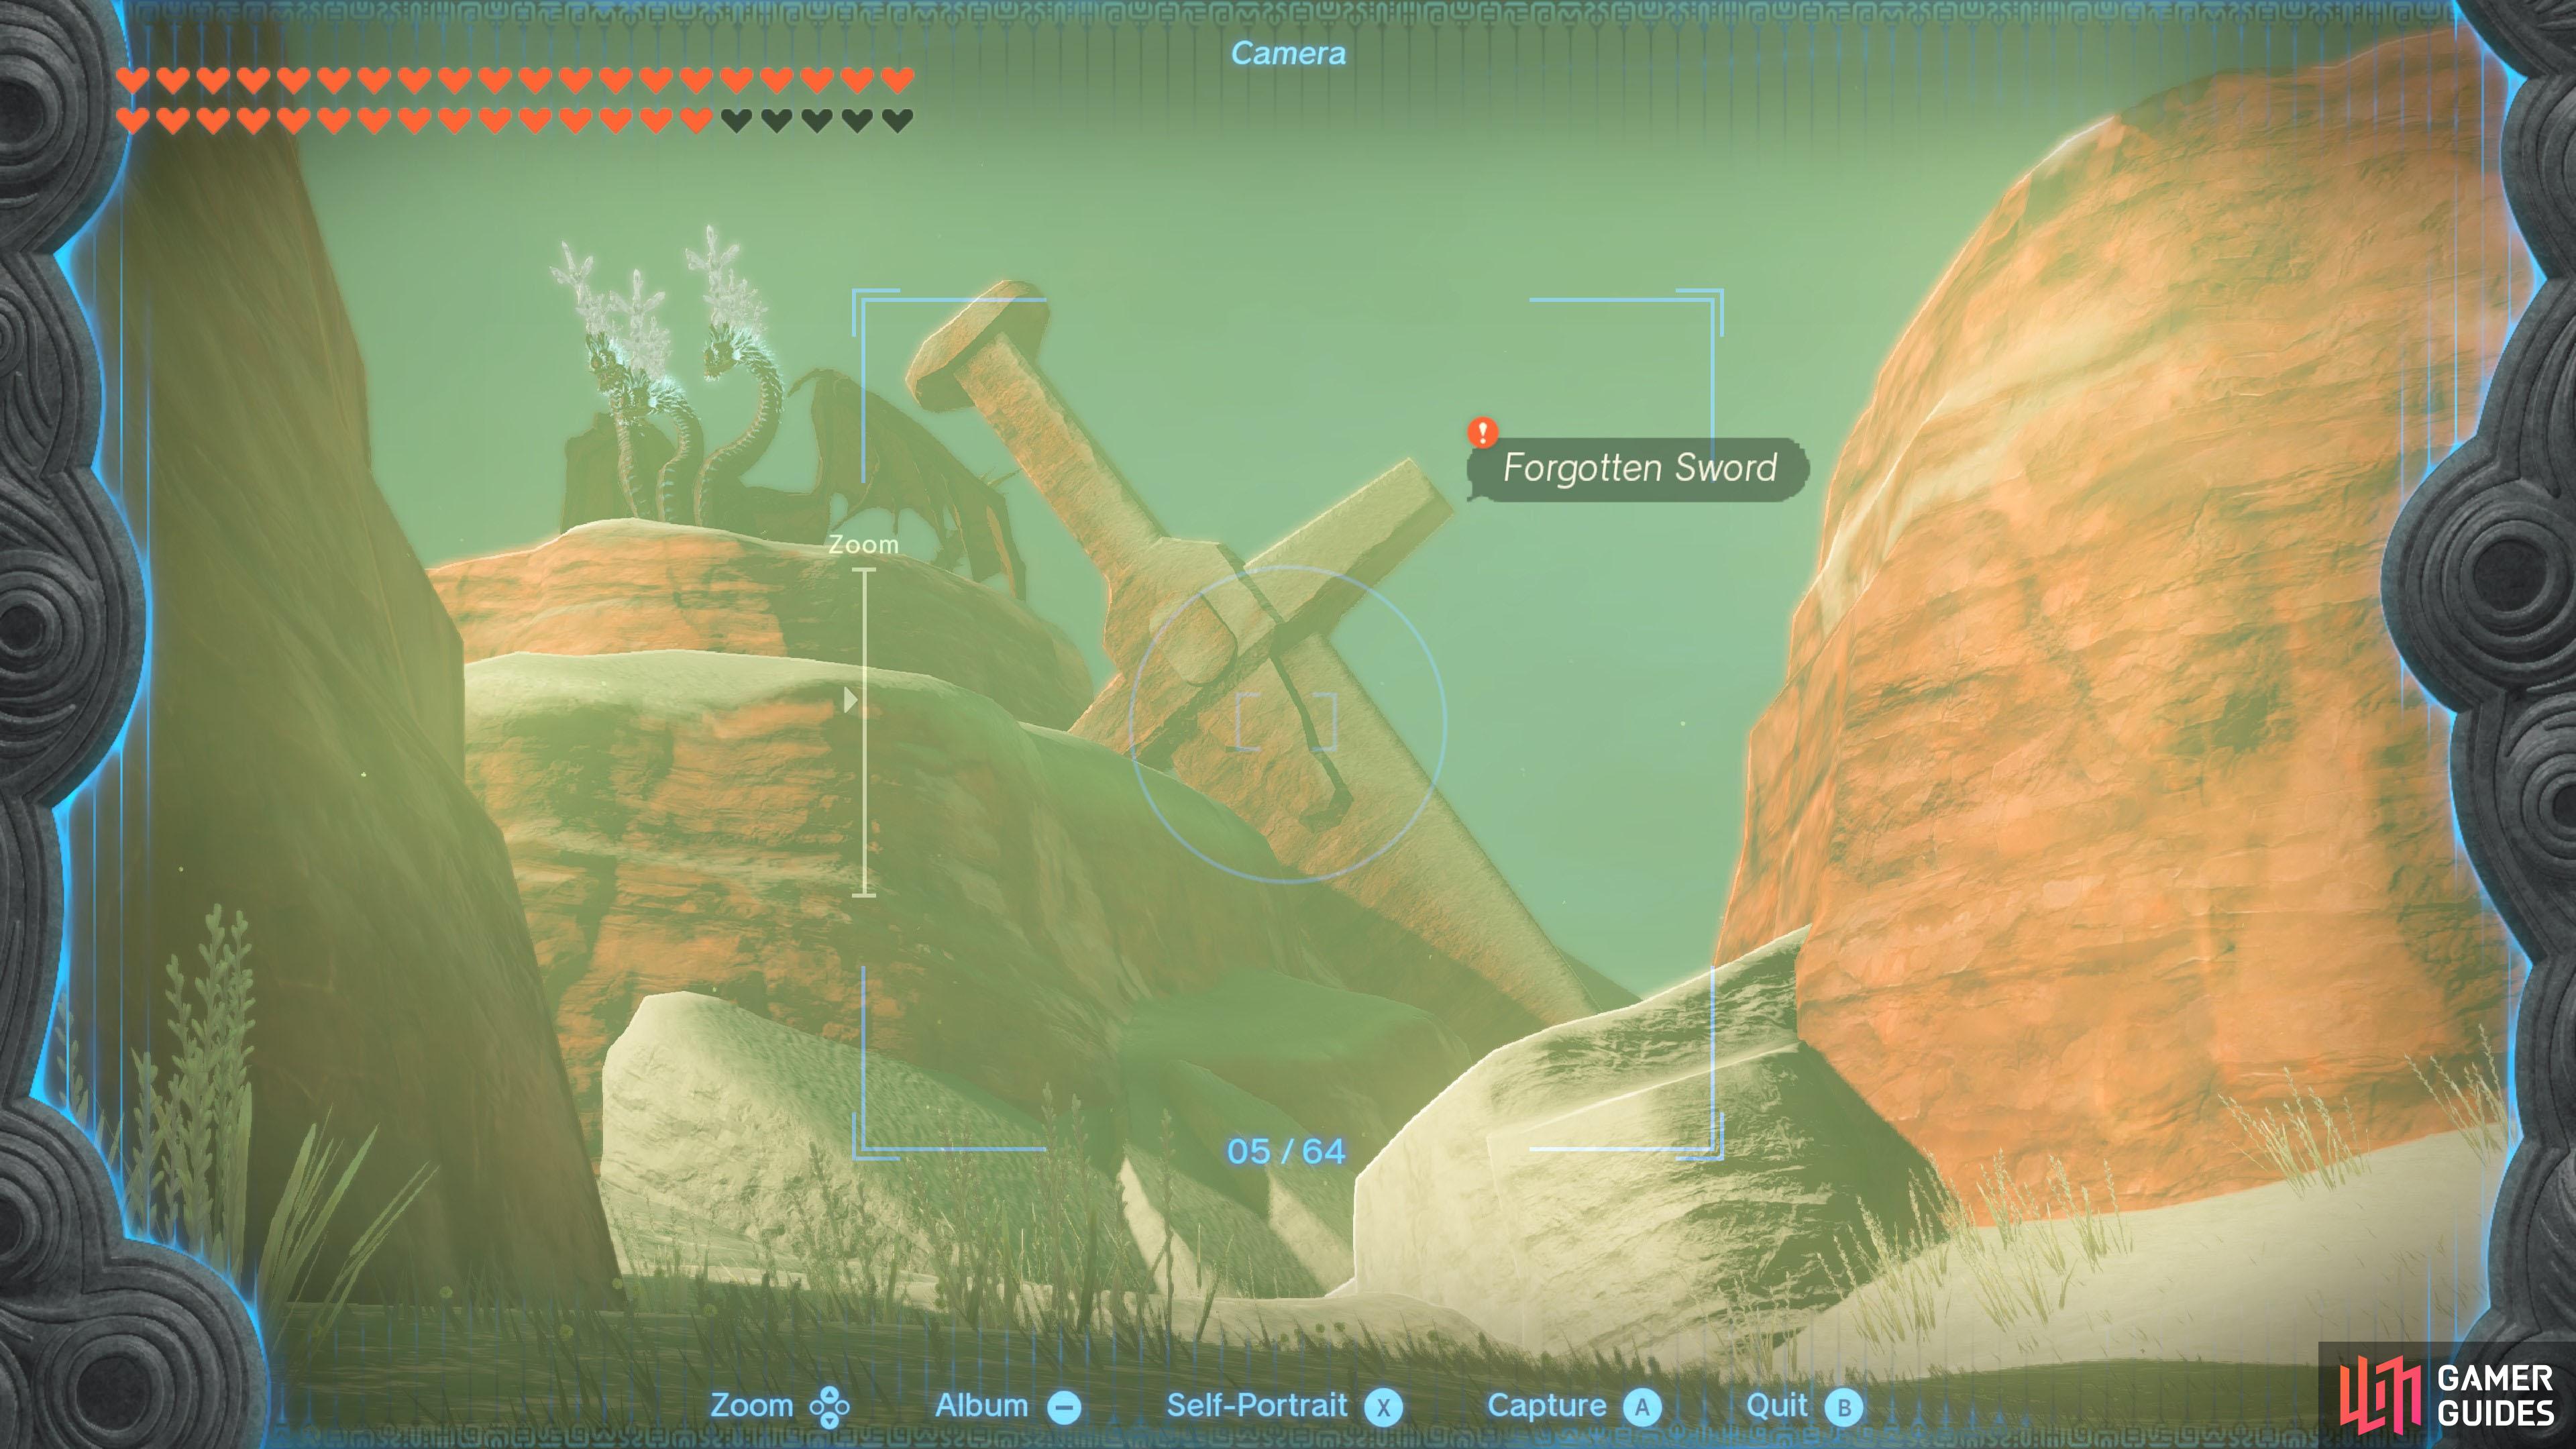
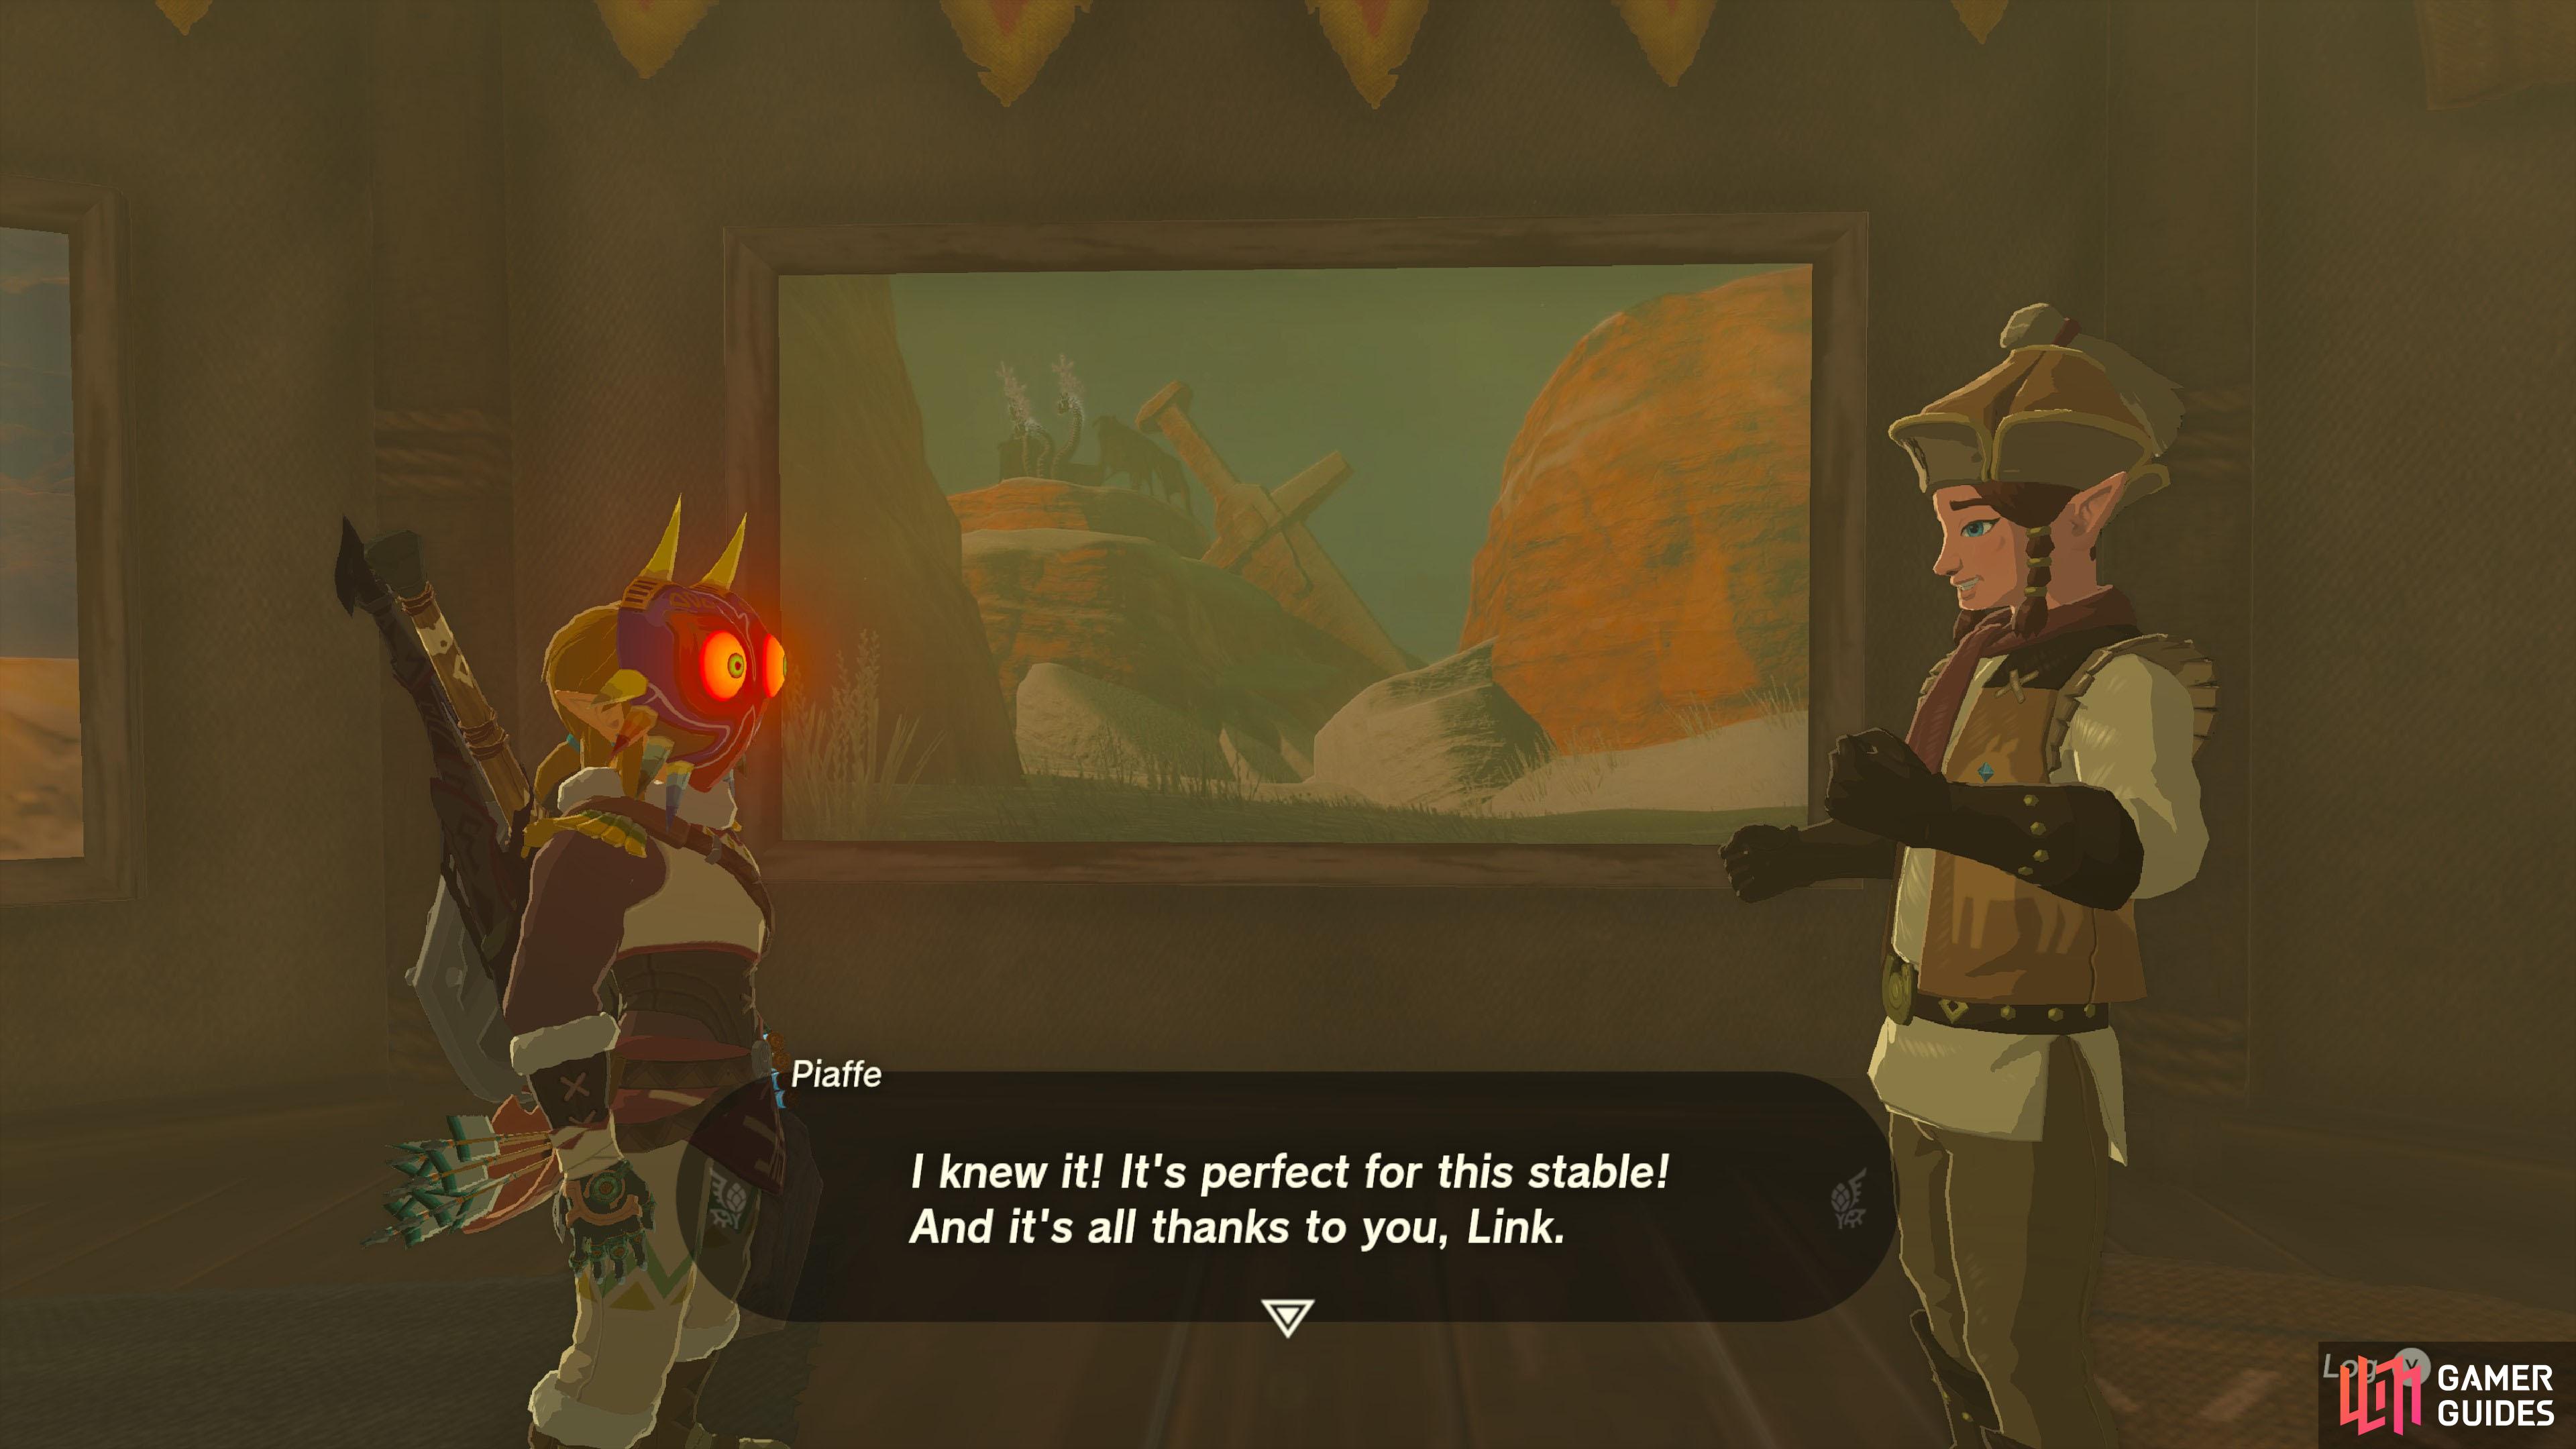
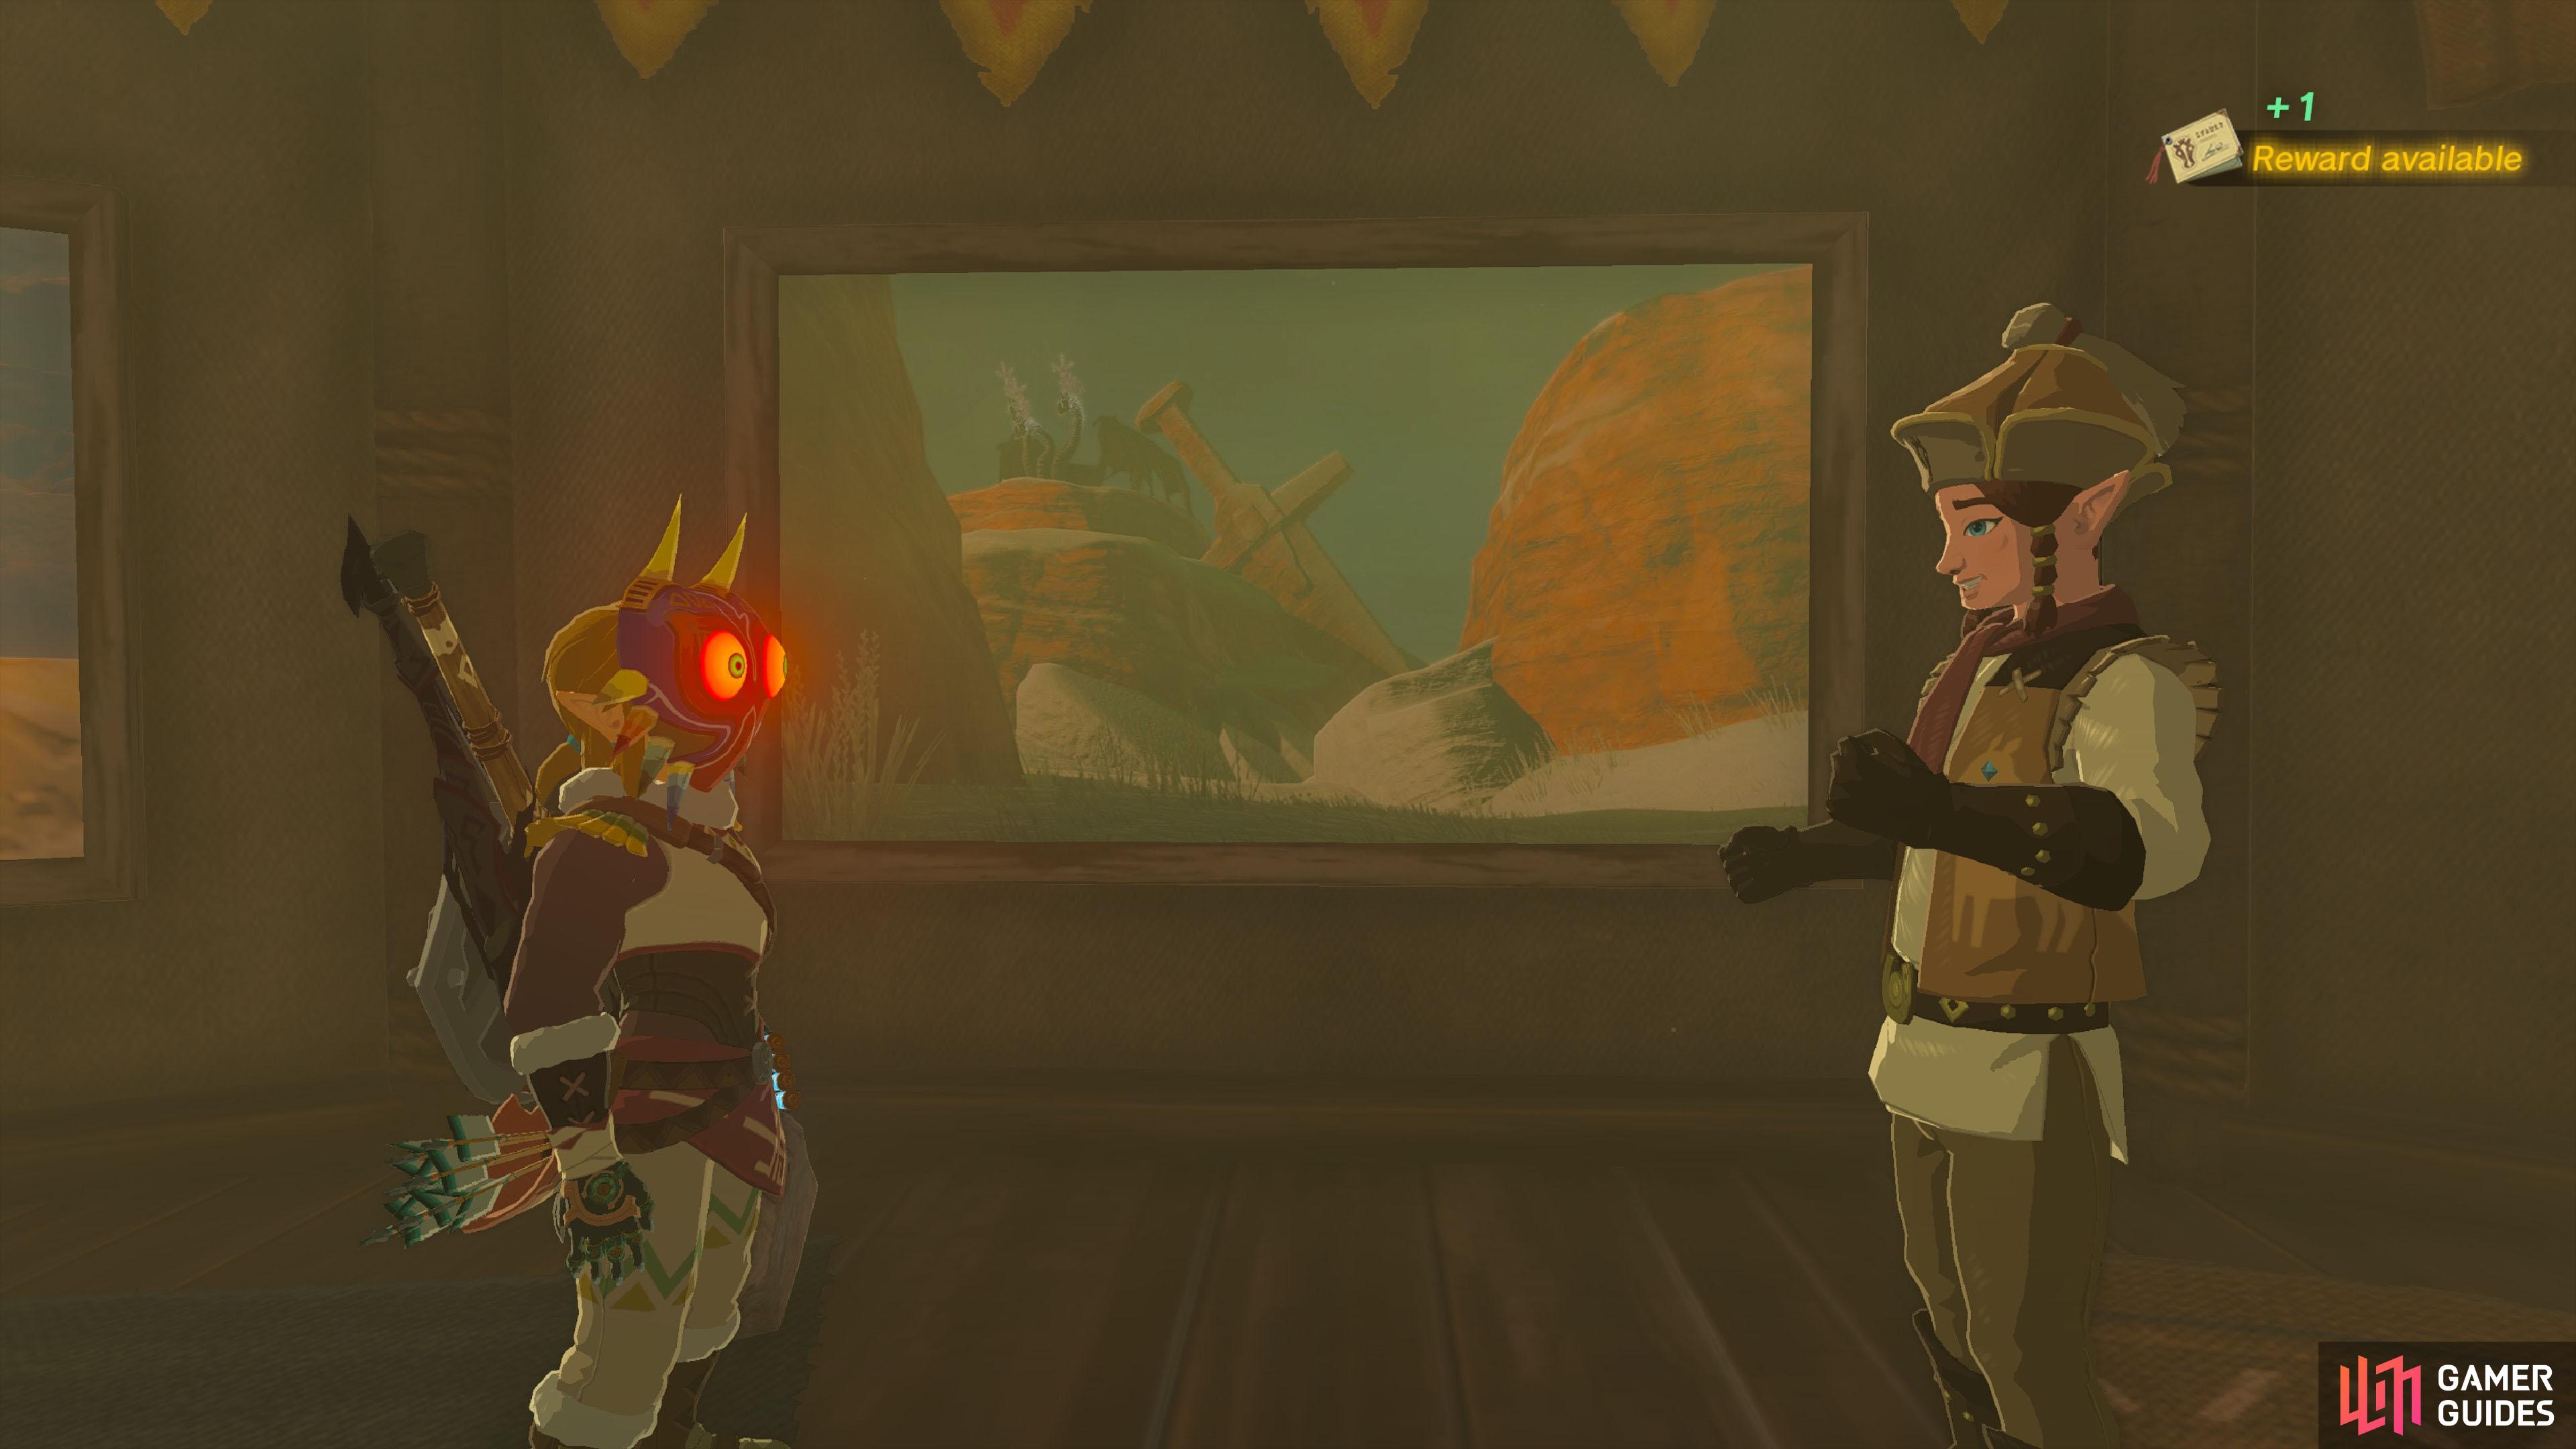
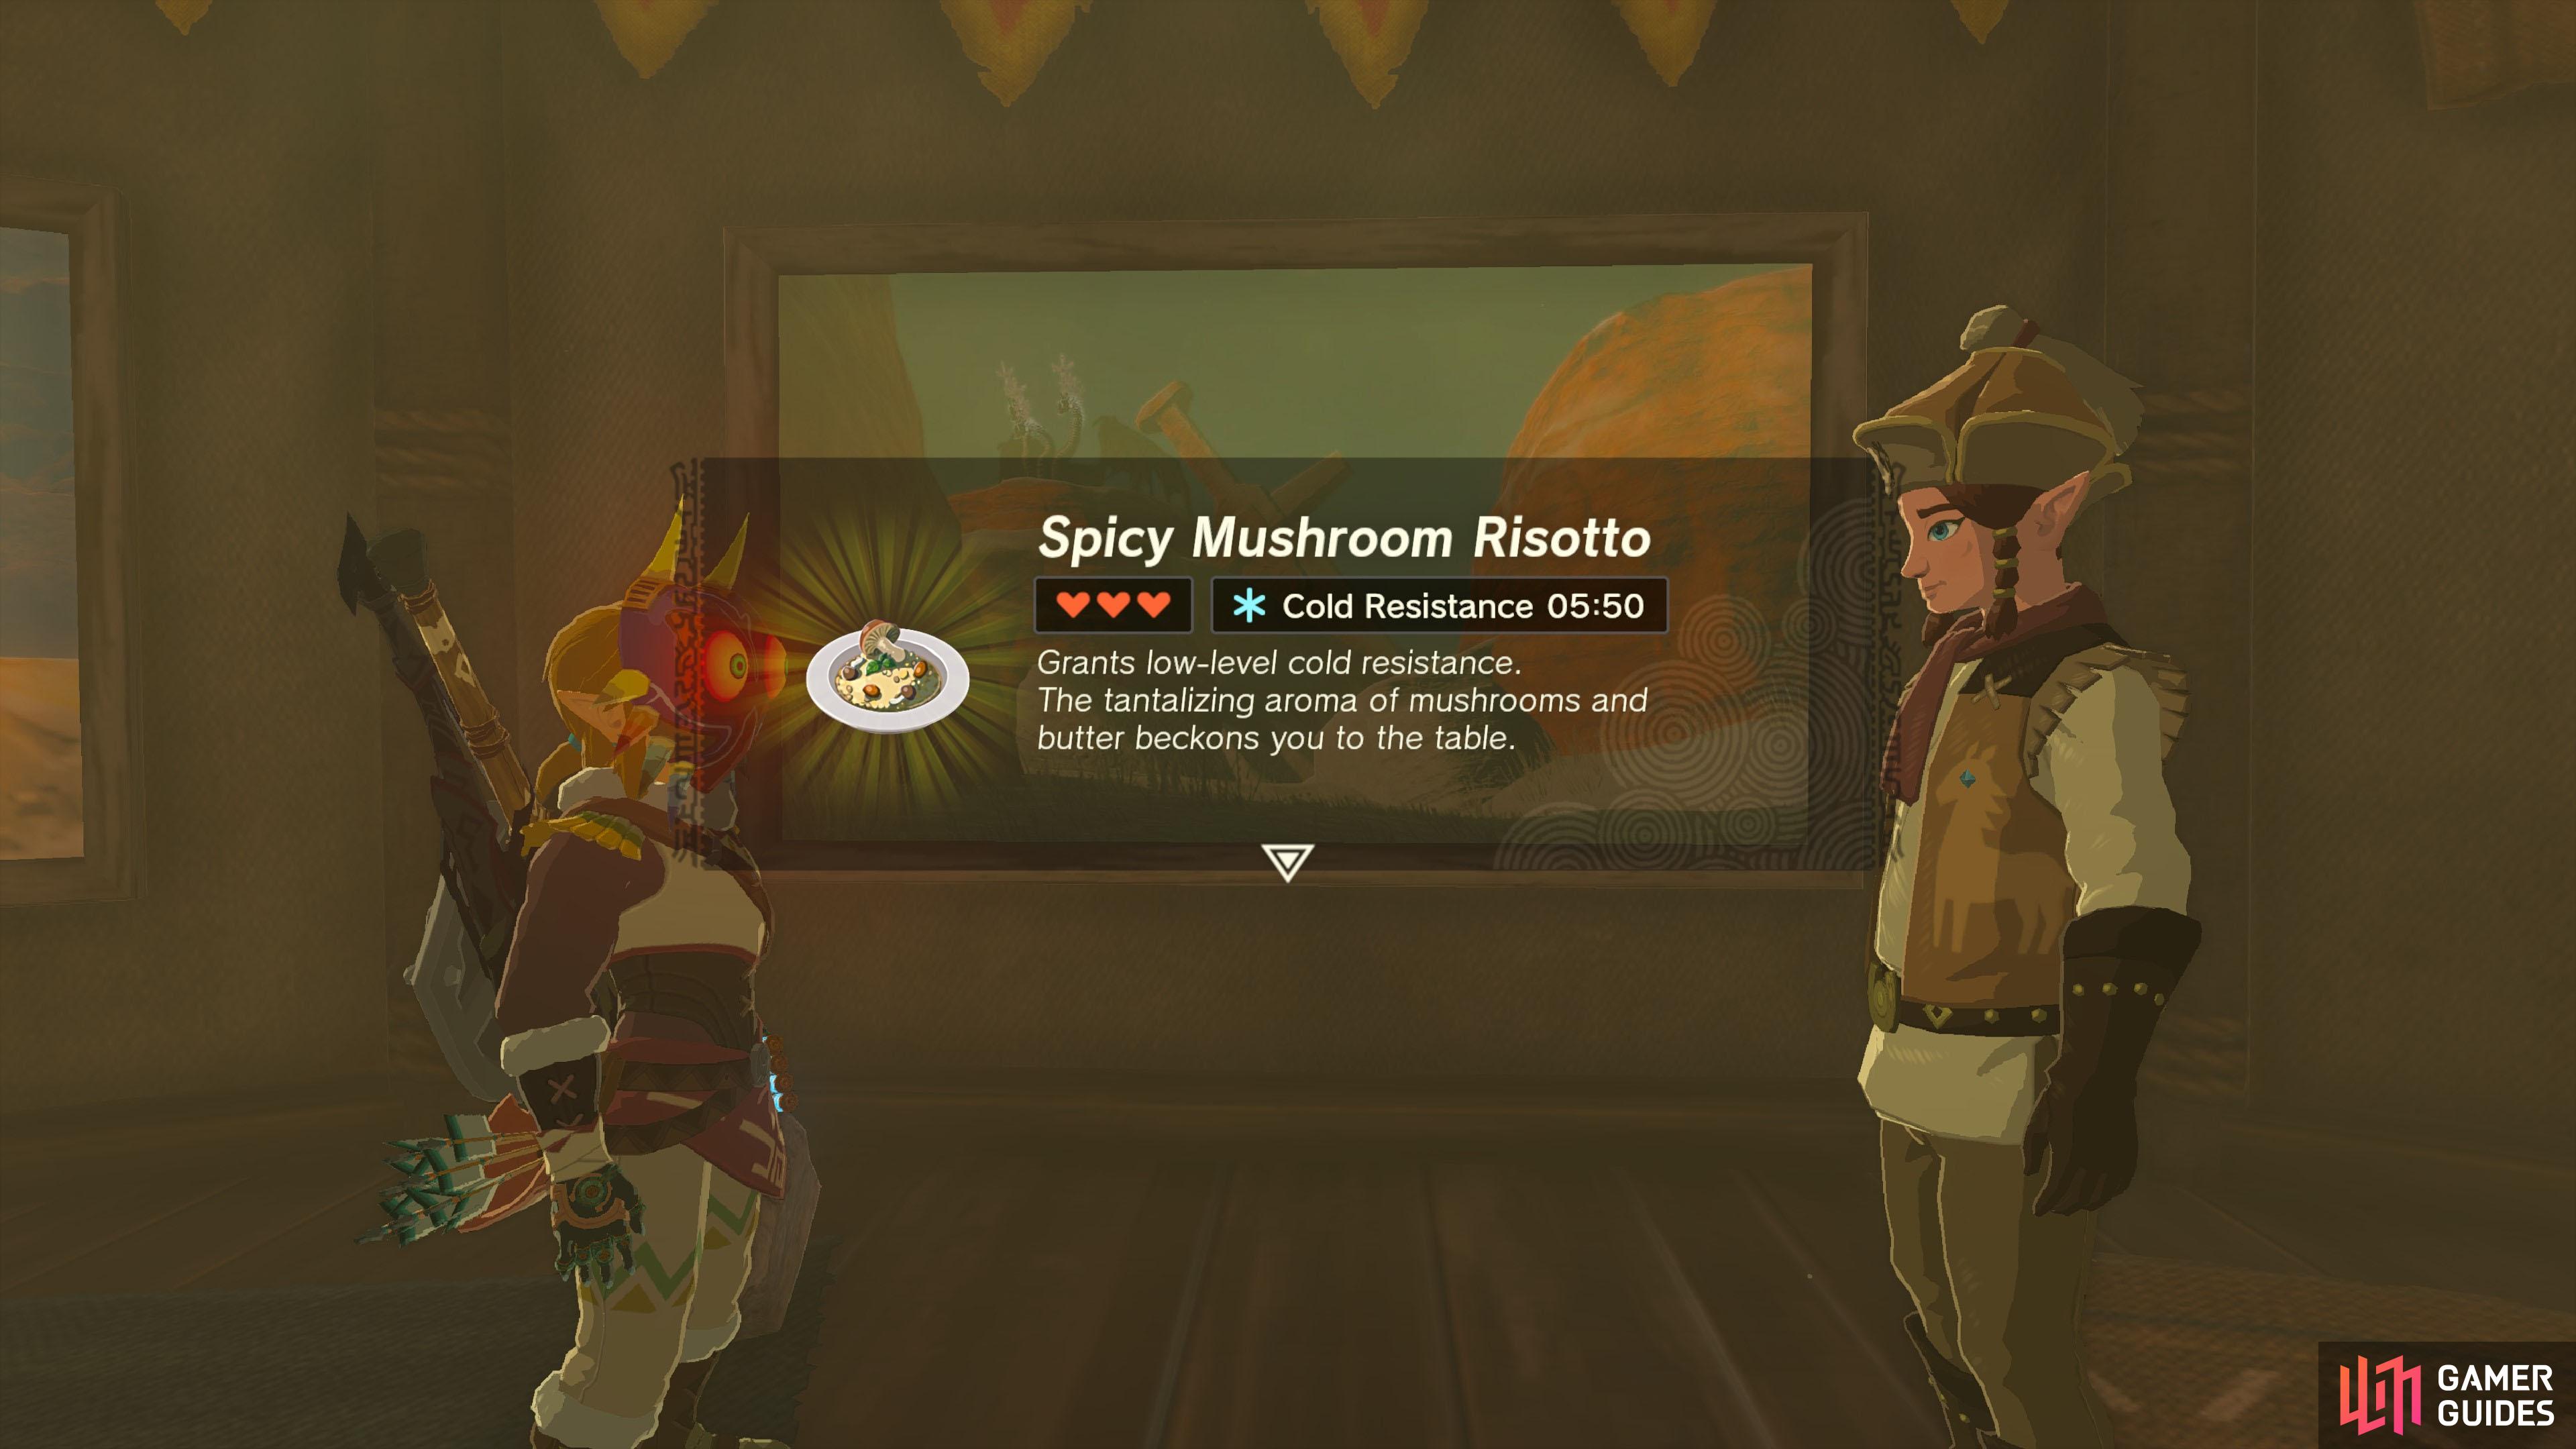
You can receive this quest from After completing that quest, he’ll mention the stable association left behind two picture frames. If you’ve progressed the story enough, Piaffe will unwrap the frames. Otherwise, keep playing. Examine the two unwrapped frames to trigger this quest and a similar quest. For this quest, you should head over to the Gerudo Summit, north of the desert. You can get there by launching from Near the south side of the summit, you’re looking for a massive sword, with a If you play it safe, you should be able to take a picture of the giant sword without alerting the Gleeok. If you’re spotted, take a picture then scram like a paparazzi with their pants on fire. Afterwards, return to the stable and show your picture to Piaffe. You’ll receive 1 Pony Point and some food.
Quest Type
Side Quest
Quest NPC
Piaffe
NPC
Map(s)
|
|
|||||||||||||||||||||||||||||||||||||||||||||||||||||||||||||||||||||||||||||||||||||||||||||||

|
A Picture for Wetland Stable |
Lawdon, the owner of Wetland Stable, wants to hang up a big painting of the Ring Ruins-one that shows the ring shape of the ruins clearly. He says they can be found in Kakariko Village to the southeast.
Quest Type
Side Quest
Map(s)
|
||||||||||||||||||||||||||||||||||||||||||||||||||||||||||||||||||||||||||||||||||||||||||||||||

|
A Picture for Woodland Stable |
Kish, the owner of Woodland Stable, wants to decorate his establishment with a painting of a Goron soaking in the famous hot springs near Goron City to the north.
Quest Type
Side Quest
Map(s)
|
||||||||||||||||||||||||||||||||||||||||||||||||||||||||||||||||||||||||||||||||||||||||||||||||

|
A Way to Trade, Washed Away |
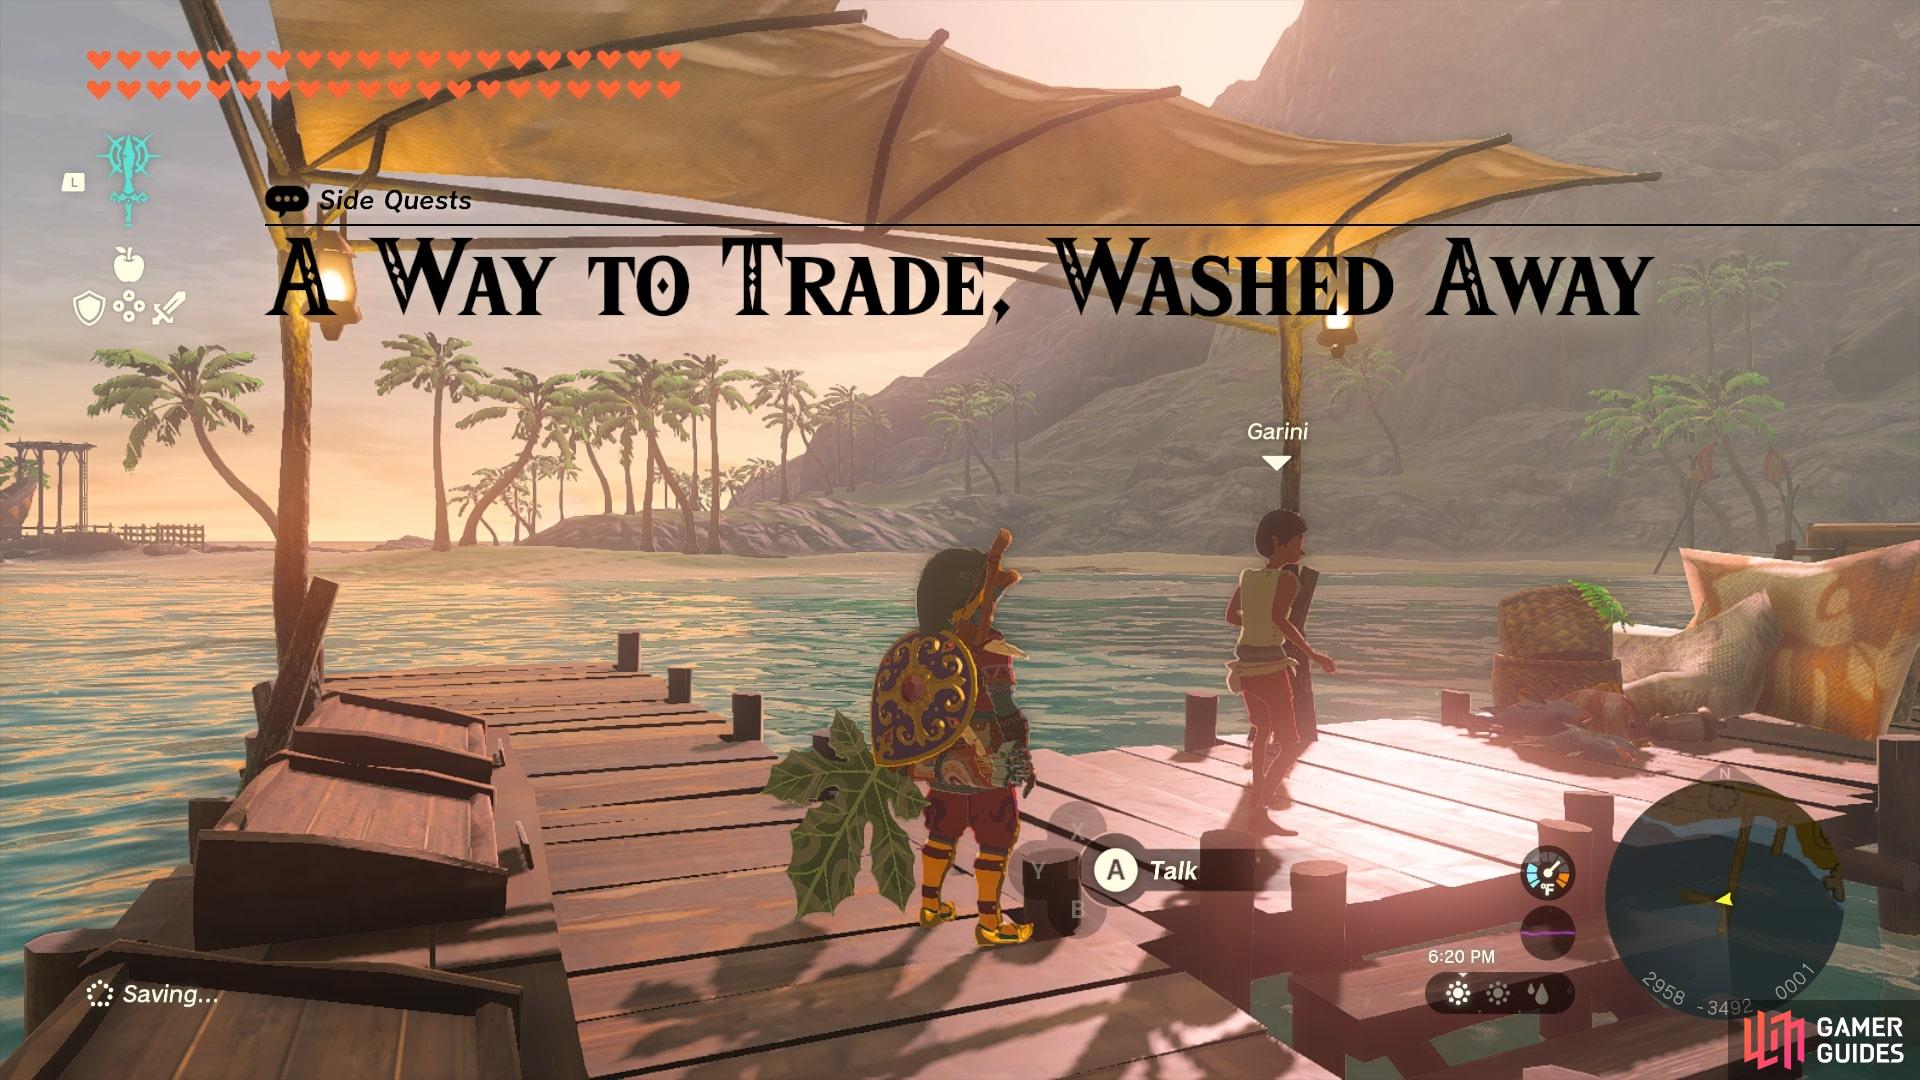
A general merchant, Garini, is upset that his trading boat has floated out to sea. He wants to get his hands on a boat he can use instead. Garini says that things often drift all the way to Tenoko Island, off the eastern coast—maybe there’s a beached boat there that he can use. After Completing You gave a boat to Garini. He quickly rebuilt it as a trading vessel and reopened his general store.
Description
Bring a boat back from Tenoko Island to Garini in
Quest Type
Side Quest
Map(s)
|
|
|||||||||||||||||||||||||||||||||||||||||||||||||||||||||||||||||||||||||||||||||||||||||||||||

|
Amber Dealer |
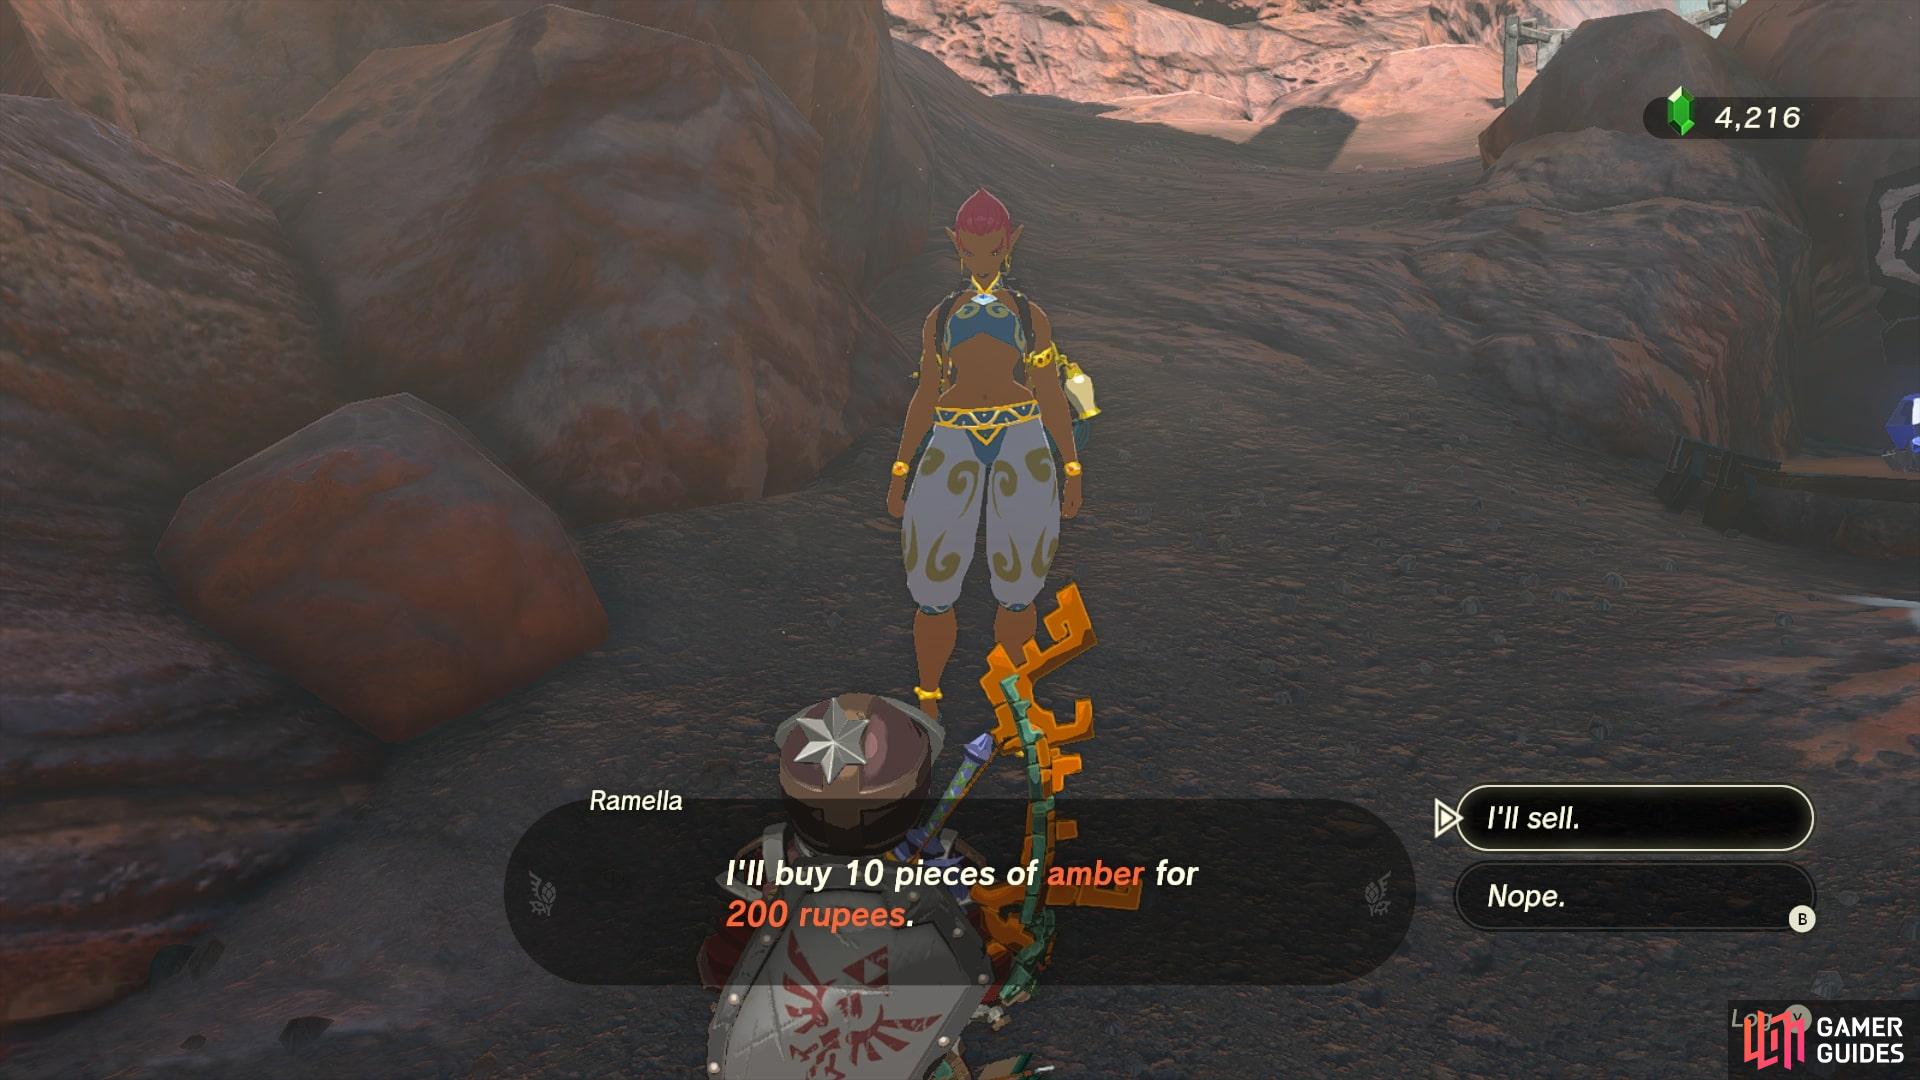
Ramella the jeweler is procuring ore in Goron City. She says that if you give her a batch of 10 pieces of amber, she’ll buy them for a high price. After Completing Ramella purchased your amber. If you bring her ore in the future, she will buy it from you at a slightly higher rate than elsewhere.
Description
Bring Ramella x10
Quest Type
Side Quest
Map(s)
|
|
|||||||||||||||||||||||||||||||||||||||||||||||||||||||||||||||||||||||||||||||||||||||||||||||

|
An Uninvited Guest |
Ami has been losing sleep since terrifying monsters began lurking in the woods behind Wetland Stable. He planned to creep up and defeat the biggest monster with a sneak attack, but it didn’t work out. His options exhausted, he can only hope someone else will step in.
Quest Type
Side Quest
Map(s)
|
||||||||||||||||||||||||||||||||||||||||||||||||||||||||||||||||||||||||||||||||||||||||||||||||

|
Cash in on Ripened Flint |
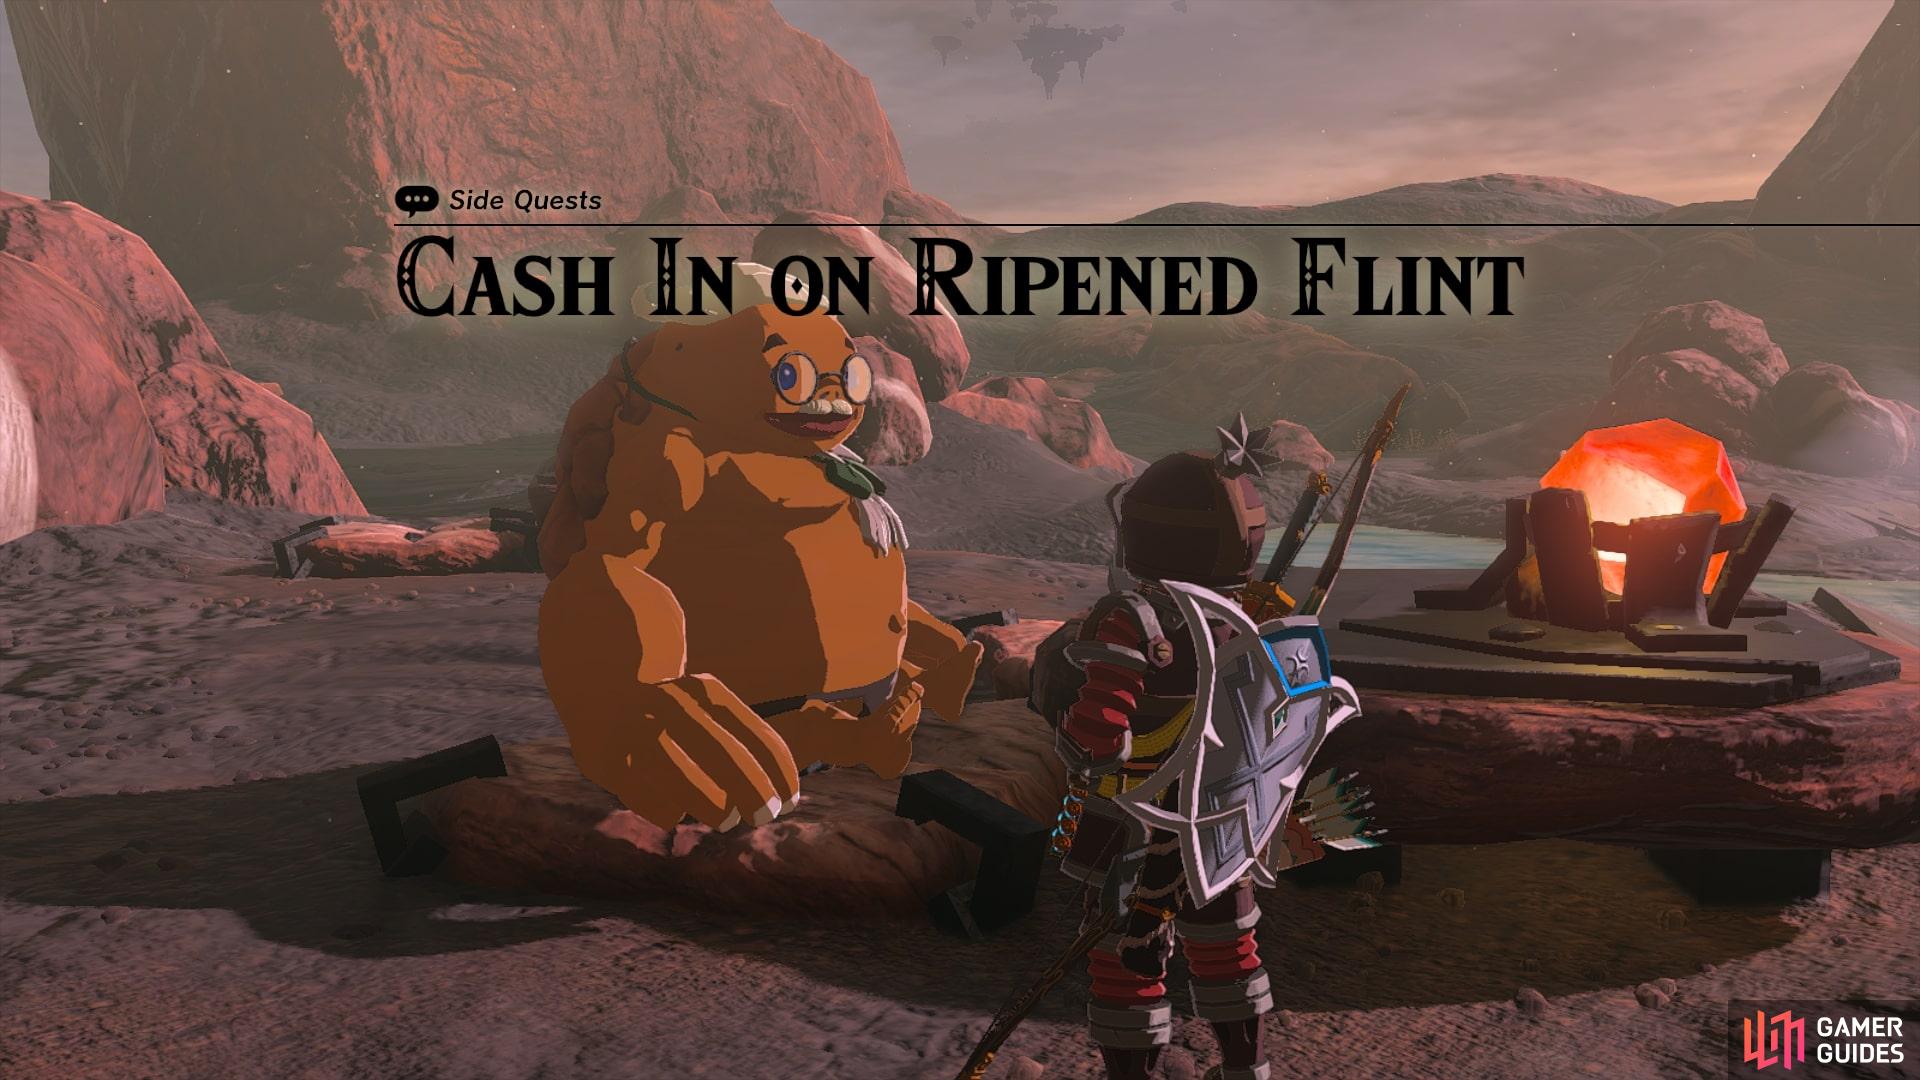
Gomo the goromand will pay 1,000 rupees for ripened flint. It can be found mixed with other flint pieces, but the only way to sort them is through taste. After Completing Gomo the goromand found some ripened flint amid the regular flint you brought him, and he seemed satisfied. He generously paid you 1,000 rupees and said he’ll gladly pay the same for more ripened flint.
Description
Bring Gomo stacks of
Quest Type
Side Quest
Map(s)
|
|
|||||||||||||||||||||||||||||||||||||||||||||||||||||||||||||||||||||||||||||||||||||||||||||||

|
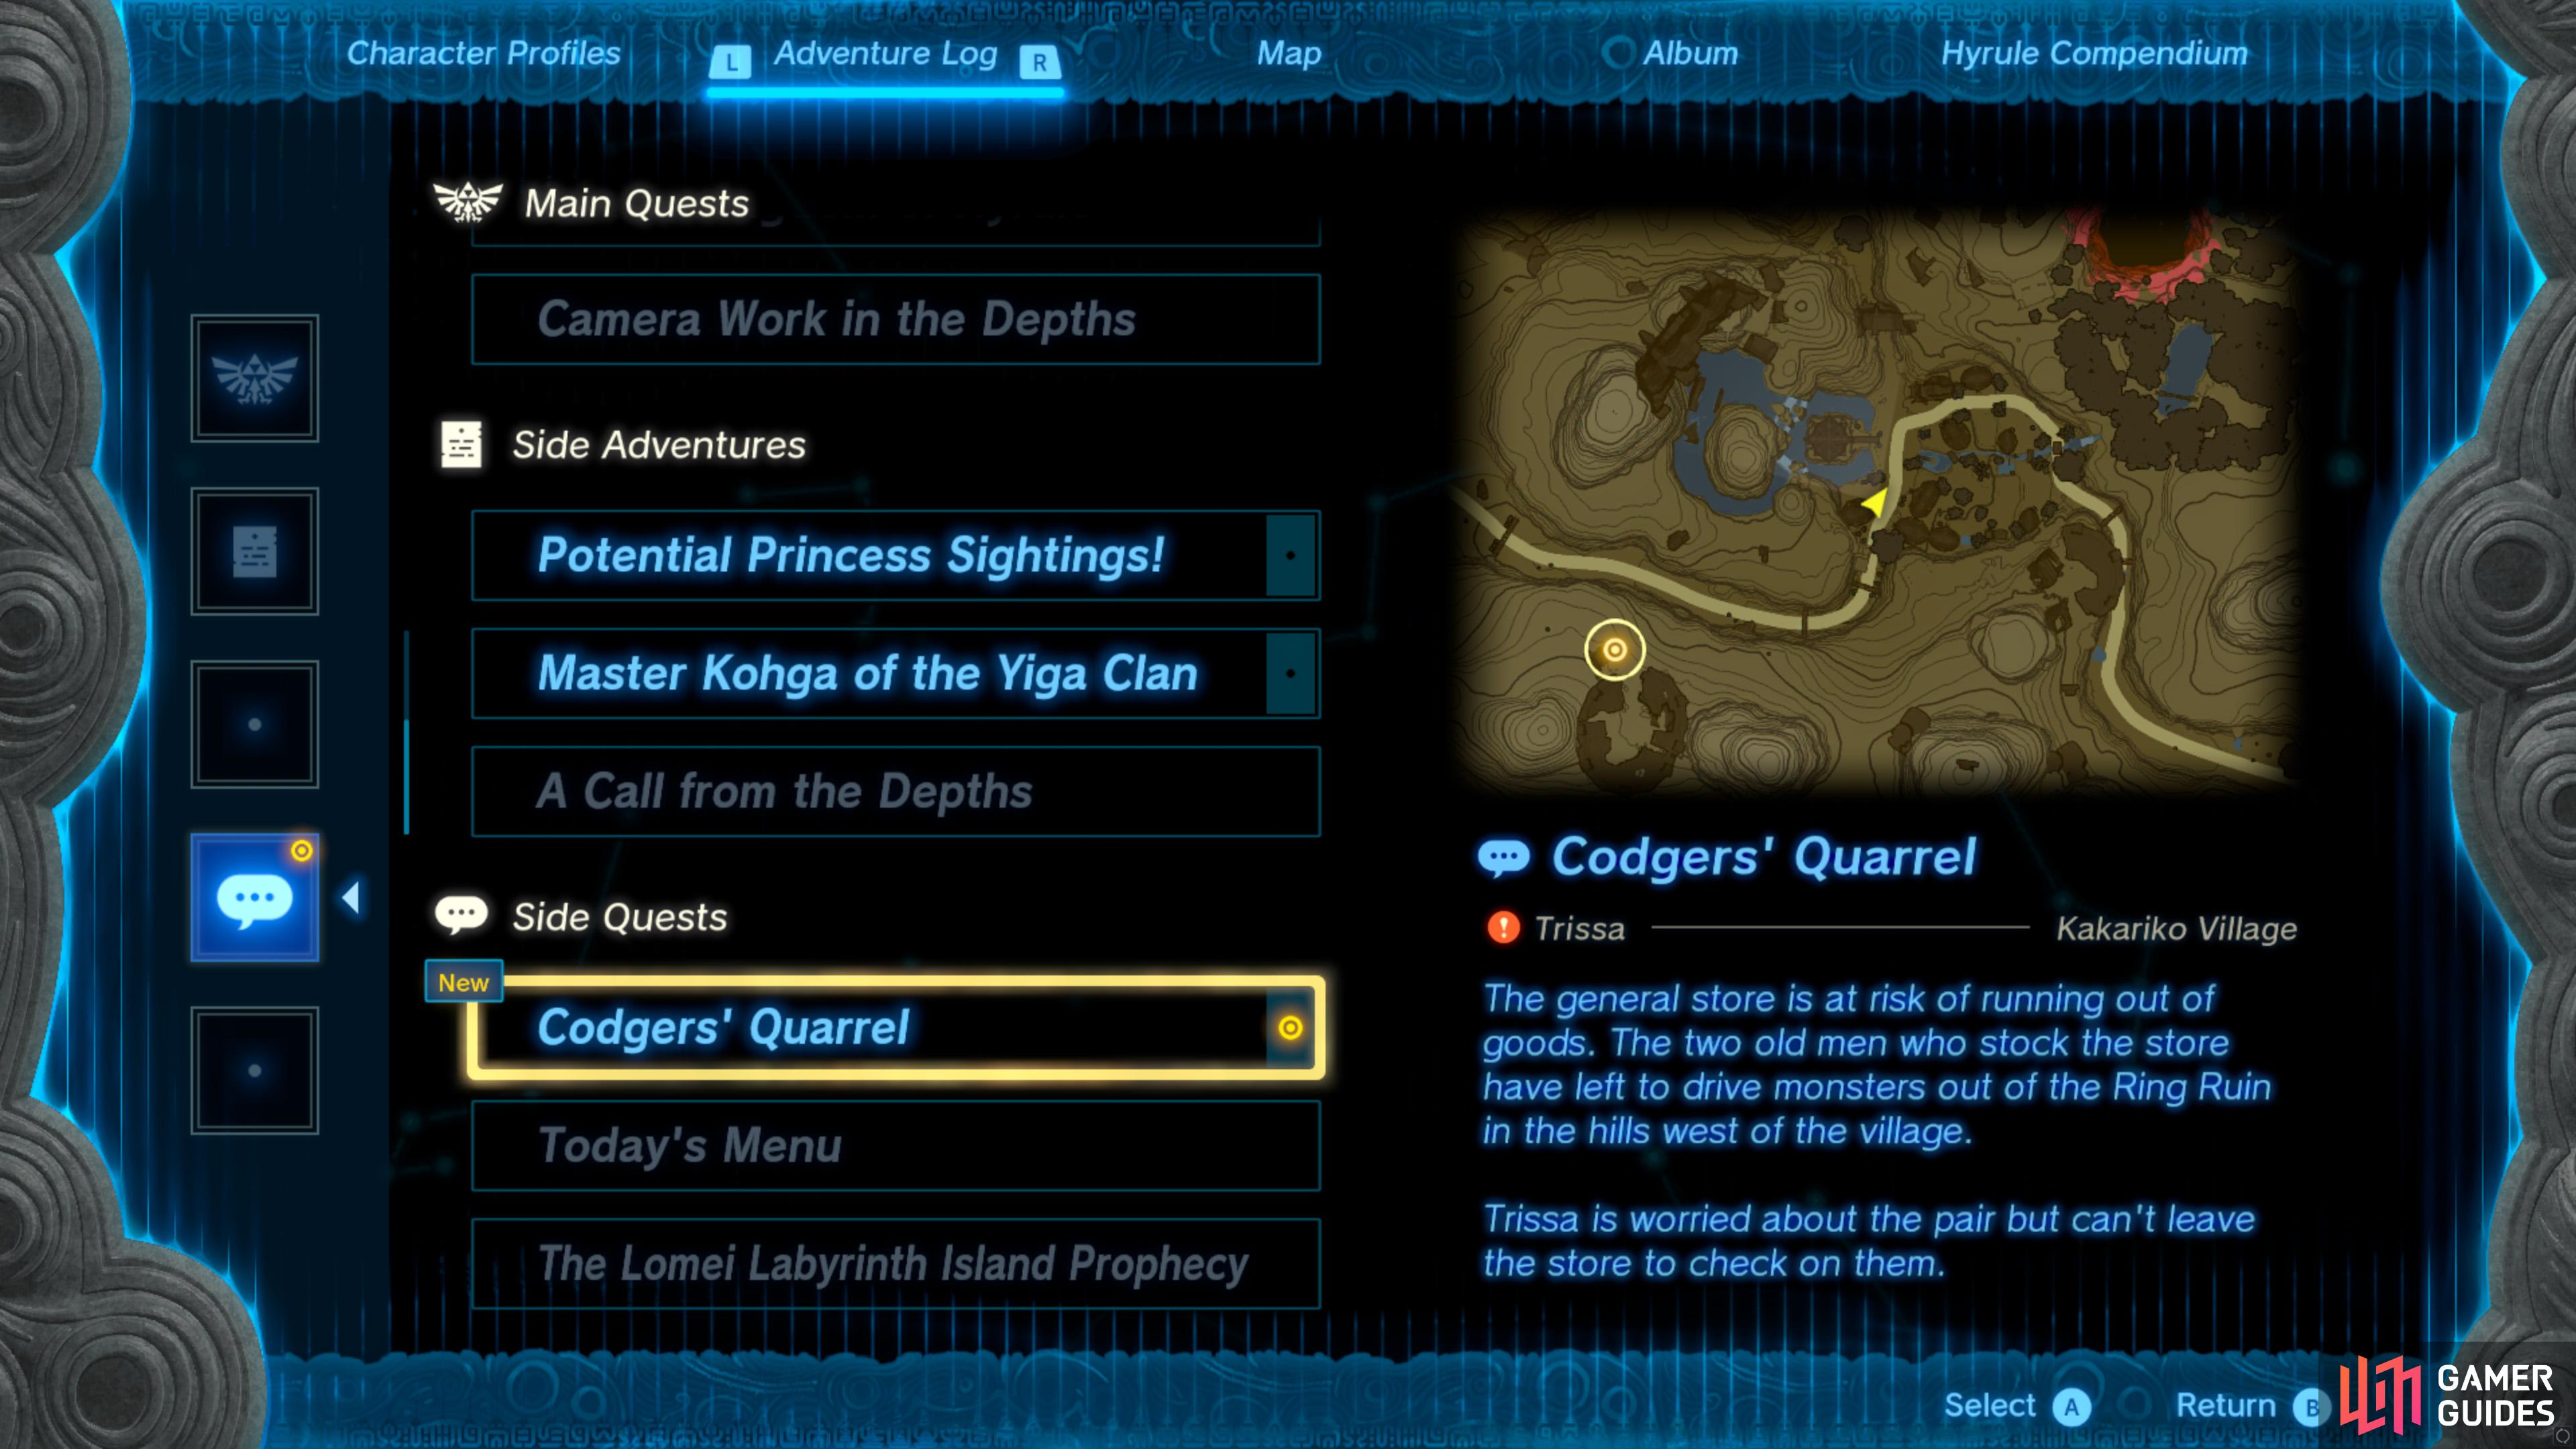
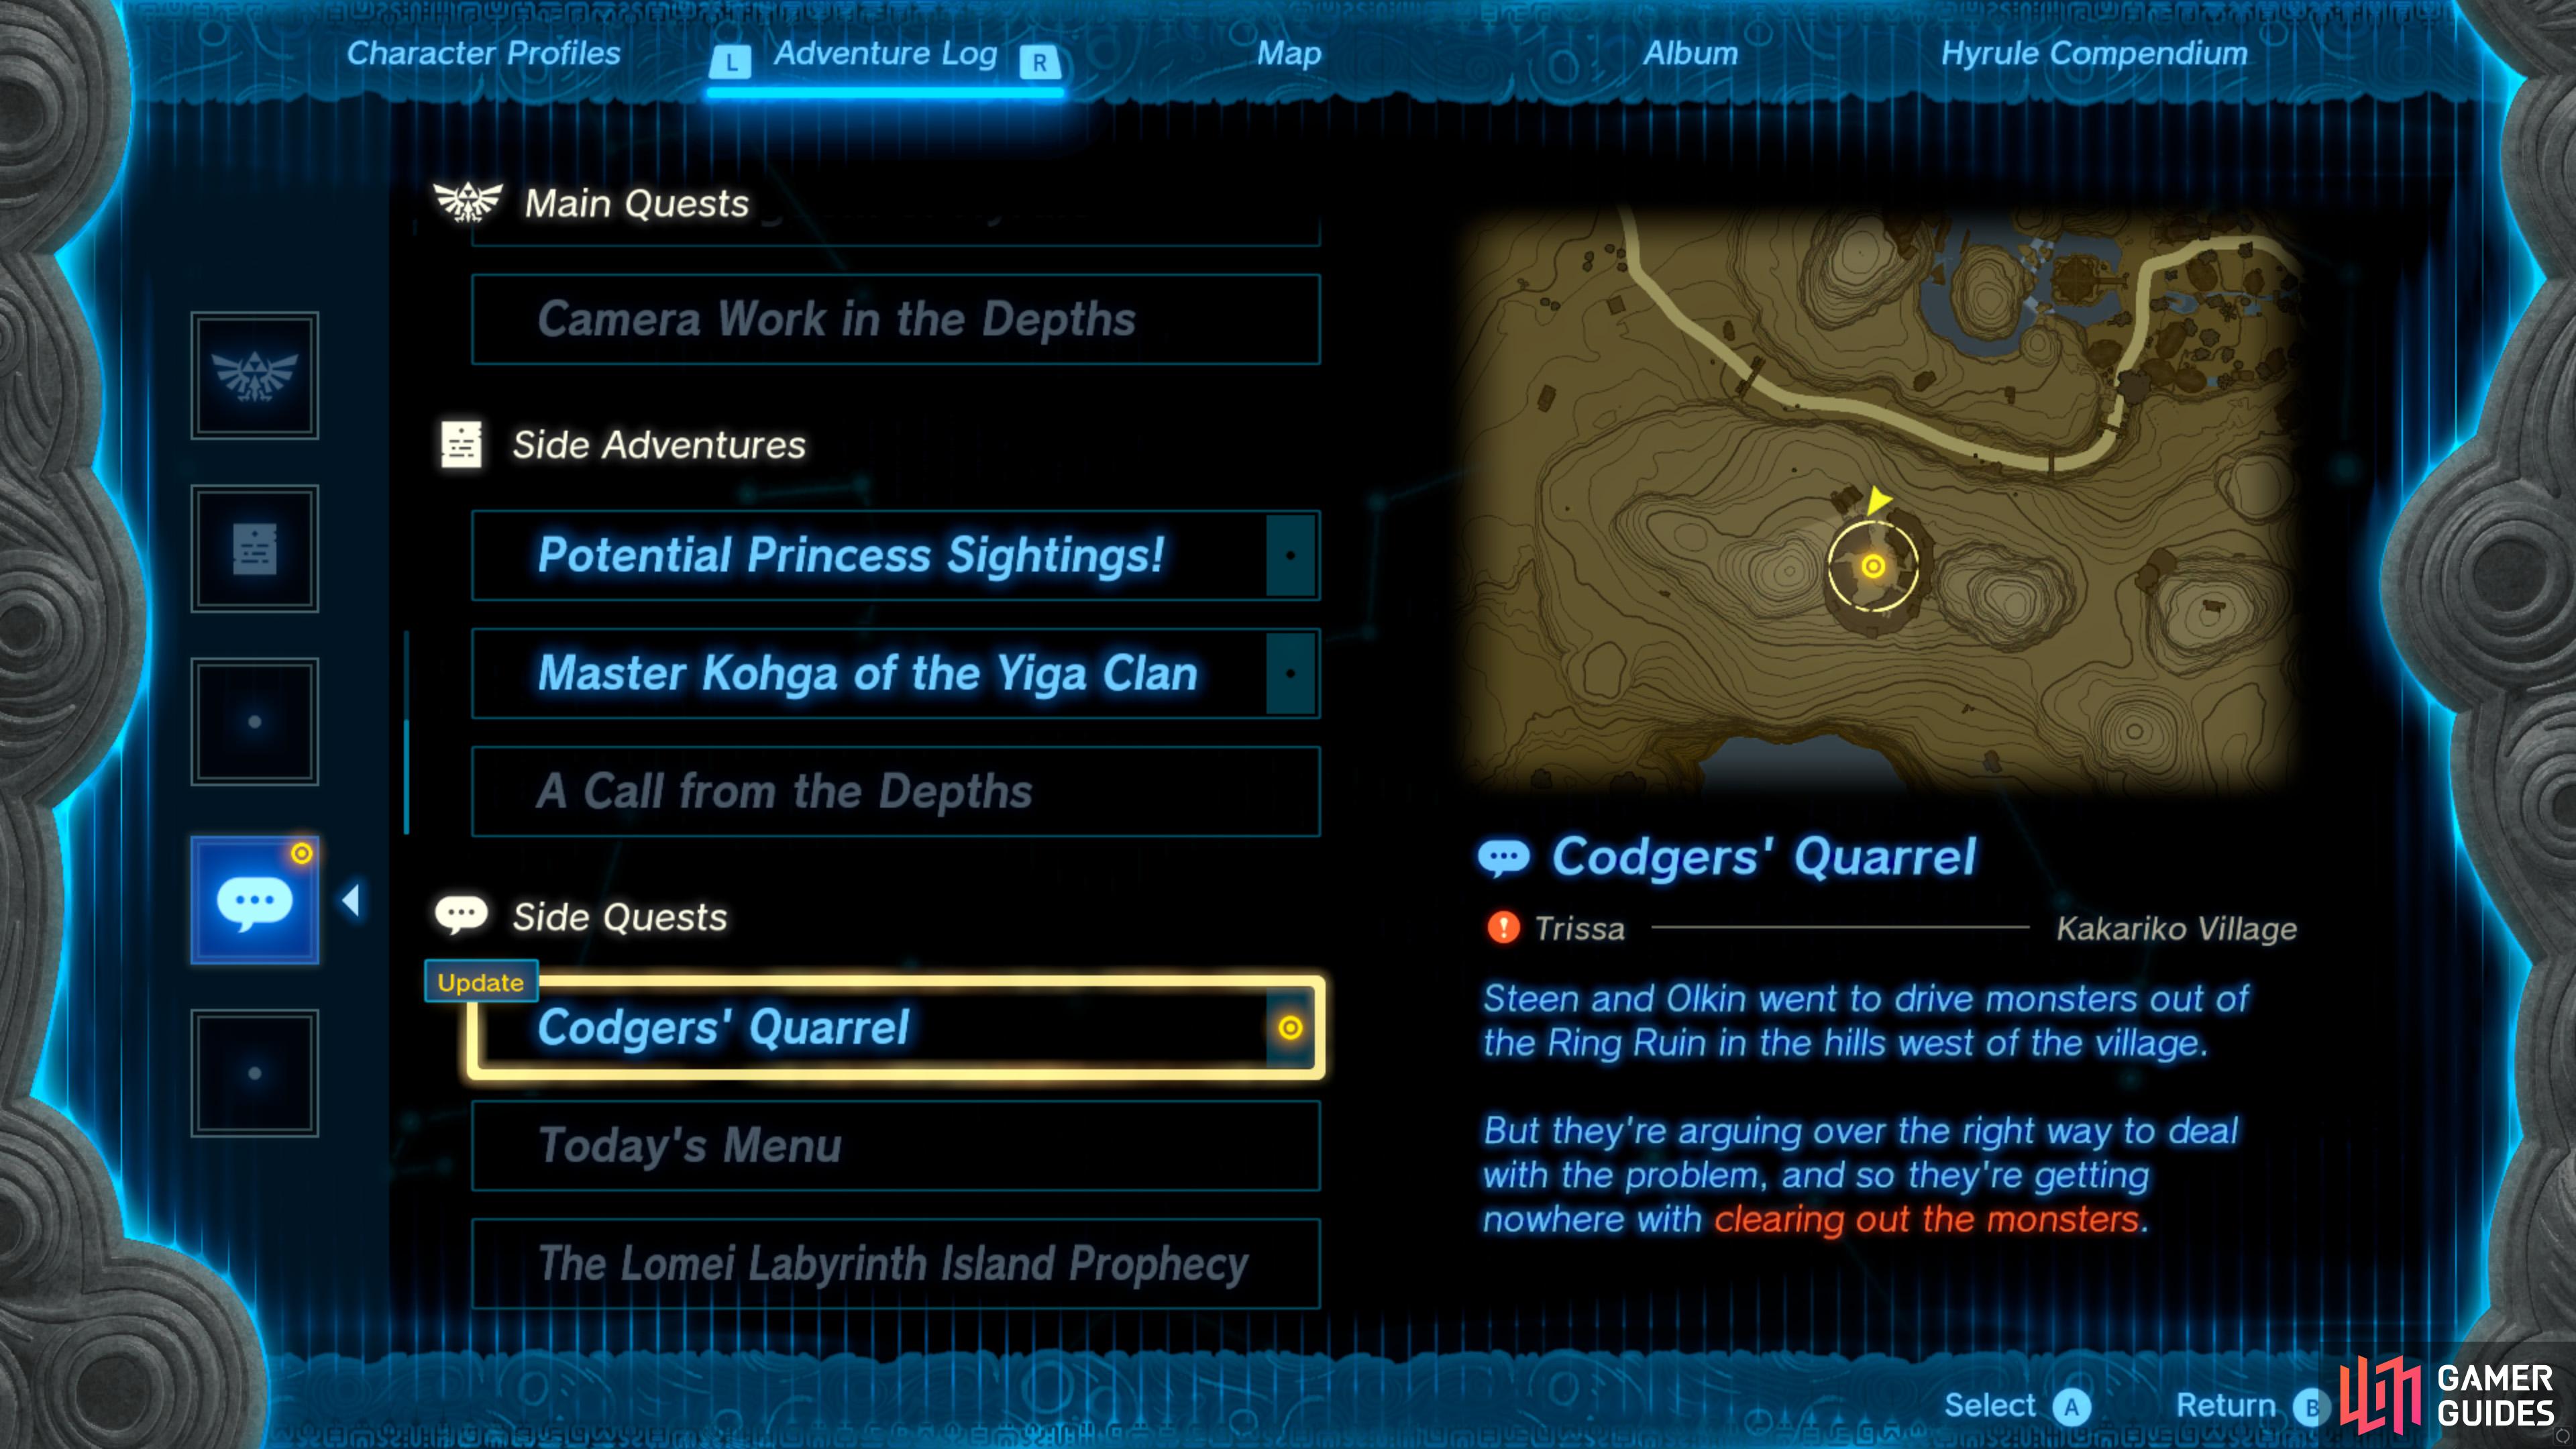
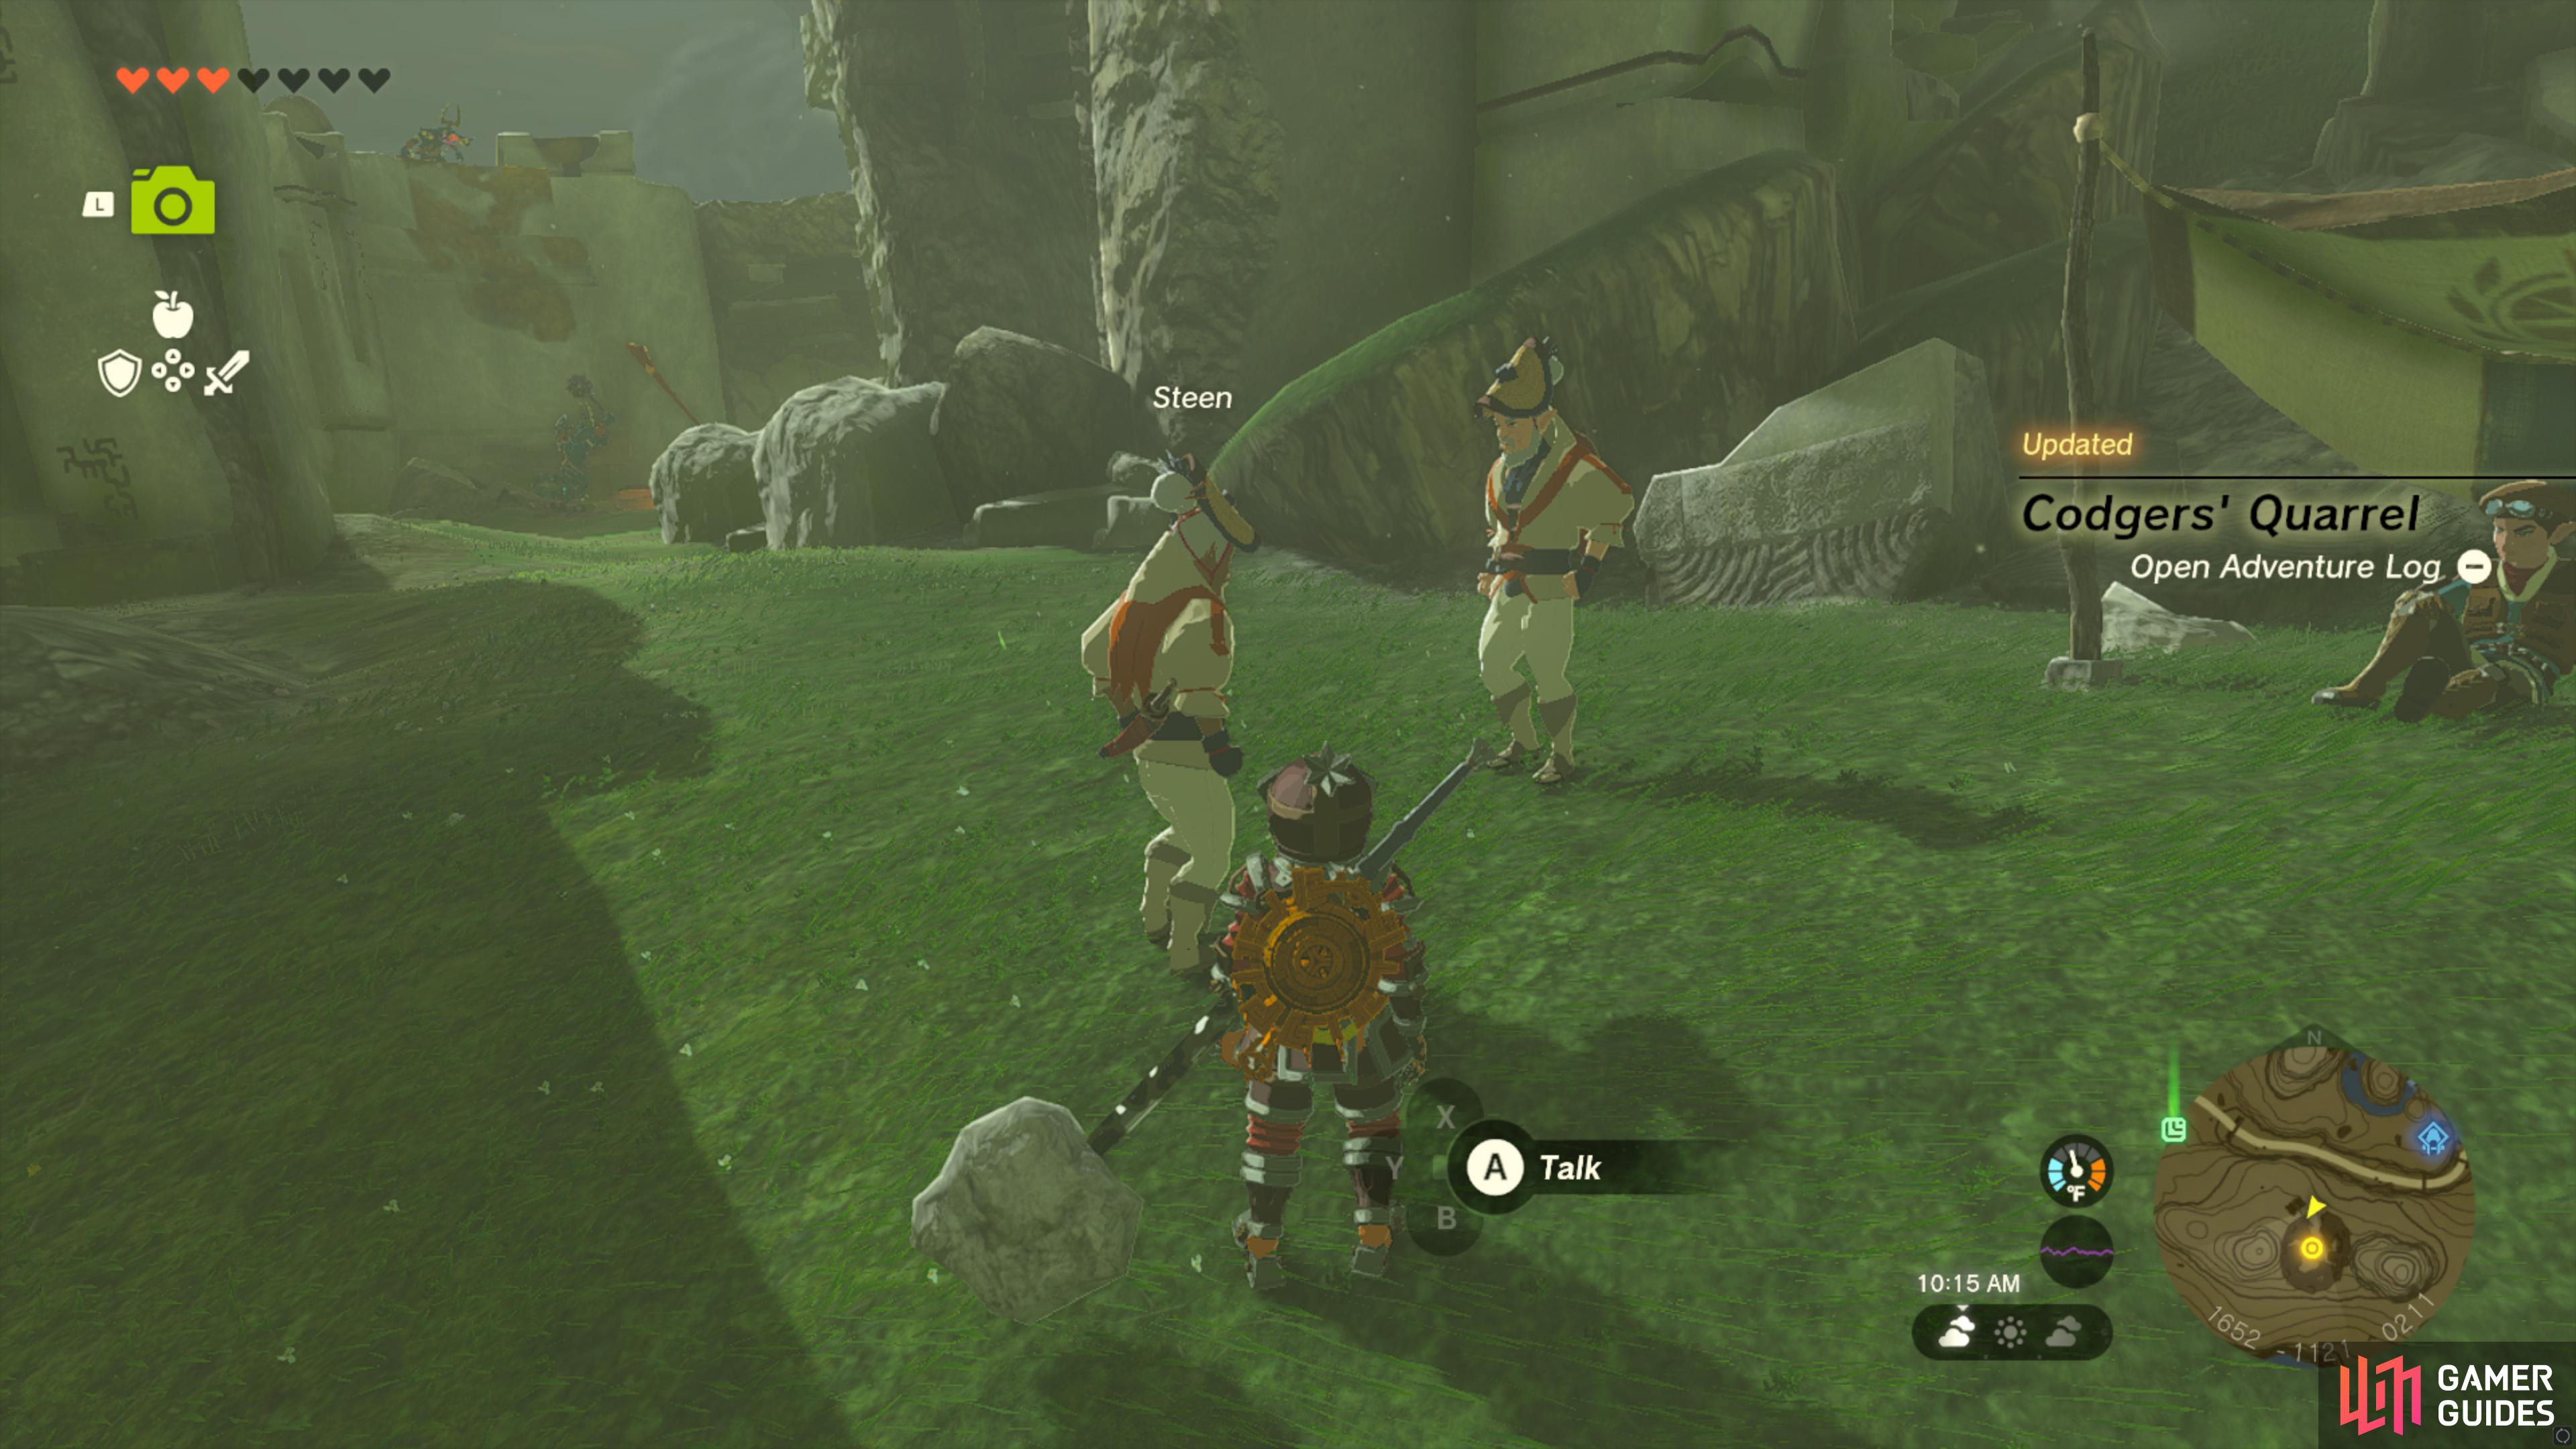
Codgers' Quarrel |
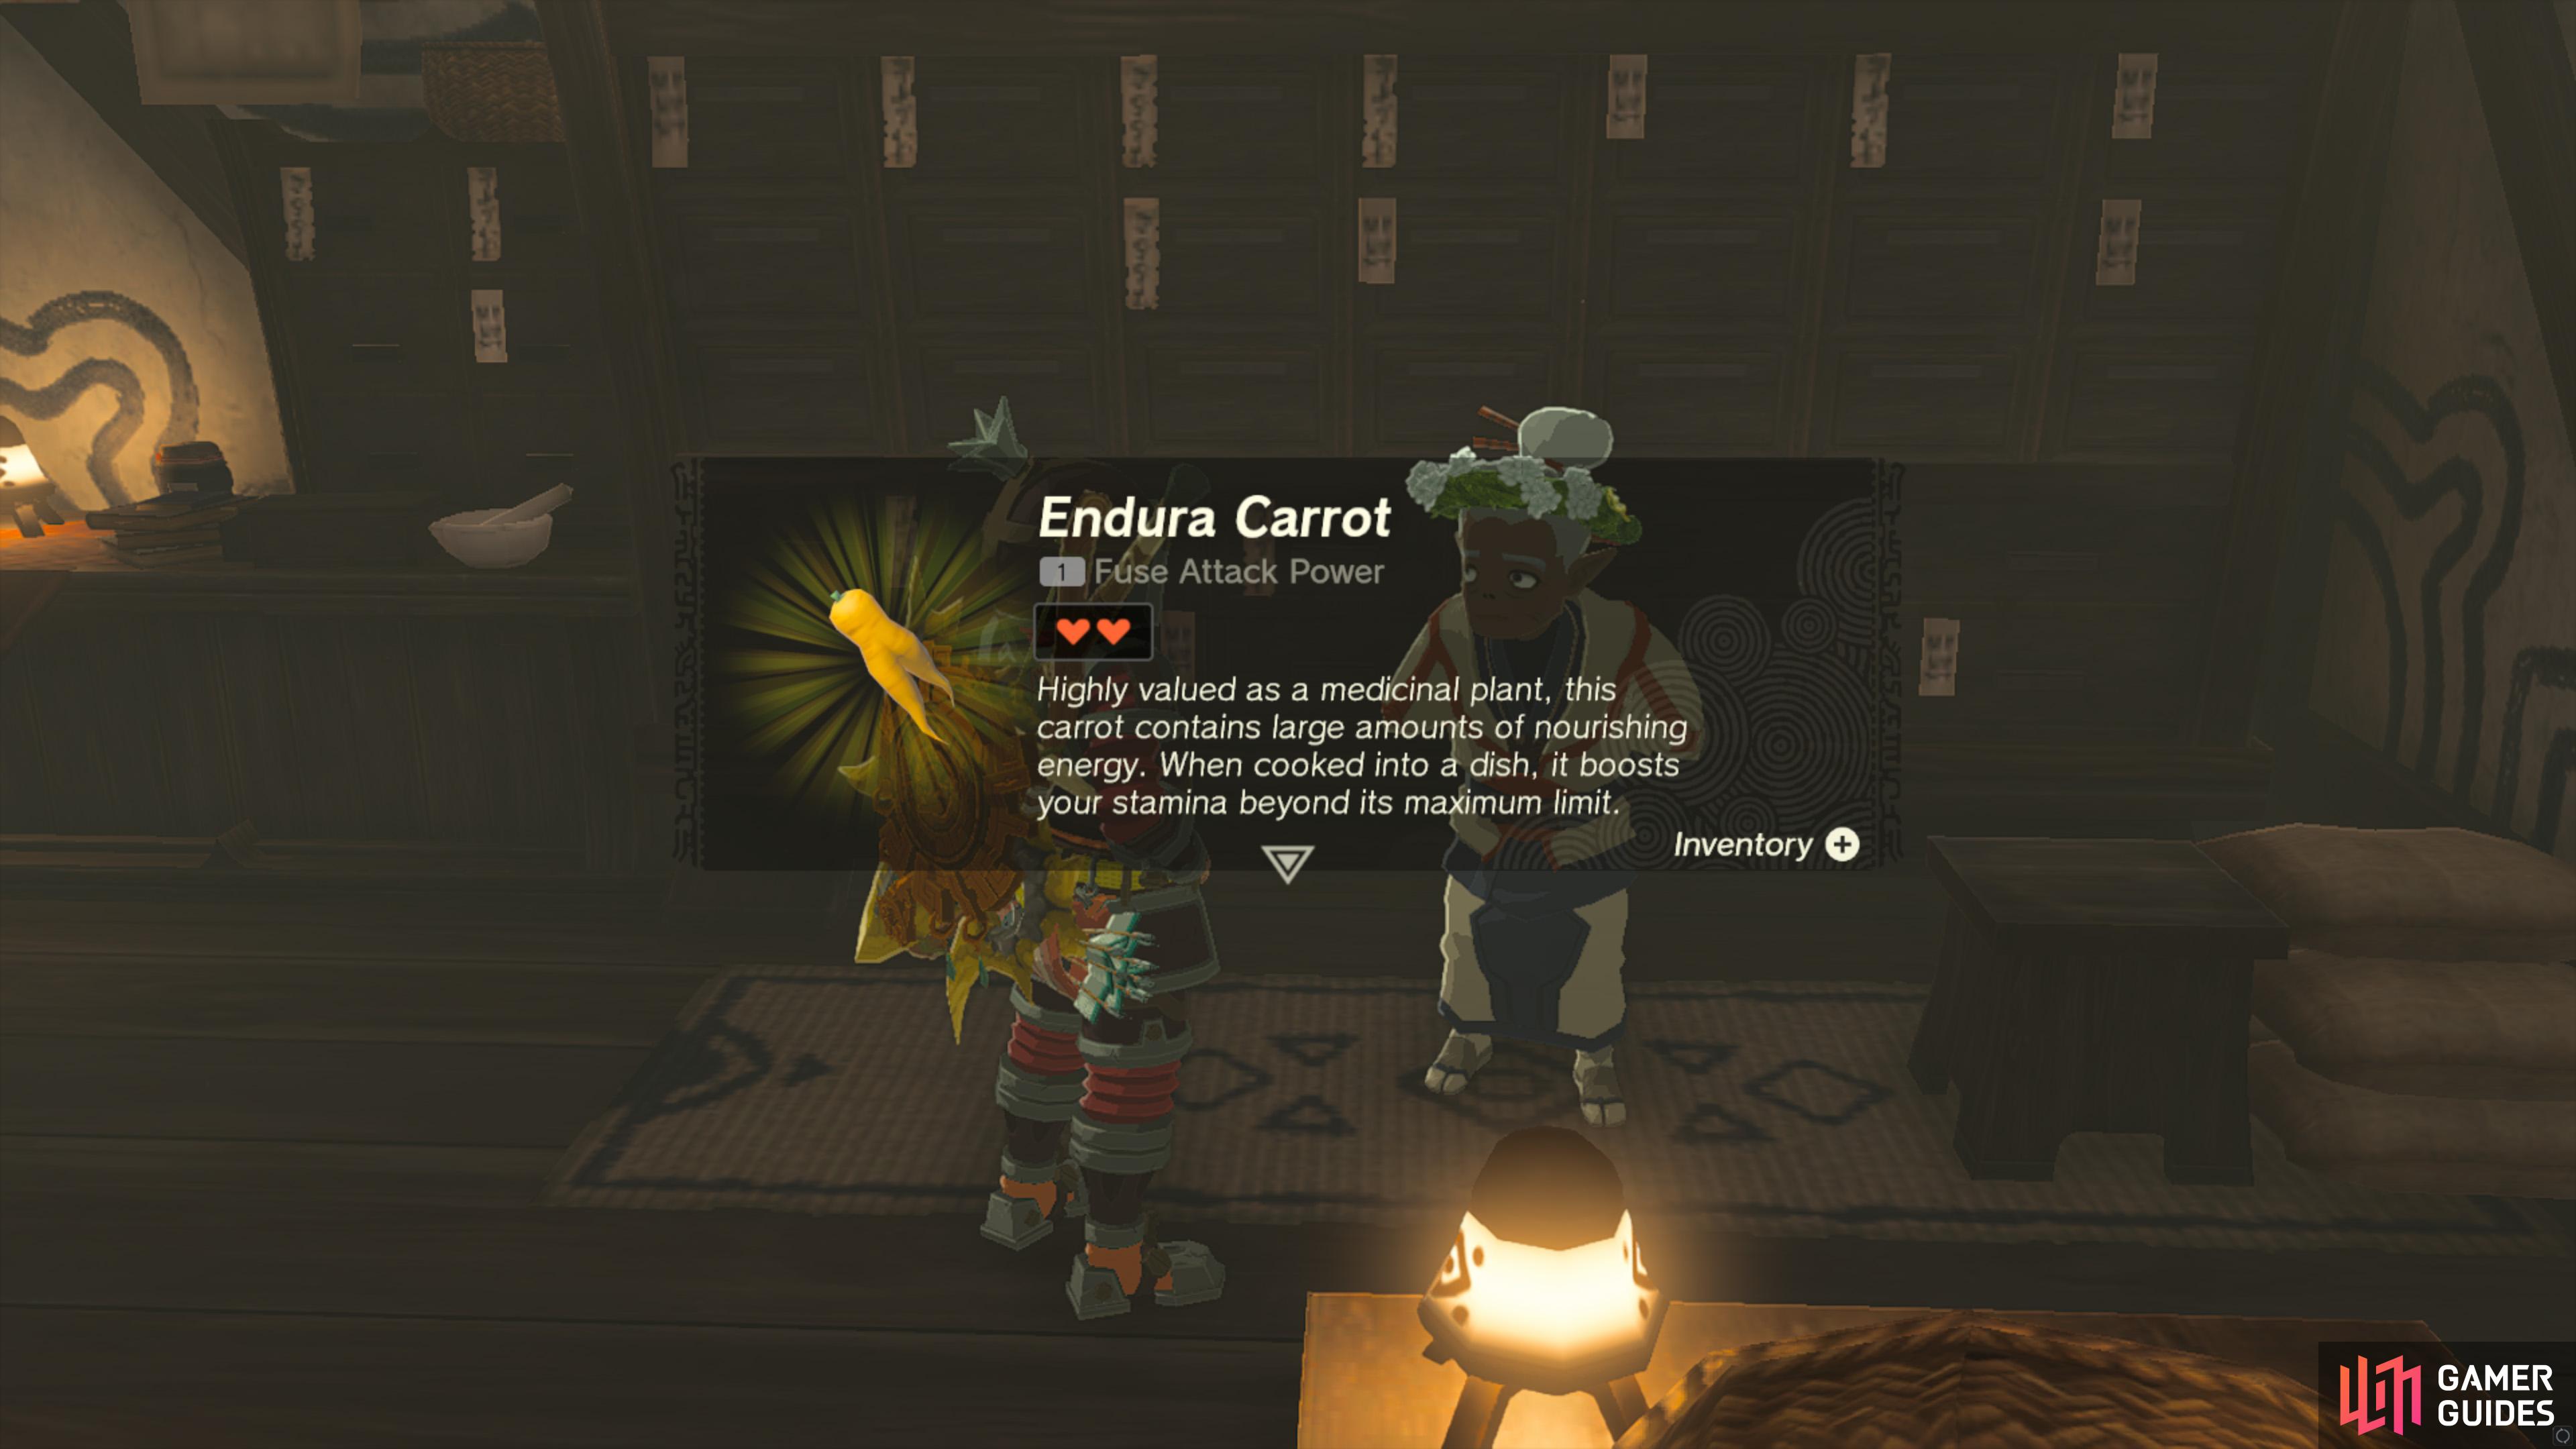
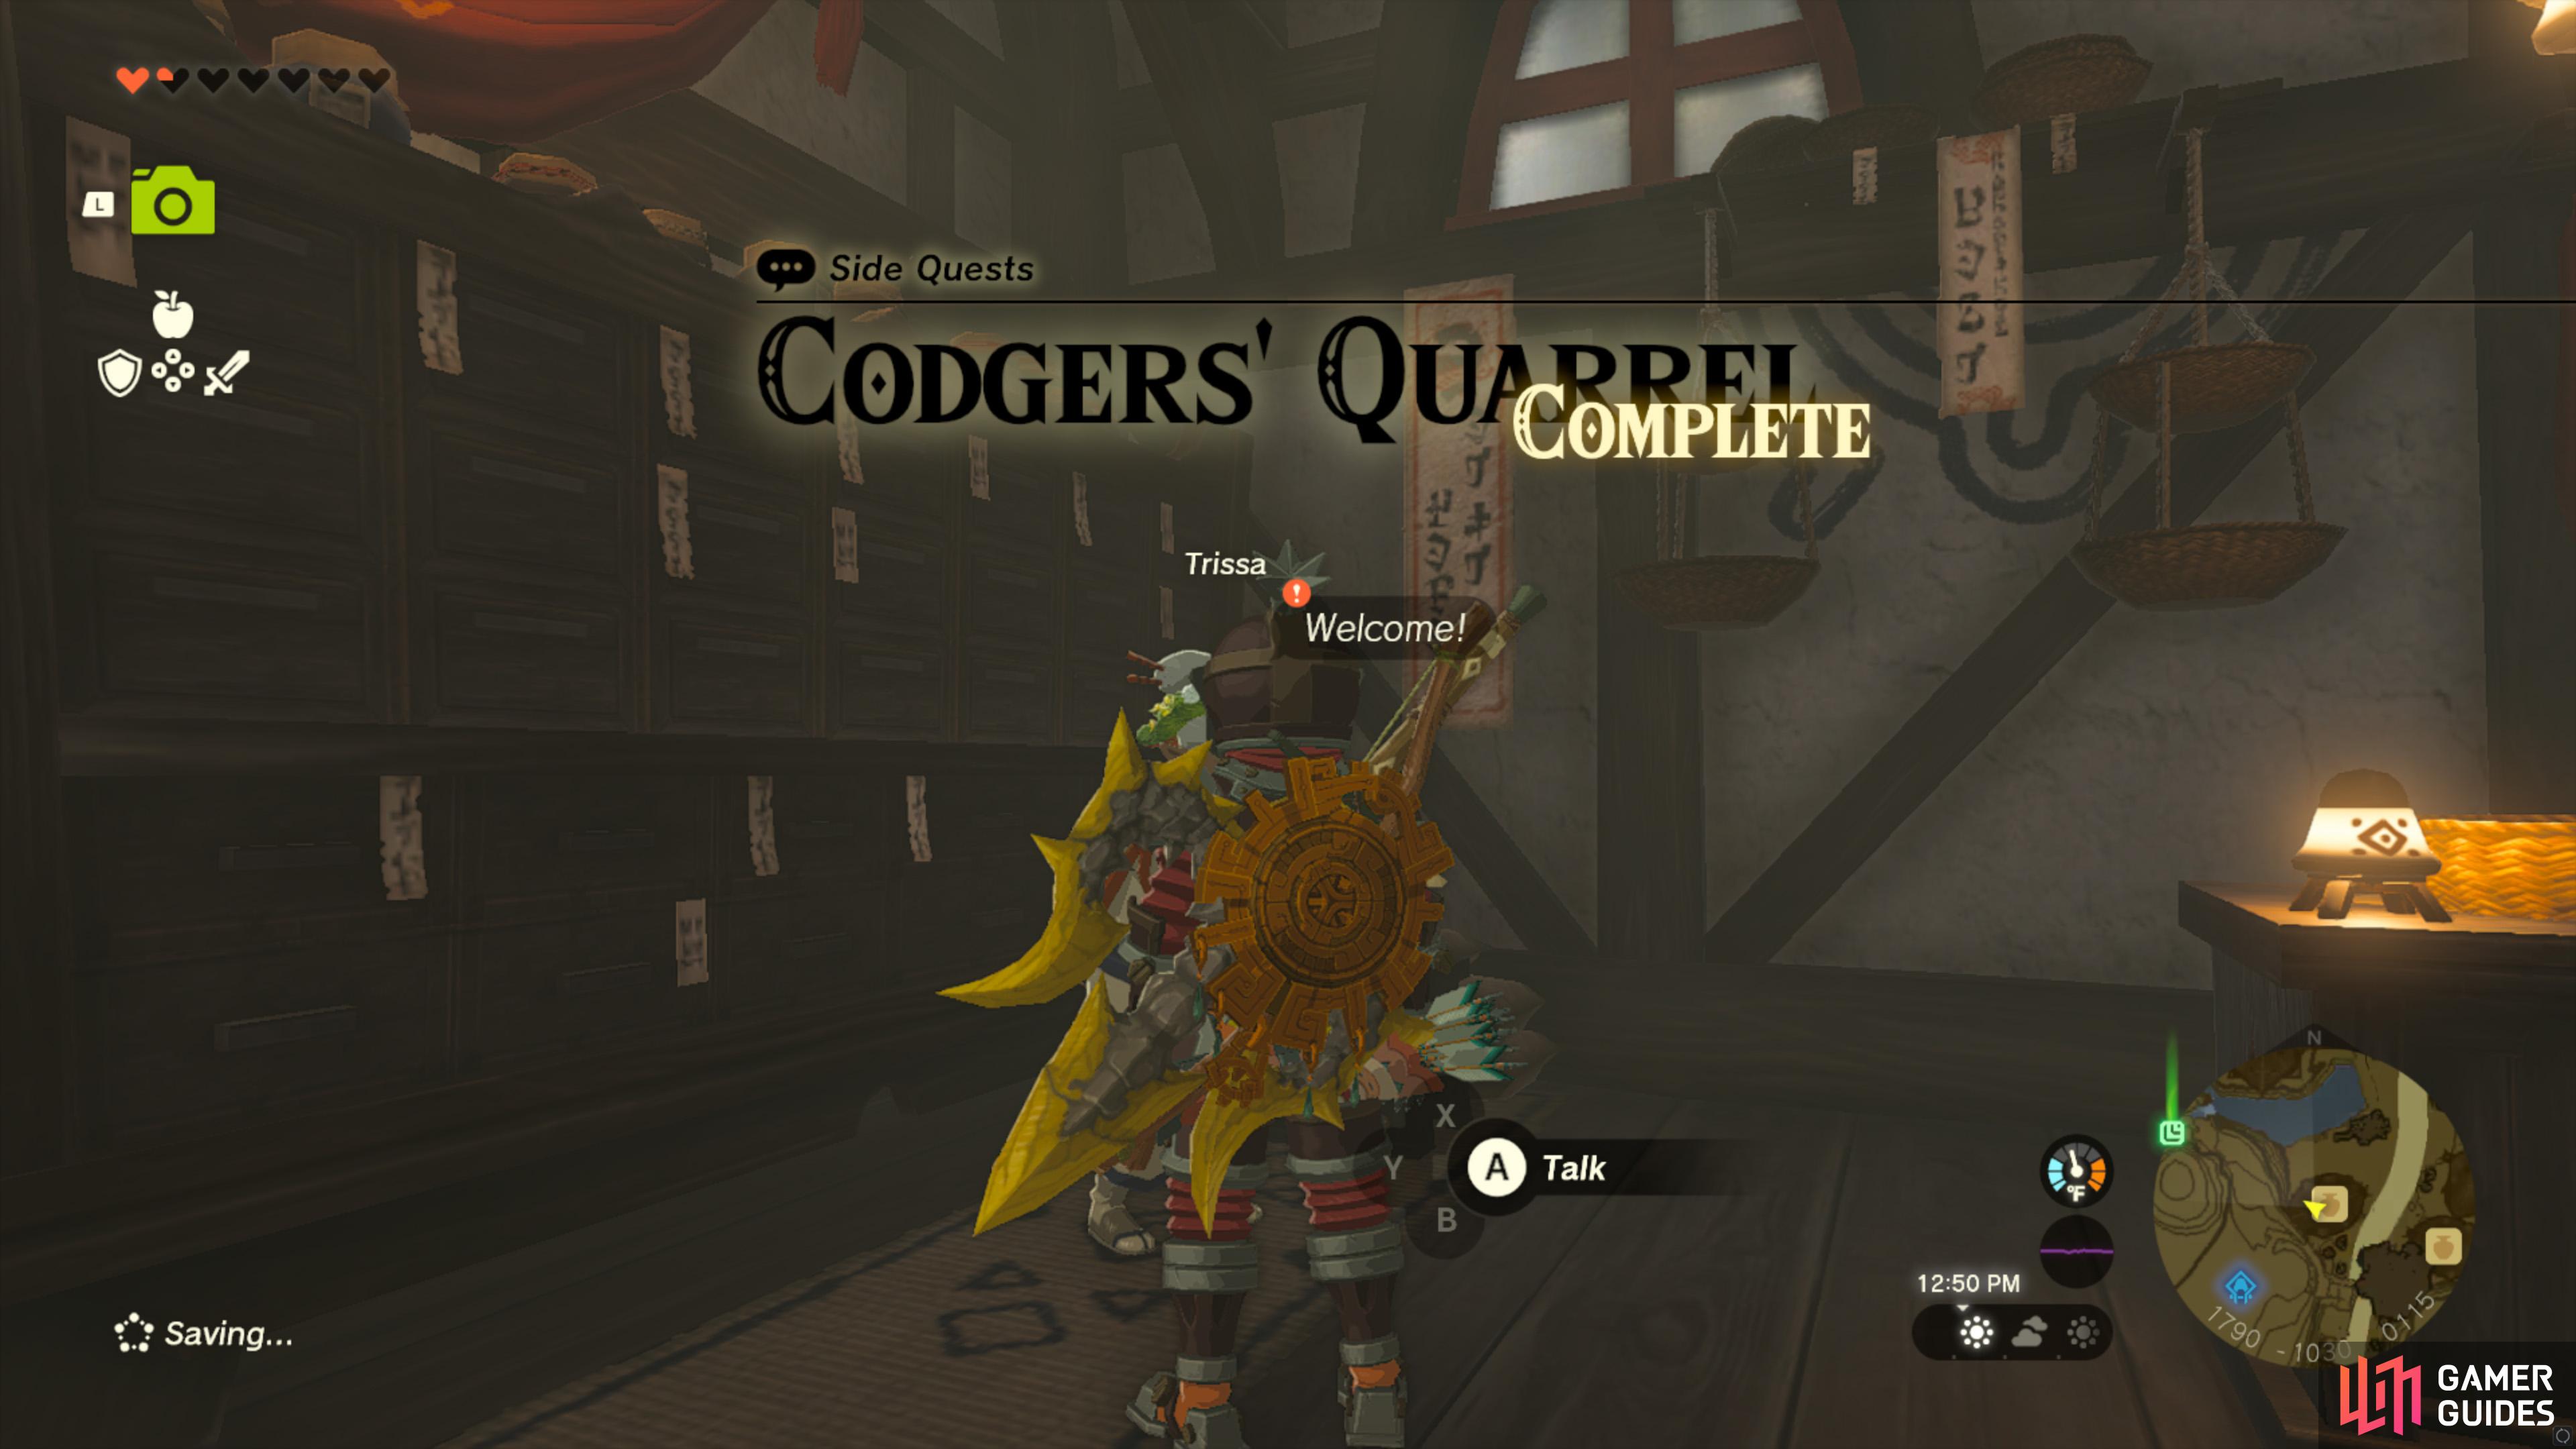
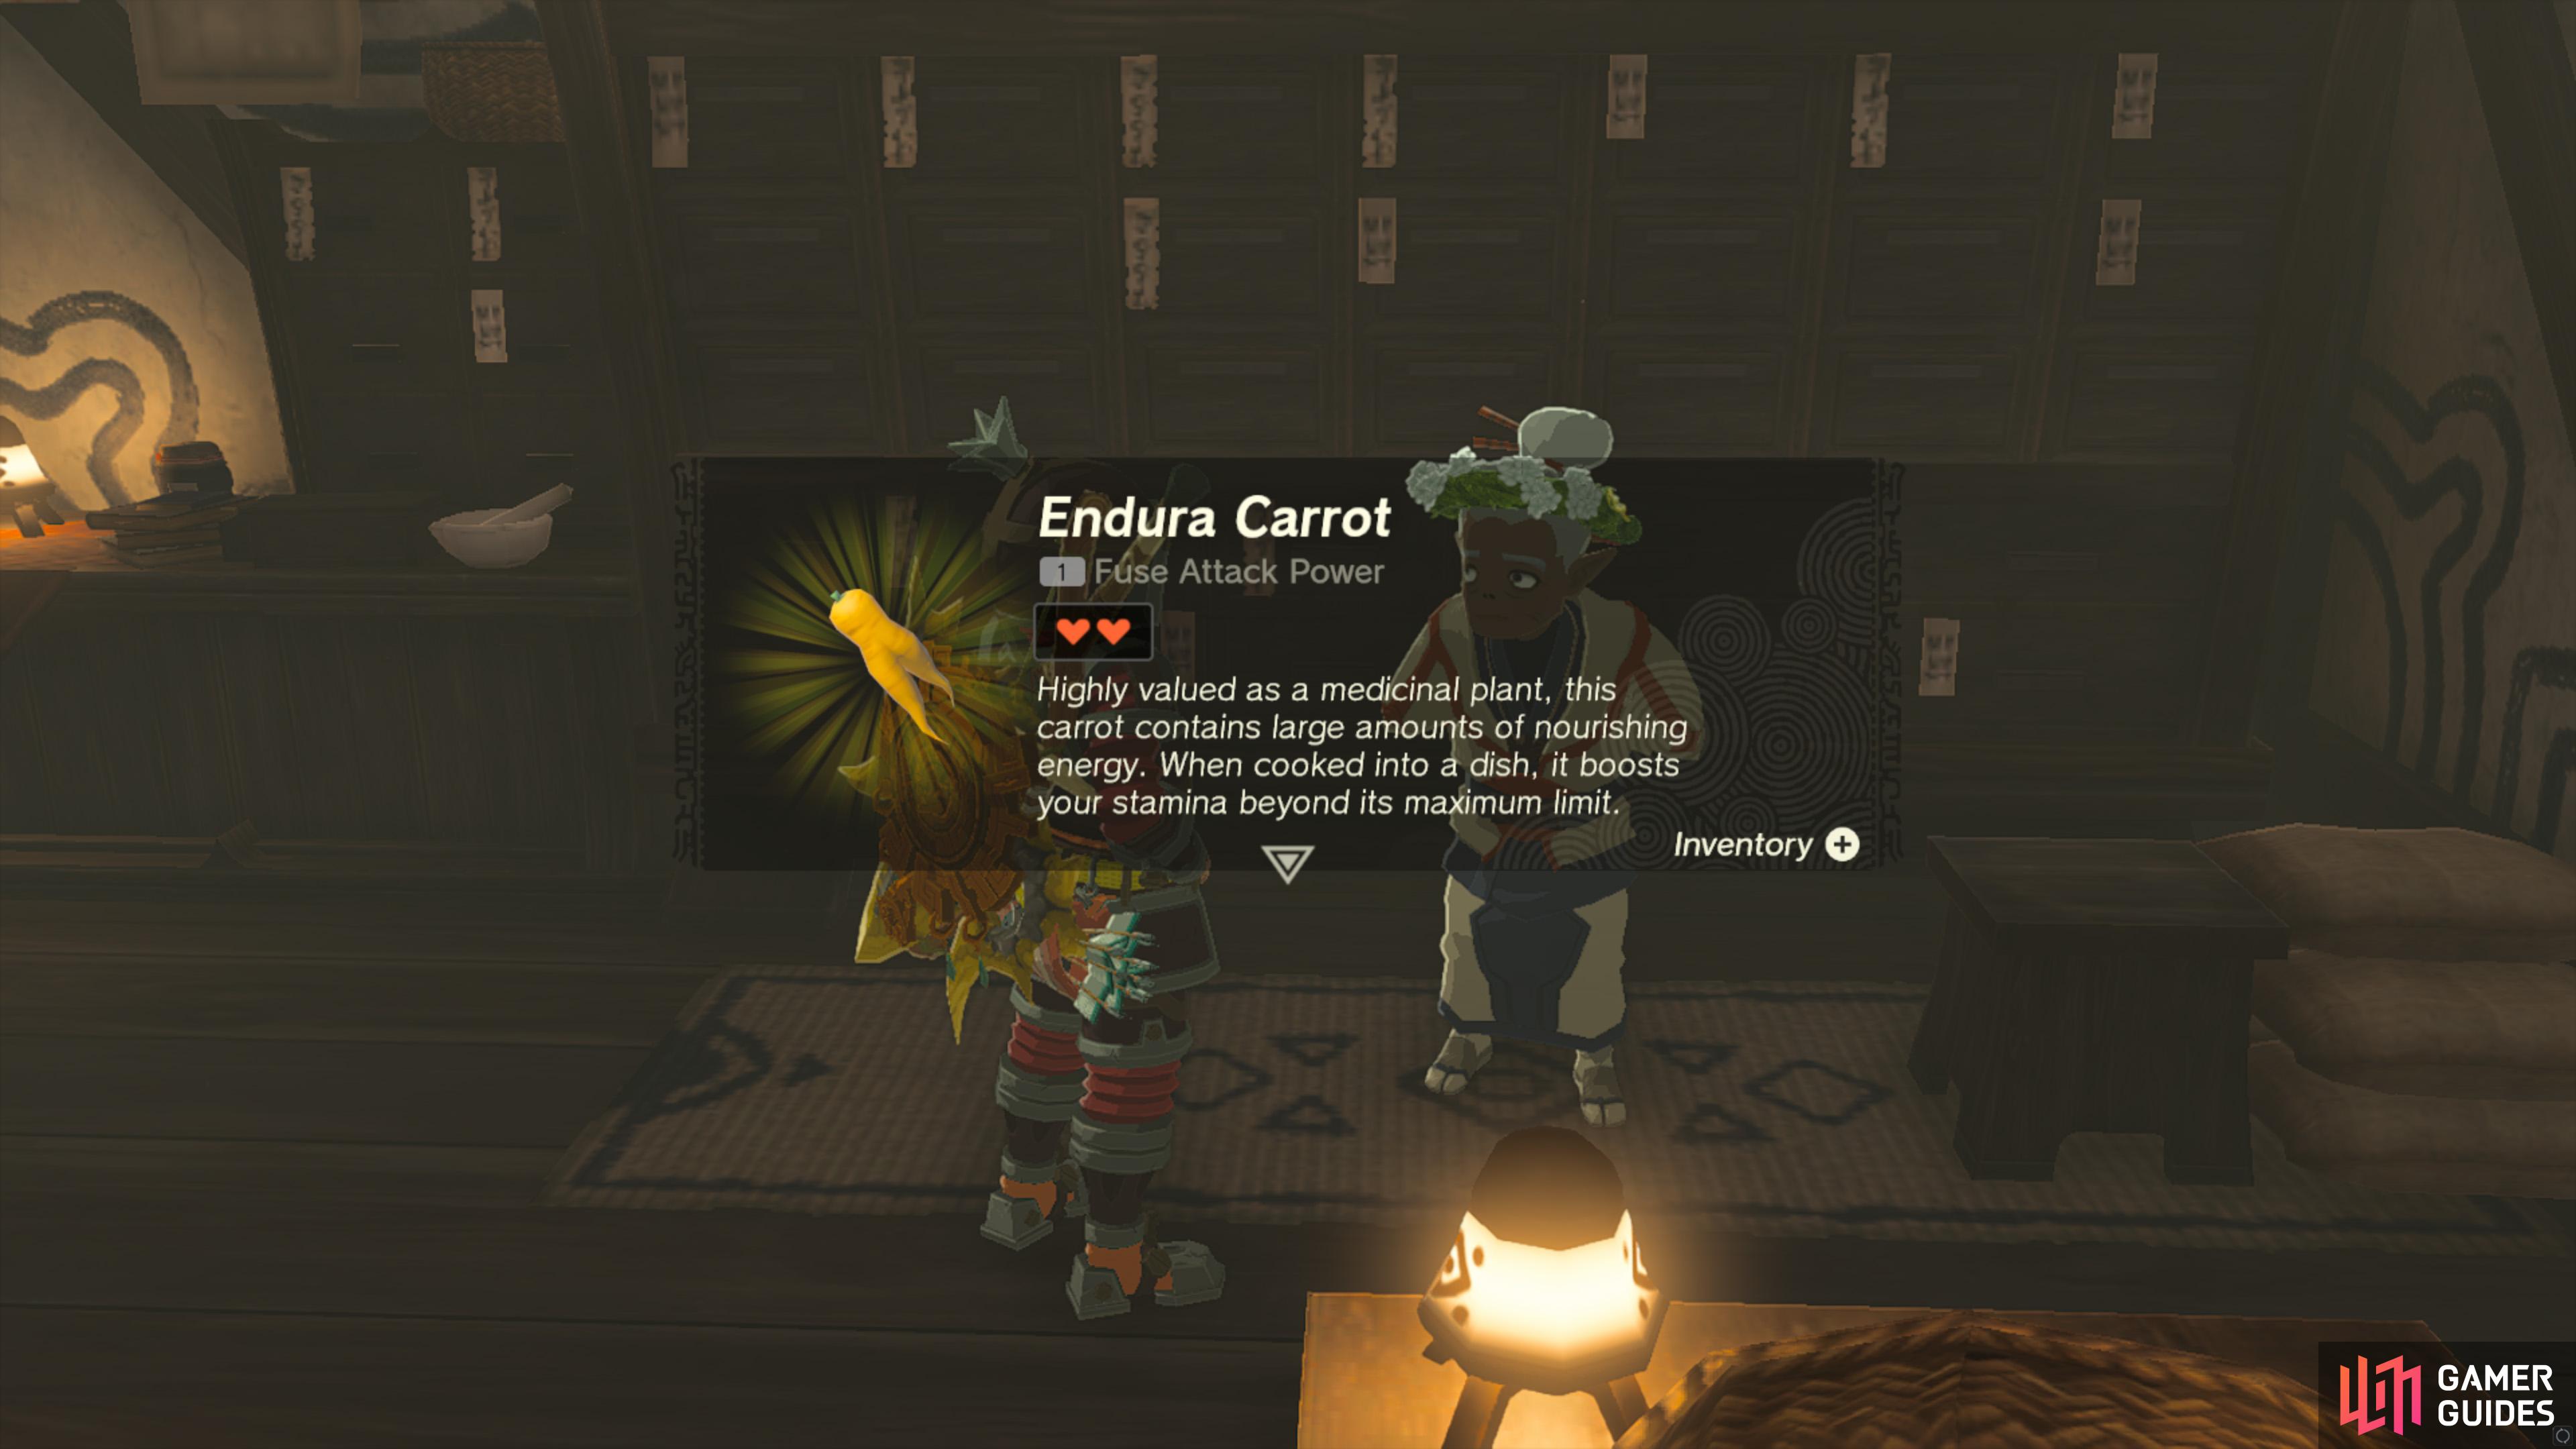
Kakariko Village - The general store is at risk of running out of goods. The two old men who stock the store have left to drive monsters out of the Ring Ruin in the hills west of the village. Updated Steen and Olkin went to drive monsters out of the Ring Ruin in the hills west of the village. But they’re arguing over the right way to deal with the problem, and so they’re getting nowhere with clearing out the monsters. Updated By defeating the monsters in the Ring Ruin in the hills west of the village, you showed Steen and Olkin that both offensive and defensive fighting methods are important.
Completion Reward
1×
 Endura Carrot
Materials Endura Carrot
Materials
Quest Type
Side Quest
Map(s)
|
|
|||||||||||||||||||||||||||||||||||||||||||||||||||||||||||||||||||||||||||||||||||||||||||||||

|
Dad's Blue Shirt |
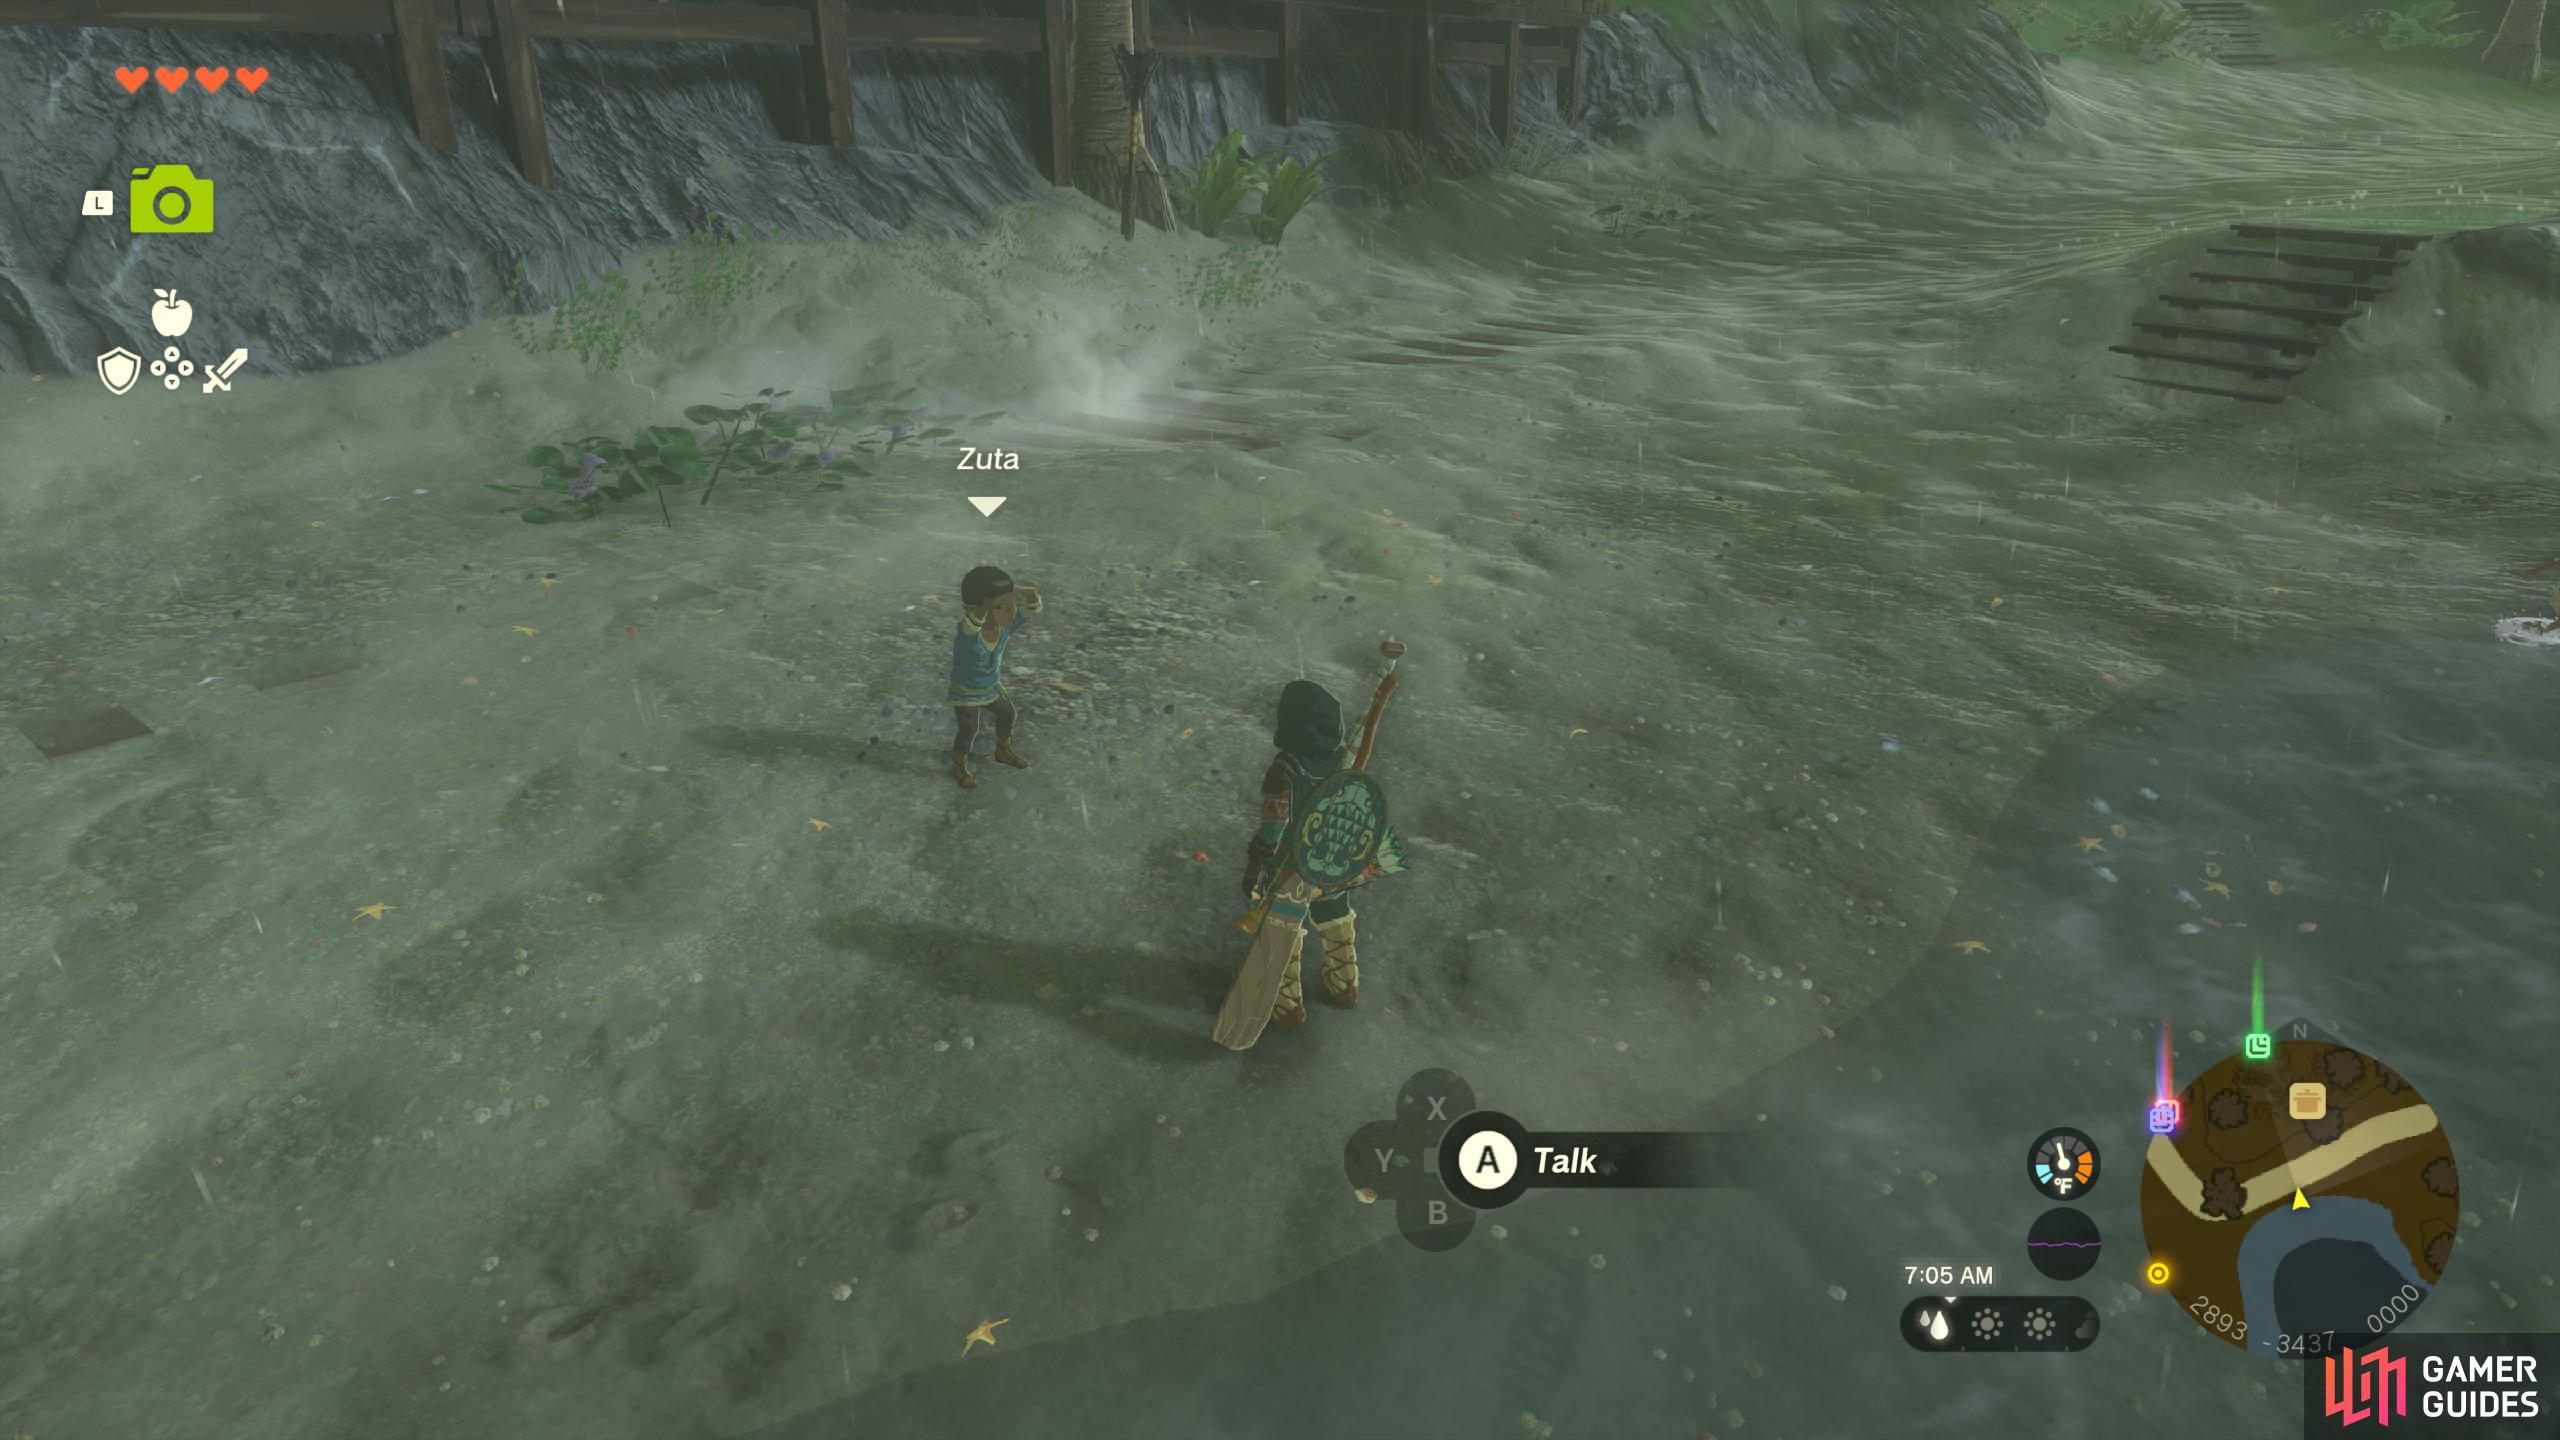
You found the iron treasure chest containing Zuta’s father’s precious blue shirt. After you and Zuta reported to Sebasto, he rewarded you by giving you the shirt.
Description
Fish out the chest containing the
Quest Type
Side Quest
Map(s)
|
|
|||||||||||||||||||||||||||||||||||||||||||||||||||||||||||||||||||||||||||||||||||||||||||||||

|
Dalia's Game |
The orb that Dalia calls her “treasure” appeared from under the sands after the sand shroud dissipated. Dalia said she’d lend it to you if you can beat her at her own game.
Quest Type
Side Quest
Map(s)
|
||||||||||||||||||||||||||||||||||||||||||||||||||||||||||||||||||||||||||||||||||||||||||||||||

|
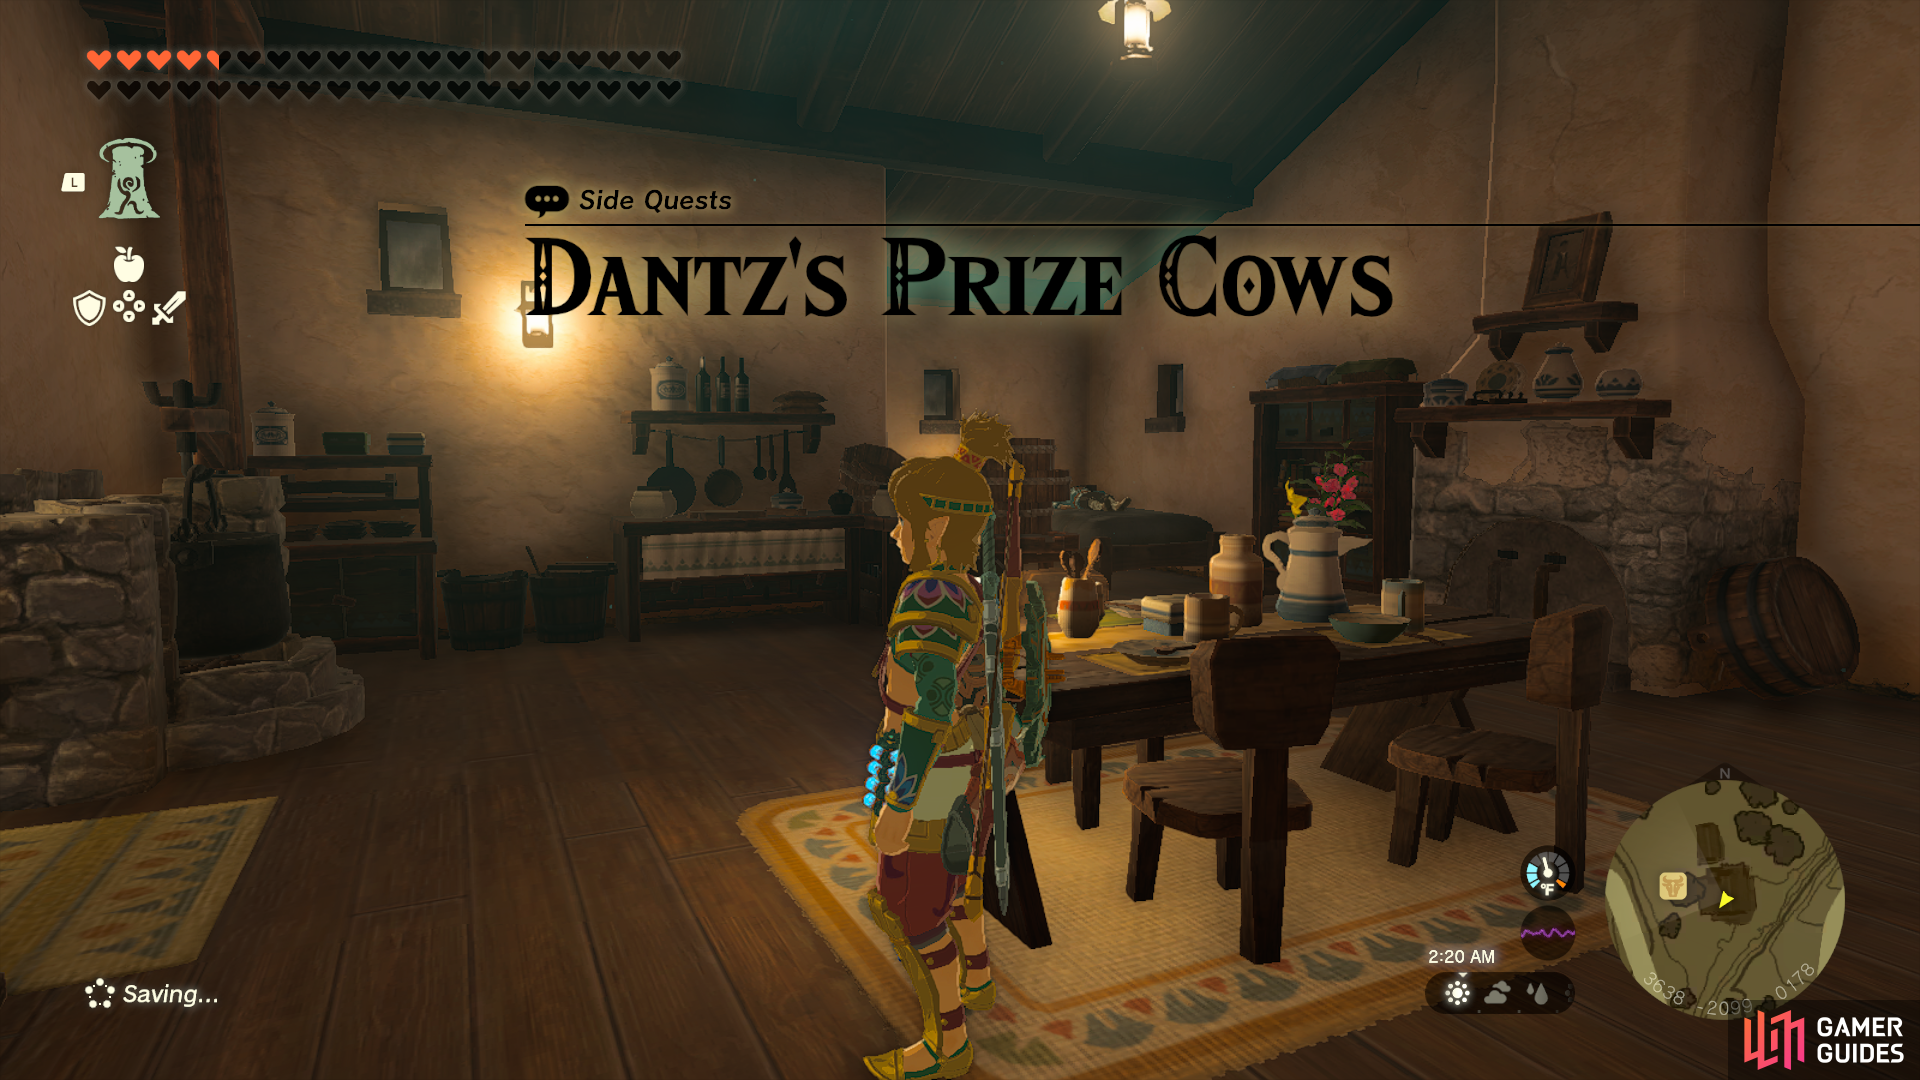
Dantz's Prize Cows |
You gave Dantz the acorns and he gave you a bottle of fresh milk to express his gratitude. If you bring him another three acorns, he’d be willing to make the same trade for more fresh milk. You will receive
Description
Give Dantz three
Quest Type
Side Quest
Map(s)
|
|
|||||||||||||||||||||||||||||||||||||||||||||||||||||||||||||||||||||||||||||||||||||||||||||||

|
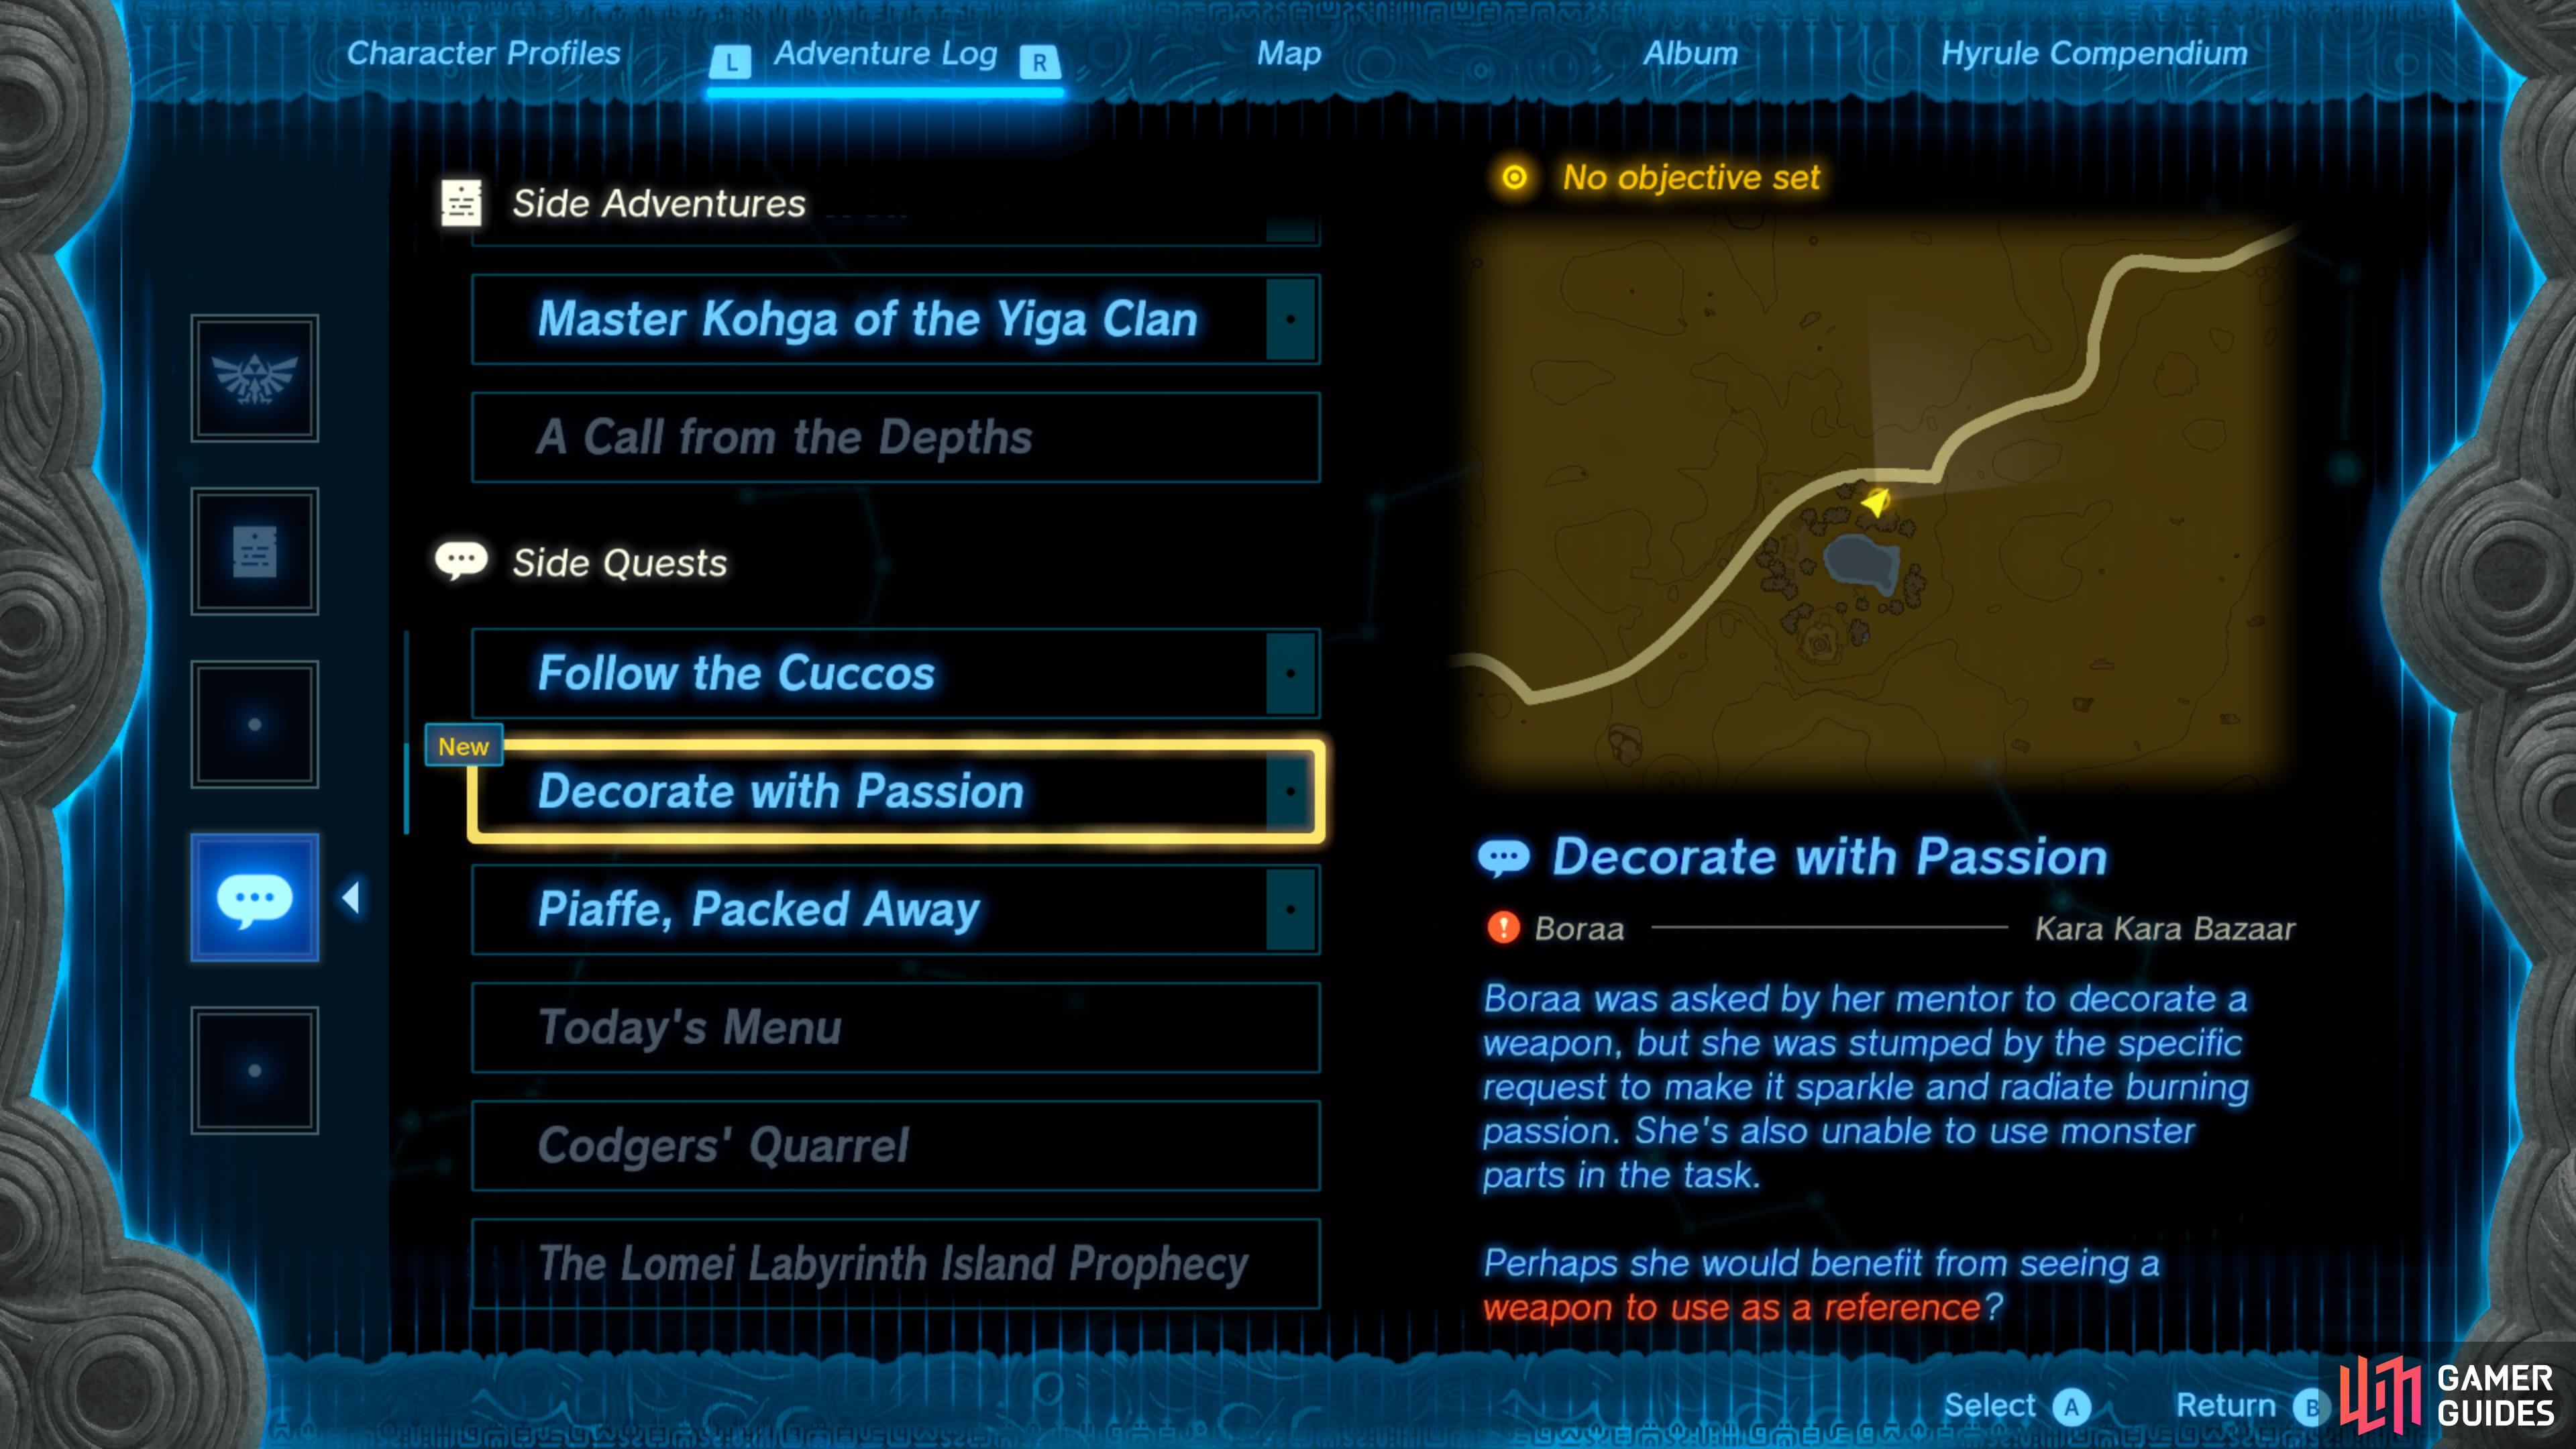
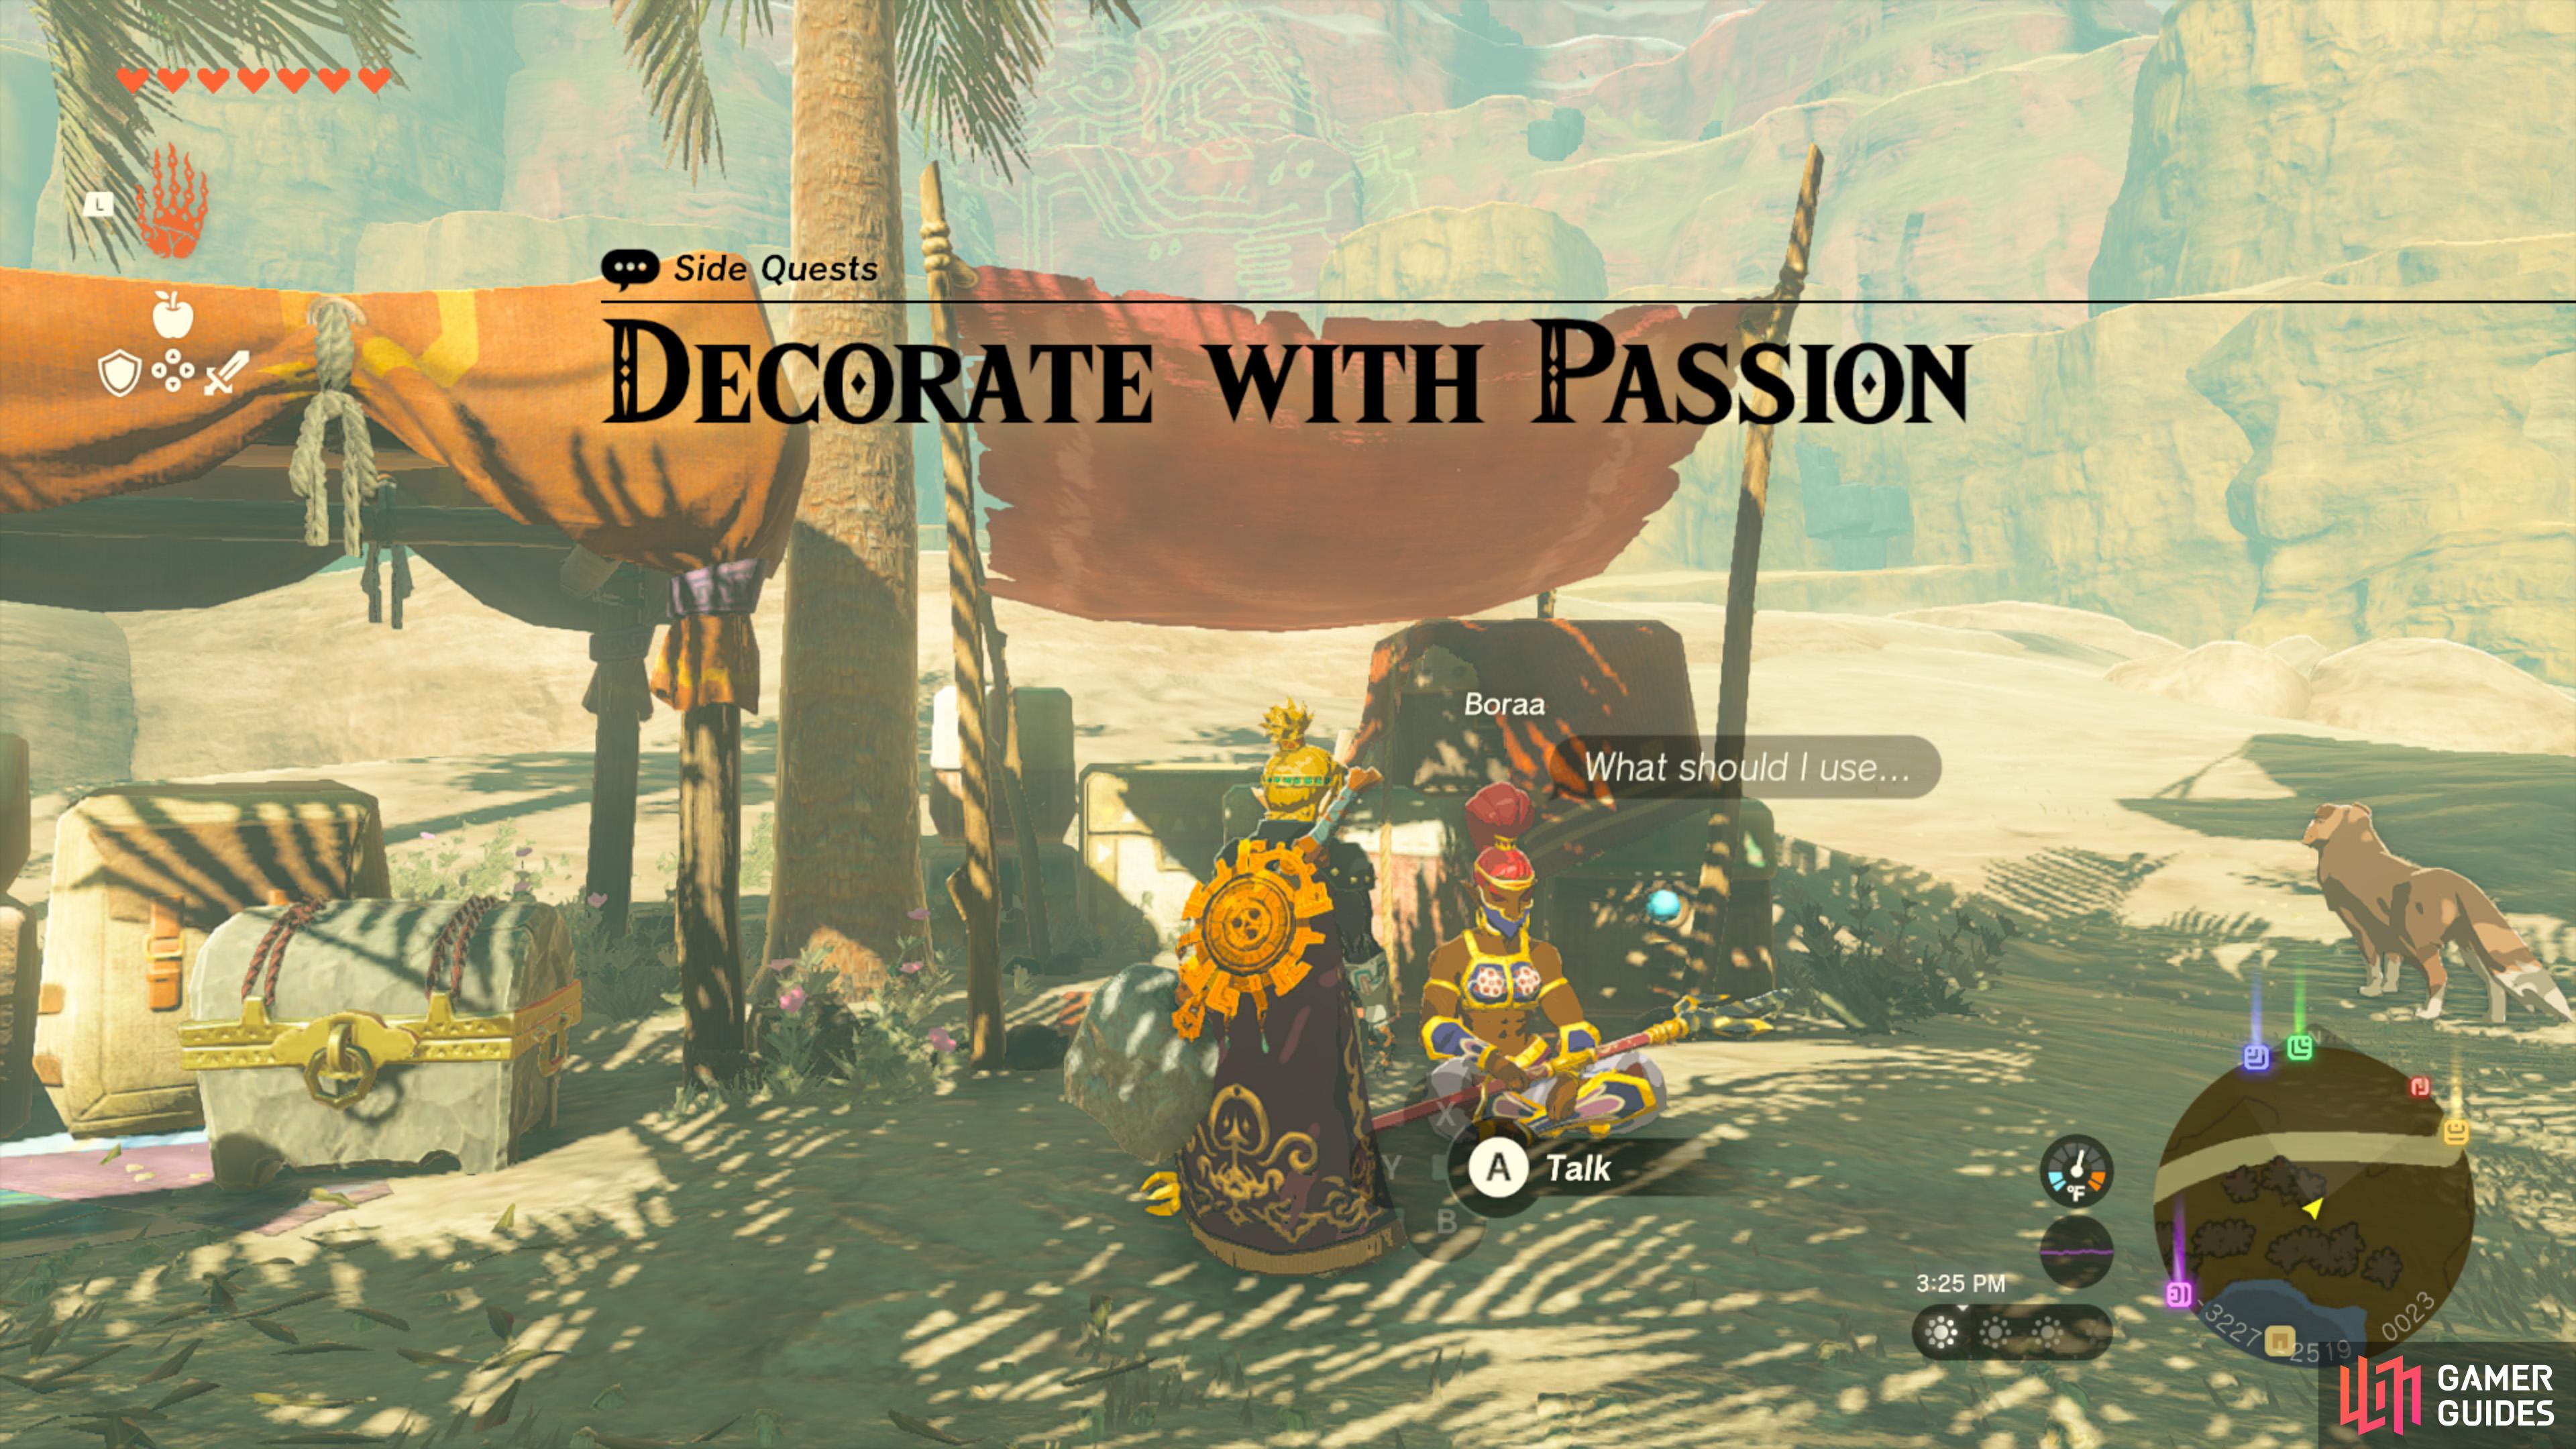
Decorate with Passion |
Perhaps she would benefit from seeing a weapon to use as a reference?
Description
You will need a Ruby to finish this quest, which can be found either from
Quest Type
Side Quest
Quest NPC
 Boraa
NPC Boraa
NPC
Map(s)
|
|
|||||||||||||||||||||||||||||||||||||||||||||||||||||||||||||||||||||||||||||||||||||||||||||||

|
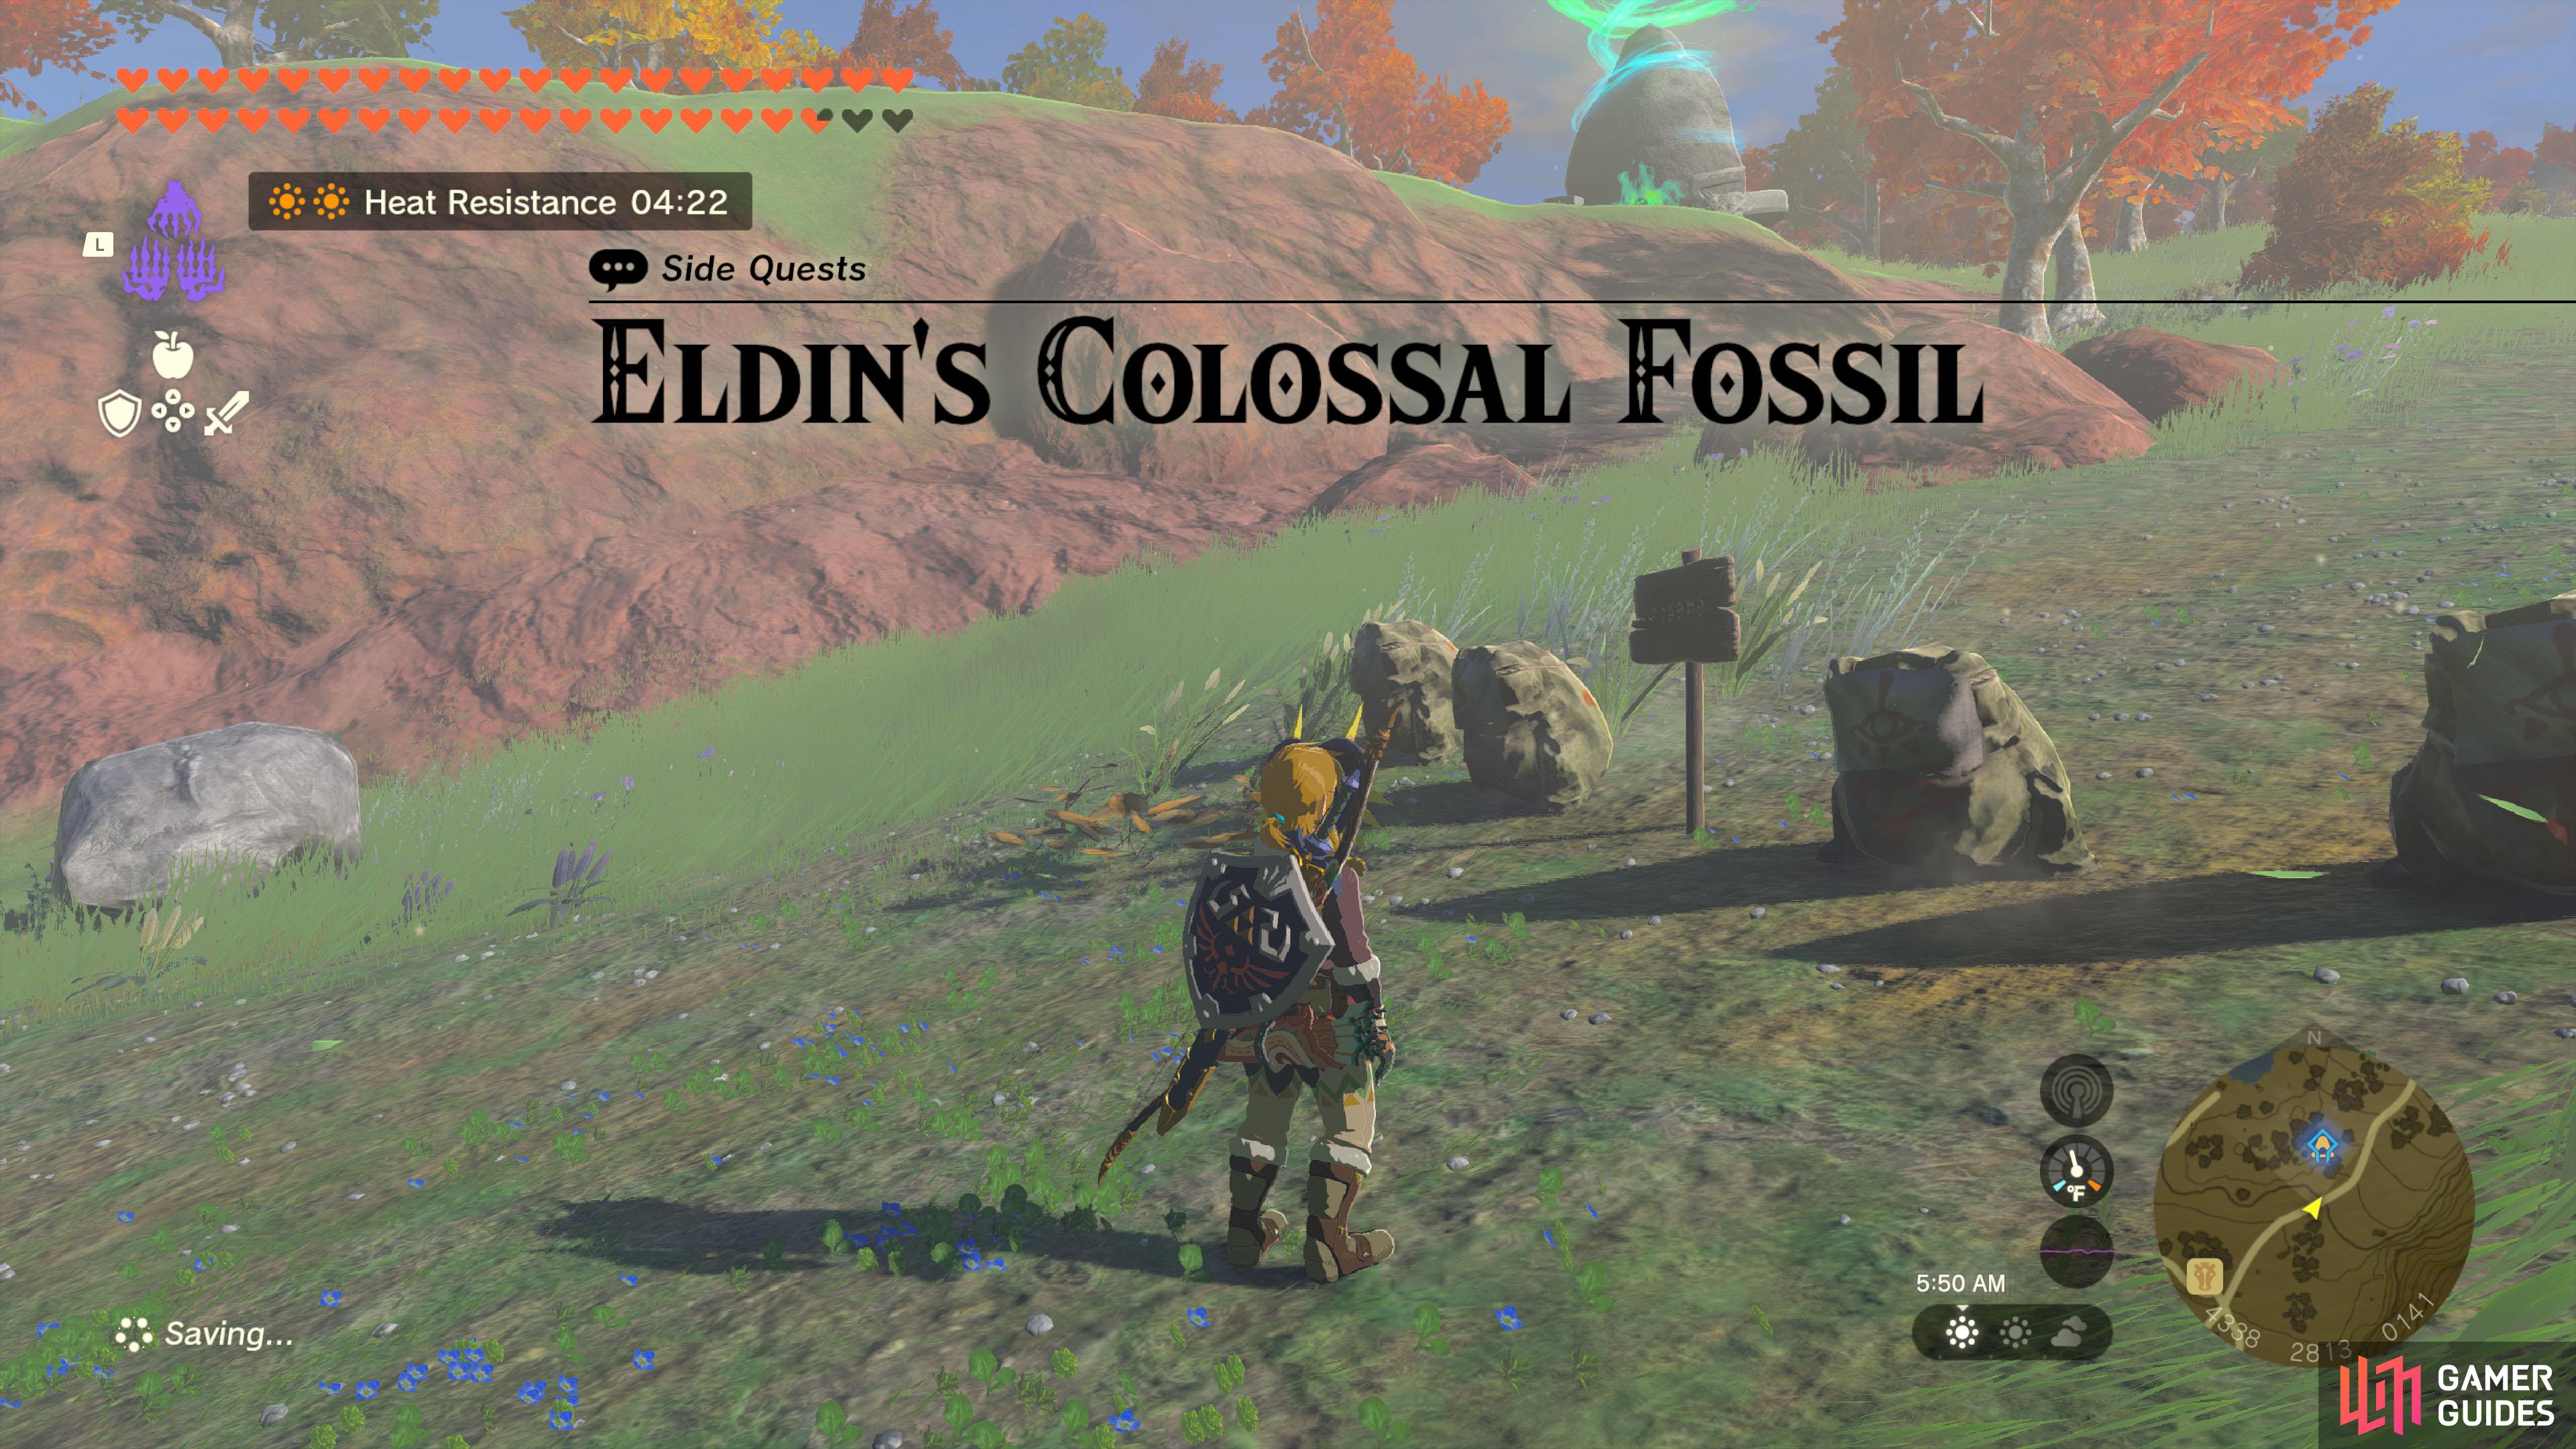
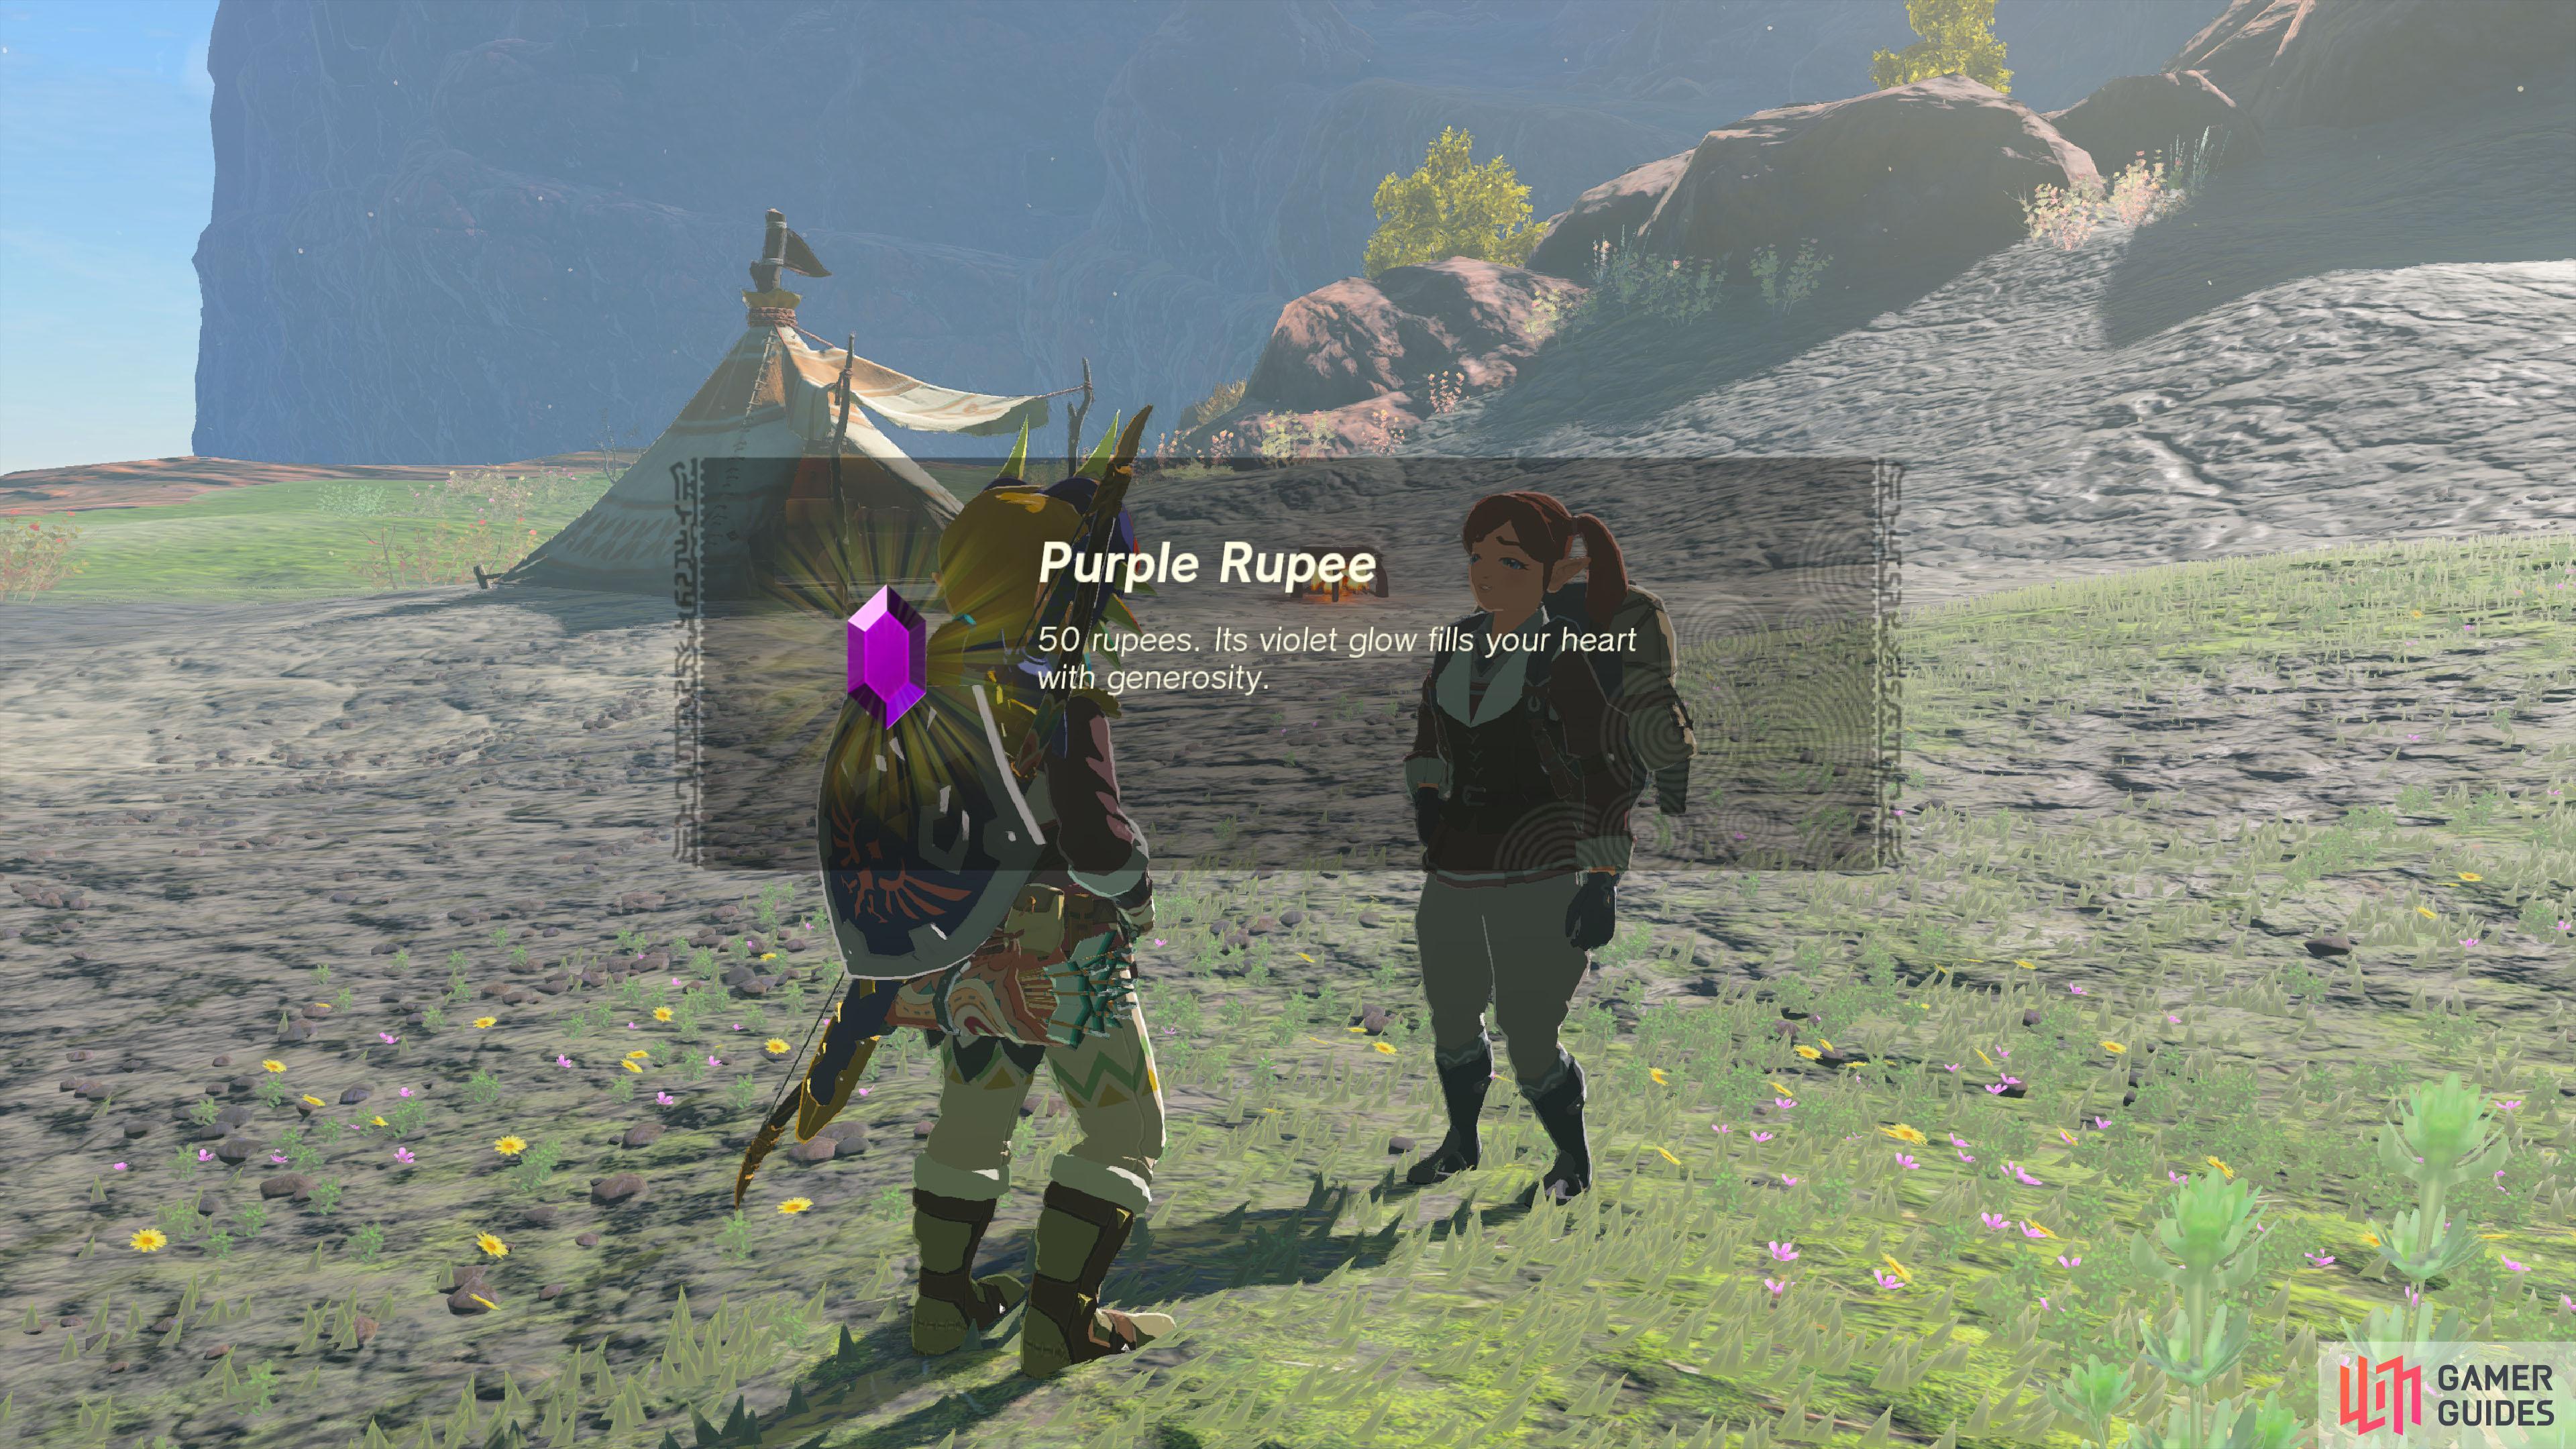
Eldin's Colossal Fossil |
You met Loone near East Akkala Stable.
Description
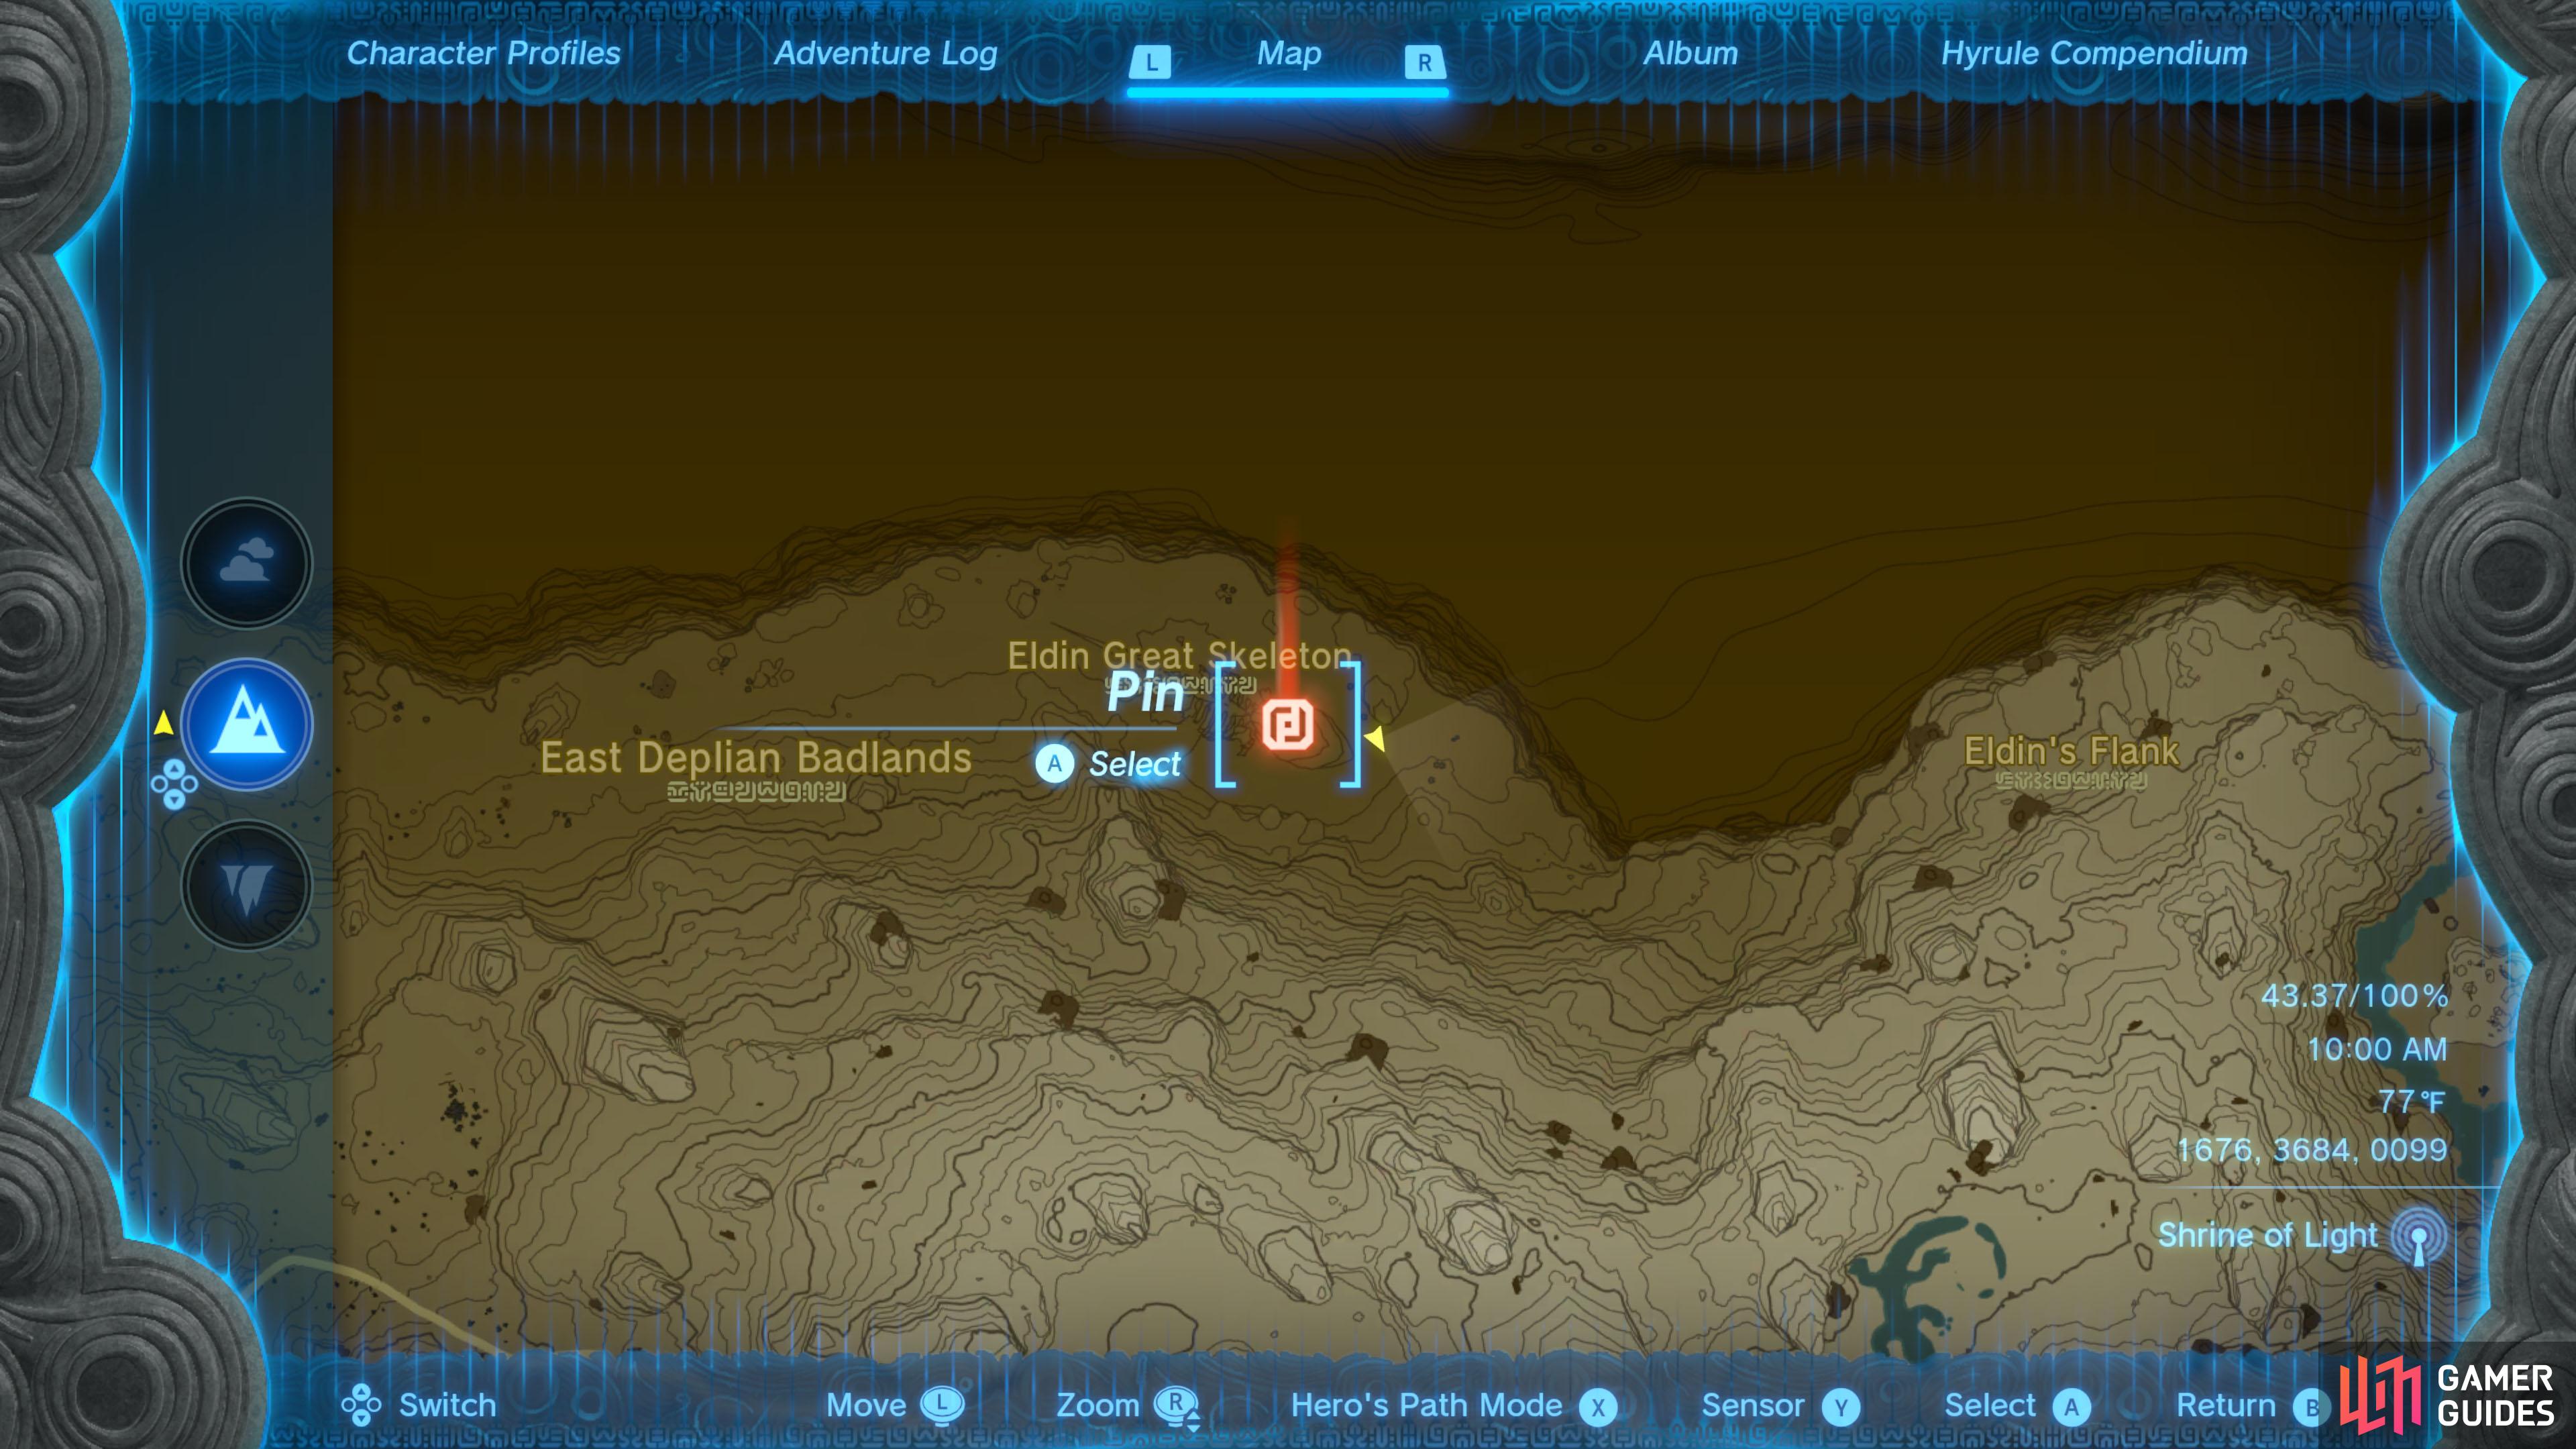
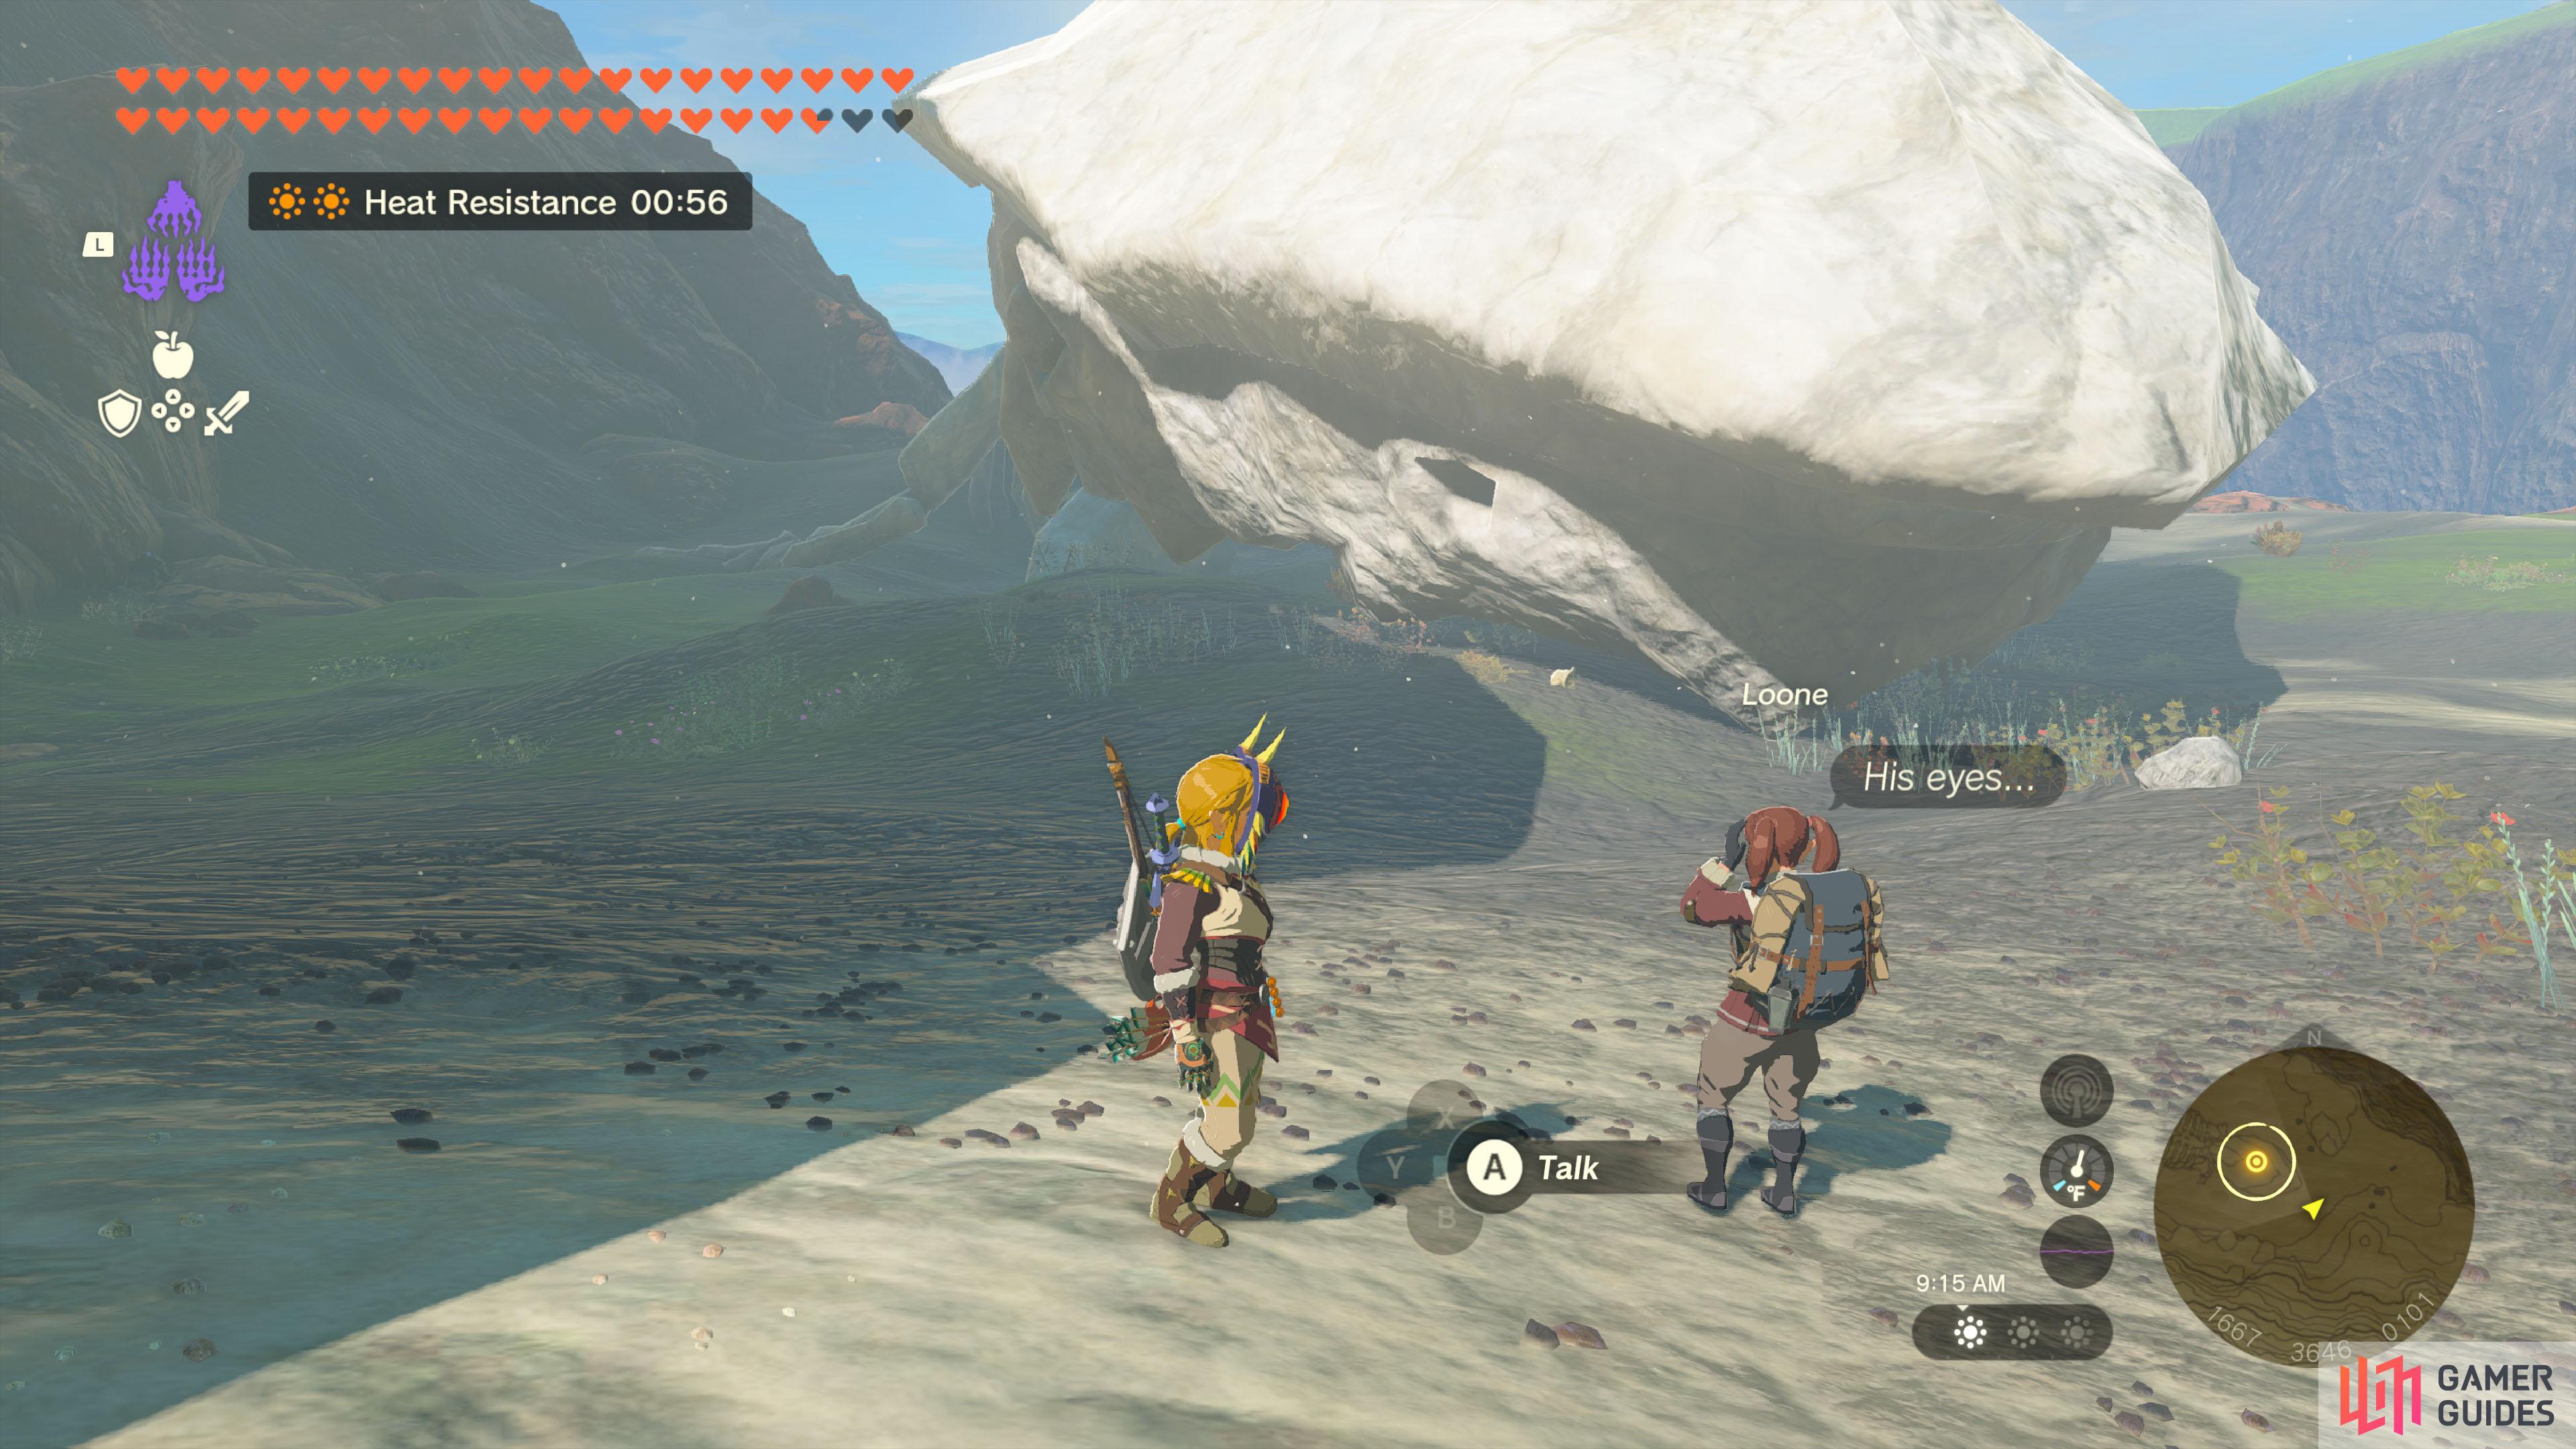
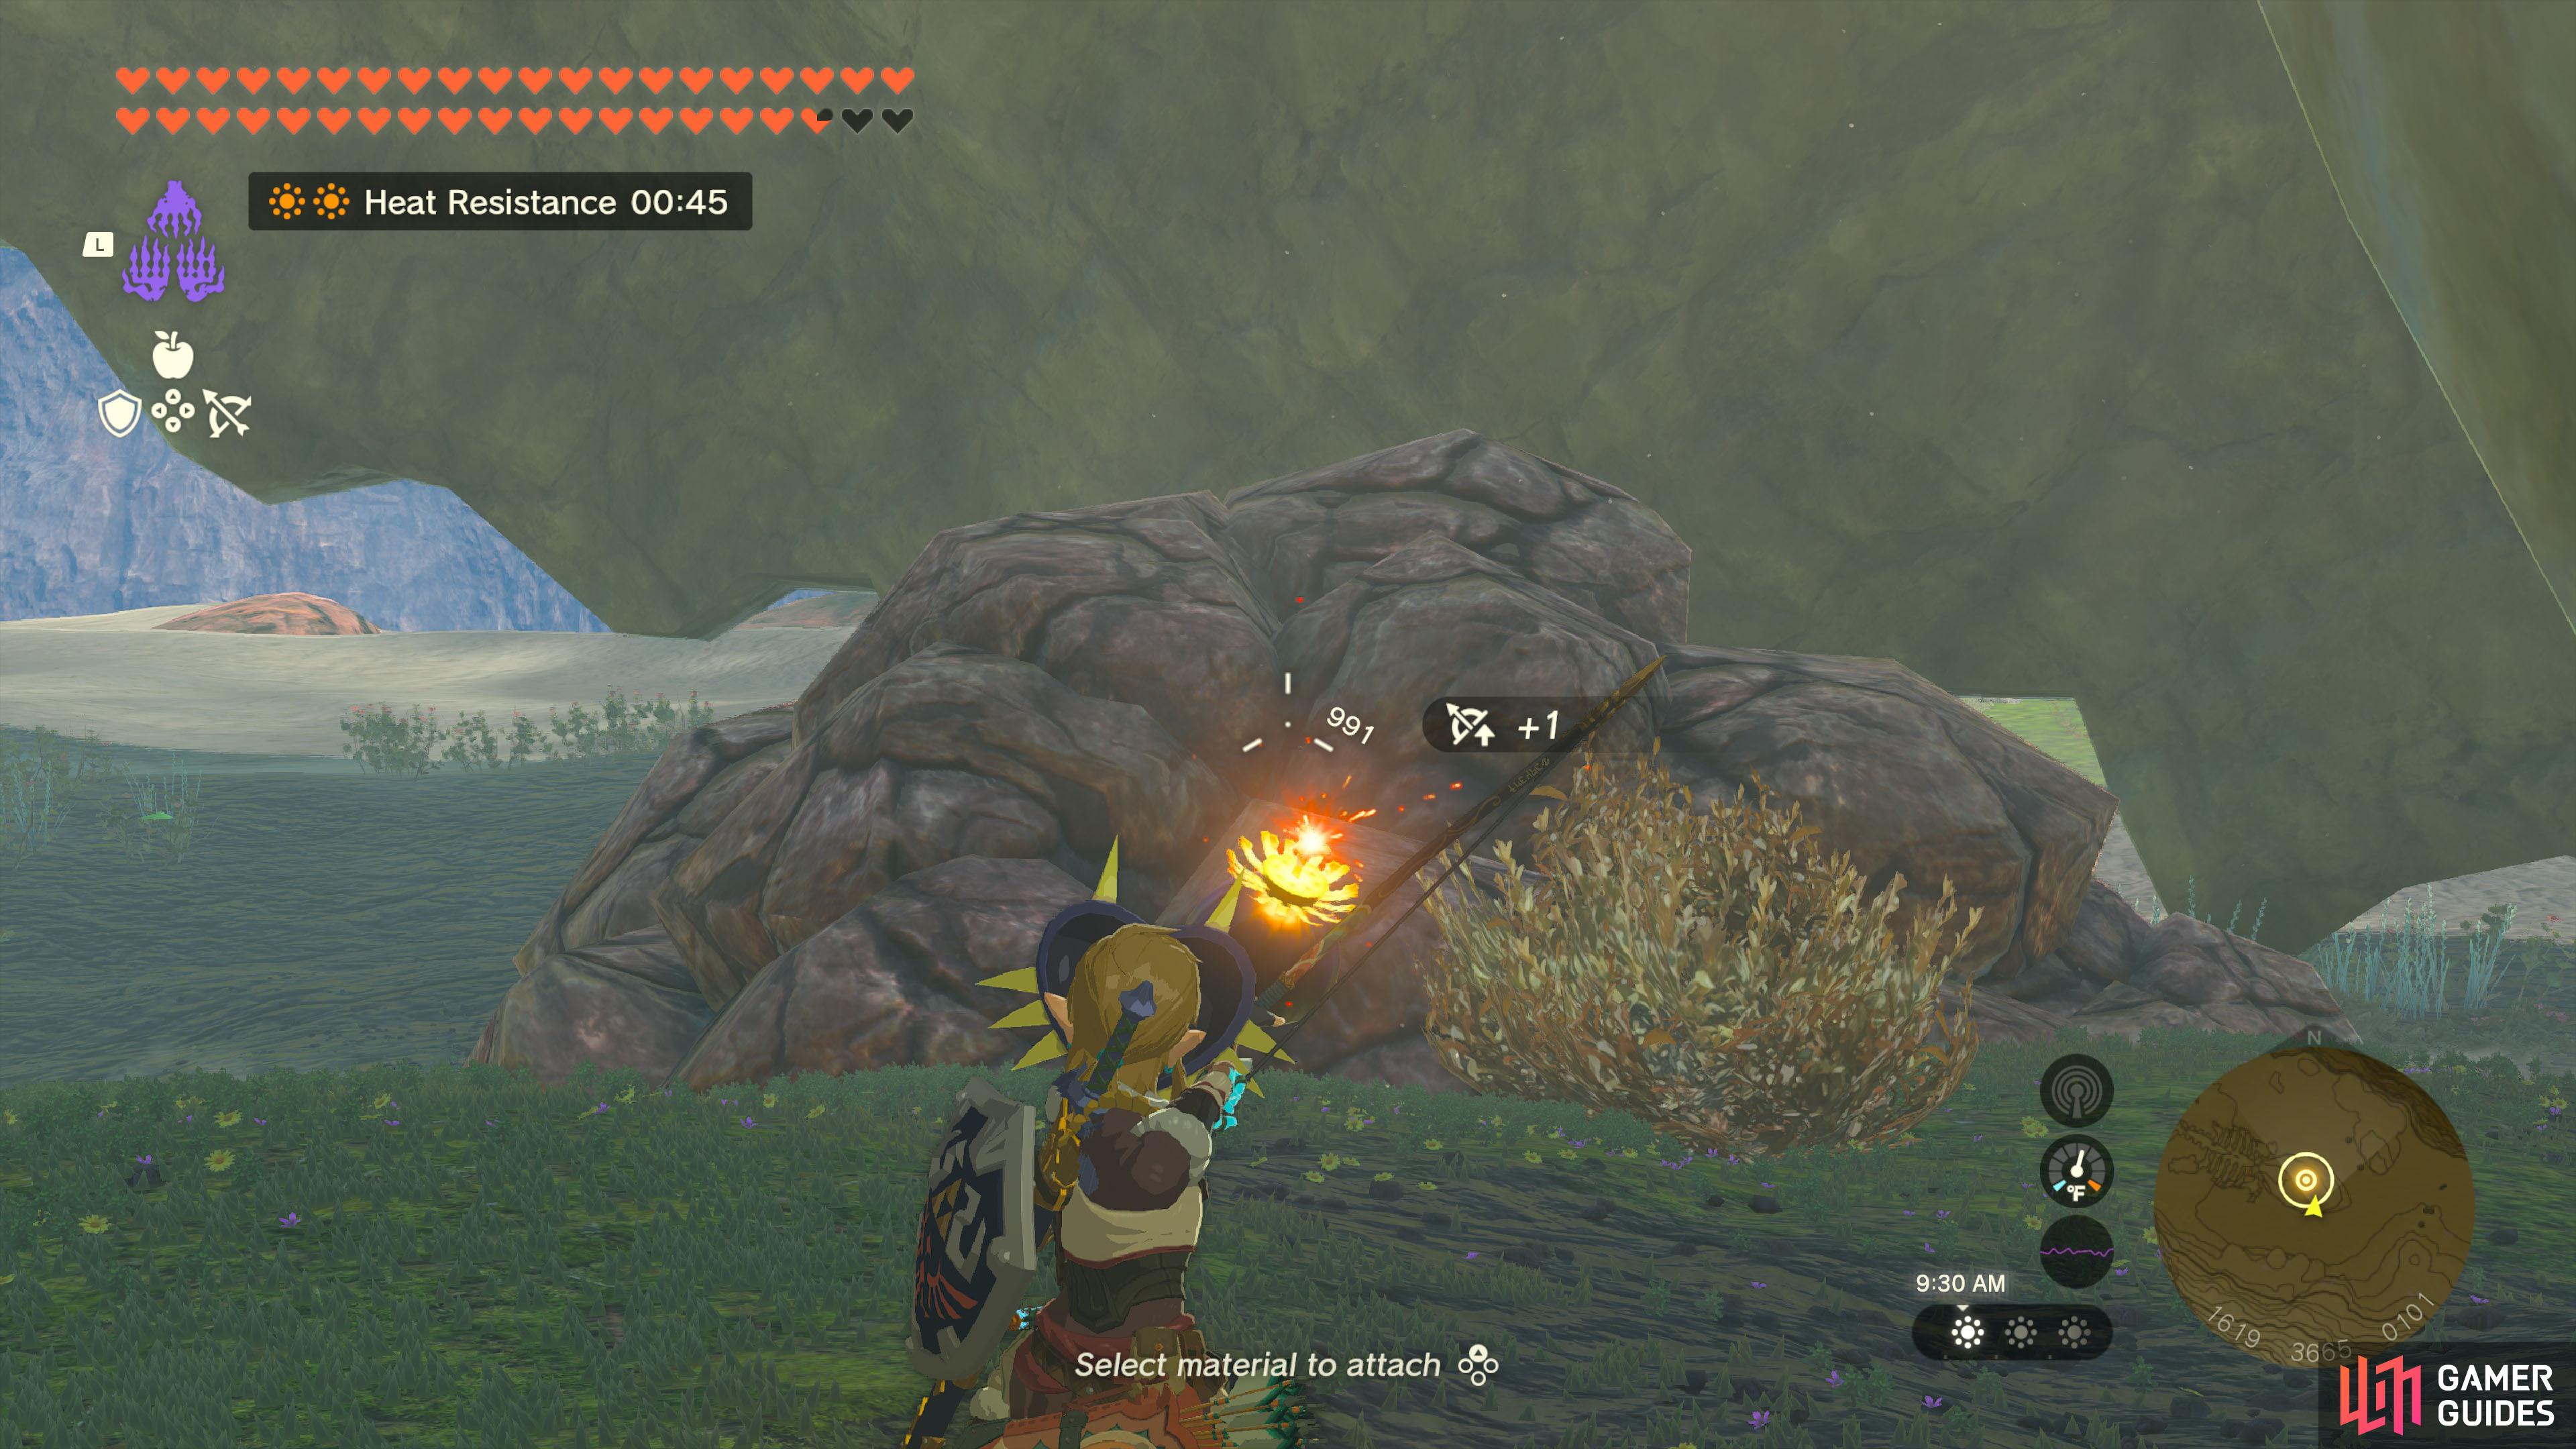
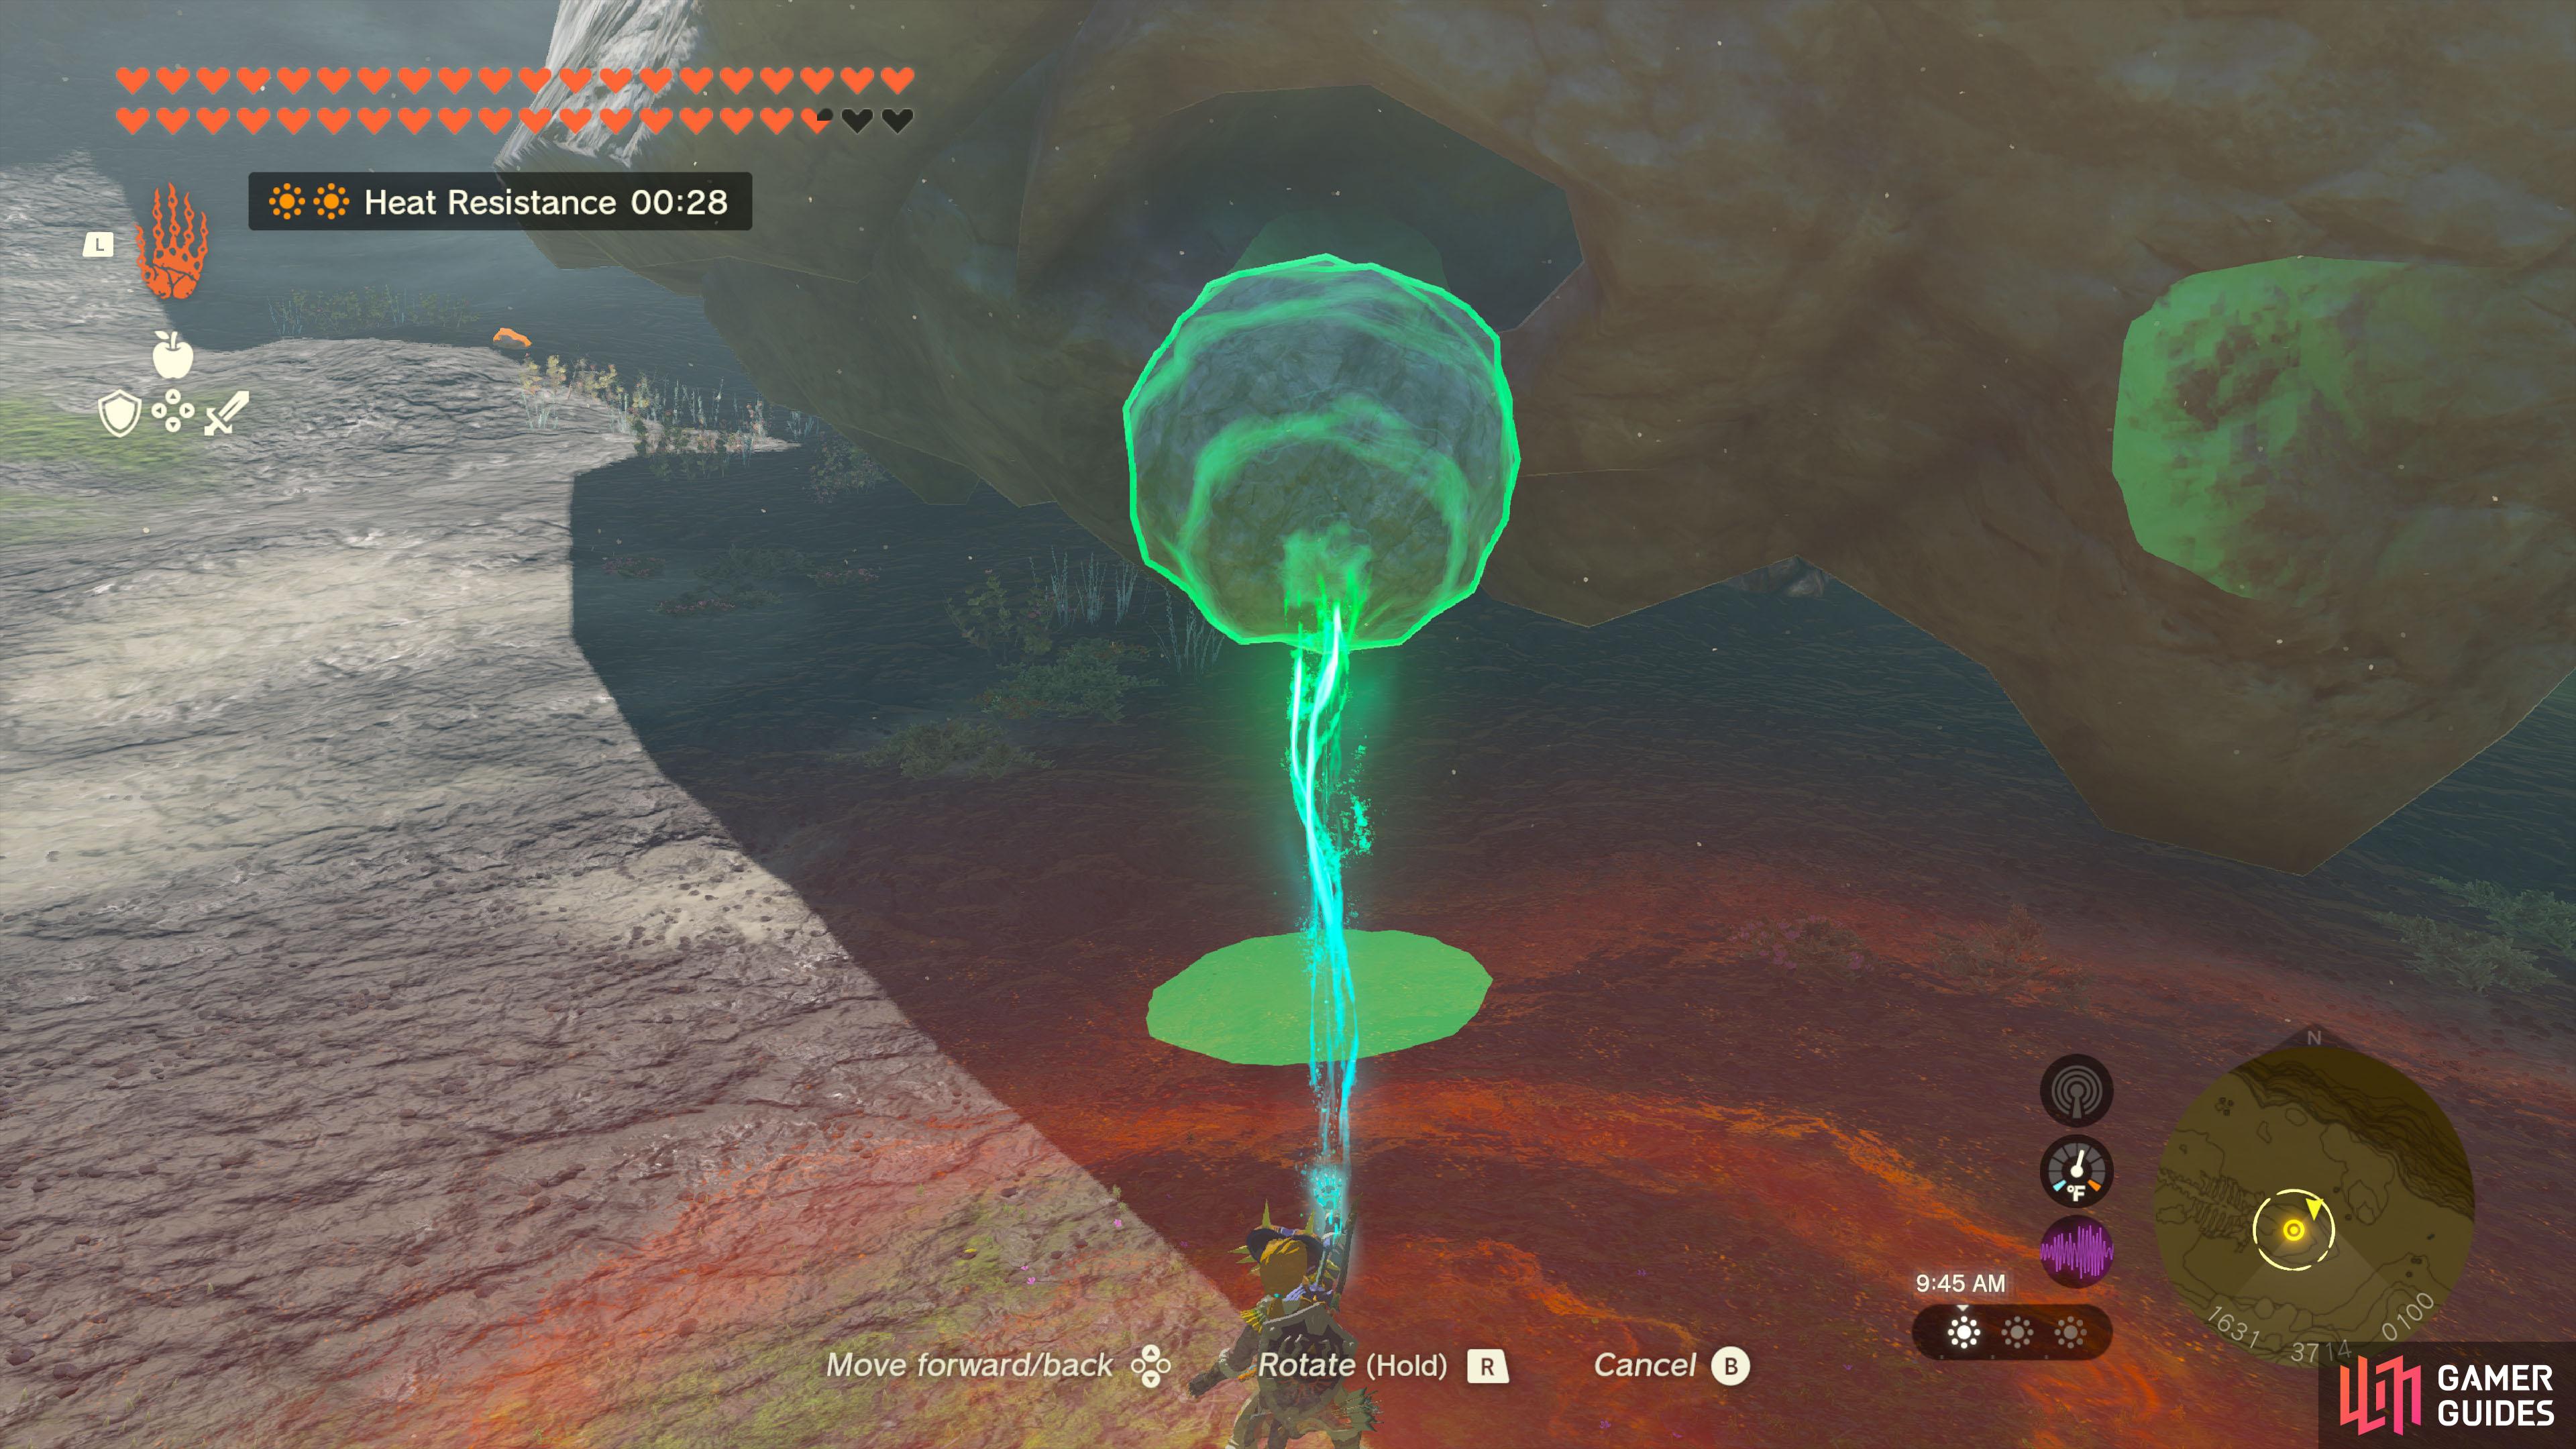
Look for Loone near East Akkala Stable, a short distance along the road to the Akkala Ancient Tech Lab. She’ll mark a location on your map: the Eldin Great Skeleton. When you have time, head over there. The closest fast-travel spot is the Loone is waiting towards the east of the skeleton, admiring its head. Speak to her and she’ll mention the skeleton has lost an eye. Go underneath the skeleton’s head and destroy the rocks near the middle. Use For your efforts, you’ll receive a In addition, a new quest will be added:
Completion Reward
1×
 Purple Rupee
Key Item Purple Rupee
Key Item
Quest Type
Side Quest
Map(s)
|
|
|||||||||||||||||||||||||||||||||||||||||||||||||||||||||||||||||||||||||||||||||||||||||||||||

|
Fell into a Well! |
When you entered the Now he can’t get out.
Quest Type
Side Quest
Map(s)
|
||||||||||||||||||||||||||||||||||||||||||||||||||||||||||||||||||||||||||||||||||||||||||||||||

|
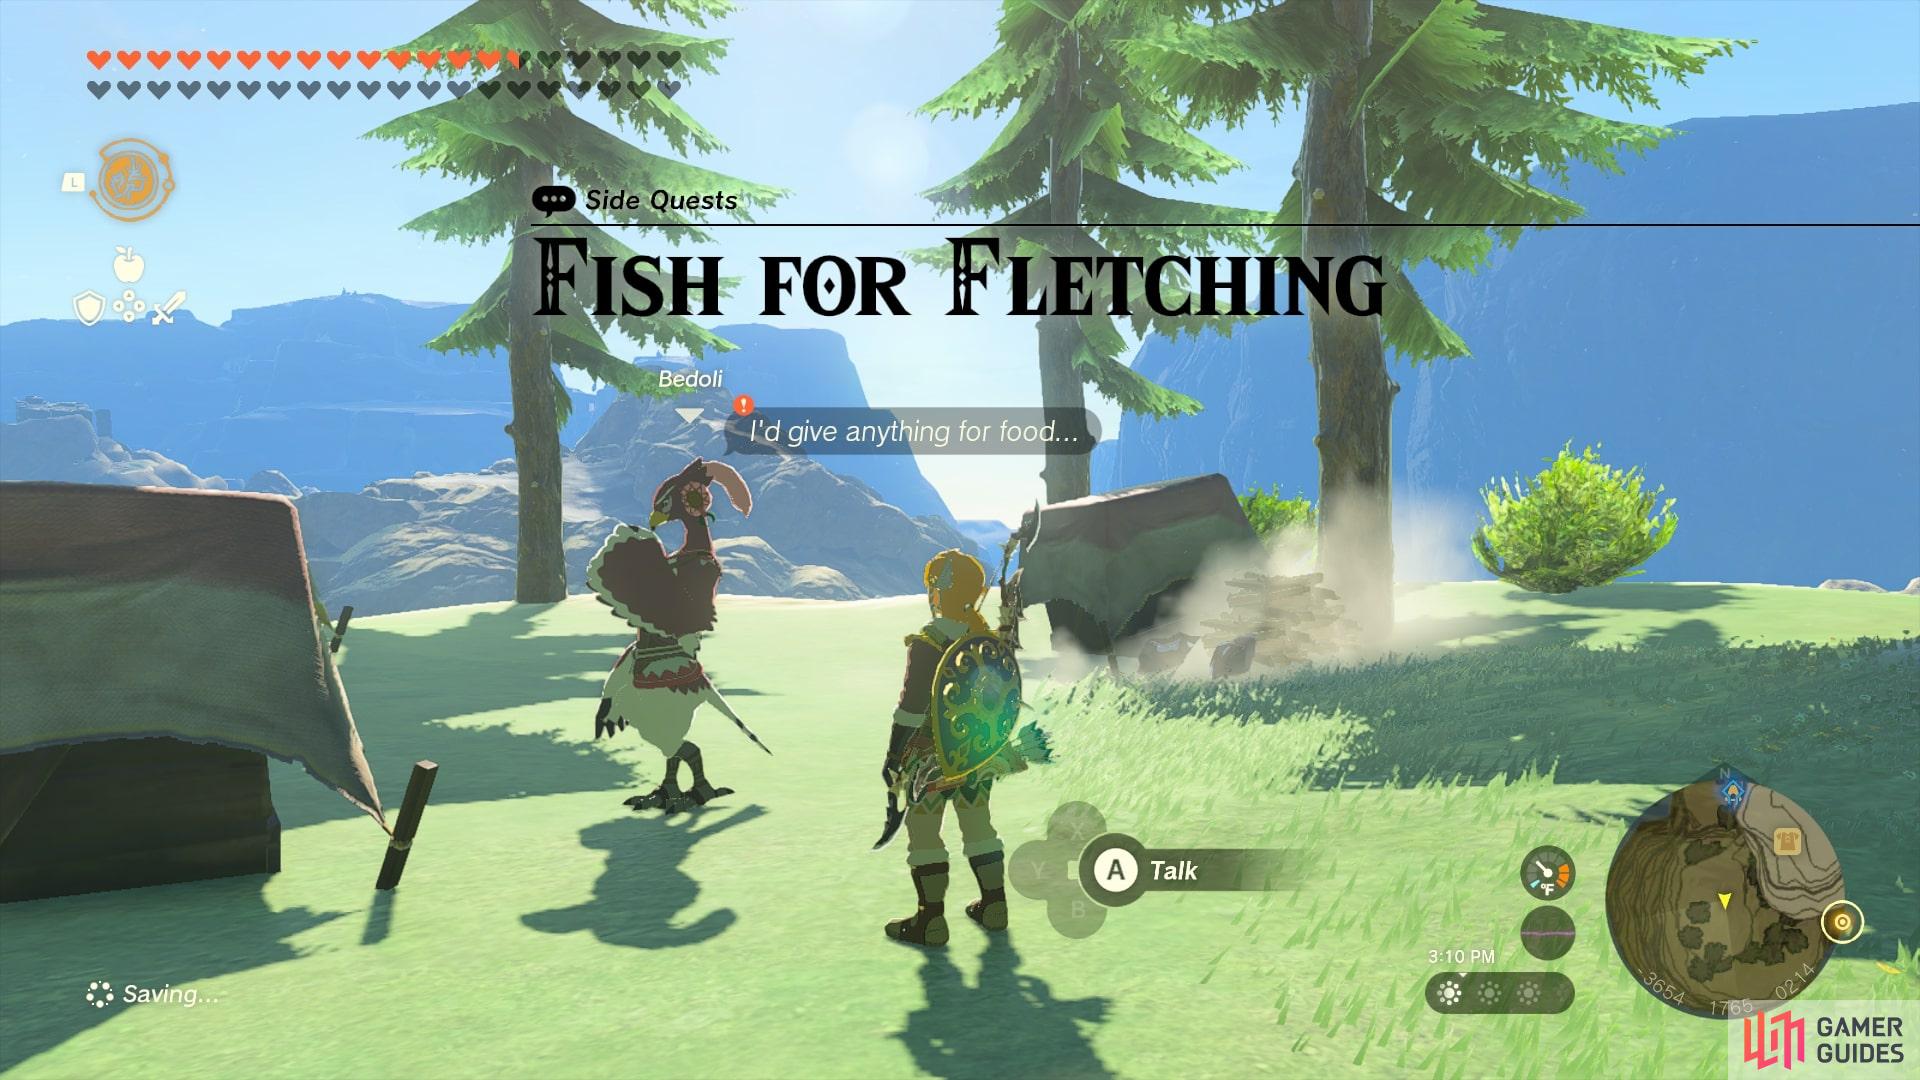
Fish for Fletching |
Bedoli is struggling due to the lack of food around Rito Village. She’s offered you a trade: bring her three glowing cave fish, which can be caught in caves, and she’ll give you 10 arrows. It couldn’t hurt to keep an eye out for the fish during your travels. After Completing You gave Bedoli three glowing cave fish and received 10 arrows in return. She offered to expand the agreement as well—now she’ll offer arrows not just for glowing cave fish, but also for the chillfin trout and brightcaps that the Rito children crave.
Description
Bring three
Quest Type
Side Quest
Map(s)
|
|
|||||||||||||||||||||||||||||||||||||||||||||||||||||||||||||||||||||||||||||||||||||||||||||||

|
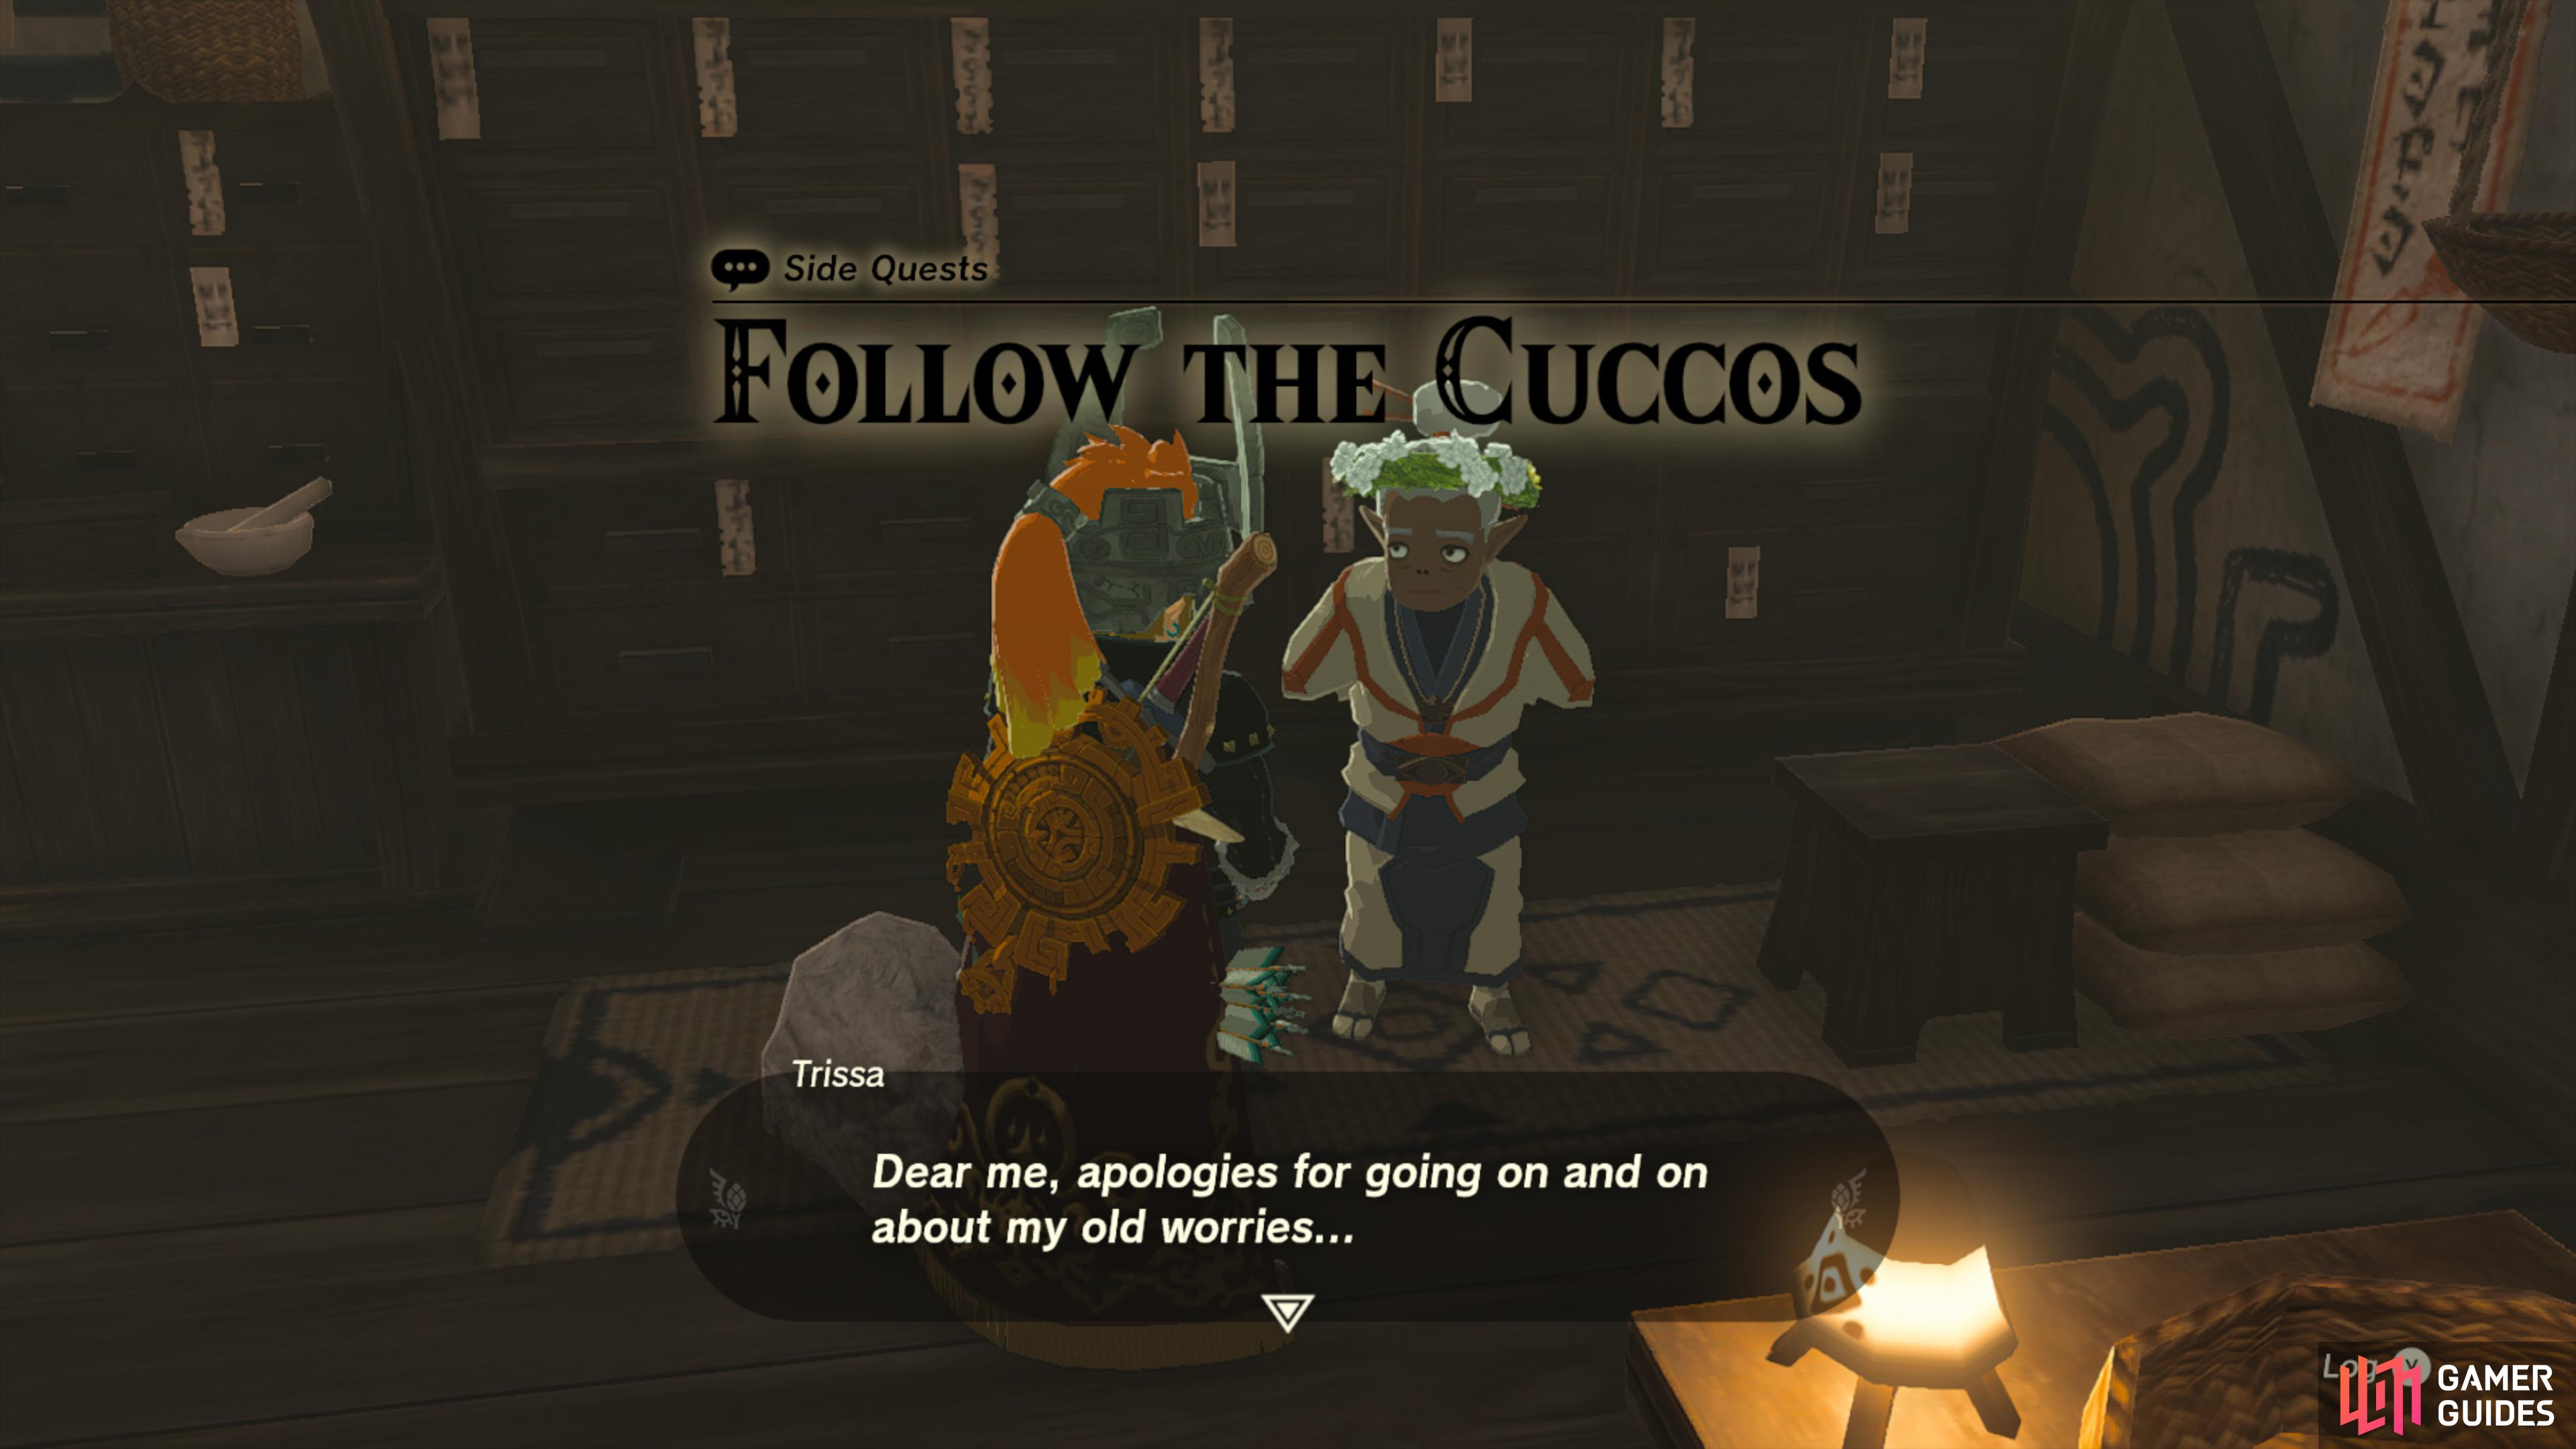
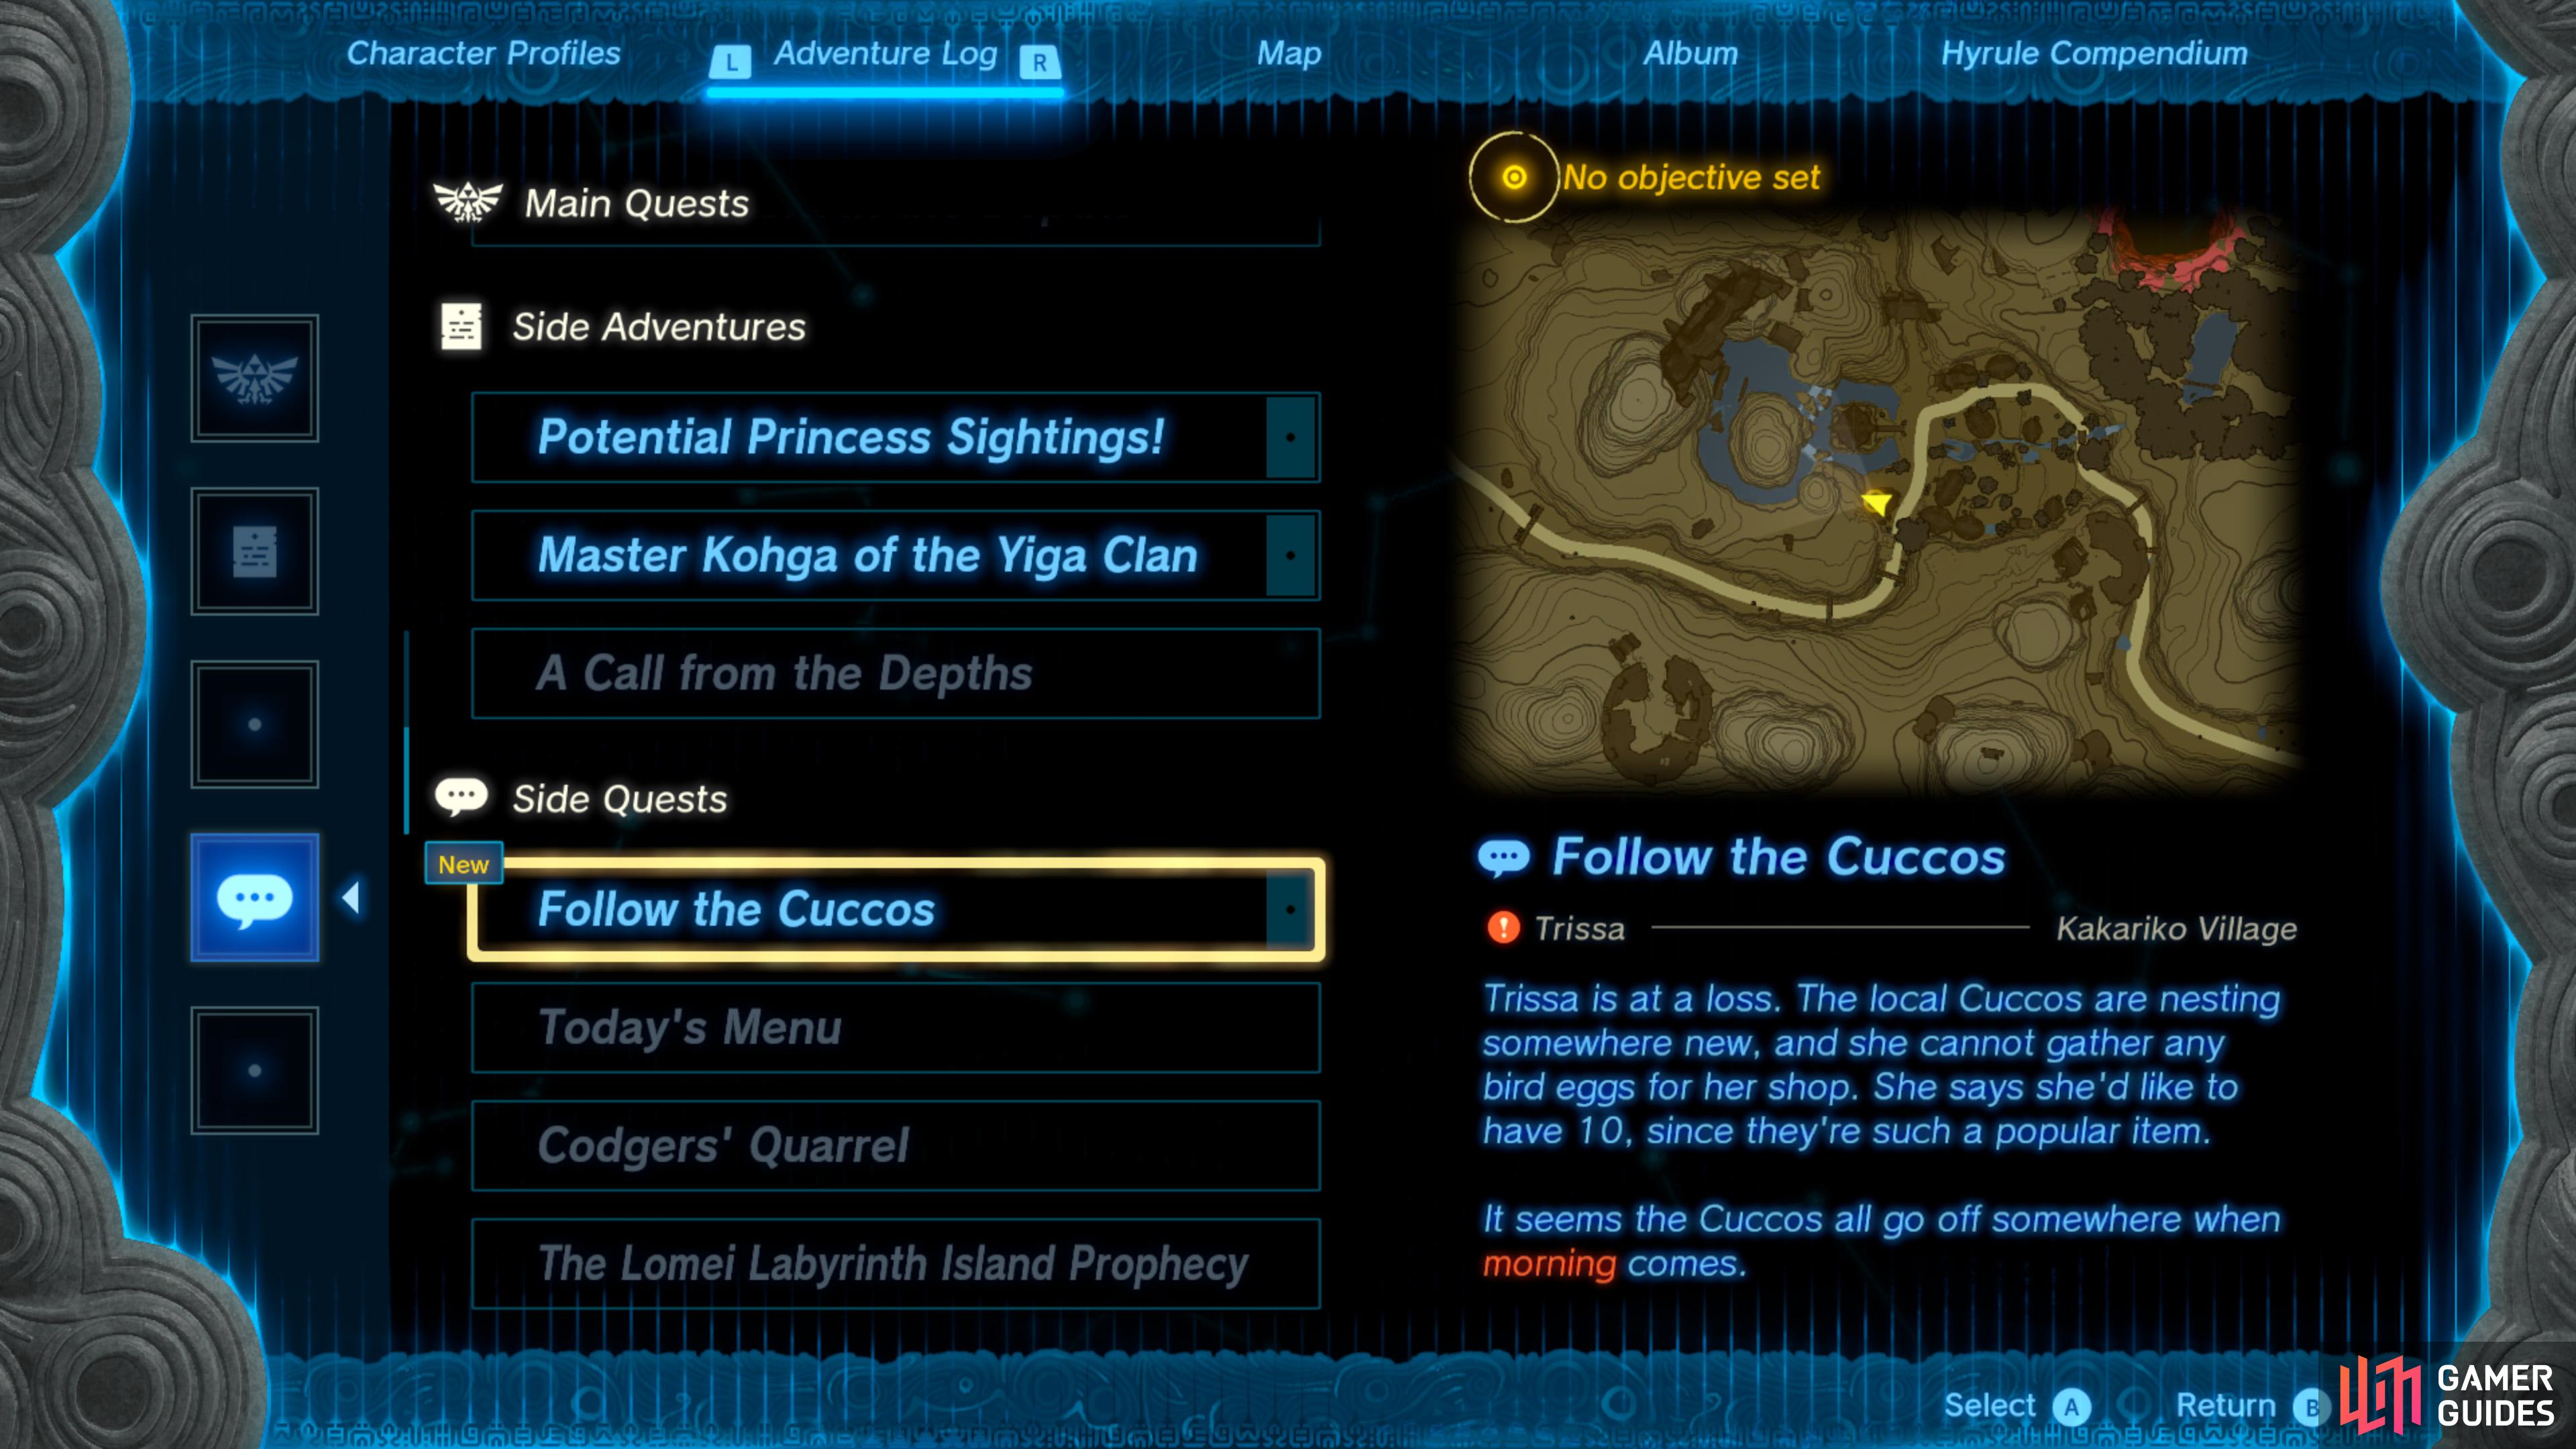
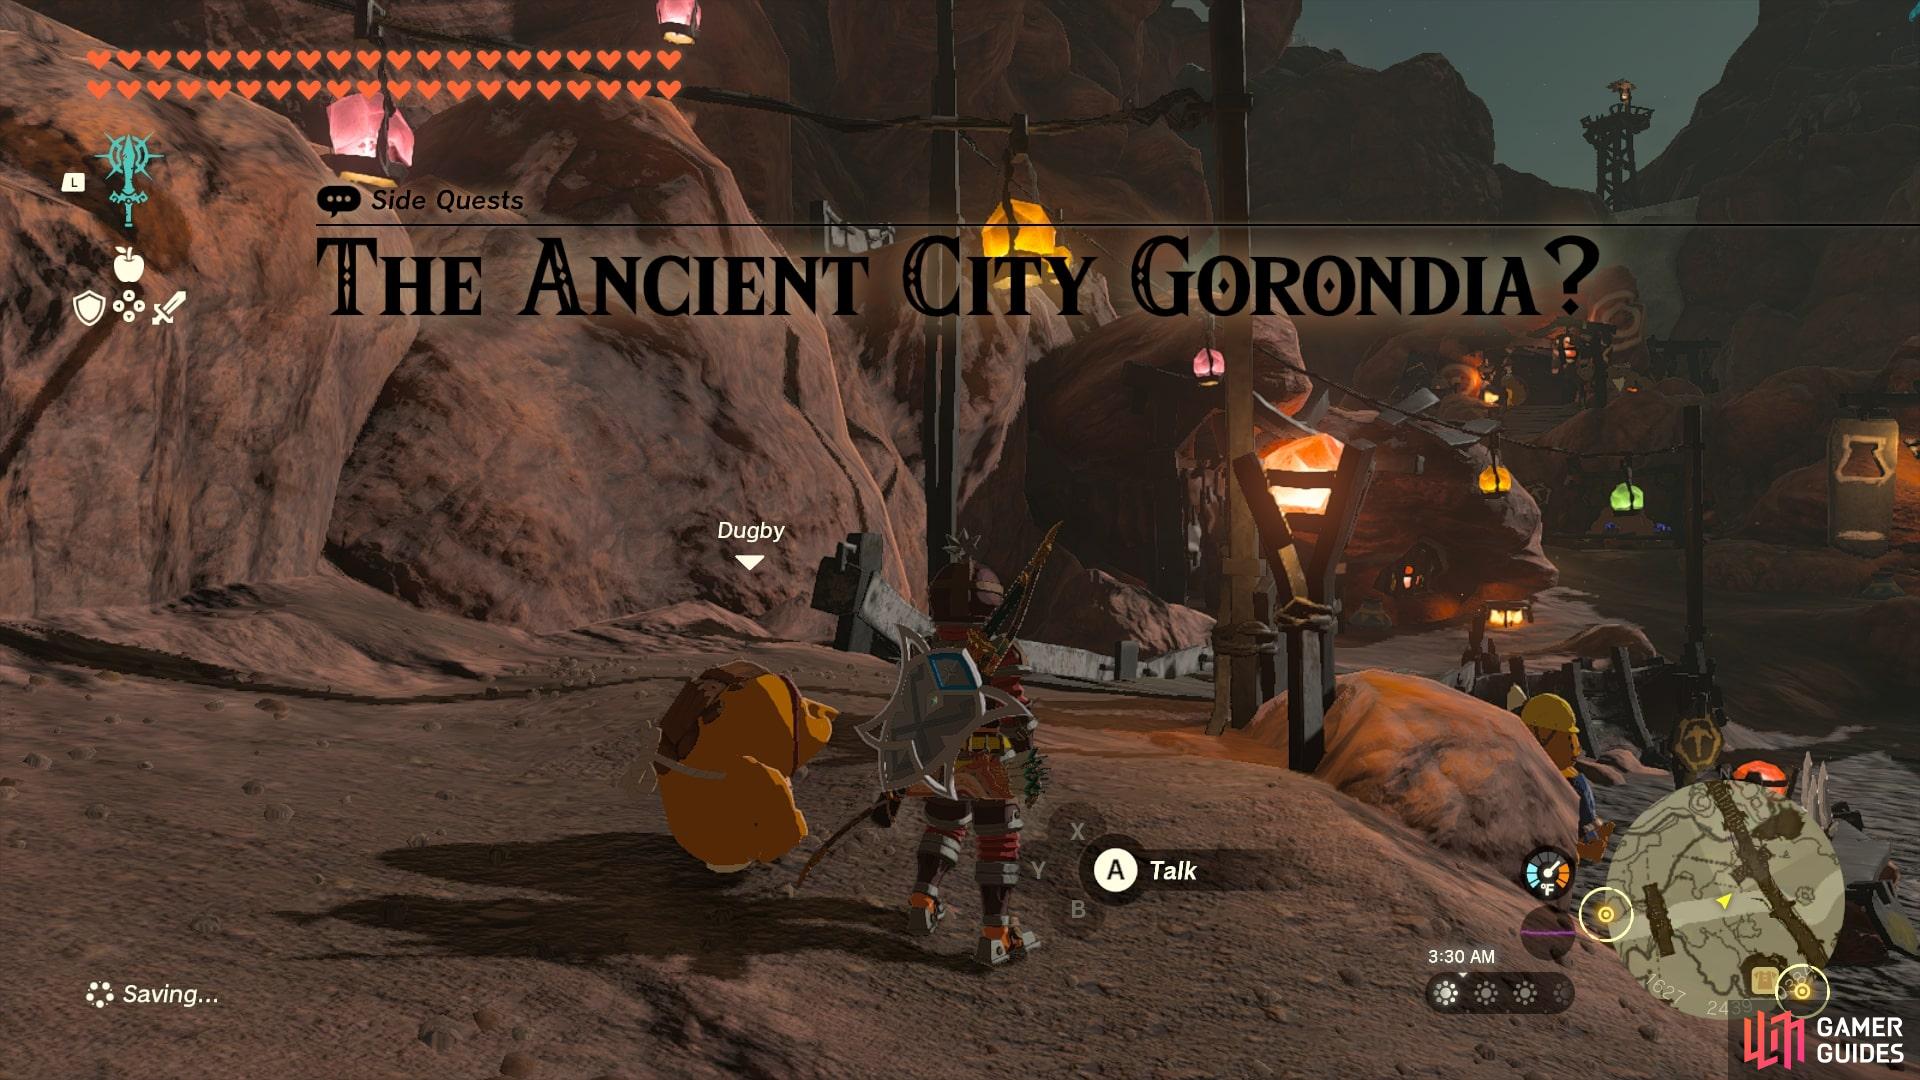
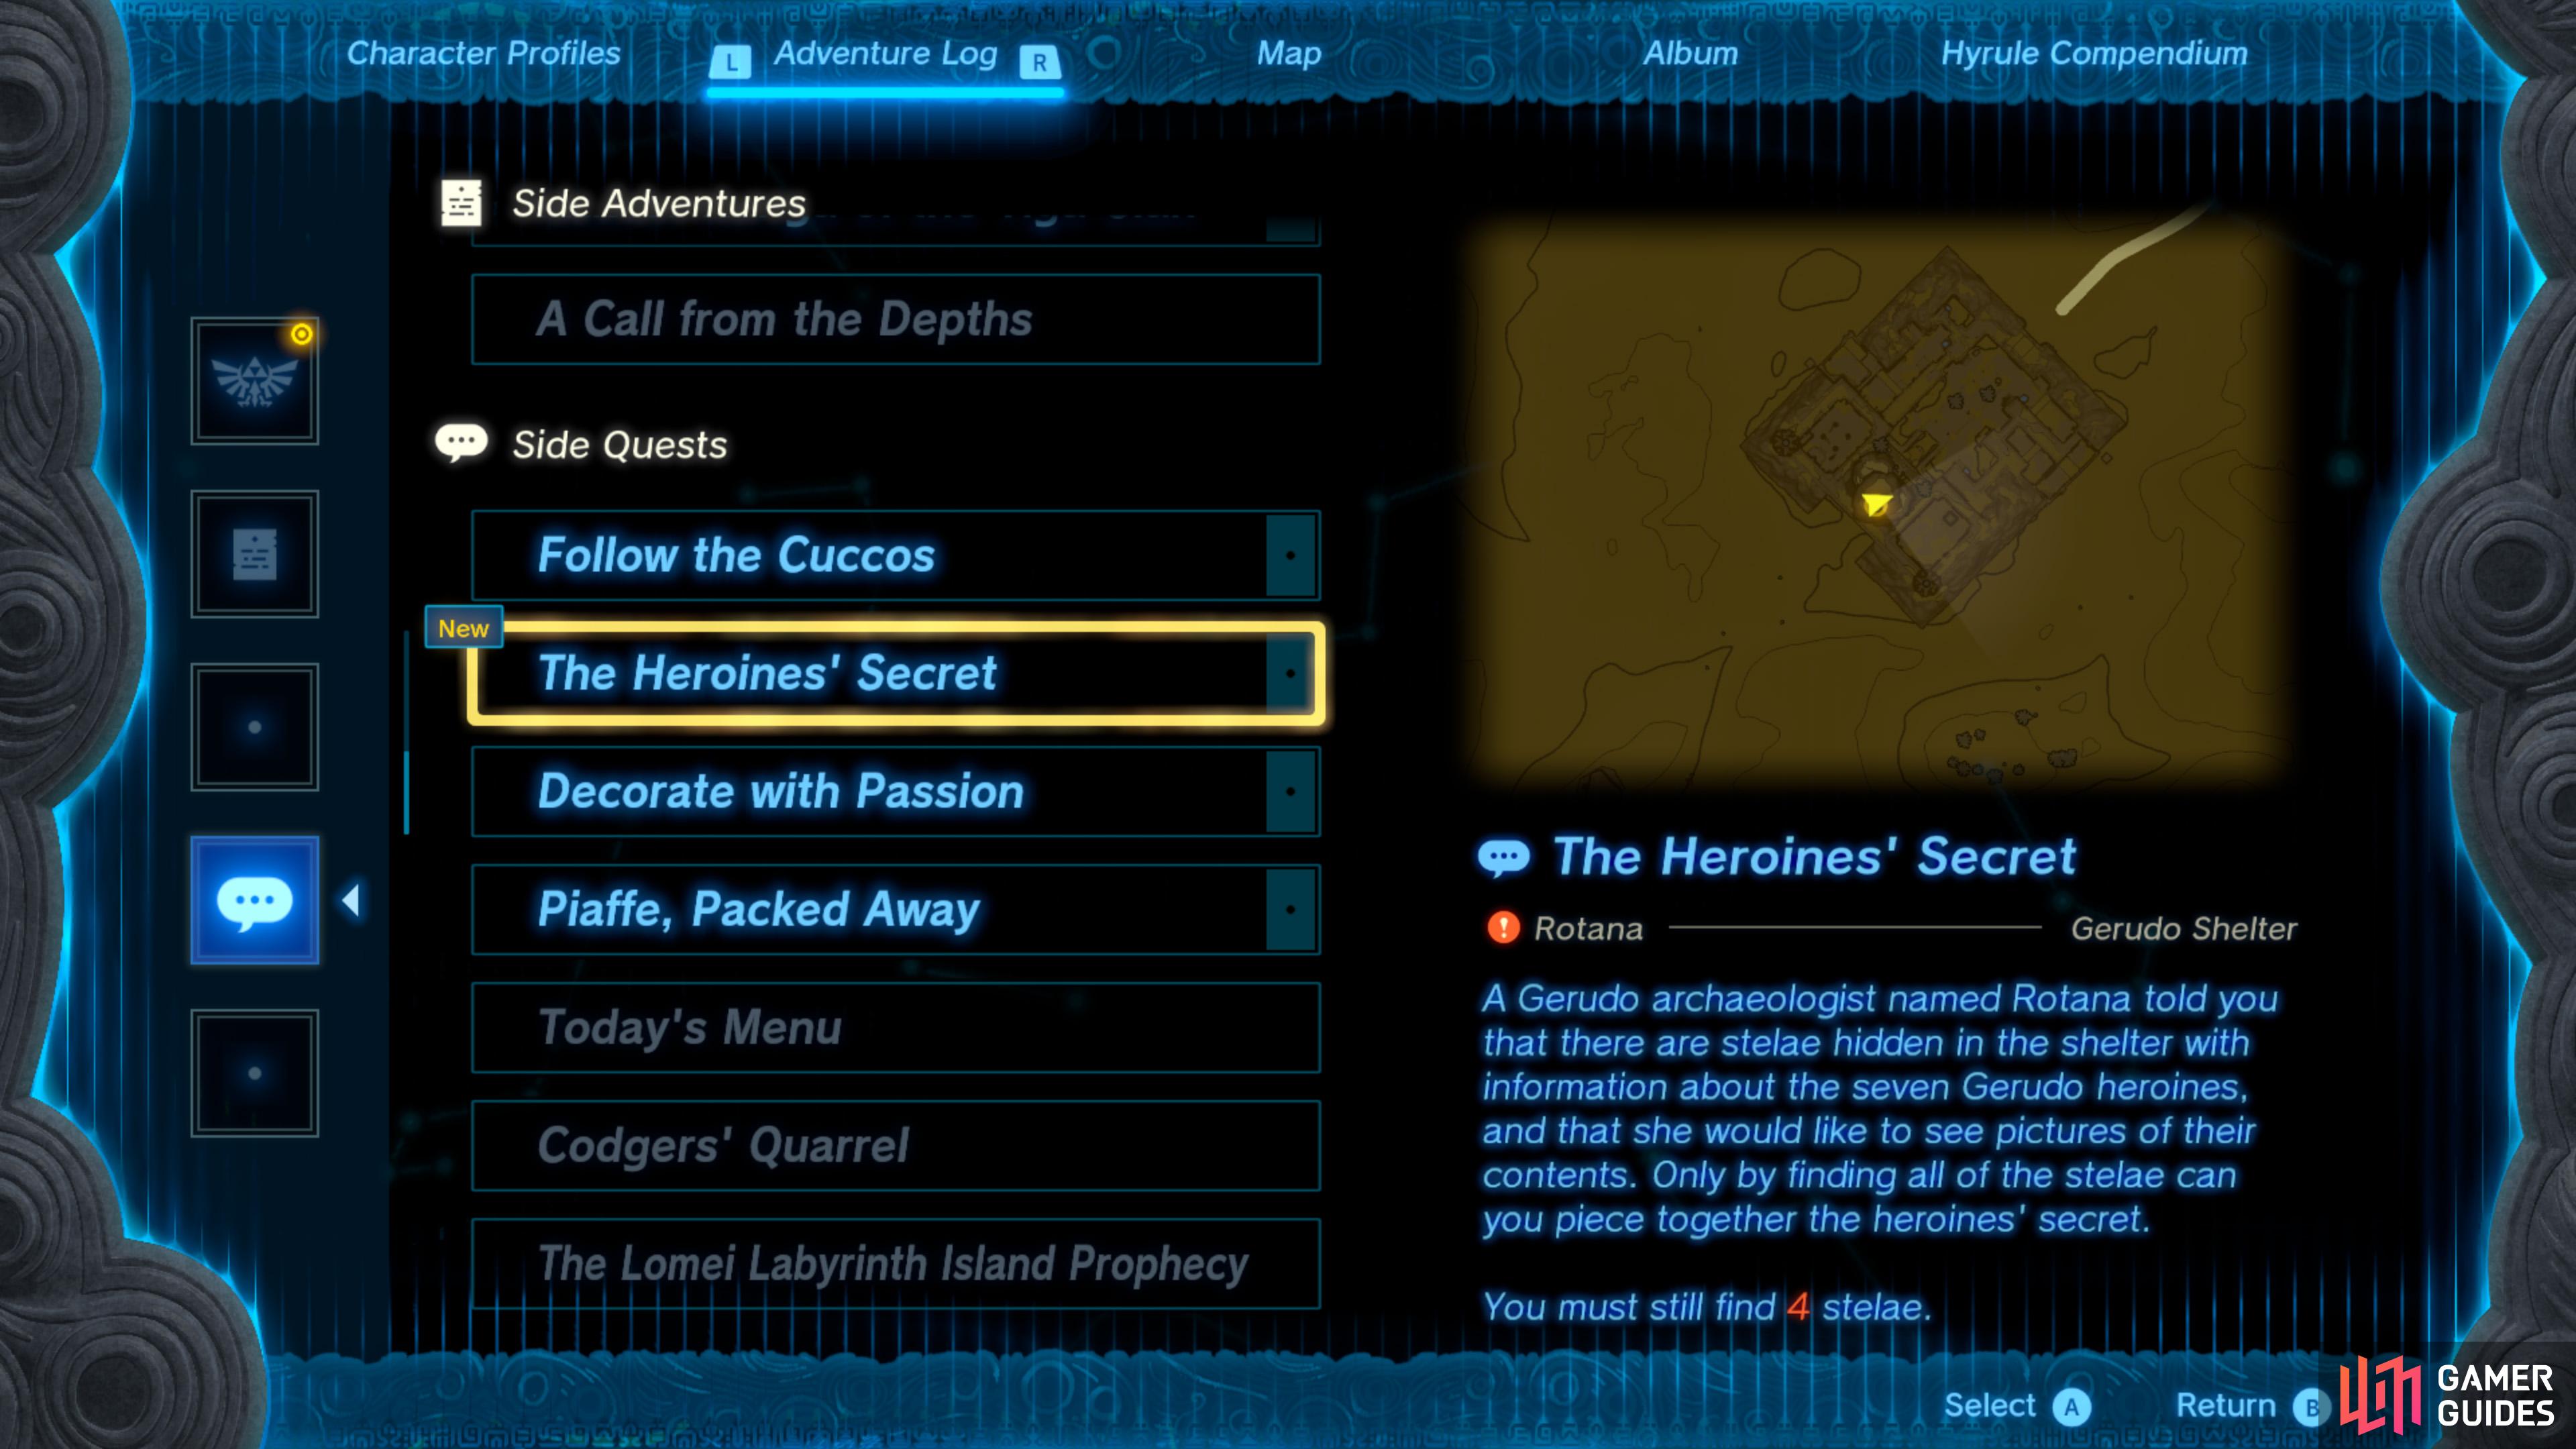
Follow the Cuccos |
Trissa is at a loss. The local
Description
This is quest is obtained from Trissa after completing
Quest Type
Side Quest
Map(s)
|
|
|||||||||||||||||||||||||||||||||||||||||||||||||||||||||||||||||||||||||||||||||||||||||||||||

|
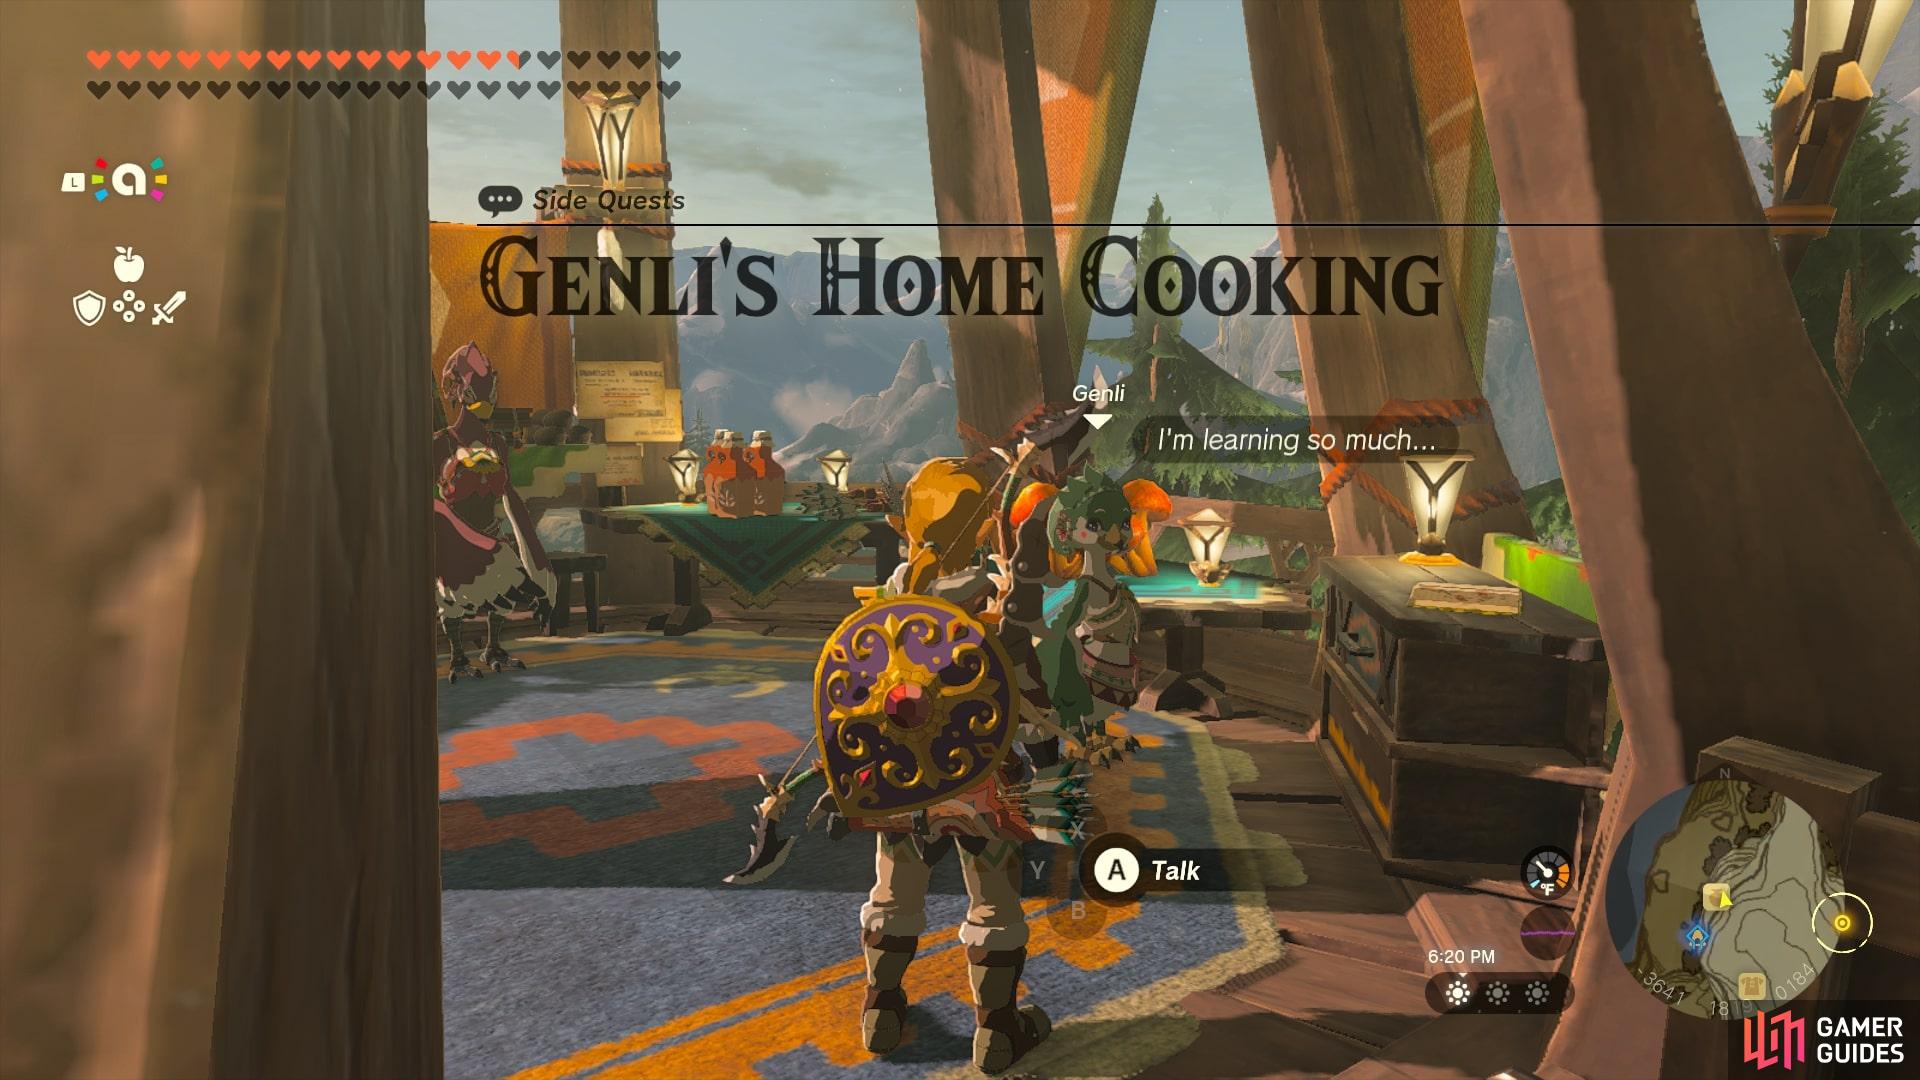
Genli's Home Cooking |
Genli has a passion for culinary research. She wants to make a fish pie to help everyone feel better from the inside out, but she can’t get her hands on any staminoka bass. After Completing You gave the staminoka bass to Genli. She is thrilled now that she can make fish pie to cheer everyone up. As a reward, she gave you some biting simmered fruit made with ice fruit.
Description
Give a
Quest Type
Side Quest
Map(s)
|
|
|||||||||||||||||||||||||||||||||||||||||||||||||||||||||||||||||||||||||||||||||||||||||||||||

|
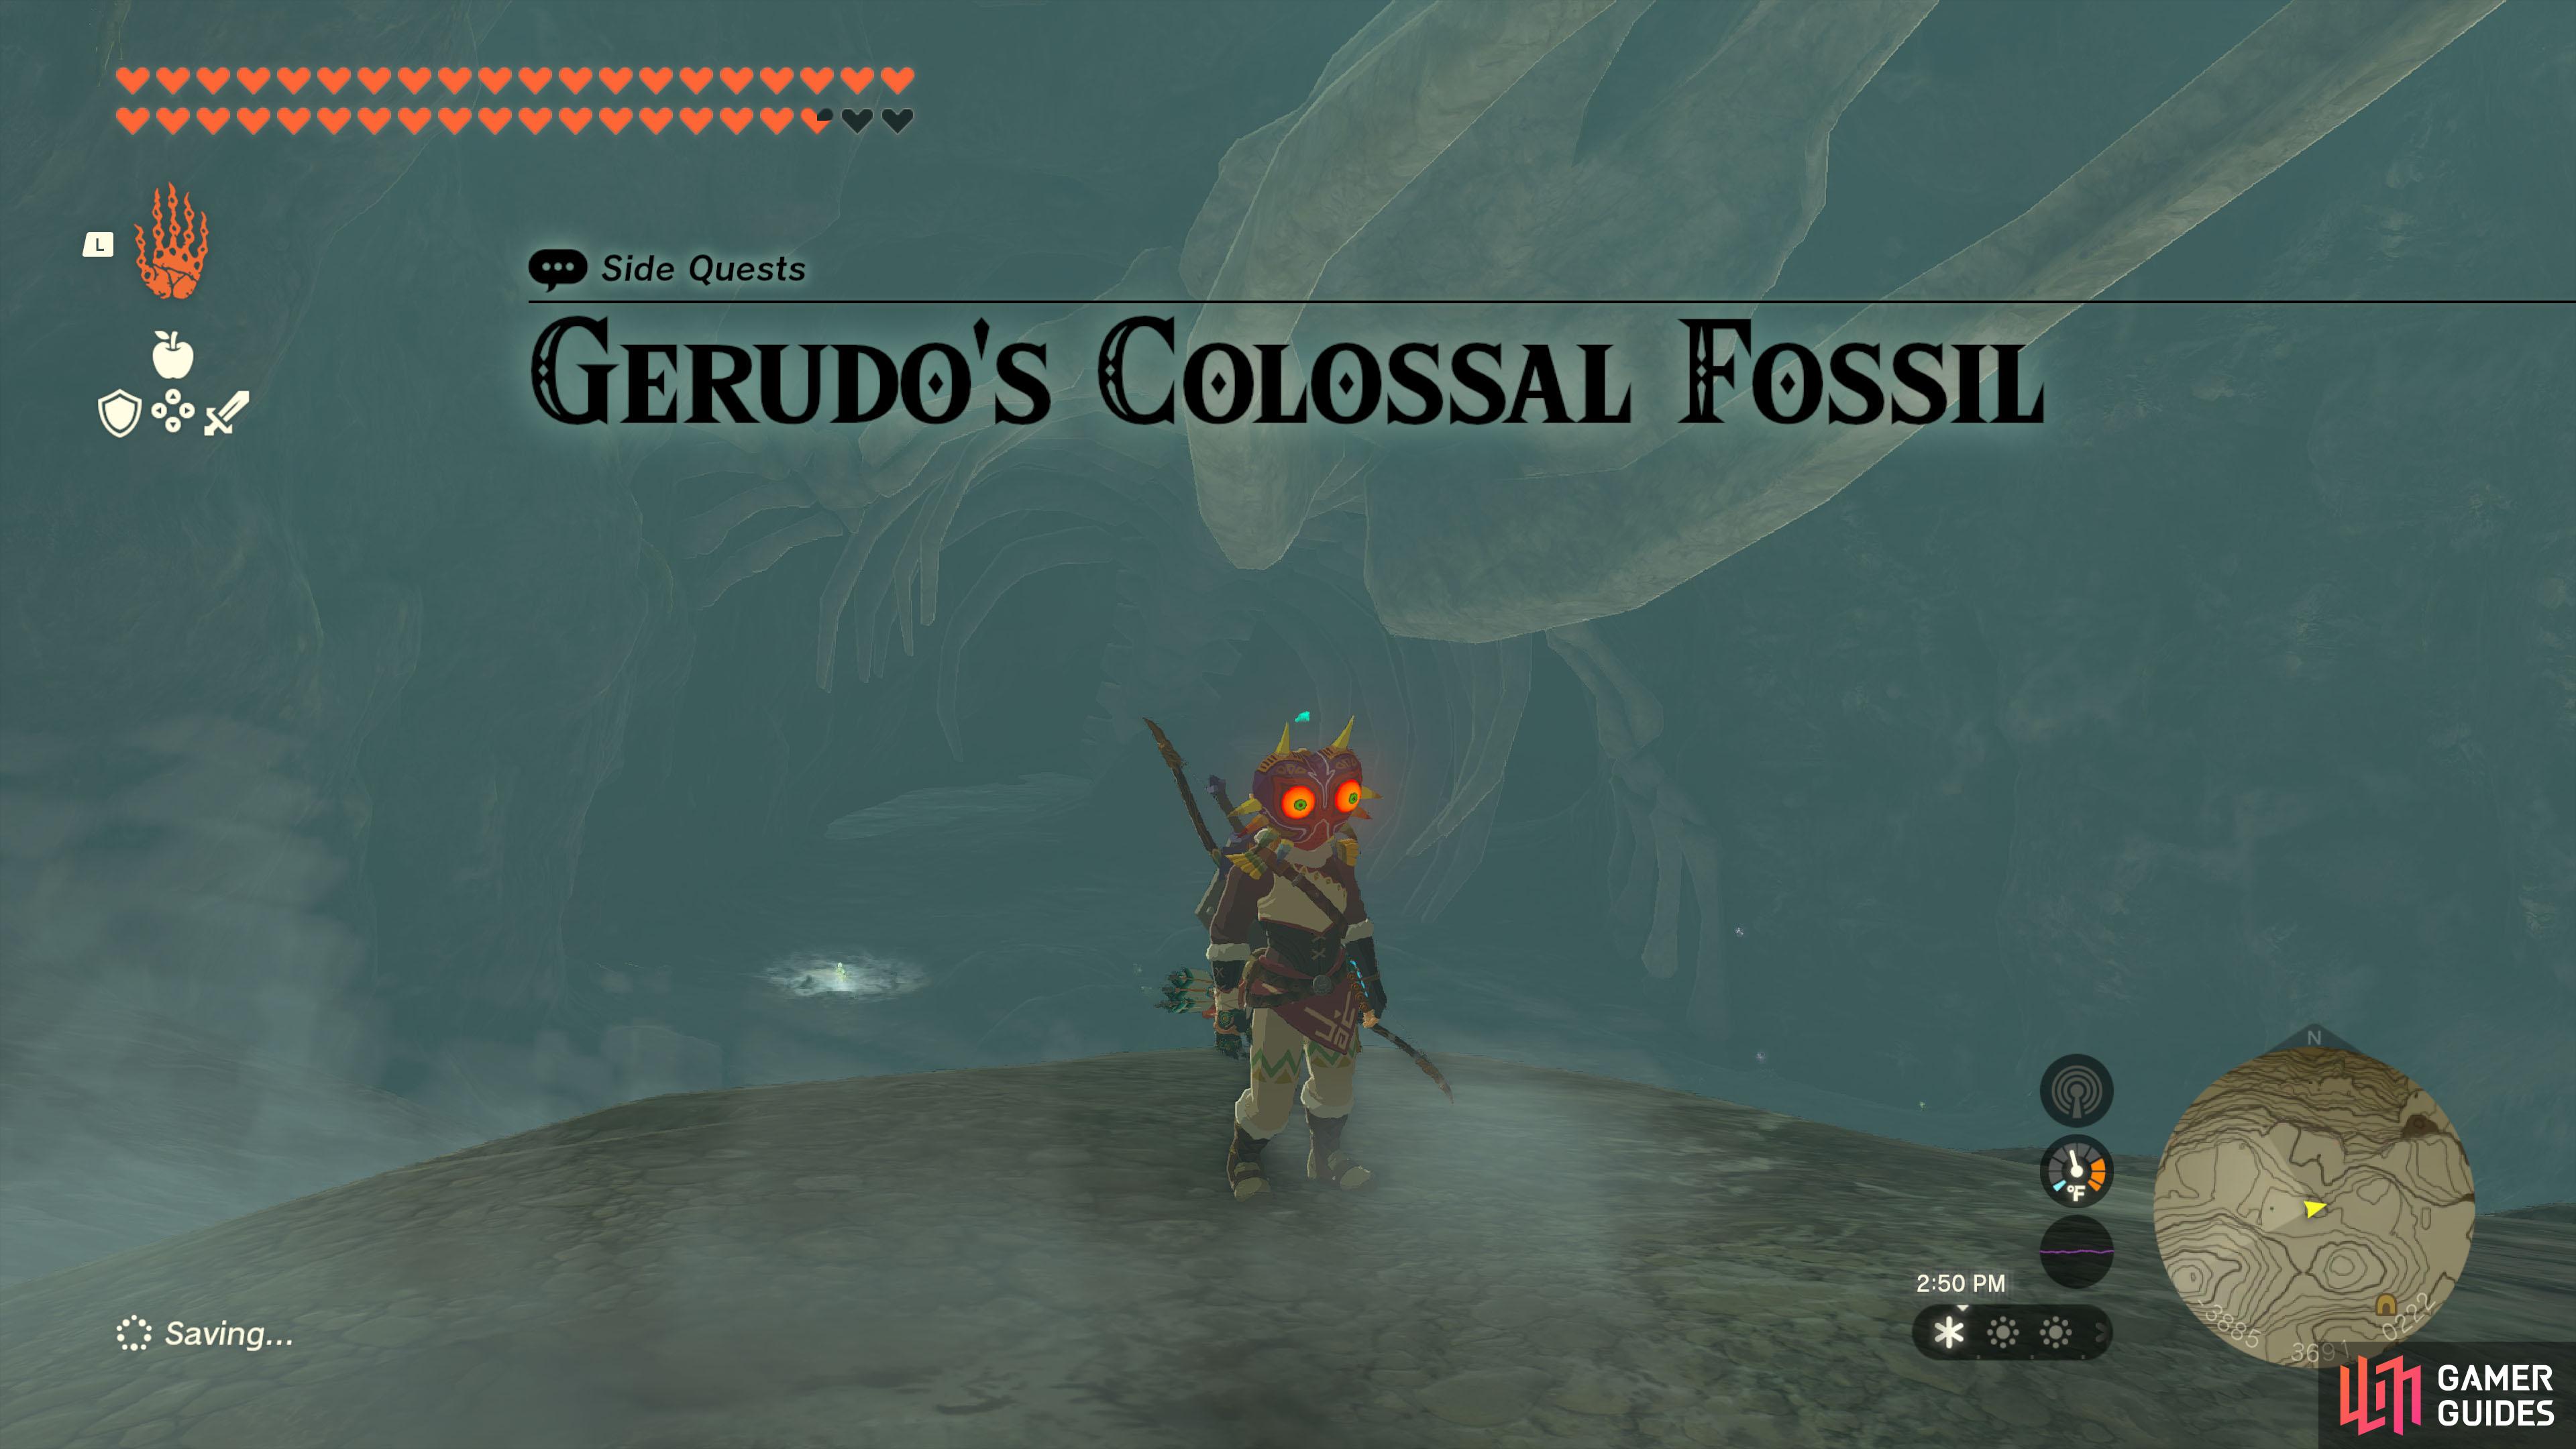
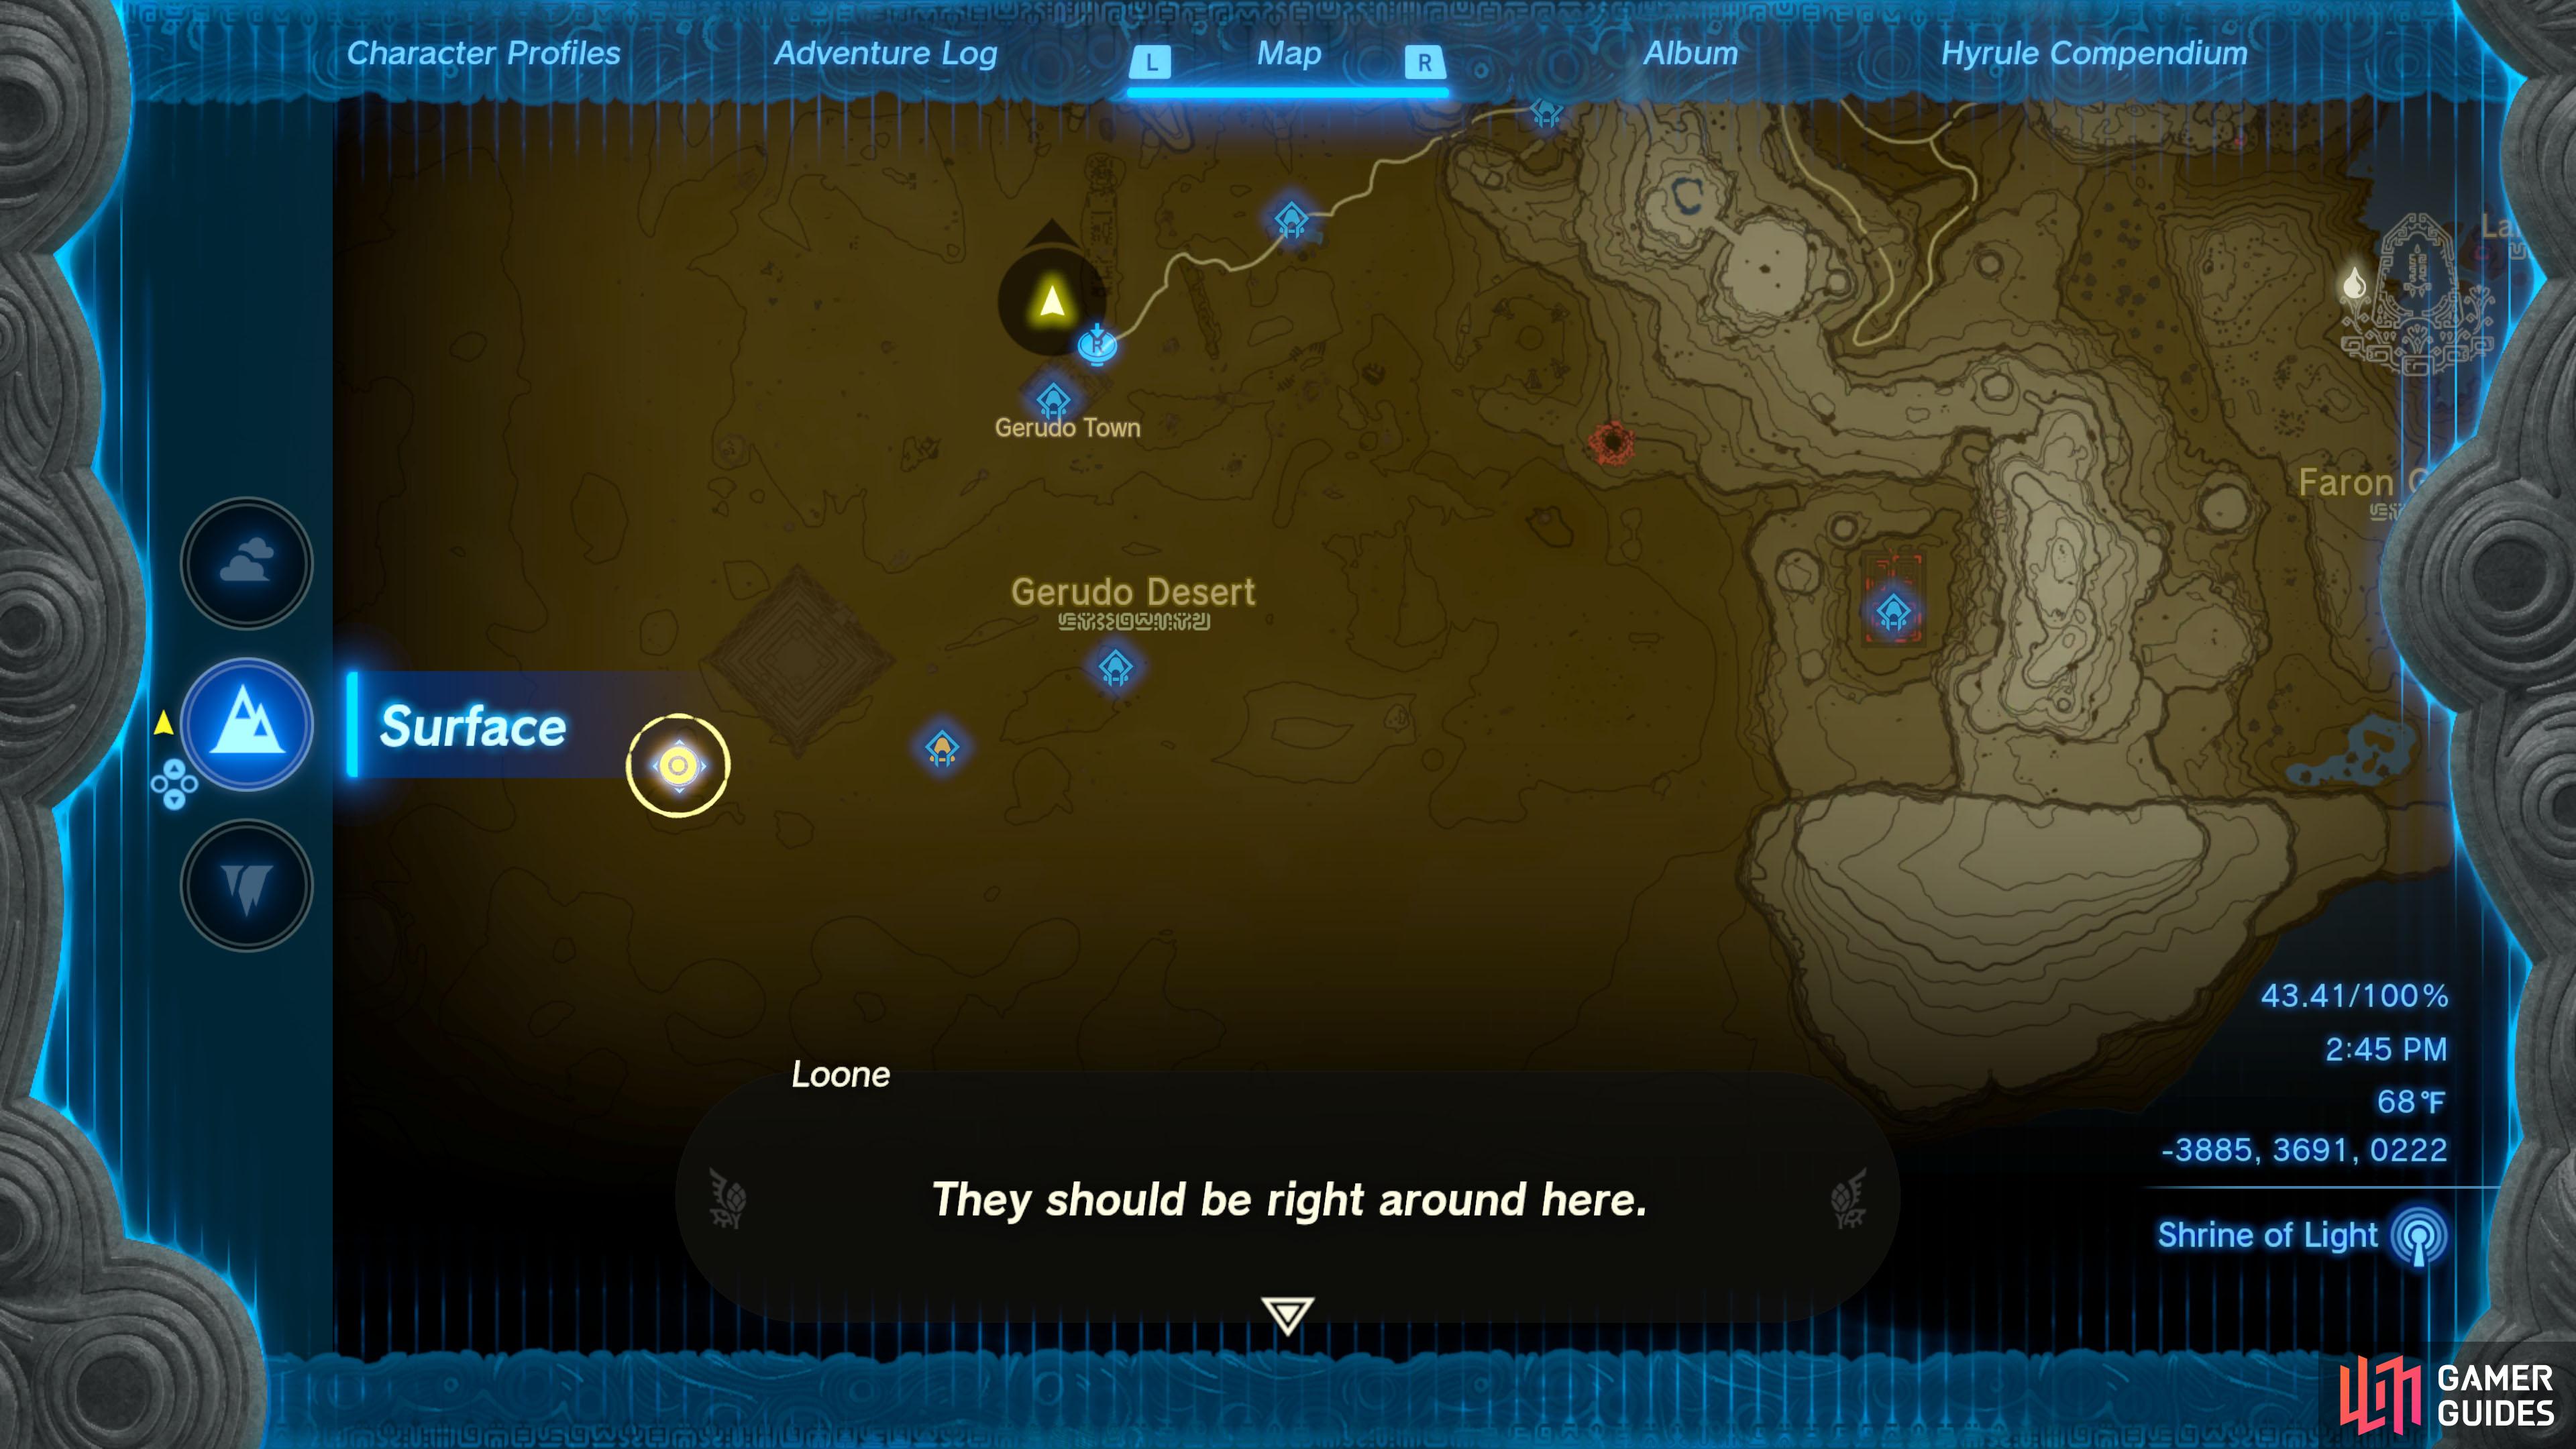
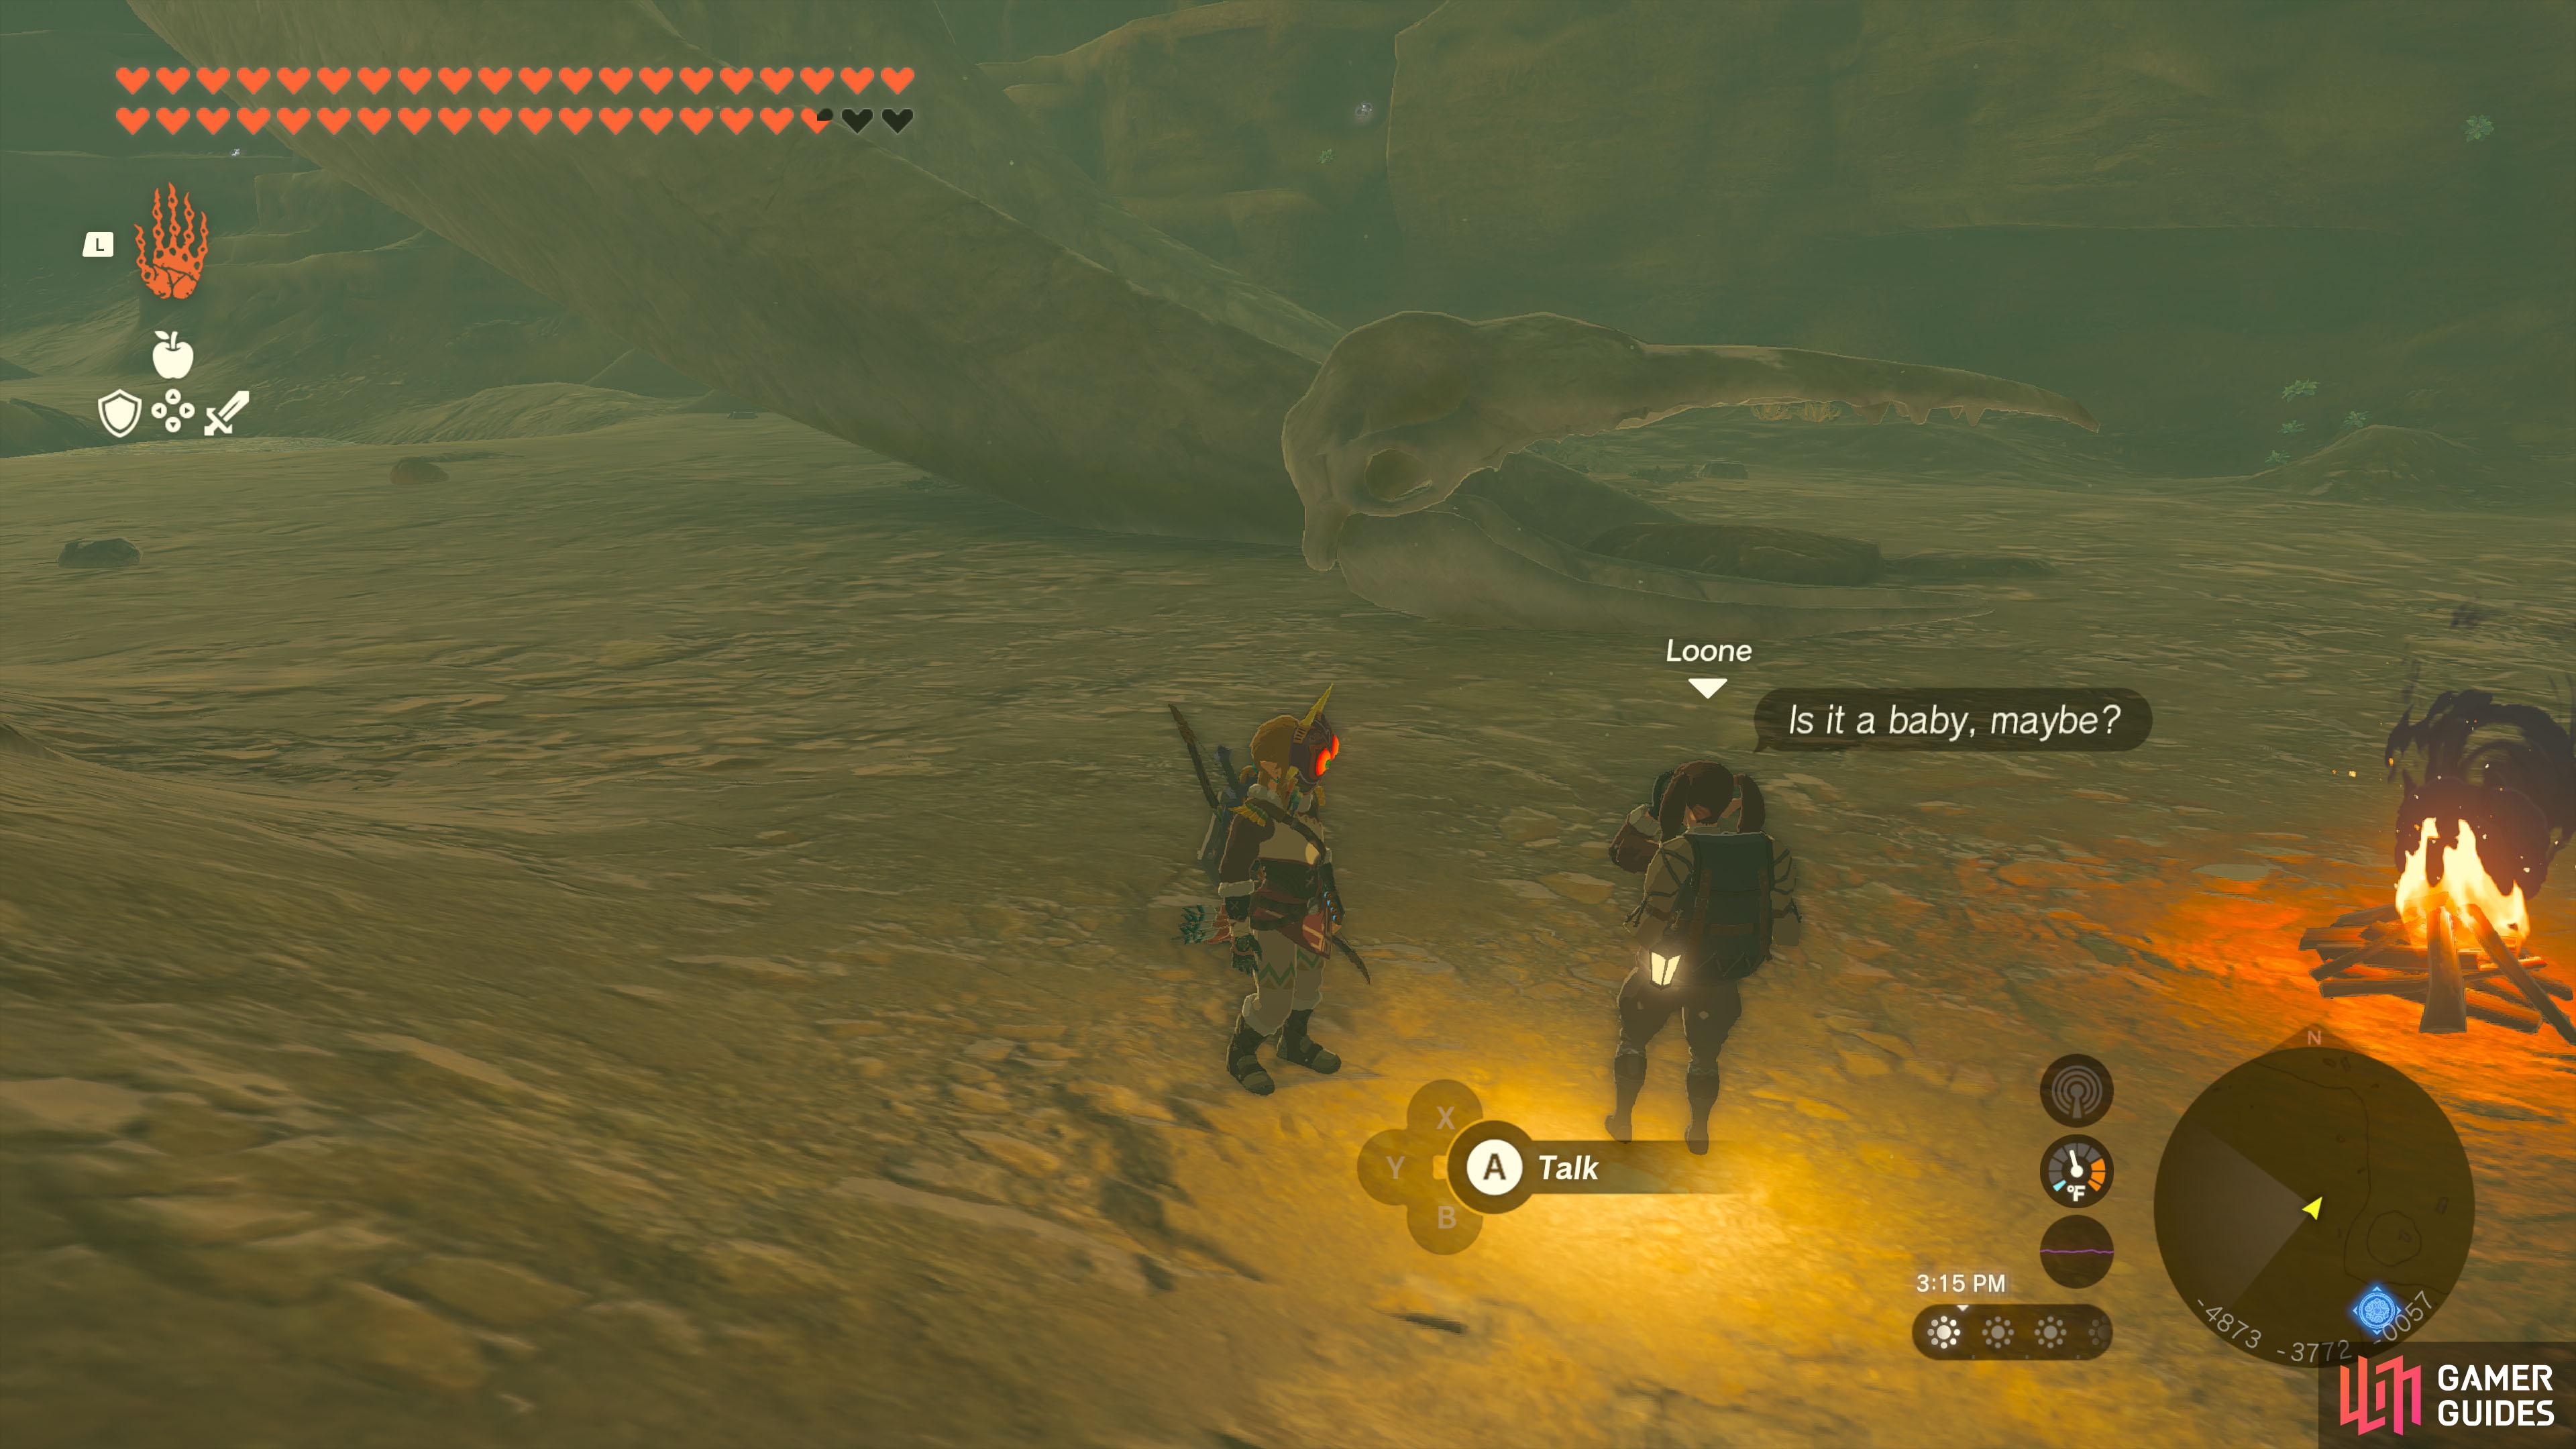
Gerudo's Colossal Fossil |
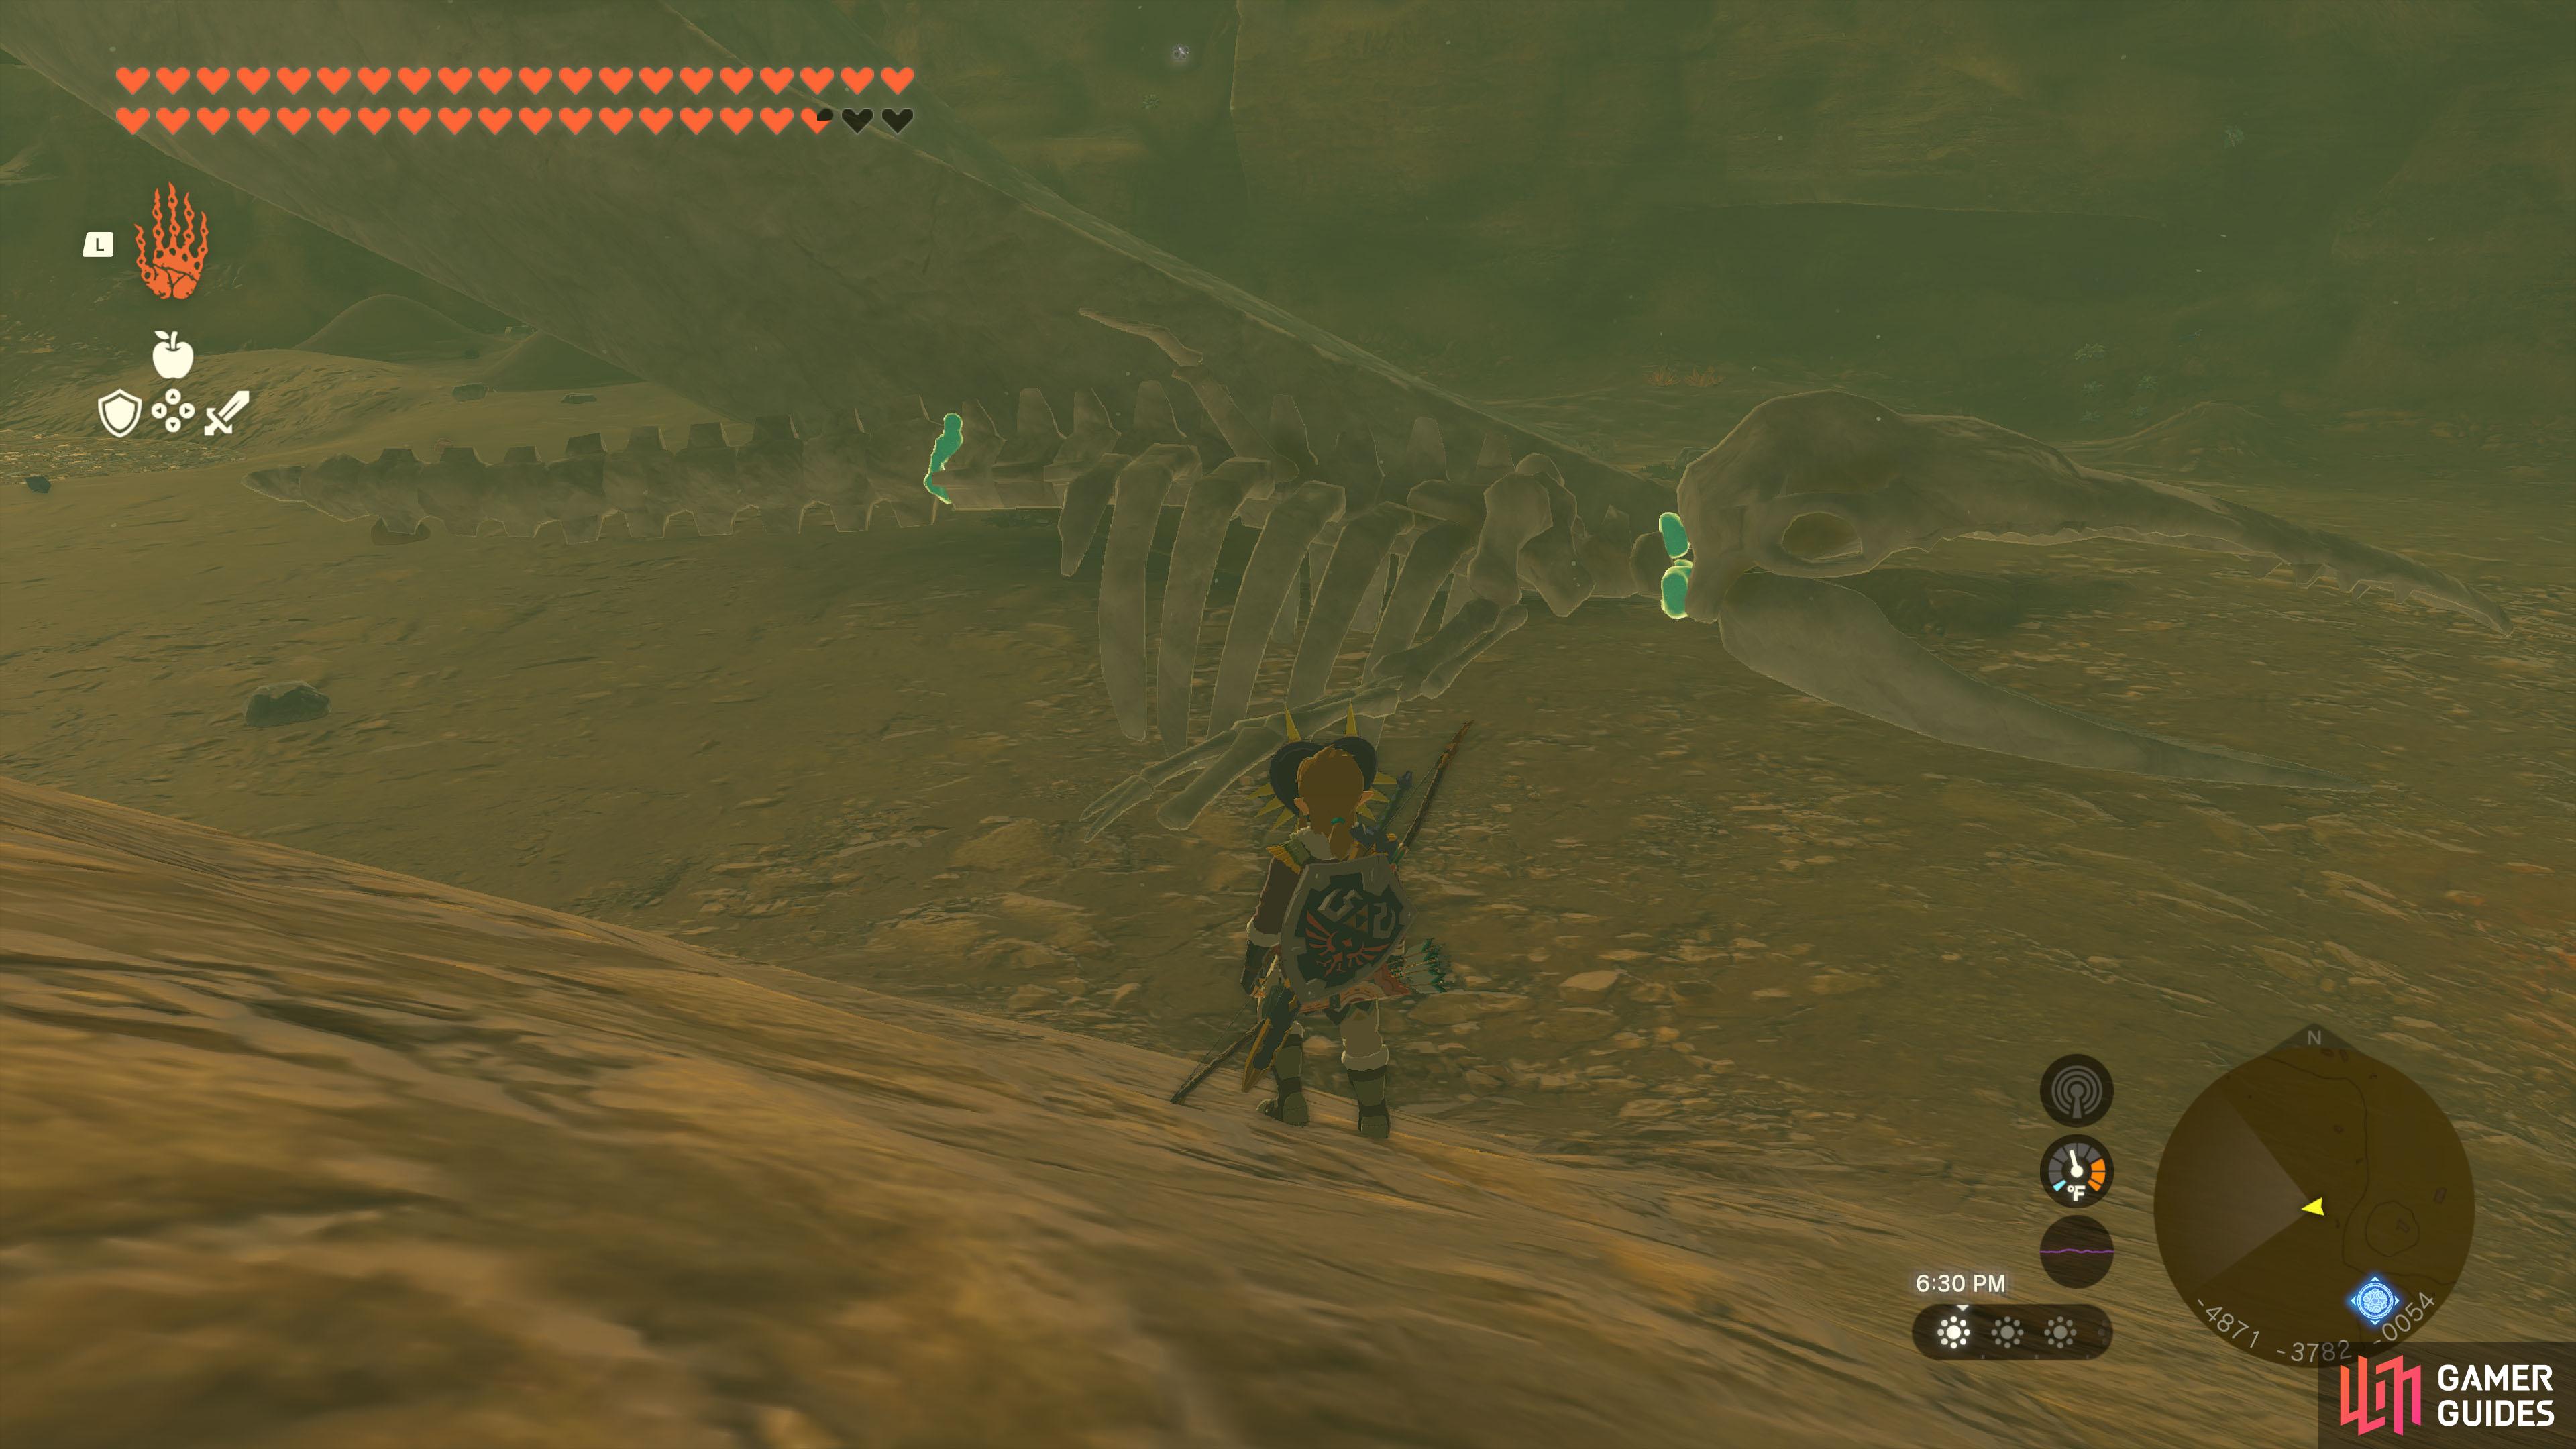
You met Loone near East Akkala Stable. She loves things that exude ancient mystique and is en route to see the fossil of a third extinct leviathan in the Gerudo region.
Description
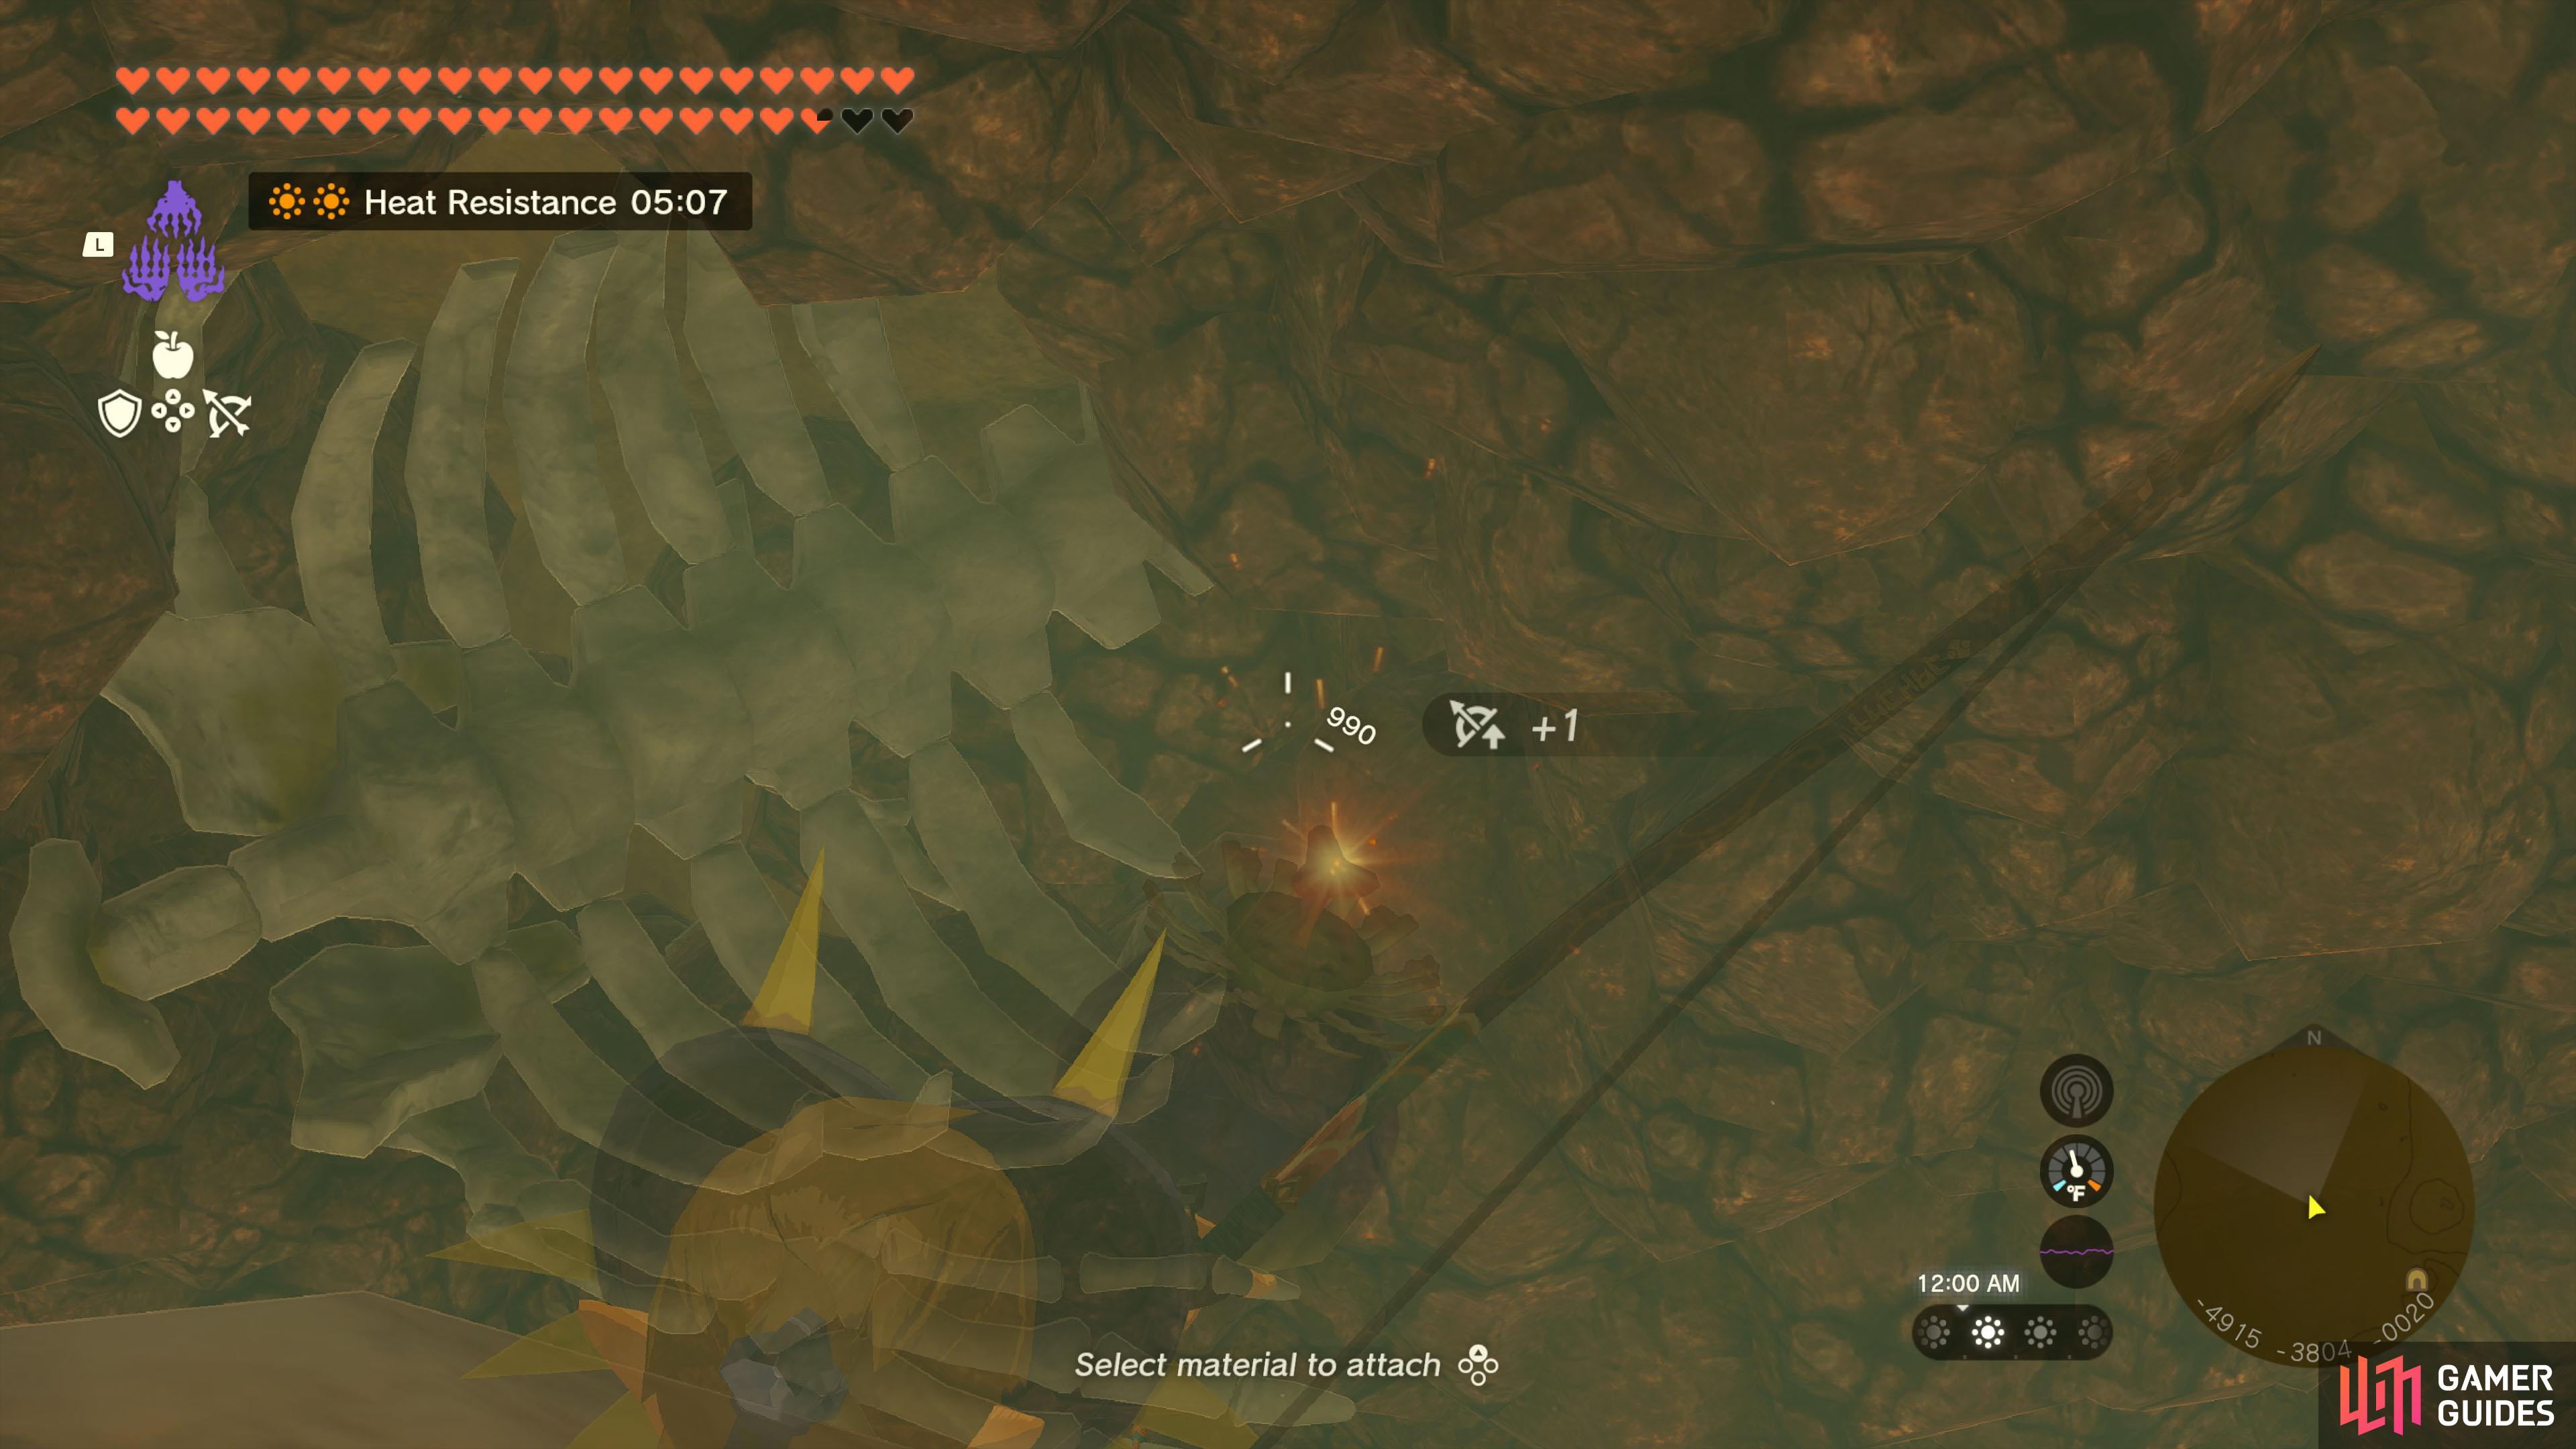
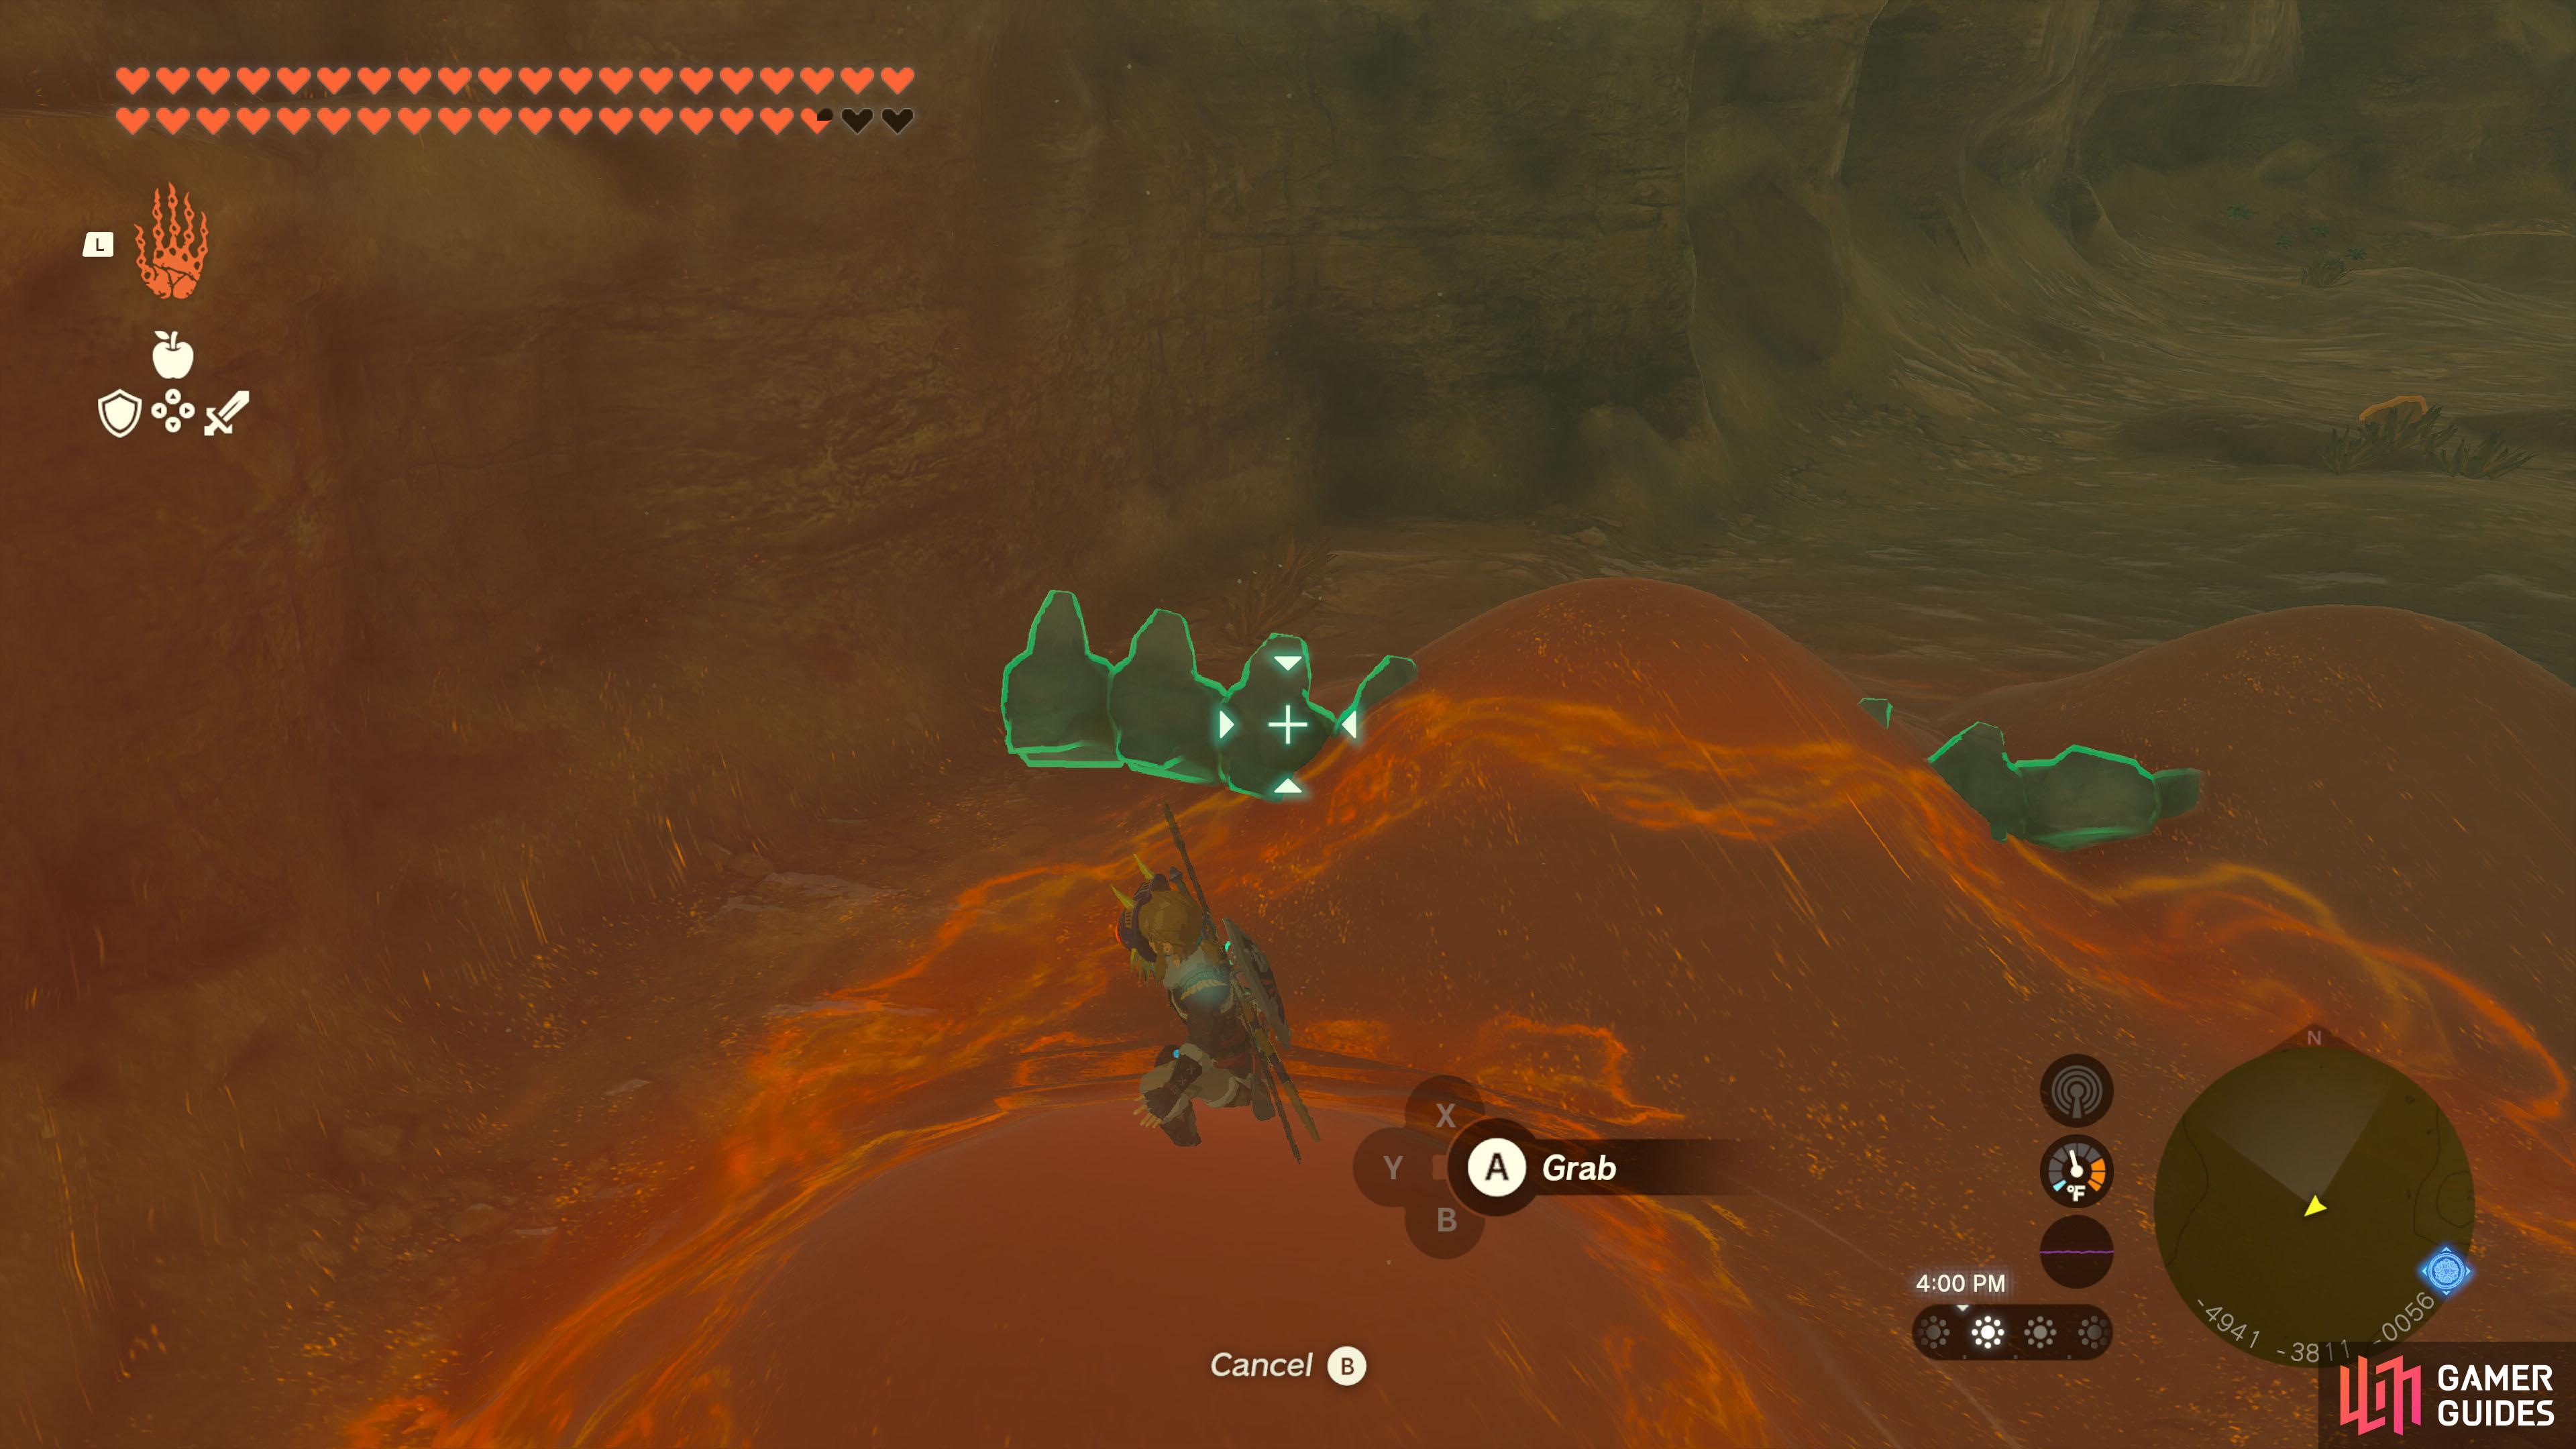
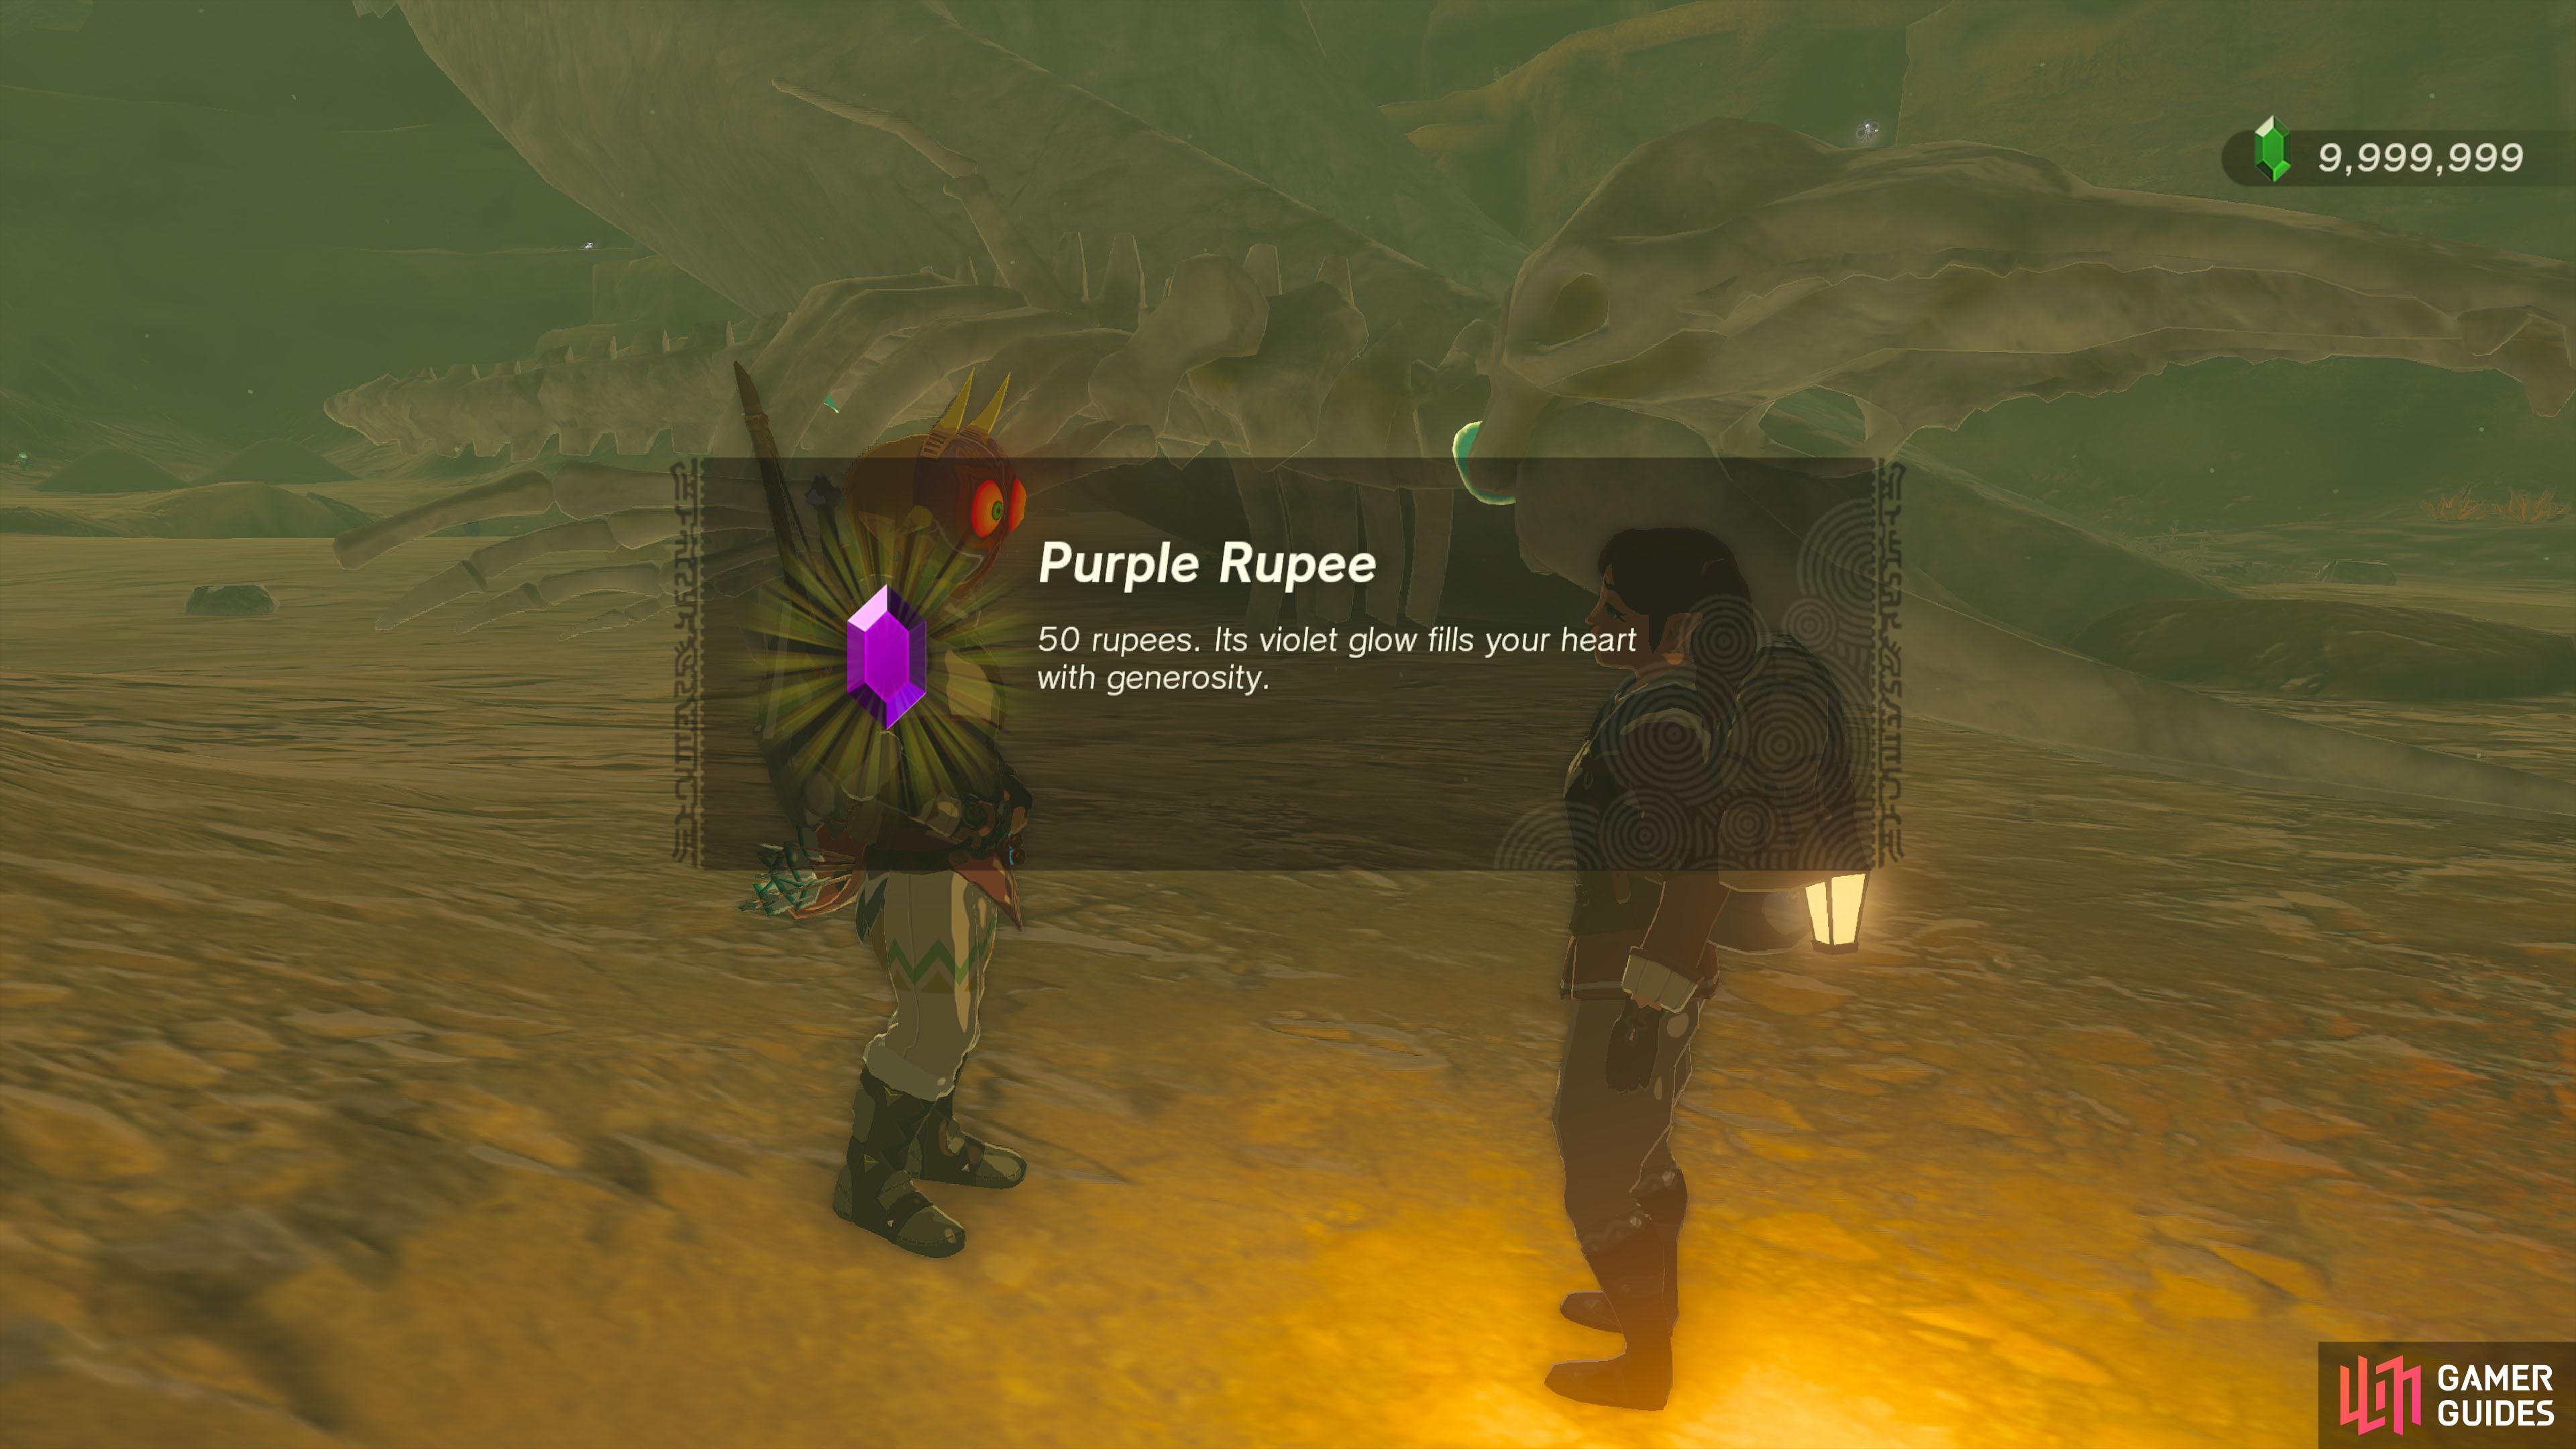
Automatically obtained upon completion of Like before, Loone will add a new location to your map: the You should spot Loone by a Campfire again. She’ll point out a baby skeleton, but it’s missing two body parts. Climb up the big skeleton’s head and use Now glue together the three bones with Ultrahand. Once you’re happy, speak to Loone to hopefully receive your prize: a
Location
 Hebra Great Skeleton
Surface Cave Hebra Great Skeleton
Surface Cave
Quest Type
Side Quest
Map(s)
|
|
|||||||||||||||||||||||||||||||||||||||||||||||||||||||||||||||||||||||||||||||||||||||||||||||

|
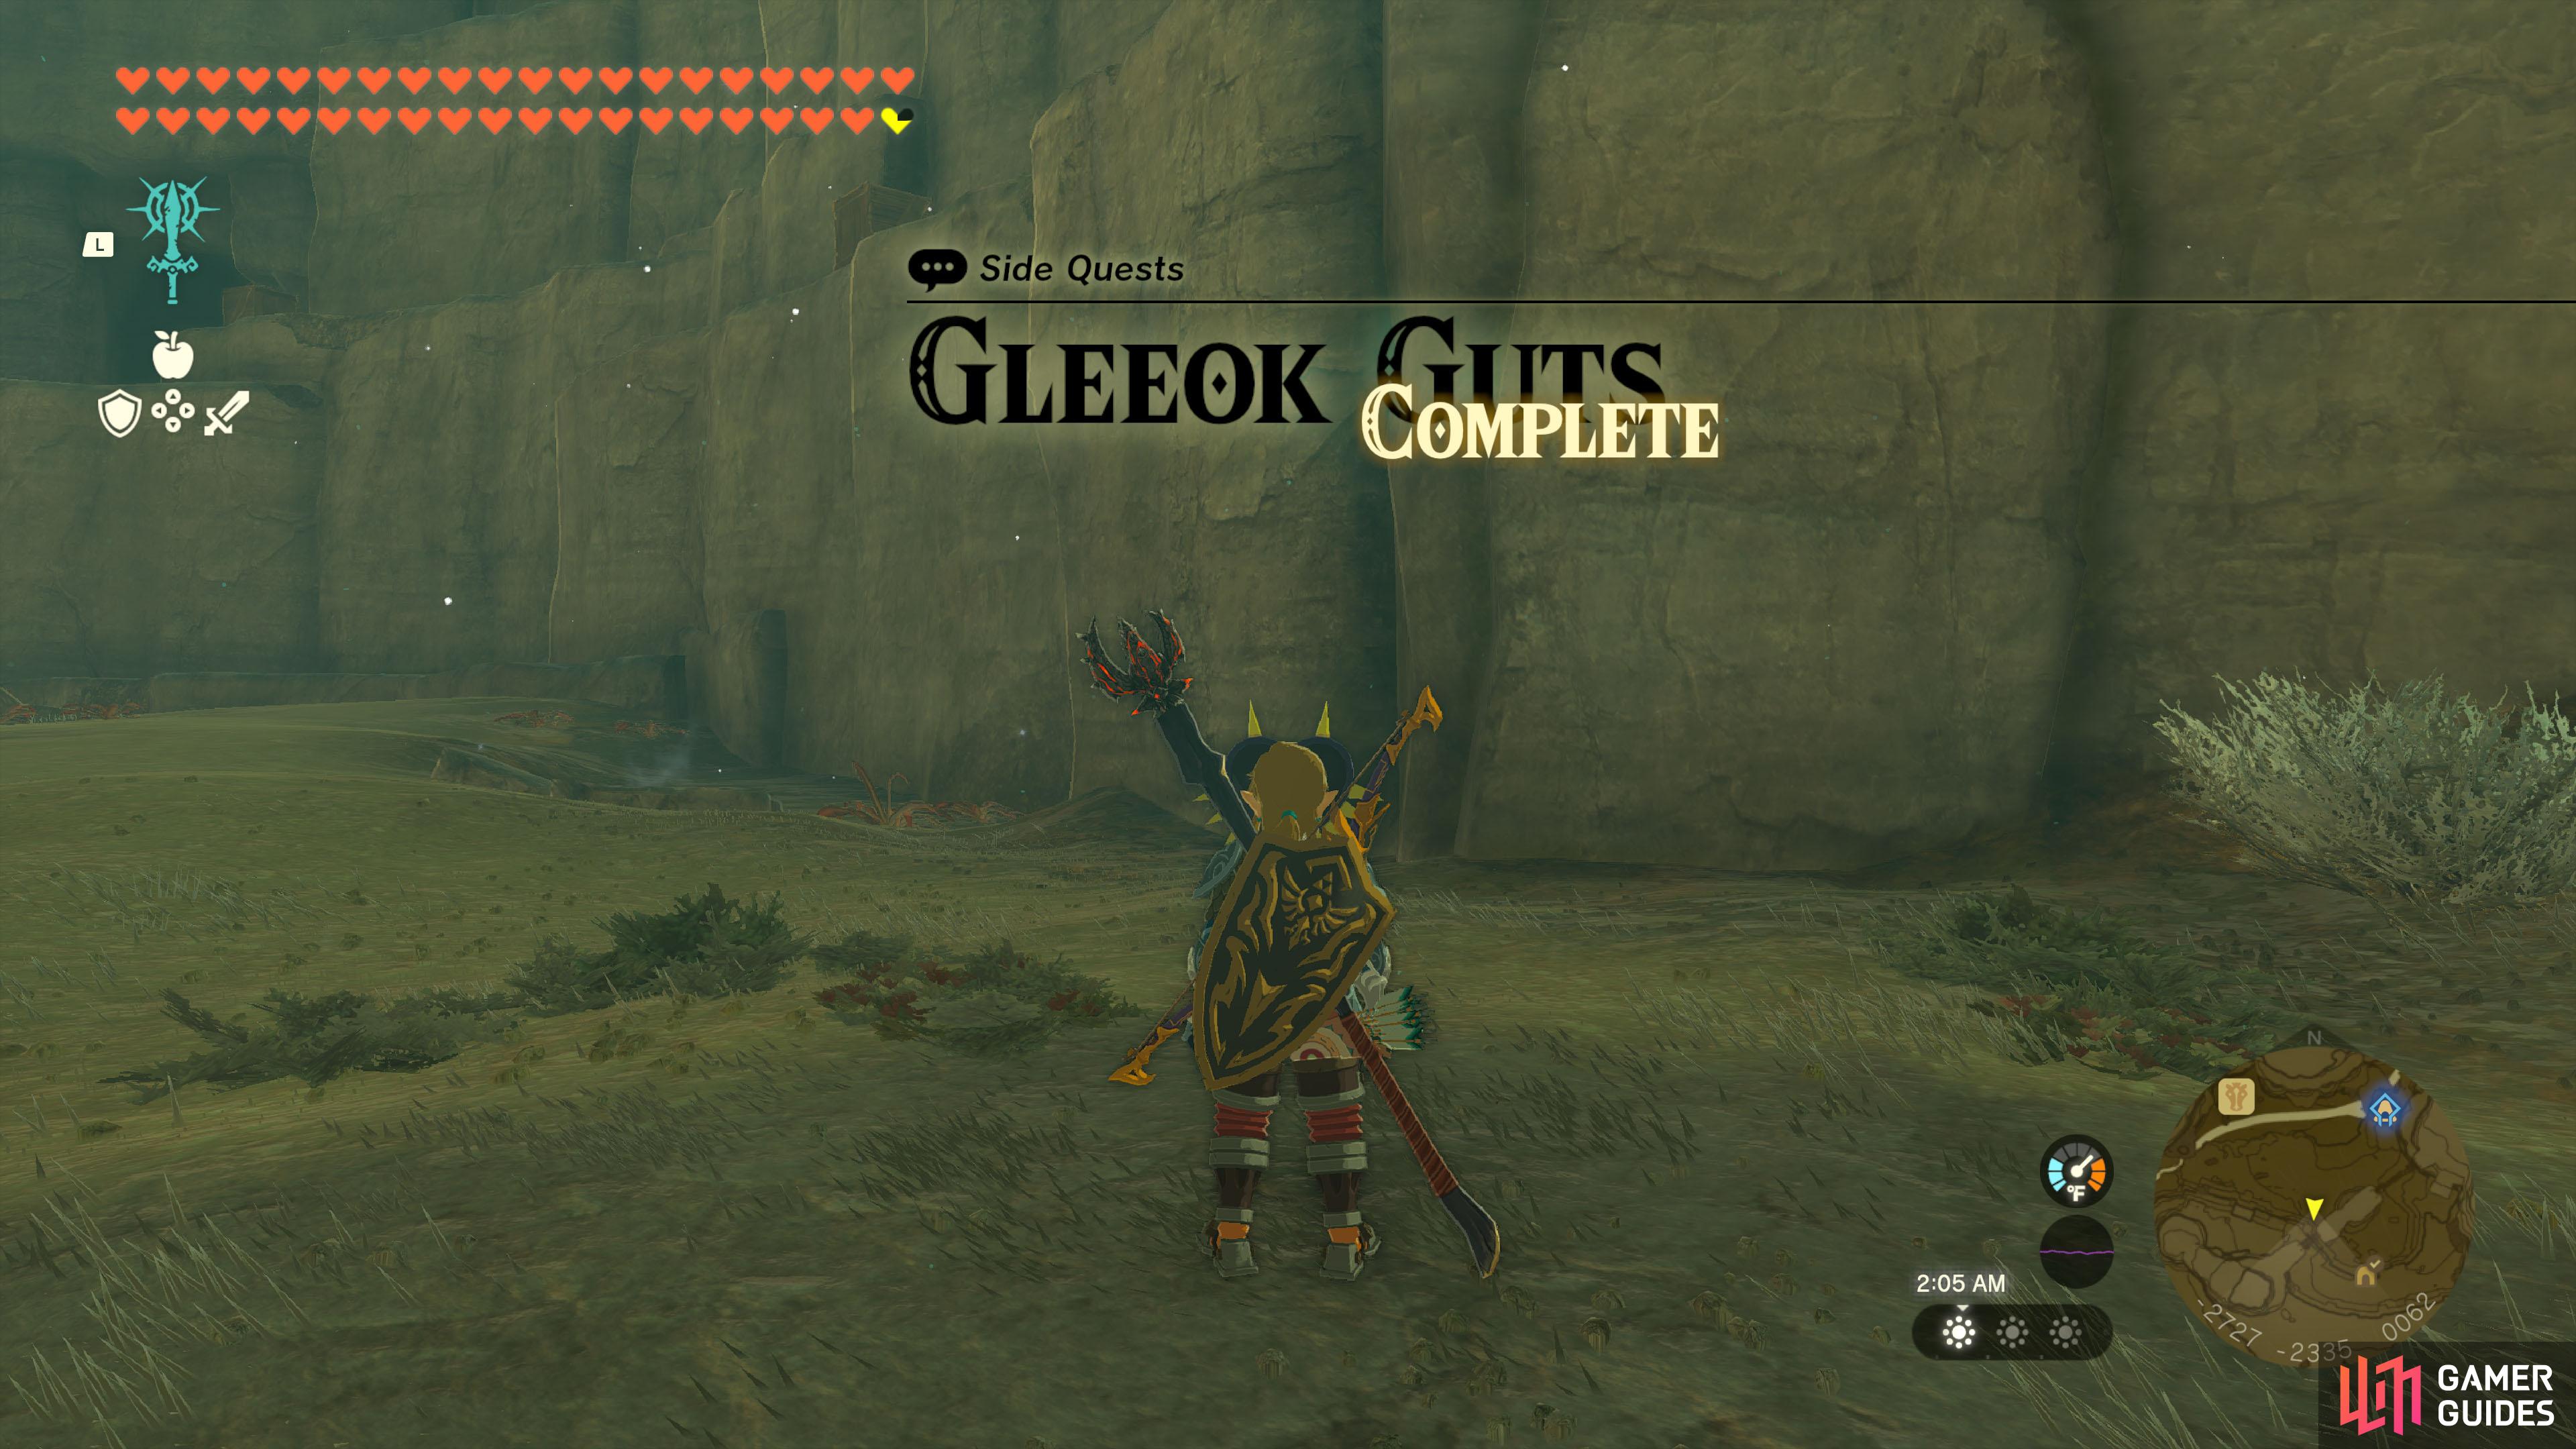
Gleeok Guts (Quest) |
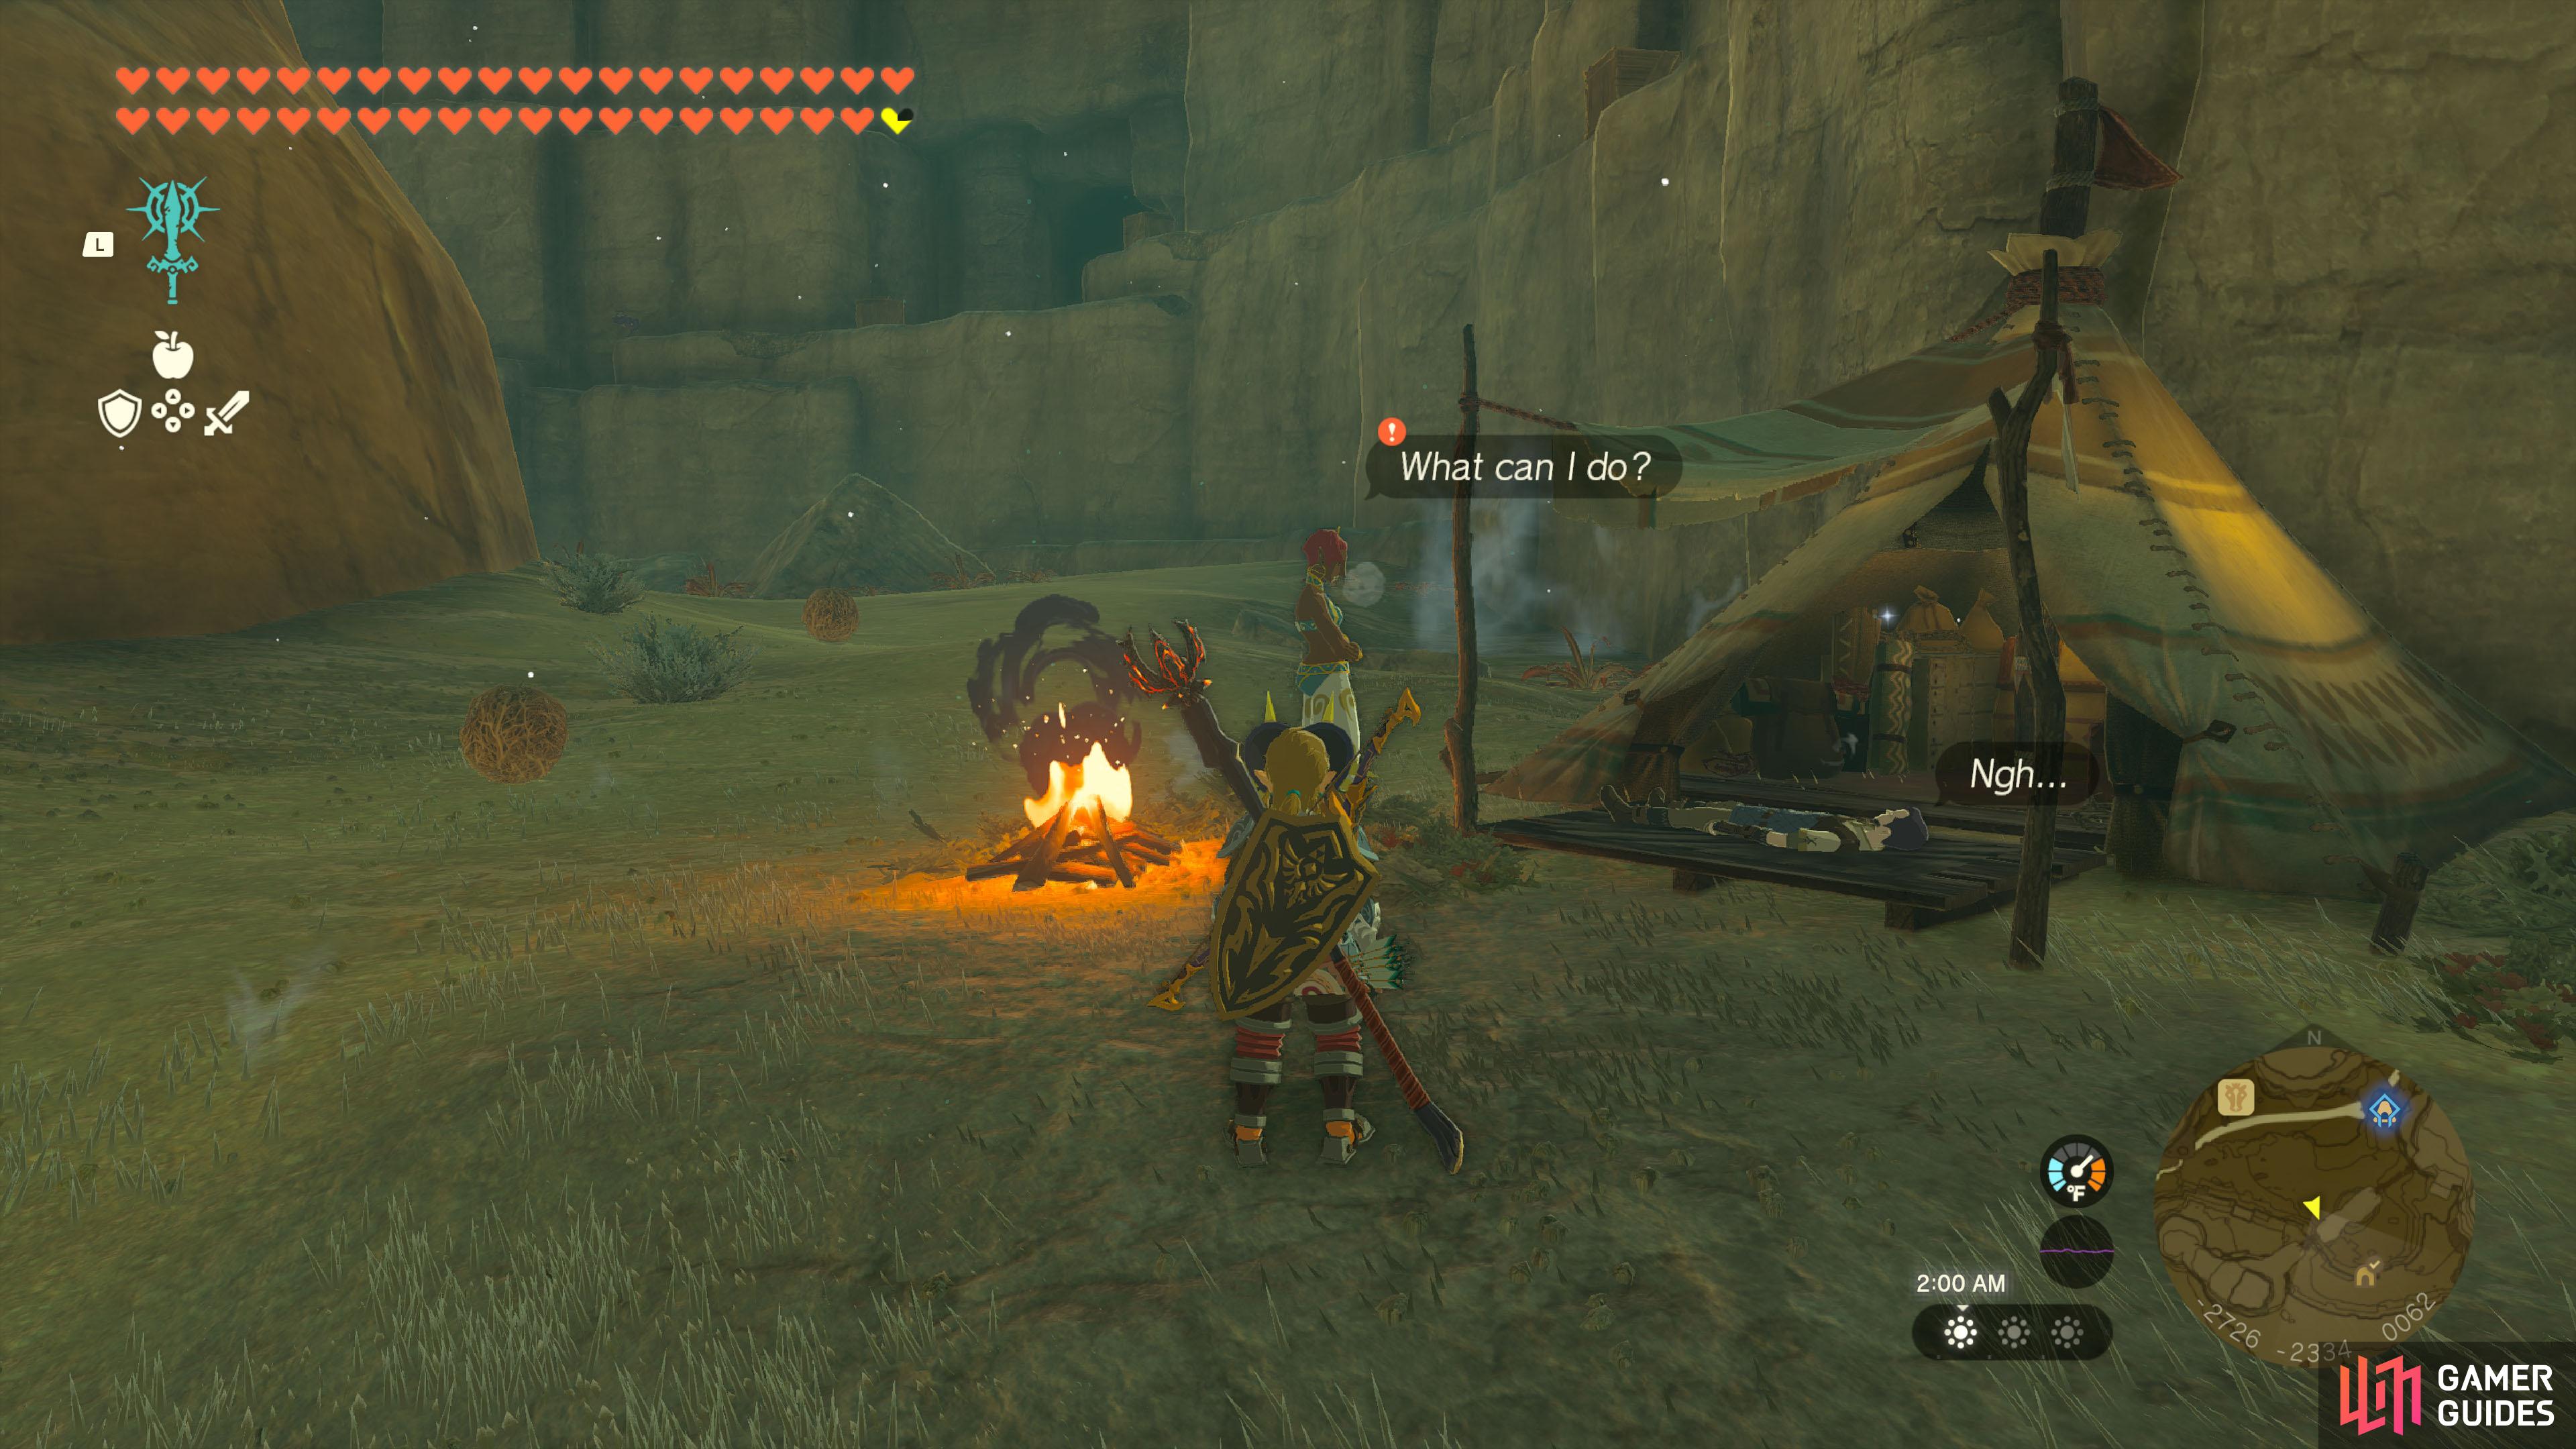
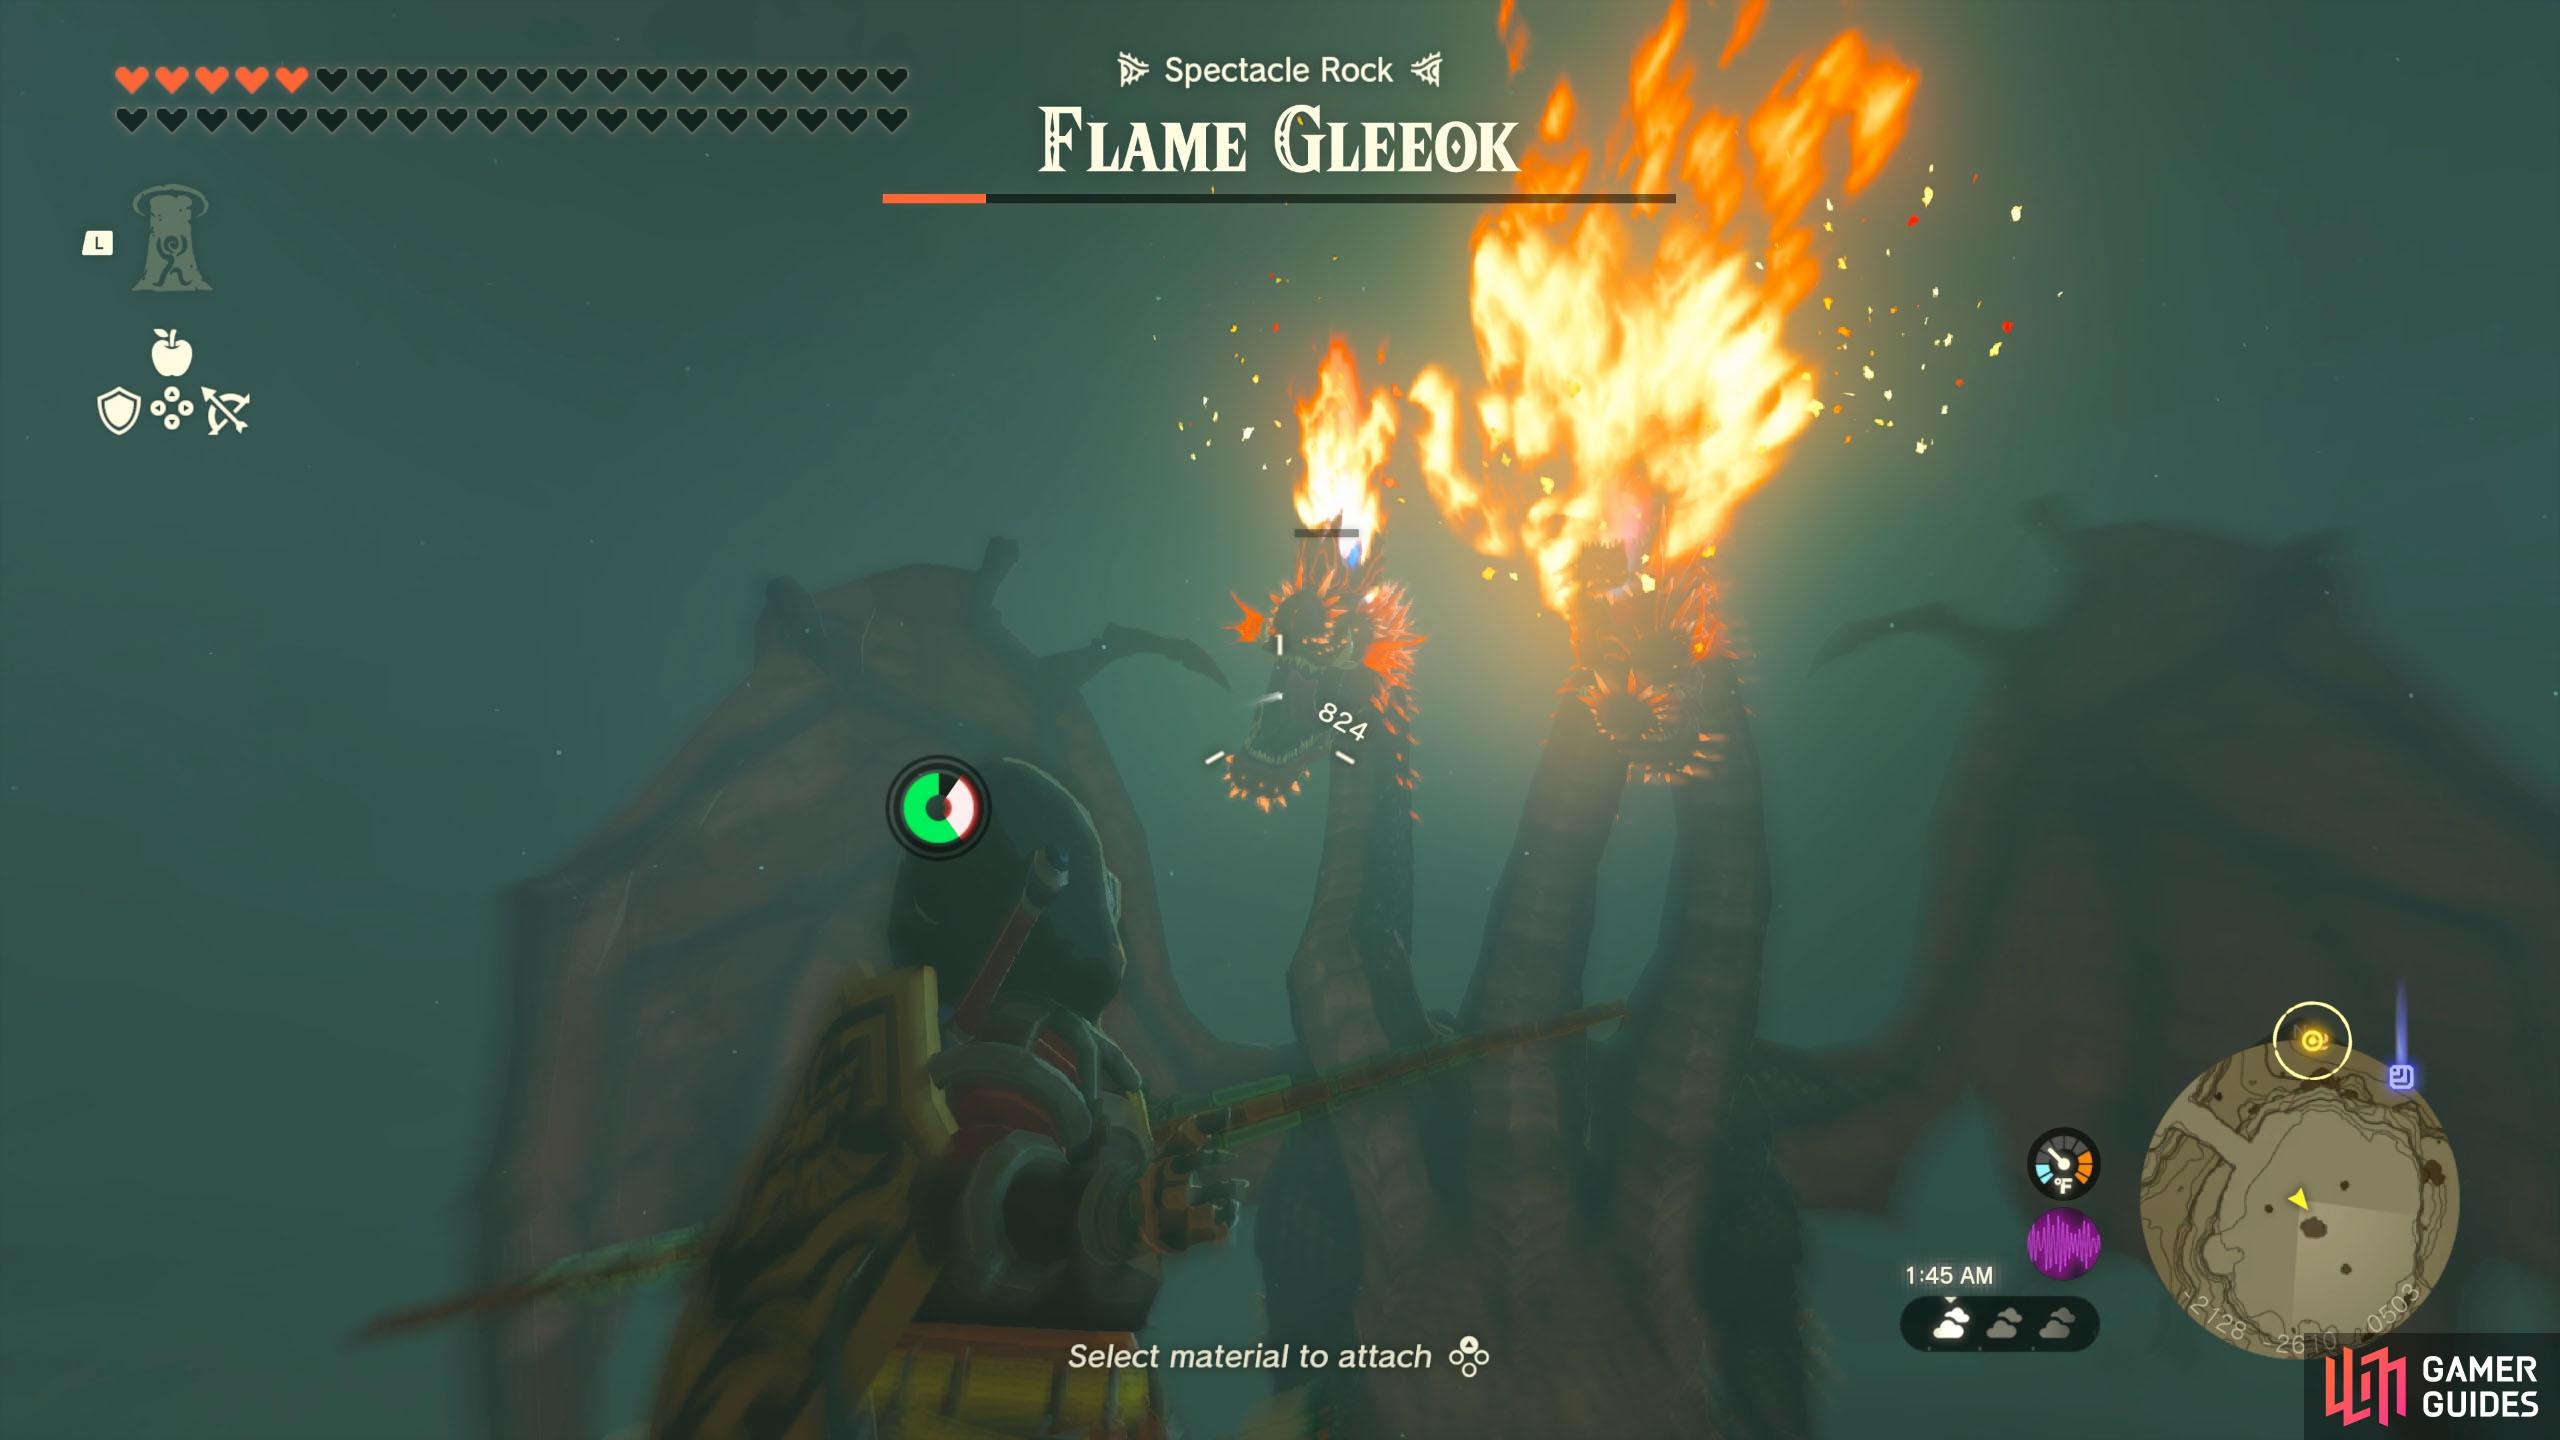
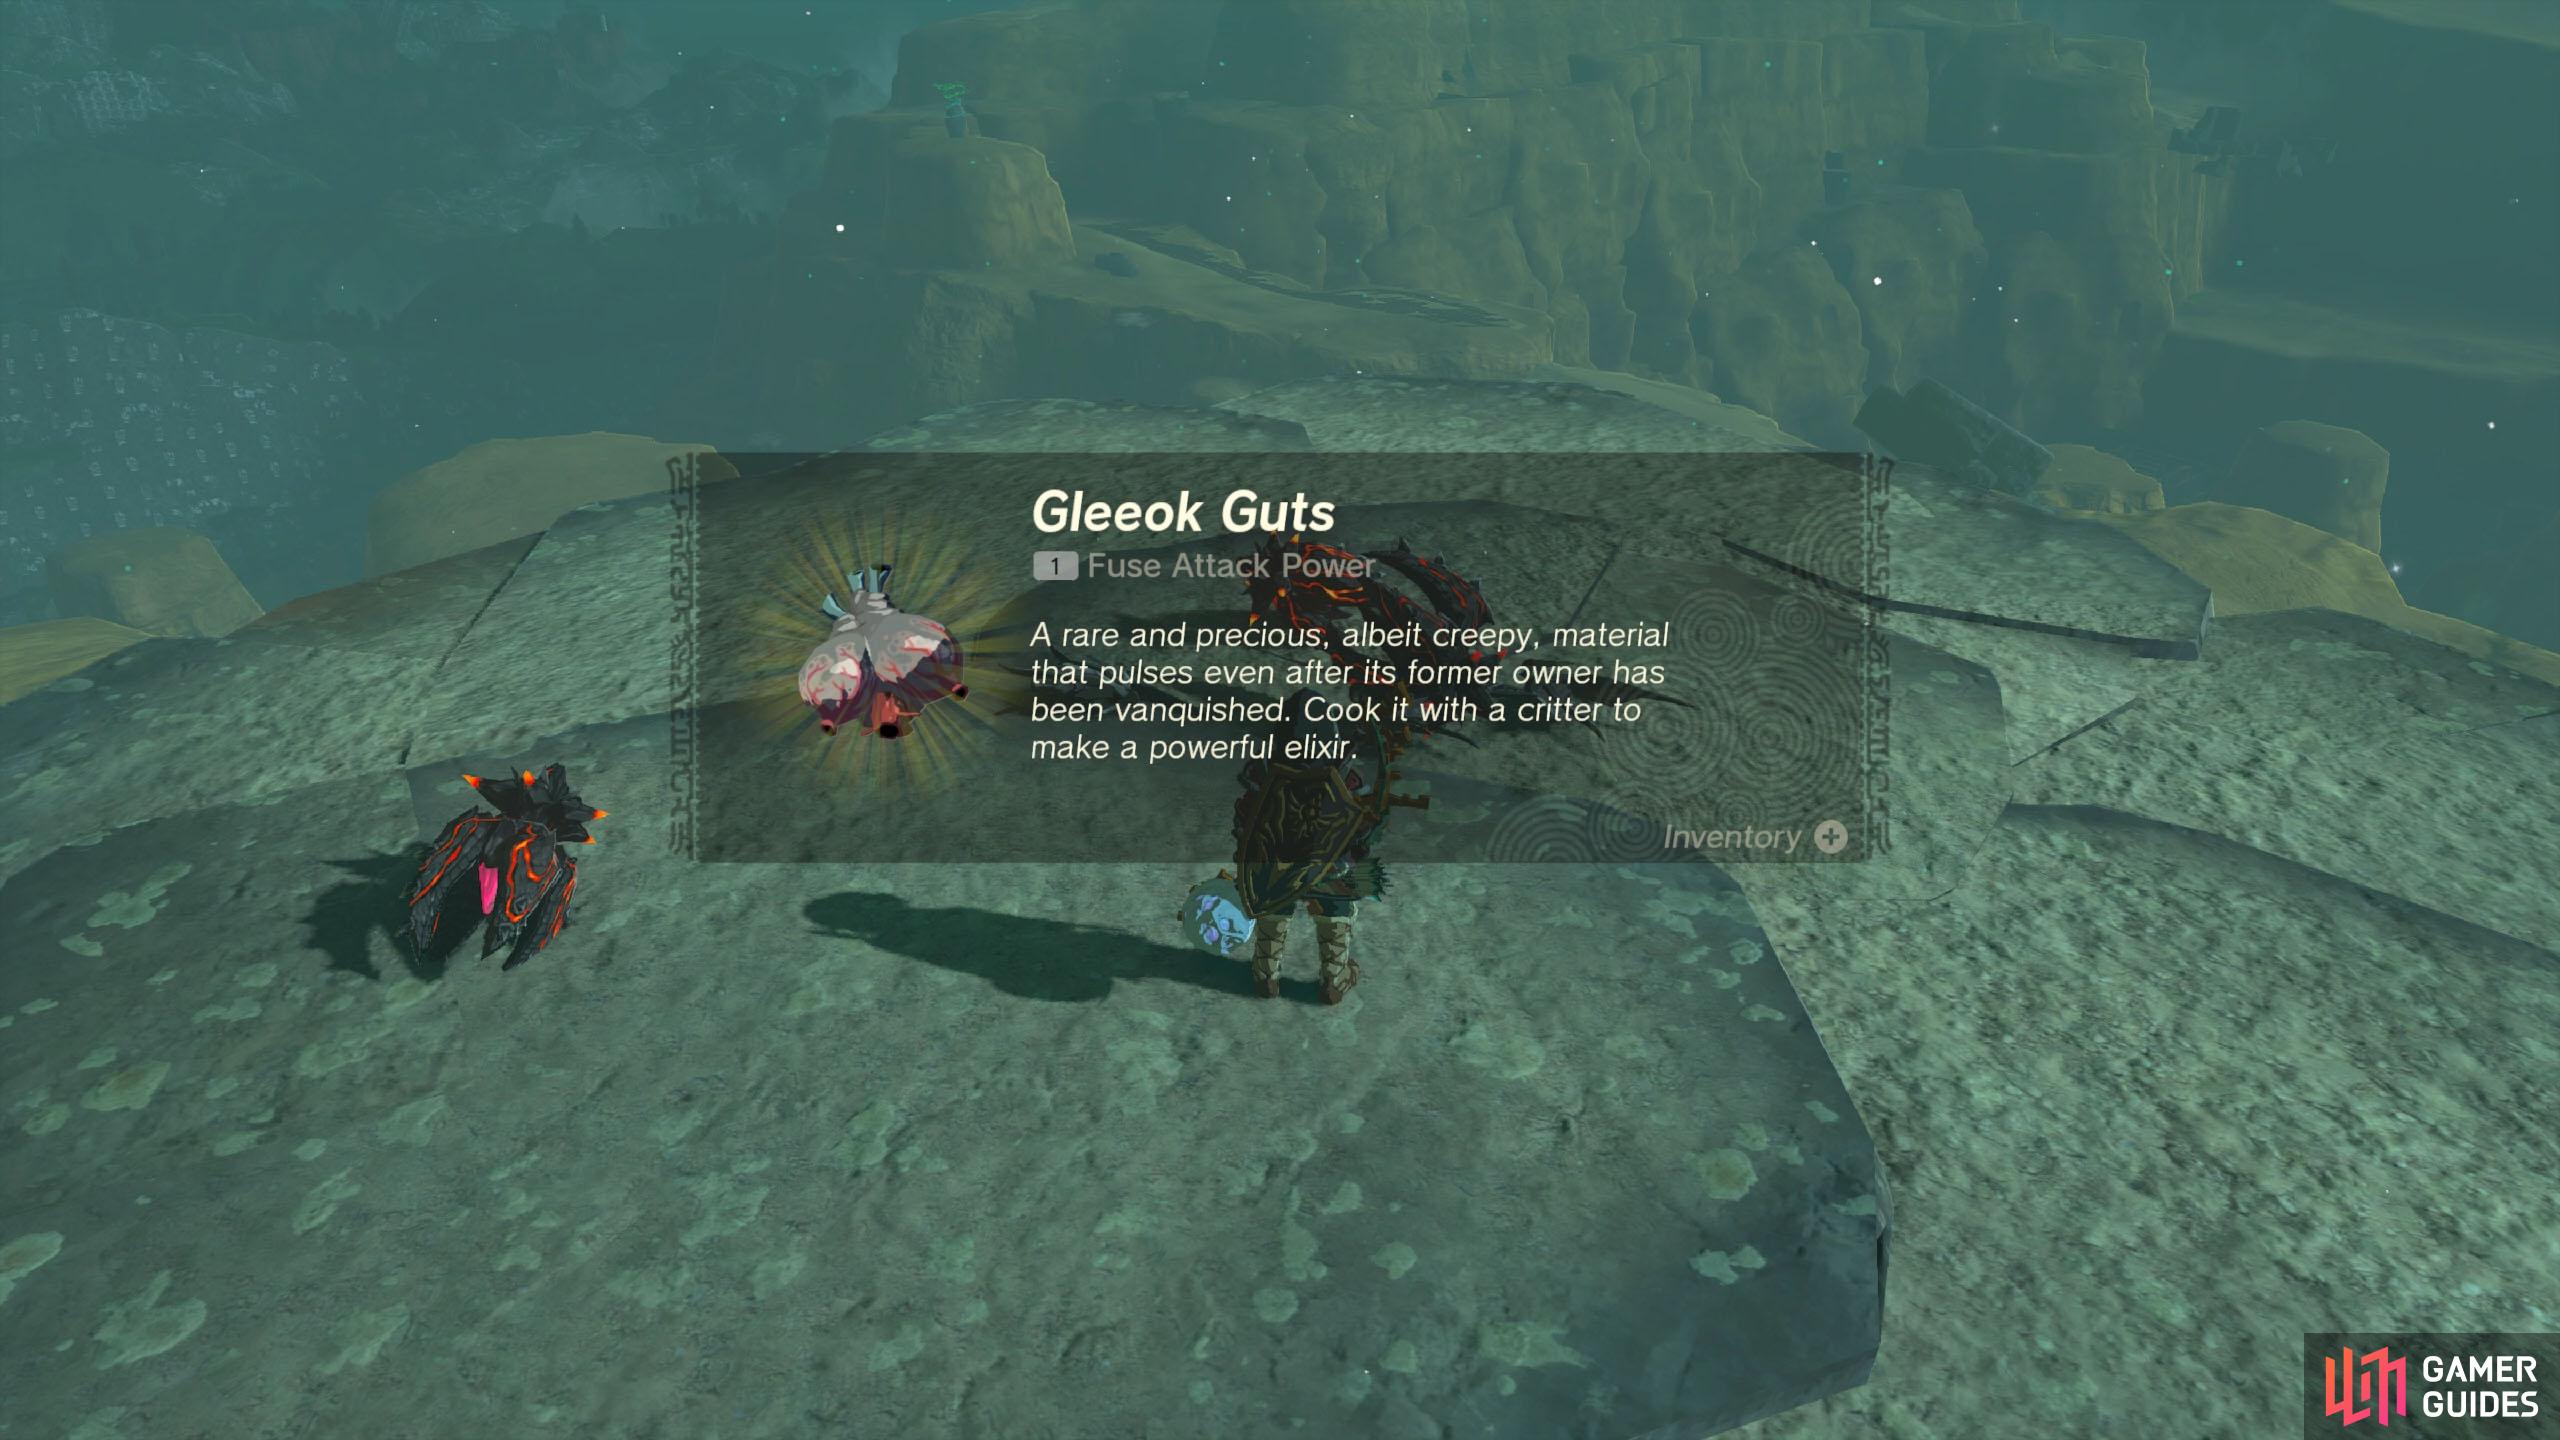
Malena’s husband became sick during their wedding adventure. She’s upset that she pushed him past his limits, but it seems that Gleeok guts will cure him. Unfortunately, they come from a three-headed monster flying over Gerudo Canyon.
Description
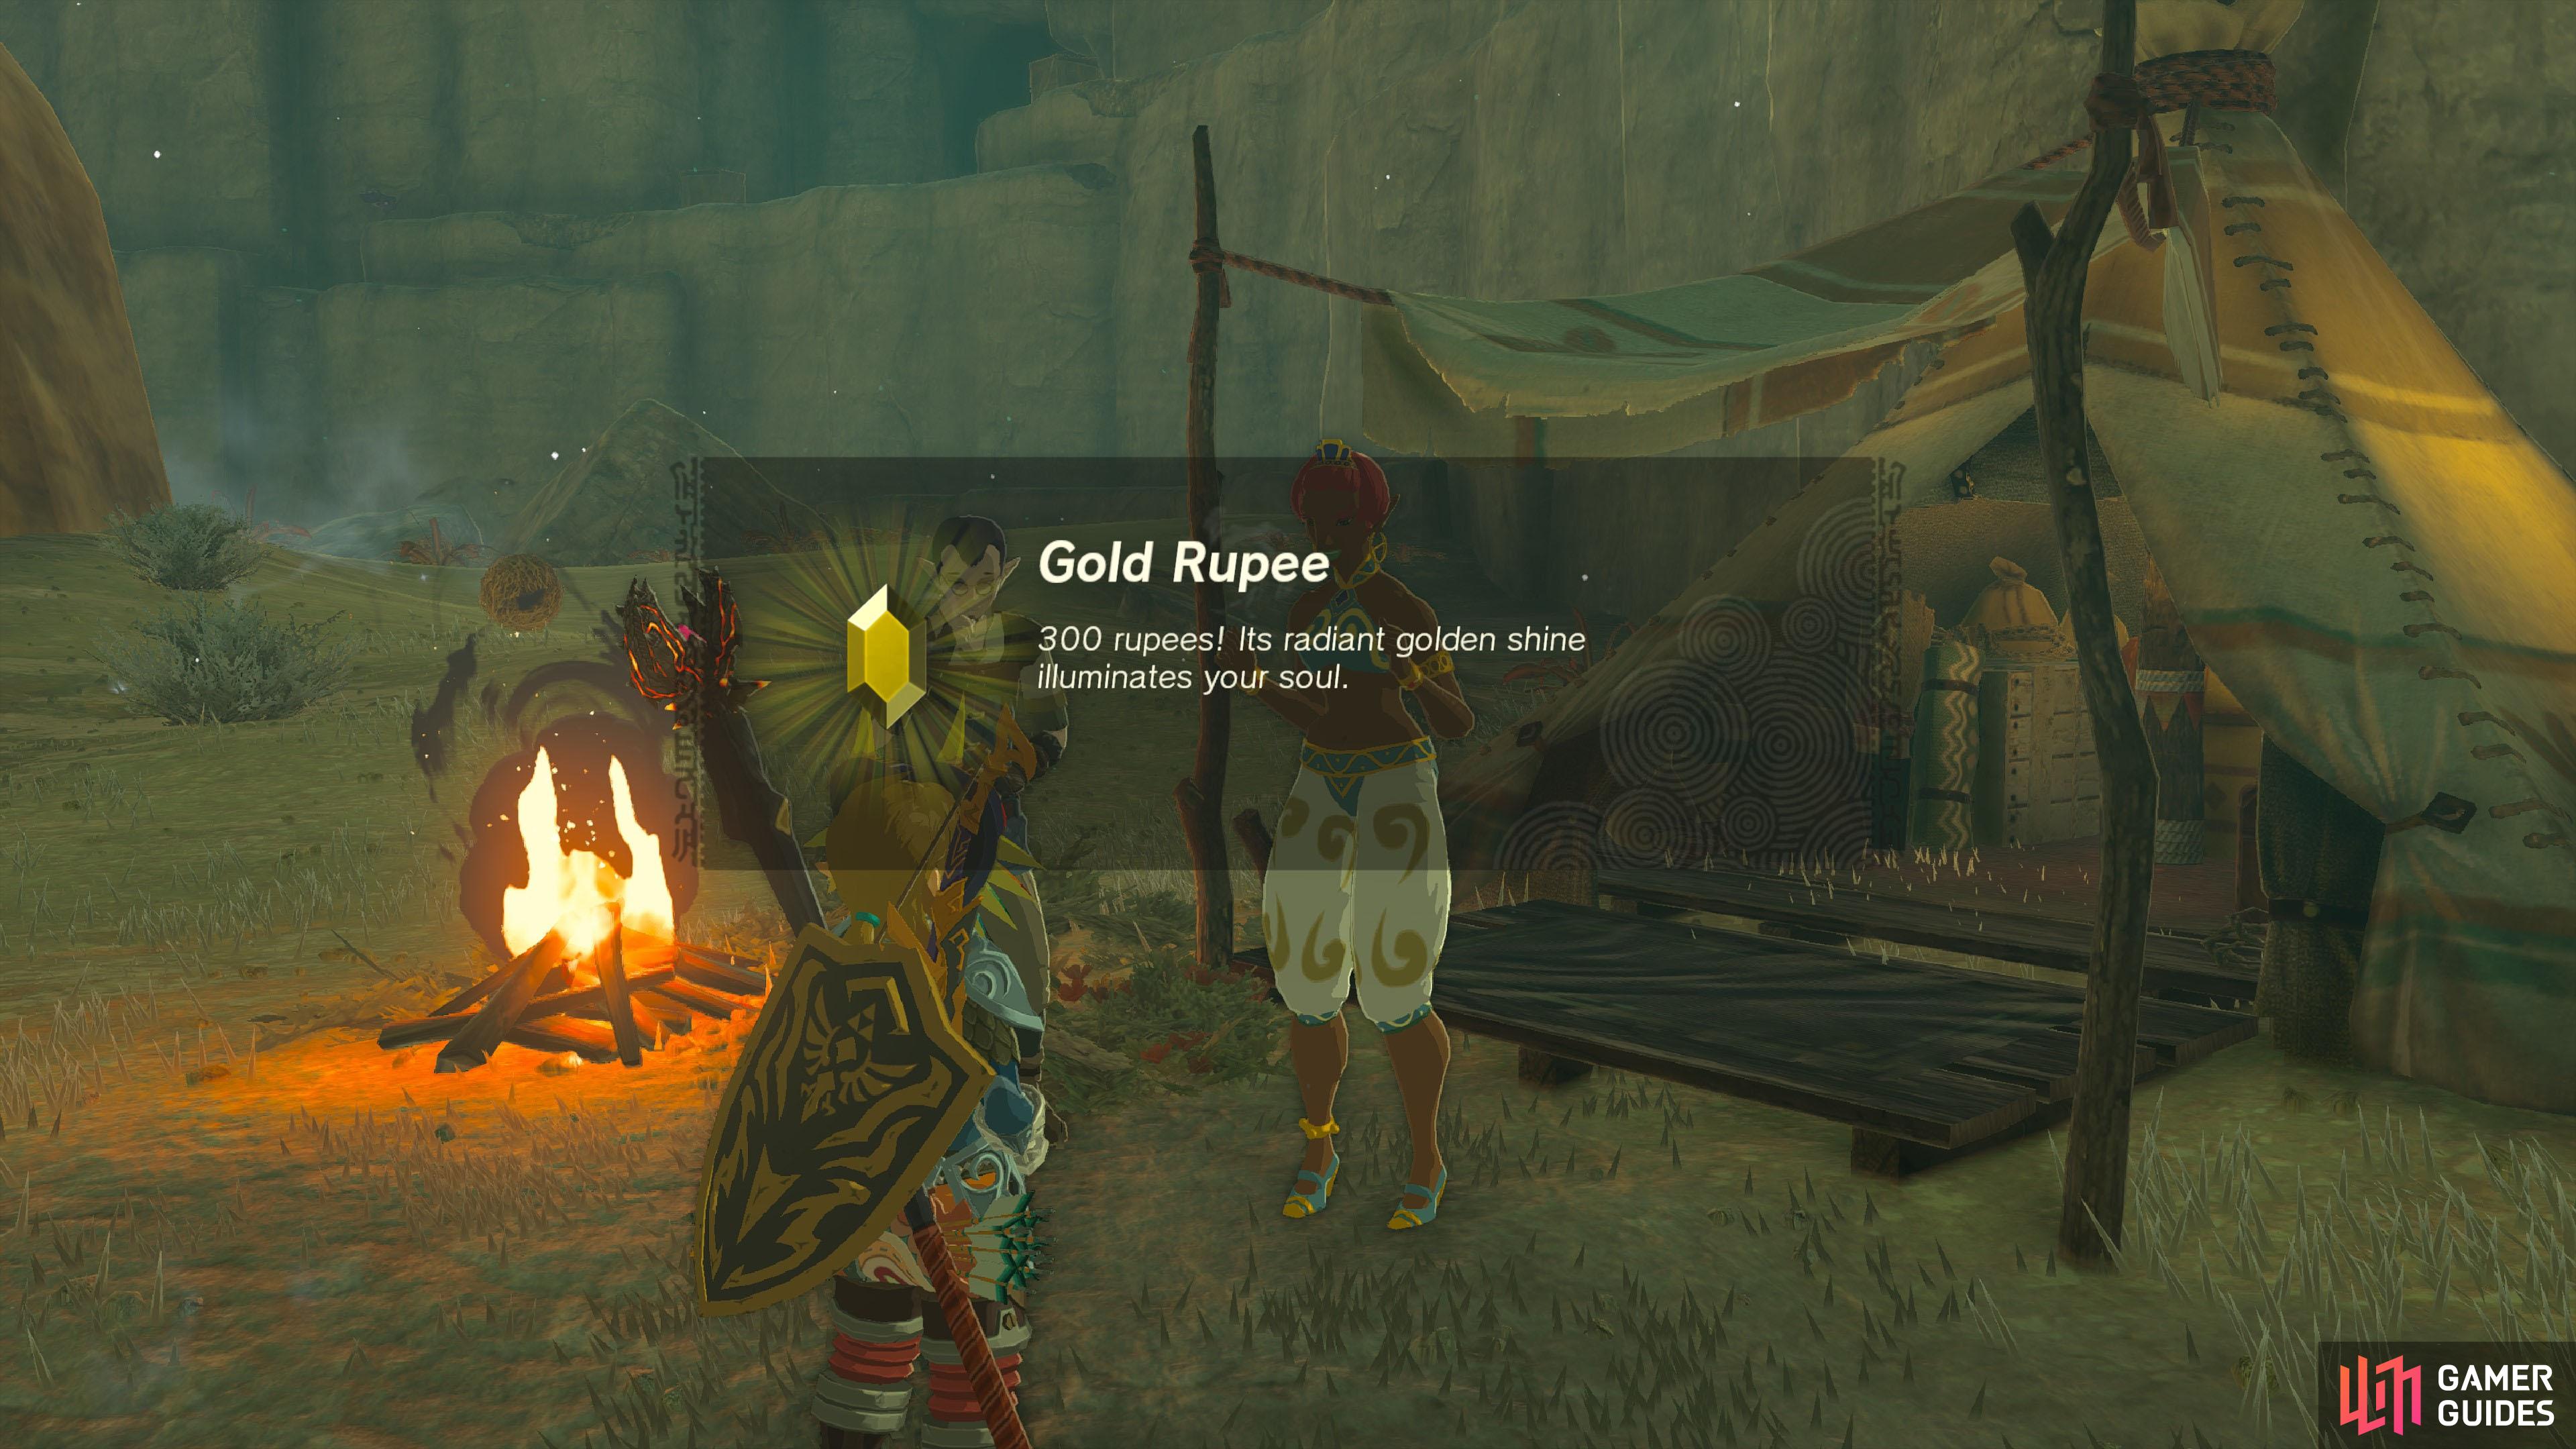
Malena can be found south-east from Gerudo Canyon Stable, on higher ground, near the base of the giant stone pillar. There’s a campfire here, so it’s hard to miss. The tricky part is obtaining the Gleeok Guts, which obviously involves defeating a powerful Gleeok monster, such as the Before challenging the beast, we recommend carrying plenty of powerful weaponry, arrows and Attack buffing food (cooked with Should you choose to fight the Spectacle Rock Gleeok, you’ll have a slight advantage because there’s a giant rock at the center of the battleground that you can shelter from or Also, if you have lots of
Completion Reward
 Gold Rupee
Key Item Gold Rupee
Key Item
Quest Type
Side Quest
Map(s)
|
|
|||||||||||||||||||||||||||||||||||||||||||||||||||||||||||||||||||||||||||||||||||||||||||||||

|
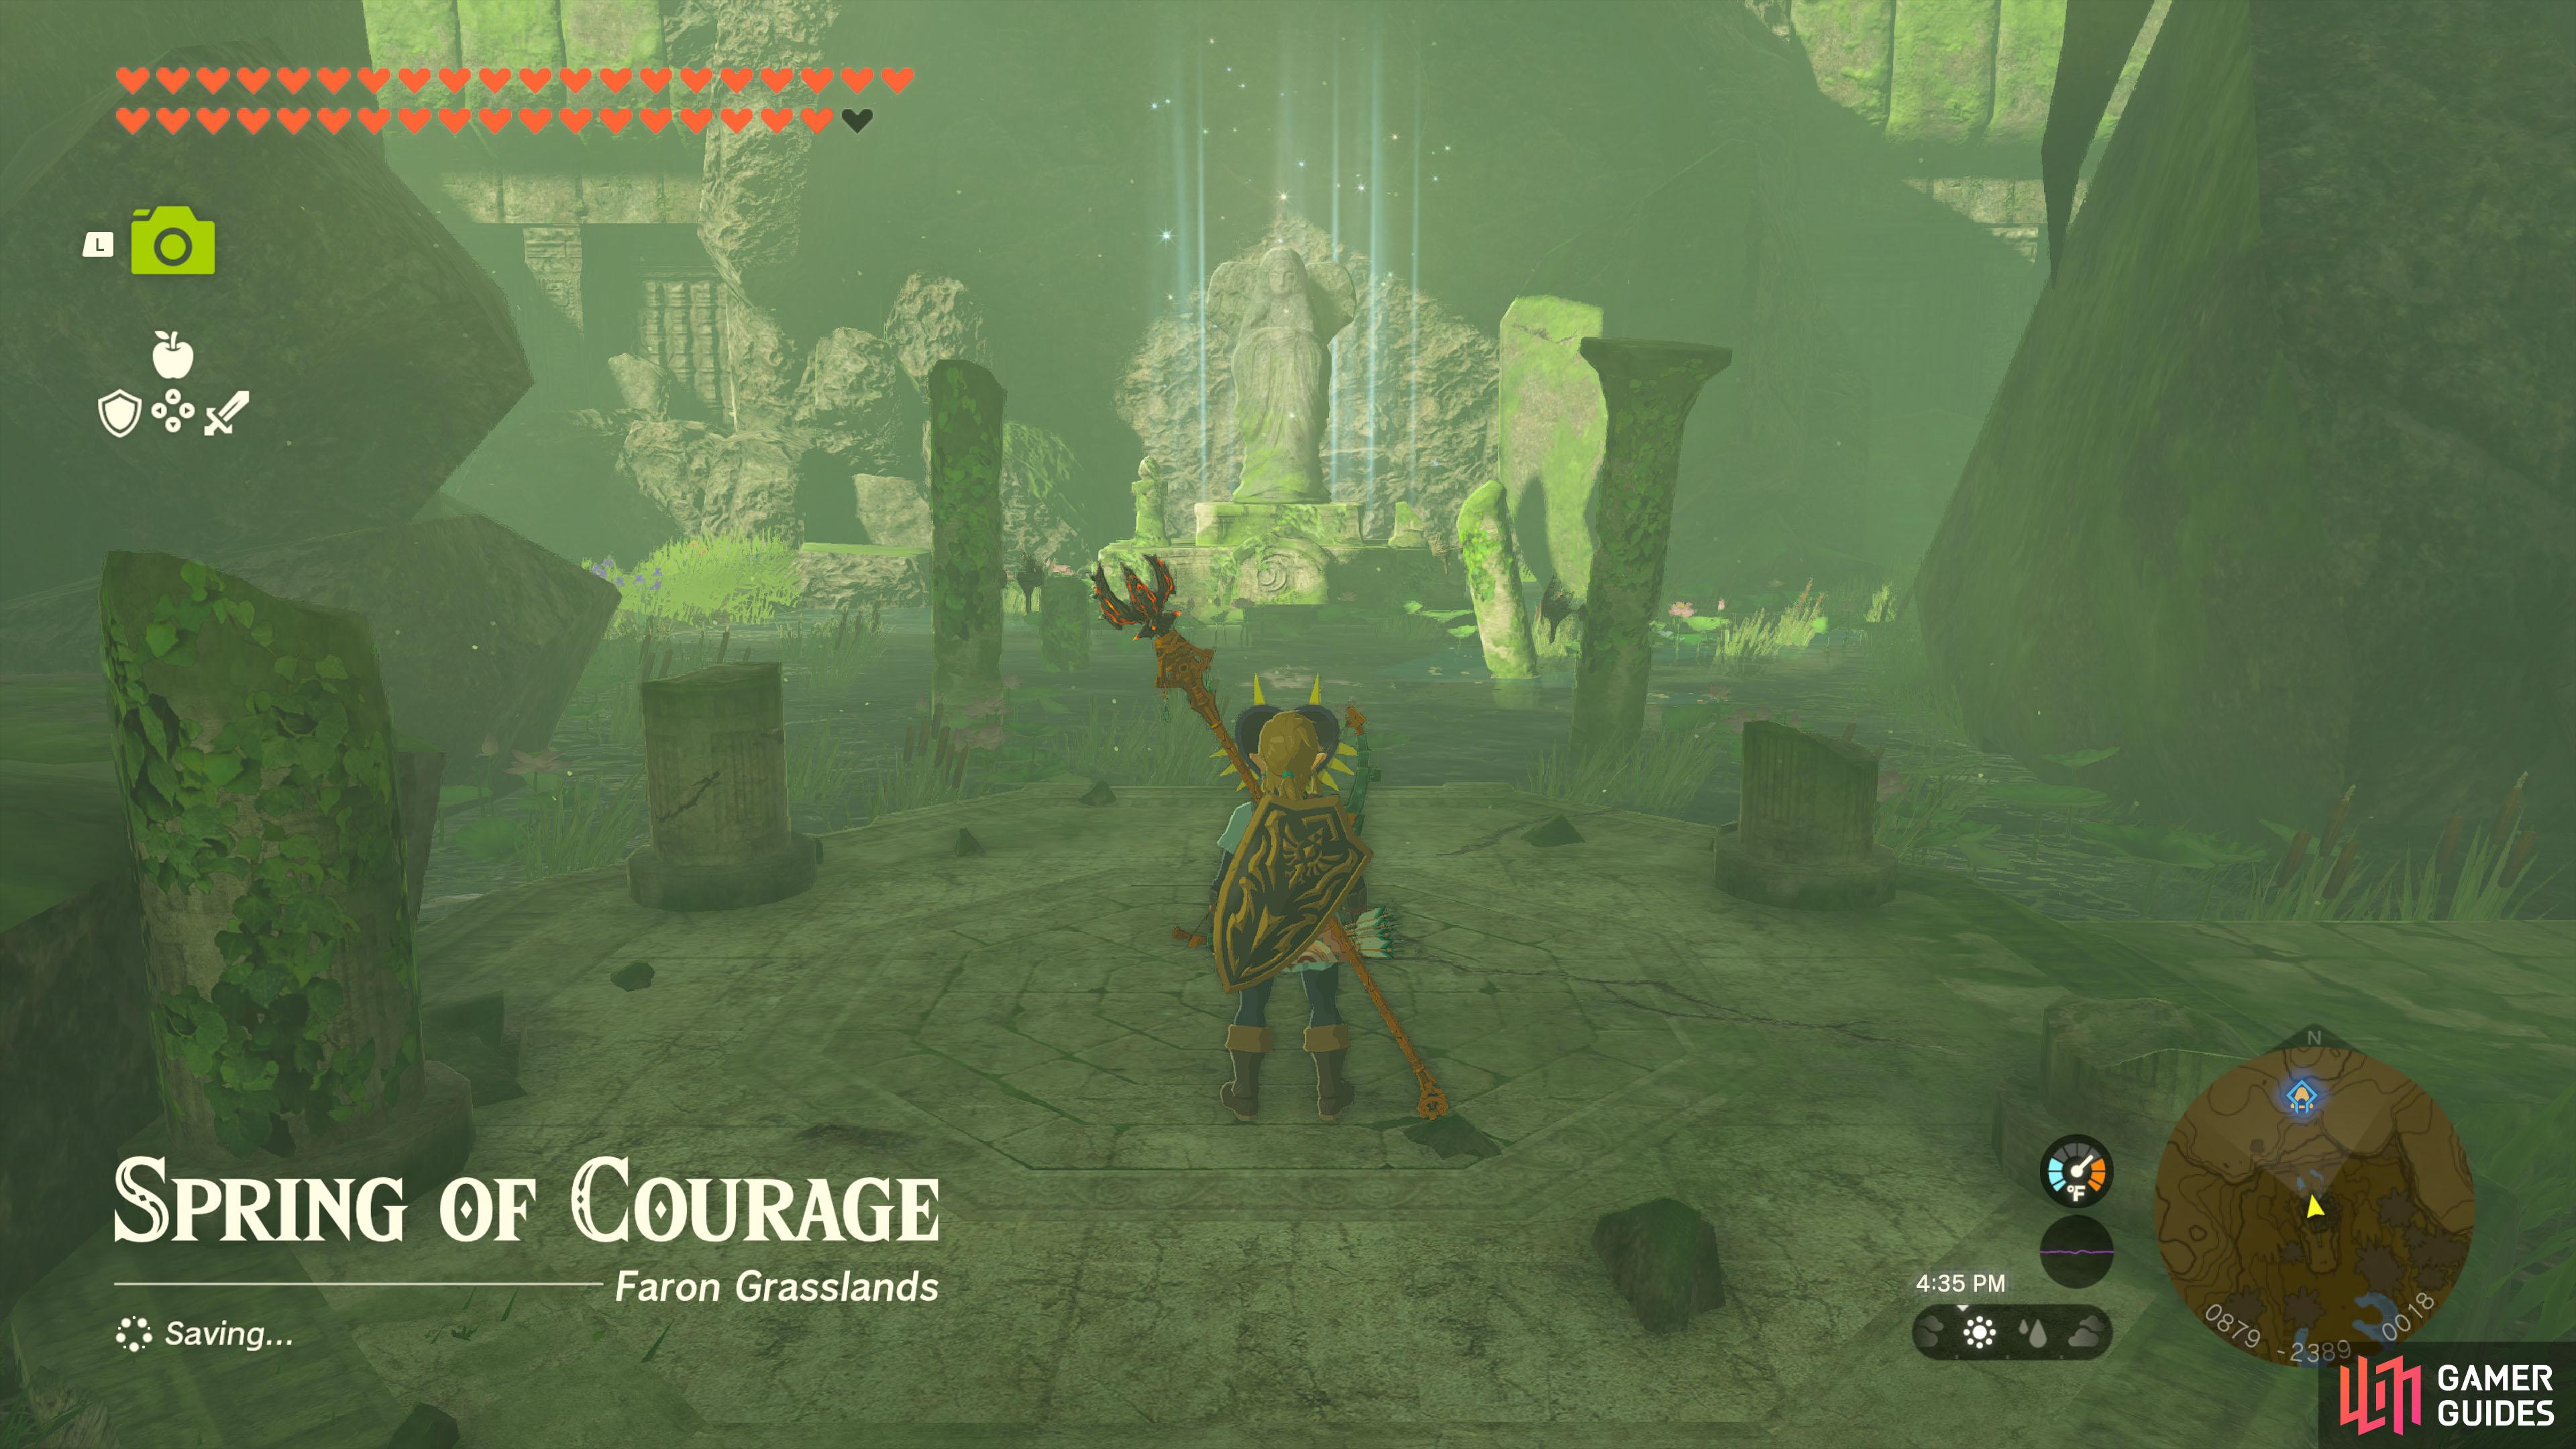
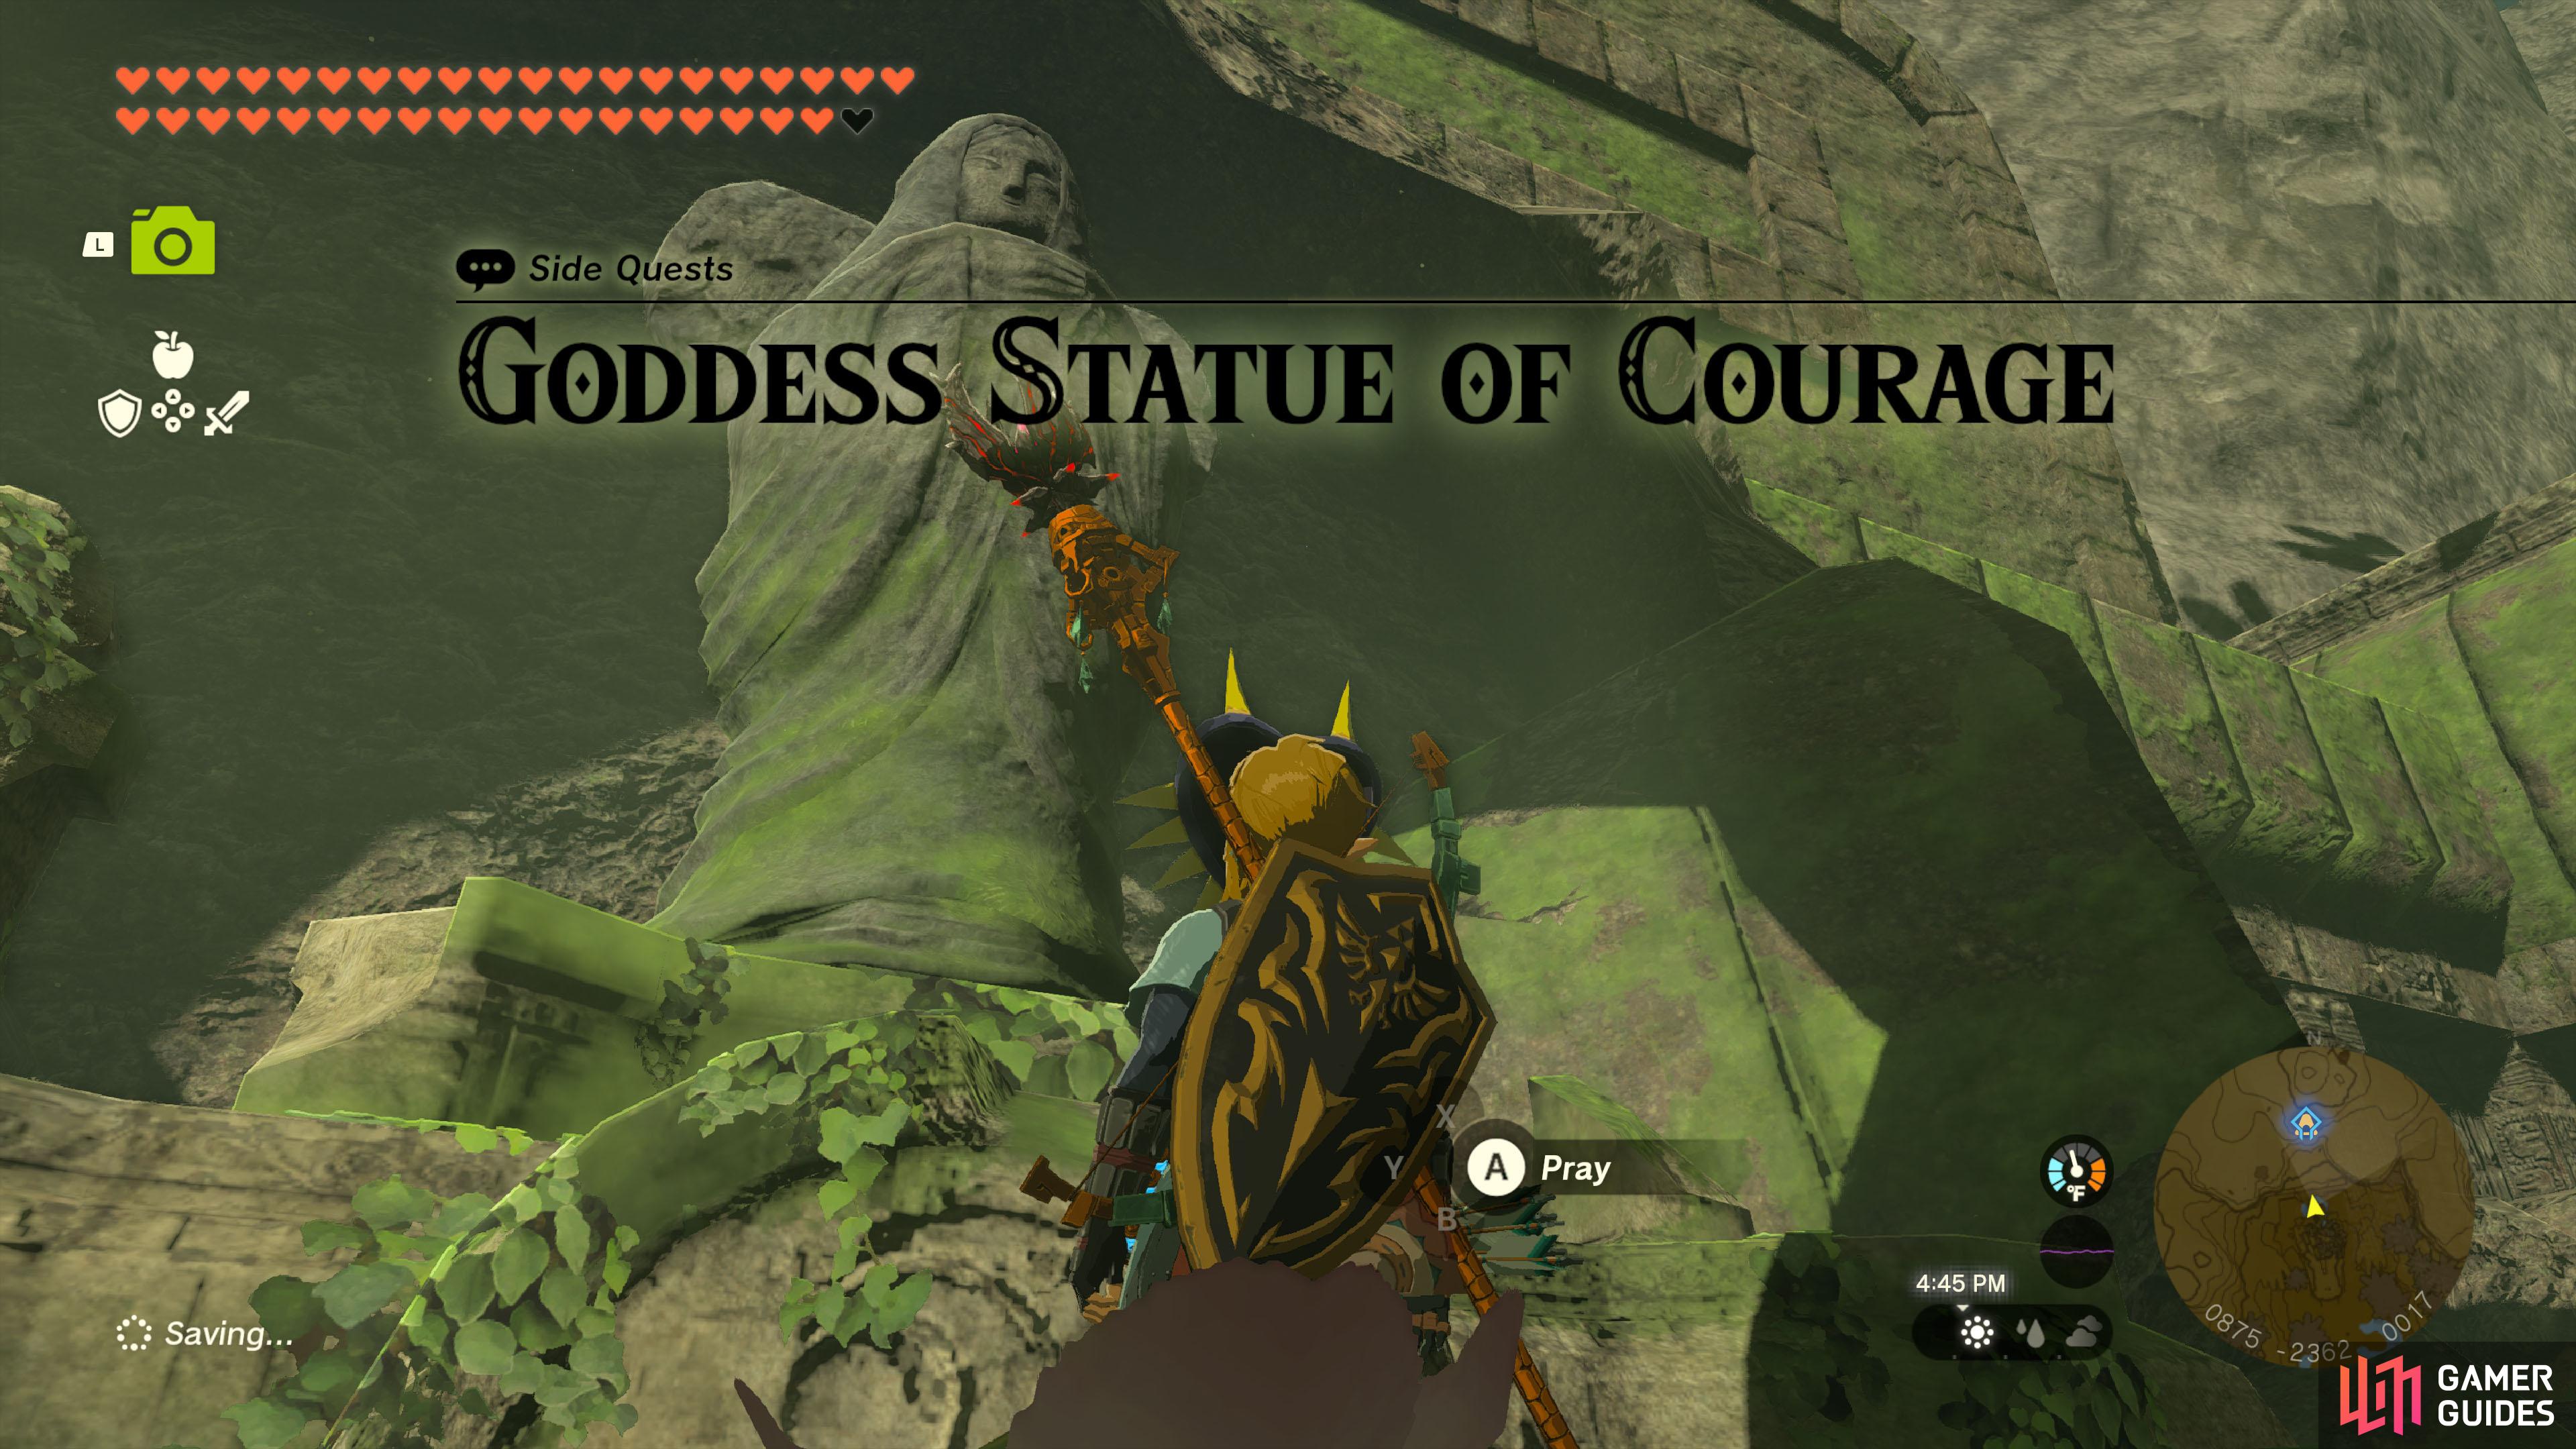
Goddess Statue of Courage |
The She asked you to check on the statue and return with your findings.
Description
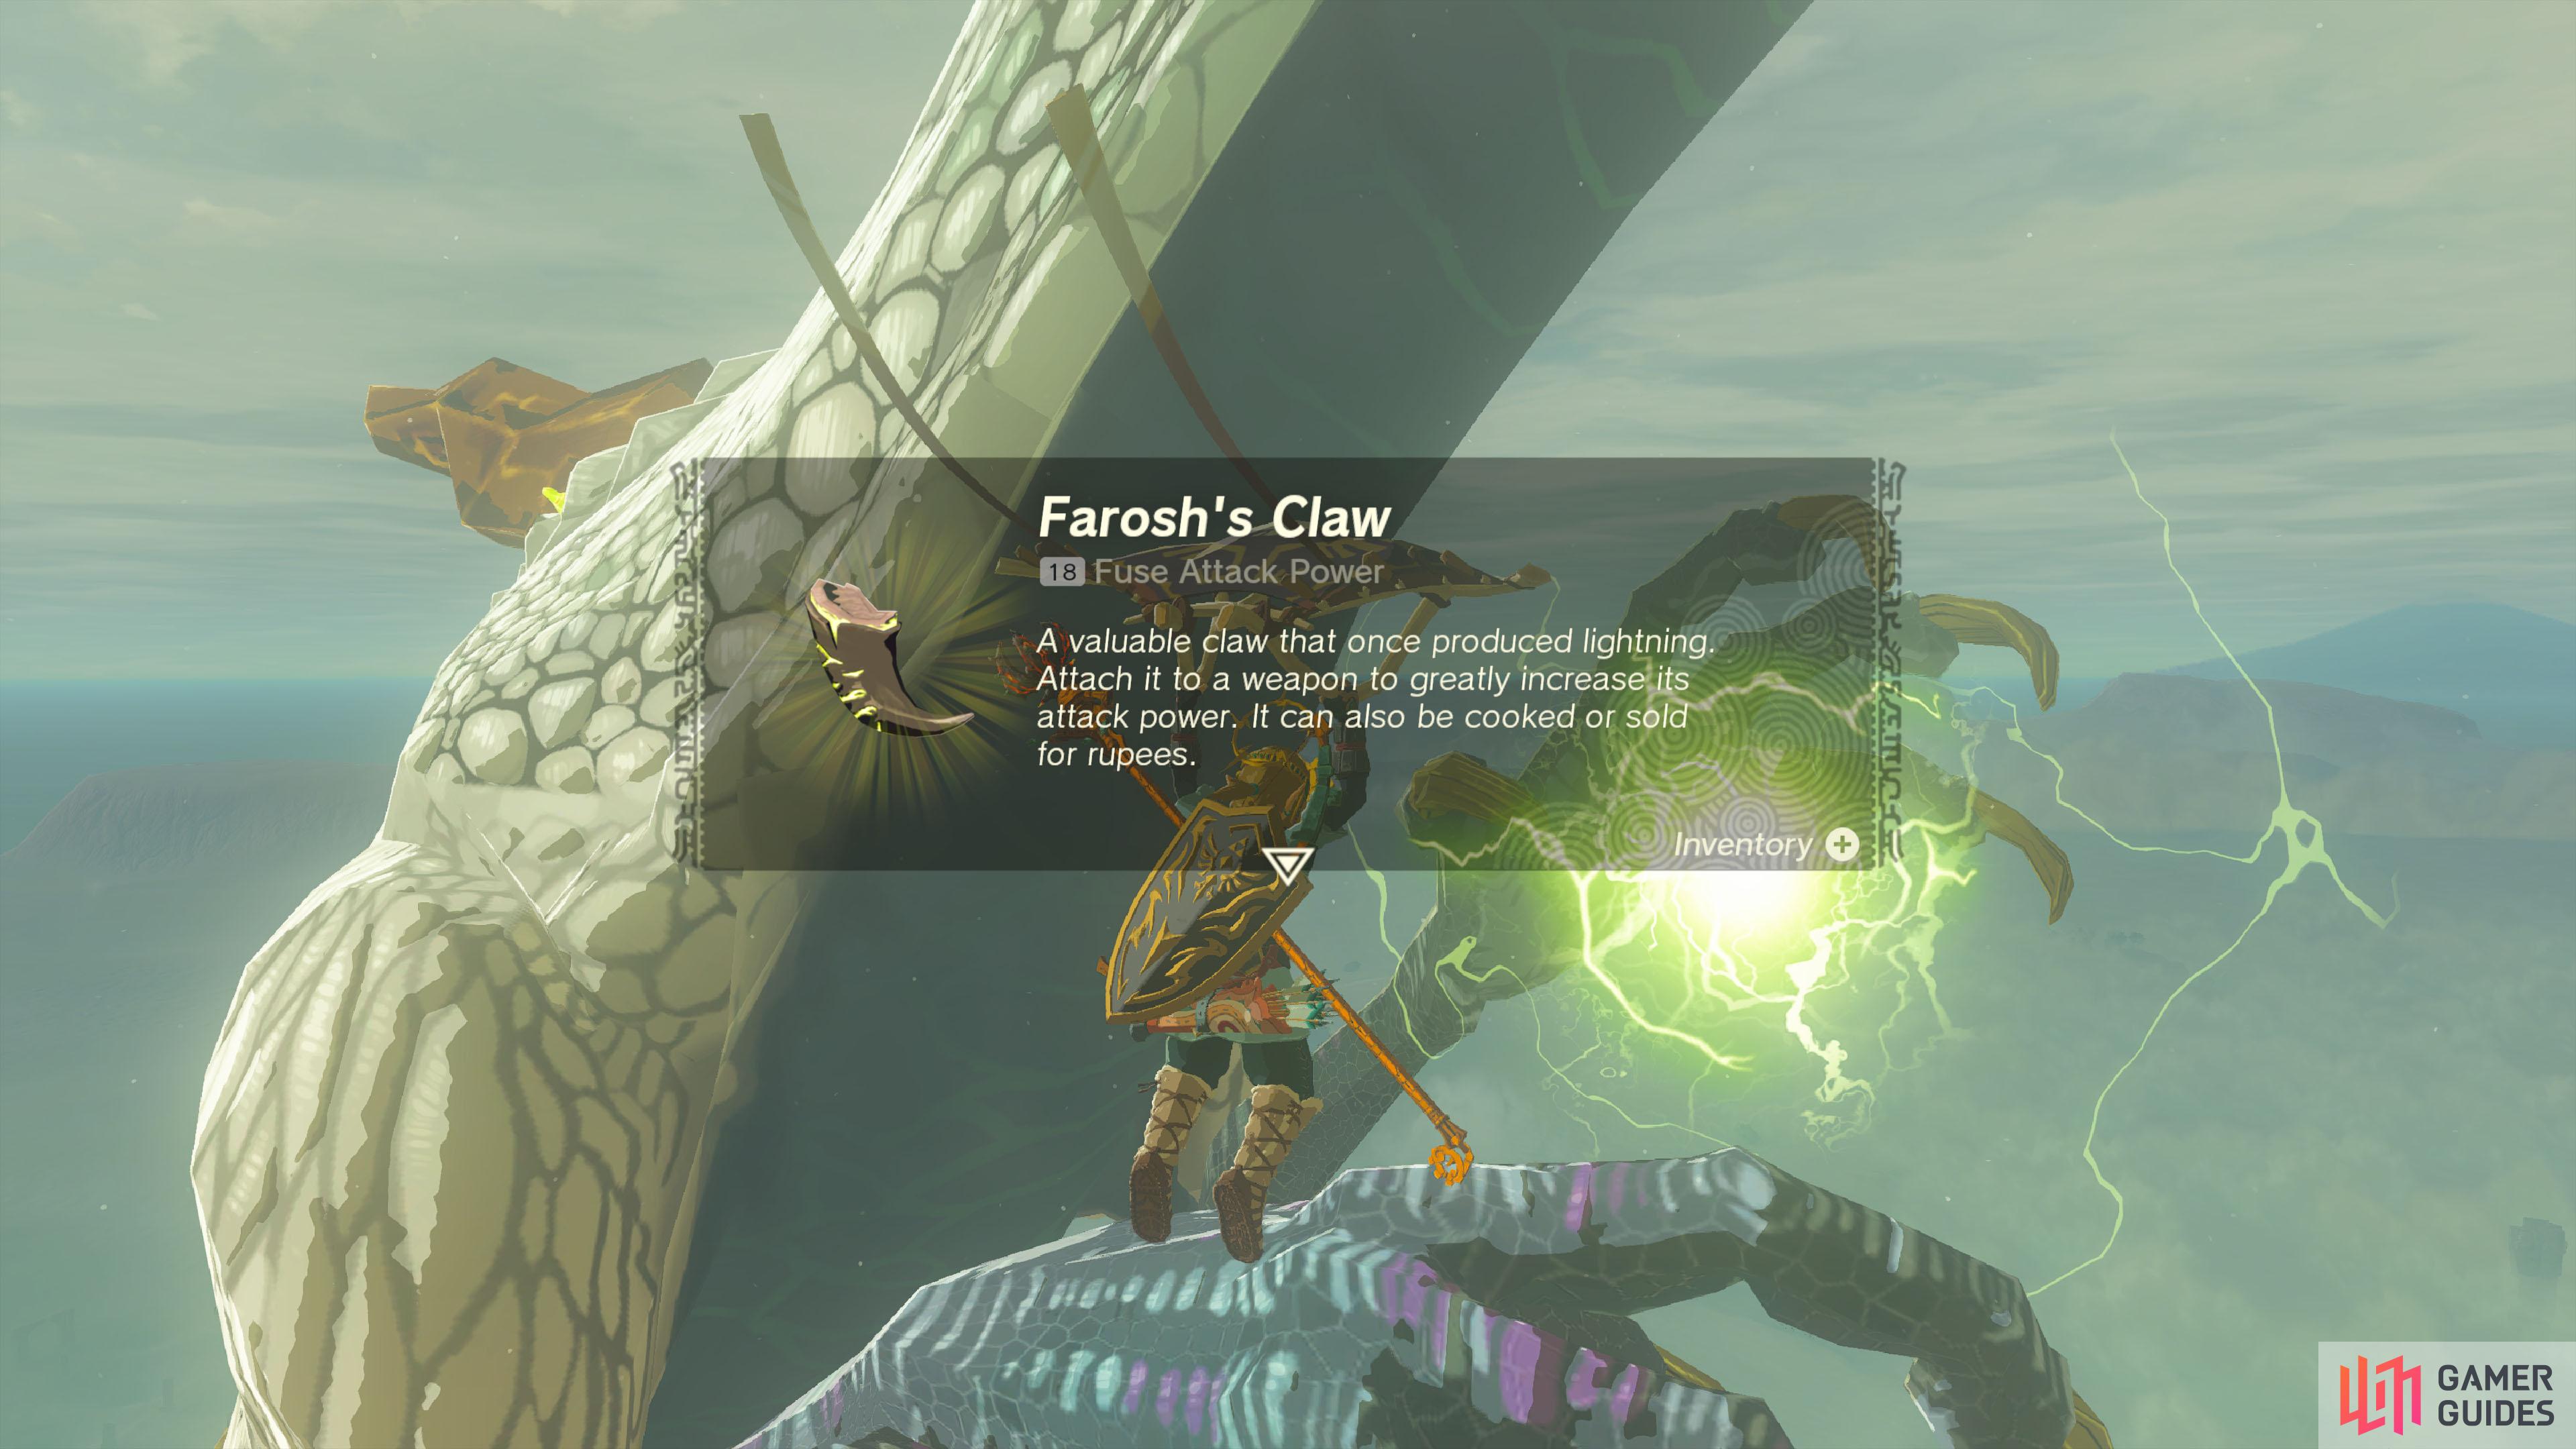
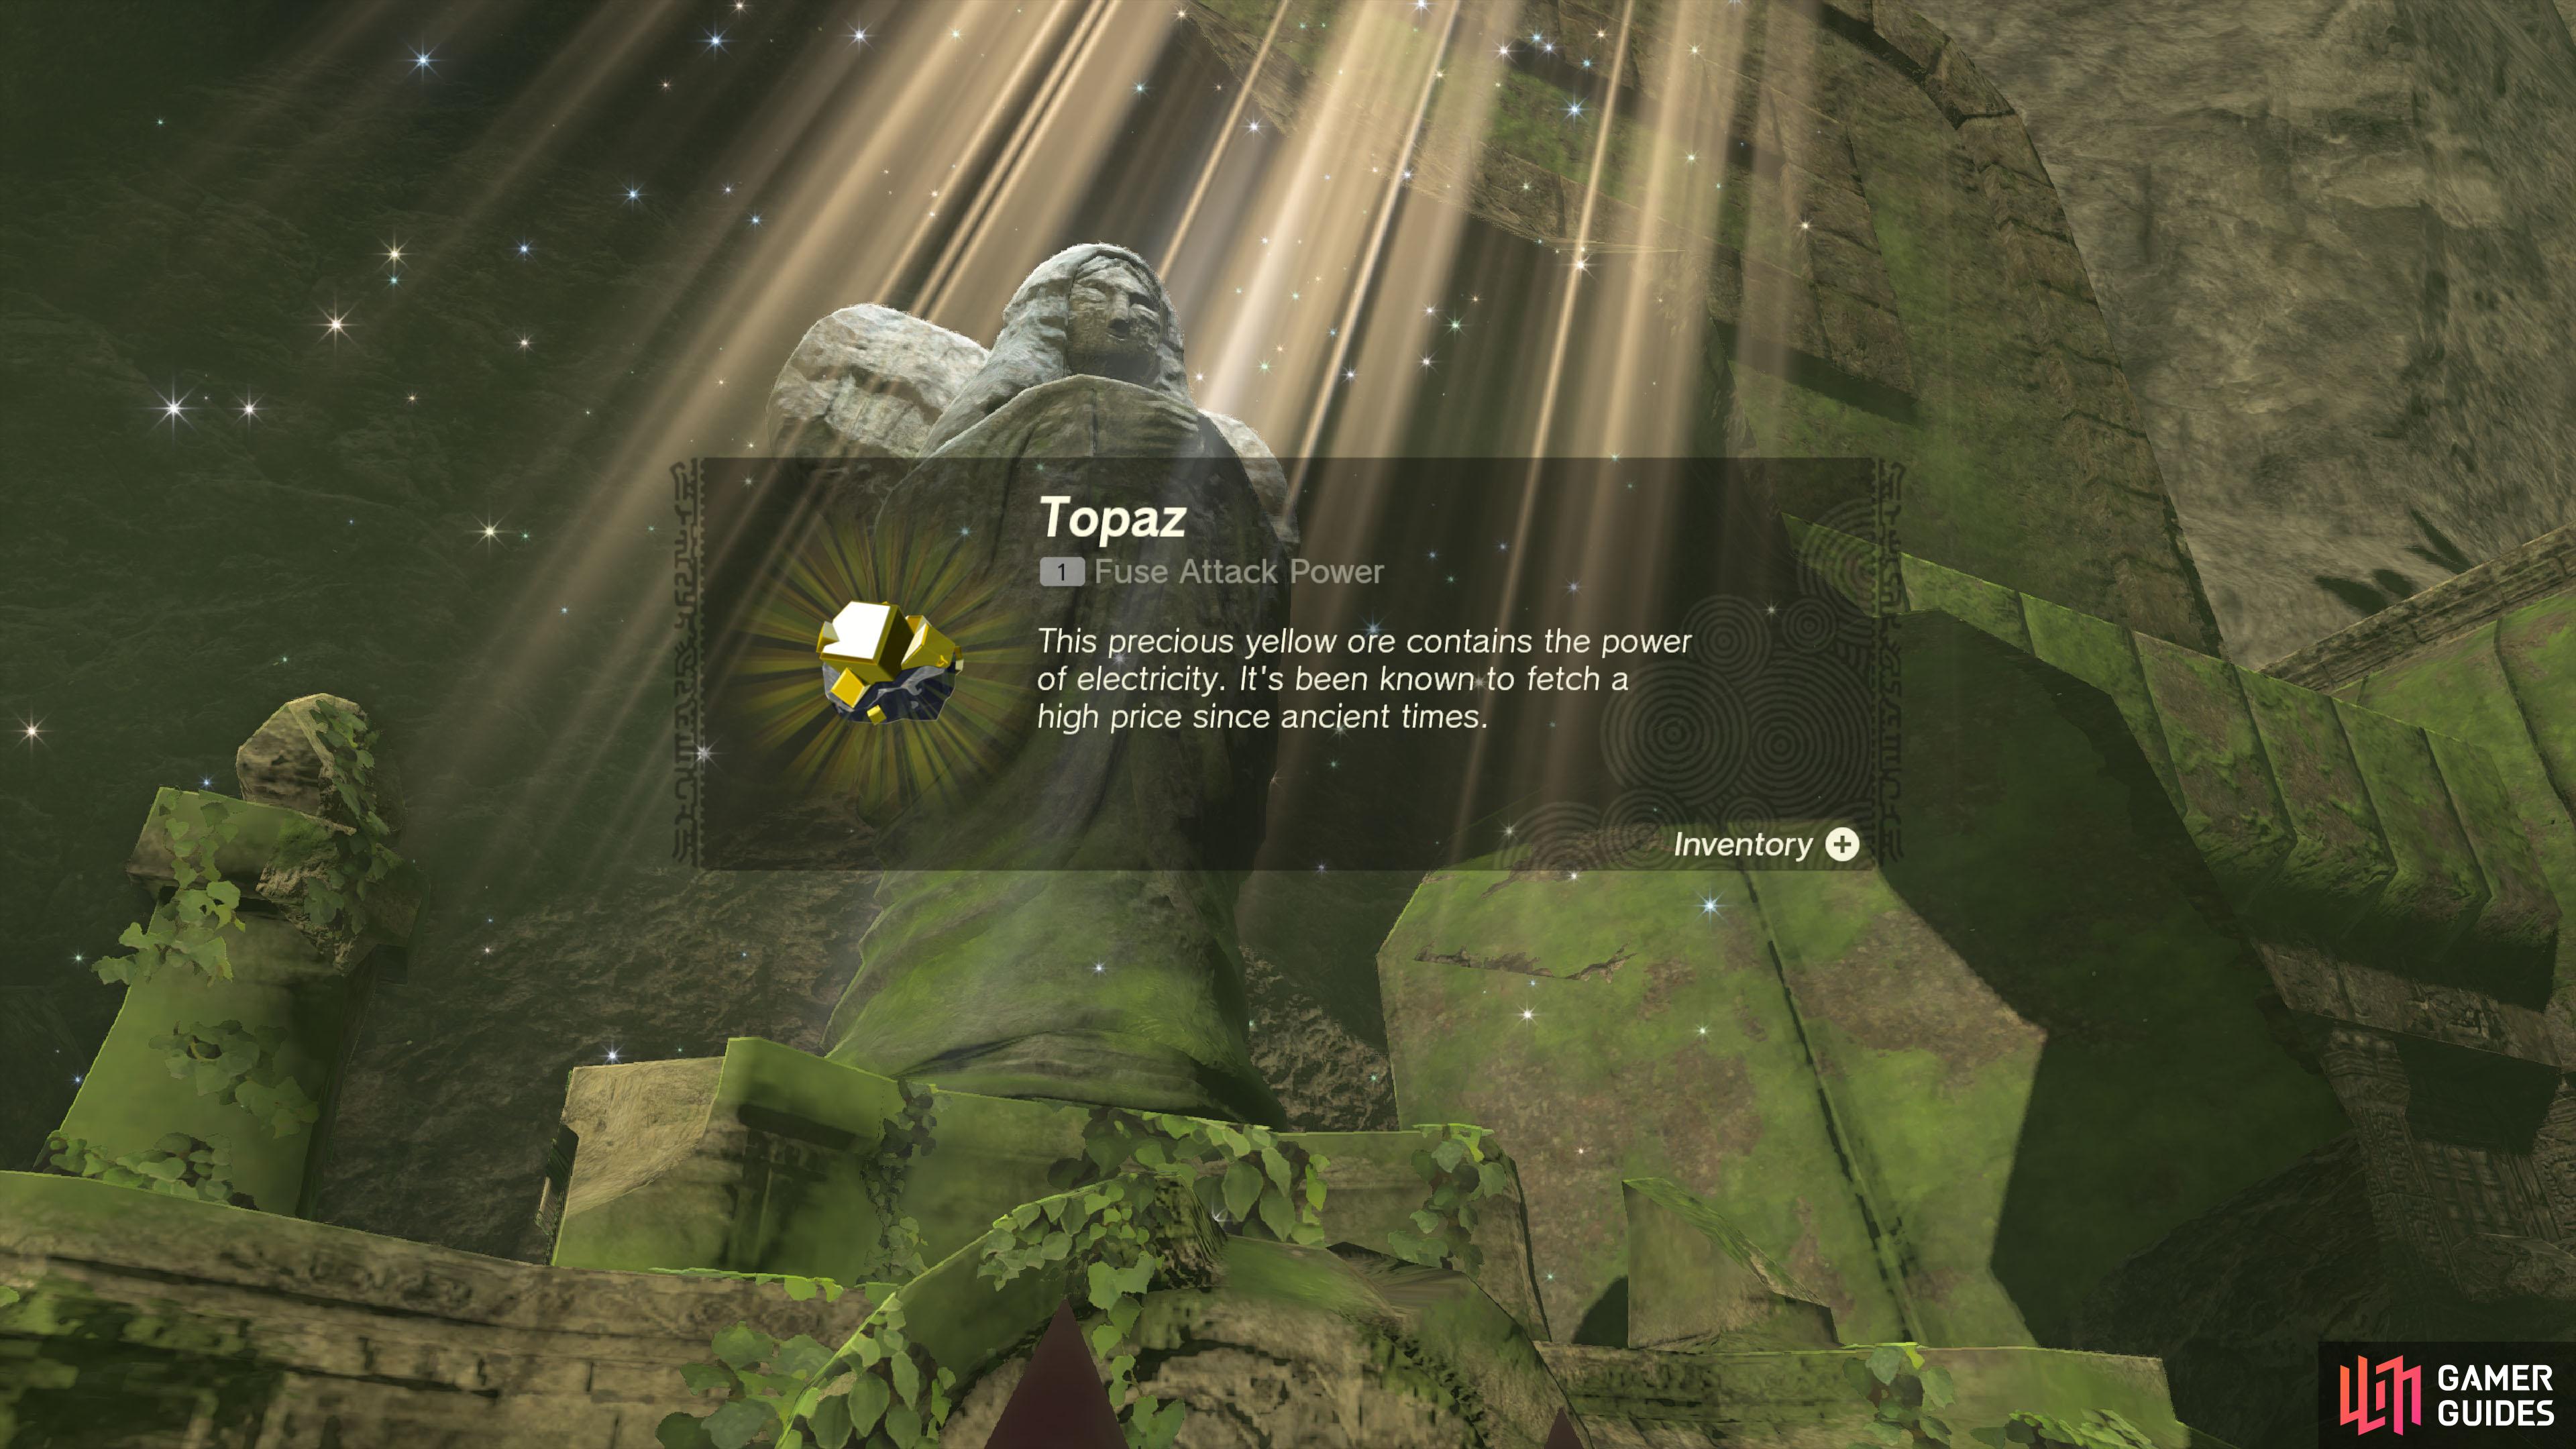
The beginning of this quest depends on whether you’ve examined the giant If you haven’t, make your way towards the end of the Forgotten Temple, at the north end of Tanagar Canyon. Your destination is near the After you’ve examined the big statue, return to the Spring of Courage to report your findings. Otherwise, if you’ve already examined the big statue (either through sheer curiosity or from the other Goddess Statue quests), you’ll skip straight to the next part. Next, you need to obtain and place You can obtain the claw from Once you’ve found Farosh, carefully shoot an arrow at its fore or hind claws. Depending on where you encounter it, it can be very high up. So you may need to create a flying machine to fly up. Once you’re reasonably close, there are rising air currents around the dragon so you can glide around it. Beware of the lightning bolts near Farosh. After offering Farosh’s Claw, you will receive a Topaz and this quest will end. If you also completed
Quest Type
Side Quest
Quest NPC
1×
 Goddess Statue
Miscellaneous Goddess Statue
Miscellaneous
Map(s)
|
|
|||||||||||||||||||||||||||||||||||||||||||||||||||||||||||||||||||||||||||||||||||||||||||||||

|
Goddess Statue of Power |
The She asked you to check on the statue and return with your findings.
Description
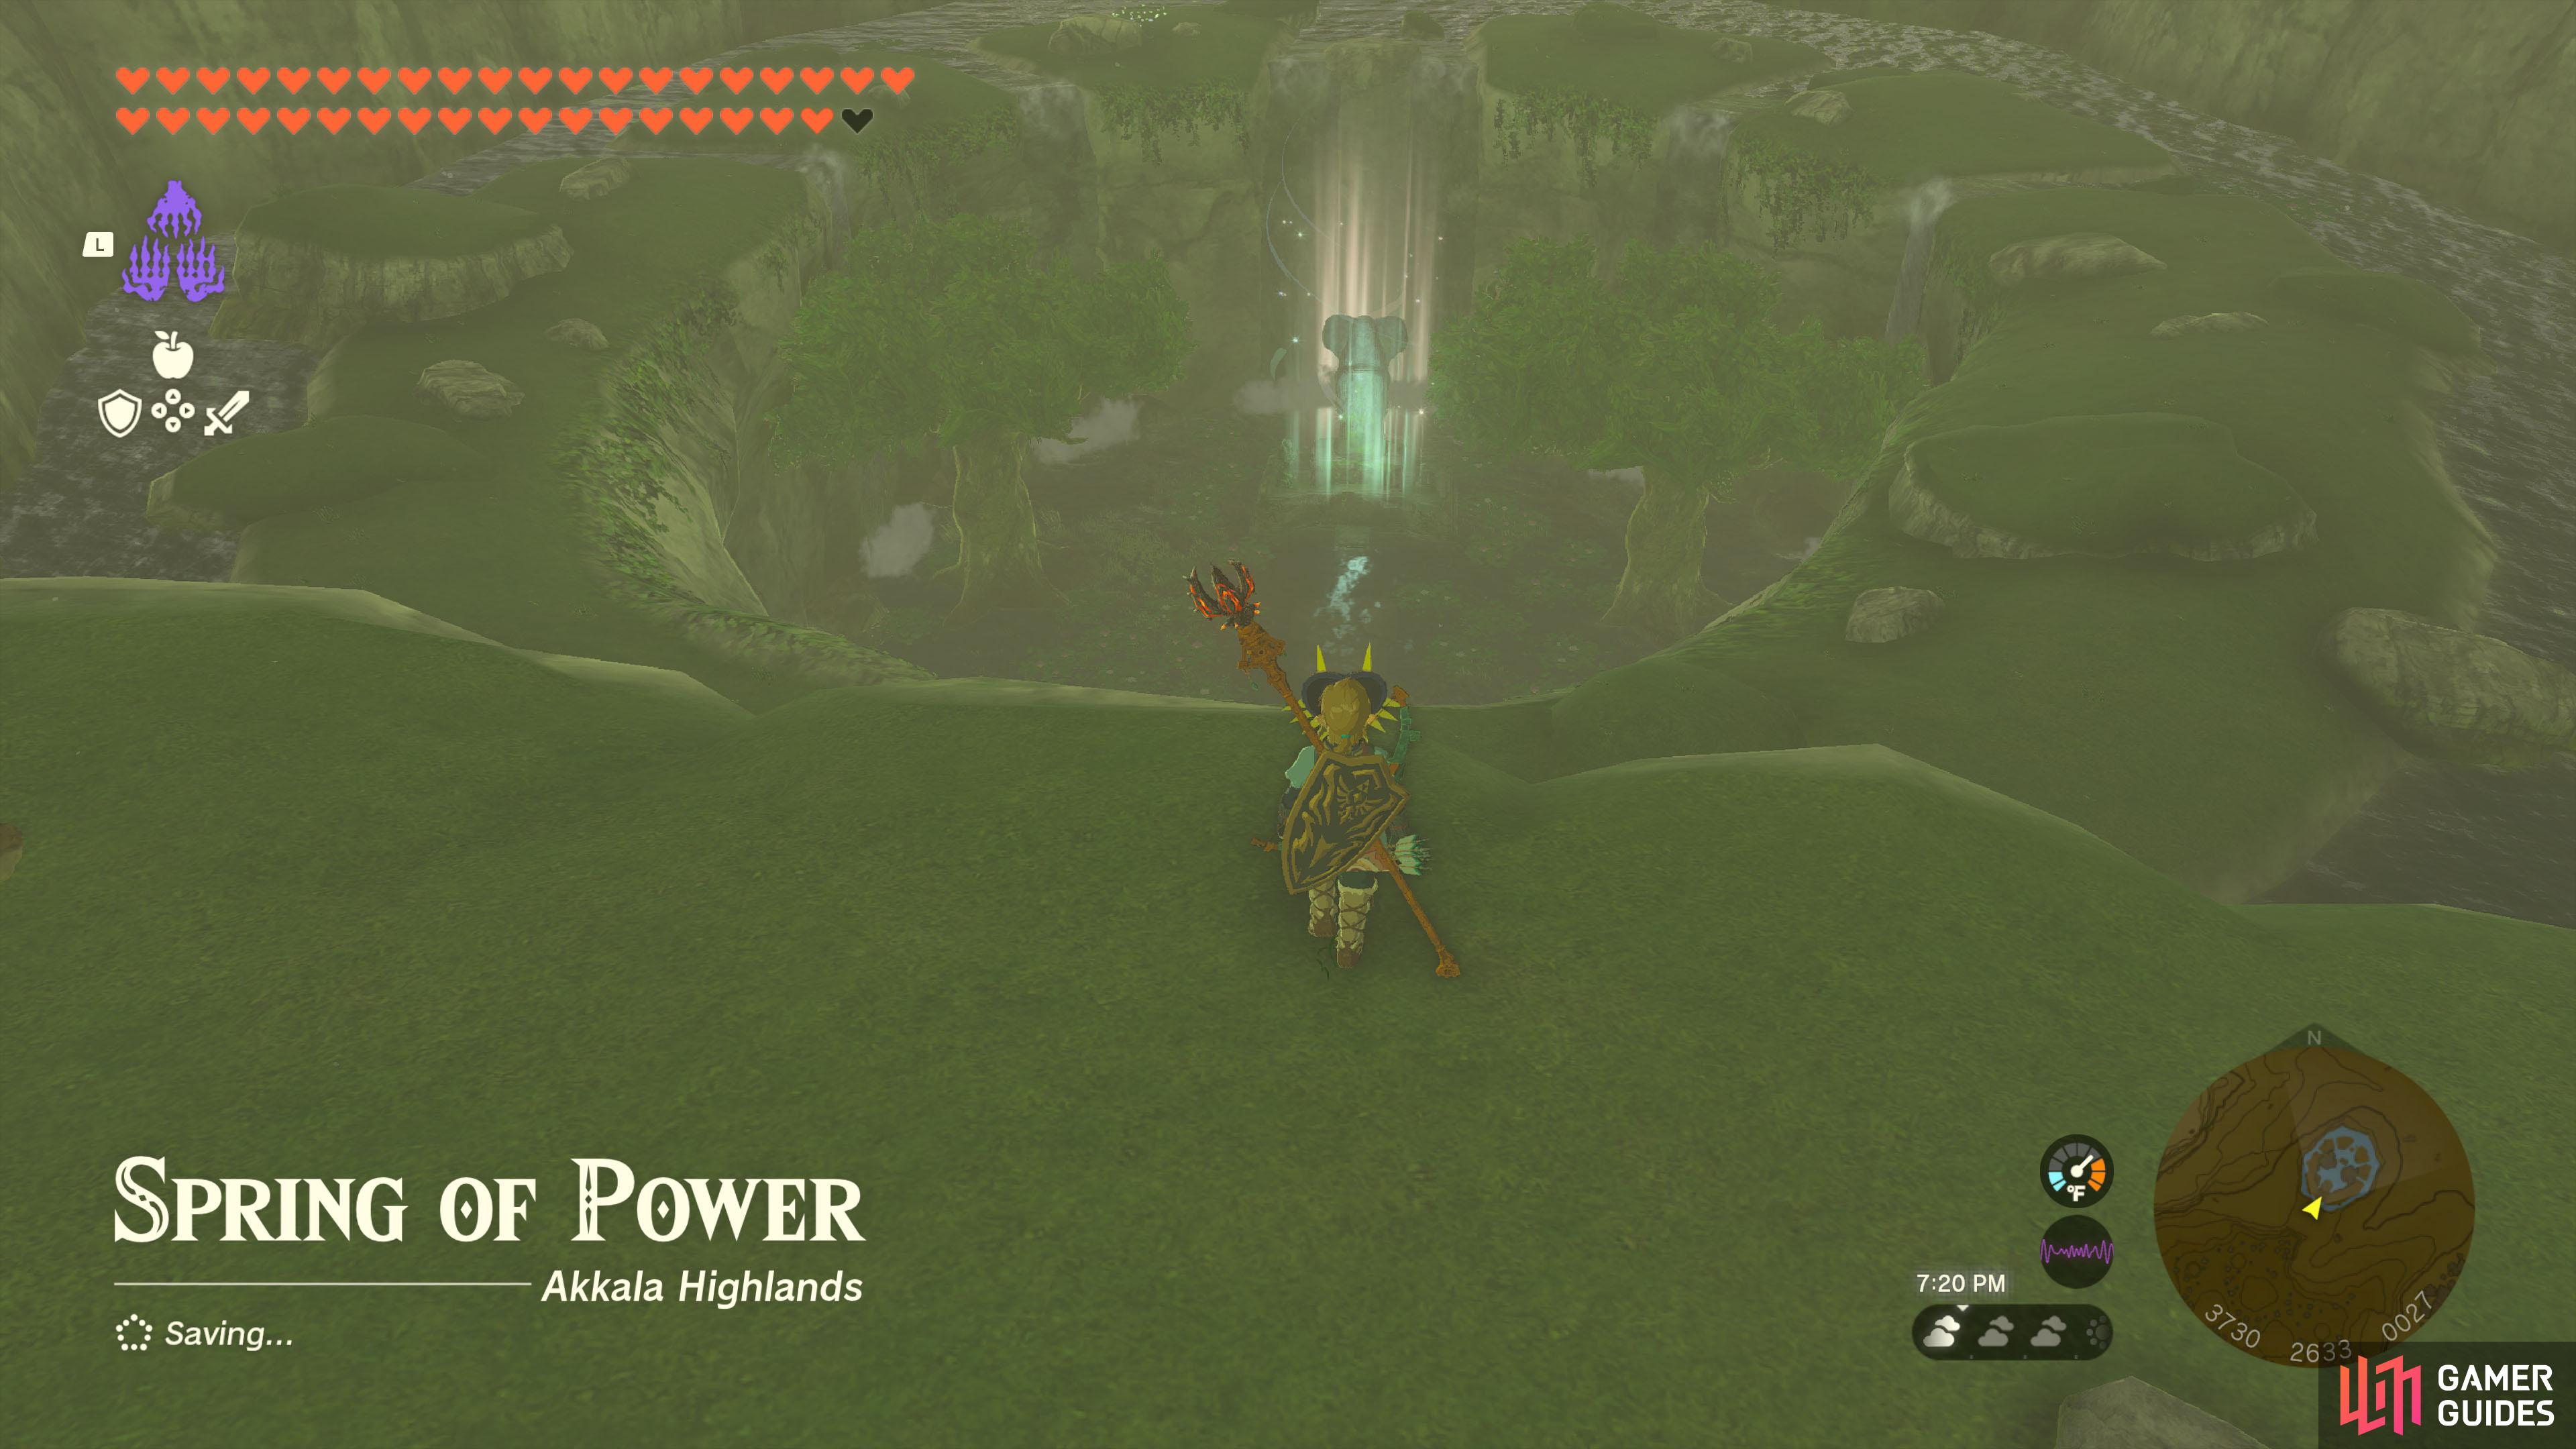
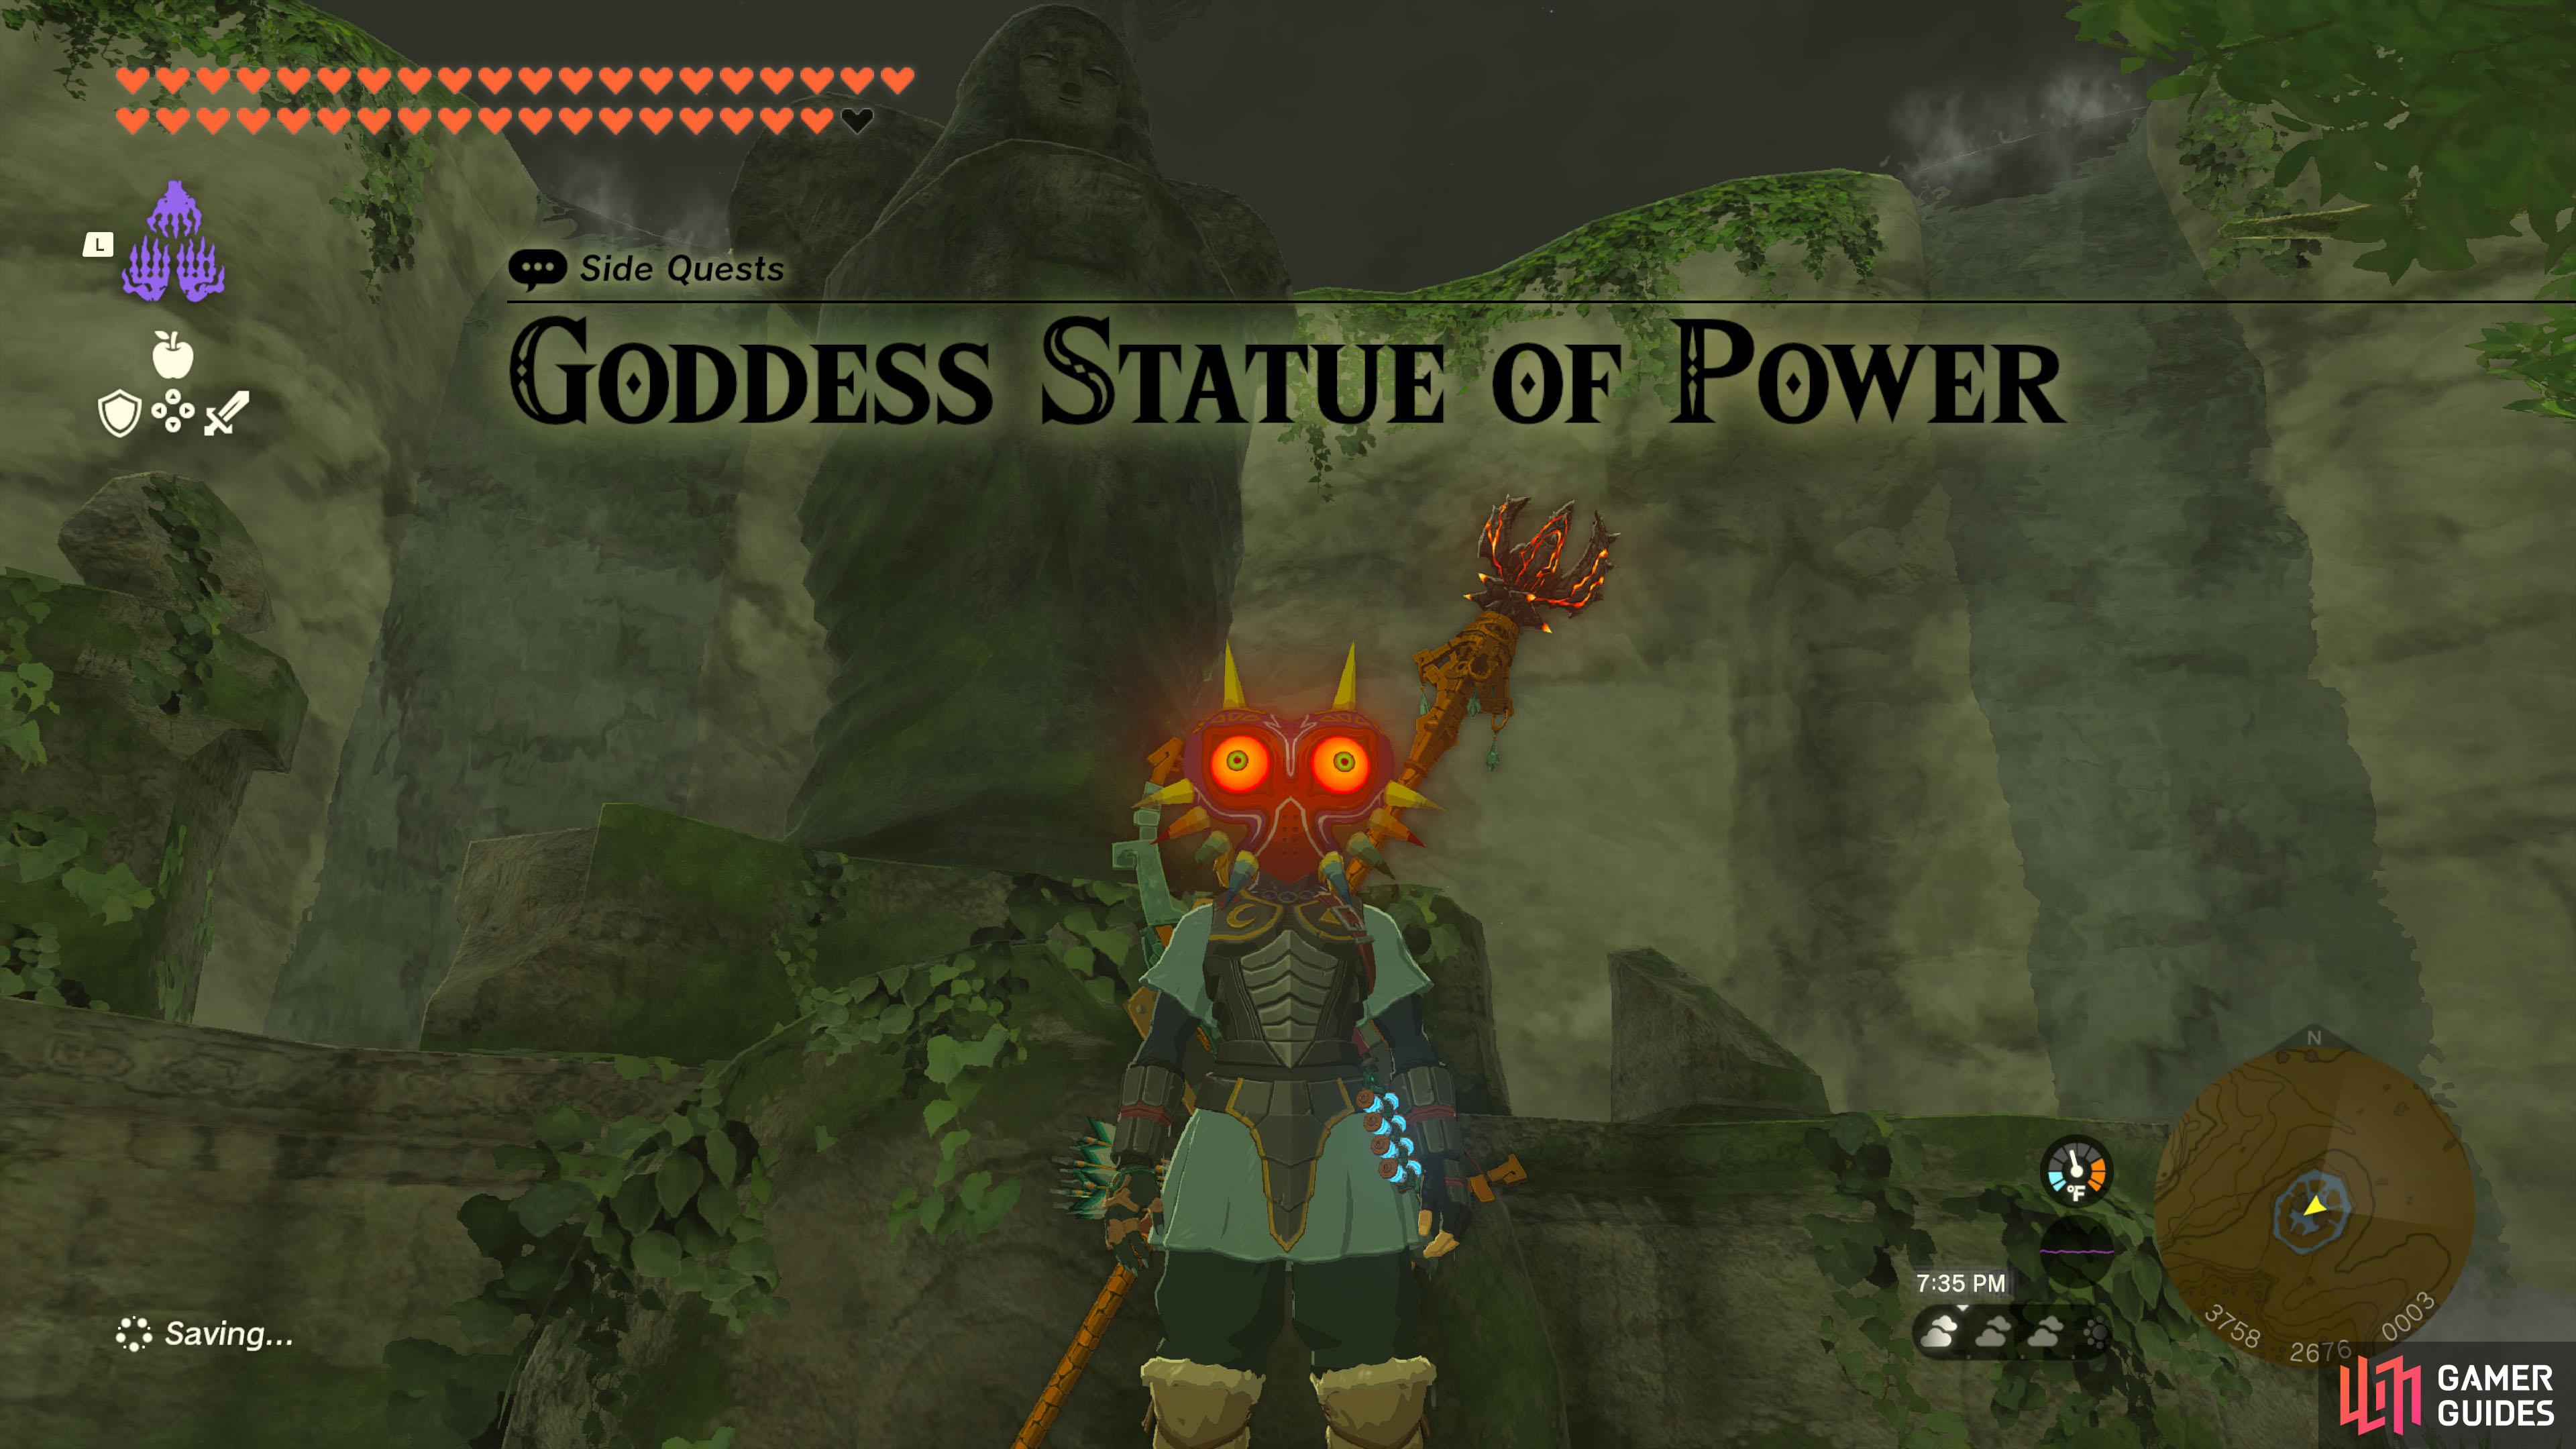
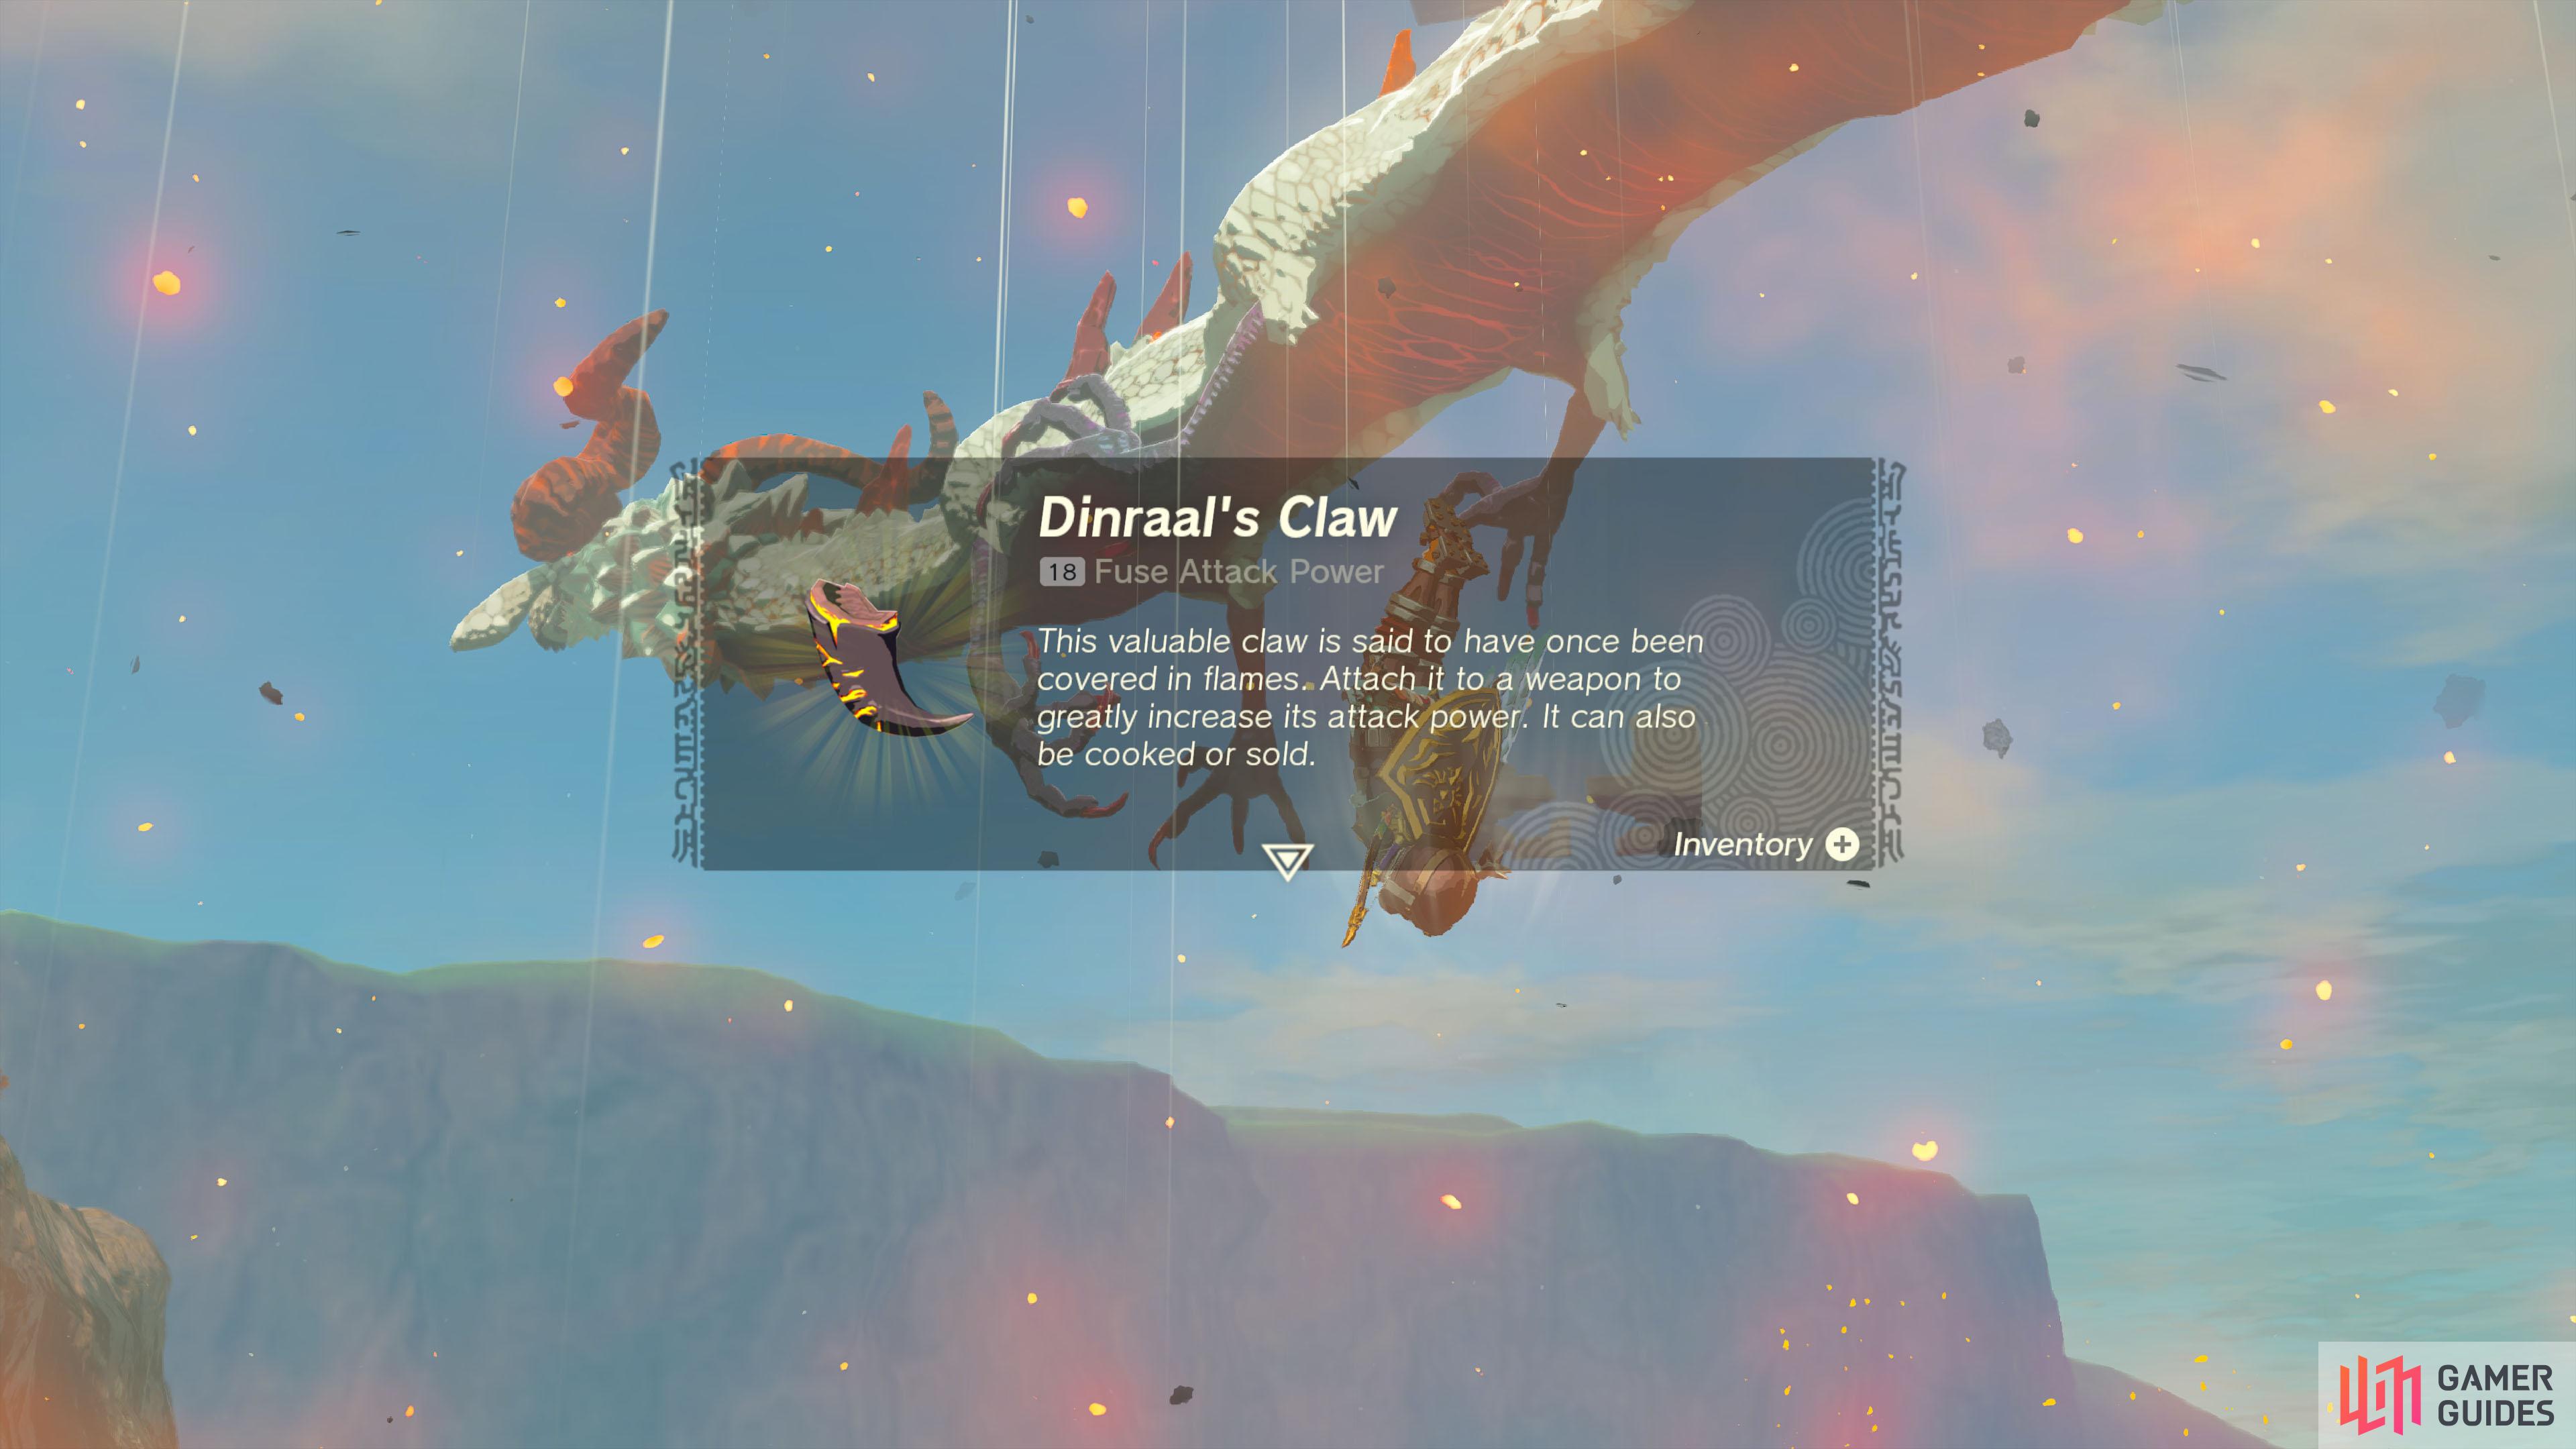
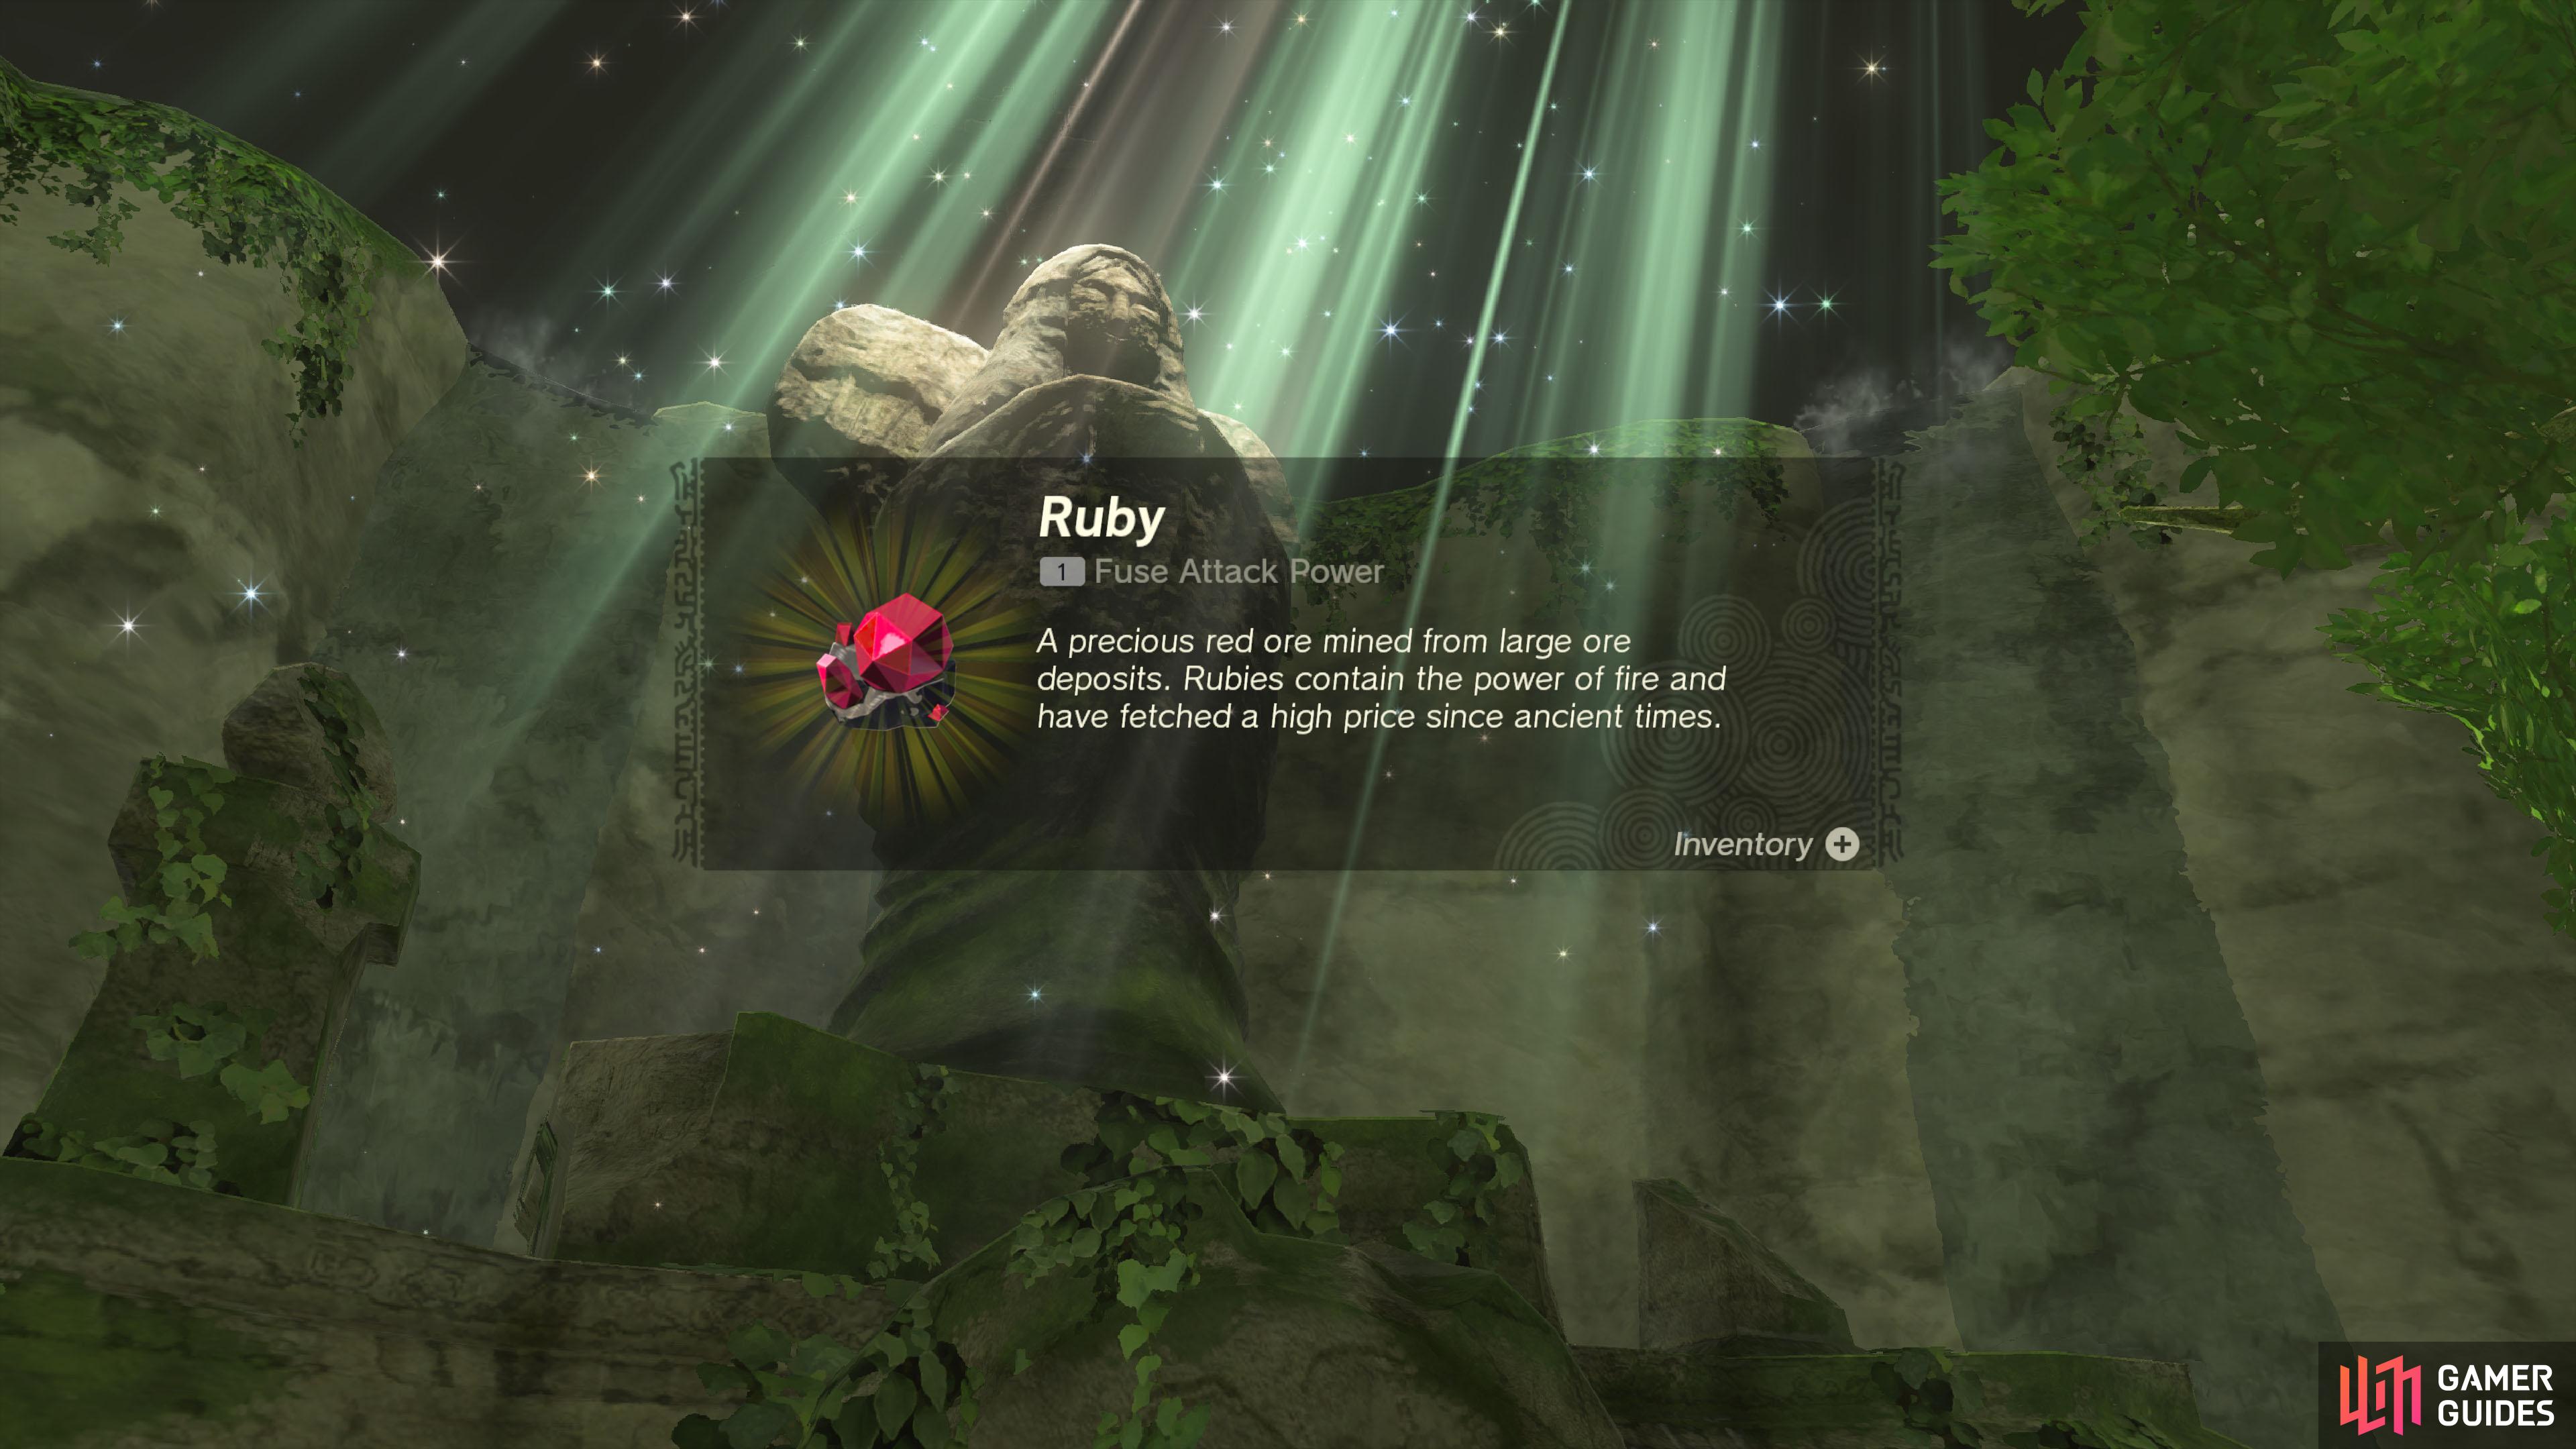
The beginning of this quest depends on whether you’ve examined the giant If you haven’t, make your way towards the end of the Forgotten Temple, at the north end of Tanagar Canyon. Your destination is near the After you’ve examined the big statue, return to the Spring of Power to report your findings. Otherwise, if you’ve already examined the big statue (either through sheer curiosity or from the other Goddess Statue quests), you’ll skip straight to the next part. Next, you need to obtain and place As its name suggests, you can obtain it from Once you’ve found Dinraal, carefully shoot an arrow at its fore or hind claws. Depending on where you encounter it, it can be very high up. So you may need to create a flying machine to fly up. Once you’re reasonably close, there are rising air currents around Dinraal so you can glide around it. Beware of the high temperature and flames near Dinraal and equip yourself accordingly. After offering Dinraal’s Claw, you will receive a Ruby and this quest will end. If you also completed
Quest Type
Side Quest
Quest NPC
Goddess Statue
Miscellaneous
Map(s)
|
|
|||||||||||||||||||||||||||||||||||||||||||||||||||||||||||||||||||||||||||||||||||||||||||||||

|
Goddess Statue of Wisdom |
The She asked you to check on the statue and return with your findings.
Description
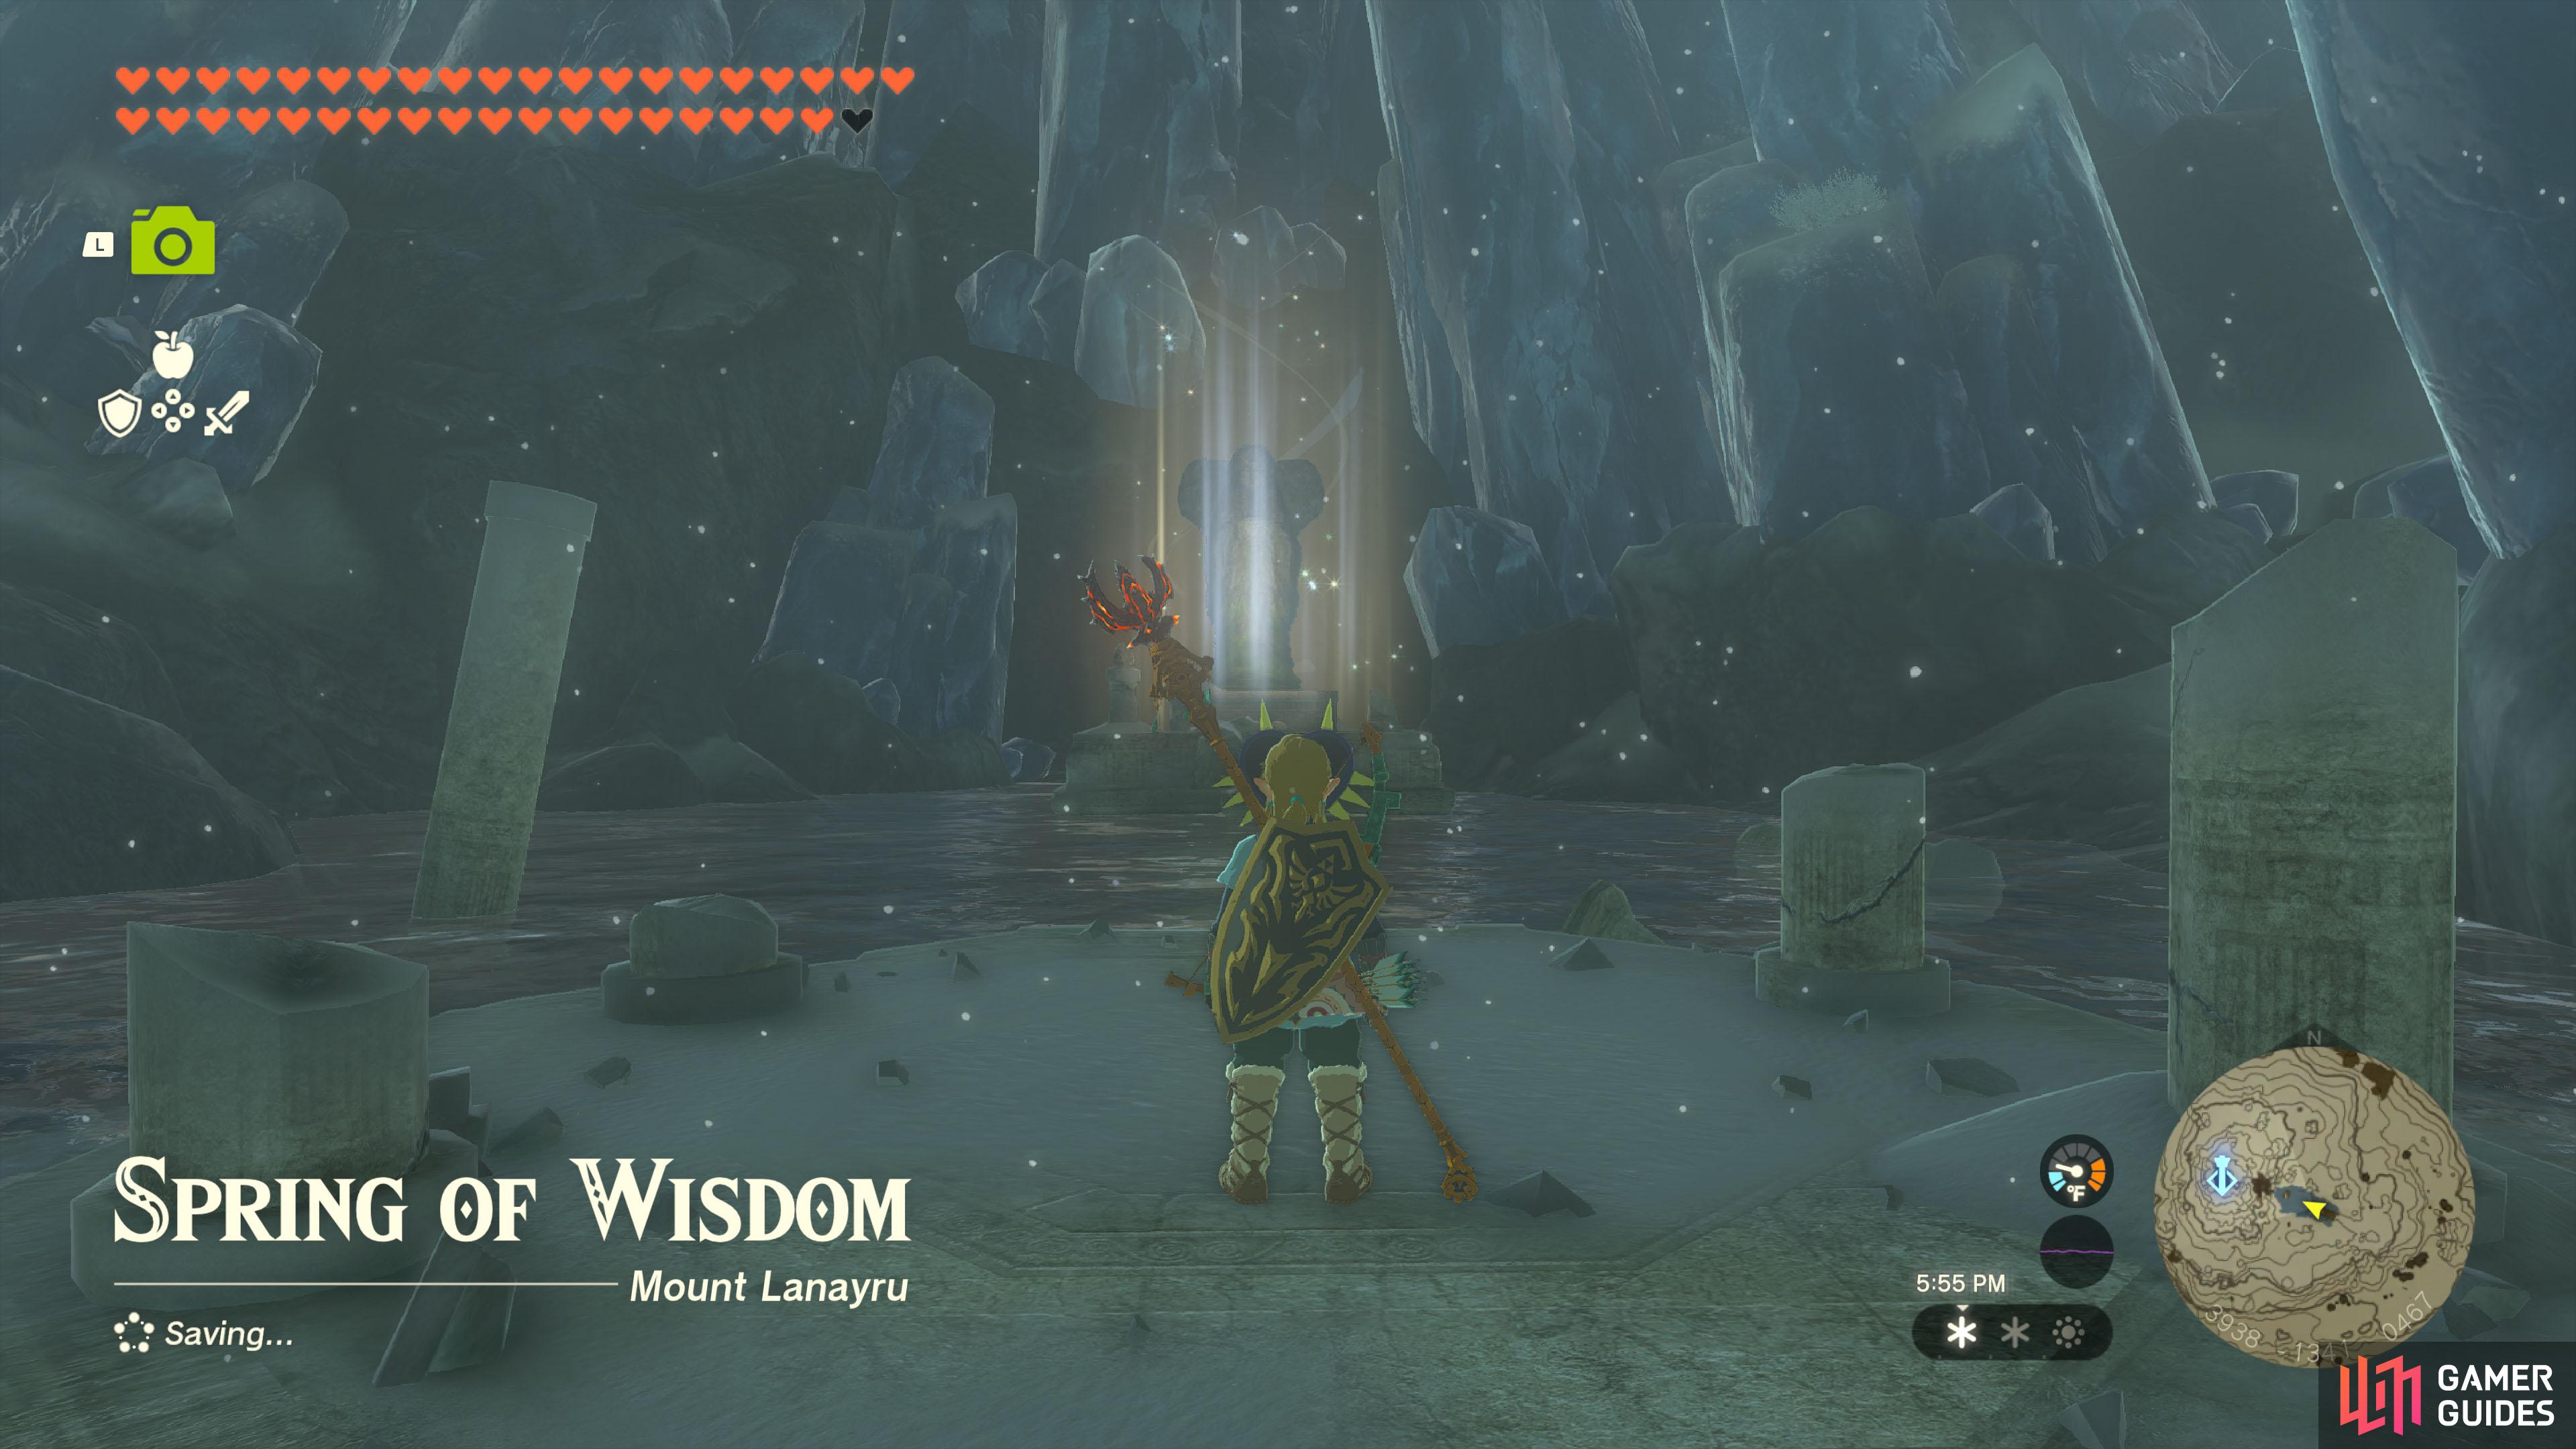
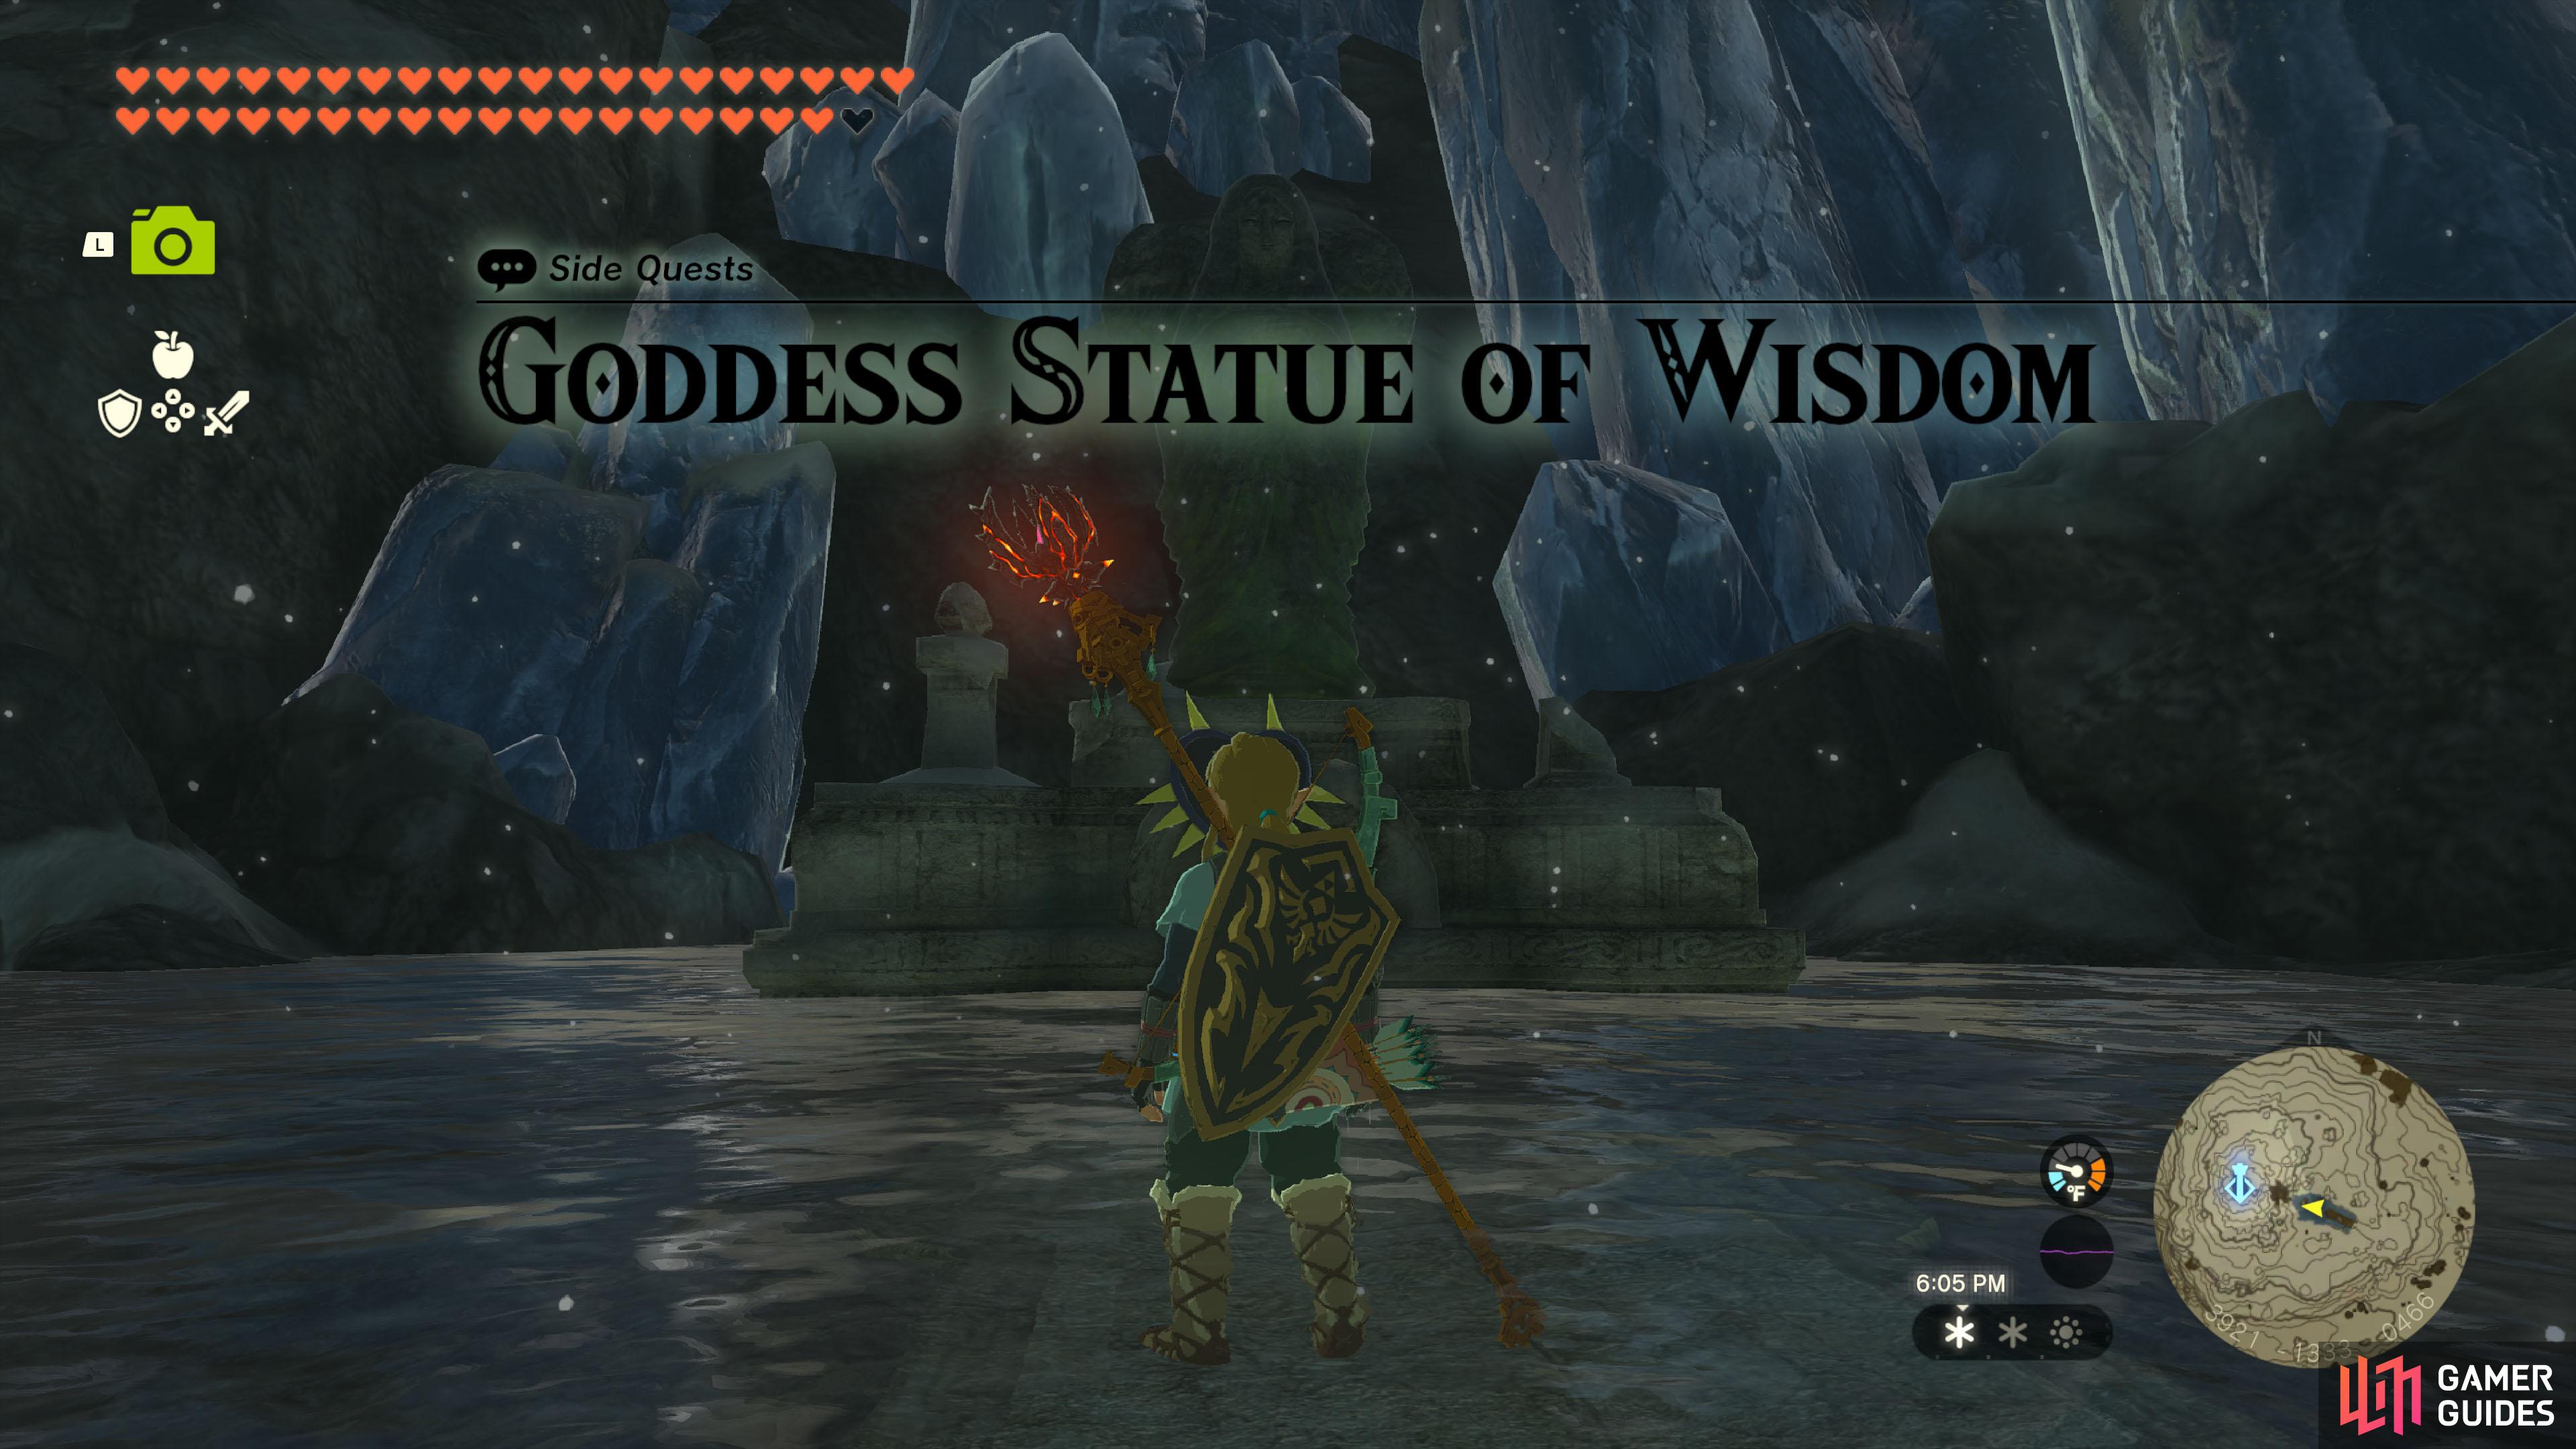
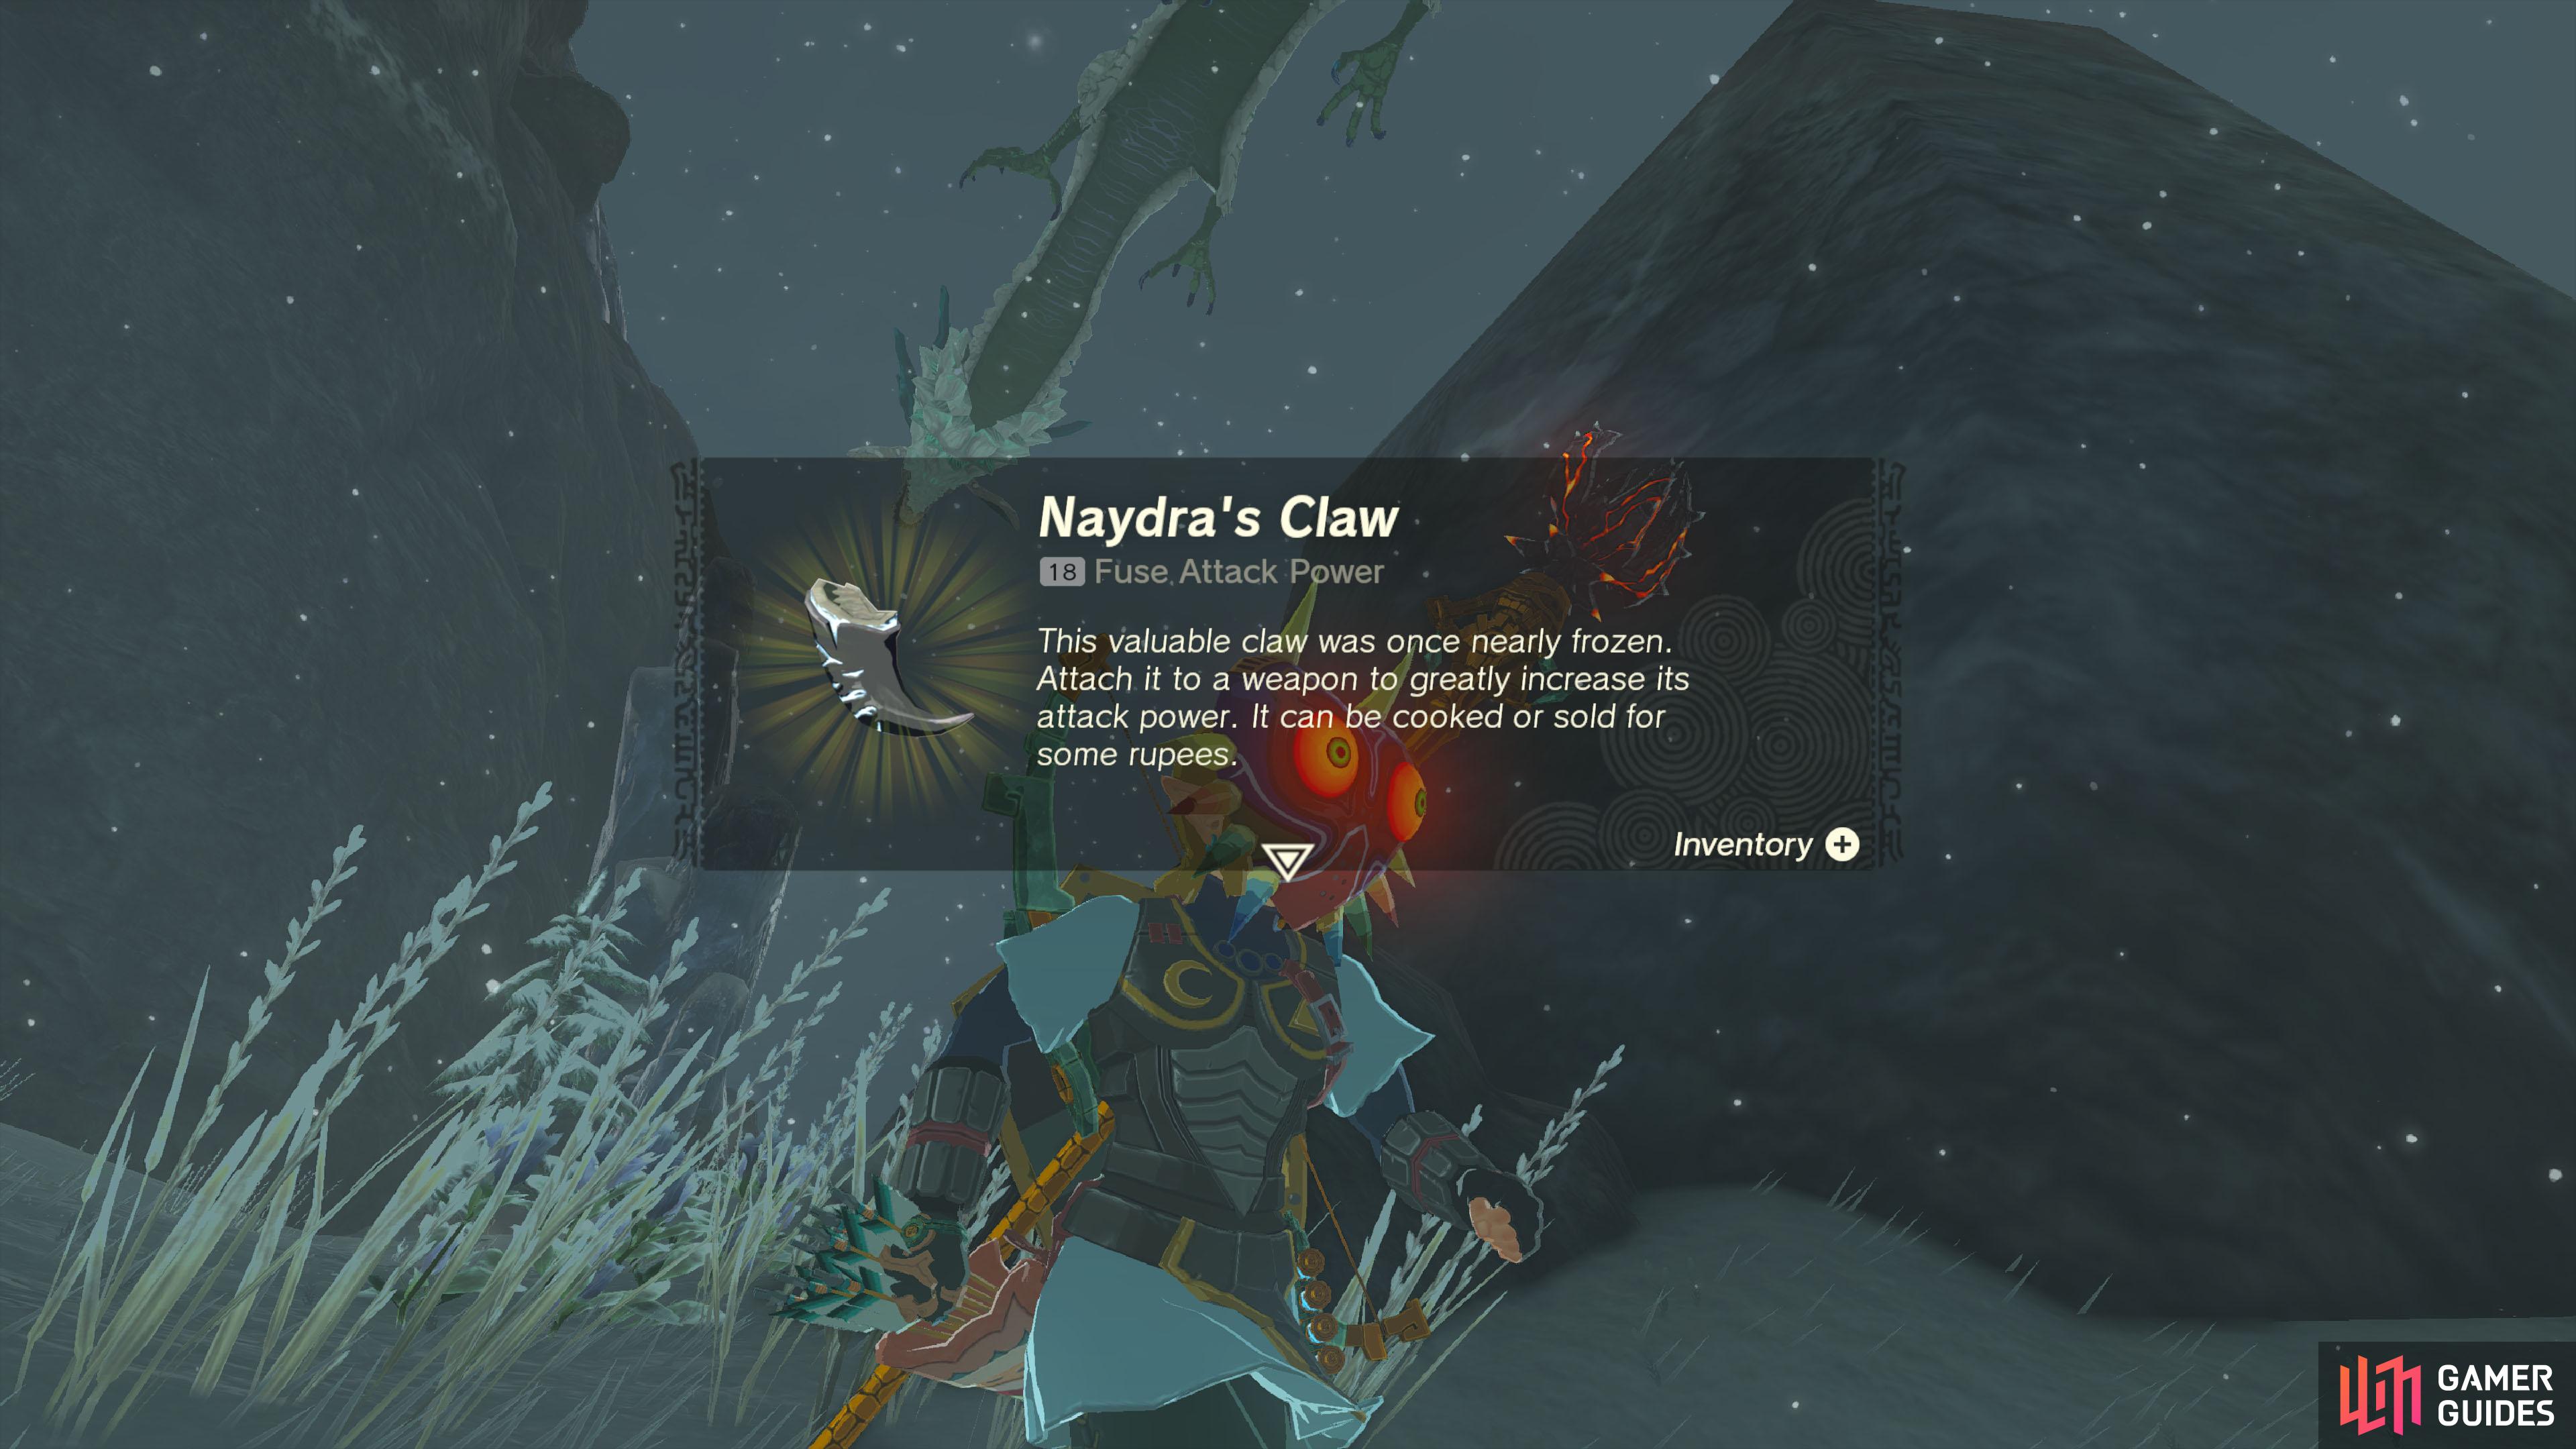
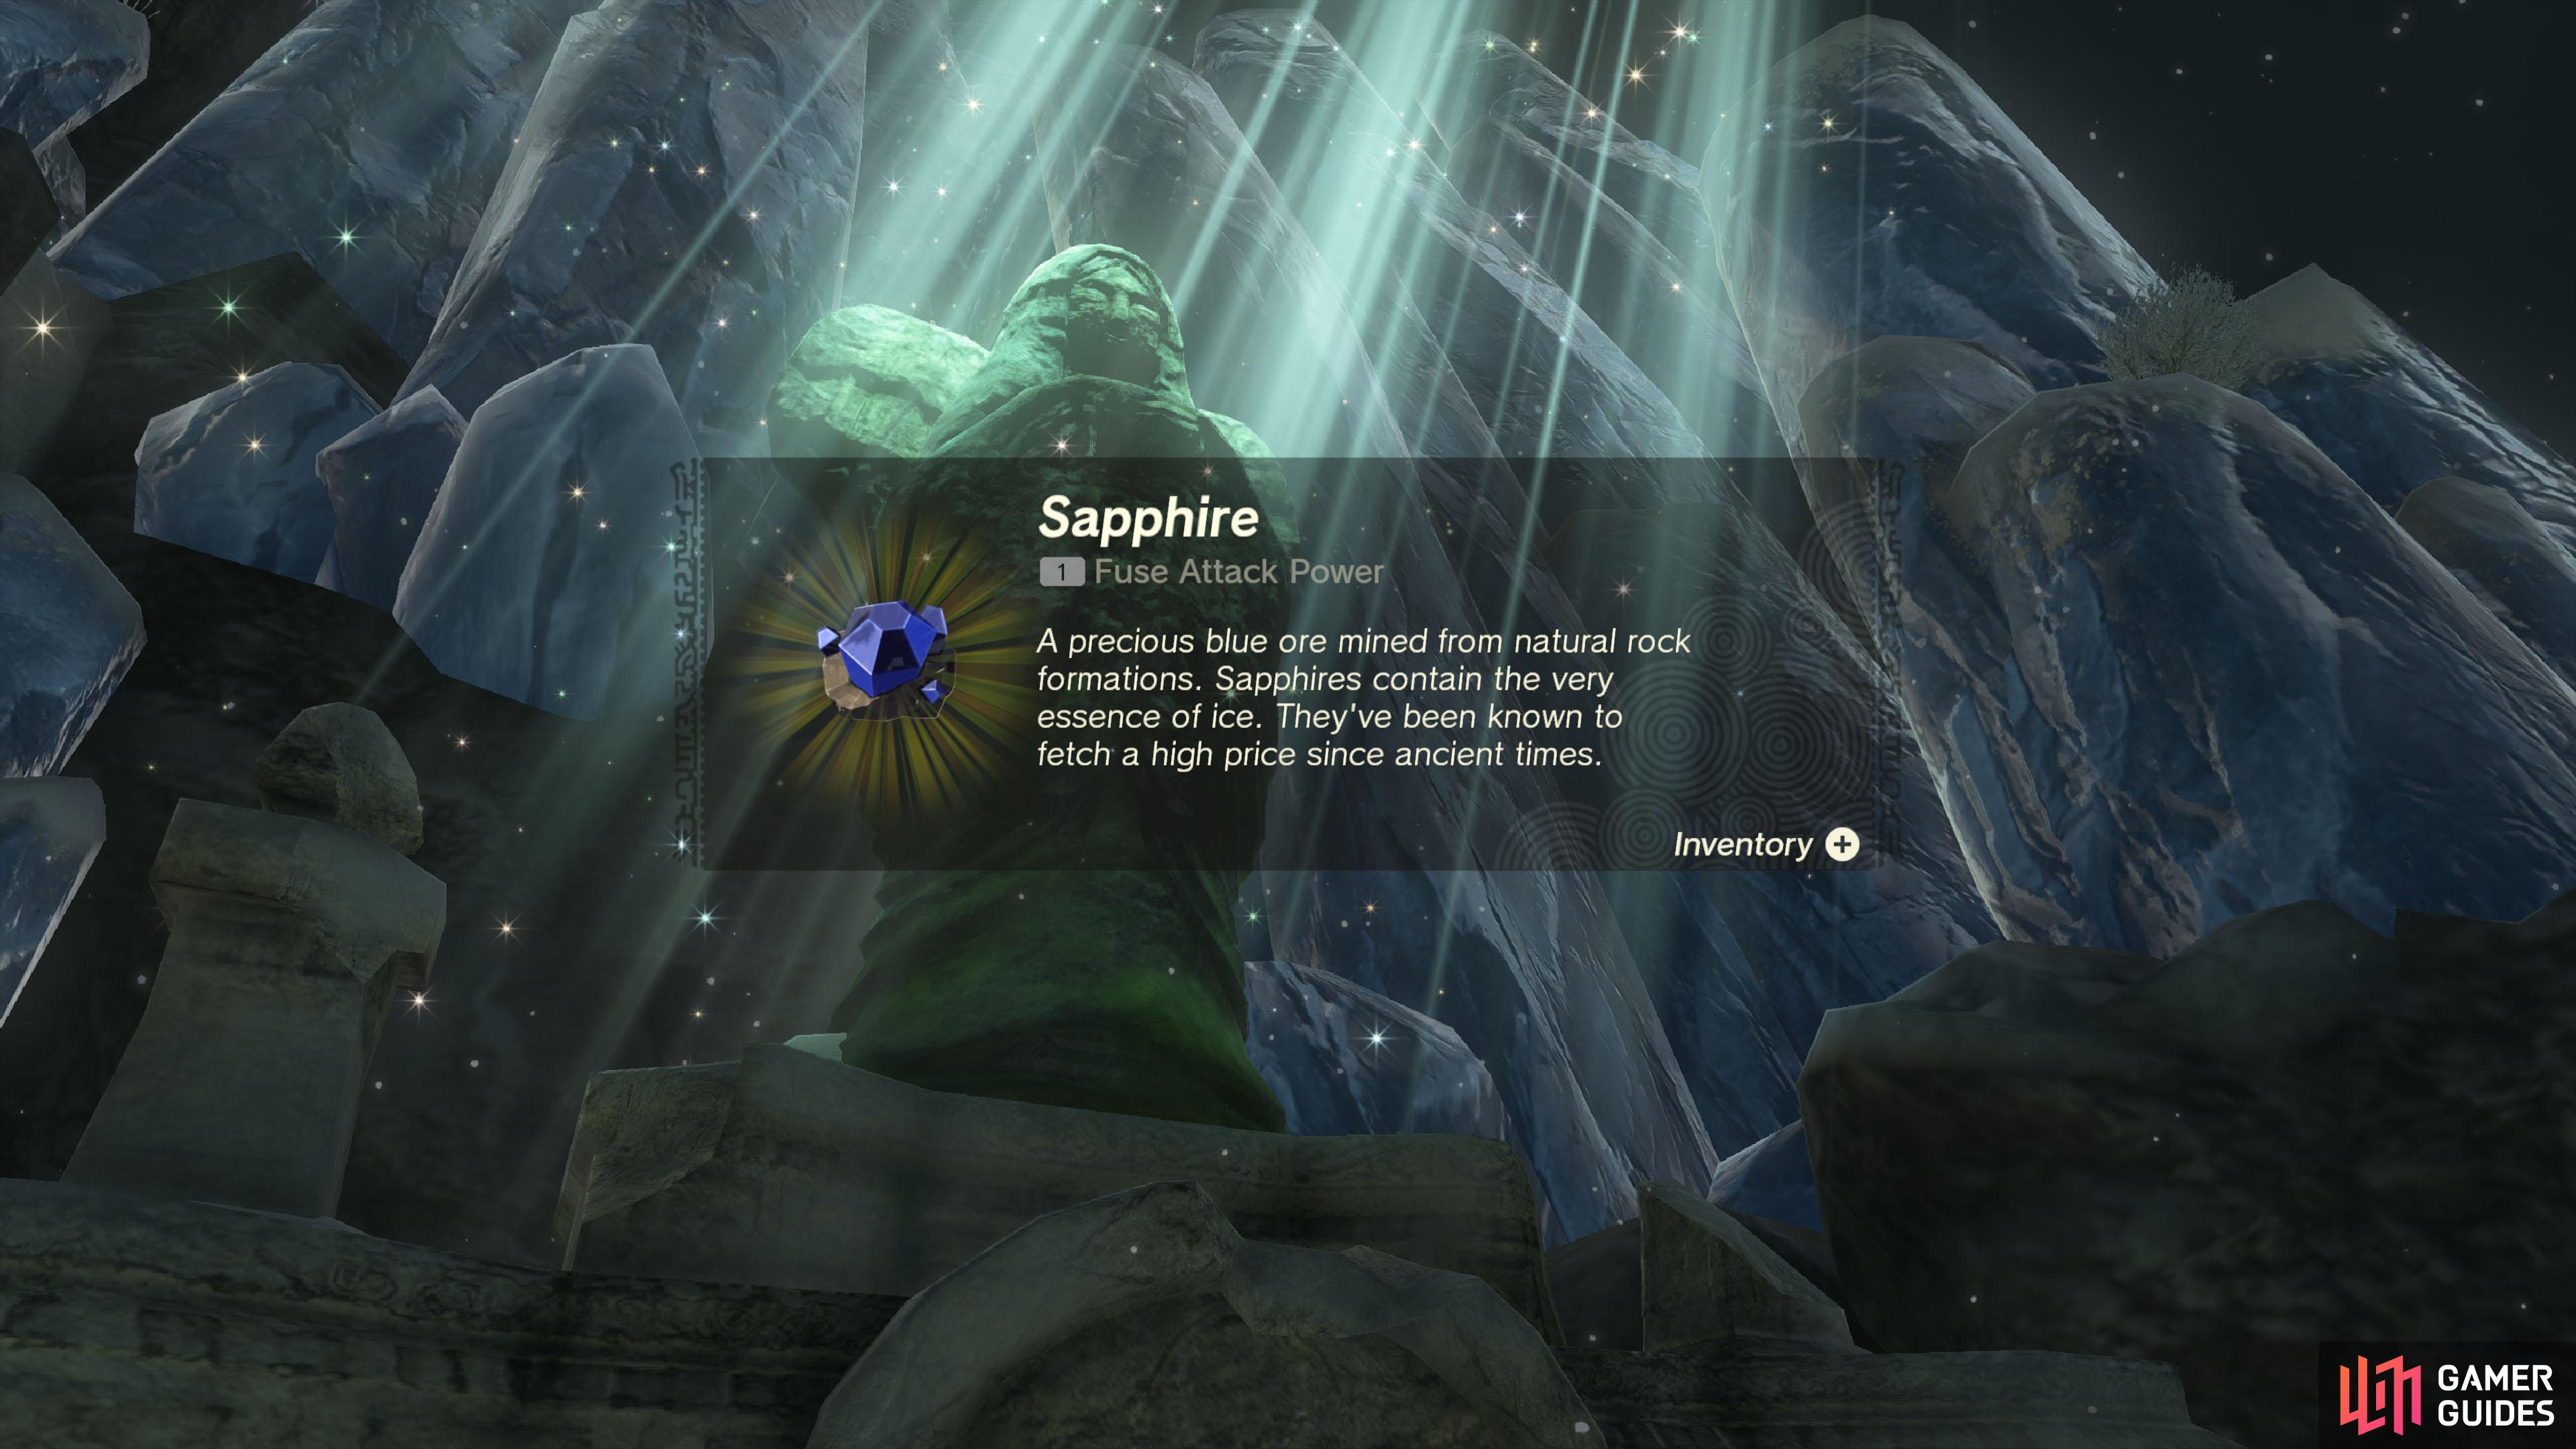
The beginning of this quest depends on whether you’ve examined the giant If you haven’t, make your way towards the end of the Forgotten Temple, at the north end of Tanagar Canyon. Your destination is near the After you’ve examined the big statue, return to the Spring of Wisdom to report your findings. Otherwise, if you’ve already examined the big statue (either through sheer curiosity or from the other Goddess Statue quests), you’ll skip straight to the next part. Next, you need to obtain and place This item can be obtained from Once you’ve spotted Naydra, carefully shoot an arrow at its fore or hind claws. Depending on where you encounter it, it can be very high up. So you may need to create a flying machine to fly up. Once you’re reasonably close, there are rising air currents around Naydra so you can glide around it. Beware of the freezing temperature near Naydra and equip yourself accordingly. After offering Naydra’s Claw, you will receive a If you also completed
Completion Reward
1×
 Sapphire
Materials Sapphire
Materials
Quest Type
Side Quest
Quest NPC
Goddess Statue
Miscellaneous
Map(s)
|
|
|||||||||||||||||||||||||||||||||||||||||||||||||||||||||||||||||||||||||||||||||||||||||||||||

|
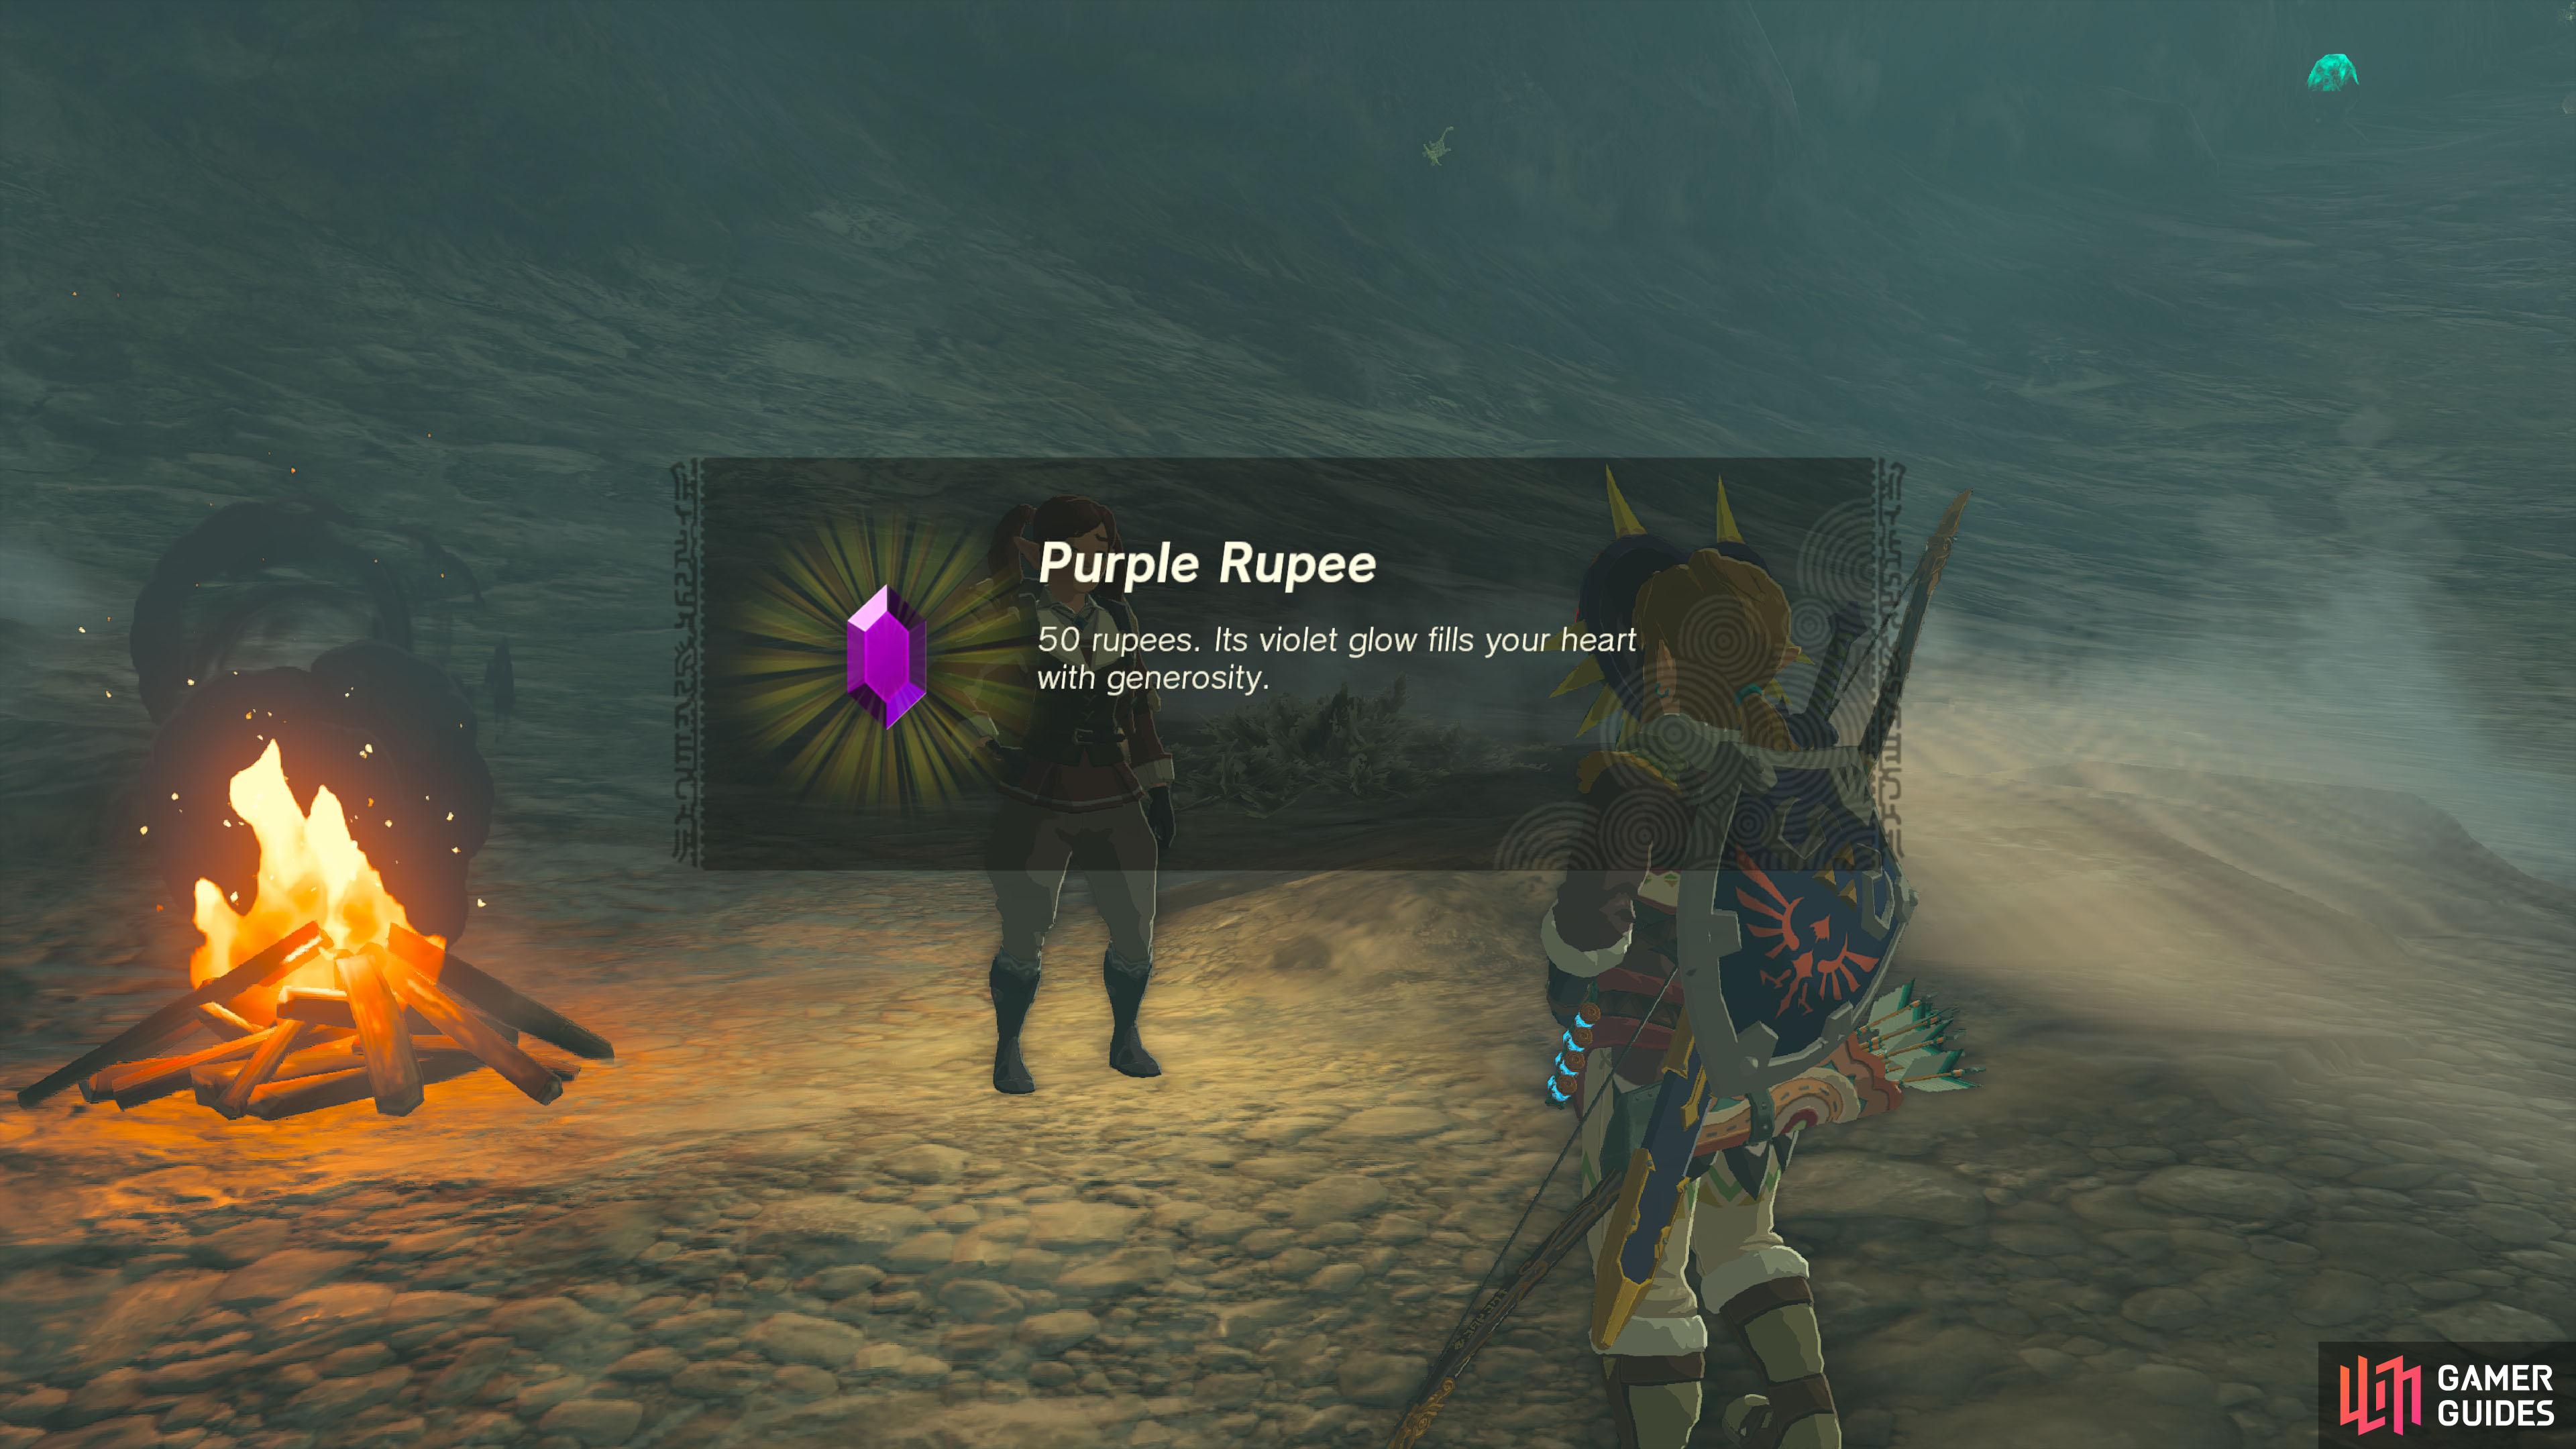
Hebra's Colossal Fossil |
You ran into Loone, the ancient artifact enthusiast, near the Eldin Great Skeleton.
Description
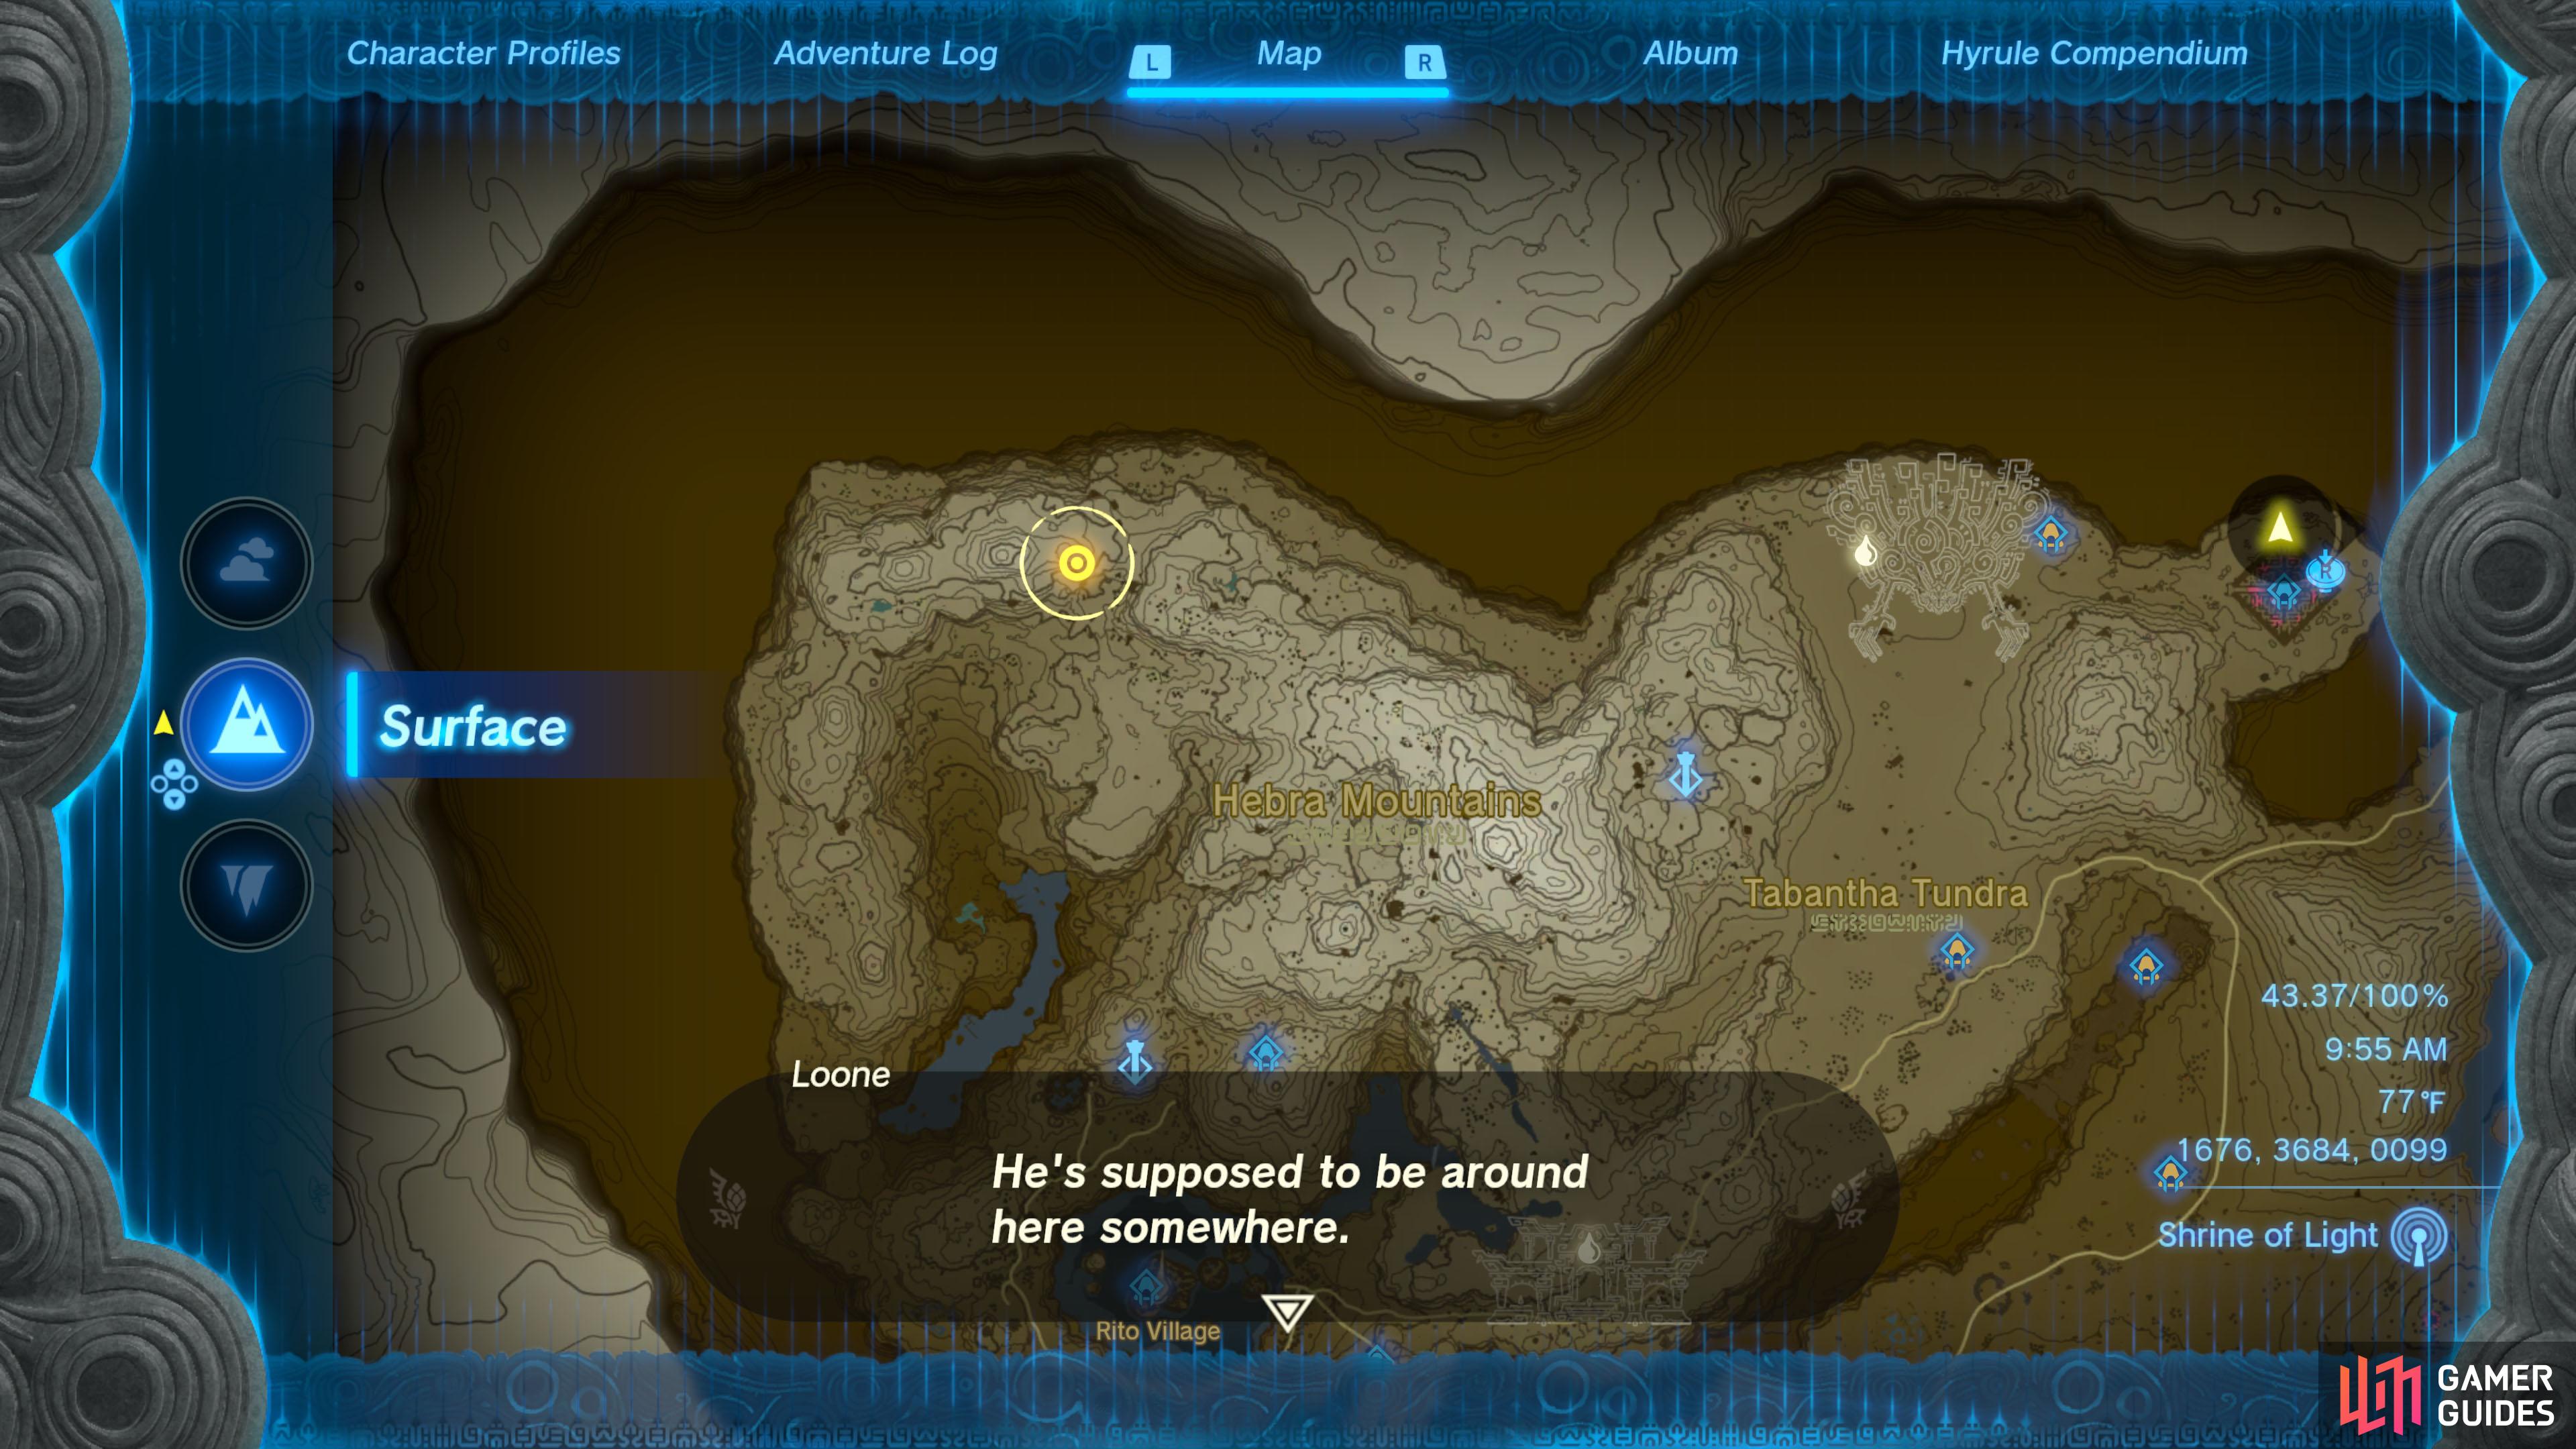
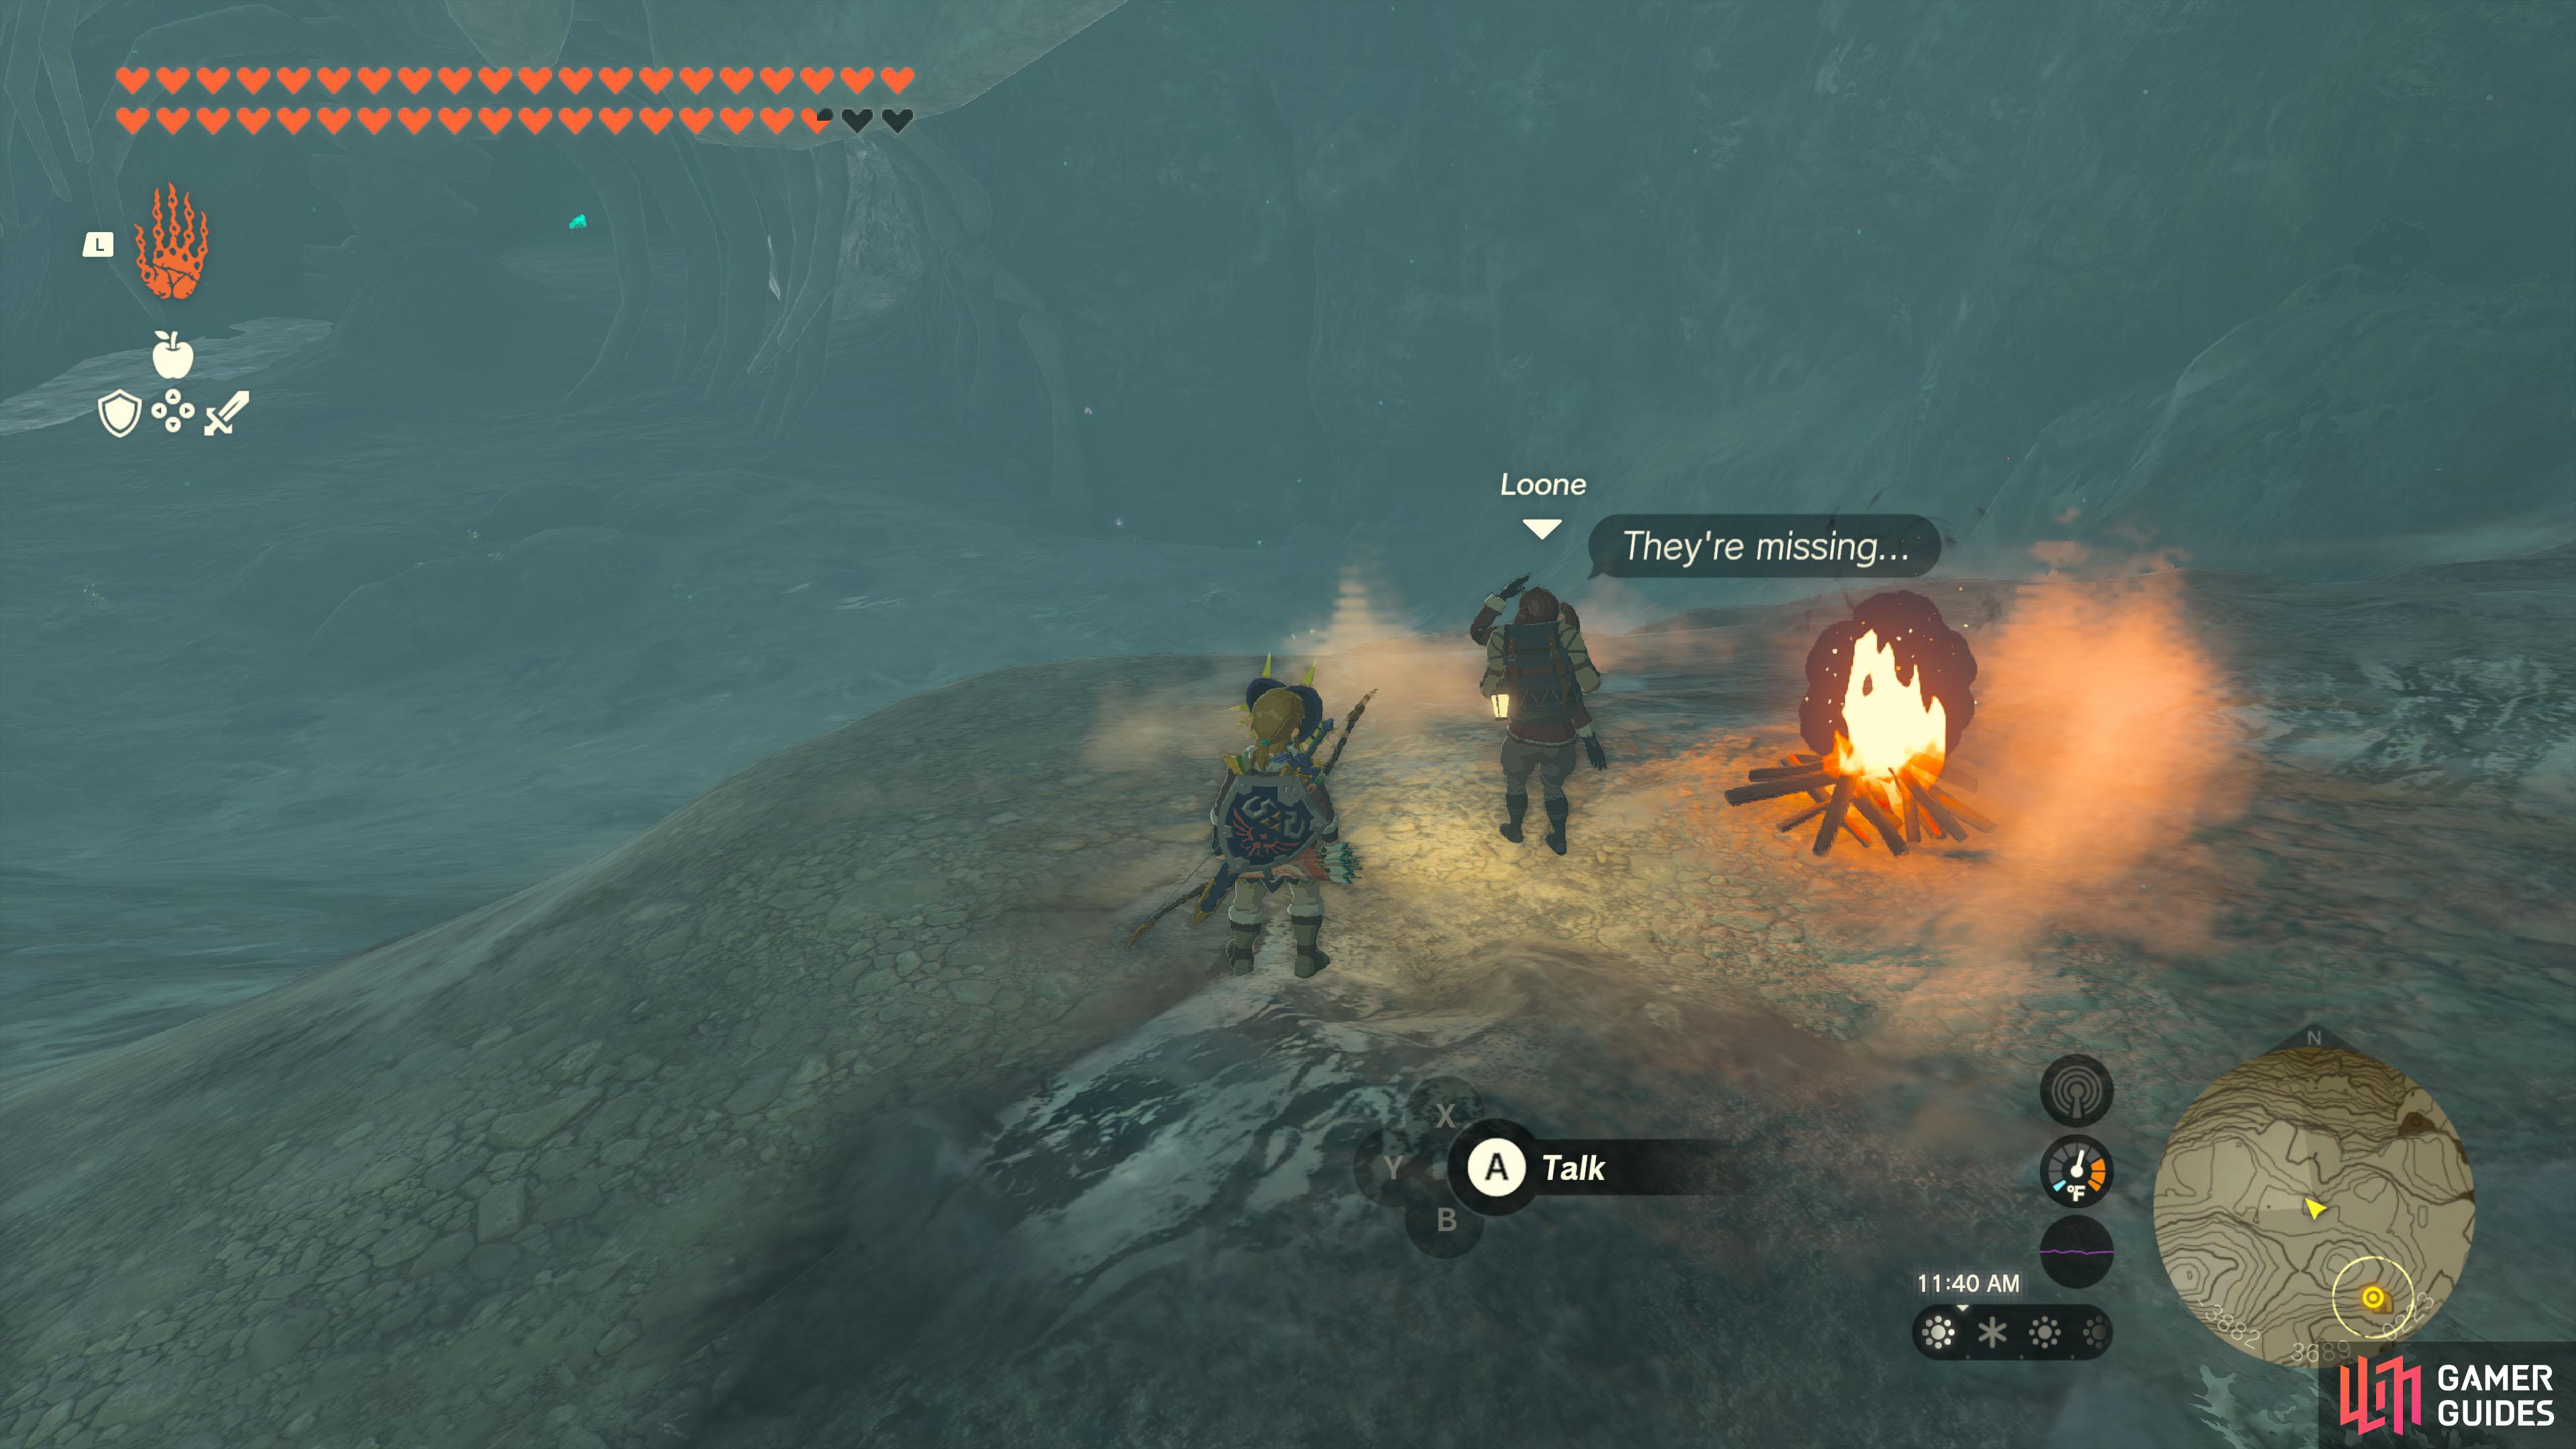
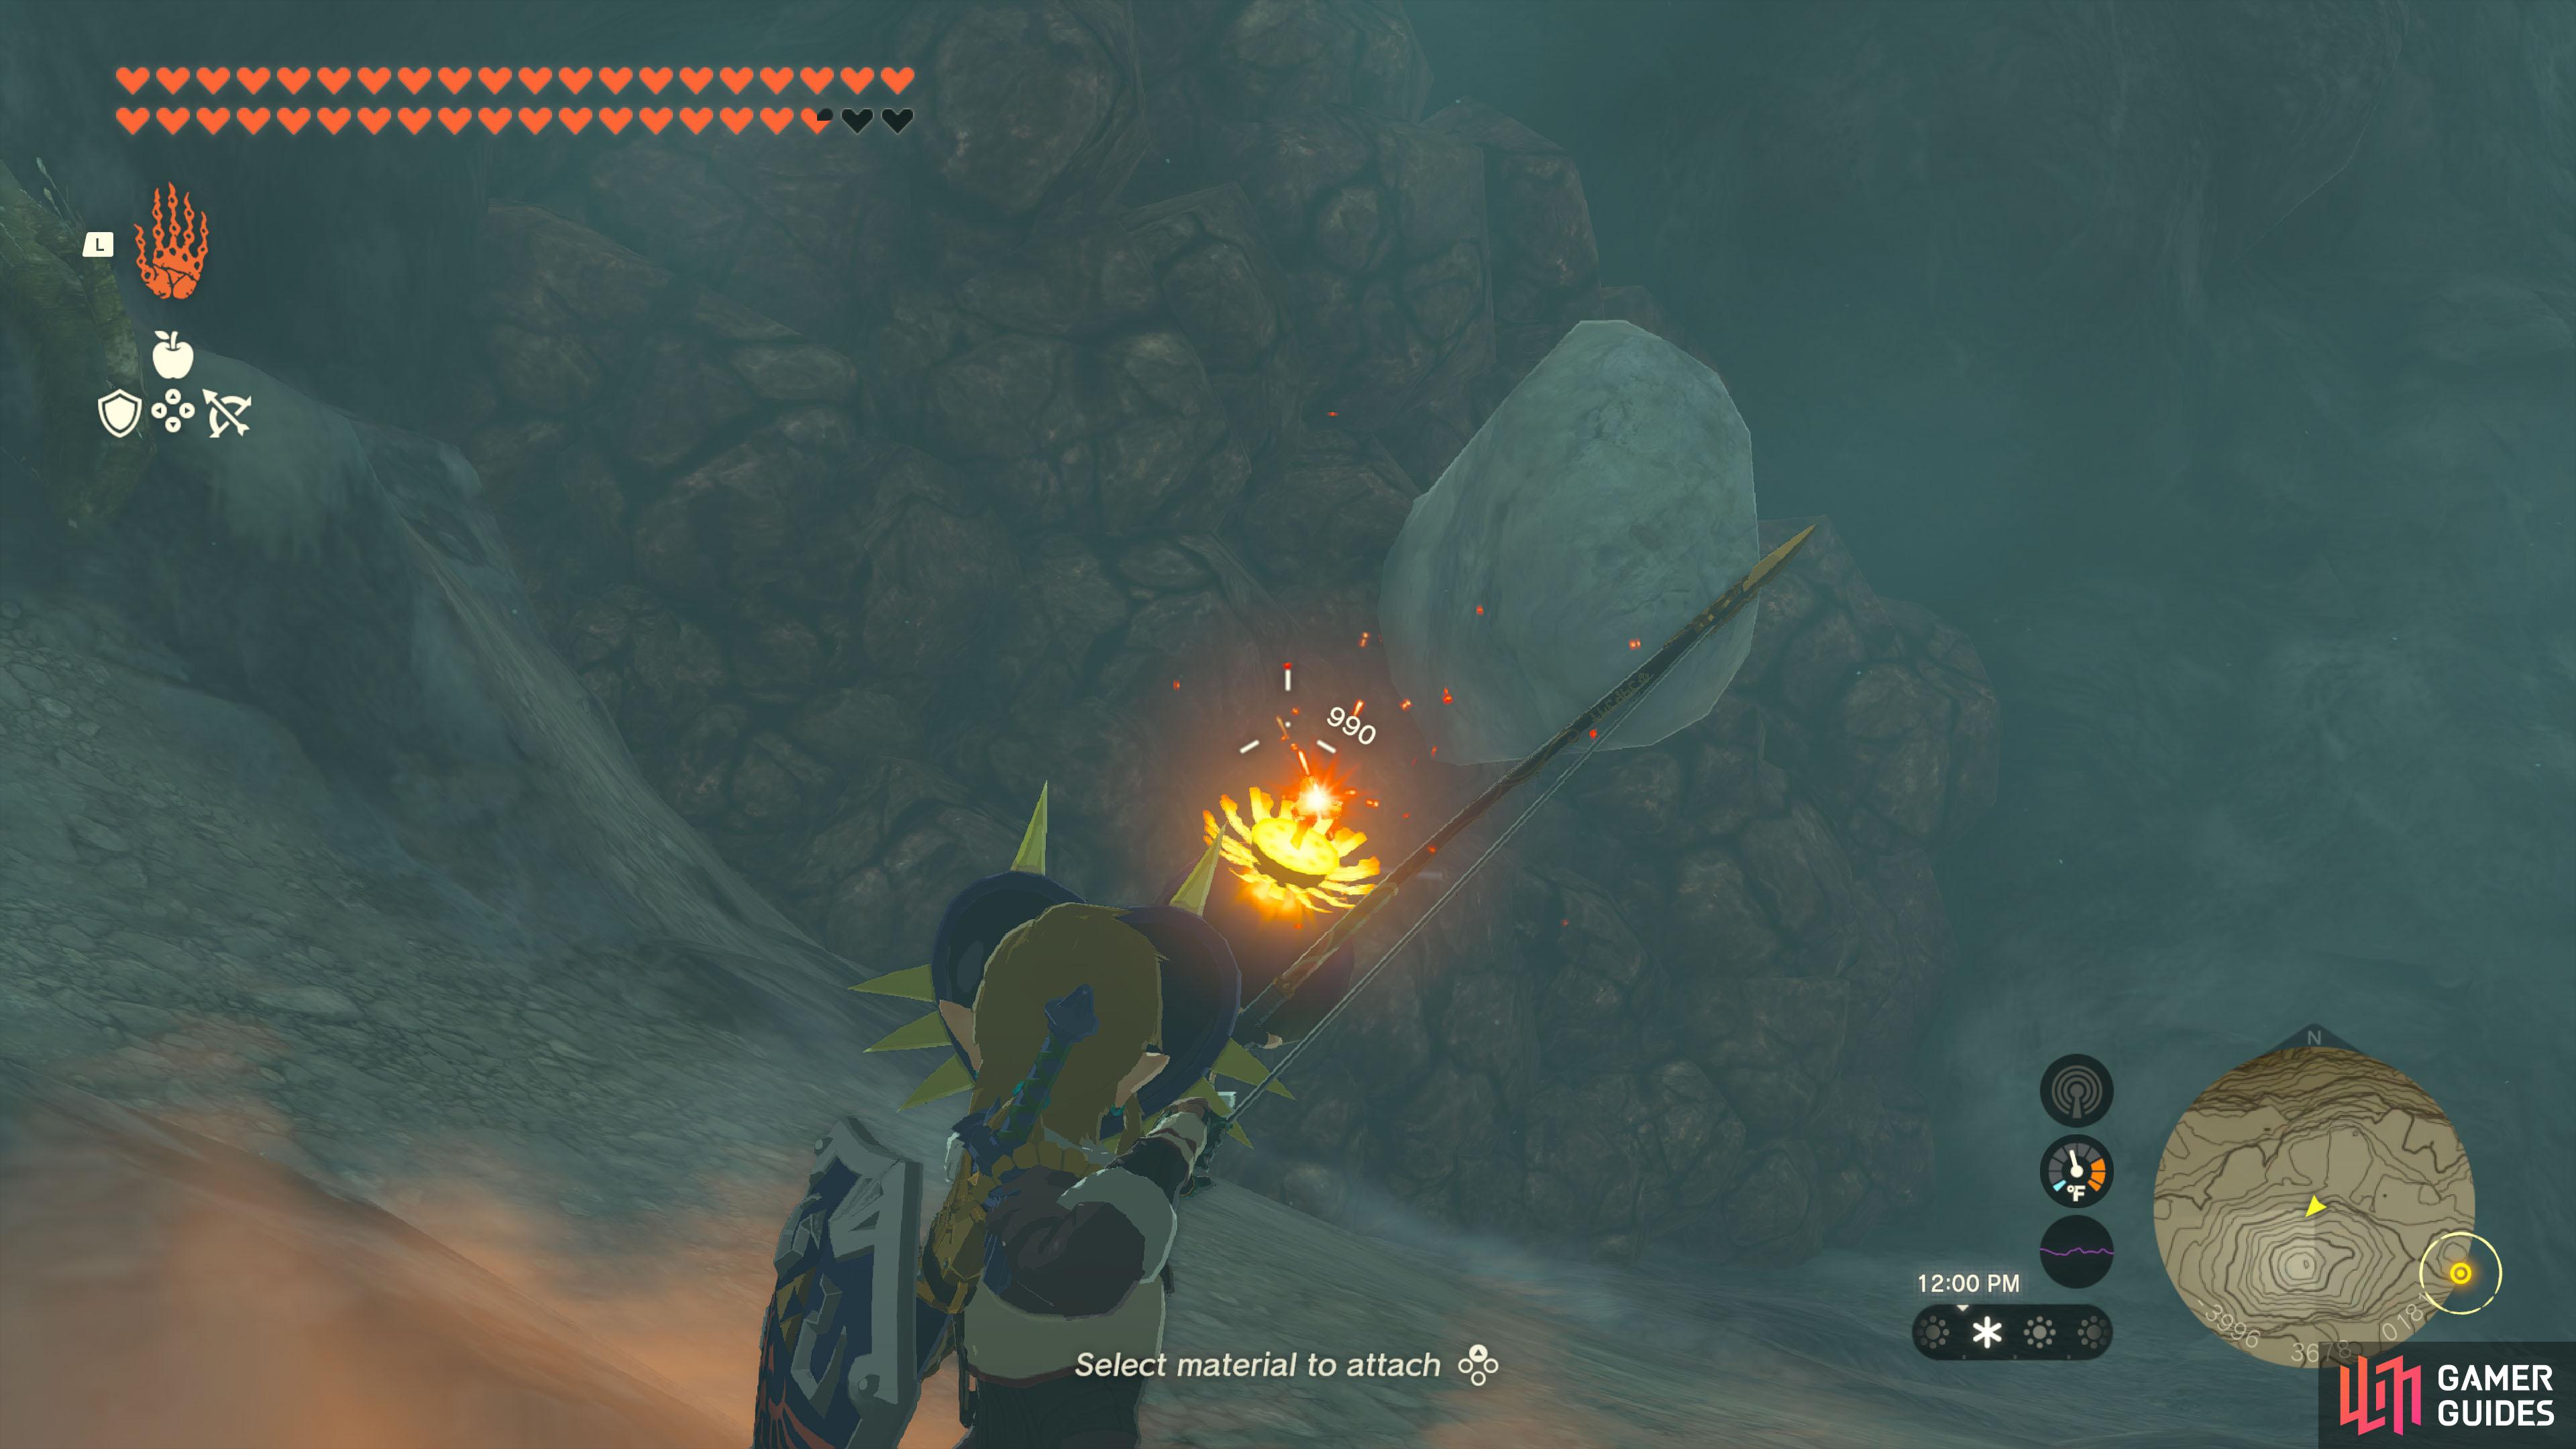
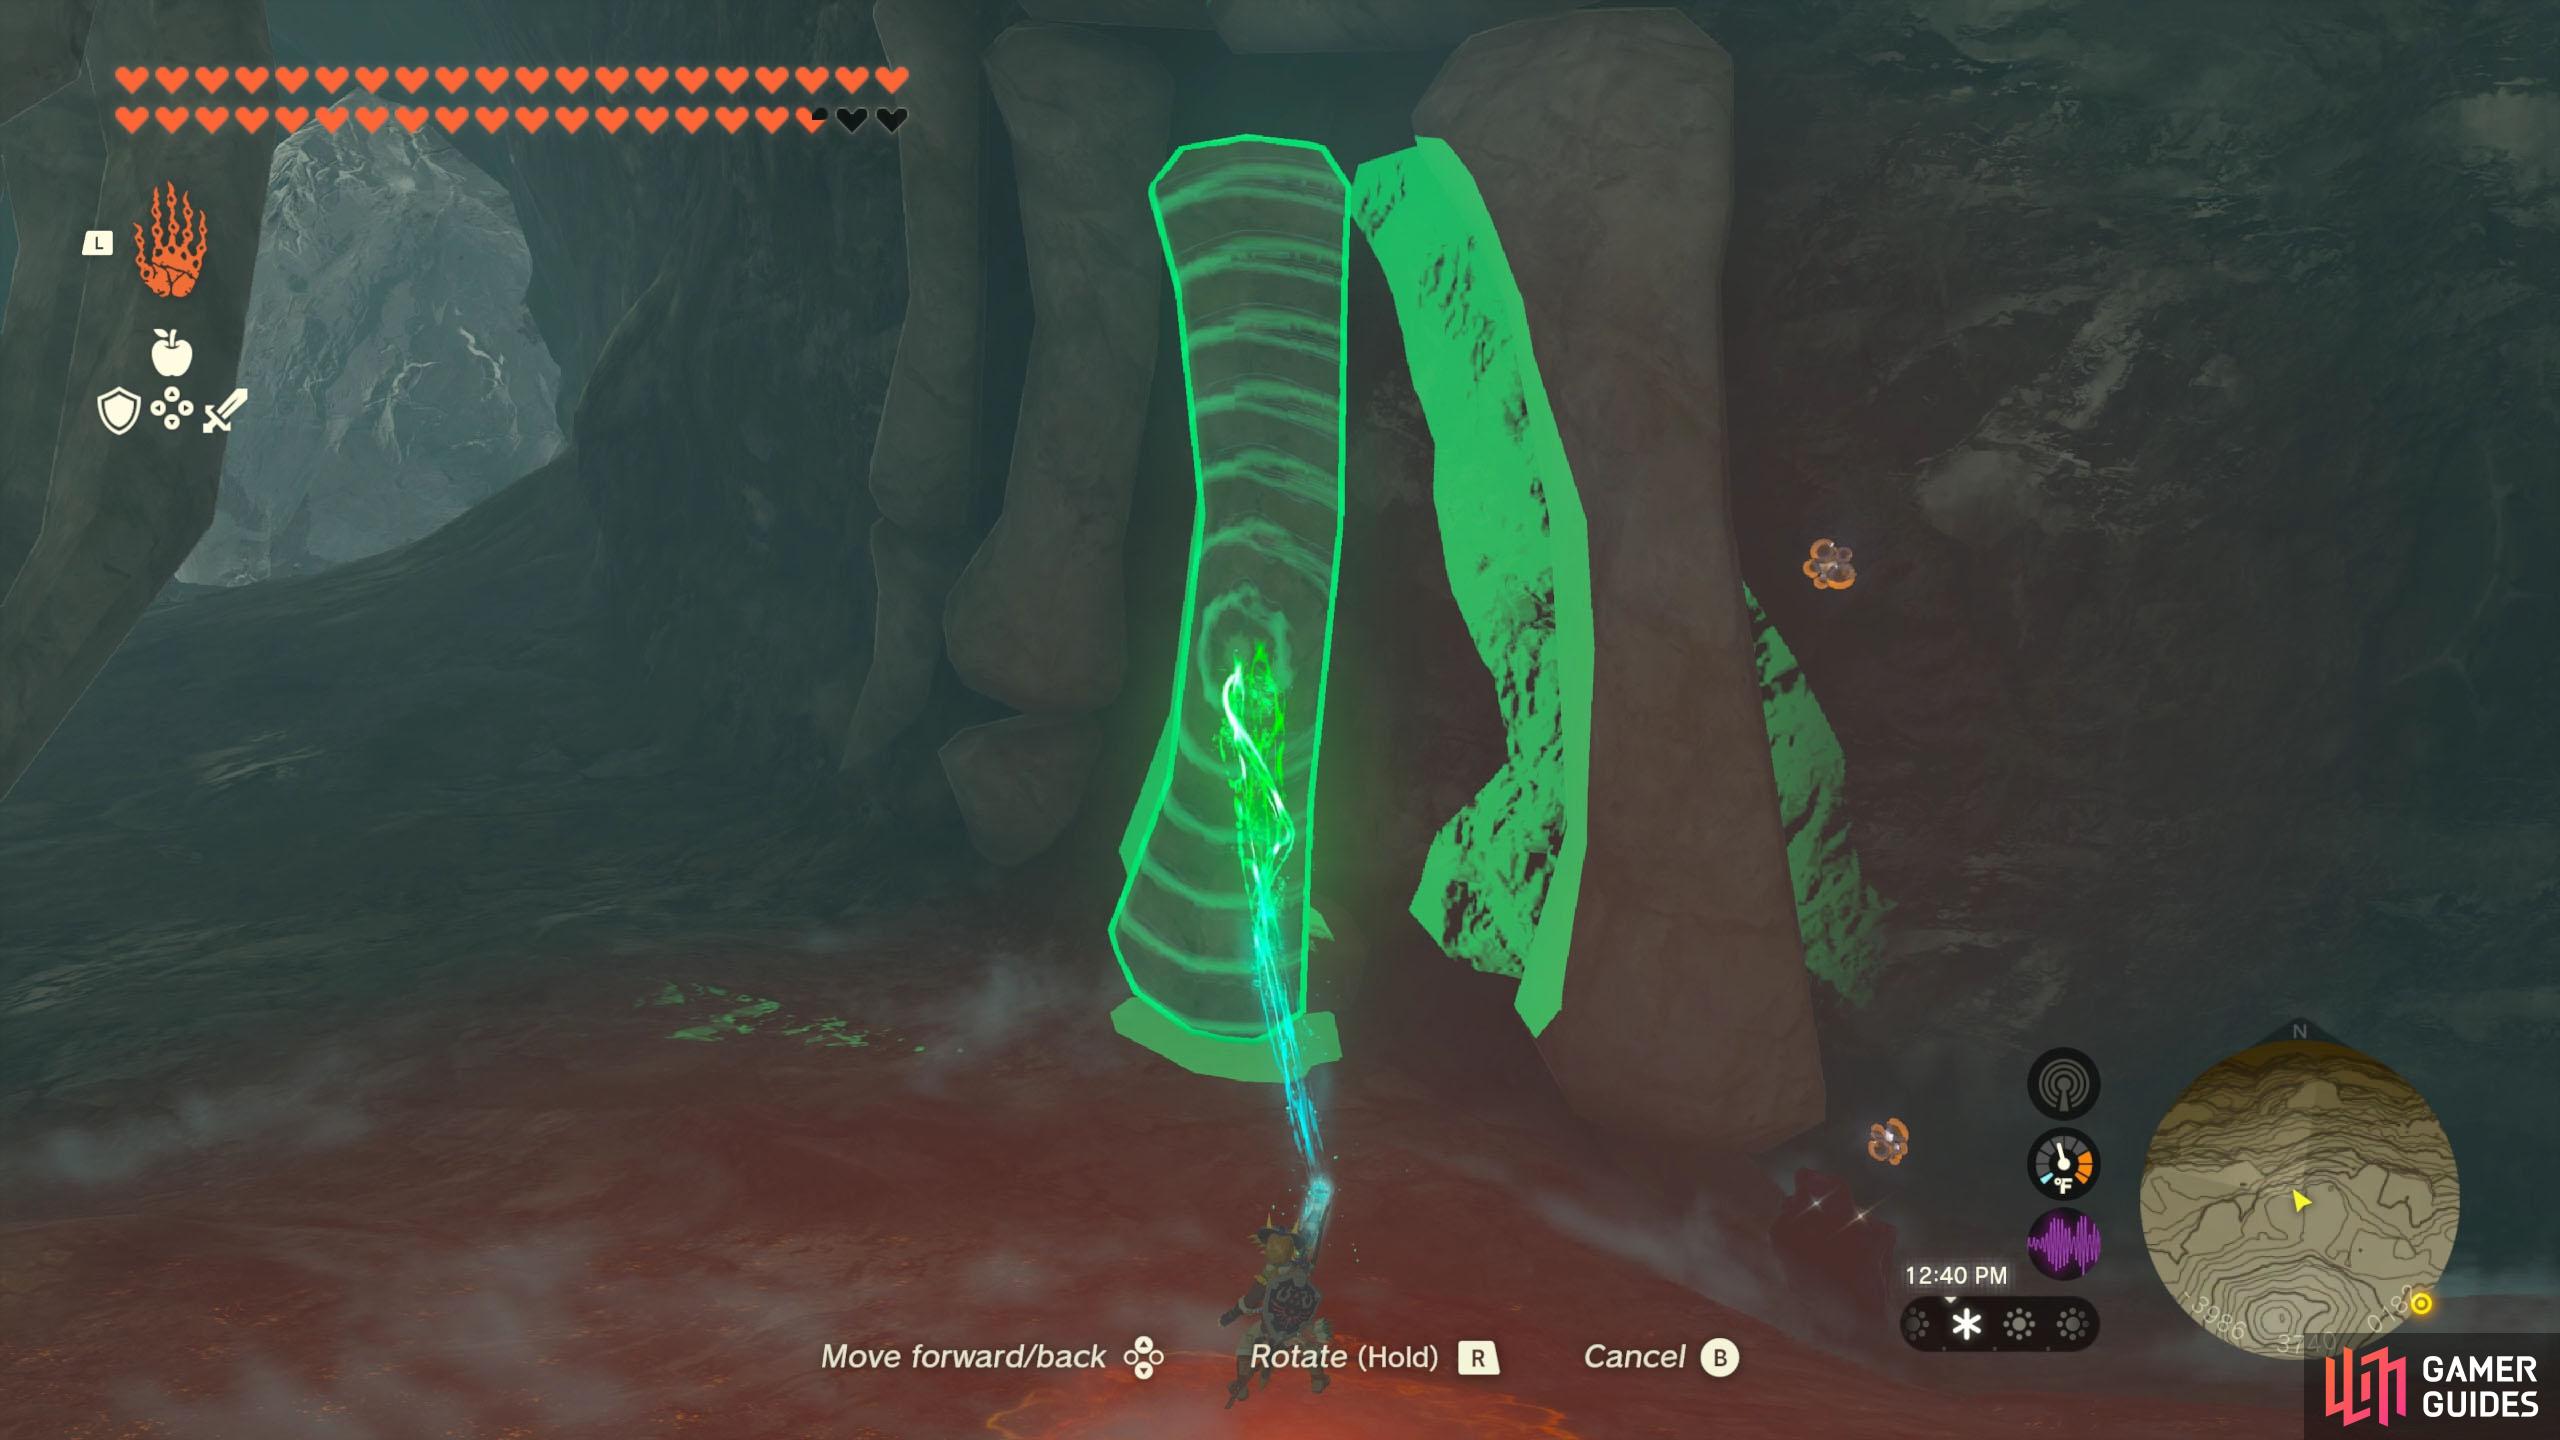
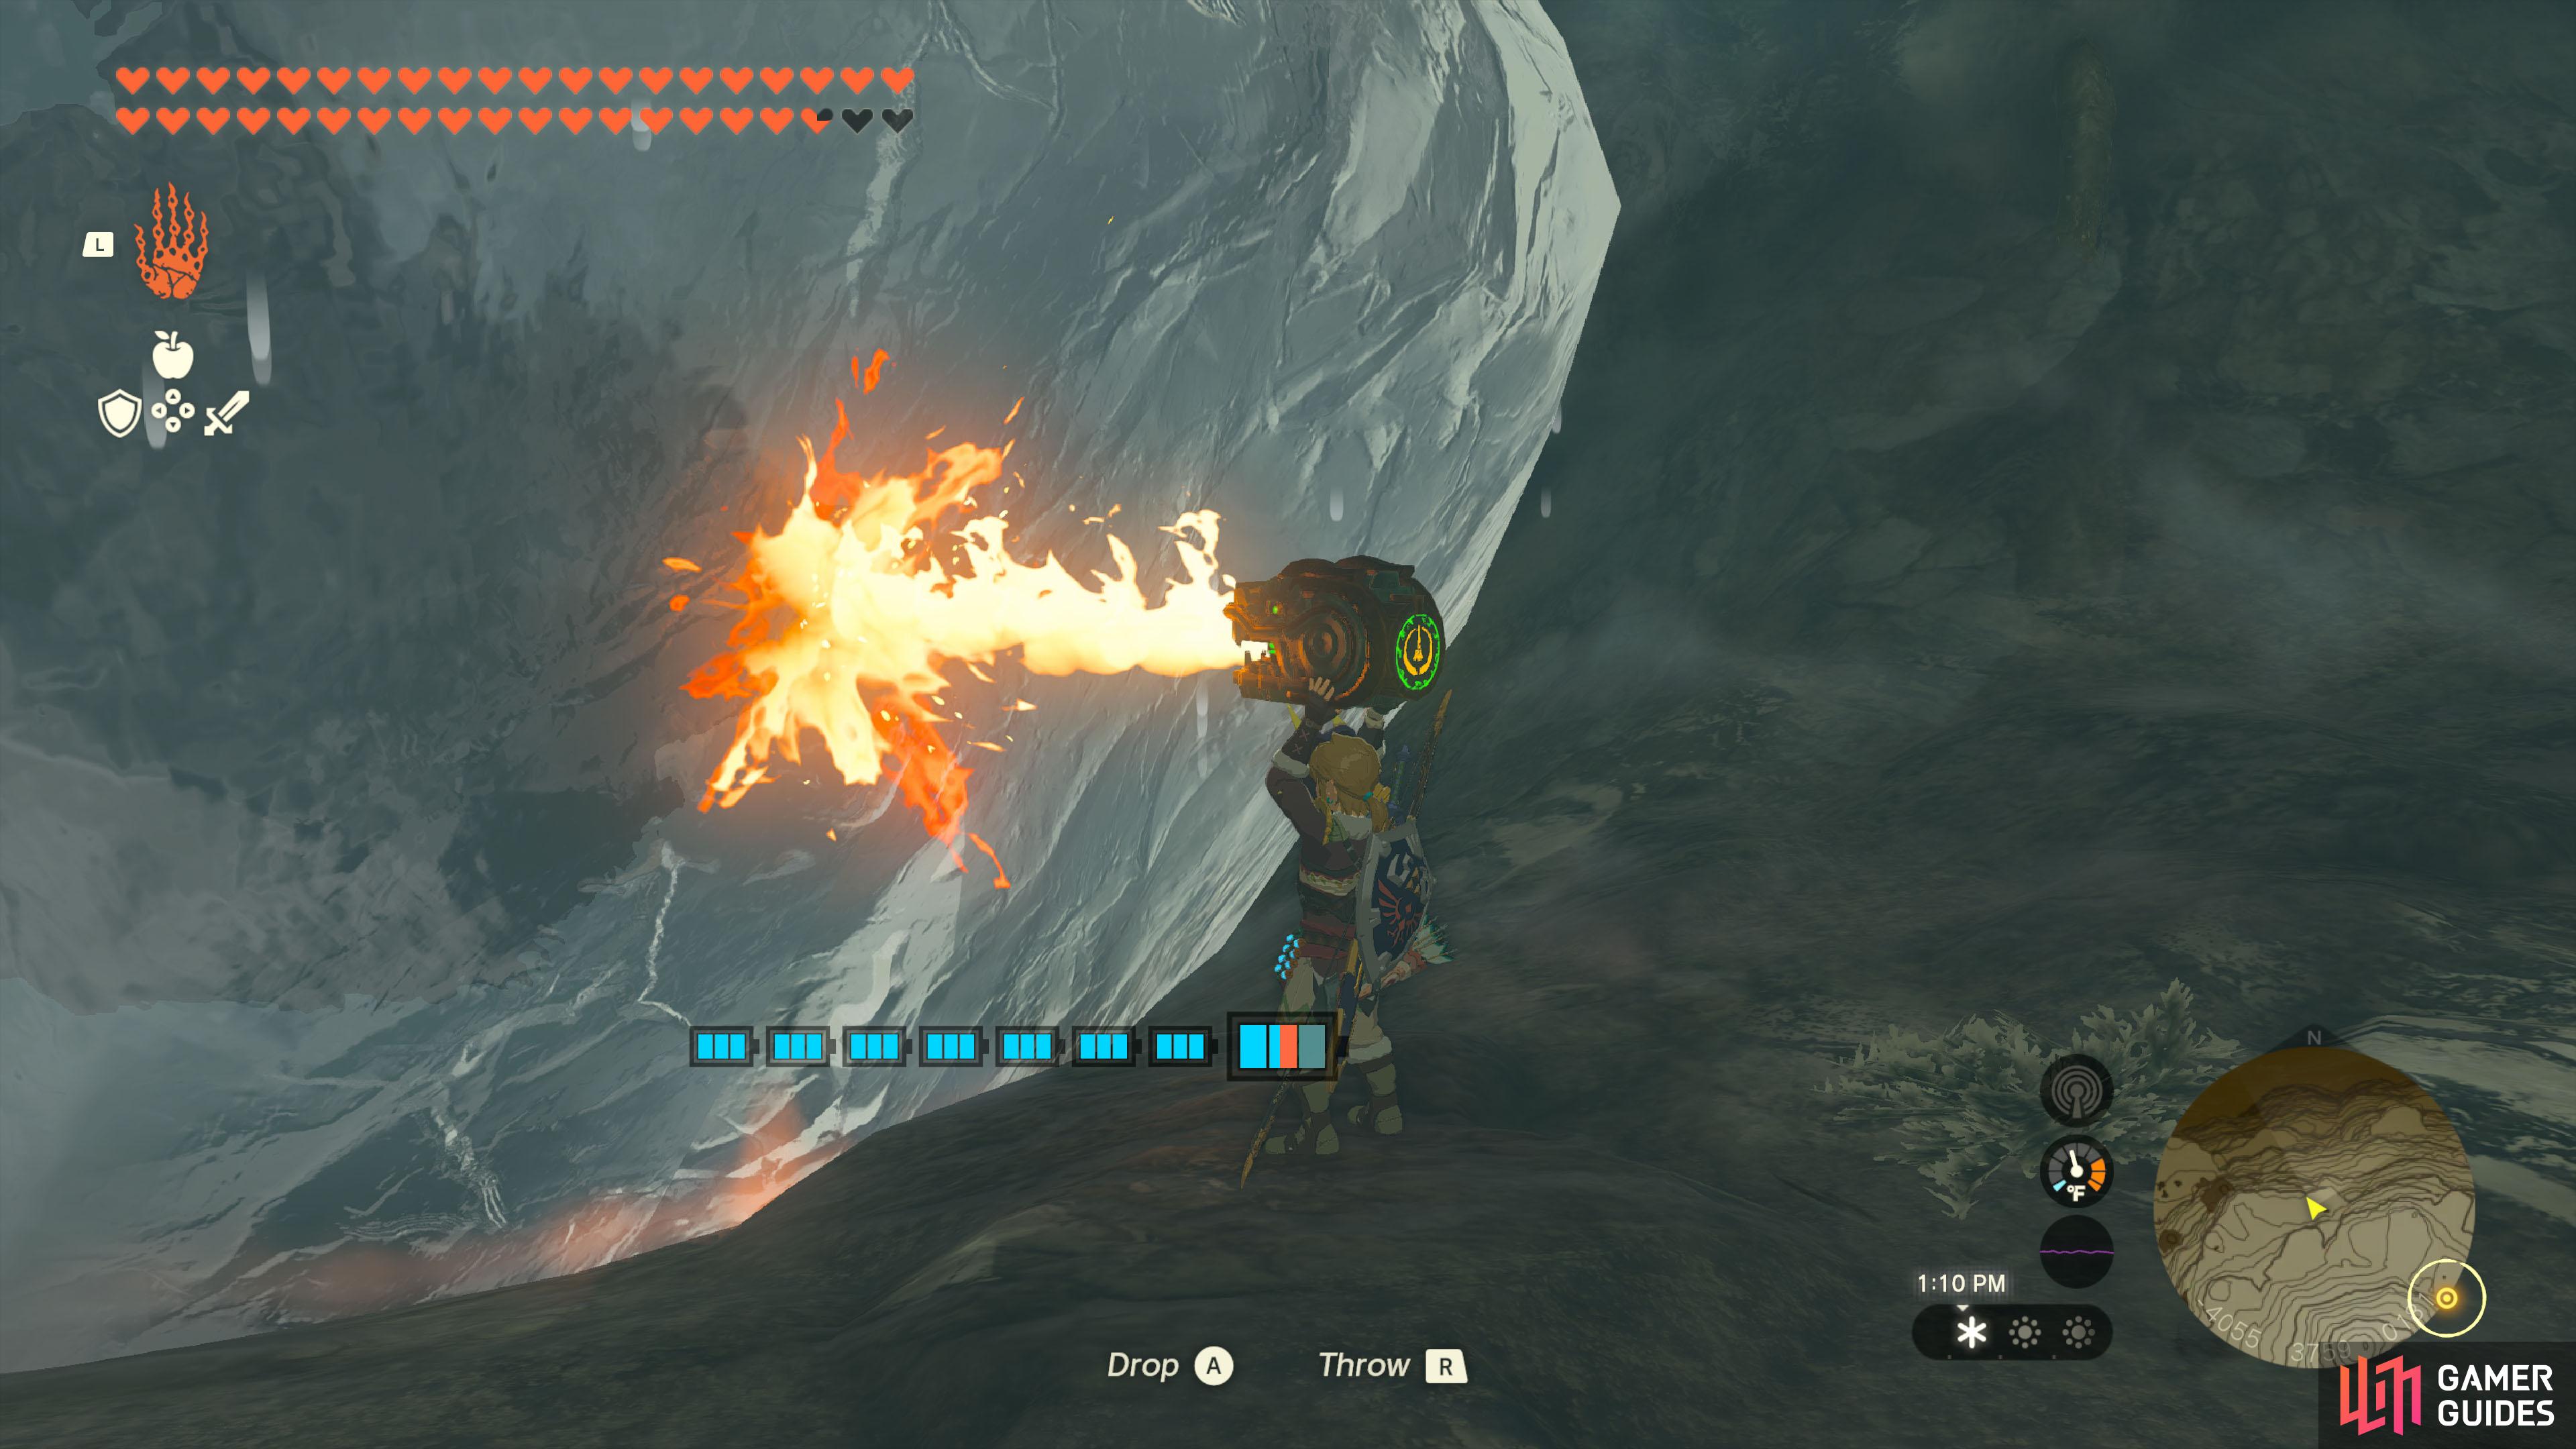
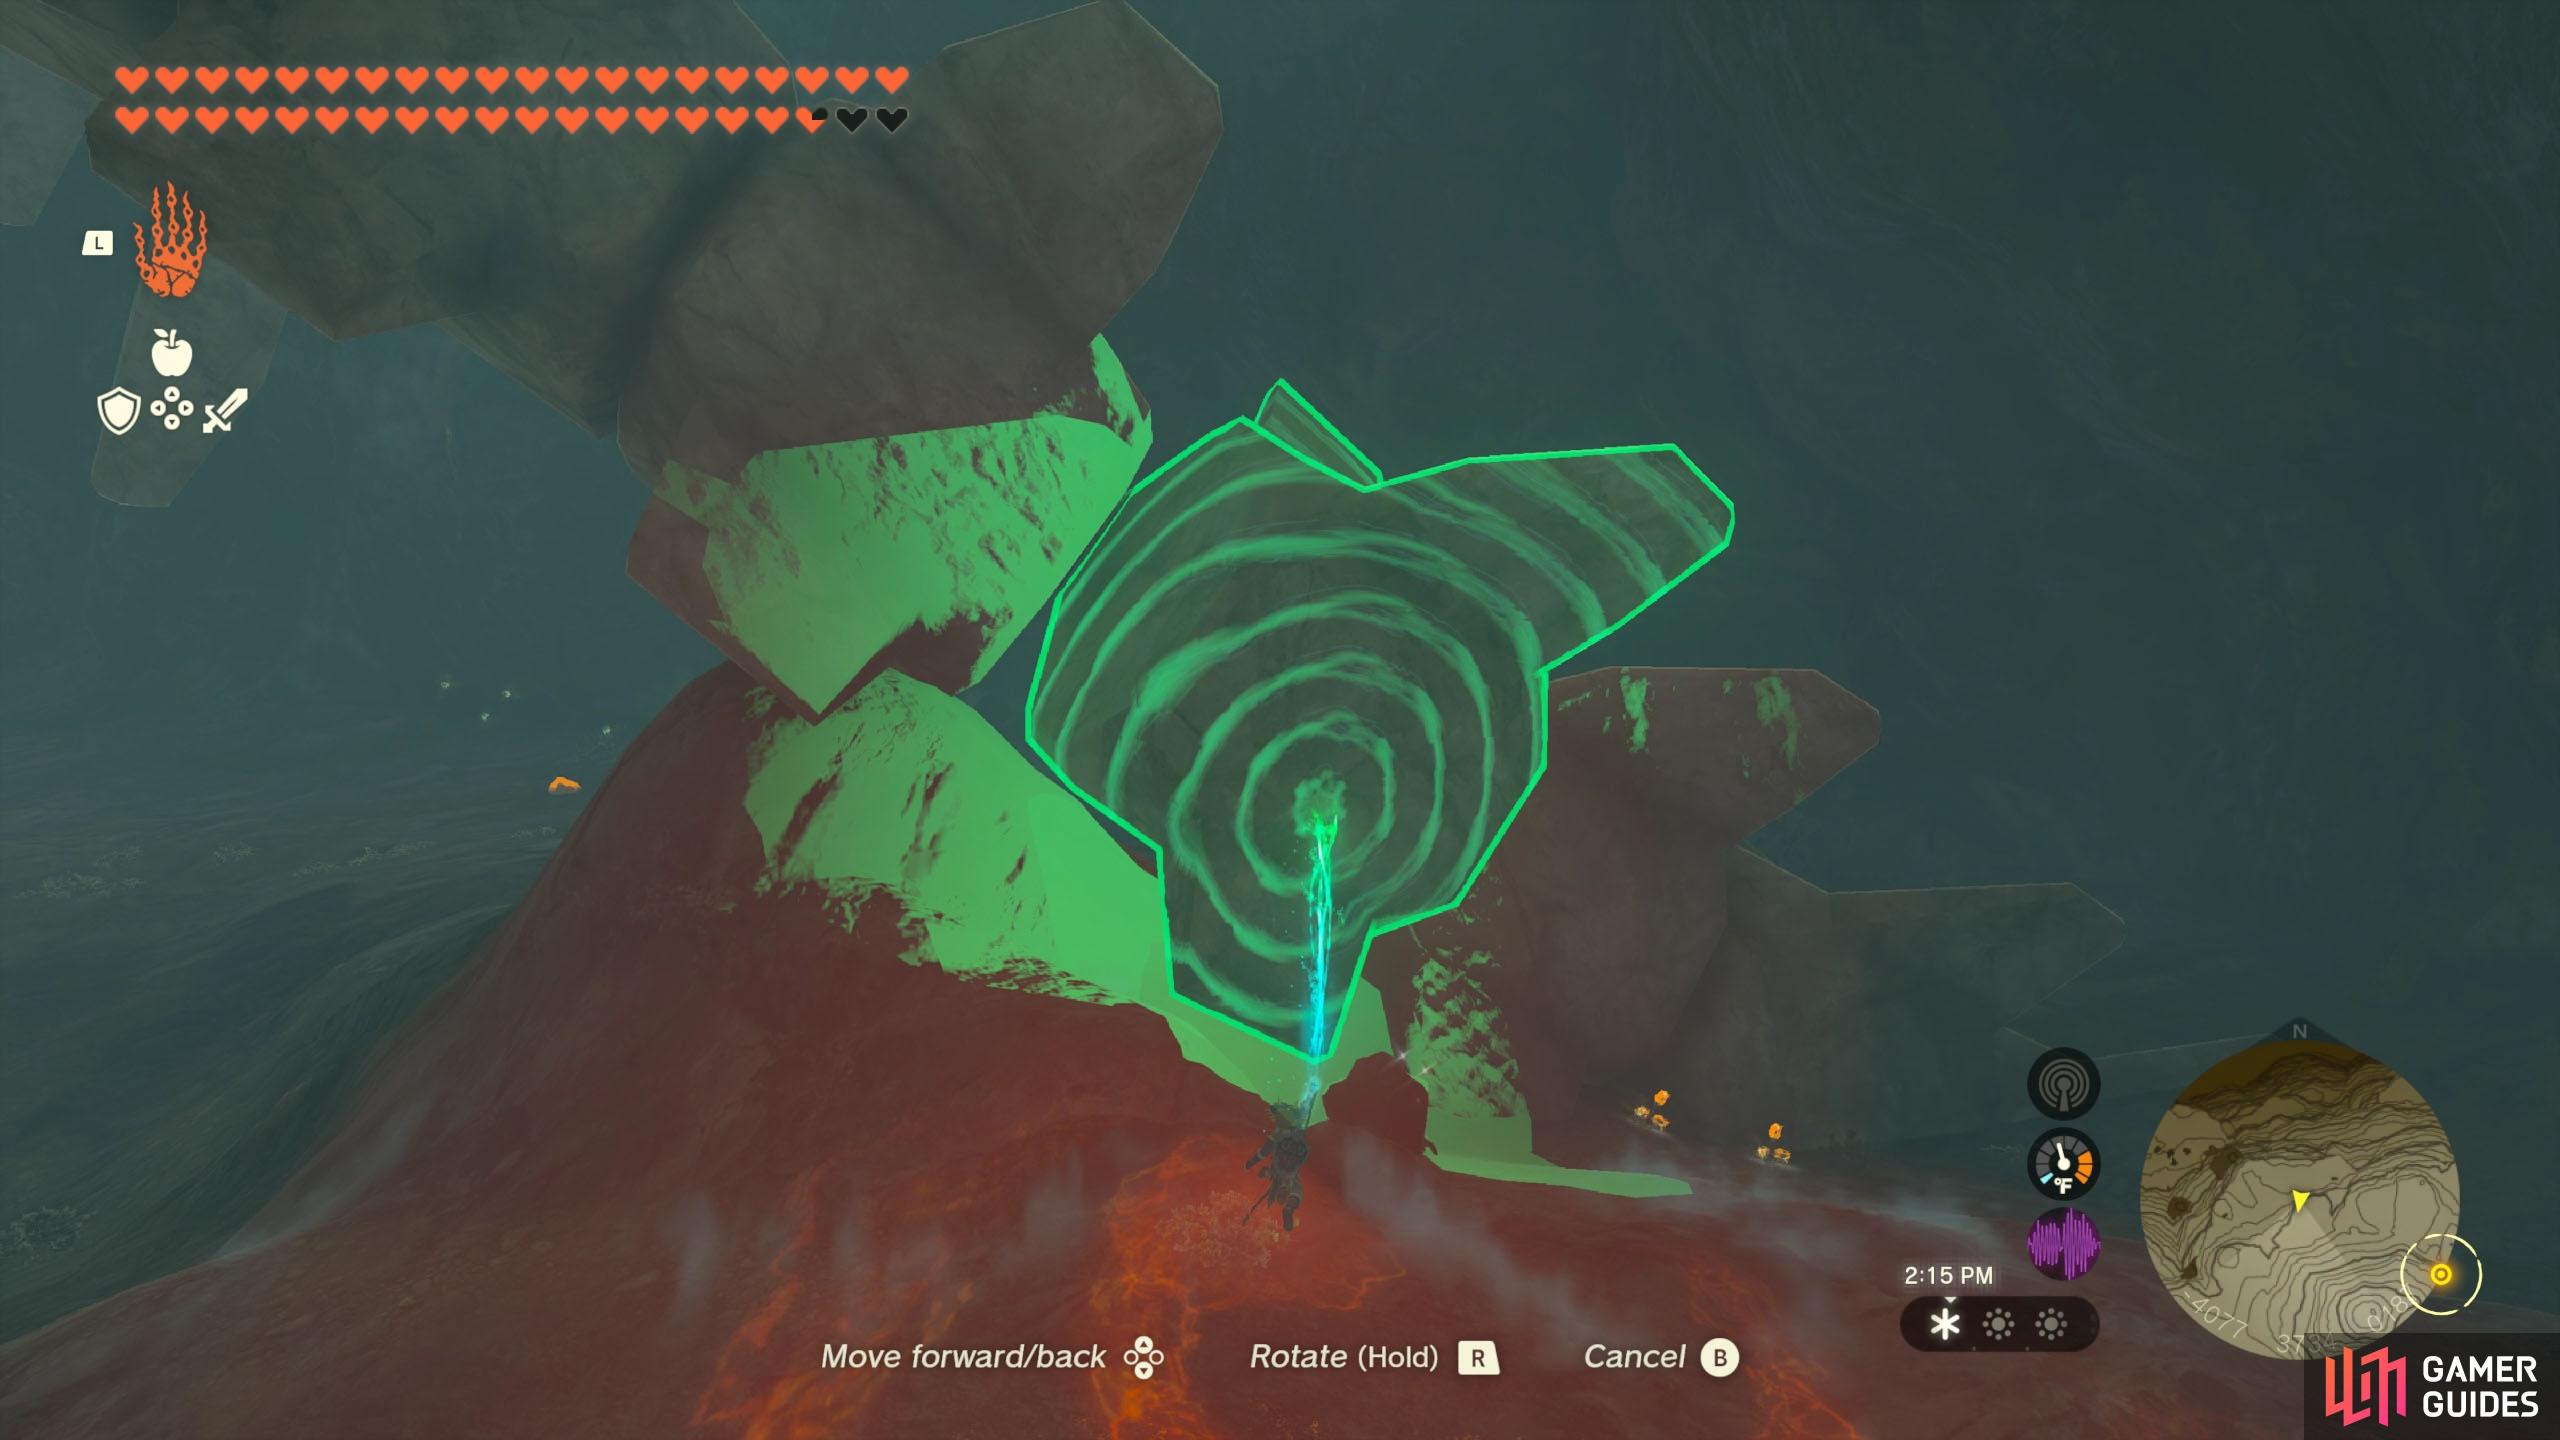
You will automatically receive this from Loone upon completion of This time, the skeleton isn’t visible from the surface. Approach the location from the south-east to find a cave where the skeleton is found. Inside, Loone is located near a Campfire. She’ll mention two bones are missing: a fin bone and spine bone. The fin bone is protruding from some destructible rocks. Destroy them with Once you’ve found the bones, slot them in the corresponding gaps. The fin bone should go on the wall on the opposite side you found it, in the gap among 3 other similar bones. Meanwhile the spine bone goes near the back of the skeleton; the gap should be pretty obvious. However you need to line up the bone somewhat correctly. Compare the other spine bones. Speak to Loone after slotting in the bones to get a
Completion Reward
1×
Purple Rupee
Key Item
Quest Type
Side Quest
Map(s)
|
|
|||||||||||||||||||||||||||||||||||||||||||||||||||||||||||||||||||||||||||||||||||||||||||||||

|
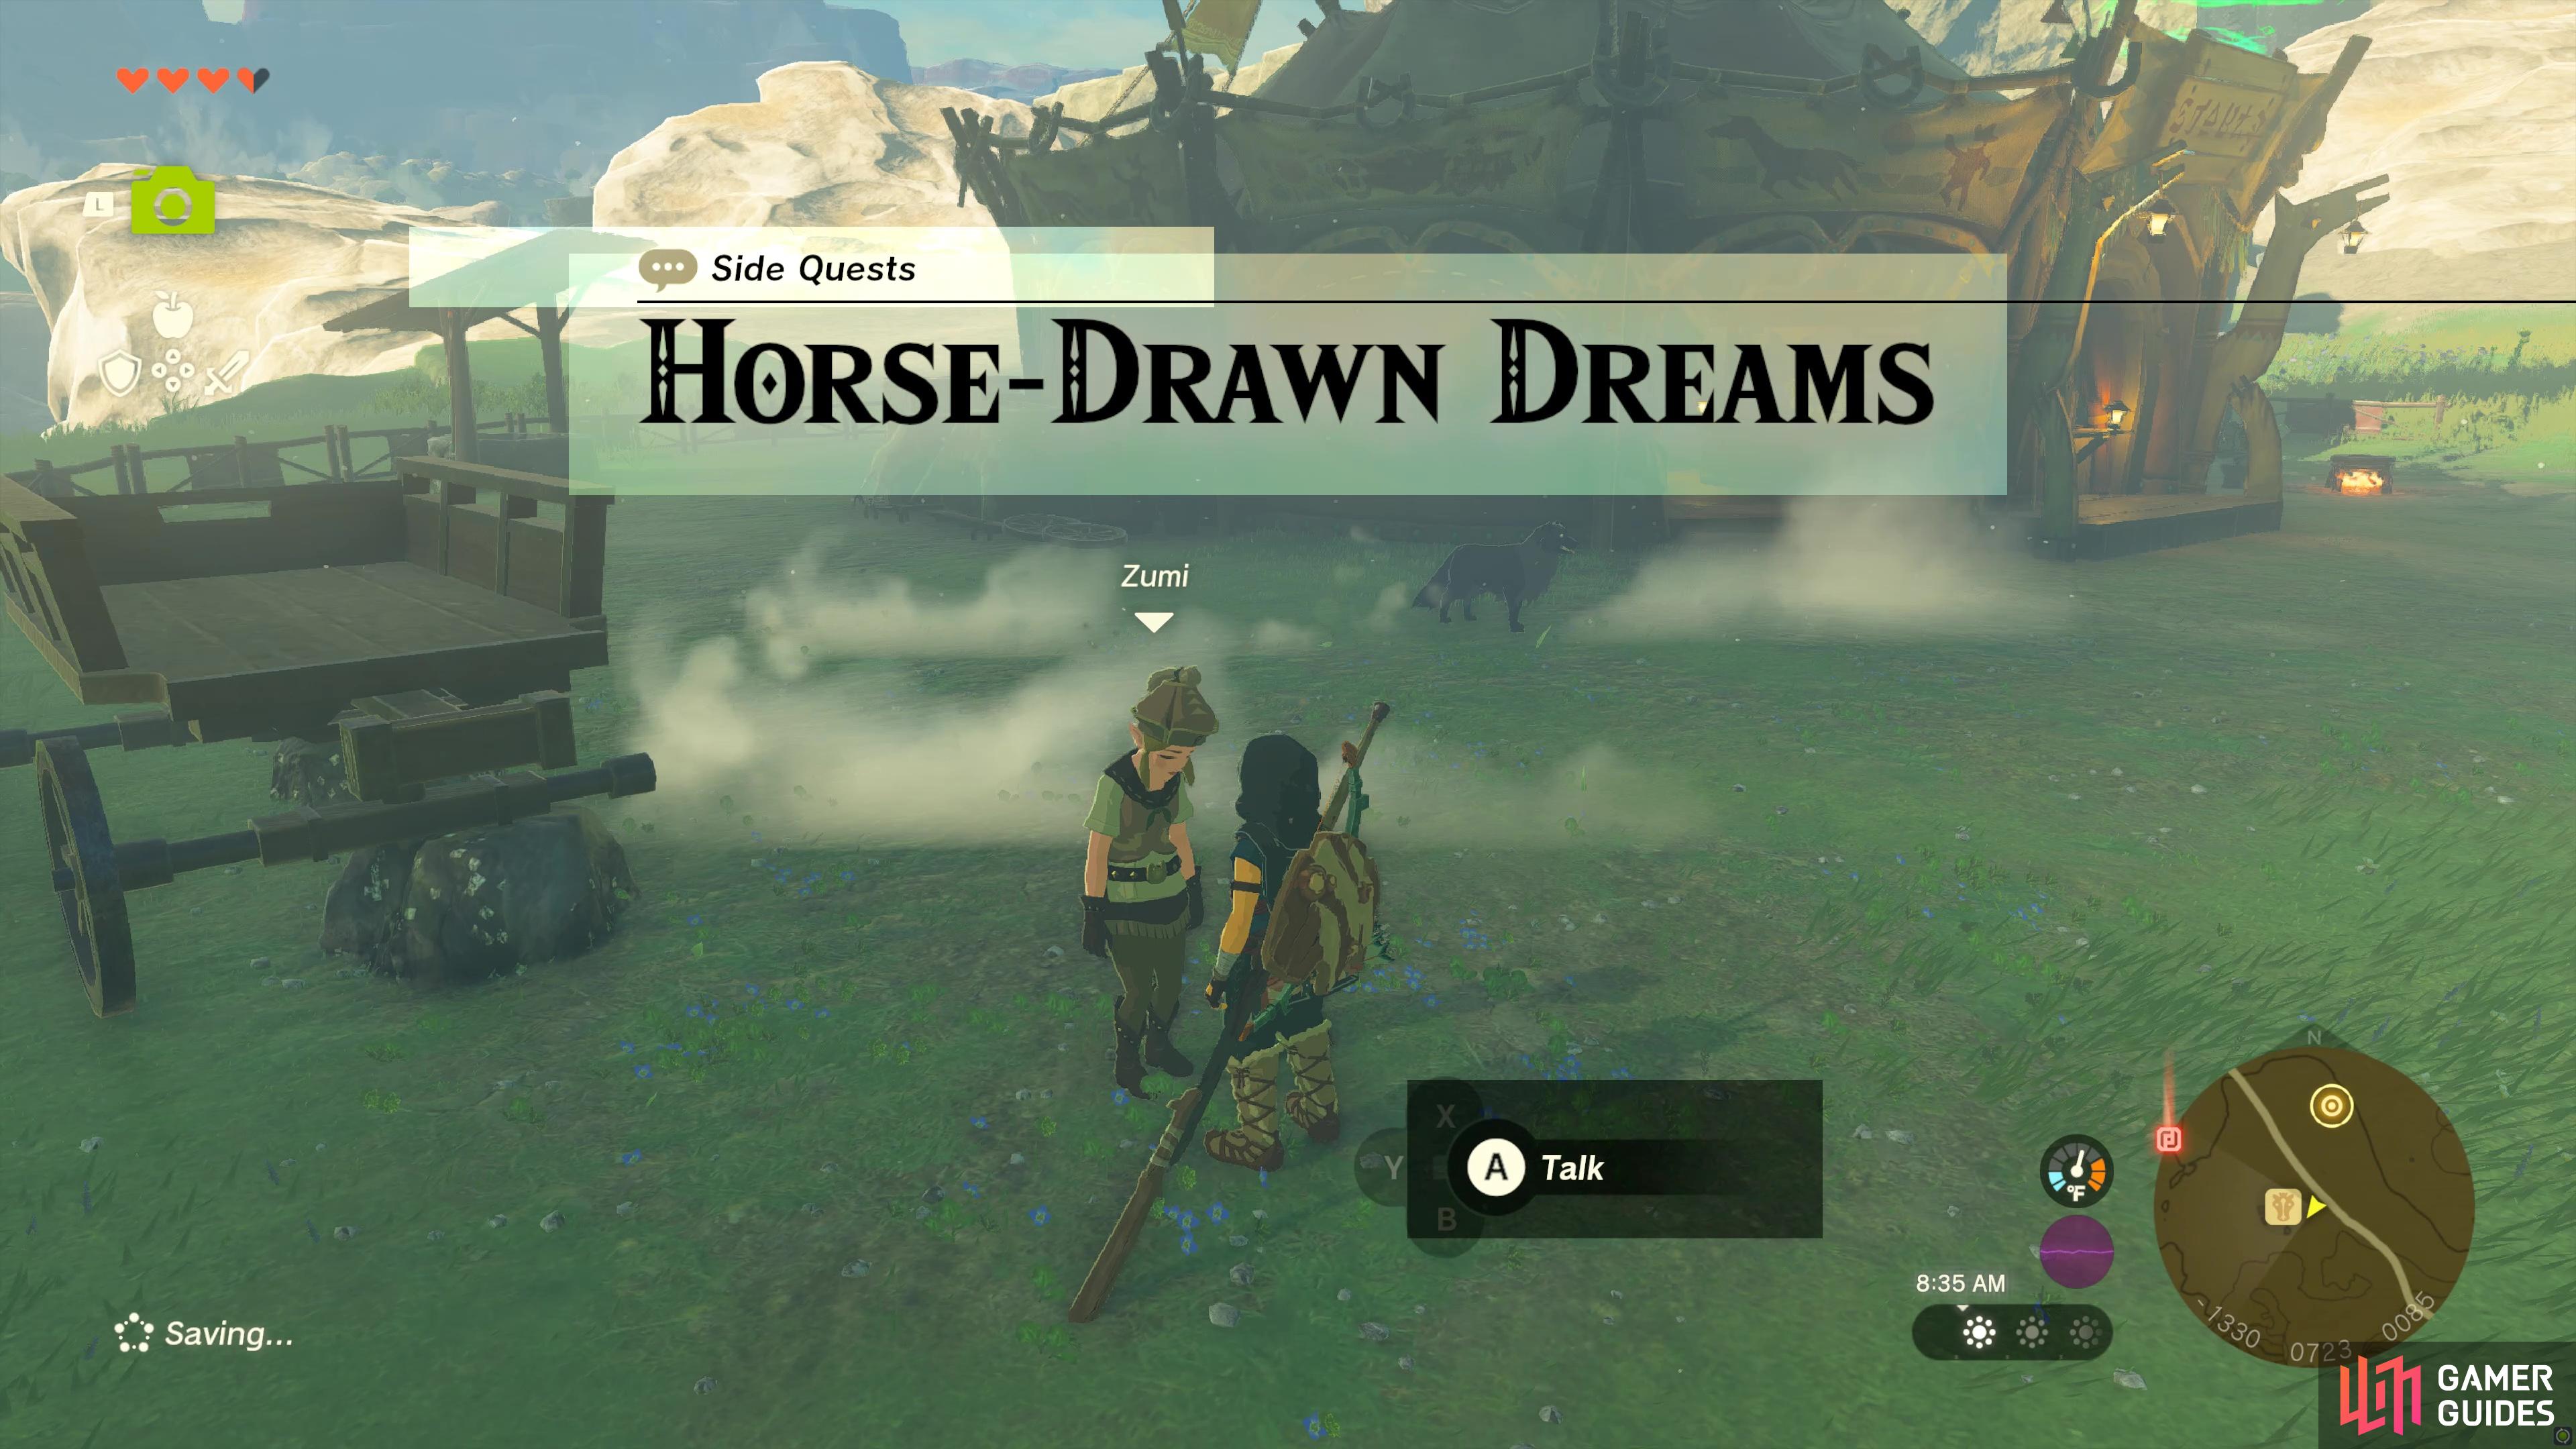
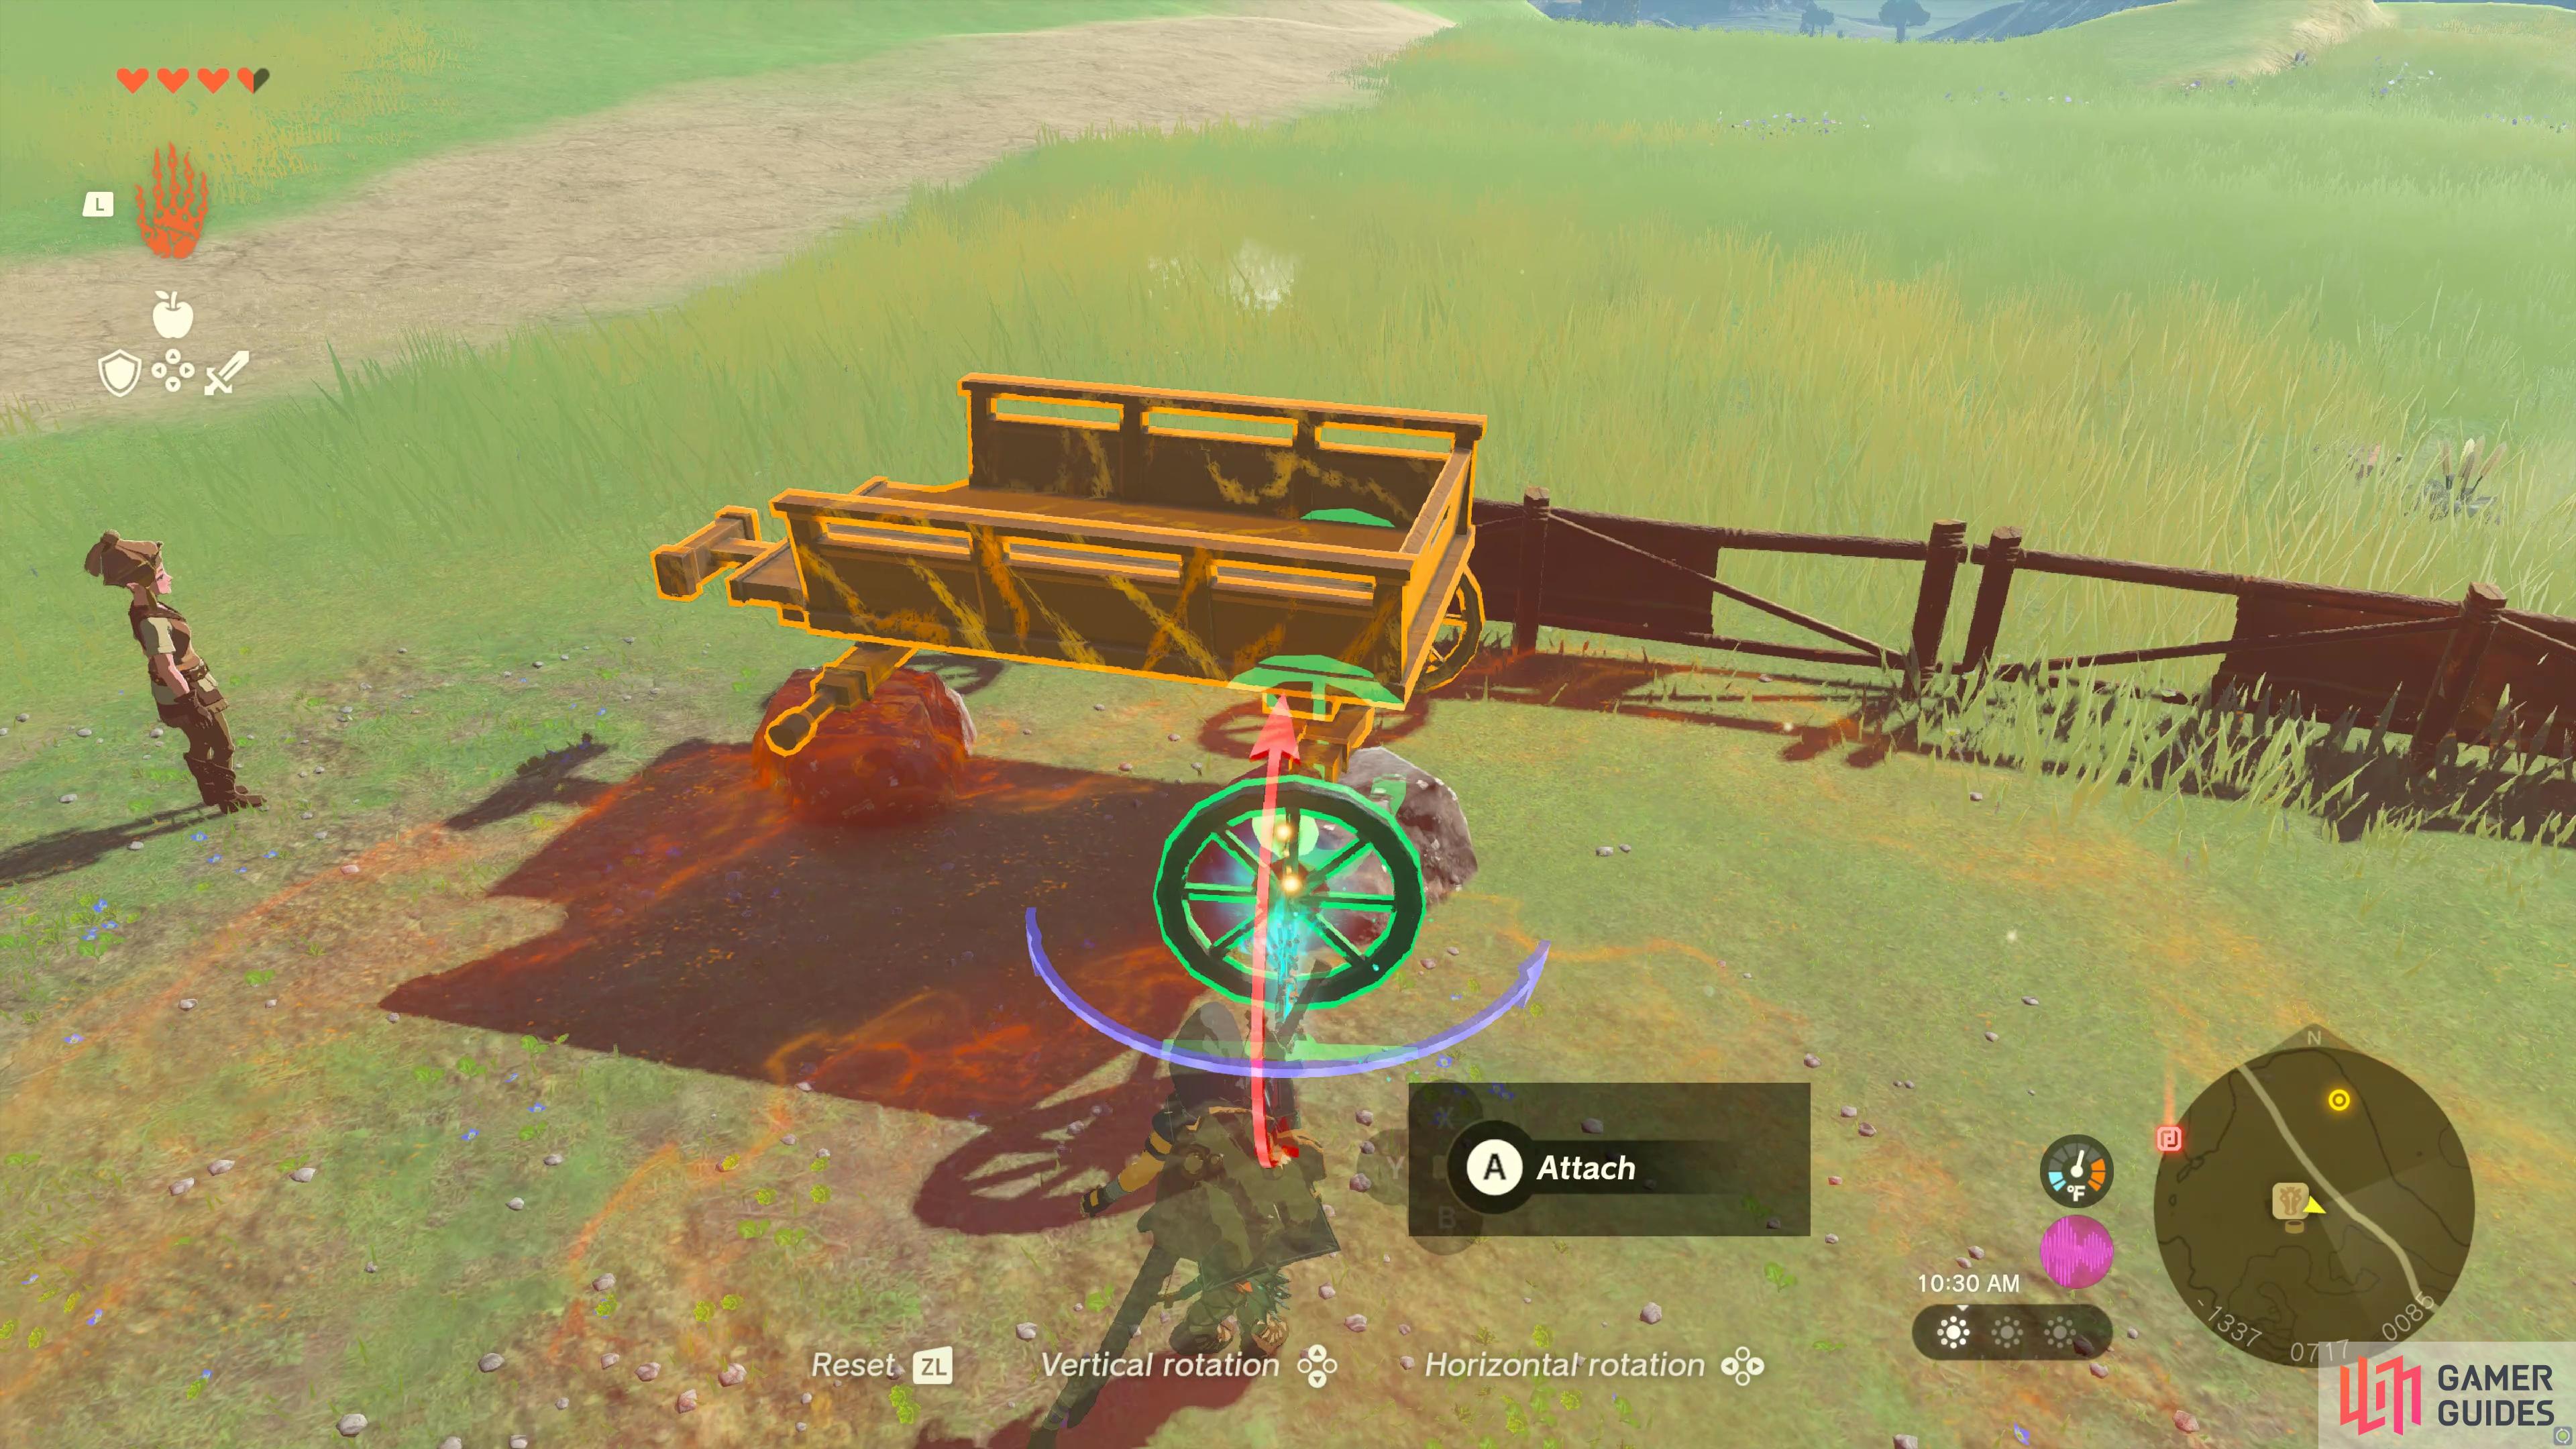
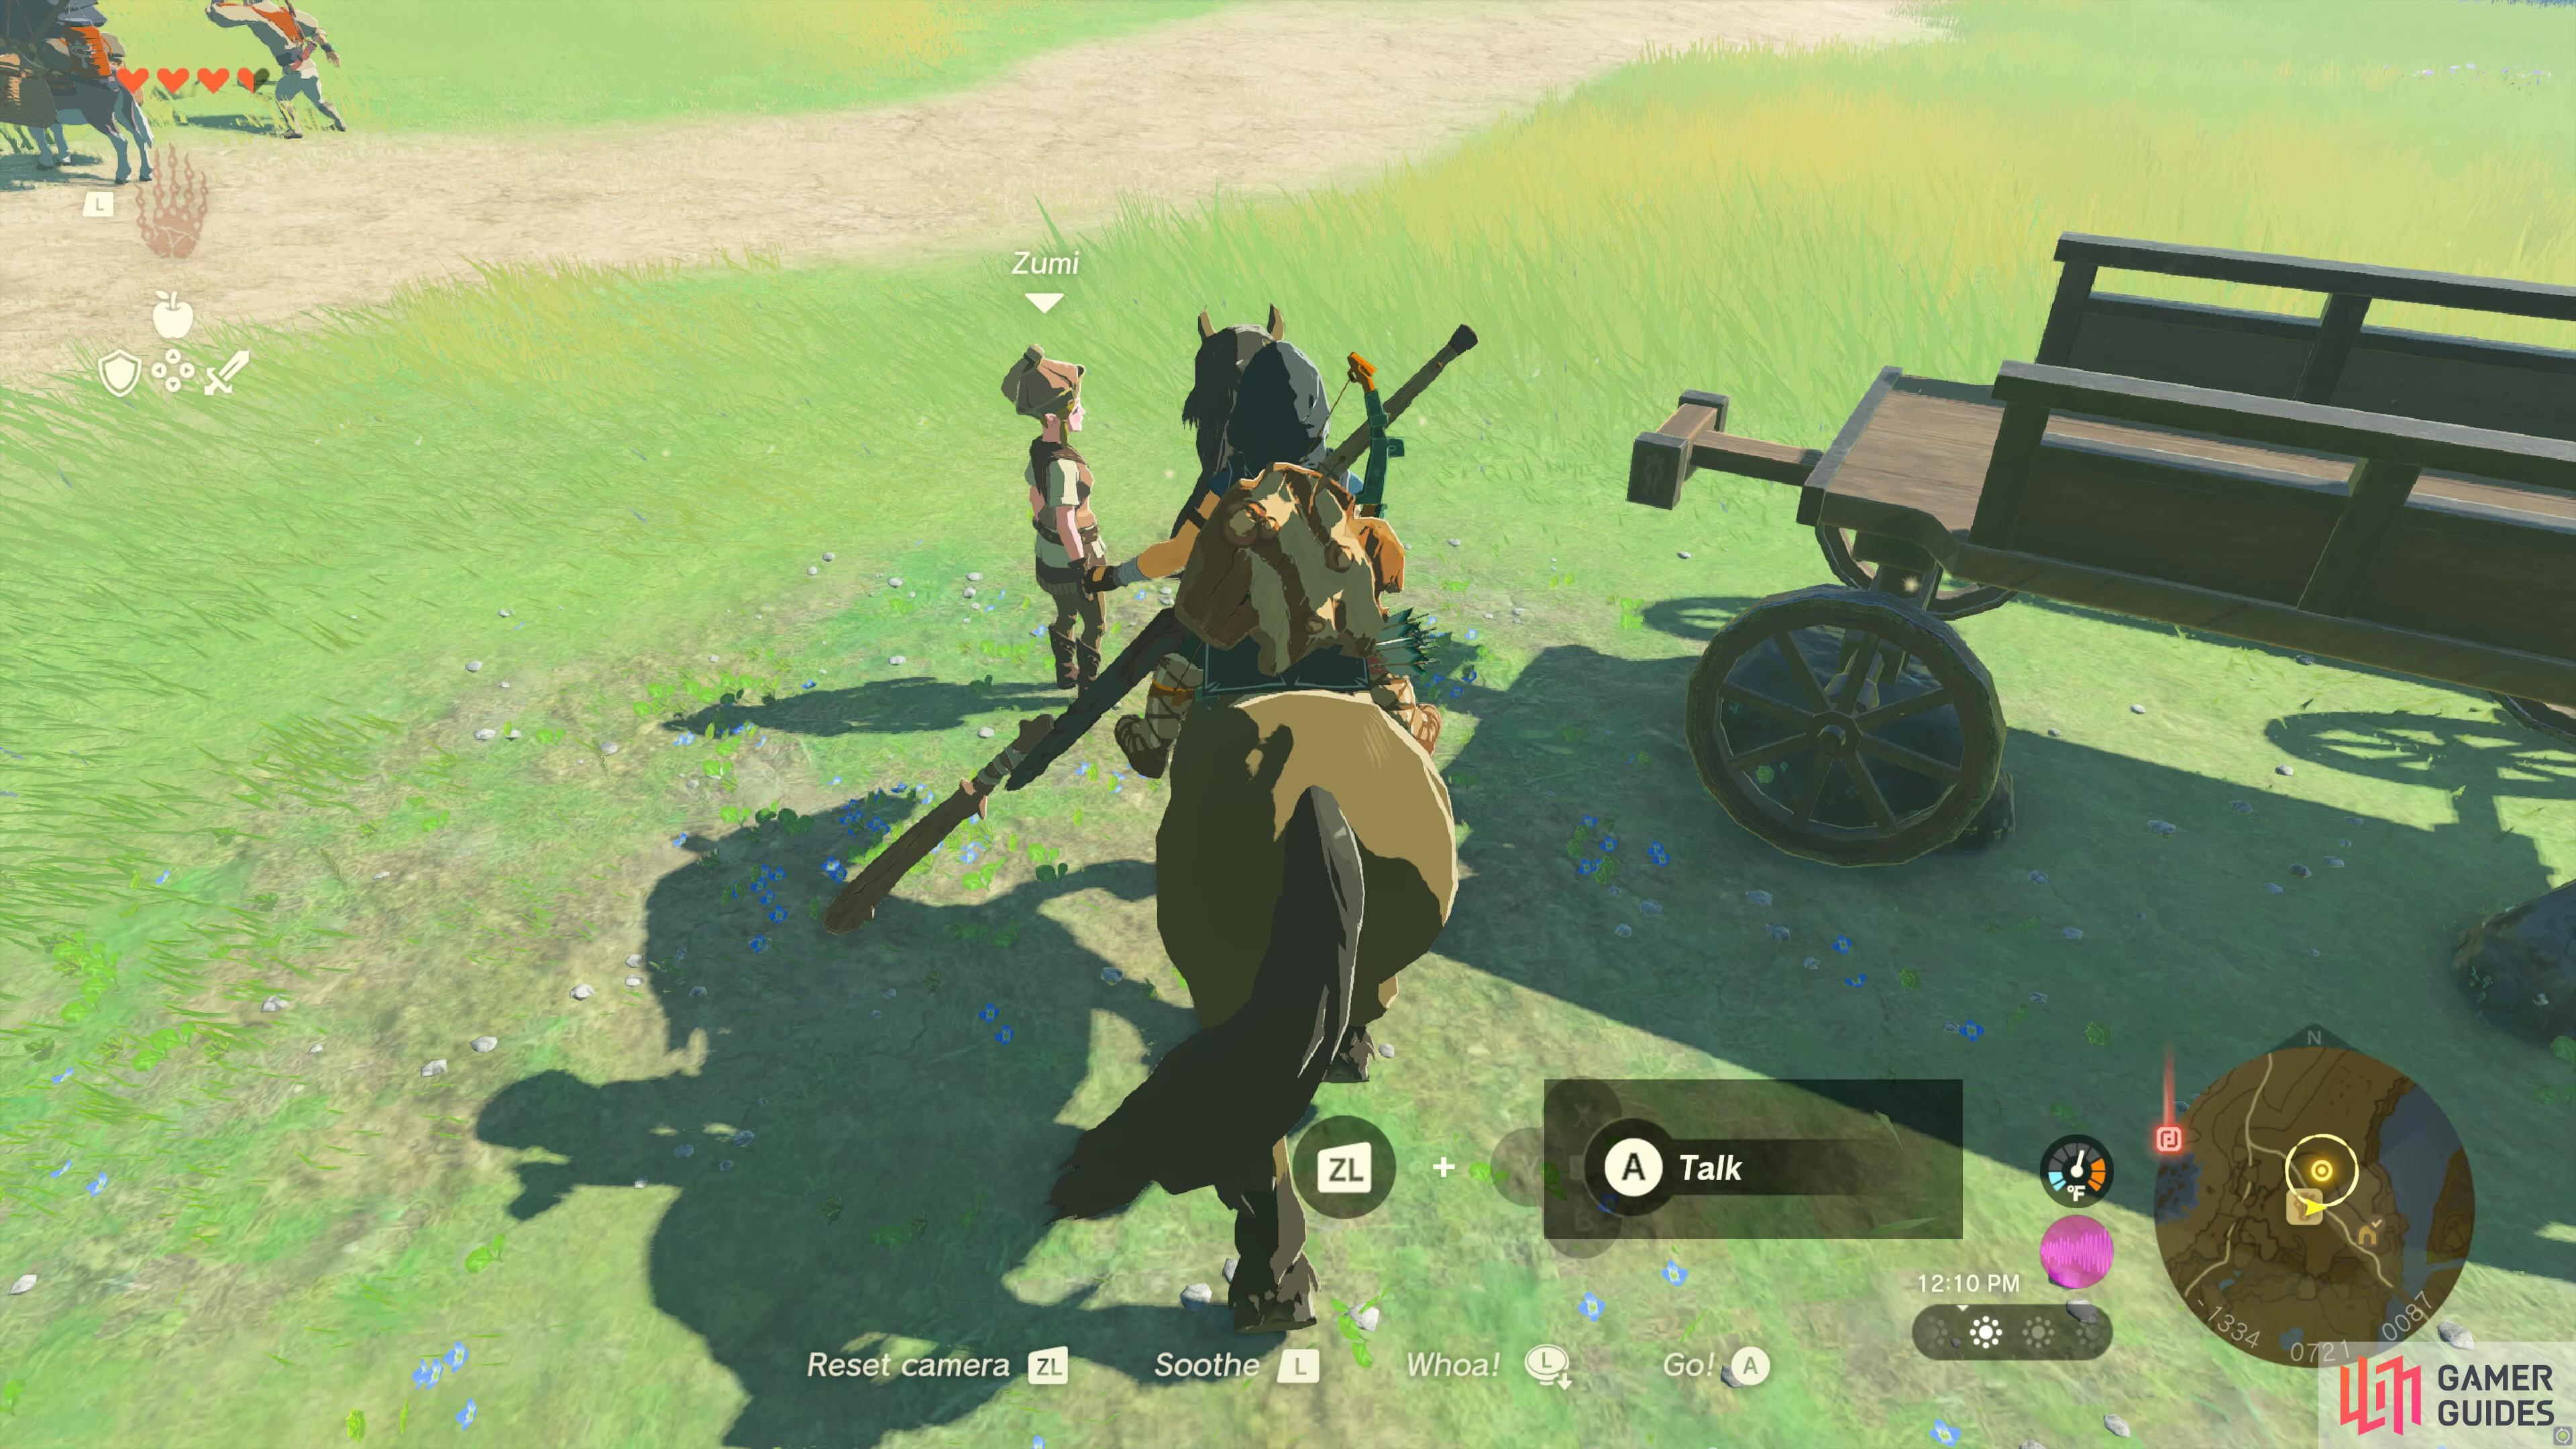
Horse-Drawn Dreams |
First find some wheels in a pile just northeast of Zumi and use After completion: Zumi’s dream of a horse-drawn wagon once looked hopeless–she didn’t have wheels, or even a horse. But you repaired the wheels and caught a horse, resulting in a horse-drawn wagon she can feel proud to own. This wagon she dubbed “Zunk”, a combination of your name and hers.
Quest Type
Side Quest
Map(s)
|
|
|||||||||||||||||||||||||||||||||||||||||||||||||||||||||||||||||||||||||||||||||||||||||||||||

|
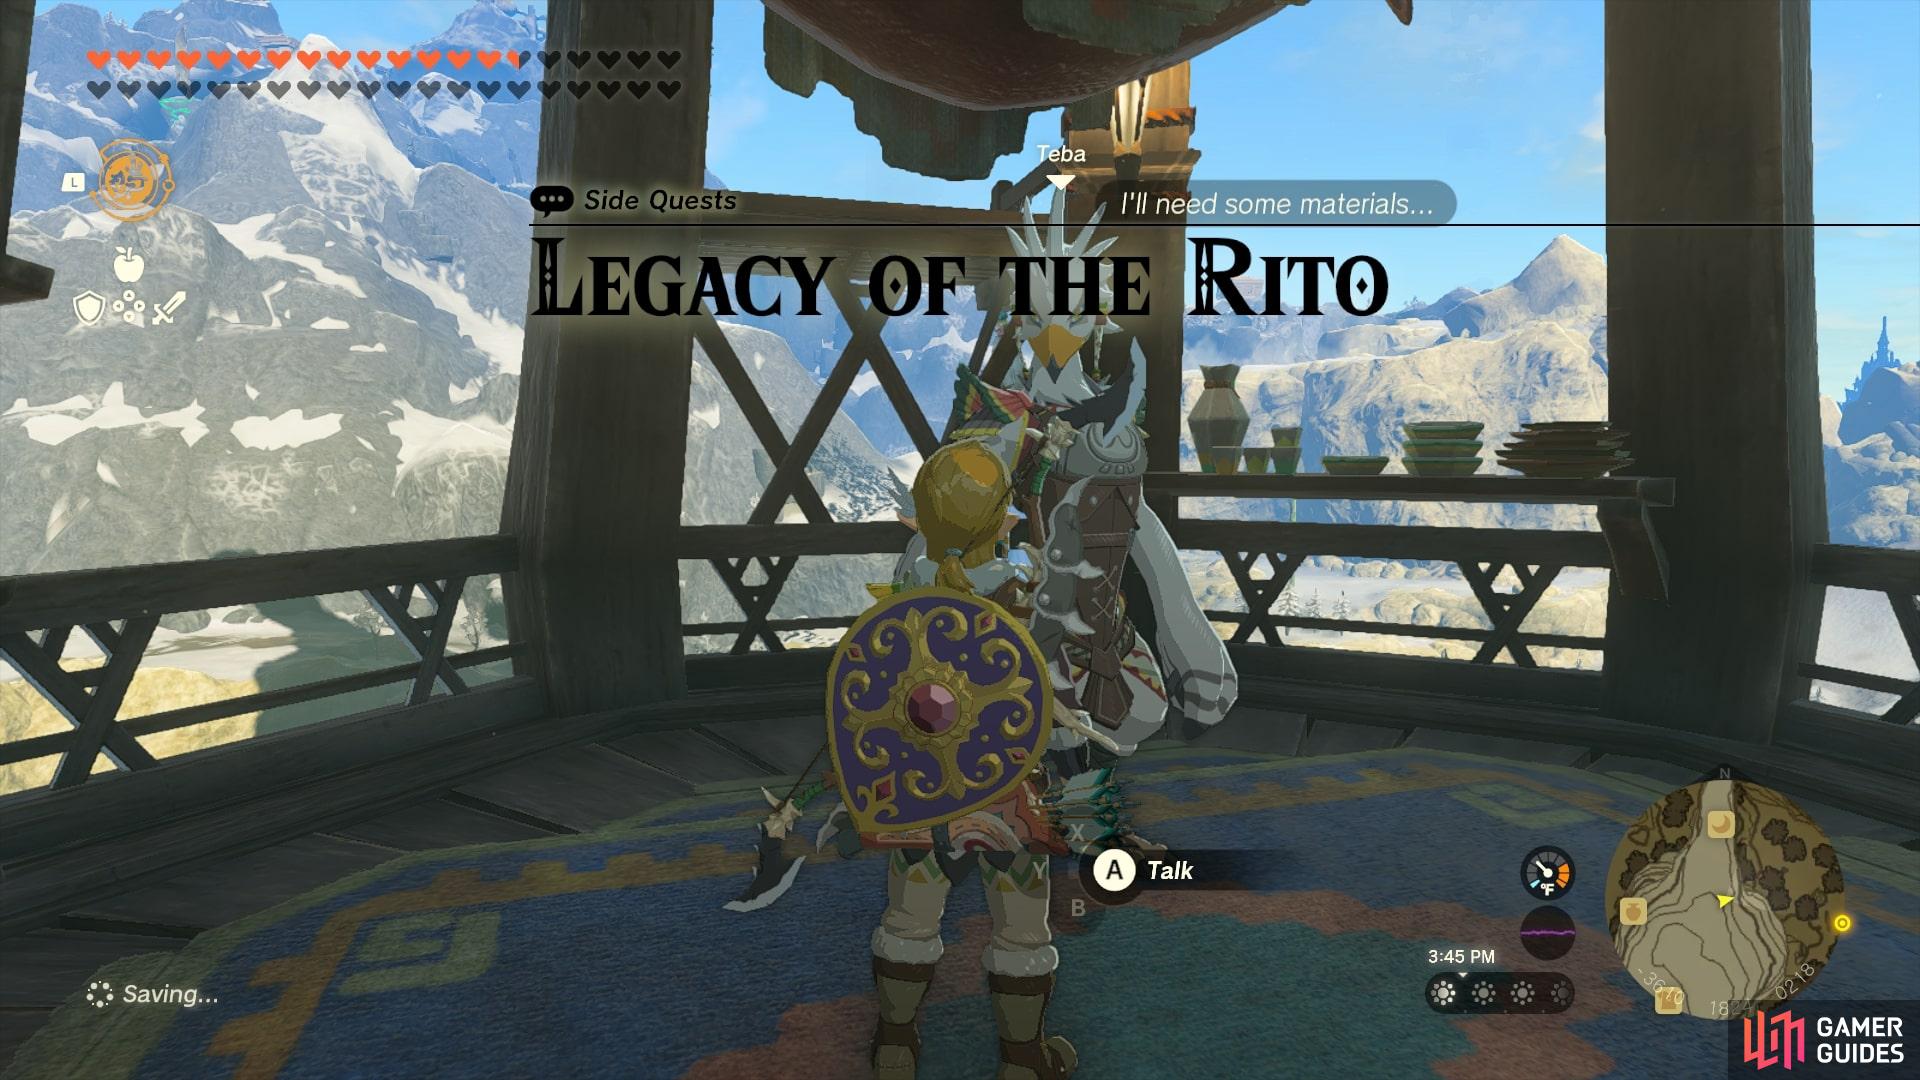
Legacy of Rito |
Having bequeathed his beloved bow to Tulin, Teba says he intends to craft a new After Completing You collected a swallow bow, five bundles of wood, and three diamonds and brought them all to Teba. As promised, he crafted a Great Eagle Bow with them and gave it to you. If your Great Eagle Bow breaks, he can remake it so long as you collect the materials again.
Description
Bring five bundles of wood, a
Quest Type
Side Quest
Map(s)
|
|
|||||||||||||||||||||||||||||||||||||||||||||||||||||||||||||||||||||||||||||||||||||||||||||||

|
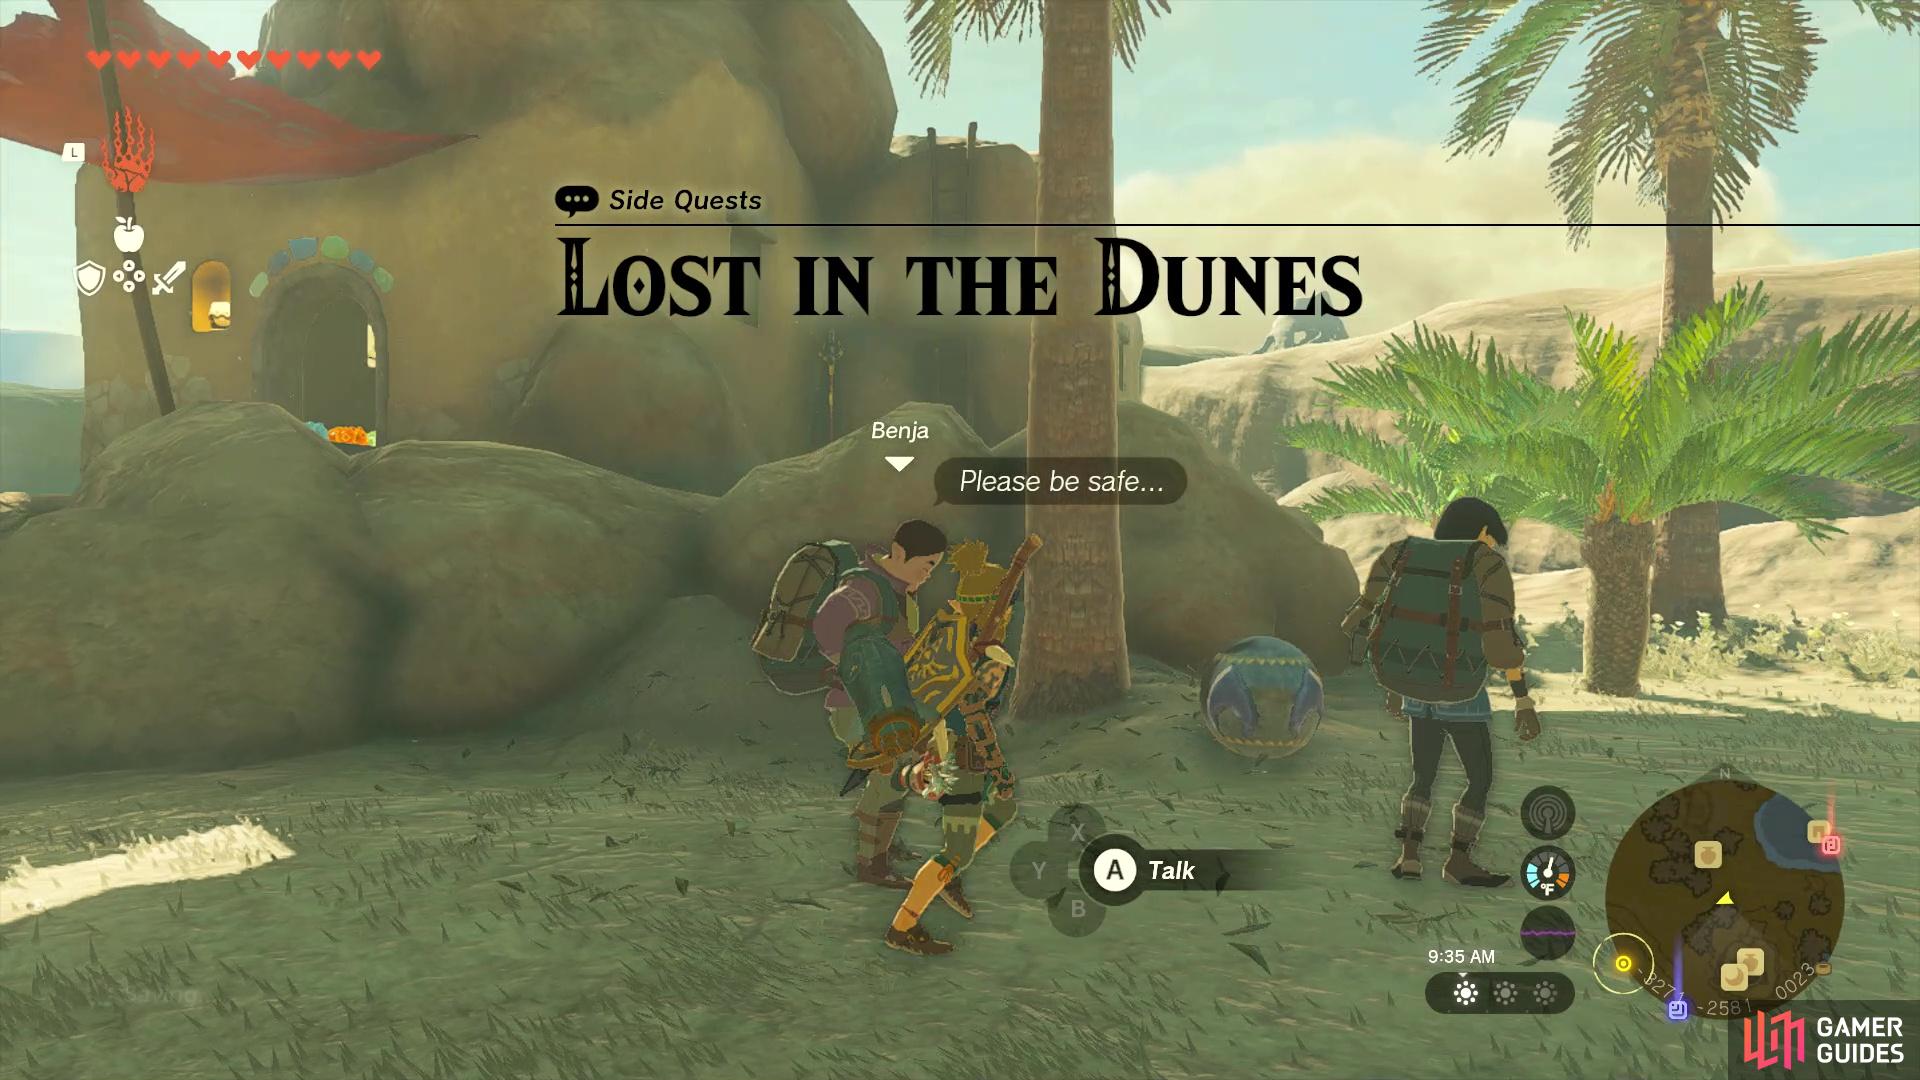
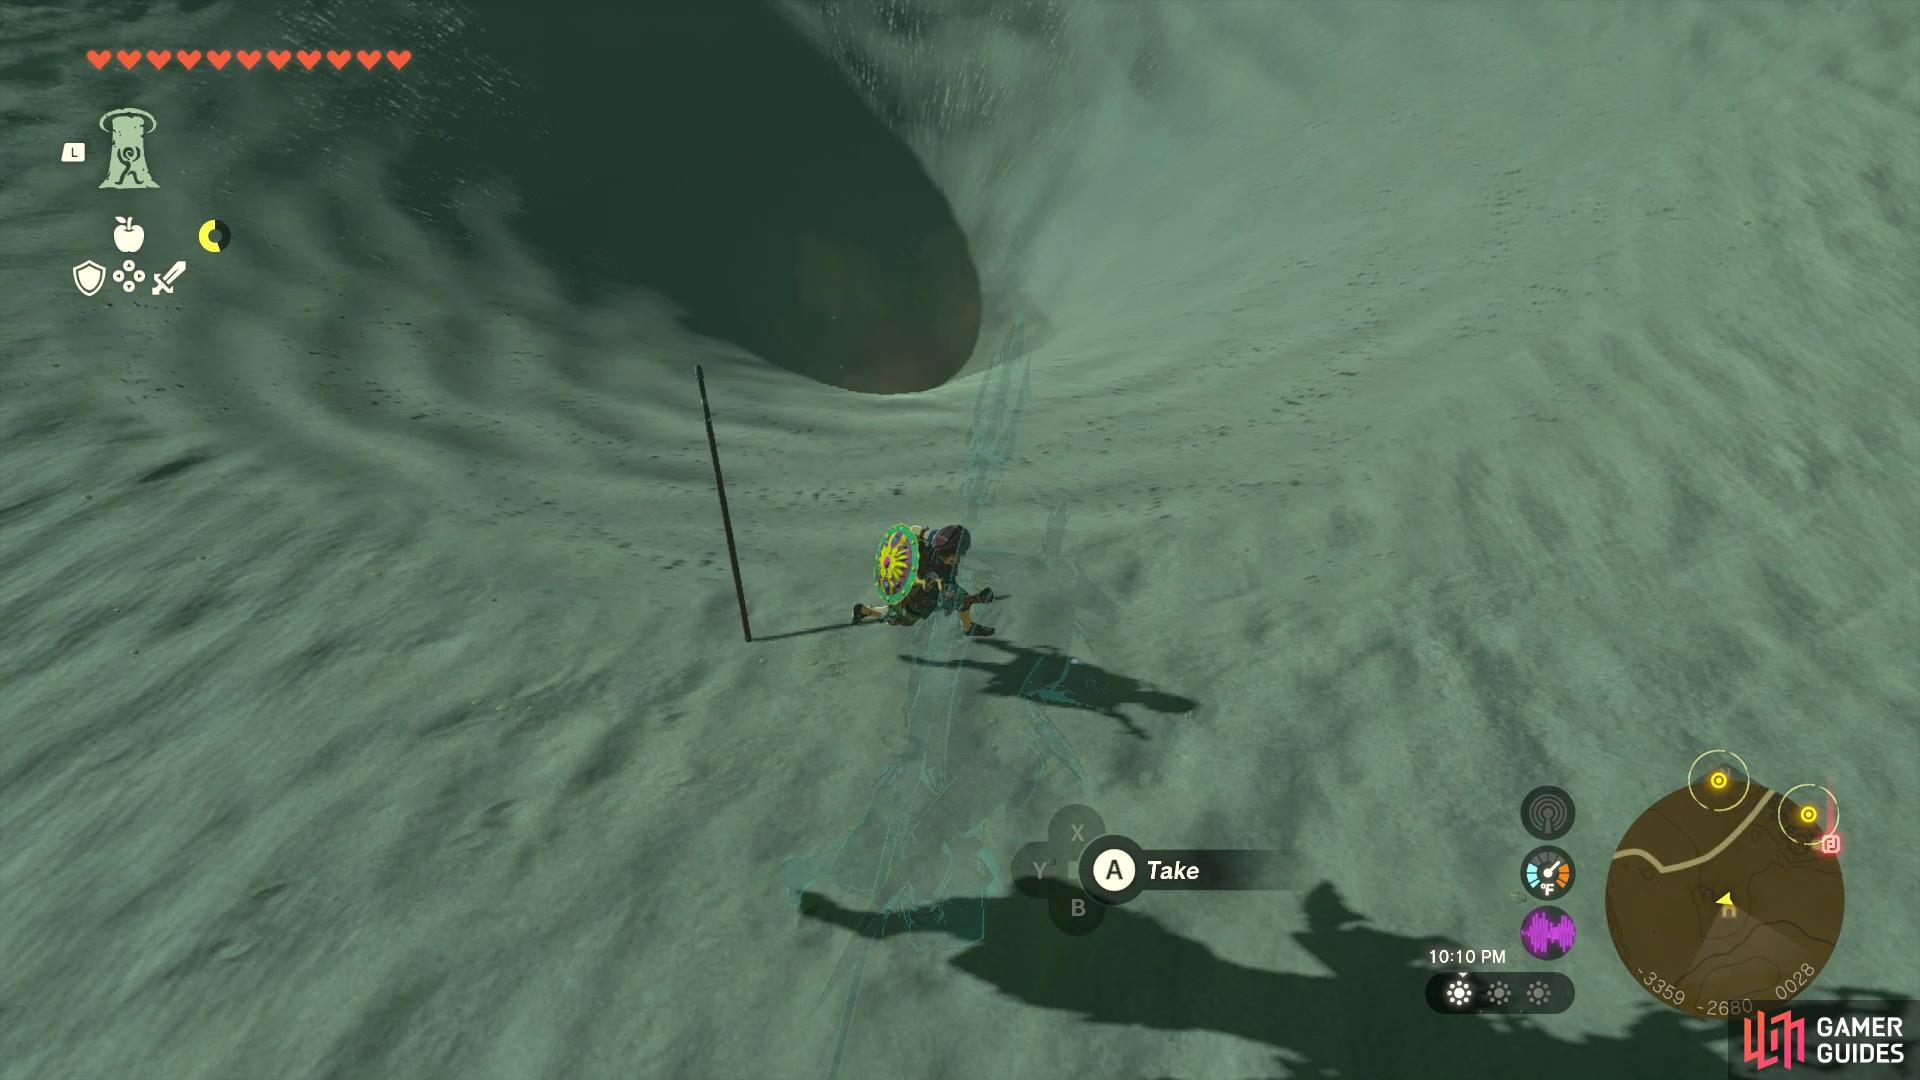
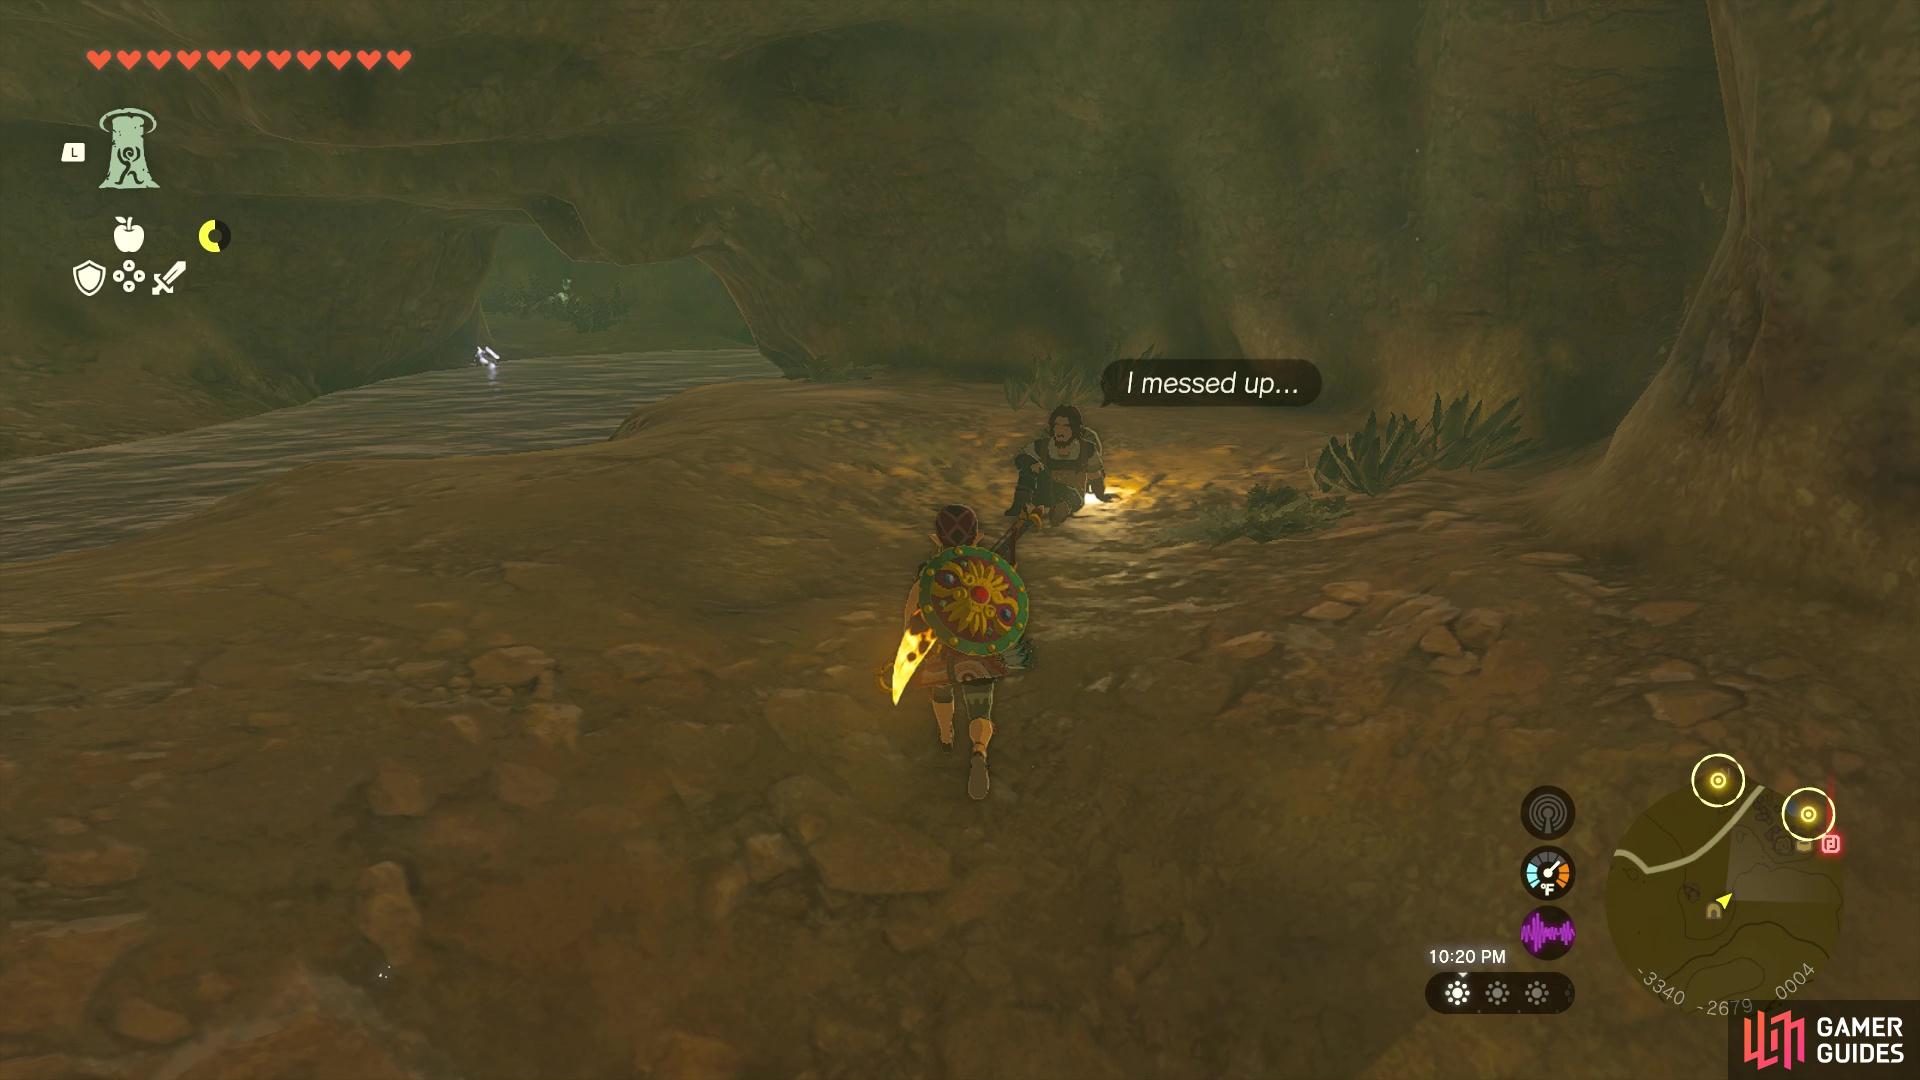
Lost in the Dunes |
Ponthos, a bushy-bearded caravan traveler, went out through the west entrance and hasn’t returned yet. Standard caravan practice is to wait in a conspicuous location-near a tall structure, for example-when lost in the desert. But since a sinkhole is also in this area, finding Ponthos isn’t going to be easy.
Description
Ponthos is found inside the Once you’ve found him, you need to break the destructible rock until you clear a path to the Kara Kara Bazaar Well. At that point, Ponthos will make his way to you. Afterwards, report back to the quest-giver.
Completion Reward
 Gerudo Orb
Miscellaneous Gerudo Orb
Miscellaneous
Quest Type
Side Quest
Map(s)
|
|
|||||||||||||||||||||||||||||||||||||||||||||||||||||||||||||||||||||||||||||||||||||||||||||||

|
Lurelin Resort Project |
They wonder if they might be able to invite some racing professionals to make the journey from Tarrey Town to Lureling Village. This will only appear here after completing the “
Description
Bring the racers Shabonne and Tali from Tarry Town to Lurelin for the Water Rally.
Quest Type
Side Quest
Map(s)
|

|
|||||||||||||||||||||||||||||||||||||||||||||||||||||||||||||||||||||||||||||||||||||||||||||||

|
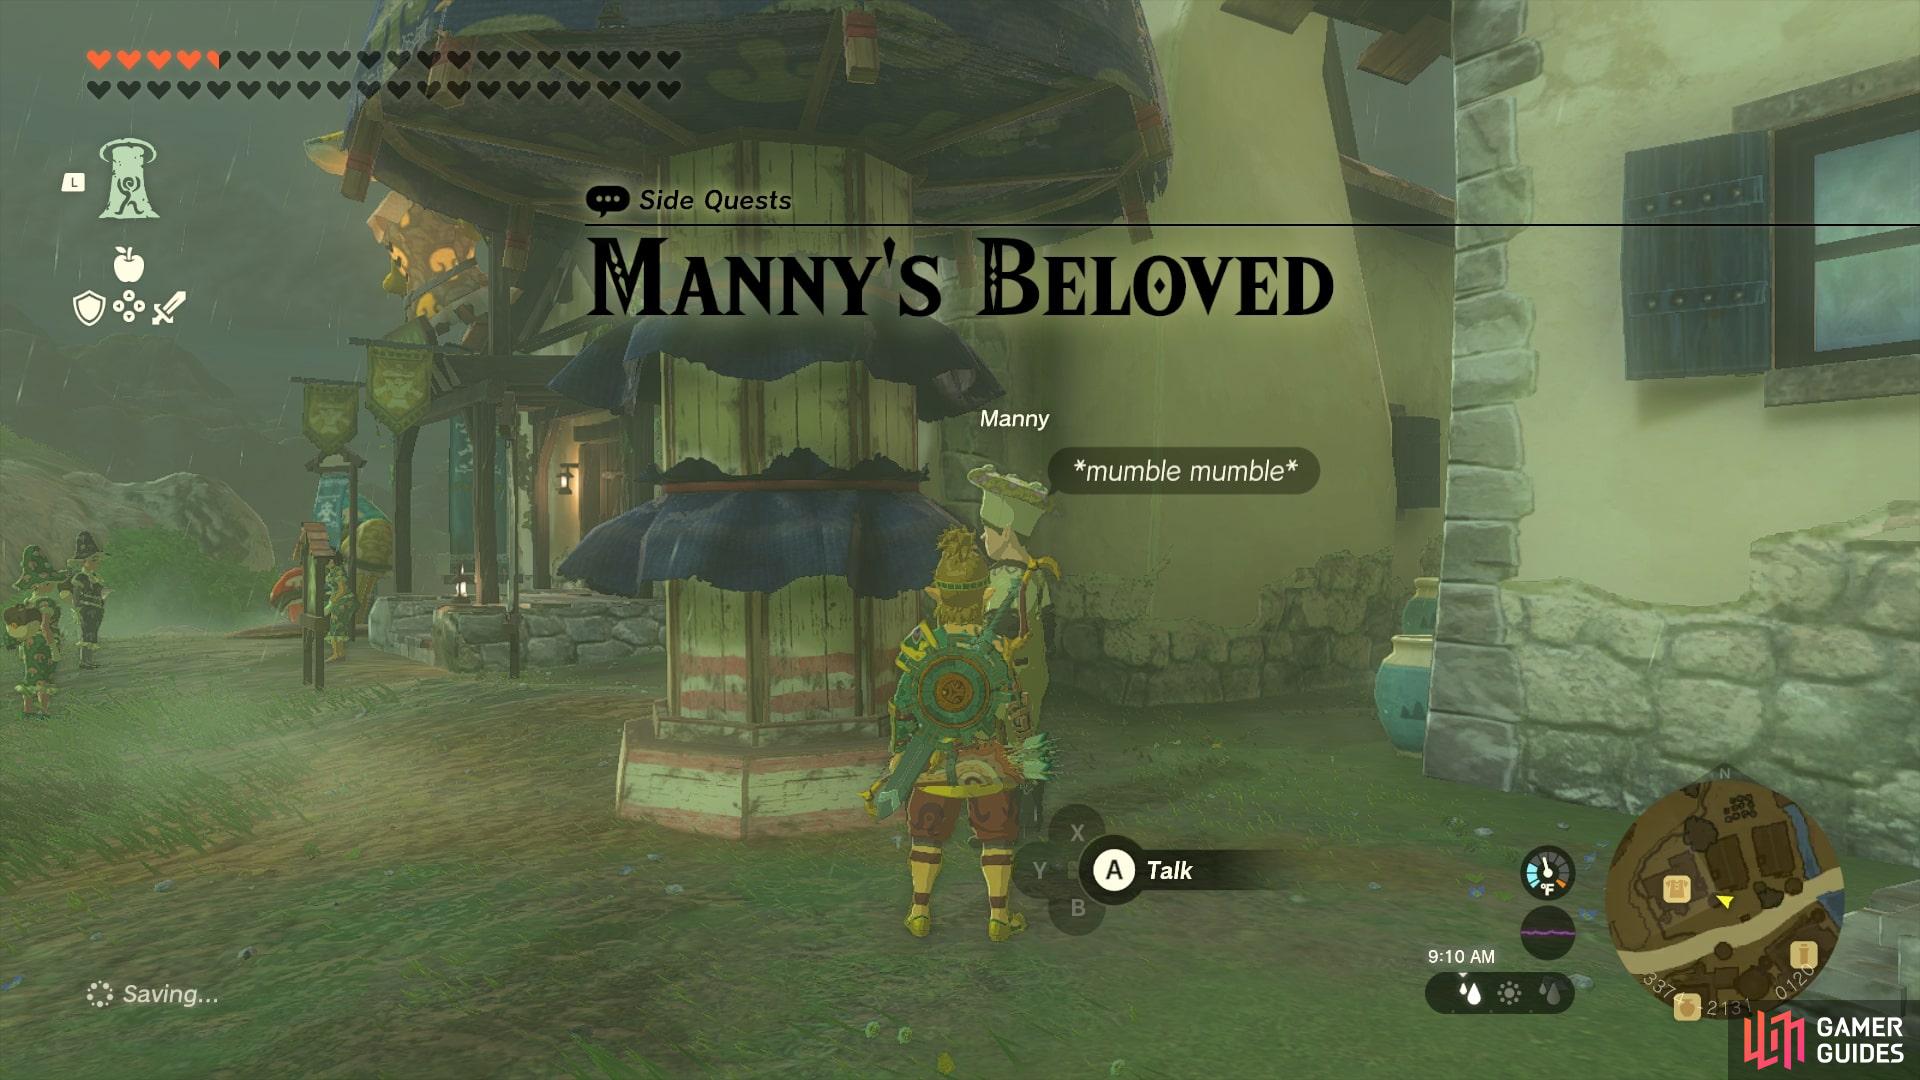
Manny's Beloved |
It seems Manny’s friend’s friend badly wants to catch the eye of Ivee, the greeter for the general store. Can you muster the courage to ask Ivee what she likes the most? After Completing You delivered the 10 hot-footed frogs to Manny and received a reward. Manny confessed that he was the one who wanted to catch Ivee’s eye. His plan now is to find the remaining hot-footed frogs on his own
Description
Catch and give ten |
|
|||||||||||||||||||||||||||||||||||||||||||||||||||||||||||||||||||||||||||||||||||||||||||||||

|
Master the Vehicle Prototype |
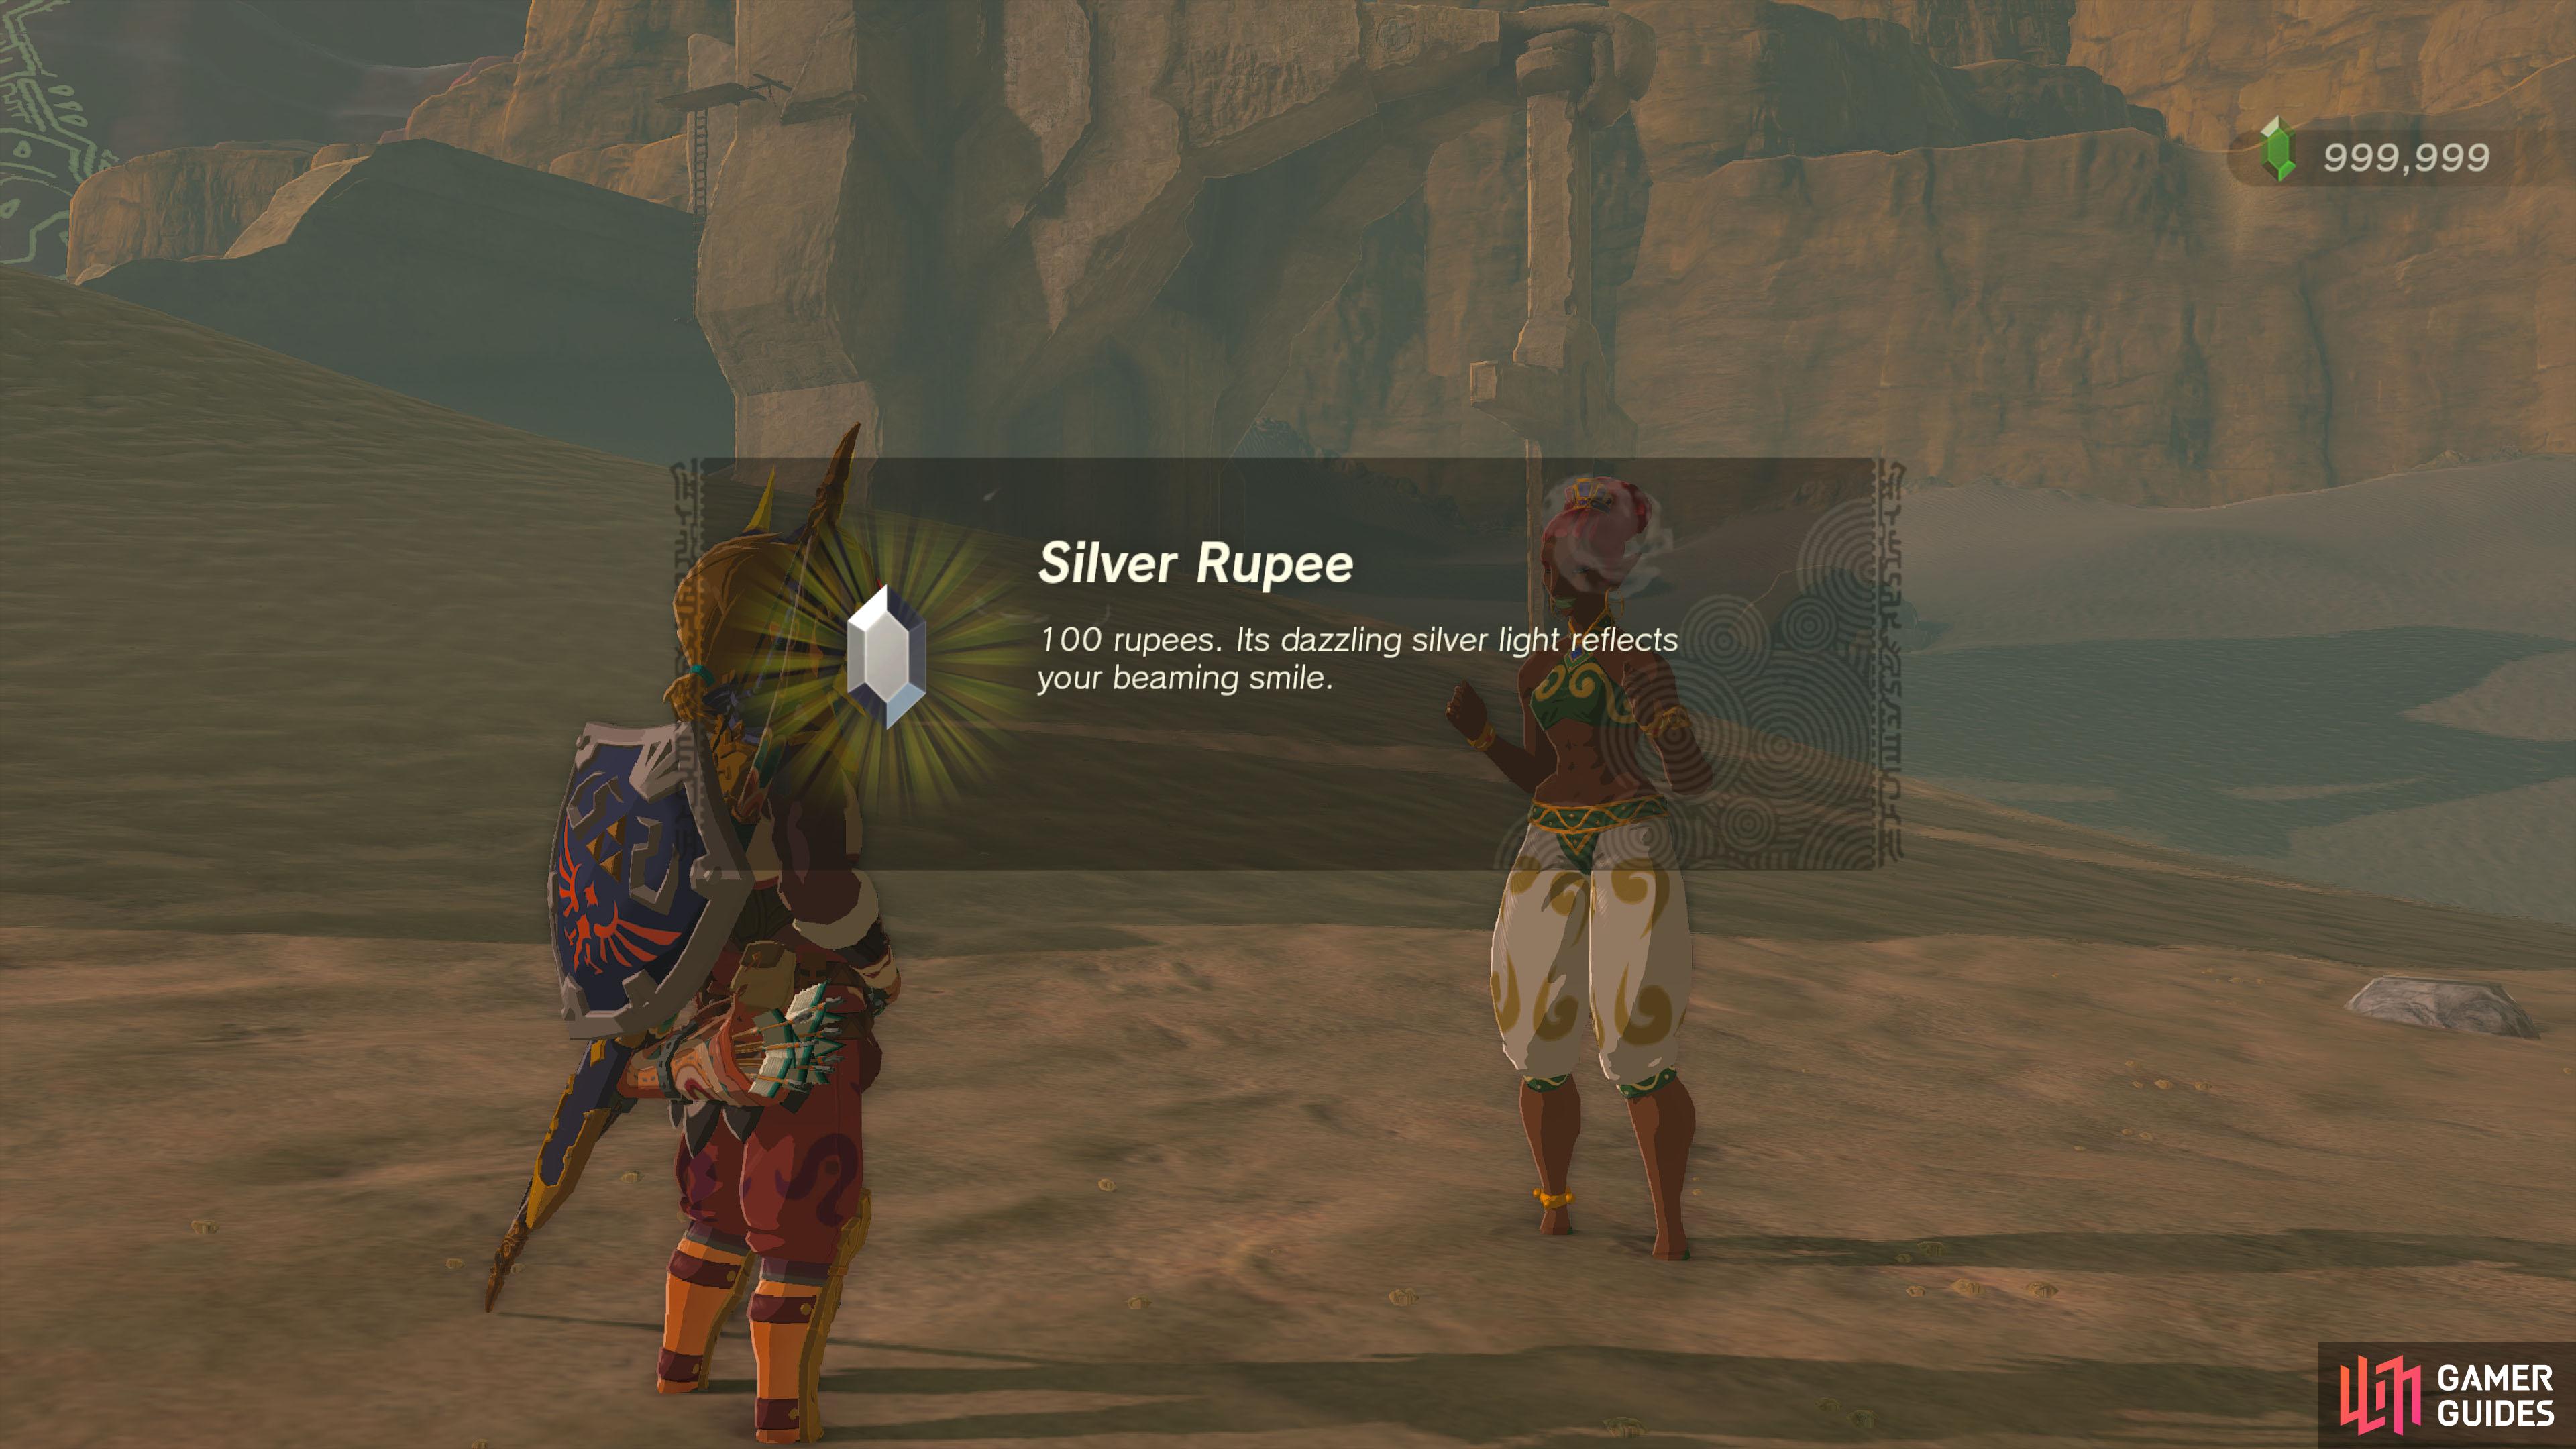
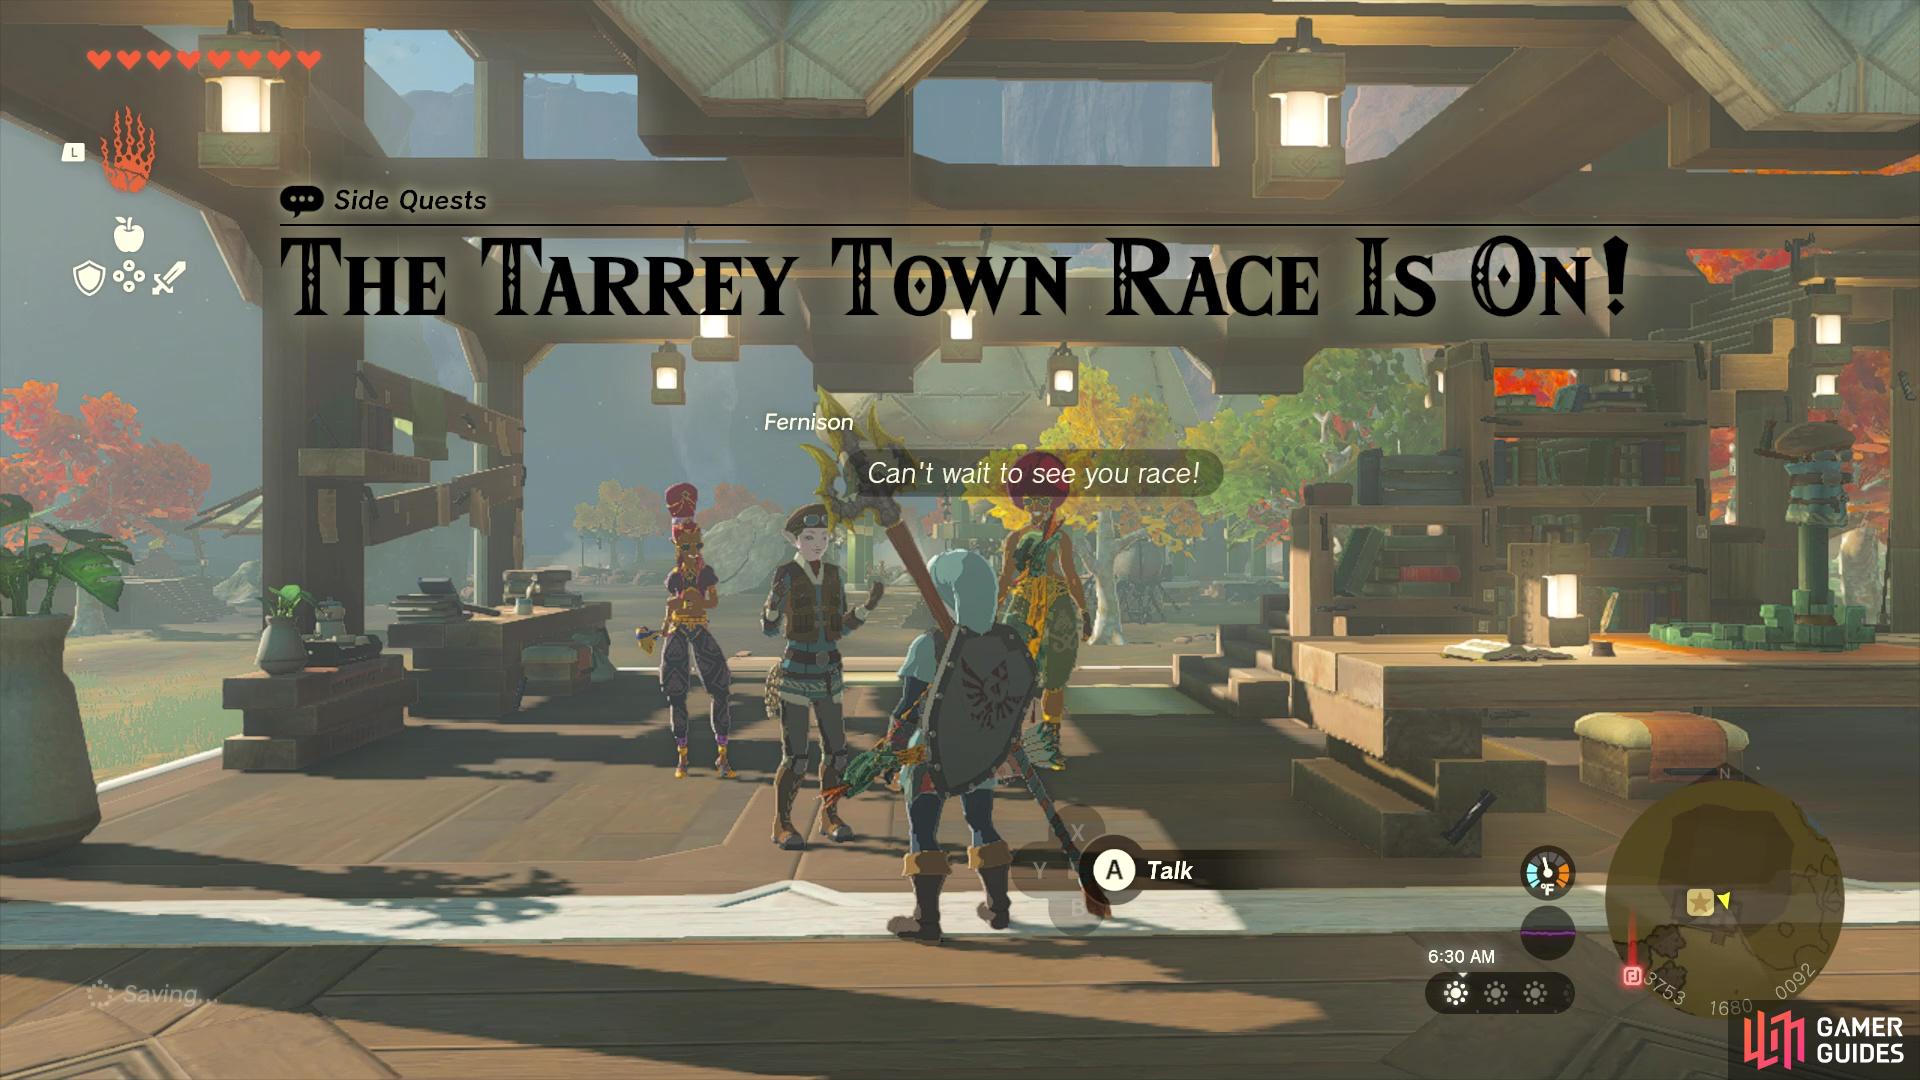
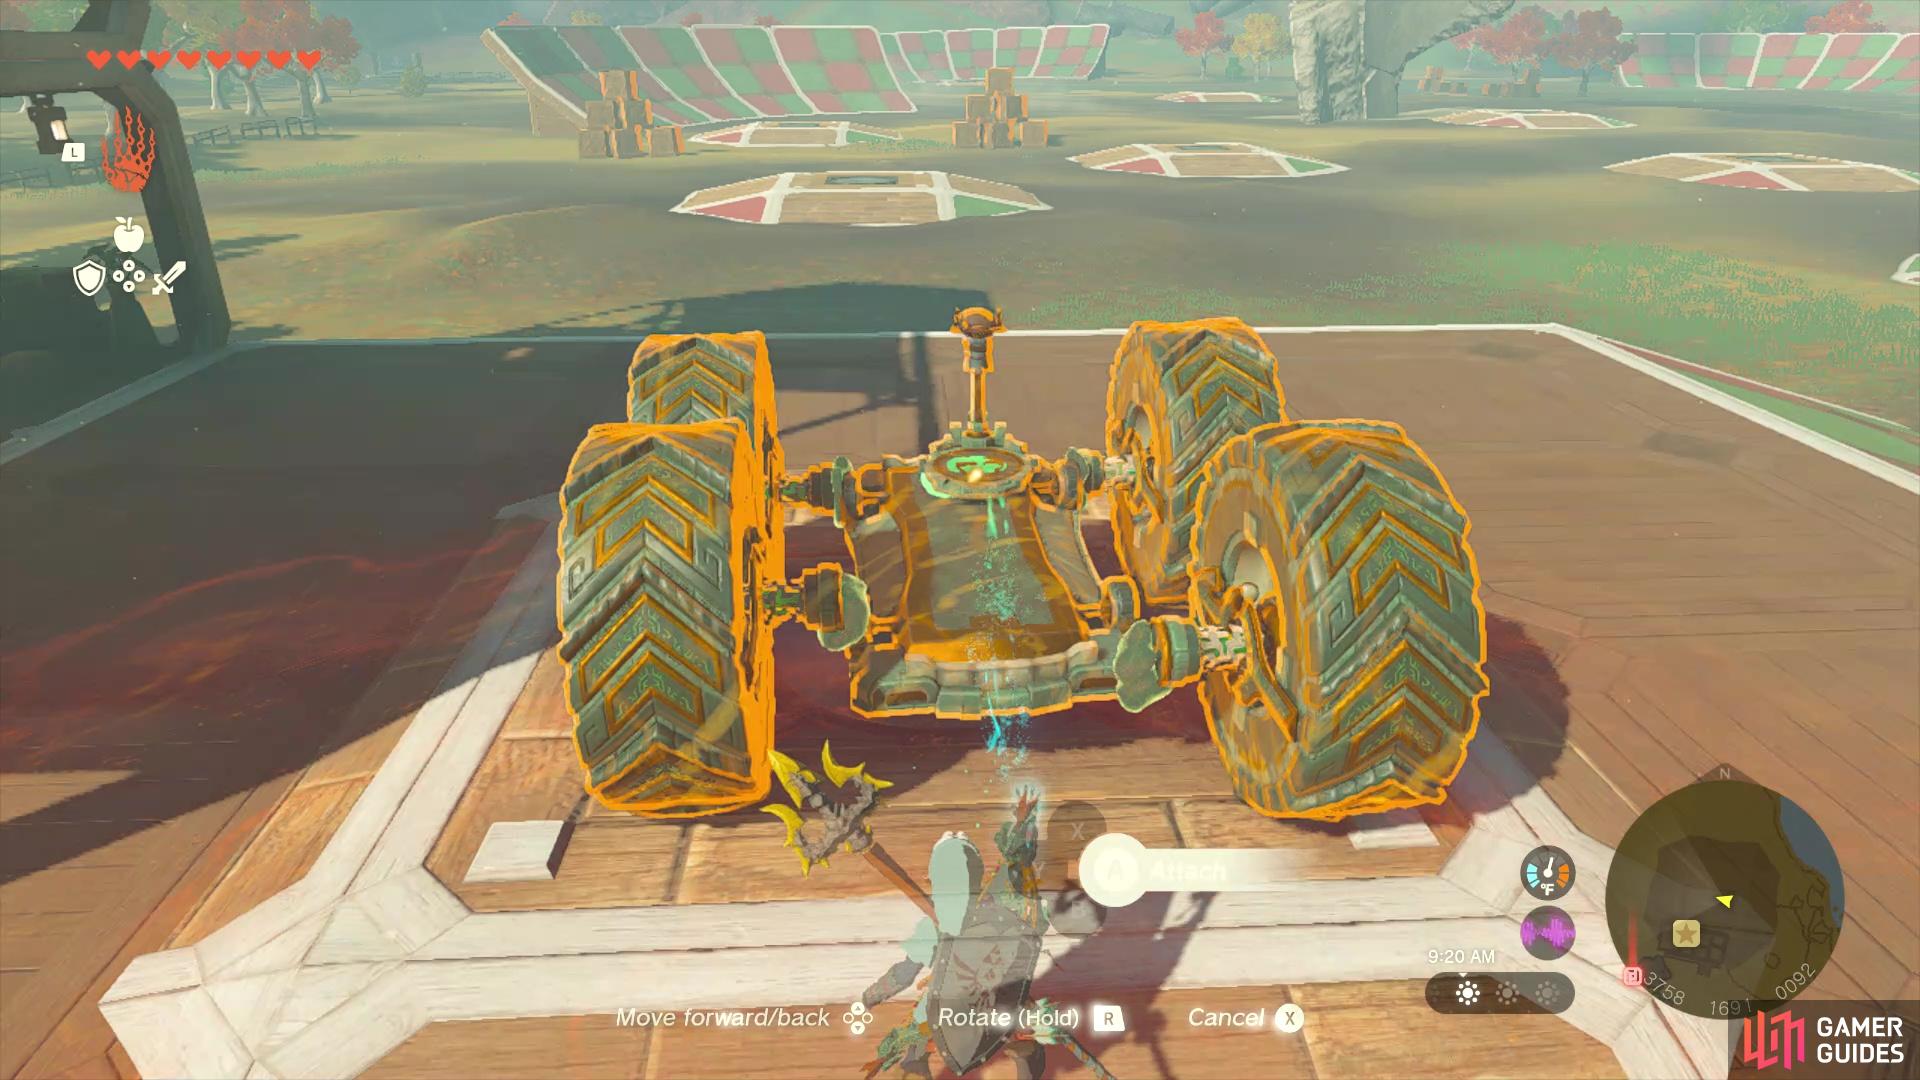
Fernison from the Zonai Survey Team, with help from Hudson Construction, has been turning Zonai devices into vehicle prototypes. She has one all ready to go…except for one problem: No one knows how to control it. None of the Zonai devices that fell on Tarrey Town seem to do the trick. So Fernison has called on a couple of professional racers, hoping they might help.
Description
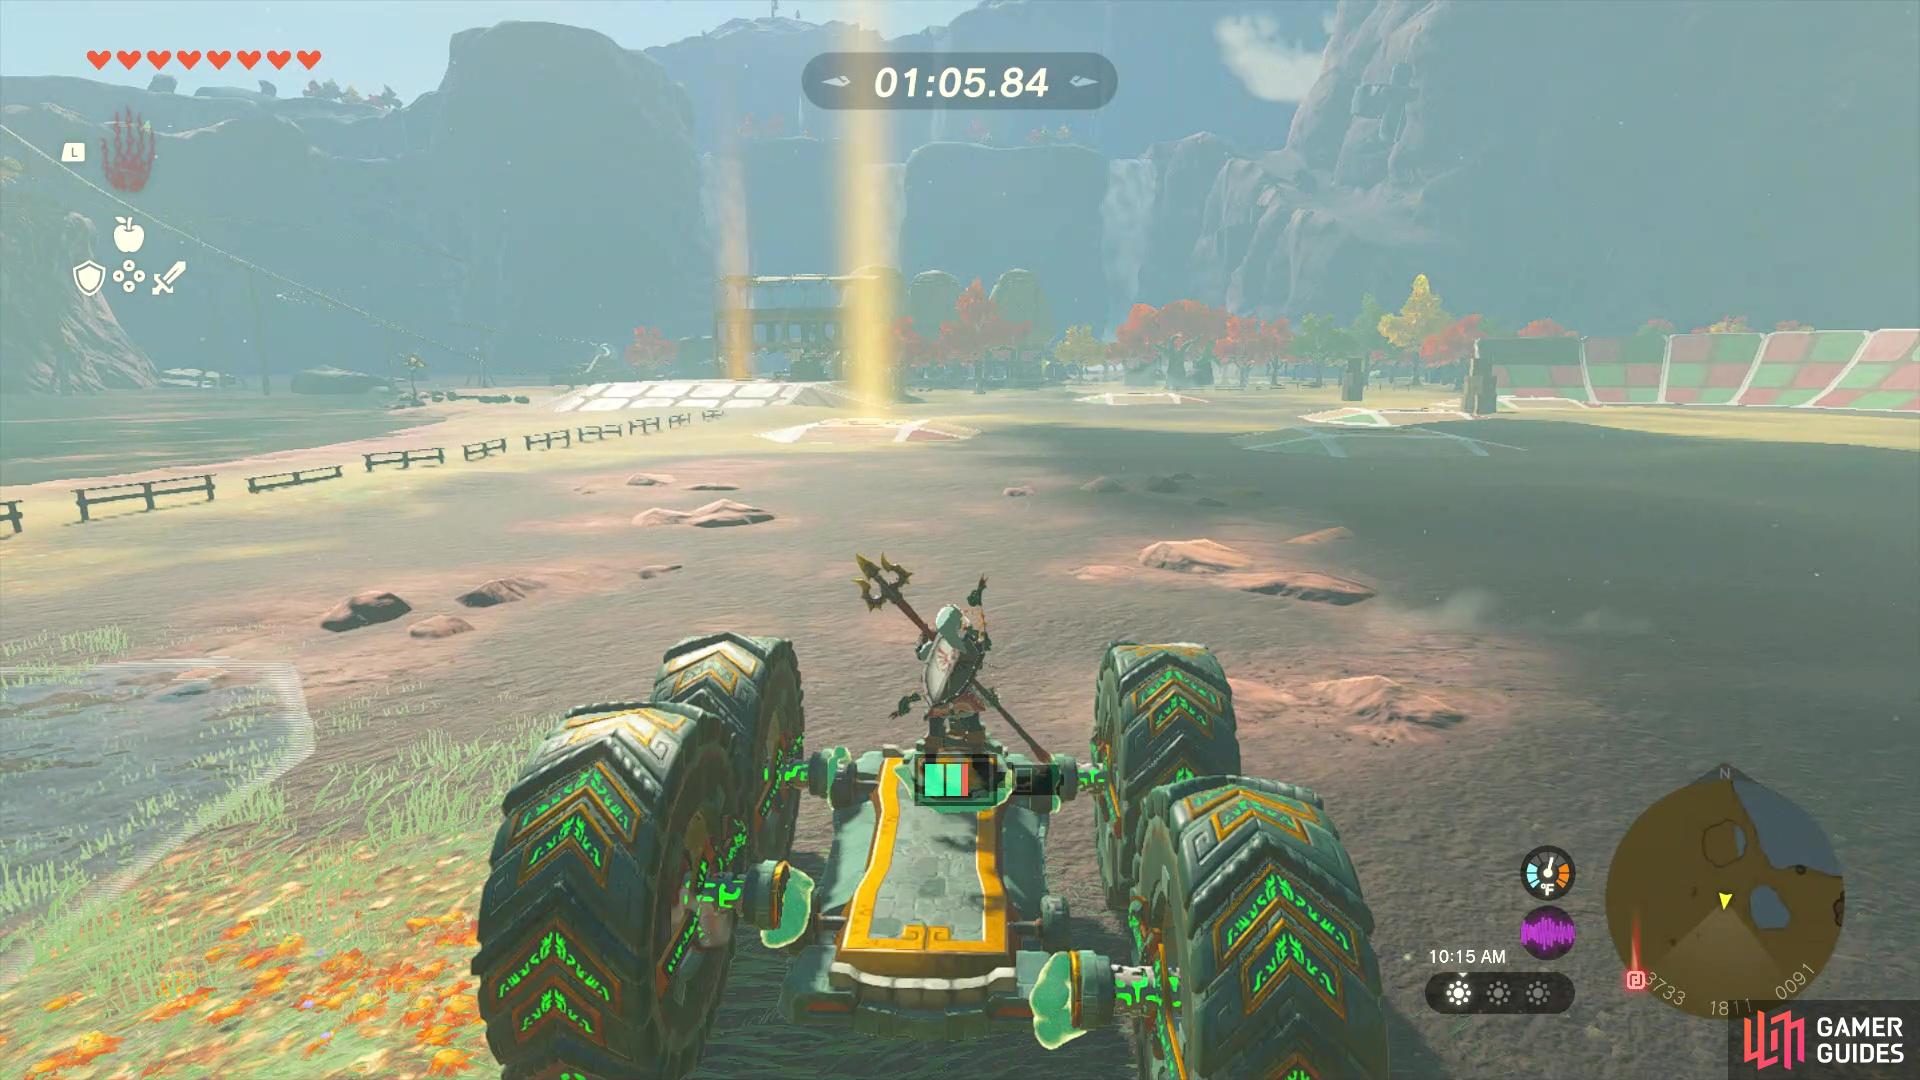
Speak to Fernison right outside of Tarrey Town. She is making vehicles, but is having trouble with controlling them. You will need a Steering Stick in order to complete this side quest, and you can get one from the device dispenser just south of where you log this side quest. Once you have one, speak to Fernison and choose that option, then attach it to the pre-made vehicle. This will start a race, where you need to pass through some lights on a course, all within 3 minutes. Complete the race in the time limit to get a
Completion Reward
 Silver Rupee
Key Item Silver Rupee
Key Item
Quest Type
Side Quest
Map(s)
|


|
|||||||||||||||||||||||||||||||||||||||||||||||||||||||||||||||||||||||||||||||||||||||||||||||

|
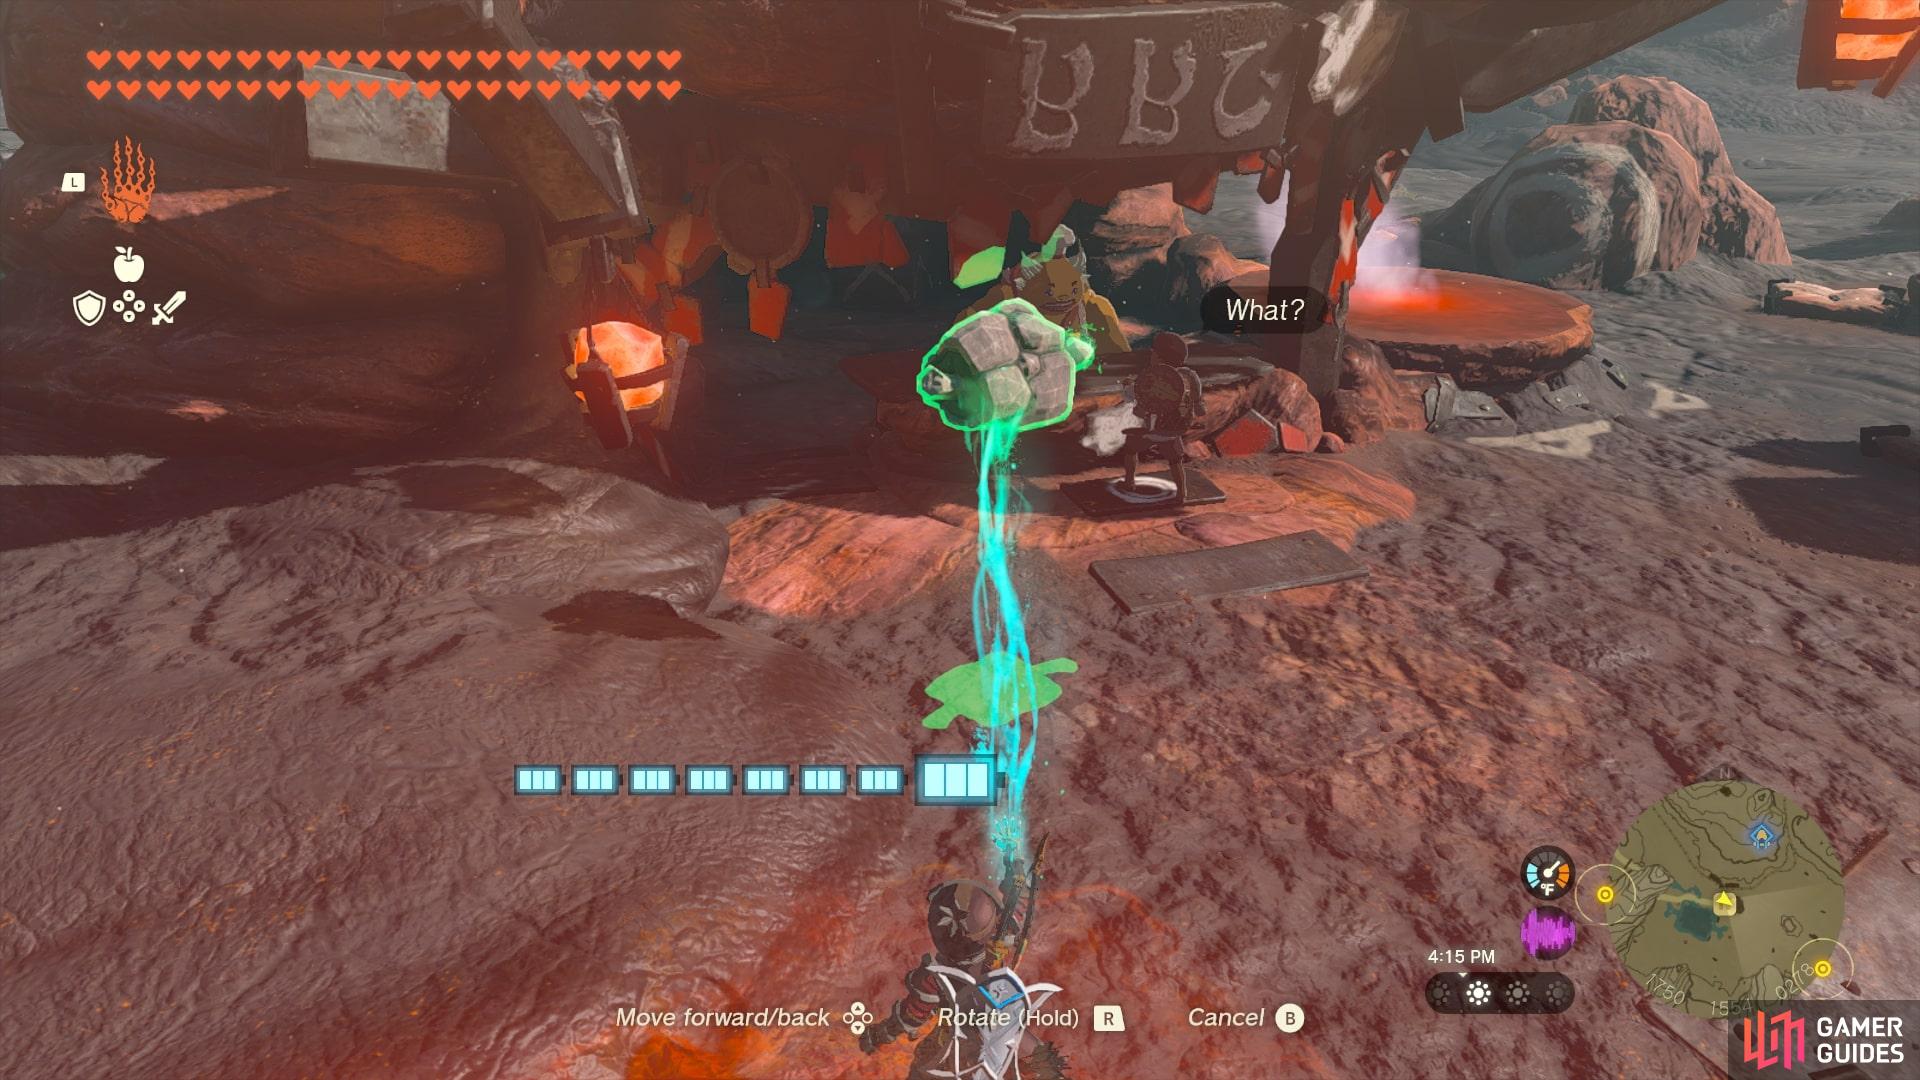
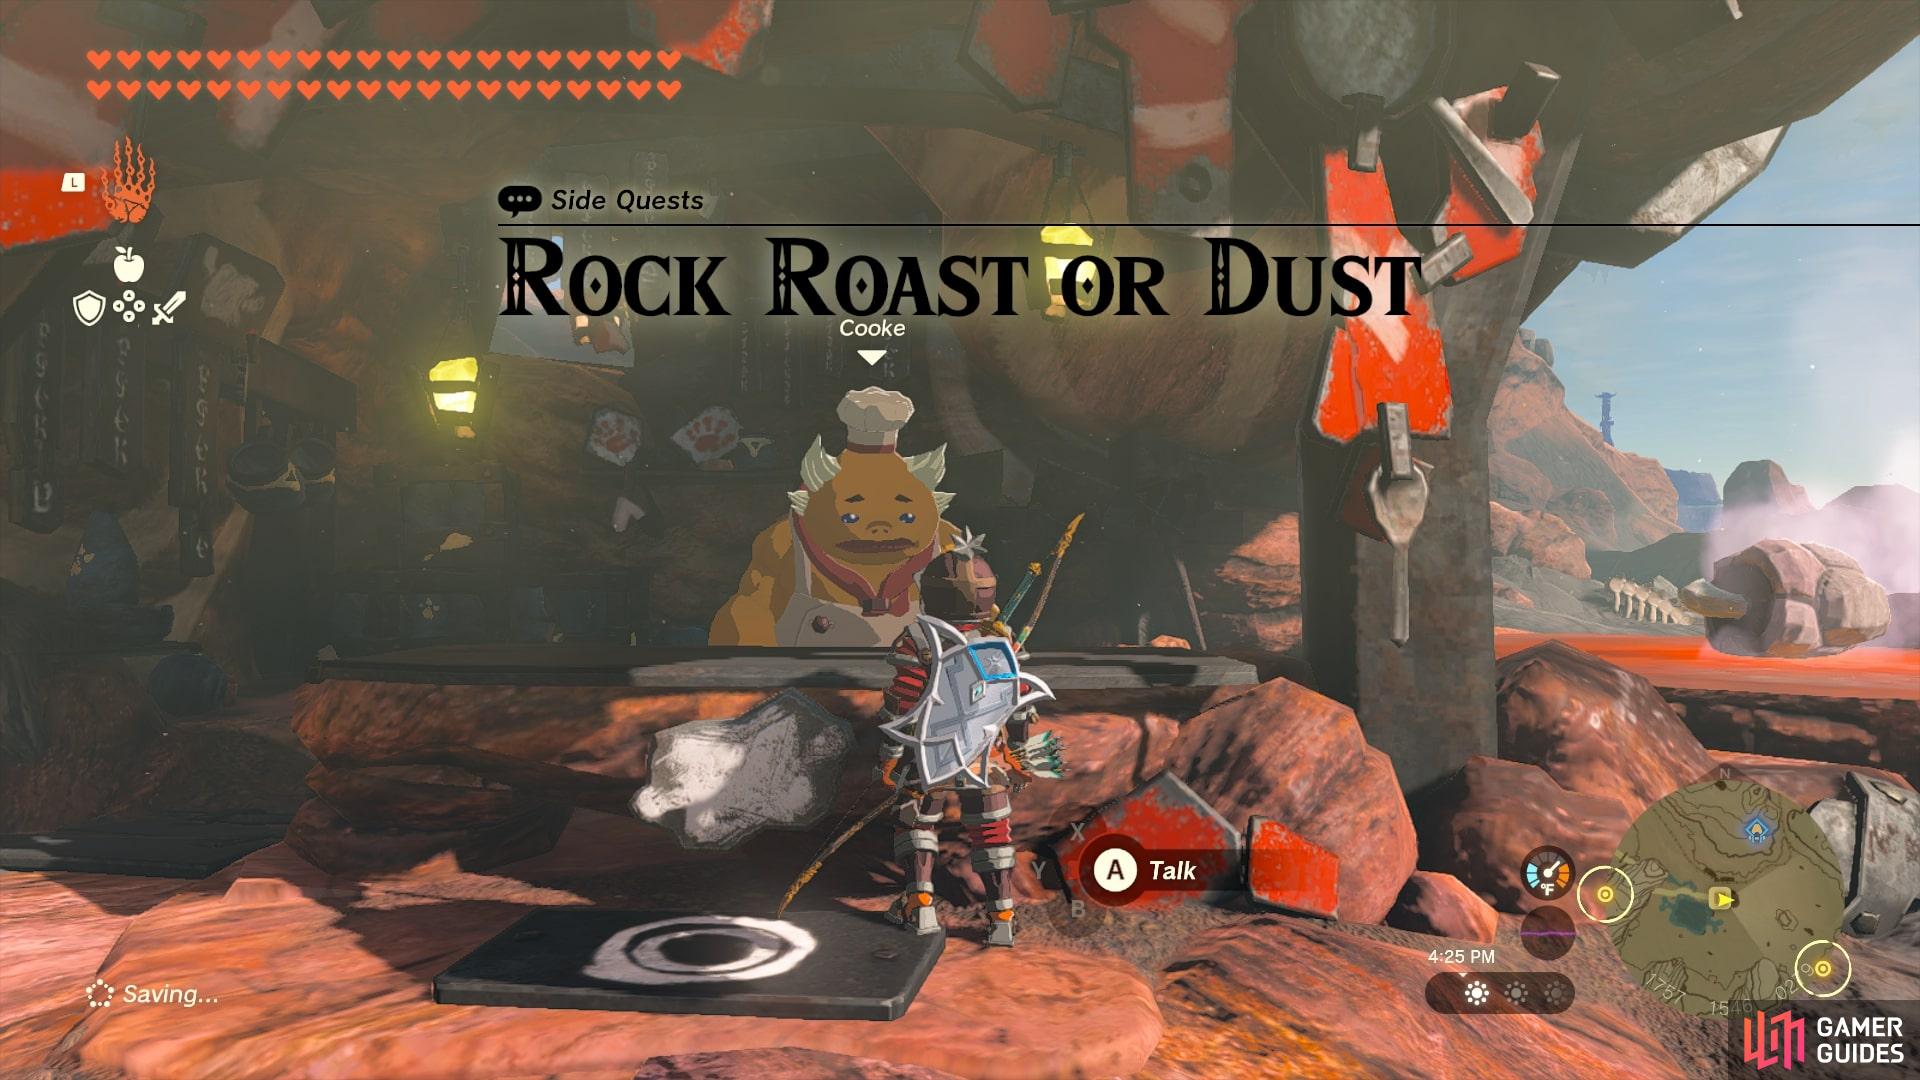
Meat For Meat |
The restaurant’s chef, Cooke, is angry with Mezer for not finishing his meal. He won’t let Mezer leave until he brings more of the marbled rock roast ingredient that was wasted. Cooke says that marbled rock roast can be found in the caves past the cart tracks. After Completing You handed over the marbled rock roast, and Cooke is in a better mood already. Now that Mezer is free to go, he’s going to search for the rumored beast the stables are buzzing about.
Description
Bring a Marbled Rock Roast from
Quest Type
Side Quest
Map(s)
|
|
|||||||||||||||||||||||||||||||||||||||||||||||||||||||||||||||||||||||||||||||||||||||||||||||

|
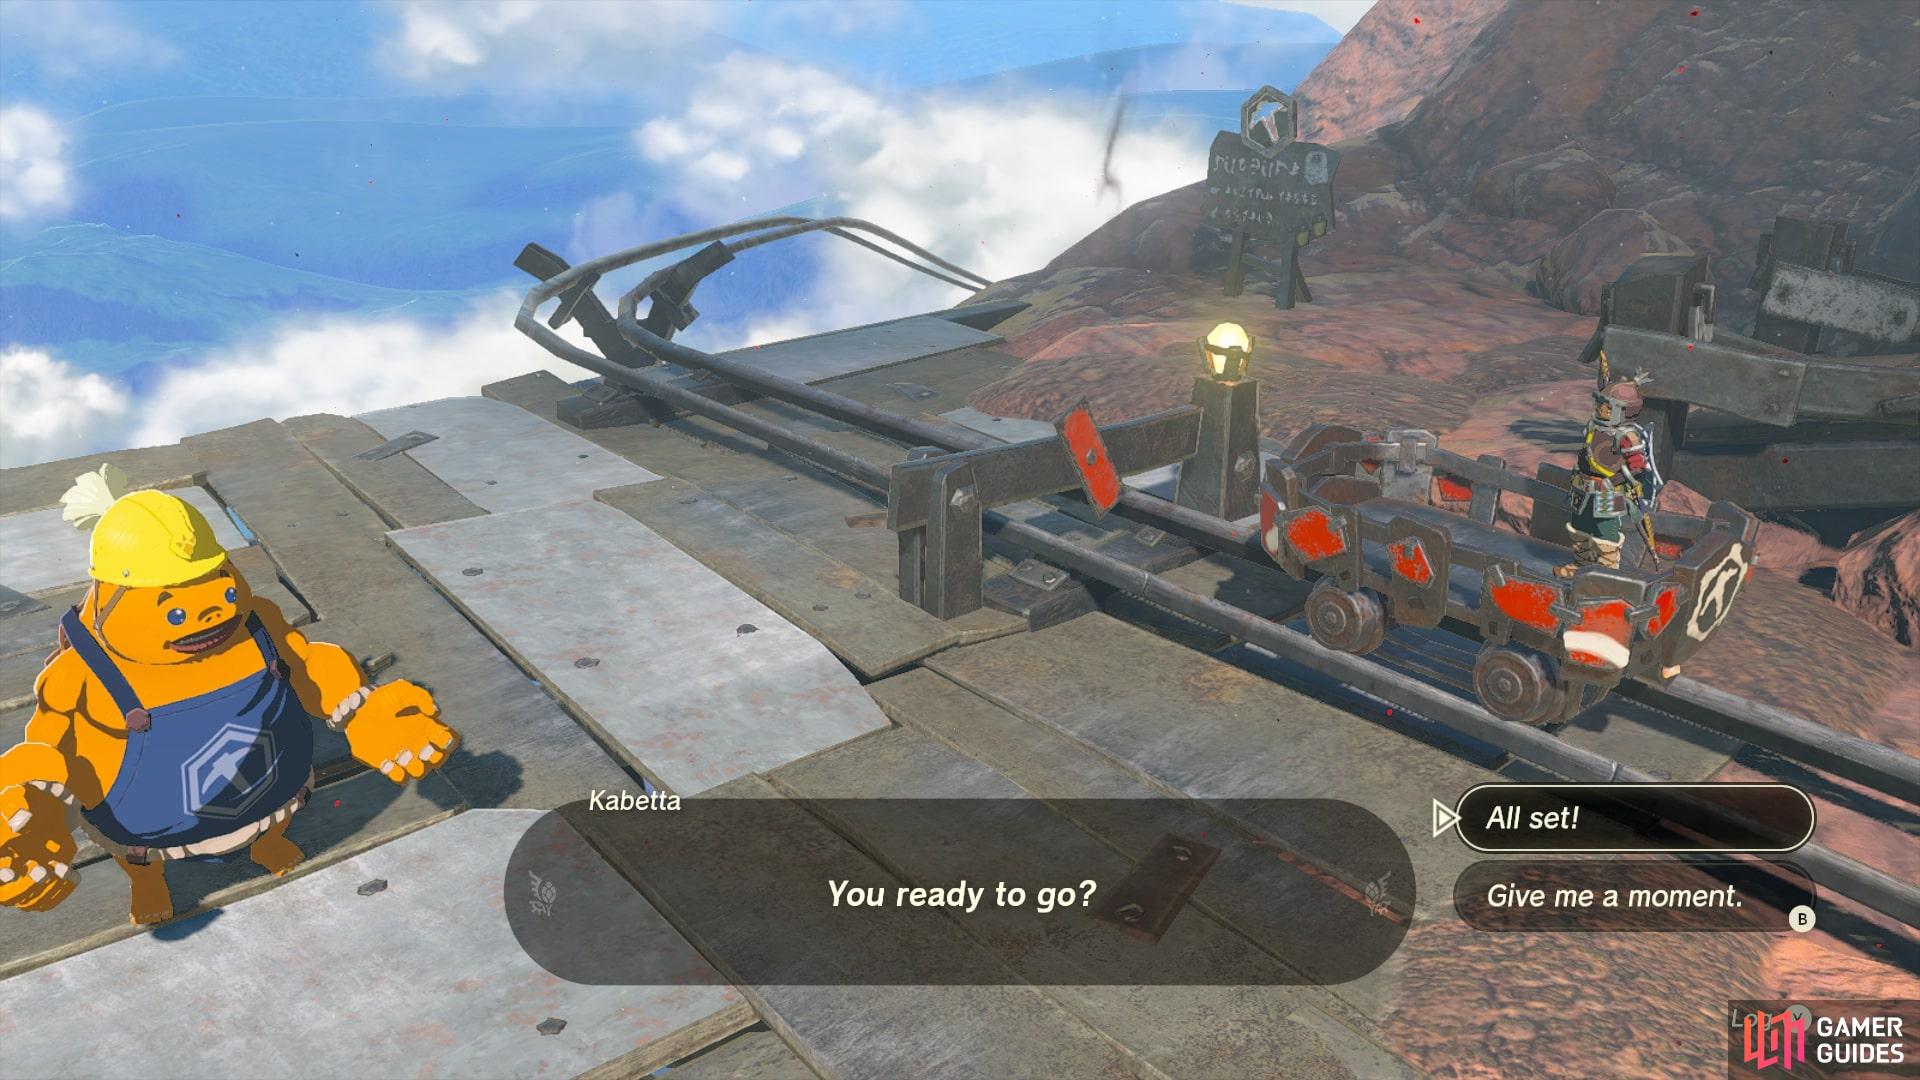
Mine-Cart Land: Death Mountain |
Kabetta had an idea for a high-difficult mine-cart course—on Death Mountain, no less! He said he’d be waiting for you at the summit of Death Mountain. After Completing You cleared the high-difficulty Death Mountain course! Kabetta gave you some fabric to reward you for clearing all of Mine-Cart Land. He said you can make it into something at Hateno Village in southeast Hyrule. He also said Mine-Cart Land is still accepting challenges if you want to play again.
Description
Go to the Death Mountain track and pop eight balloons.
Quest Type
Side Quest
Map(s)
|
|
|||||||||||||||||||||||||||||||||||||||||||||||||||||||||||||||||||||||||||||||||||||||||||||||

|
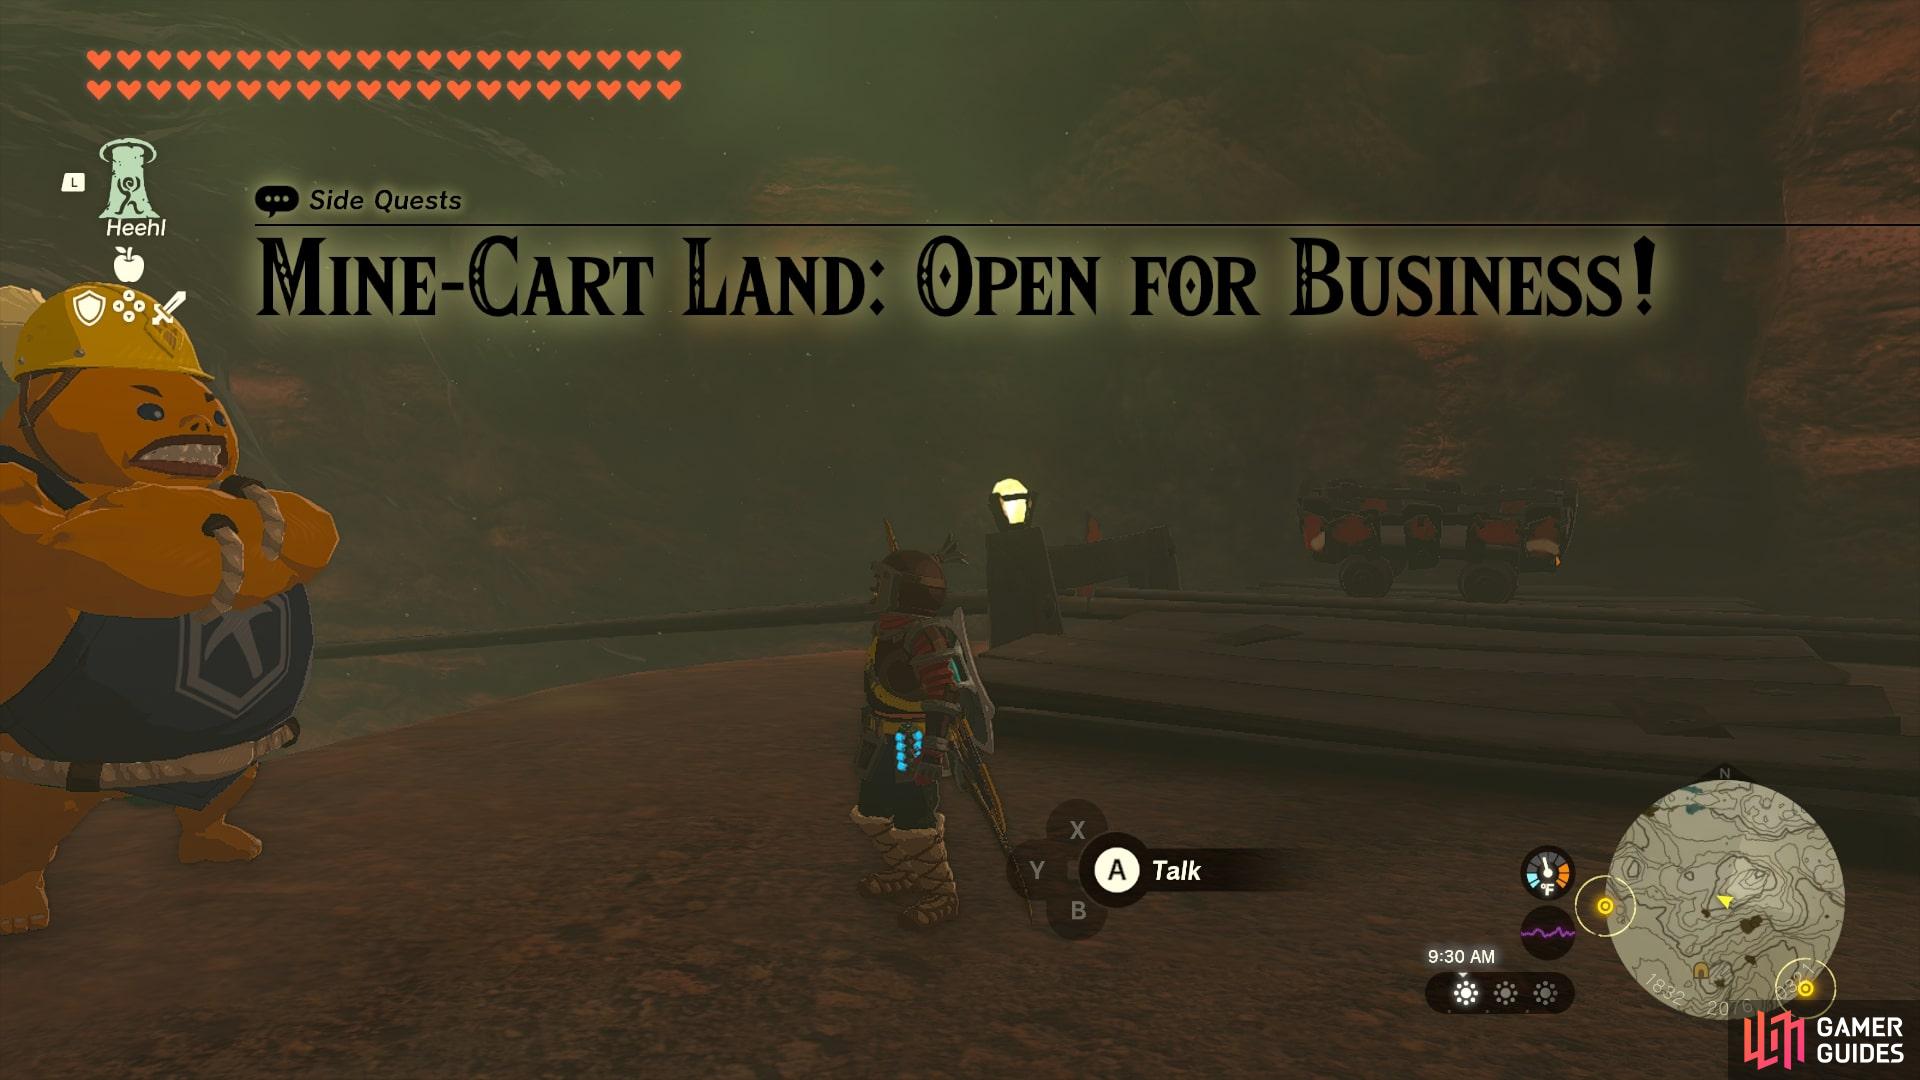
Mine-Cart Land: Open for Business! |
Mine-Cart Land, an entertainment experience built by YunoboCo, is now open! Hit 5 or more targets within the time limit to win. See Bayge in the Southern Mine for more information. After Completing Mine-Cart Land, an entertainment experience built by YunoboCo, is now open! You destroyed 5 or more targets within the time limit and beat the game. Heehl invited you to try out the intermediate course.
Description
Complete the mine cart track and shoot five balloons.
Quest Type
Side Quest
Map(s)
|
|
|||||||||||||||||||||||||||||||||||||||||||||||||||||||||||||||||||||||||||||||||||||||||||||||

|
Mine-Cart Land: Quickshot Course |
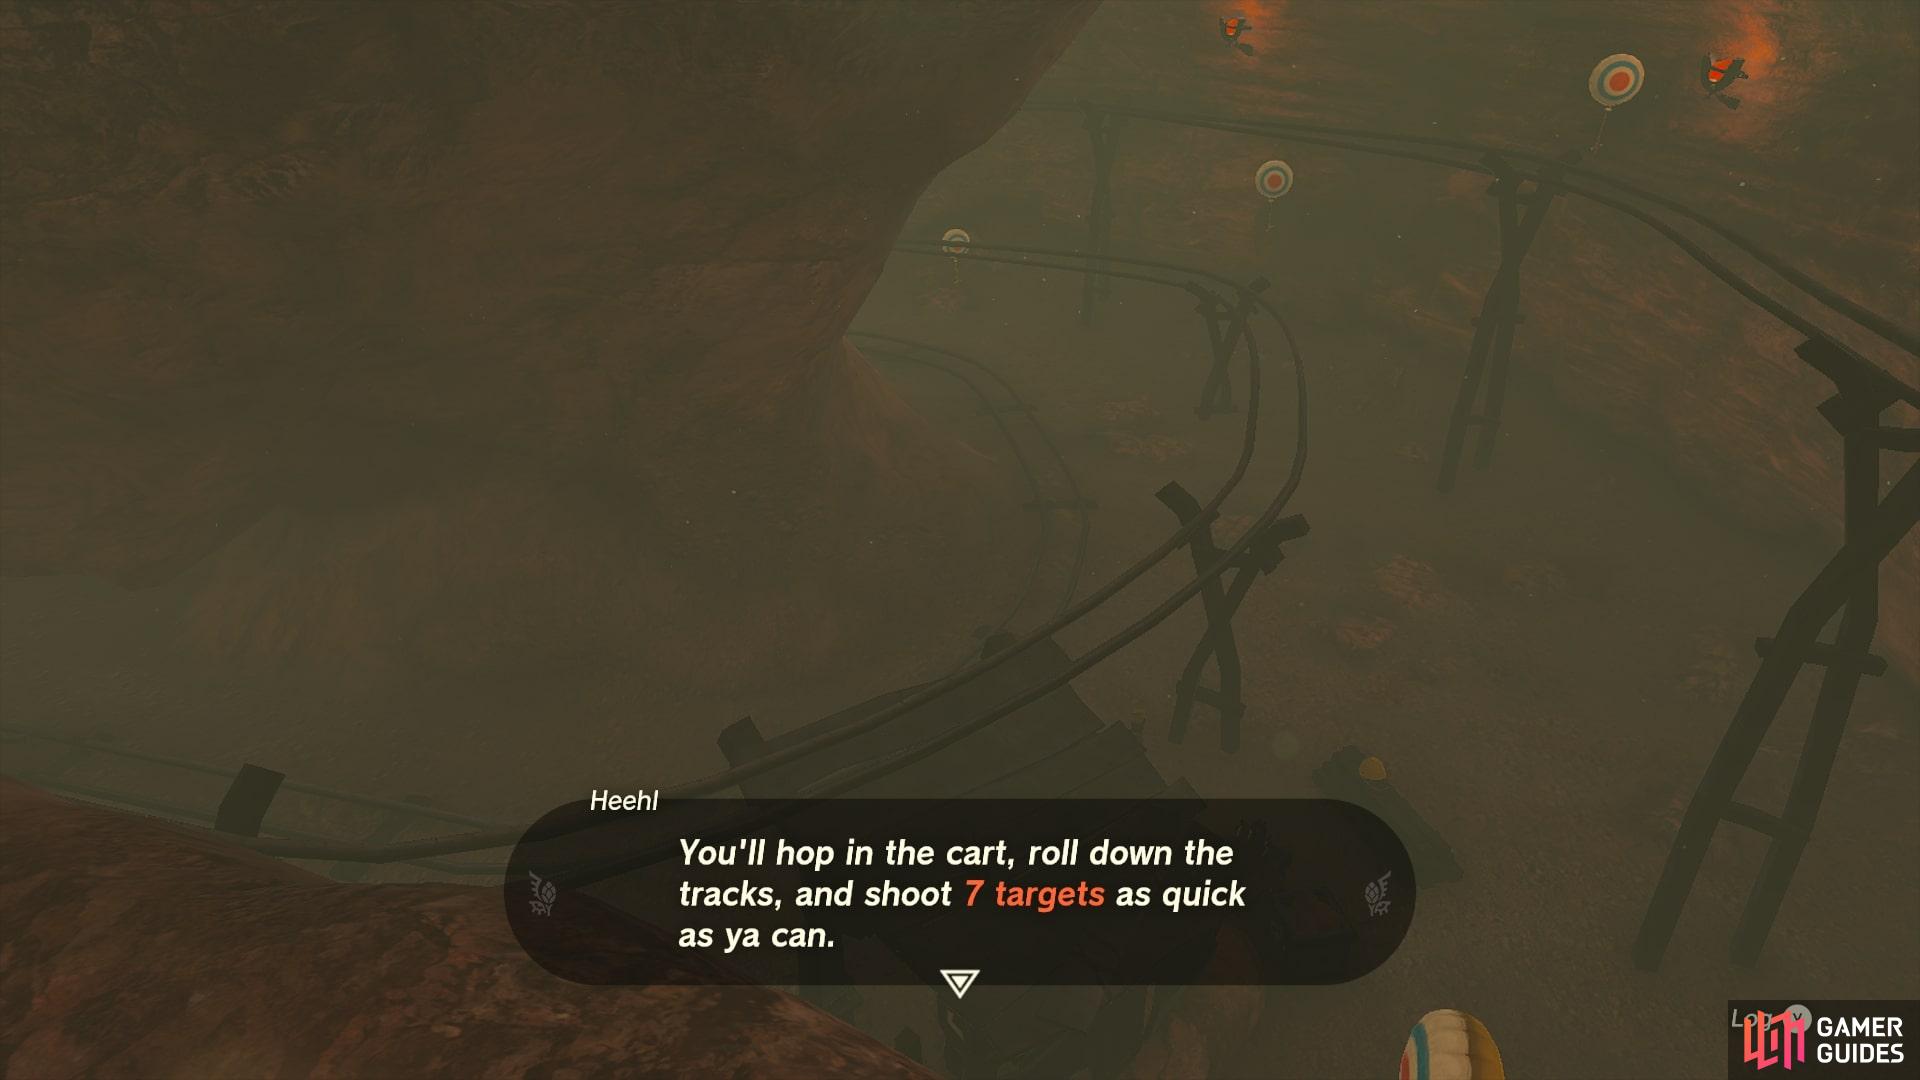
YunoboCo presents…MineCart Land! You have cleared the beginner course. Heehl invited you to try the intermediate one. After Completing You hit 7 targets within the time limit, clearing the course in style. Kabetta’s high-difficulty course awaits you at the peak of Death Mountain.
Description
Shoot seven ballons in under one minute and twenty seconds.
Quest Type
Side Quest
Map(s)
|
|
|||||||||||||||||||||||||||||||||||||||||||||||||||||||||||||||||||||||||||||||||||||||||||||||

|
Misko's Treasure of Awakening I |
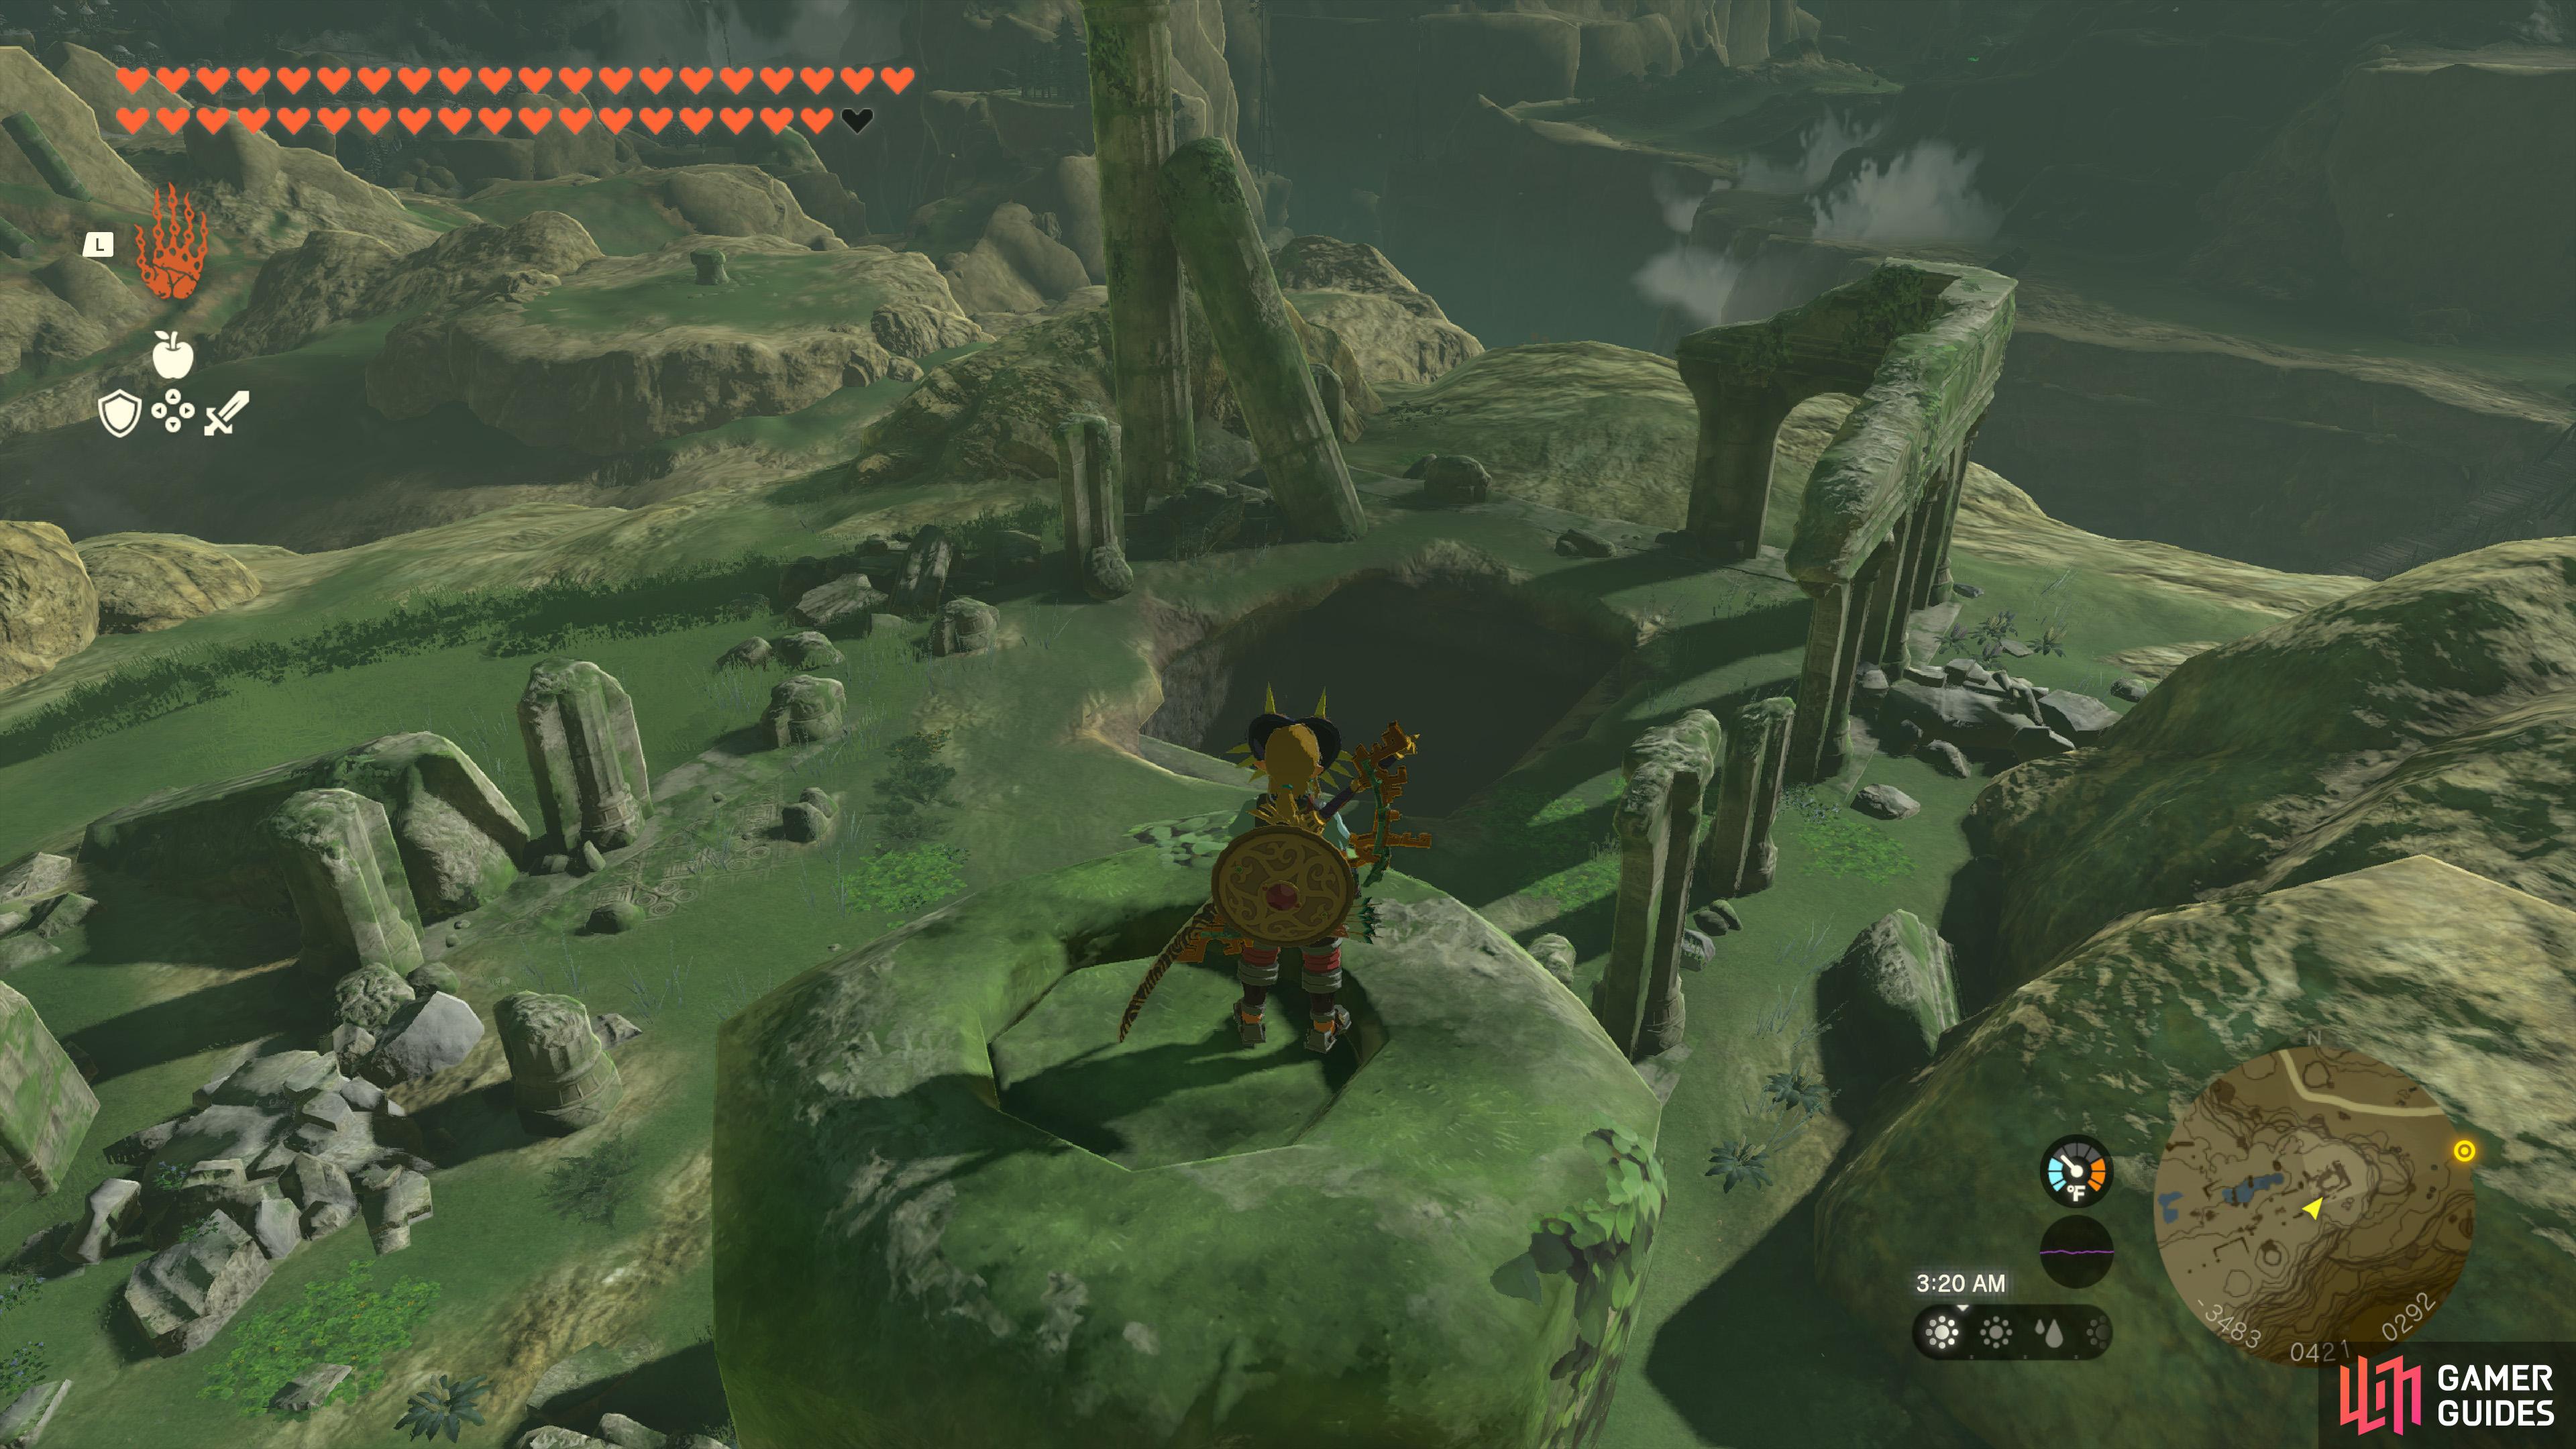
Obtained from a stone tablet at The message from the bandit Misko said, “On the Tabantha Frontier, where Rayne, Piper, and Tanagar meet, ruined pillars stand together. One of those mighty pillars opens the way to my treasure.” What you need to do is head to the Ancient Columns and stand atop one of the larger pillars, which will trigger a switch, revealing the entrance to the
Quest Type
Side Quest
Map(s)
|
|
|||||||||||||||||||||||||||||||||||||||||||||||||||||||||||||||||||||||||||||||||||||||||||||||

|
Misko's Treasure of Awakening II |
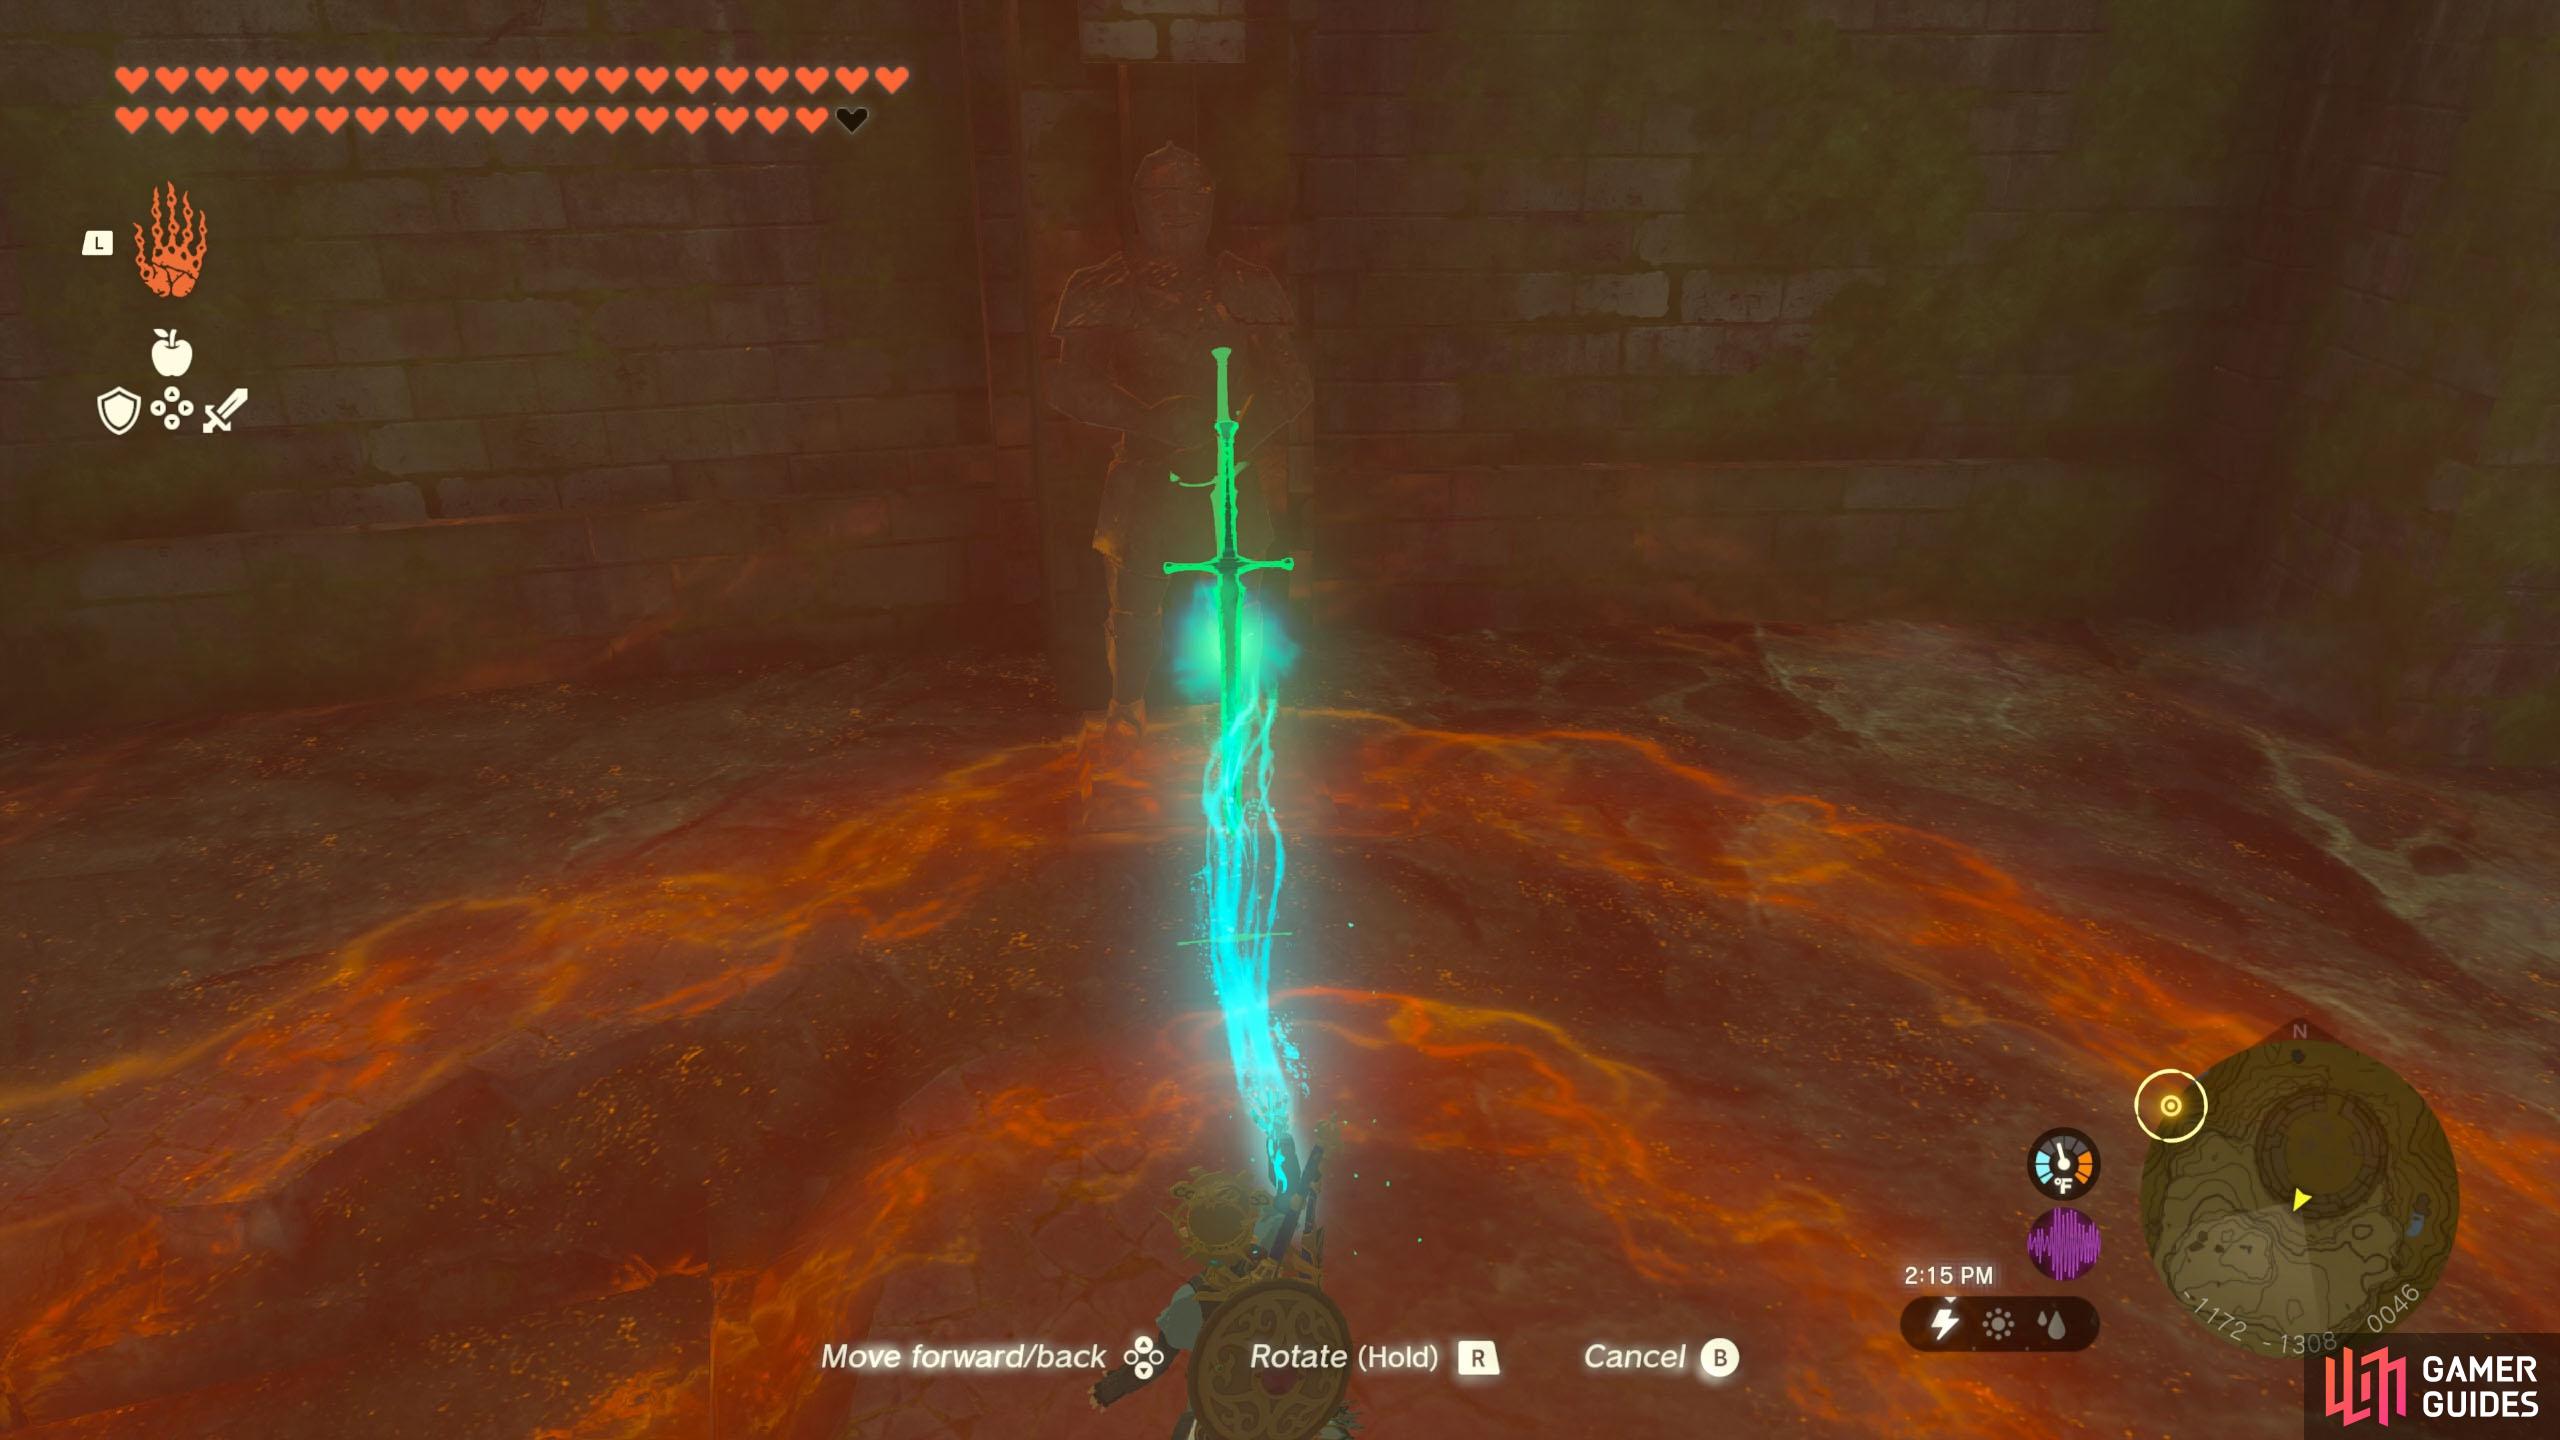
Obtained from stone tablet at the The message from the bandit Misko said, “In the ruins of Hyrule Field, where warriors once tested themselves in battle, offer your soldier’s claymore to the two sculpted soldiers. The sword will point the way to my treasure.” Head over to the Coliseum Ruins and look for a pair of stone statues at the back of the coliseum, behind the Thunder Gleeok. Unfortunately, there doesn’t seem to be a way to reach the statues without alerting the Gleeok, so you’ll either have to fight it or somehow do the next part while dodging lightning beams… One of the statues is holding a sword, while the other isn’t. Grab the nearby
Quest Type
Side Quest
Map(s)
|
|
|||||||||||||||||||||||||||||||||||||||||||||||||||||||||||||||||||||||||||||||||||||||||||||||

|
Misko's Treasure of Awakening III |
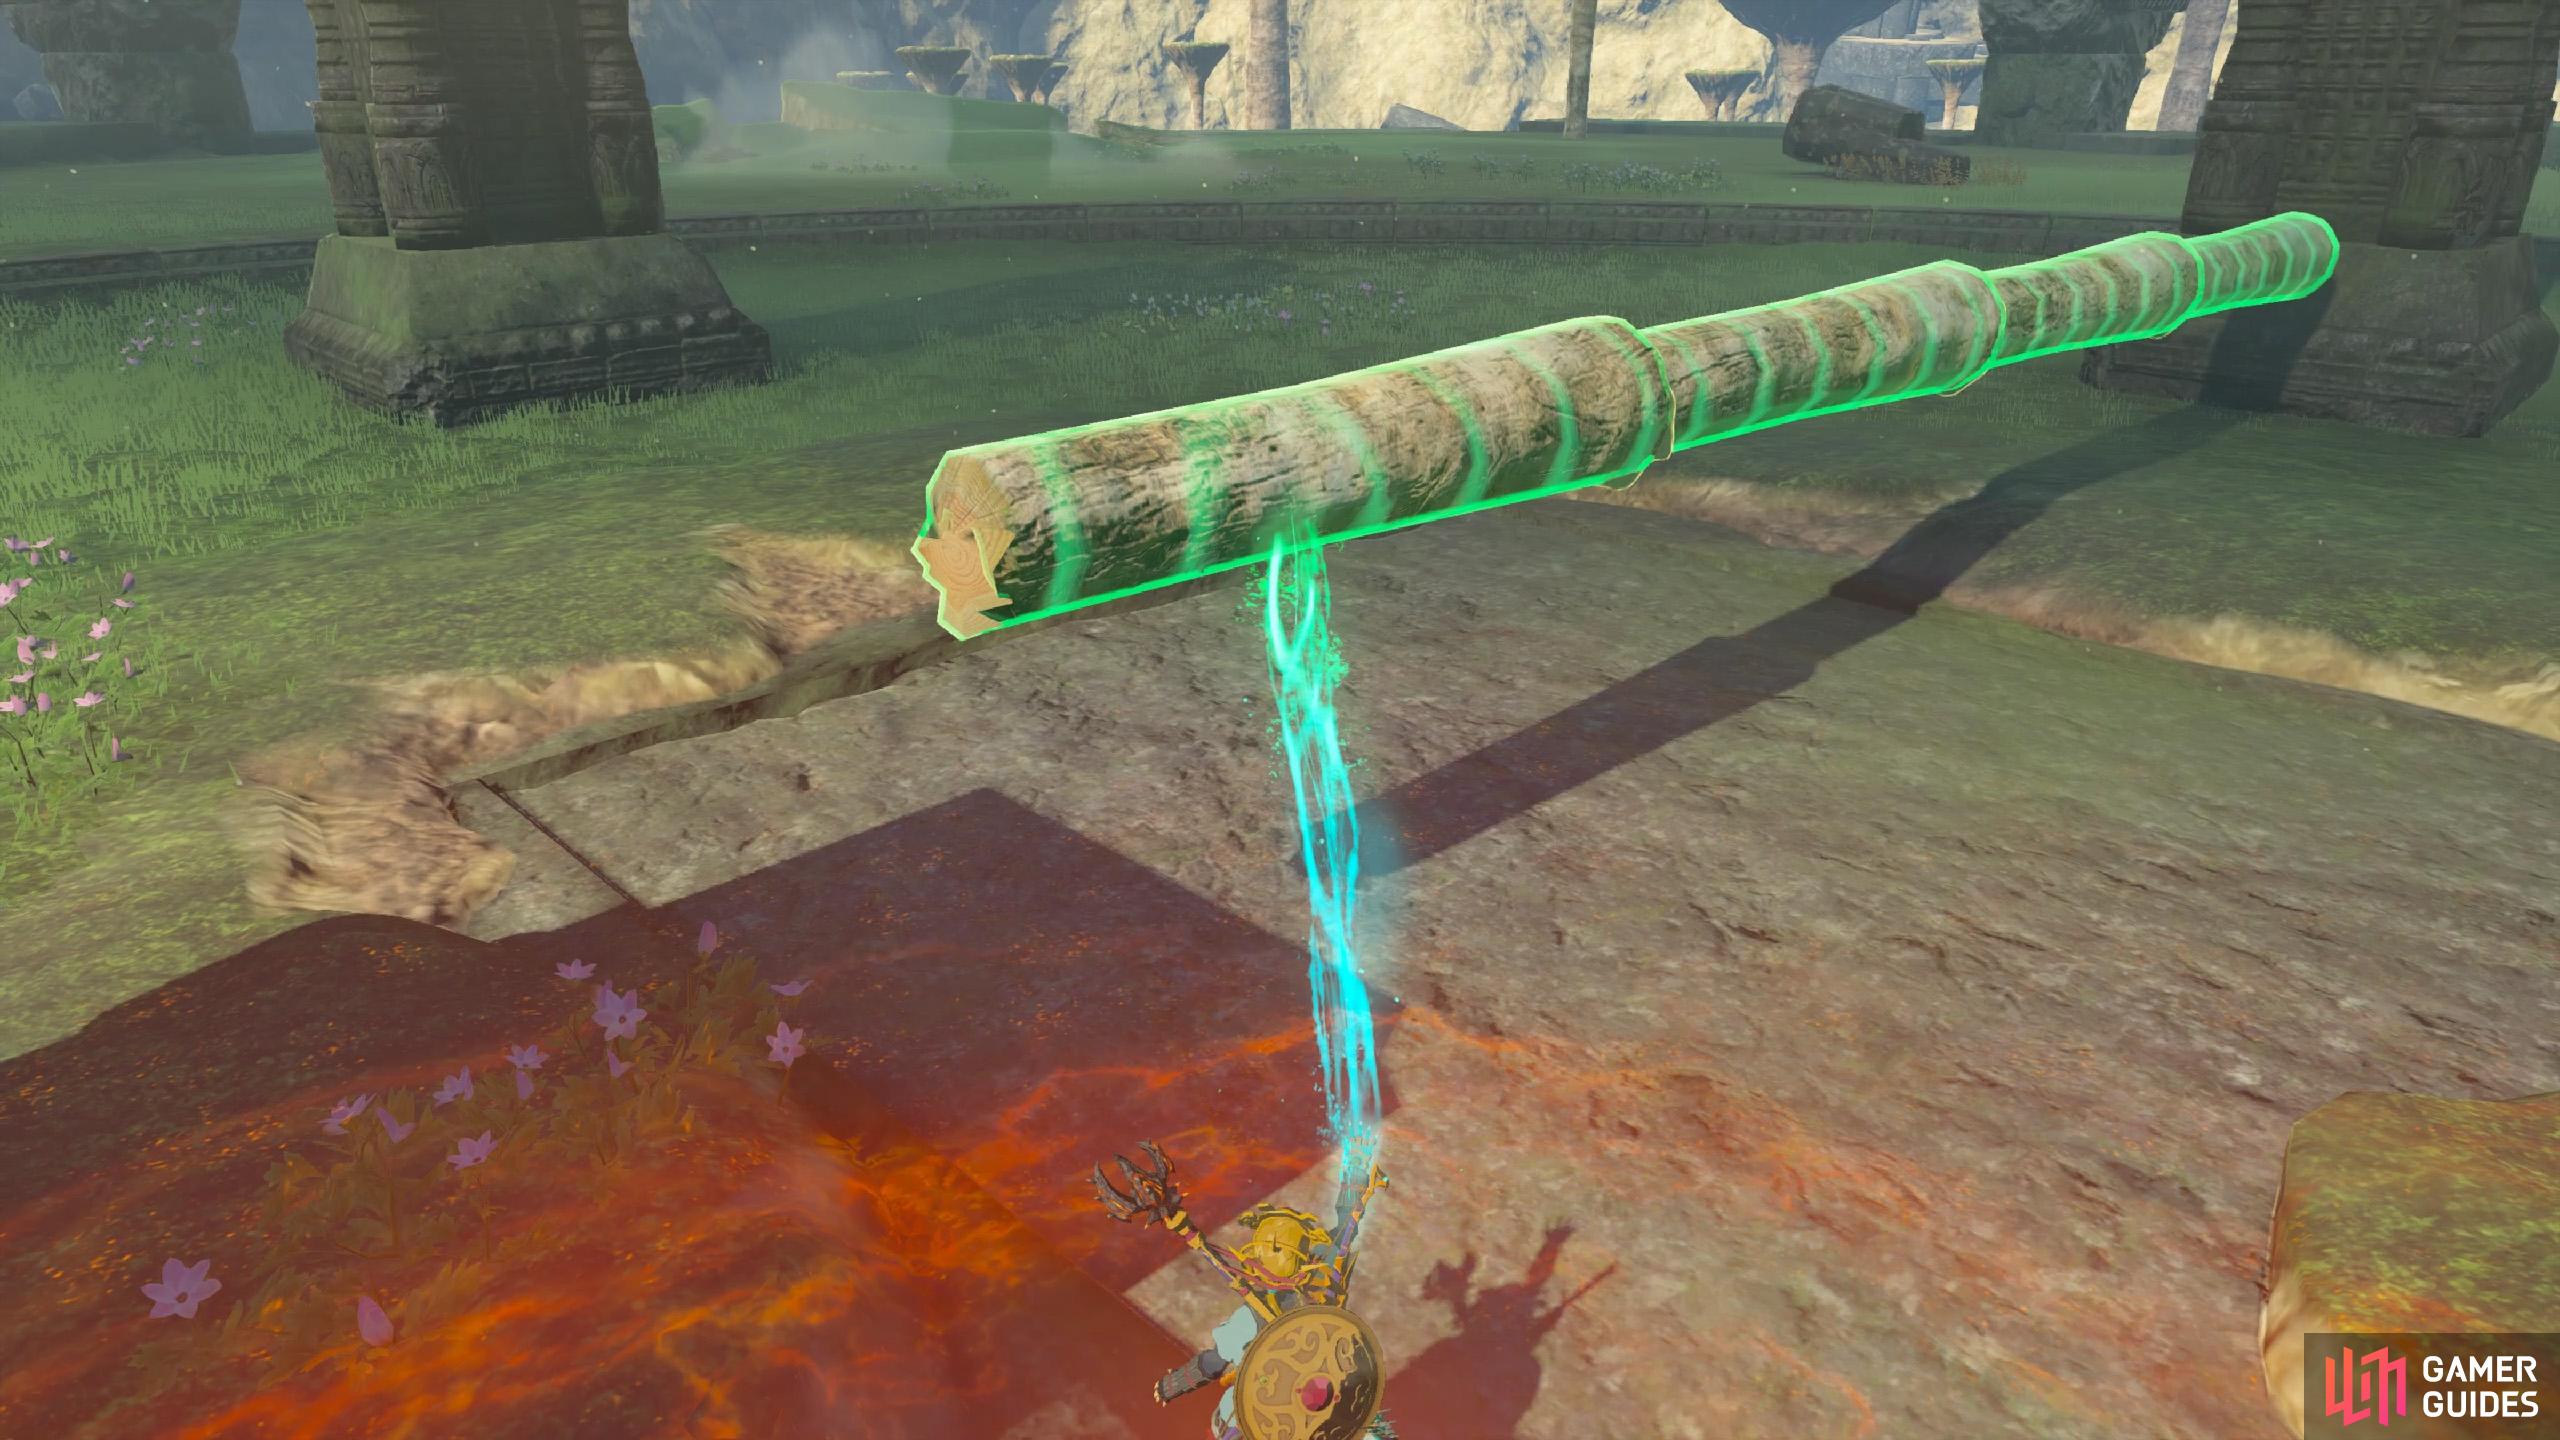
Obtained from the stone tablet inside the The message from the bandit Misko said, “On Hyrule Ridge, in Ludfo’s land, ruins sleep beneath the towering mushroom trees. Connect the southern column’s midday shadow to the northern. At the shadow’s Solve the riddle to find the treasure. You need to head to Thundra Plateau. To open the cave entrance, you must wait till Noon (12 to 1). During that time period, extend the shadow of the southernmost pillar so the shadow touches the northernmost pillar. You can do this by cutting down 4 (or more) of the nearby mushroom trees and using
Quest Type
Side Quest
Map(s)
|
|
|||||||||||||||||||||||||||||||||||||||||||||||||||||||||||||||||||||||||||||||||||||||||||||||

|
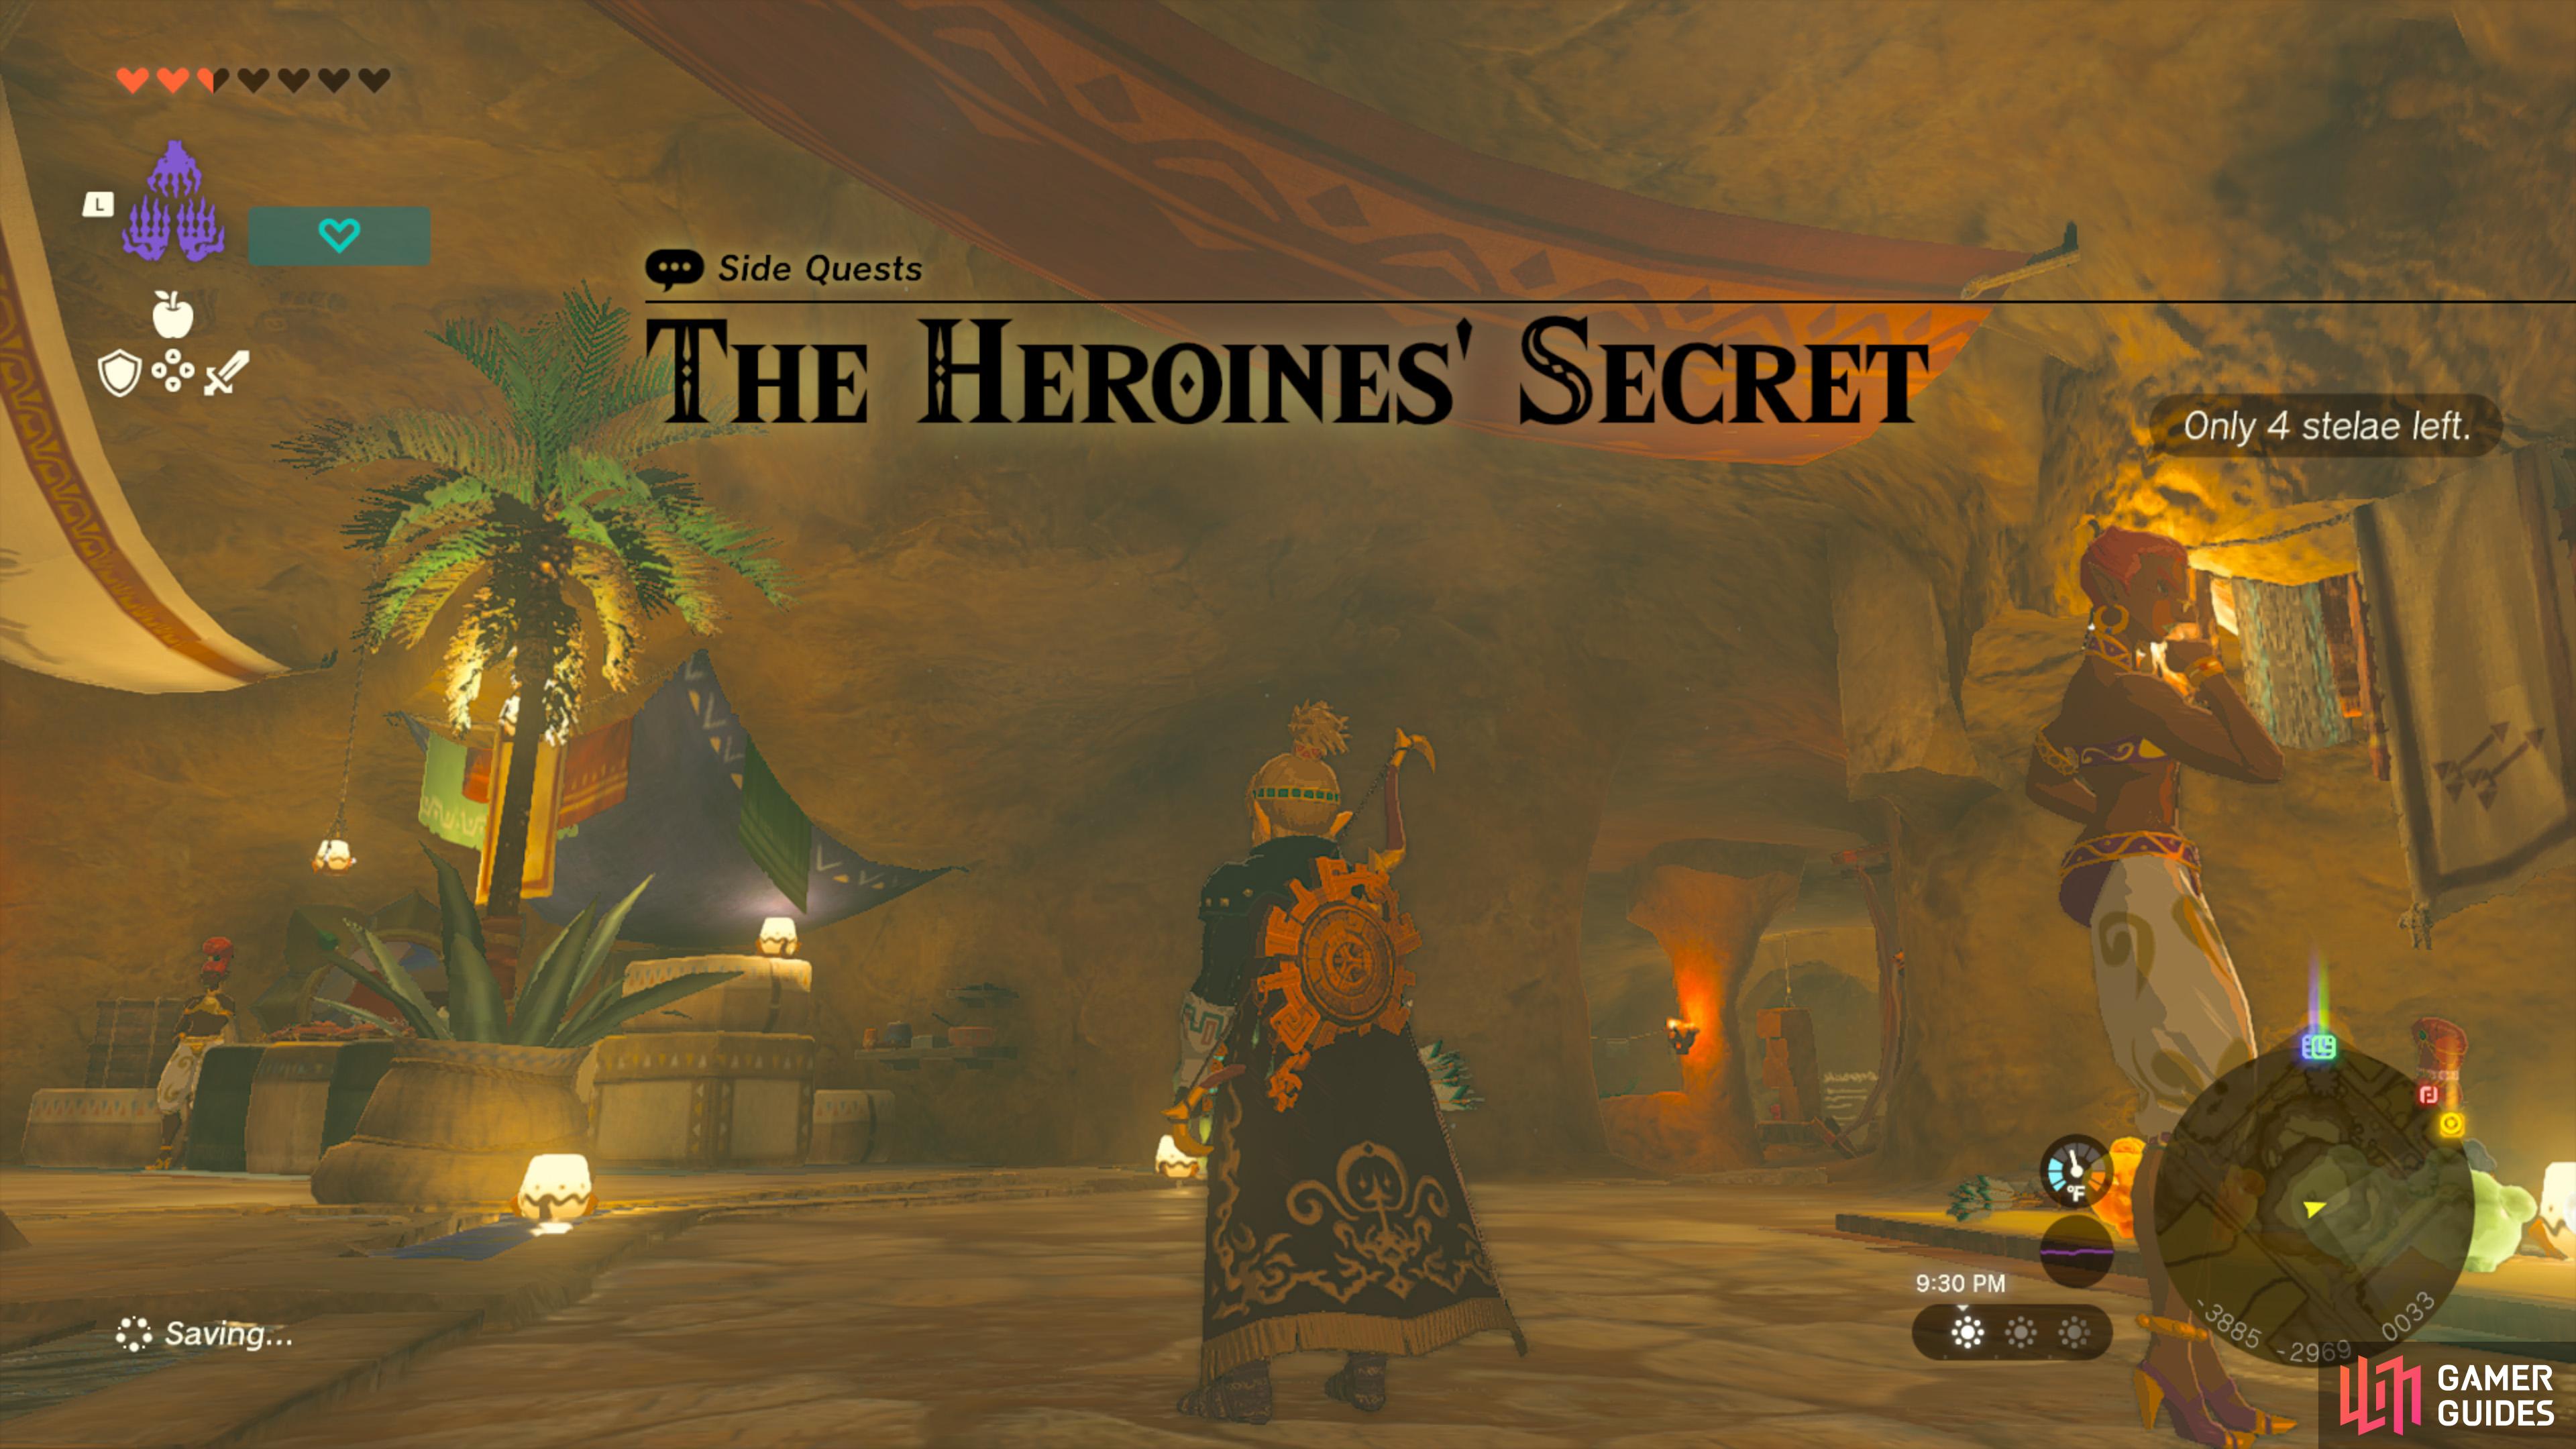
Misko's Treasure: Heroines Manuscript |
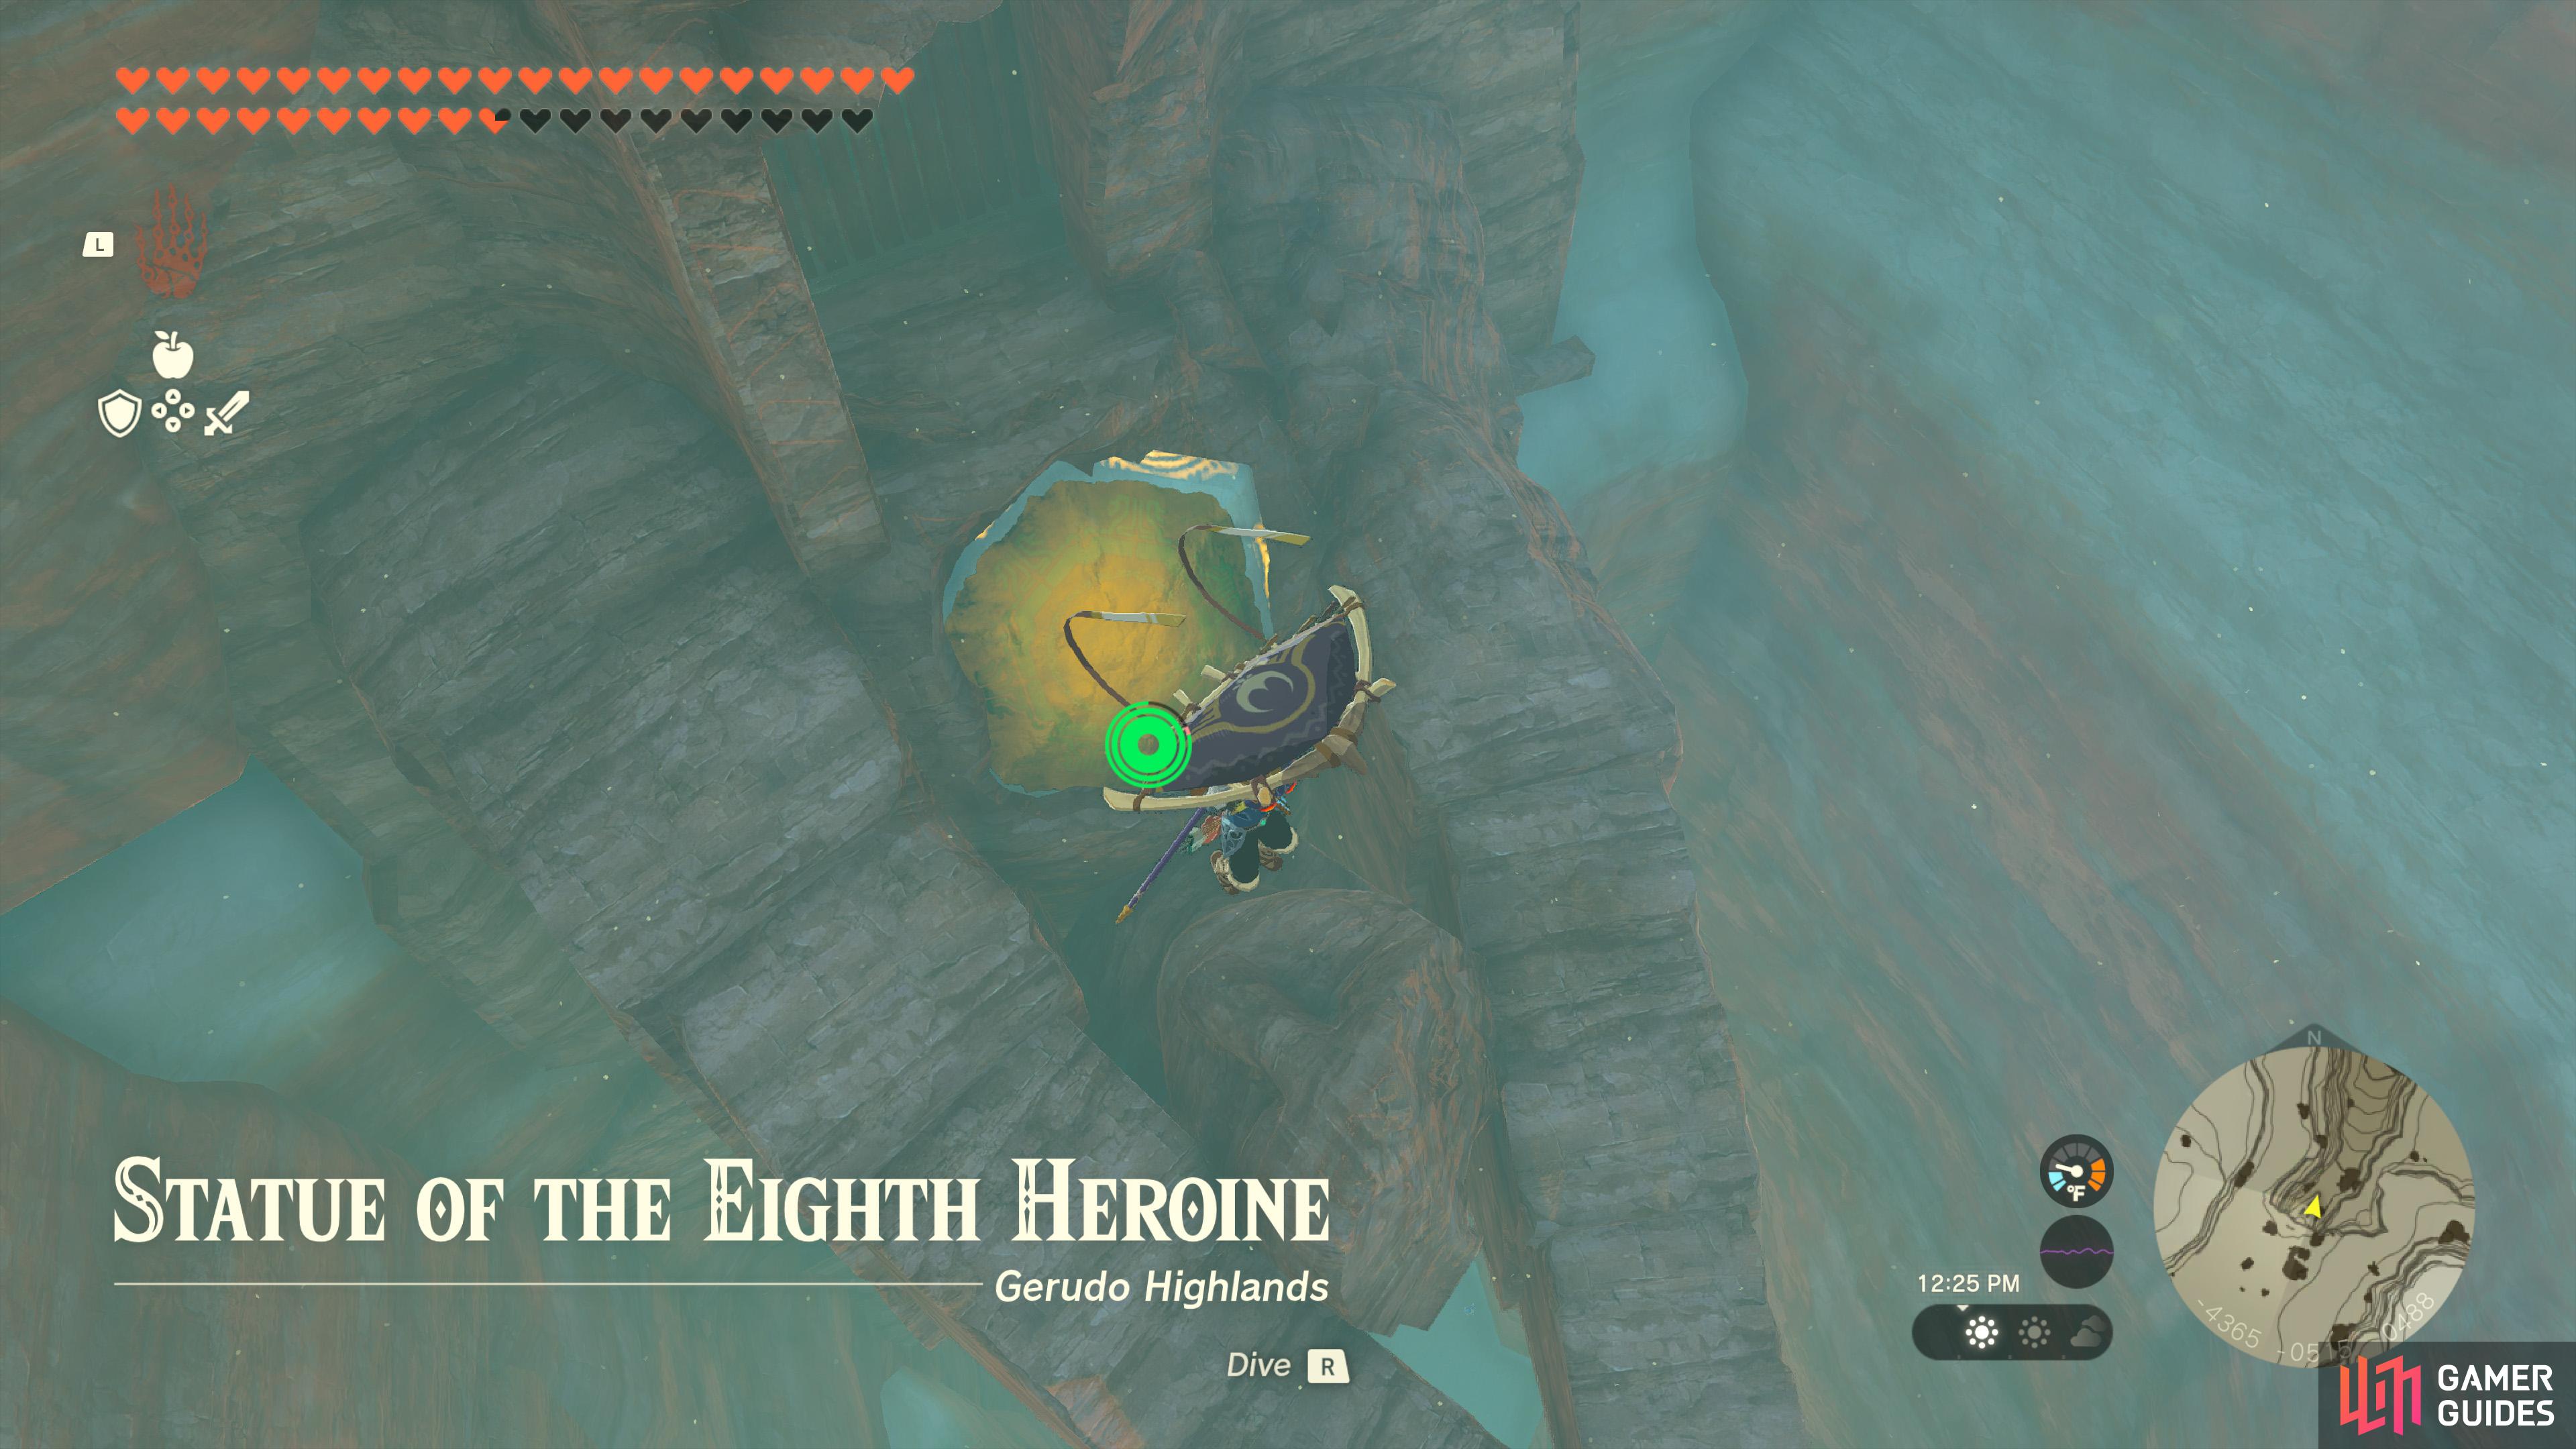
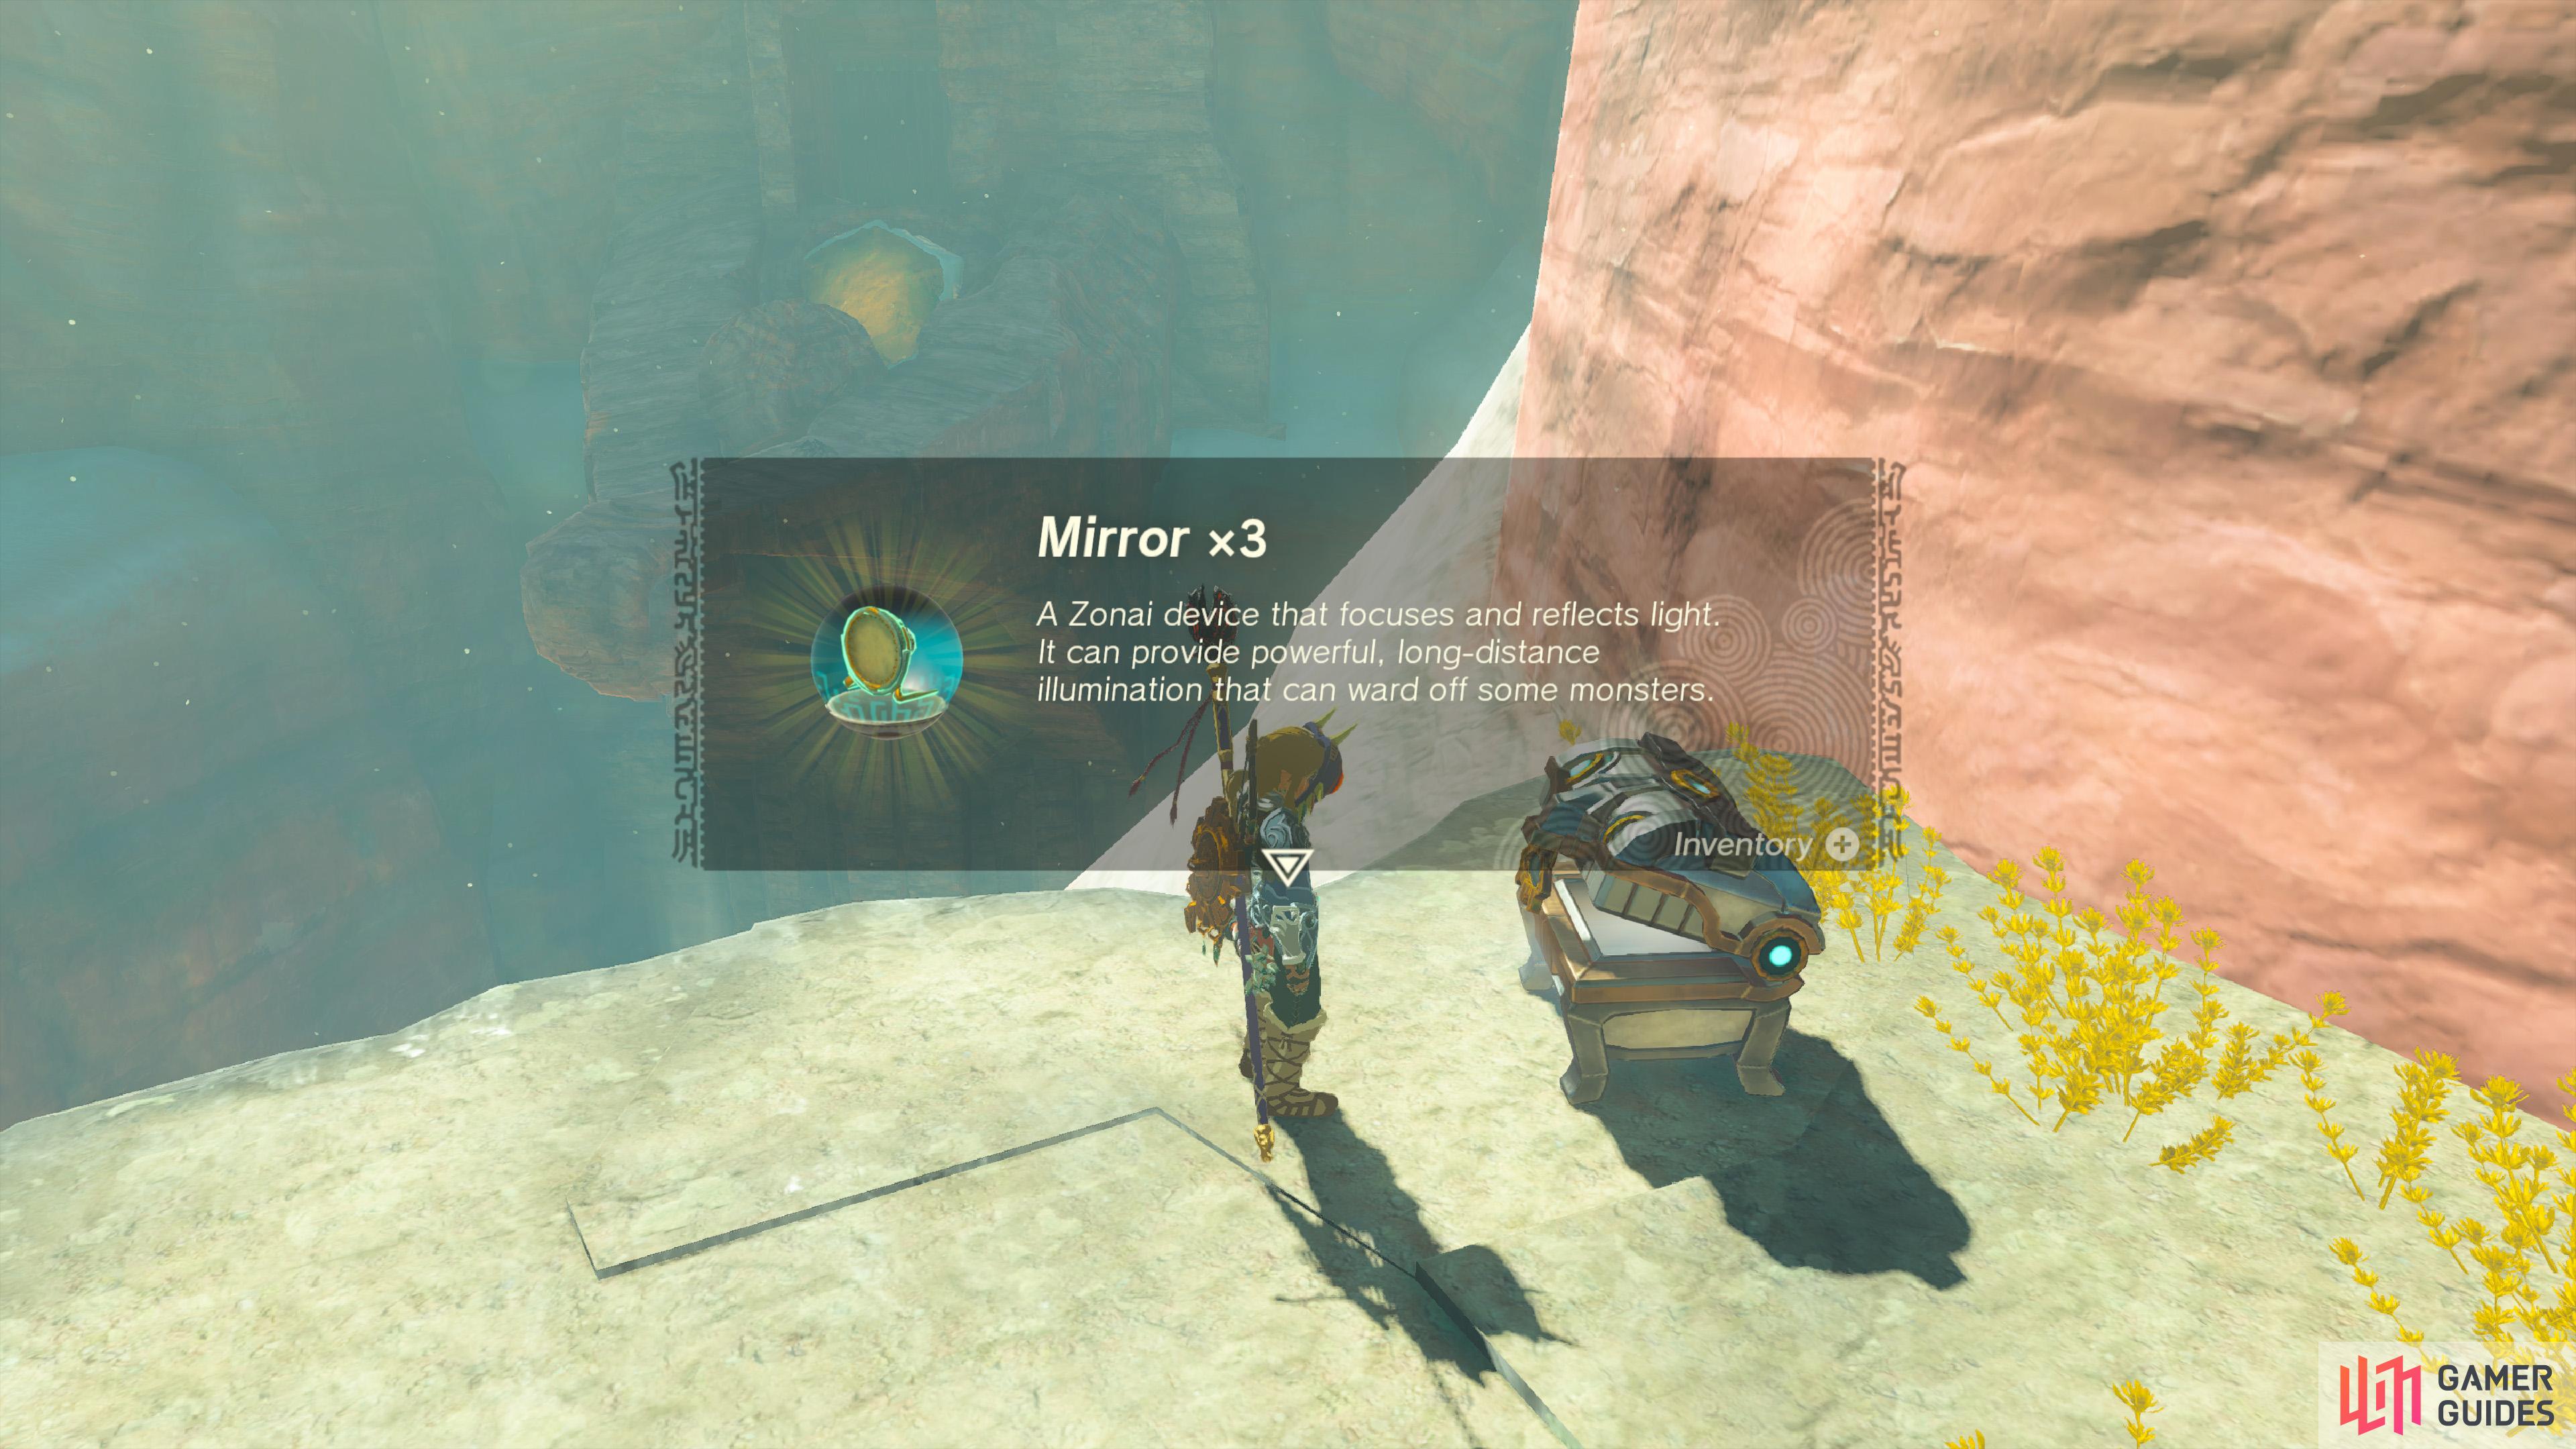
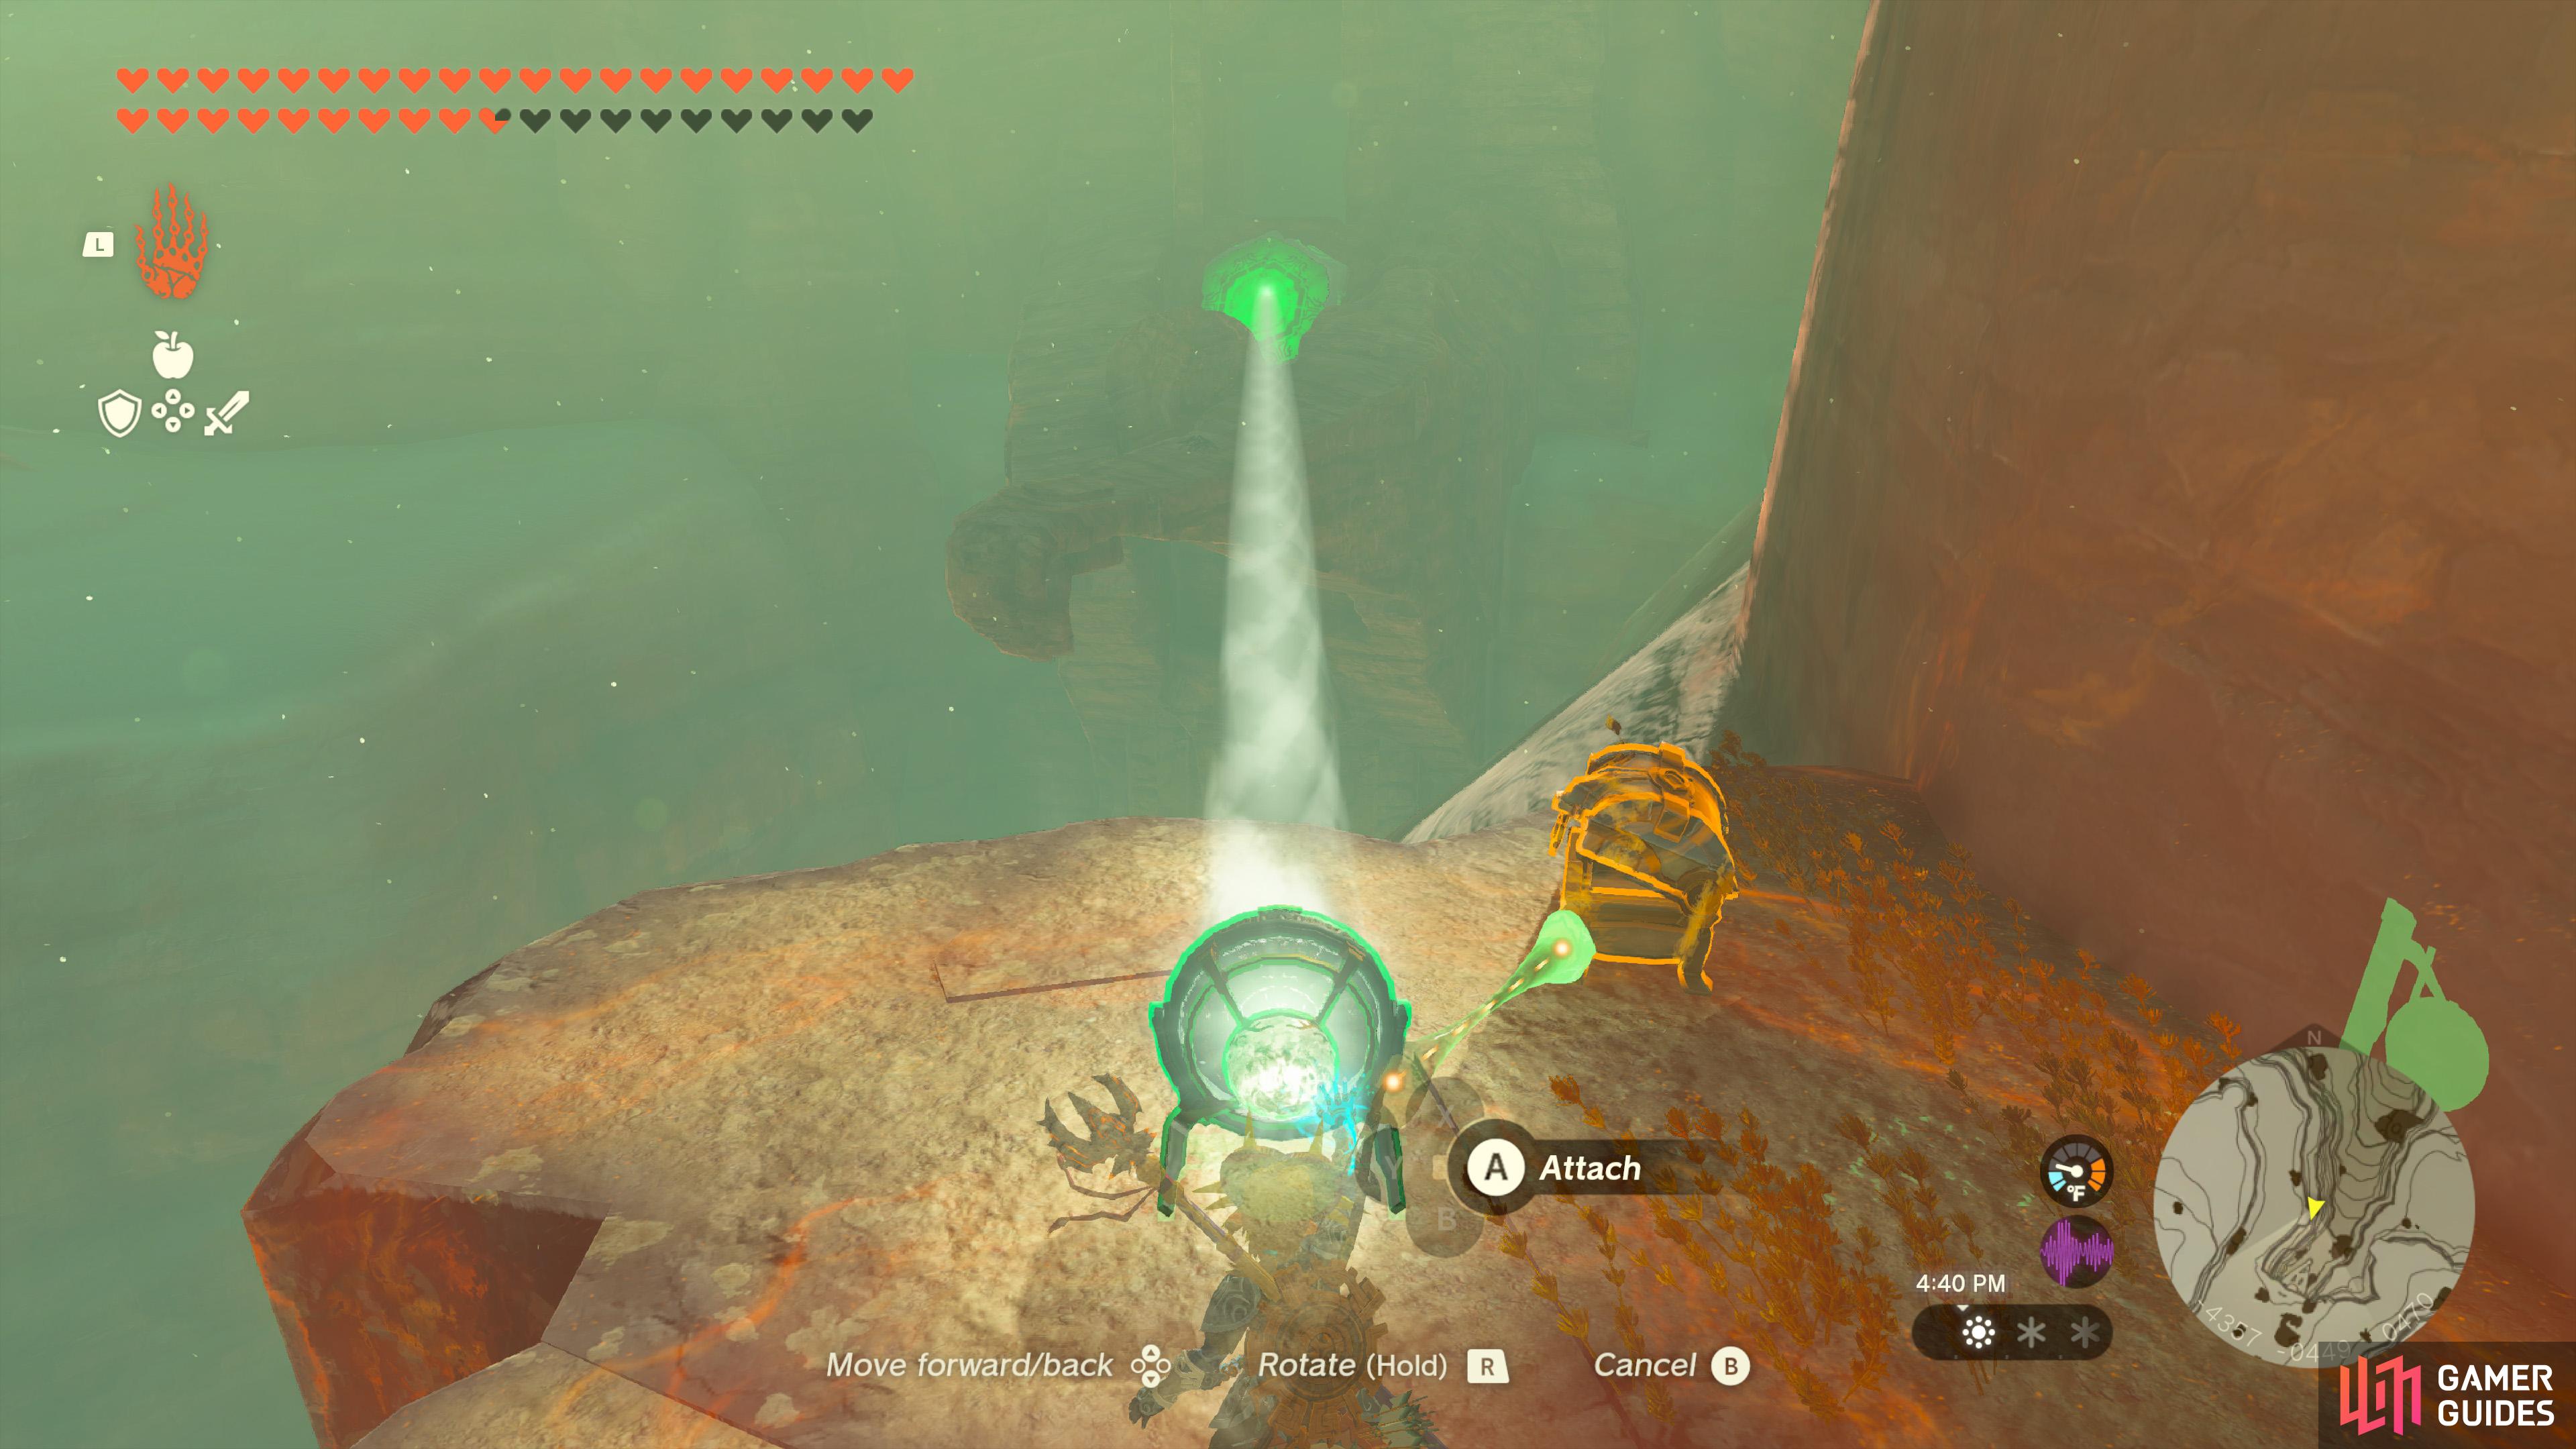
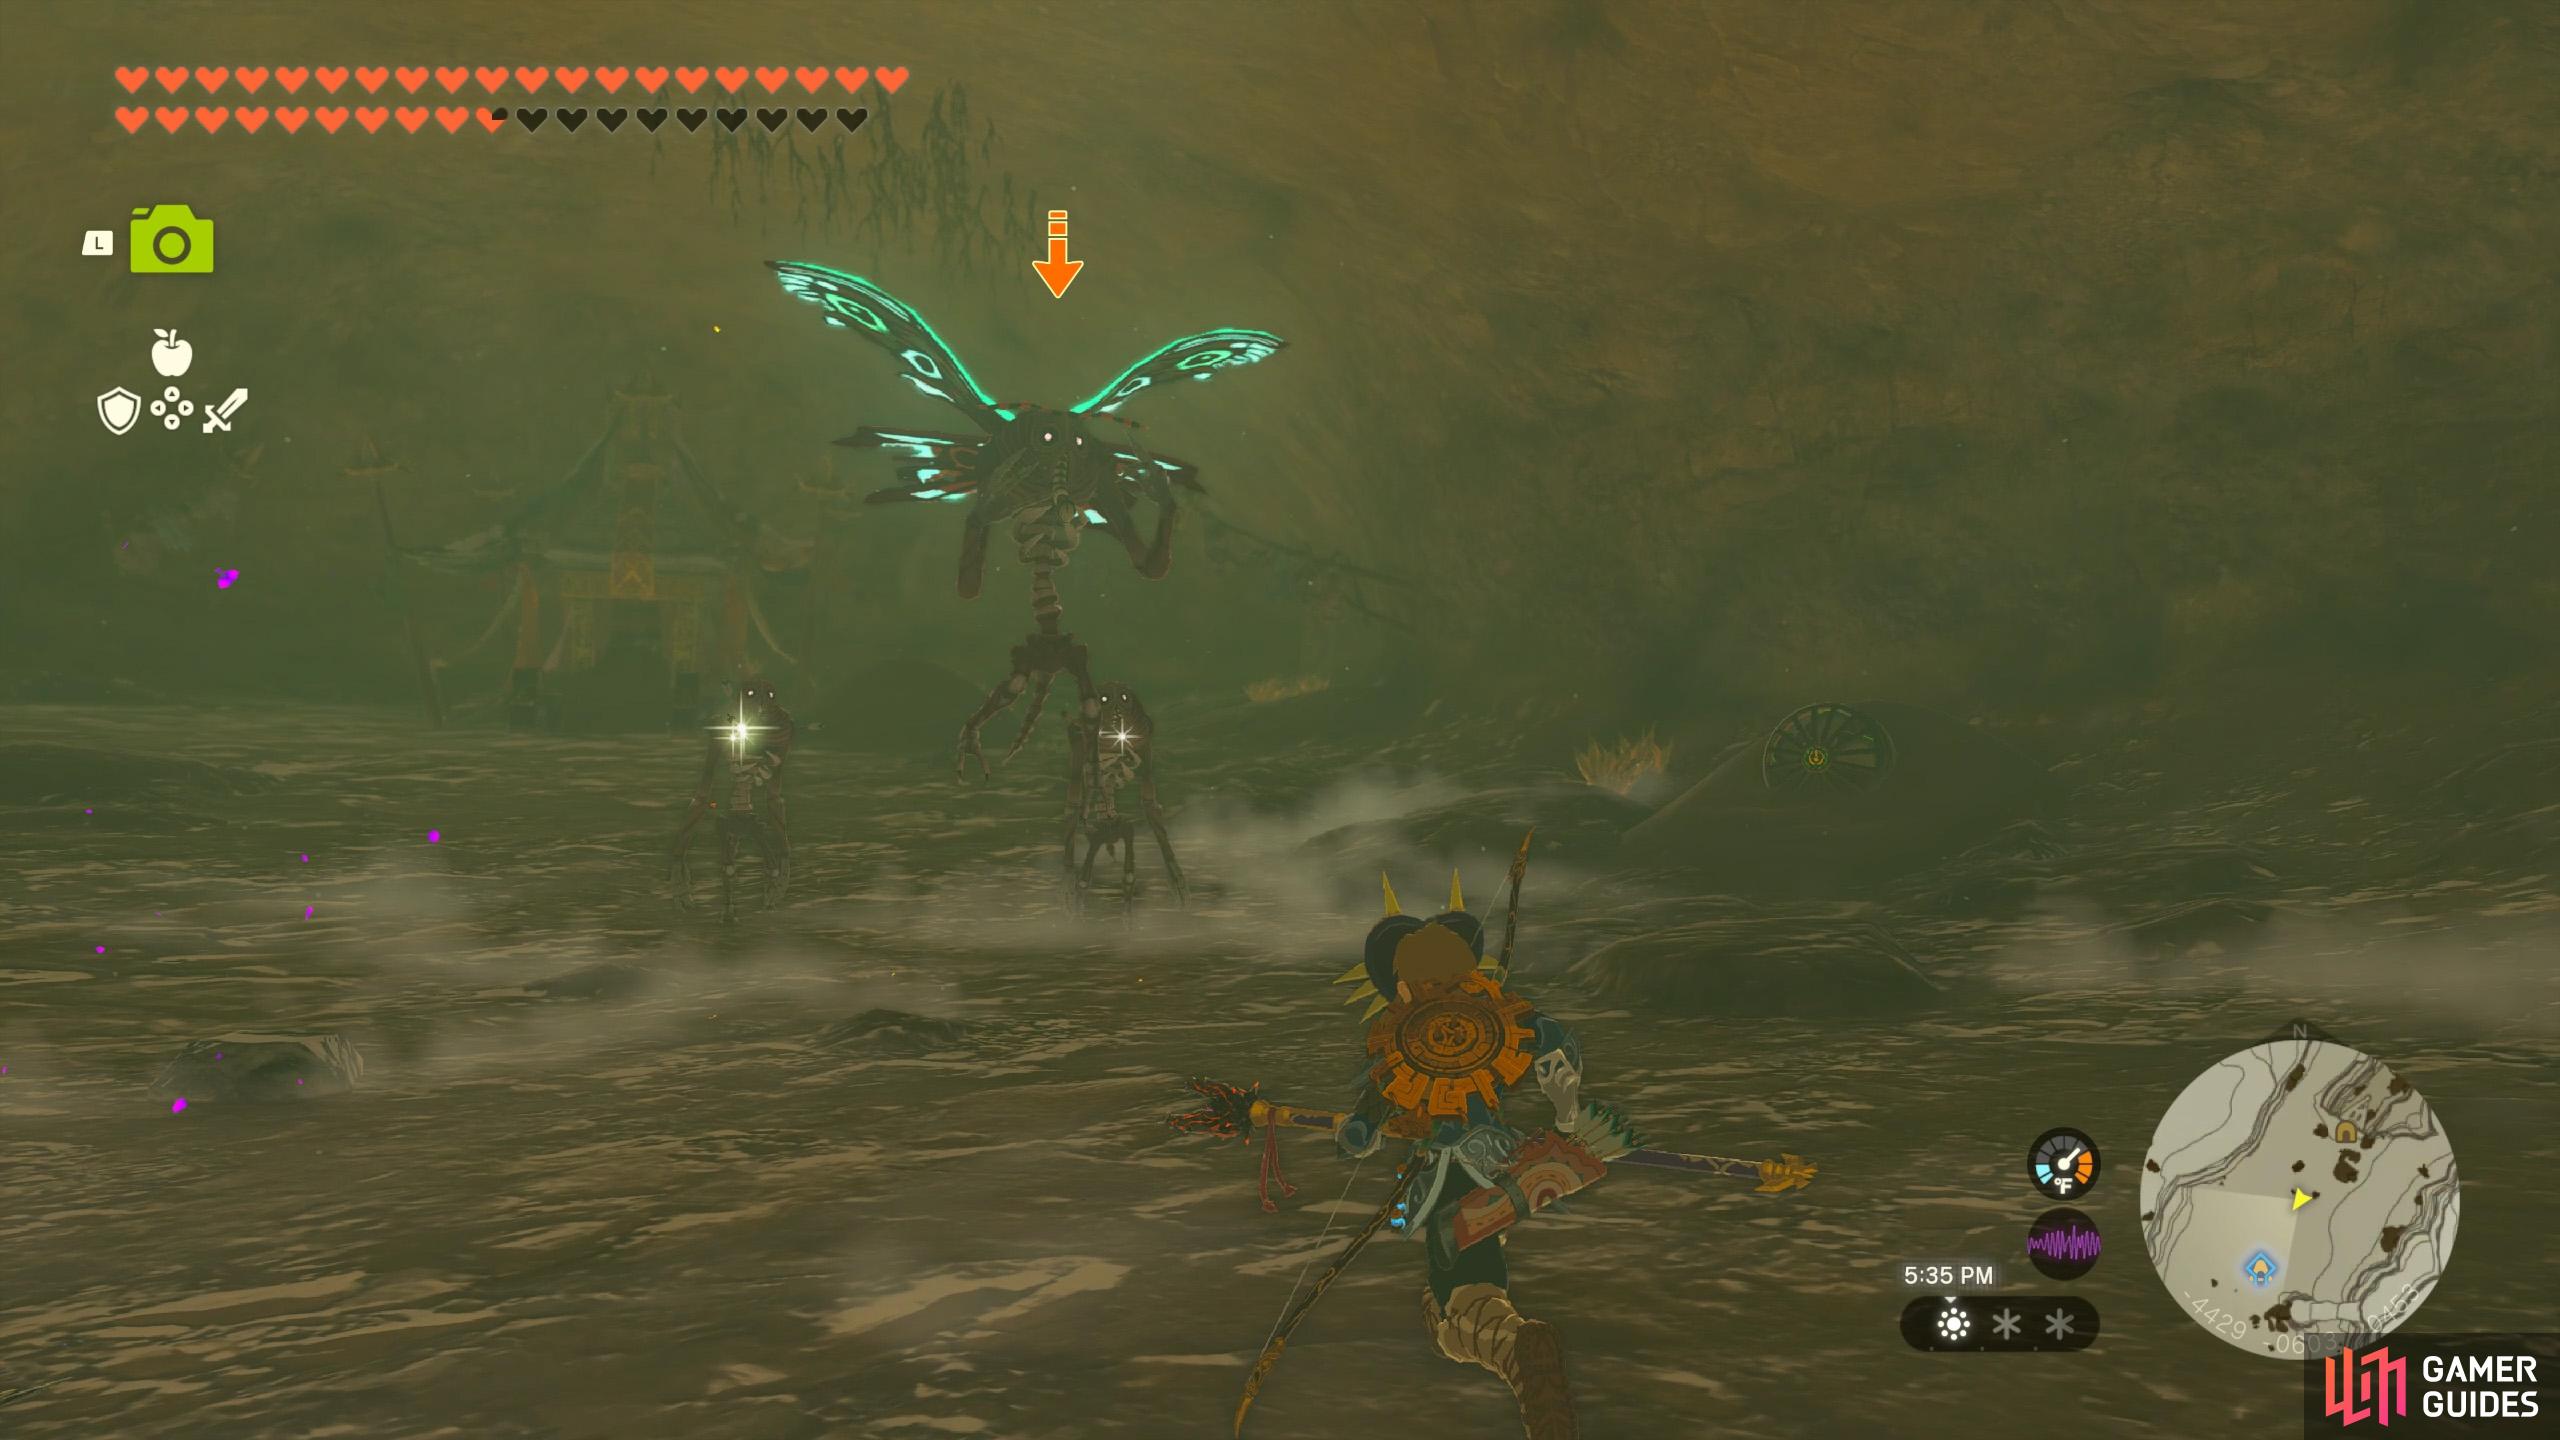
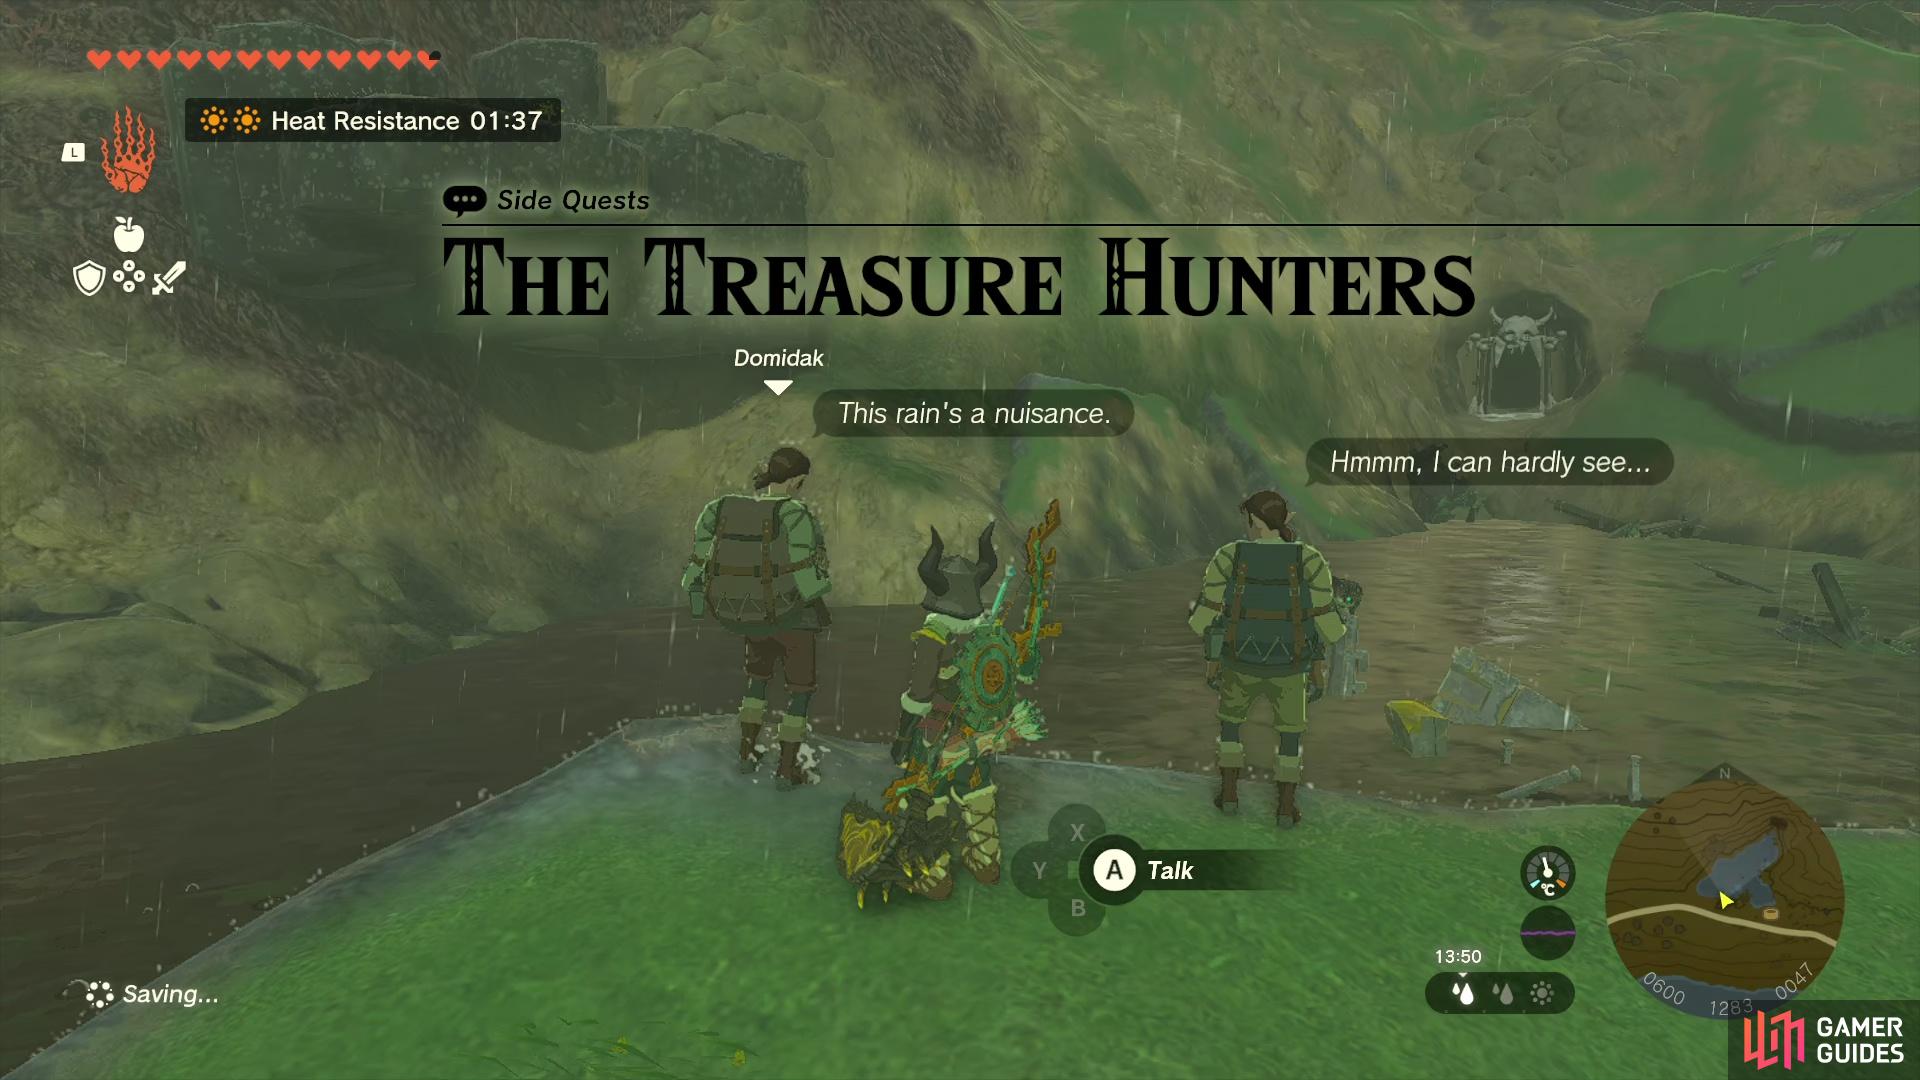
Obtained from Domidak and Prissen outside Brothers Domidak and Prissen read you one of Misko’s old manuscripts. It said, “Statues of the eight heroines reside in the desert. Enter the valley carved into Hemaar’s Descent, and shine the light of day upon the towering eighth. The path to the treasure will open before you.” Solve the riddle to find the treasure. Head for the Statue of the Eighth Heroine around Hemaar’s Descent, north from Opposite this entrance, there’s a chest with 3 Mirrors inside. When there’s sun (during the afternoon for example), stand near the chest and place a Mirror so it shines into the orange panel near the statue’s head, opening the entrance. Inside, you’ll encounter a bunch of
Quest Type
Side Quest
Map(s)
|
|
|||||||||||||||||||||||||||||||||||||||||||||||||||||||||||||||||||||||||||||||||||||||||||||||






























 Sundelion












 Death Mountain West Tunnel
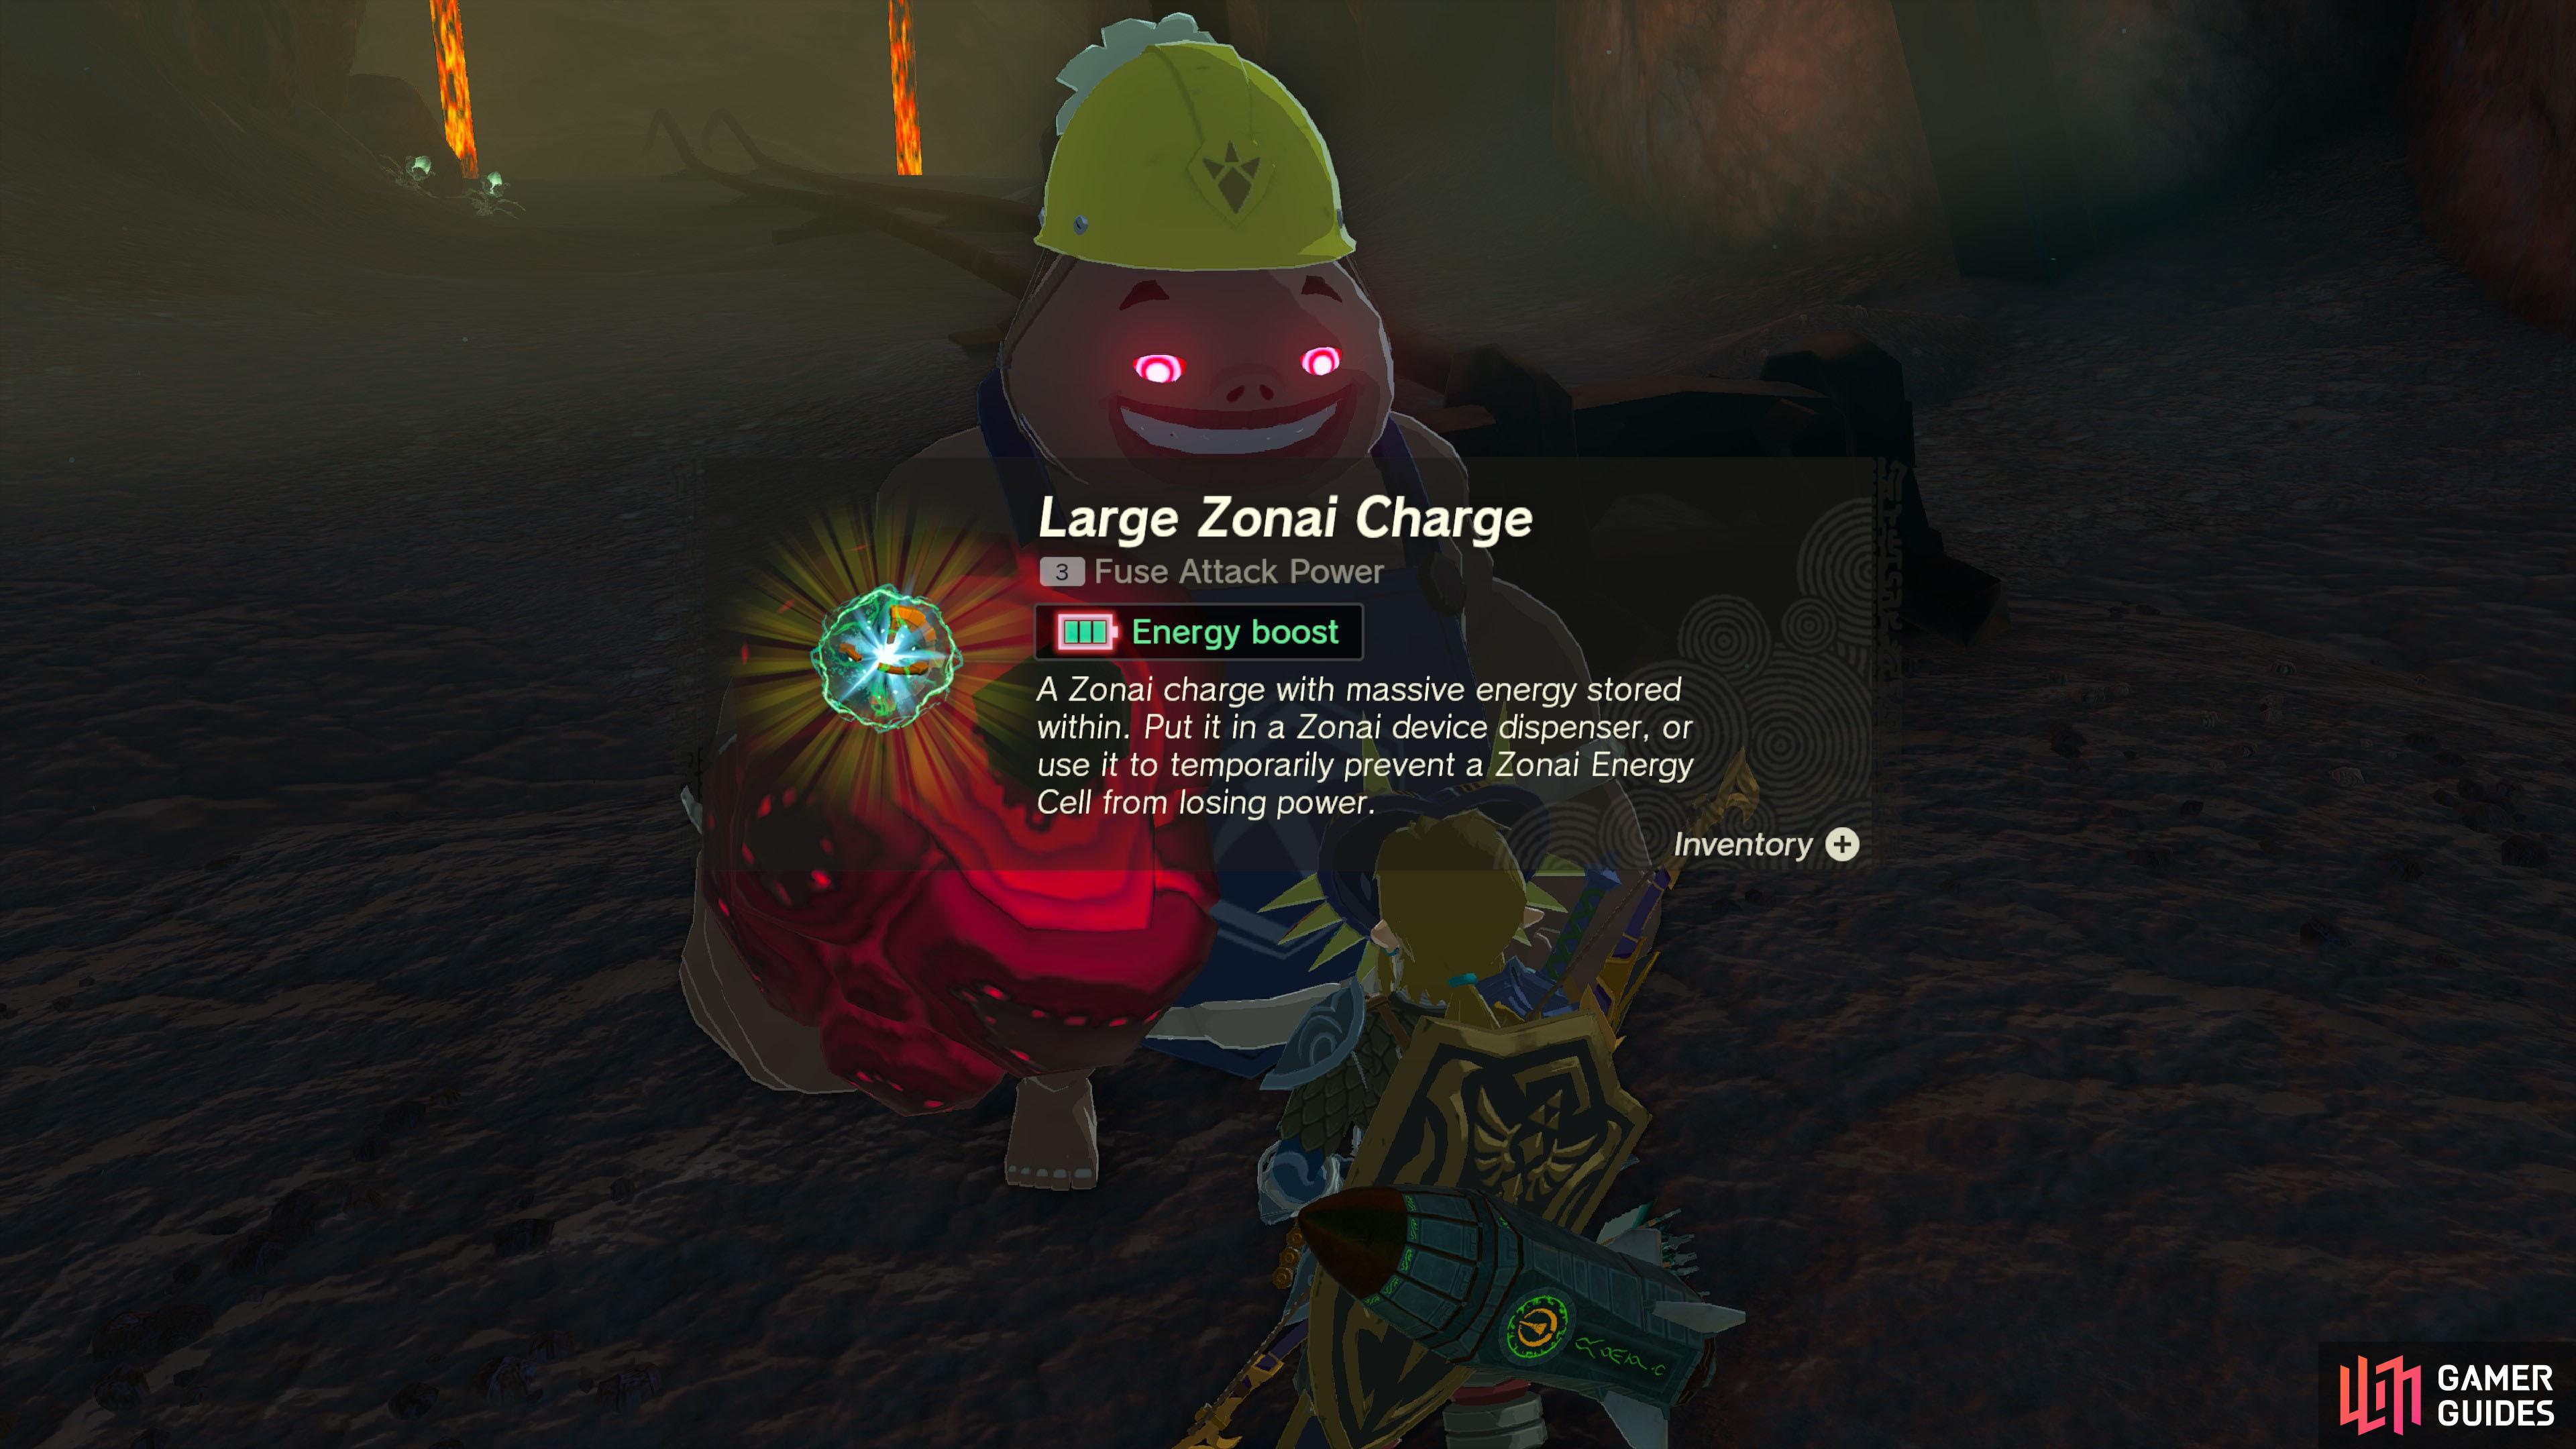
 Large Zonai Charge



 Snowfield Stable






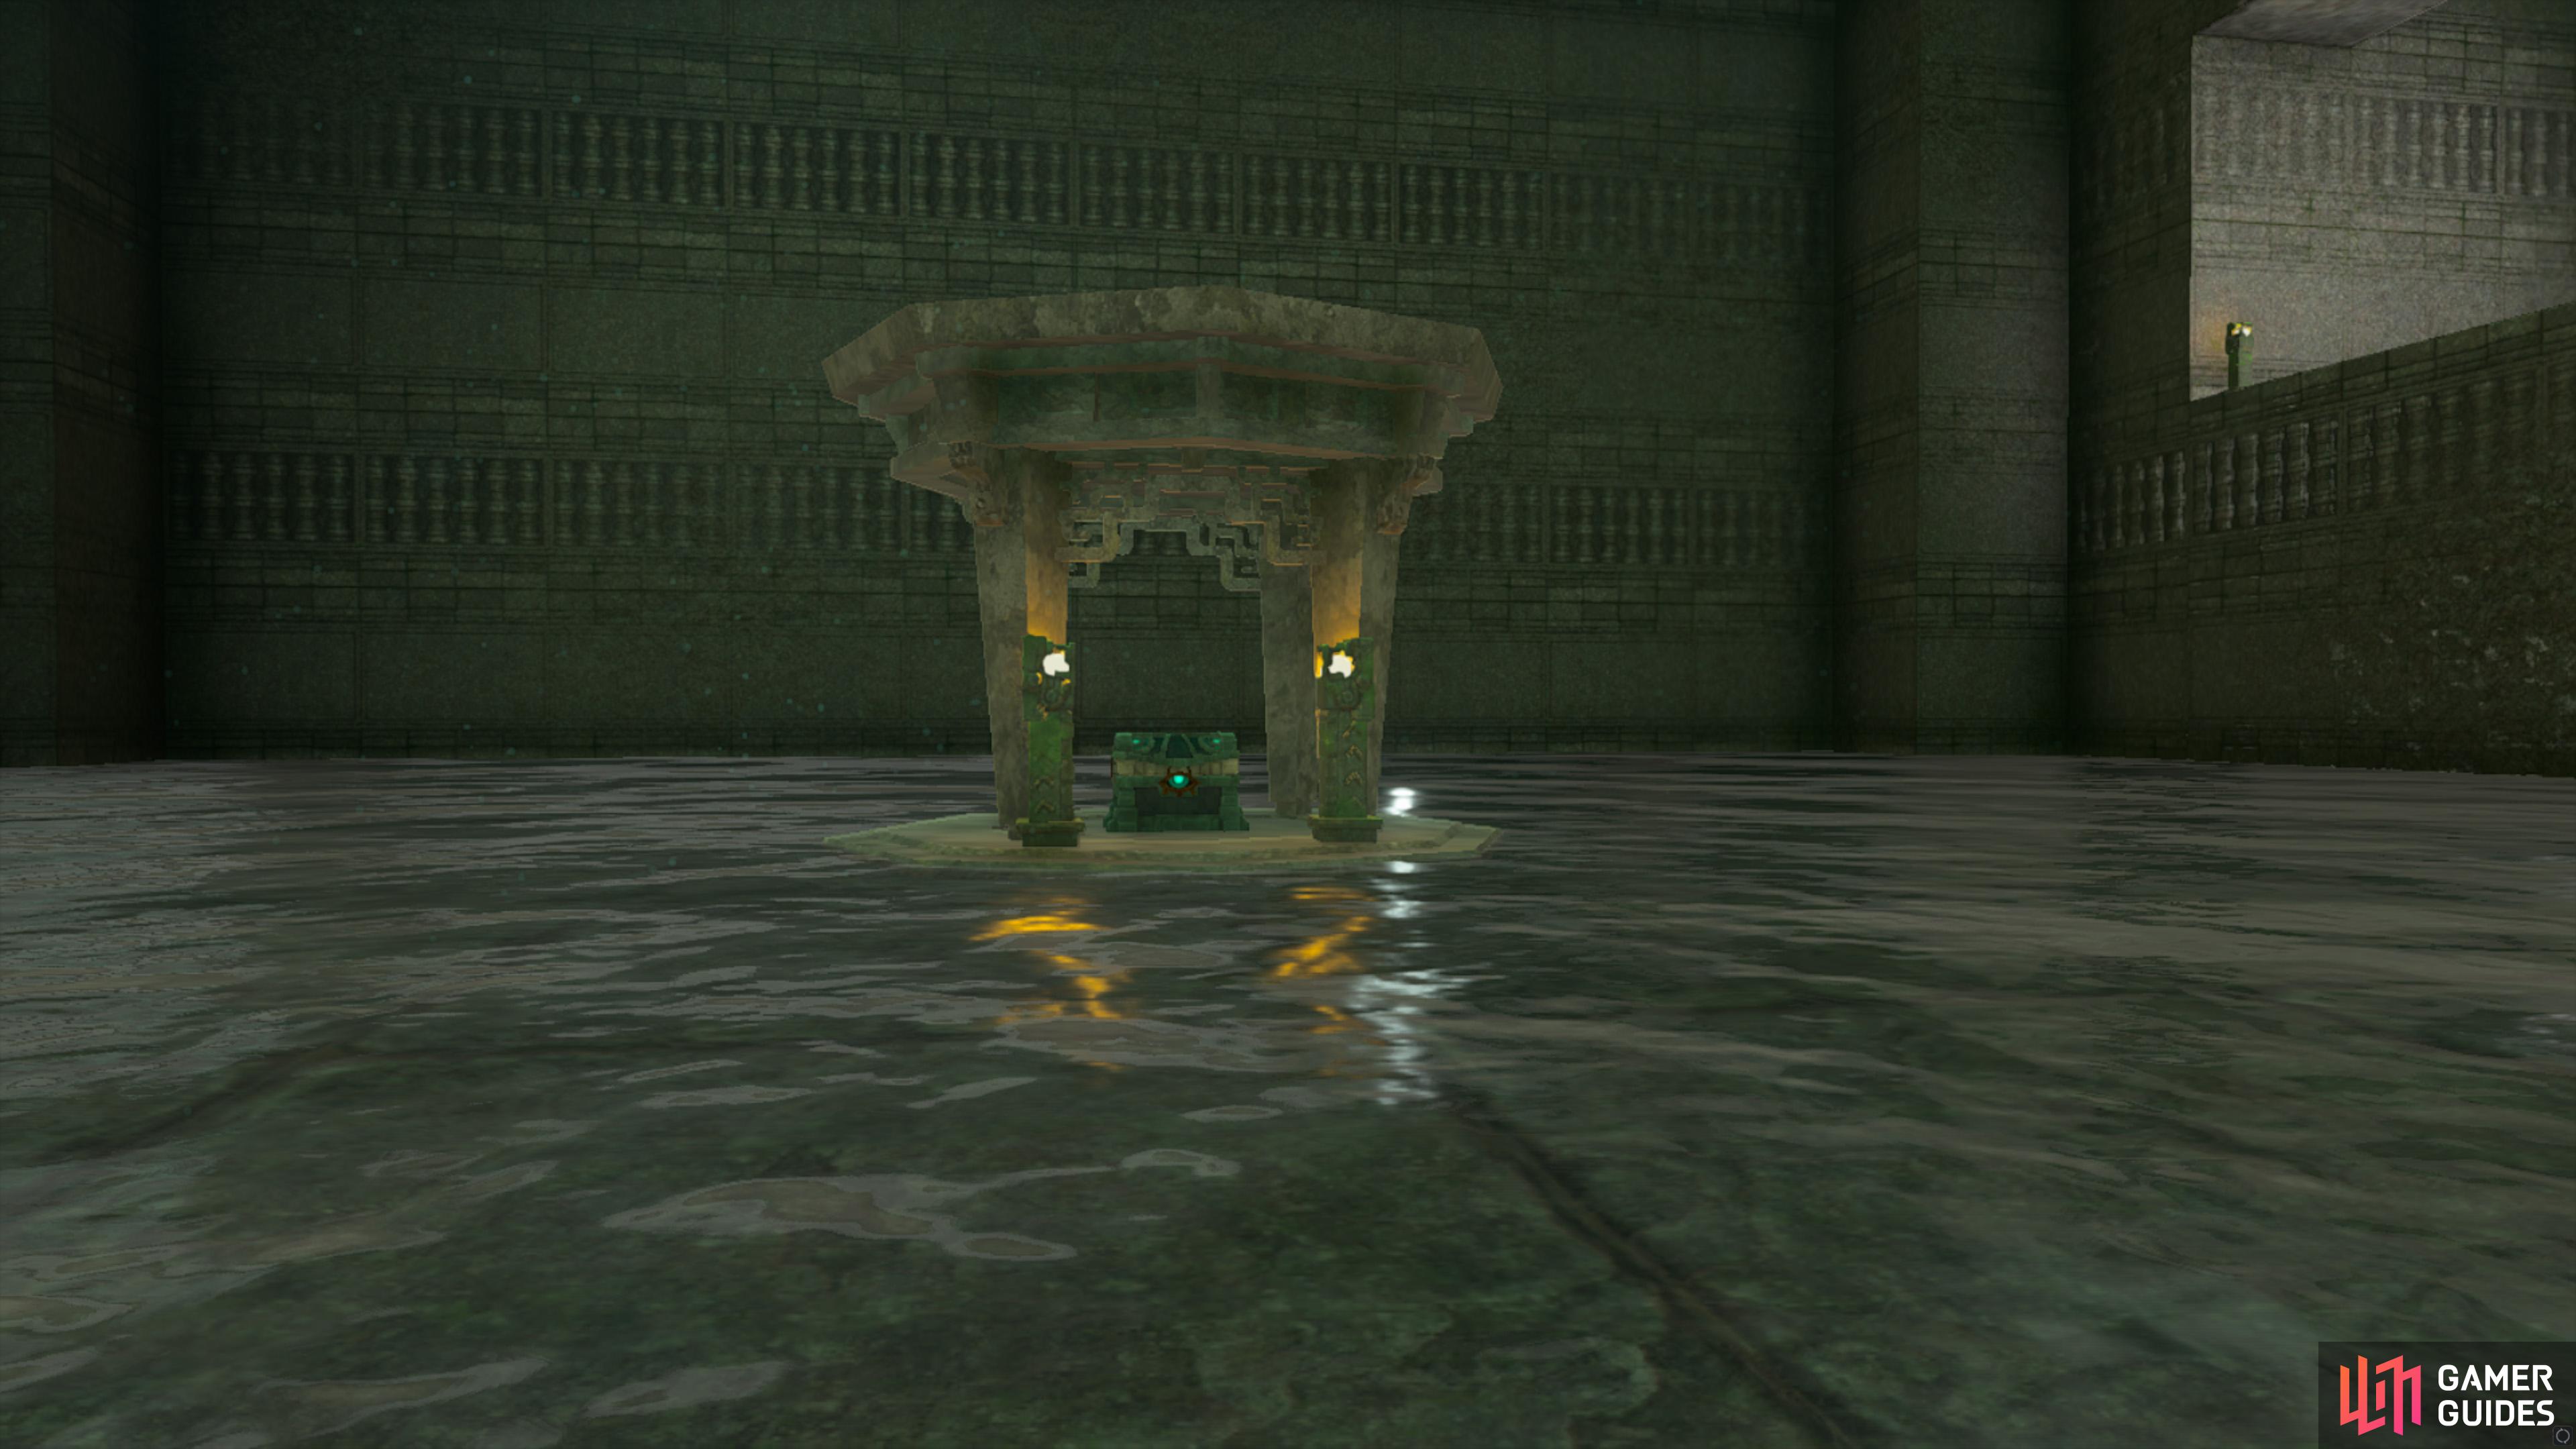
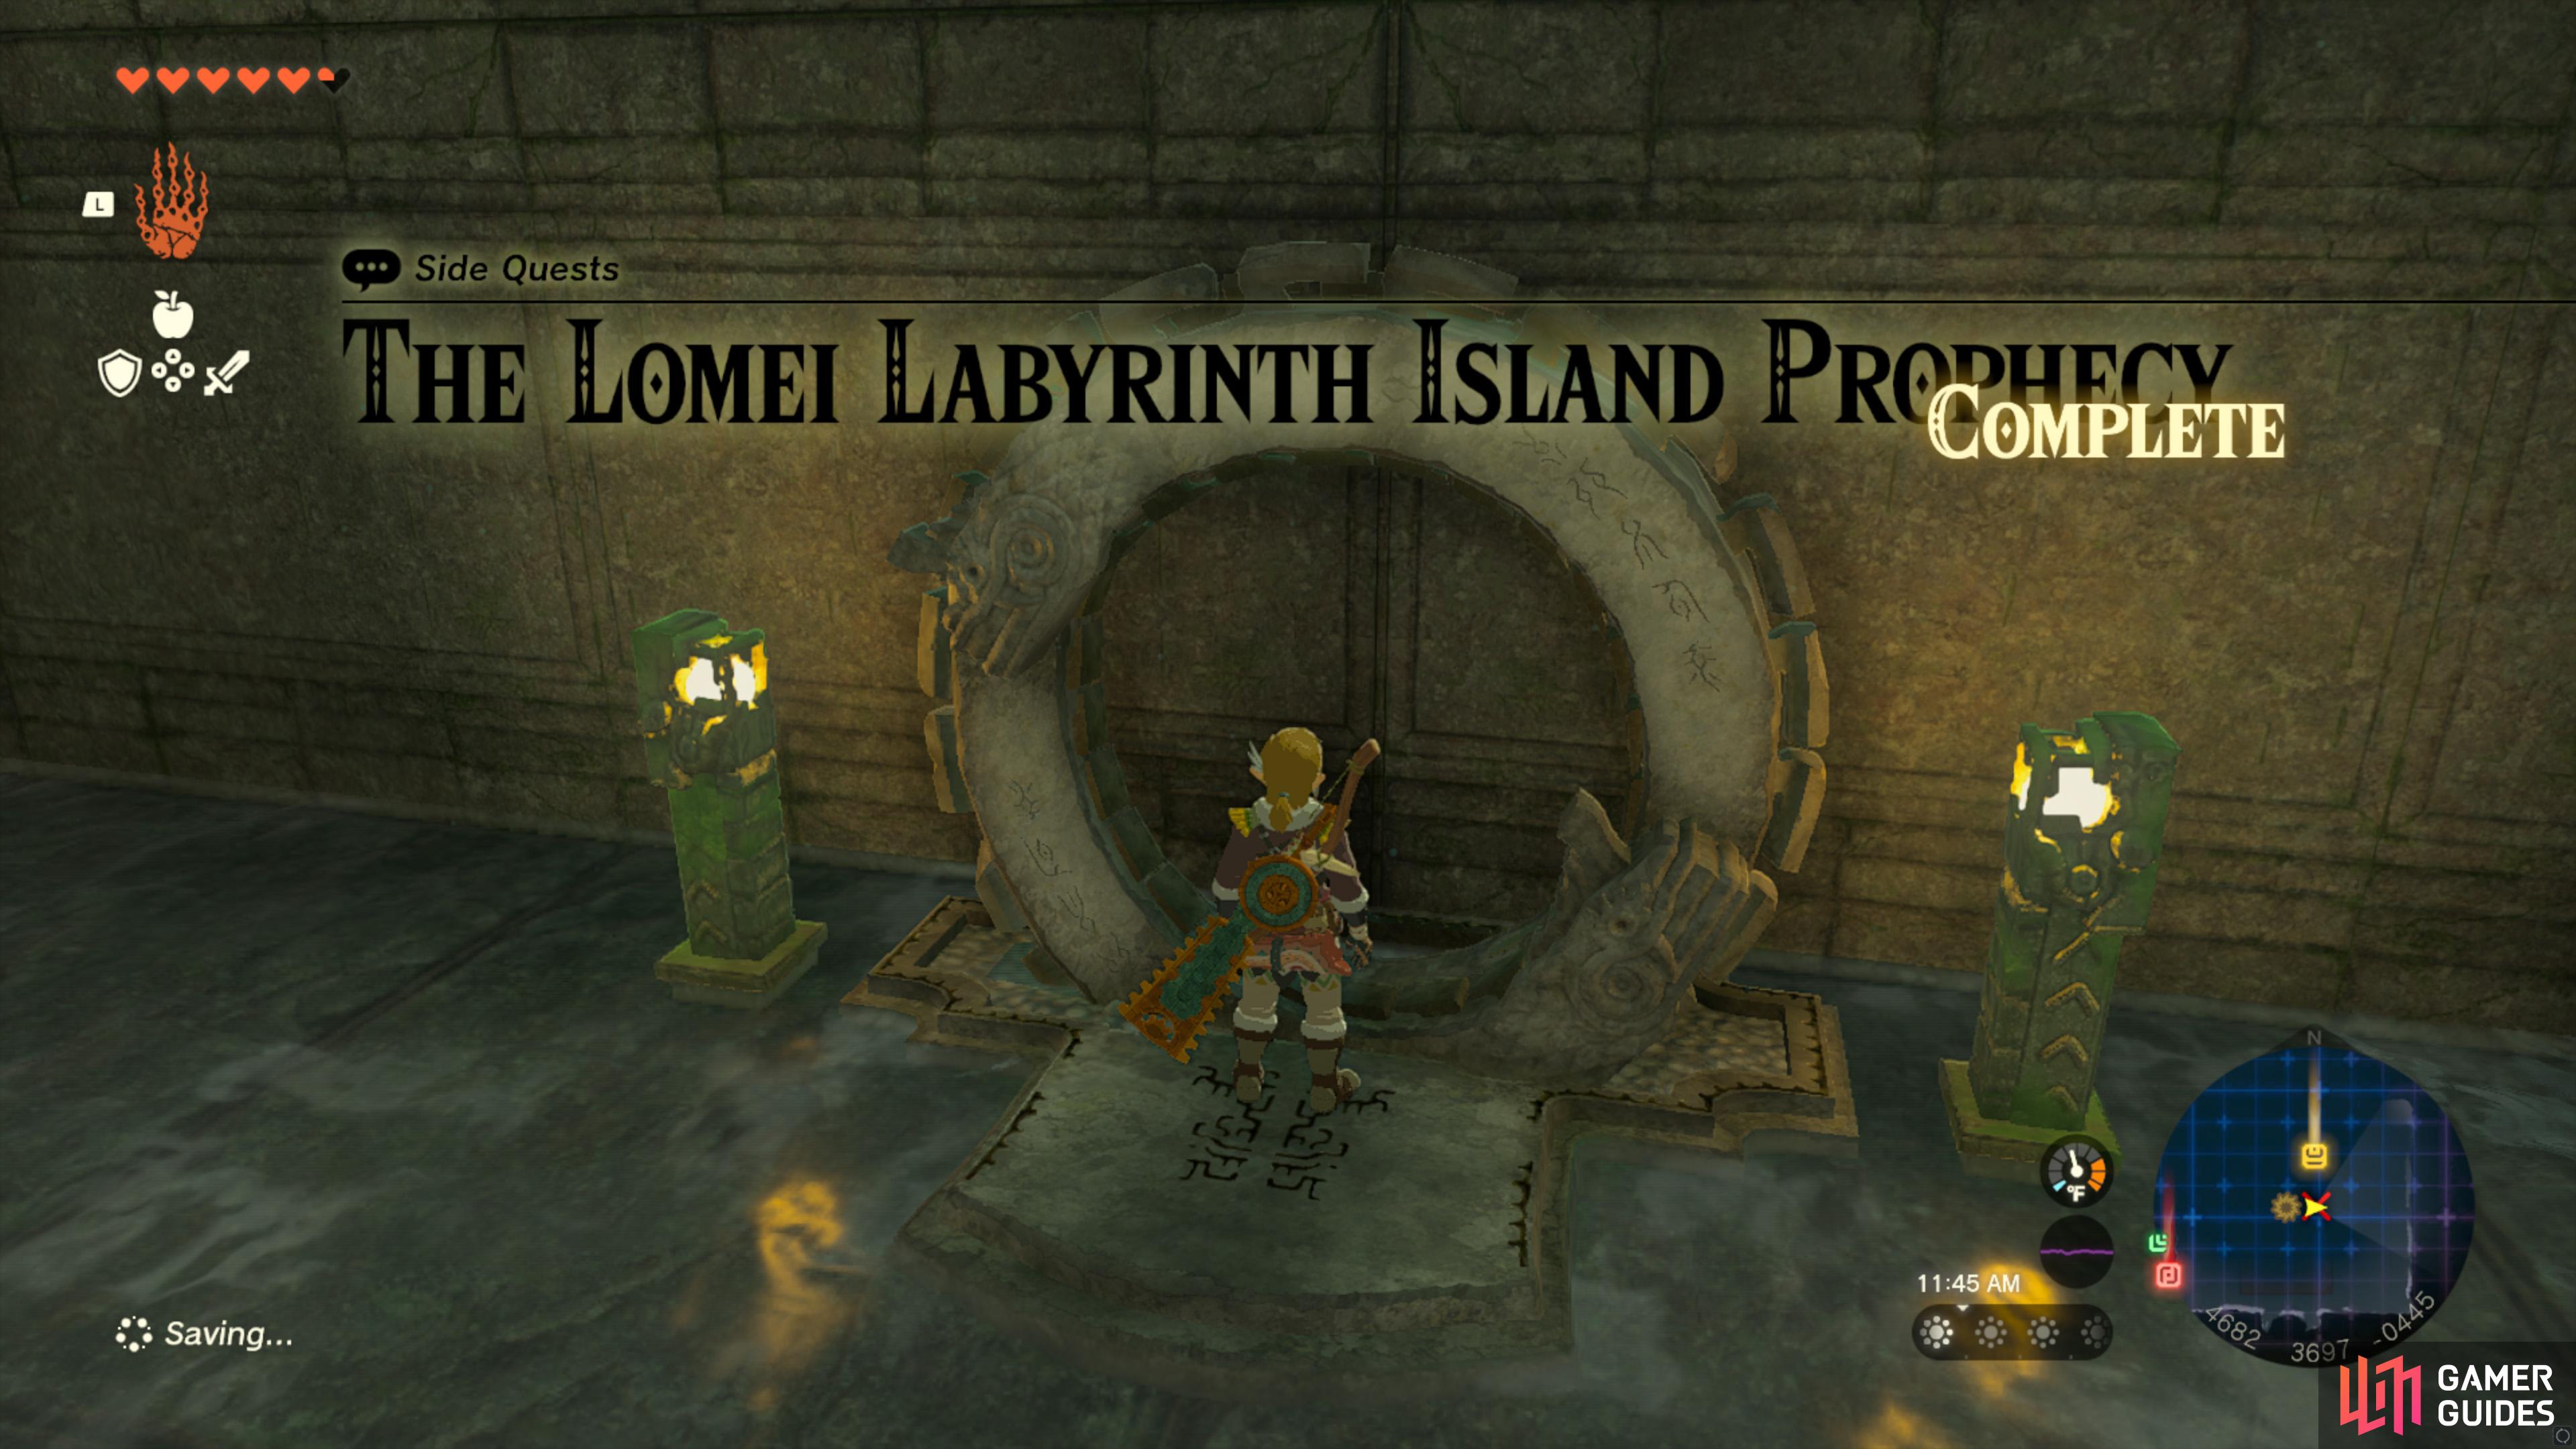
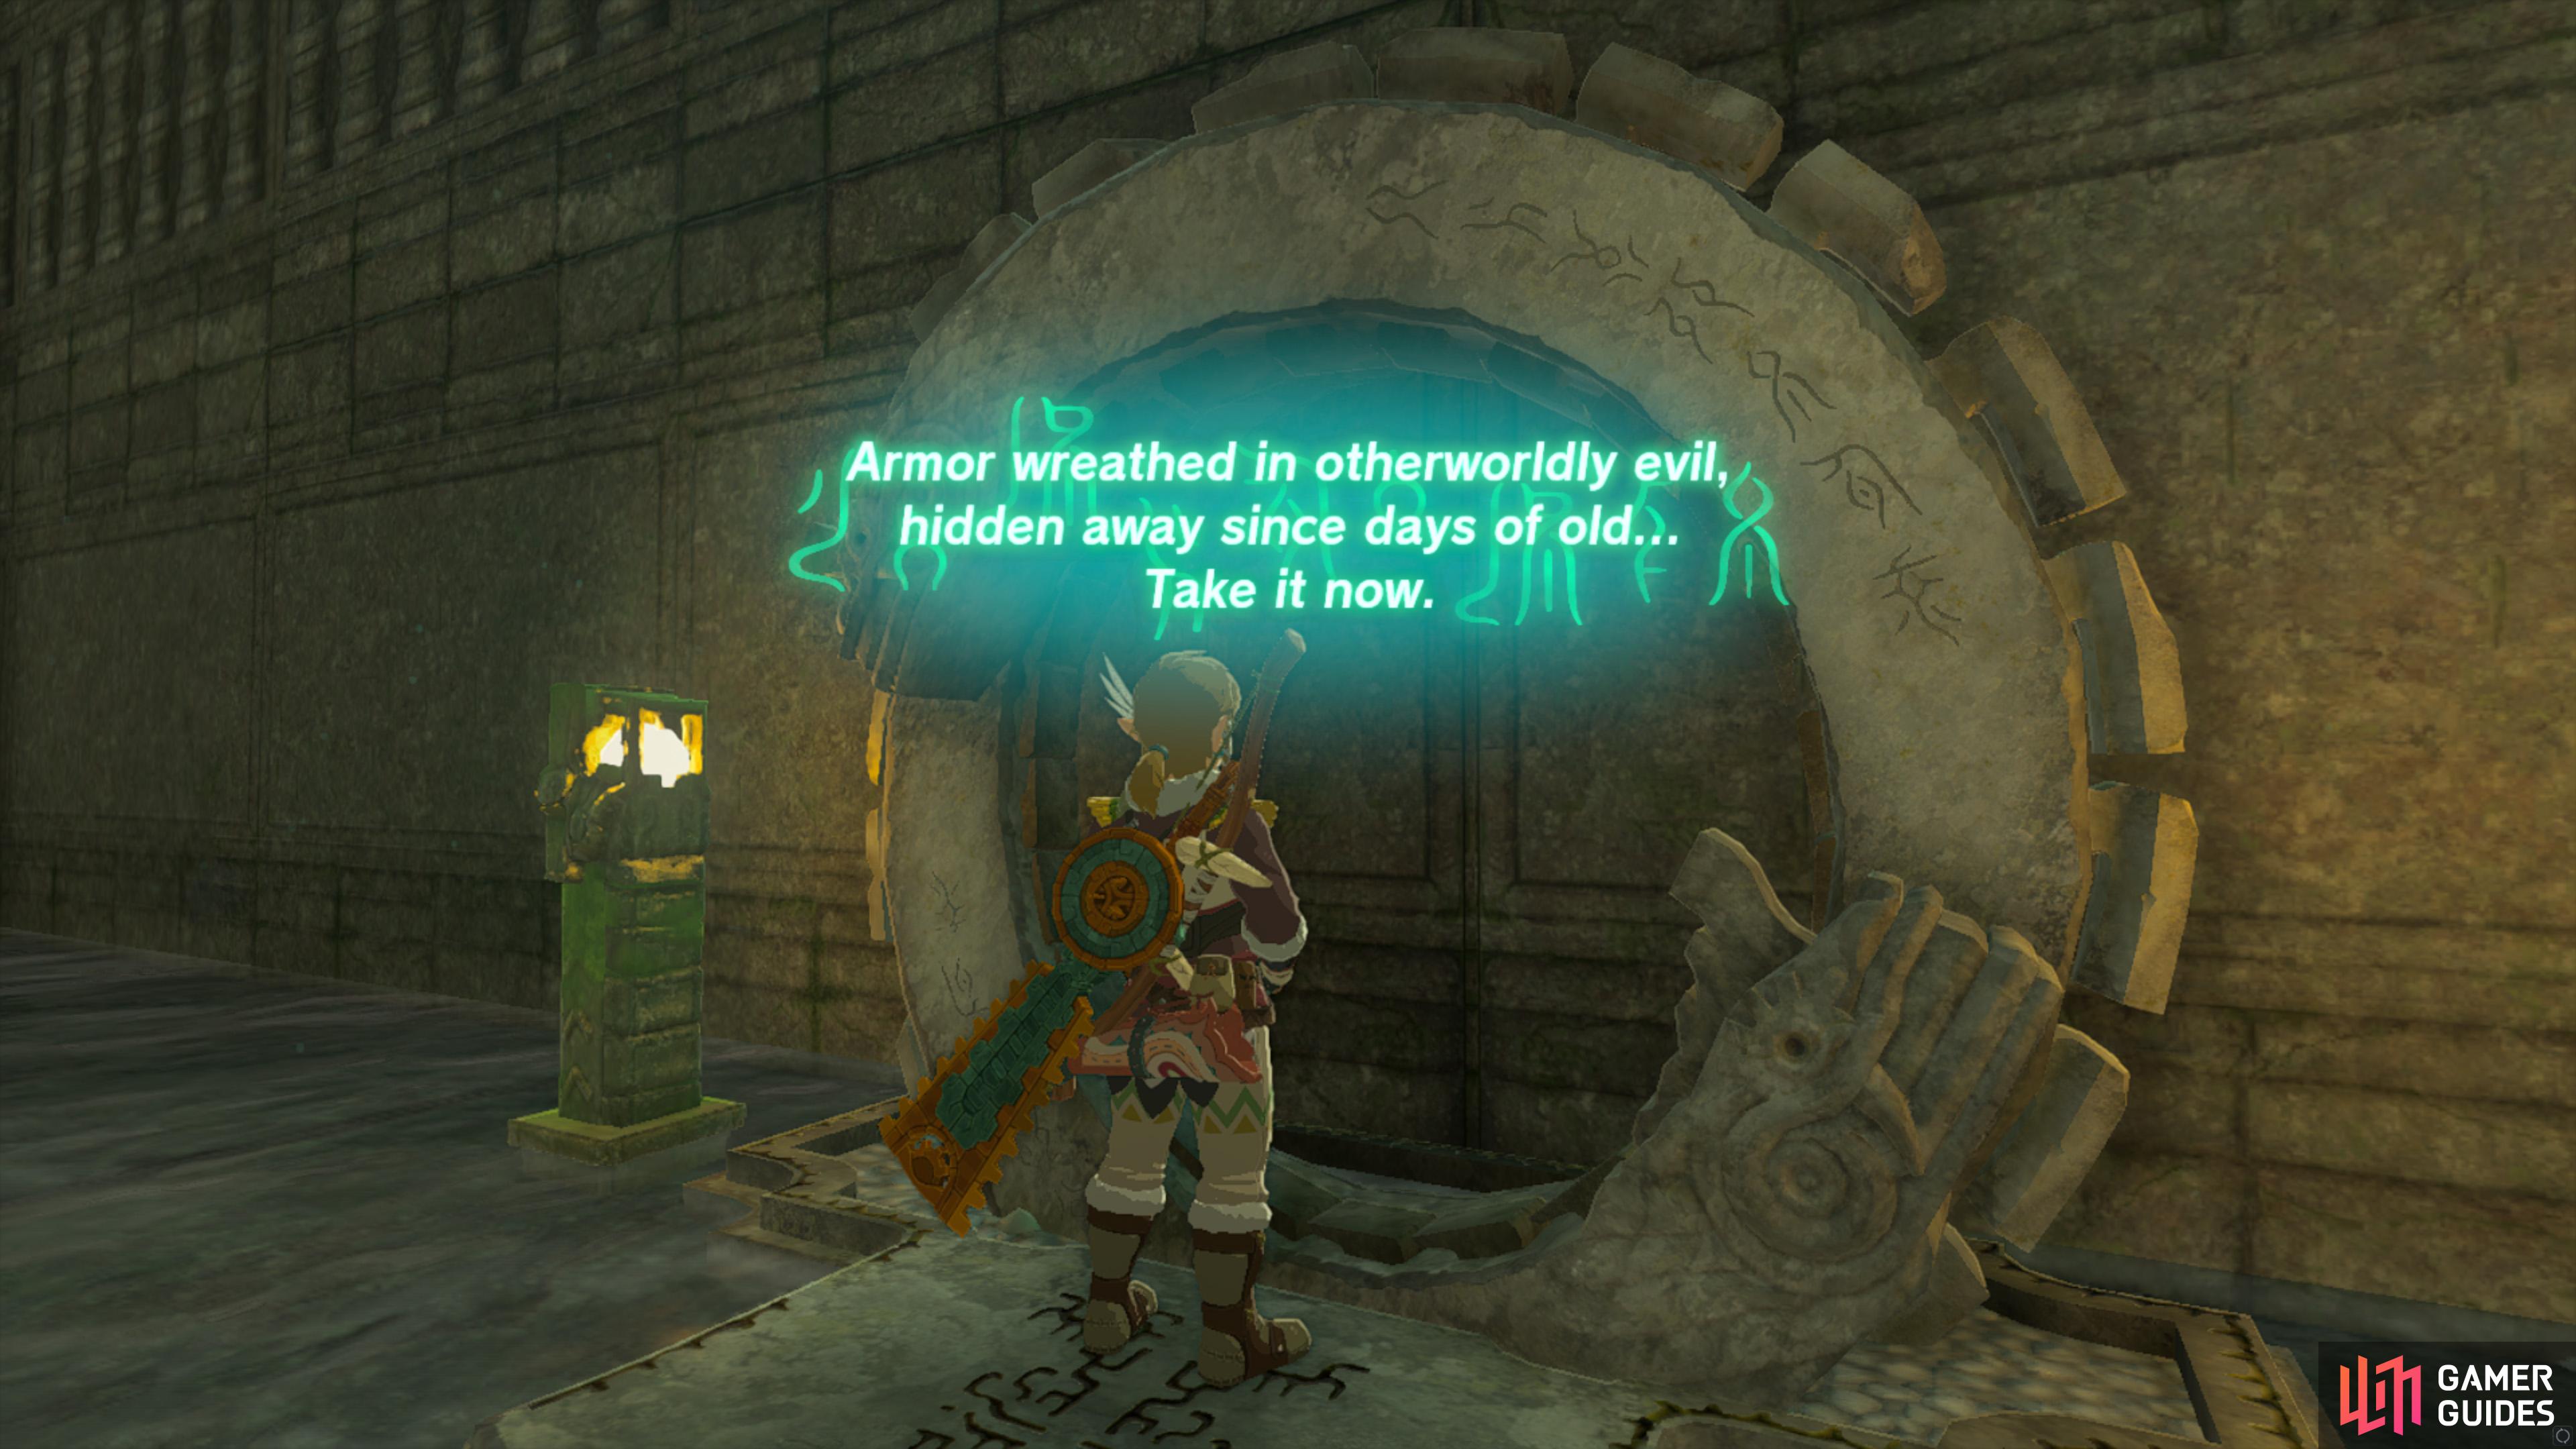
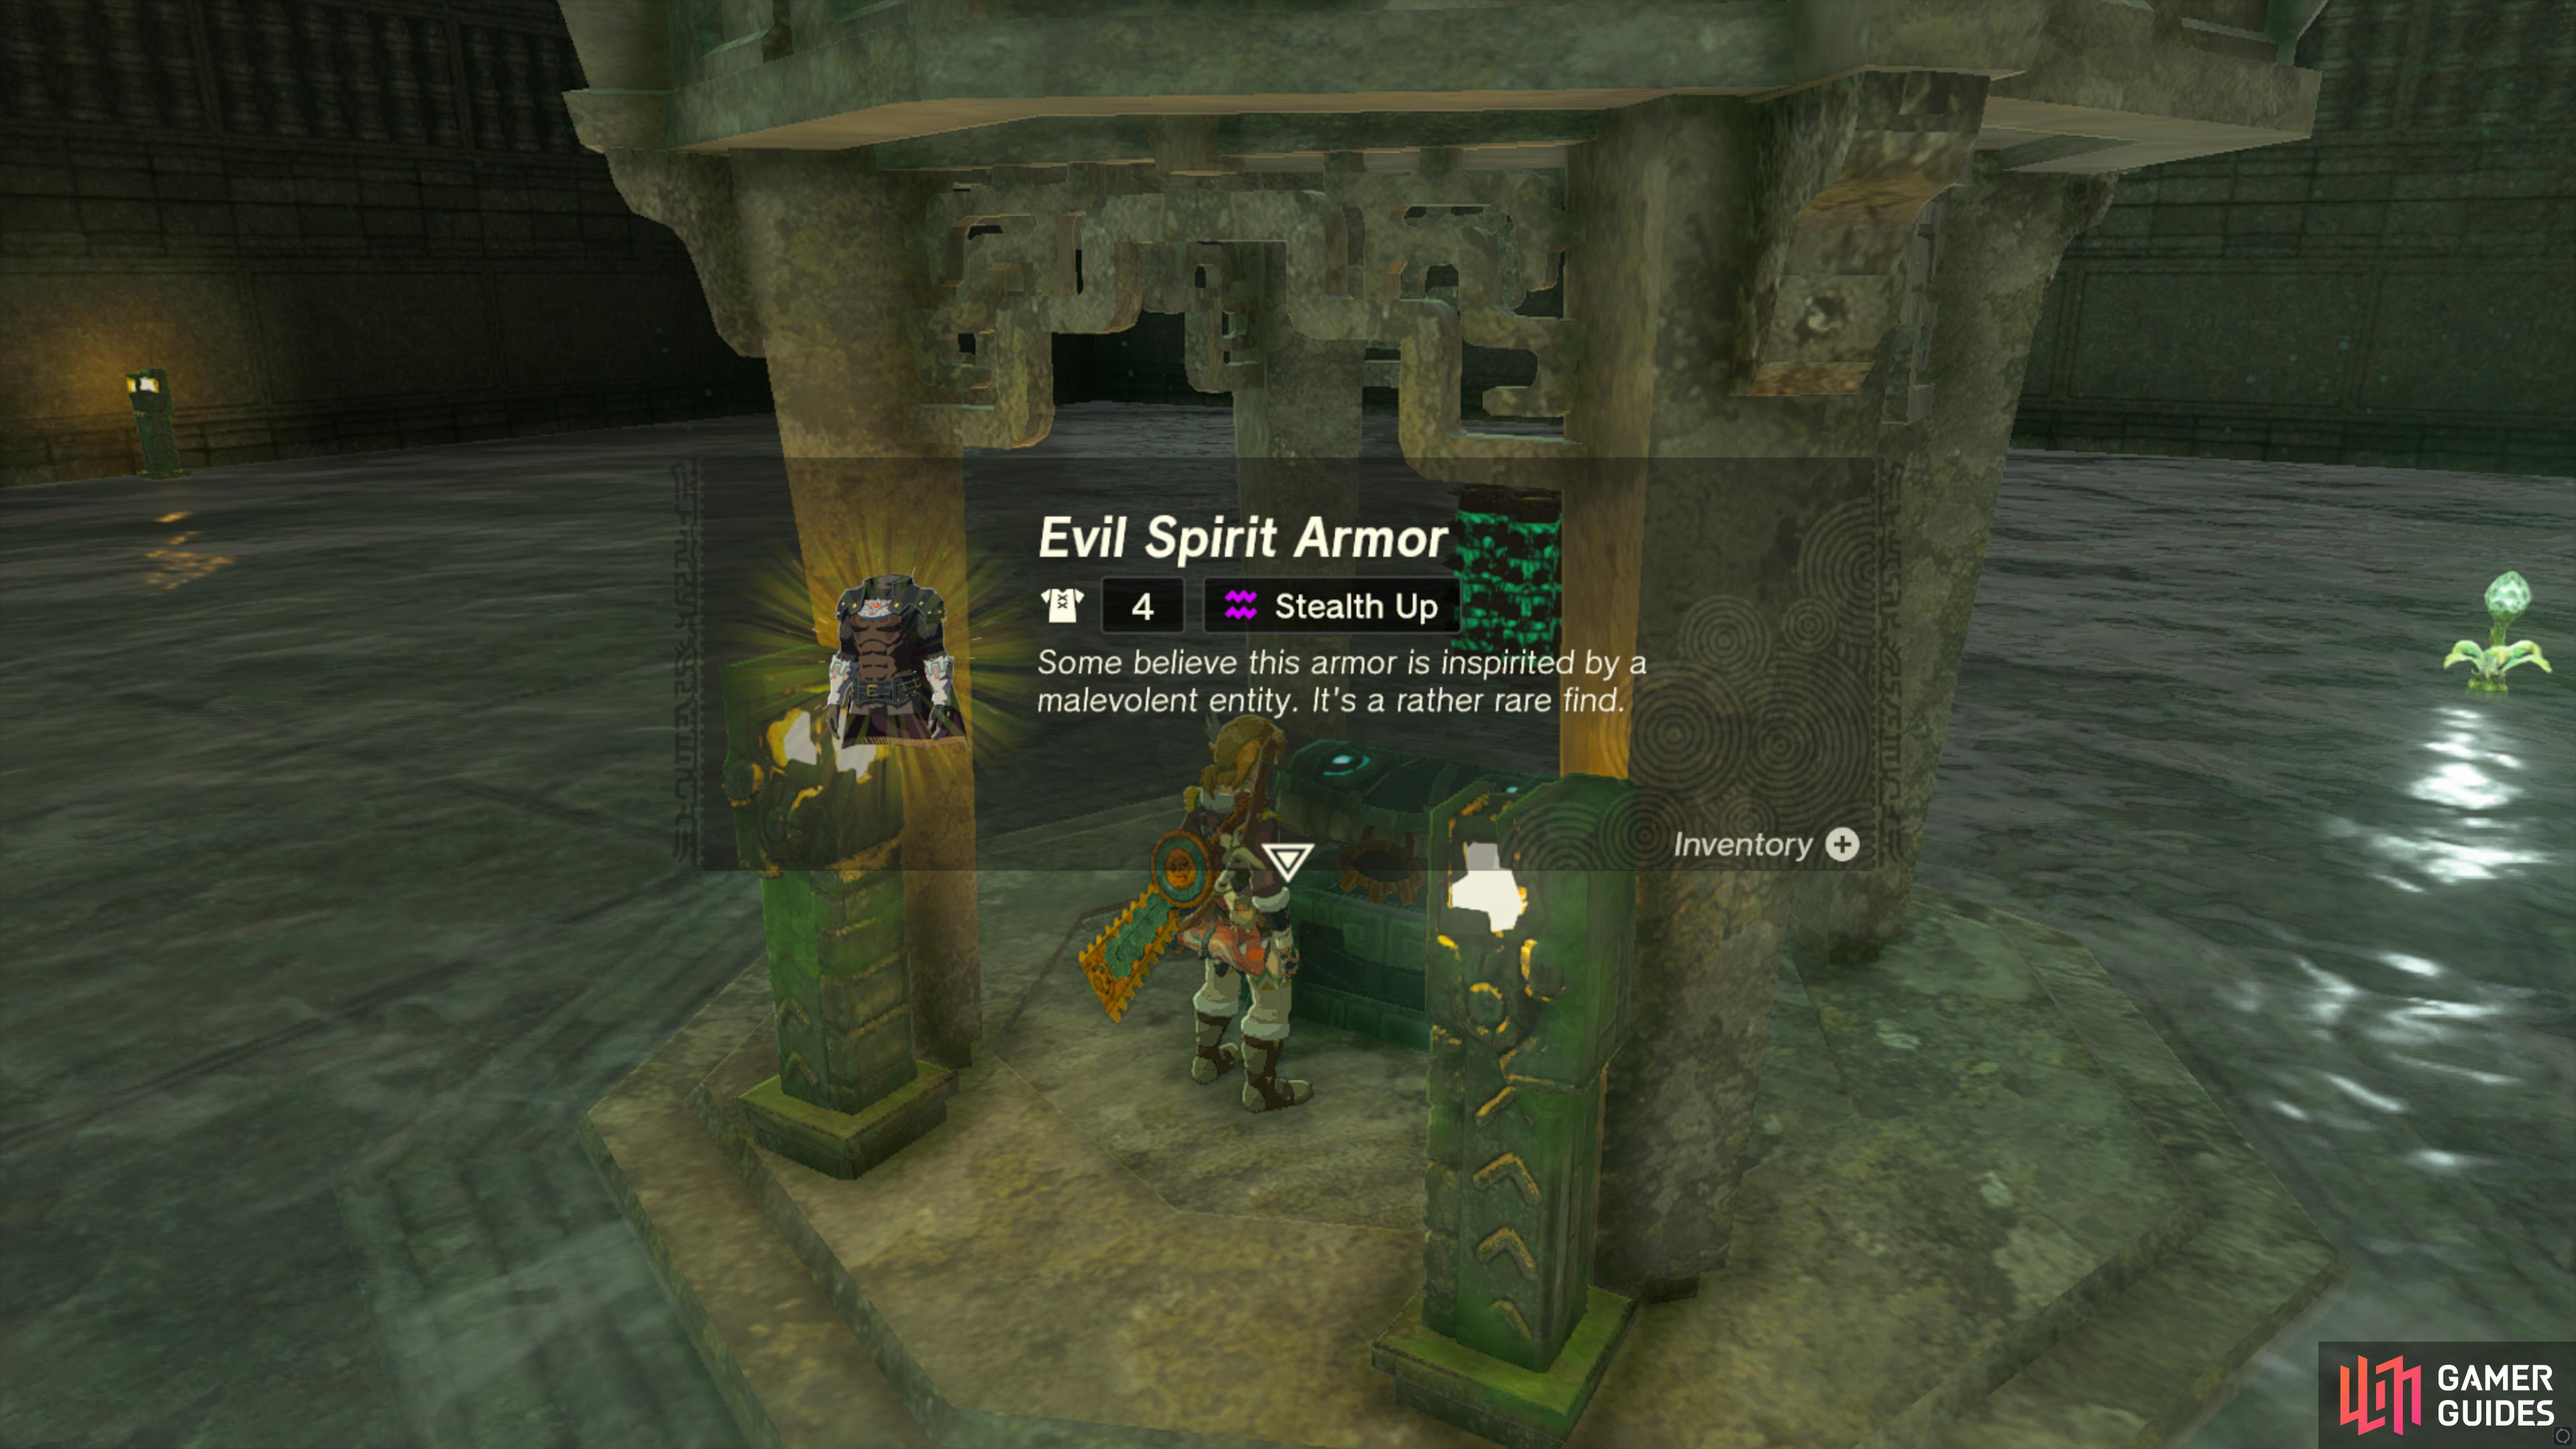
 Evil Spirit Armor
































 Swift Carrot



 Spicy Elixir








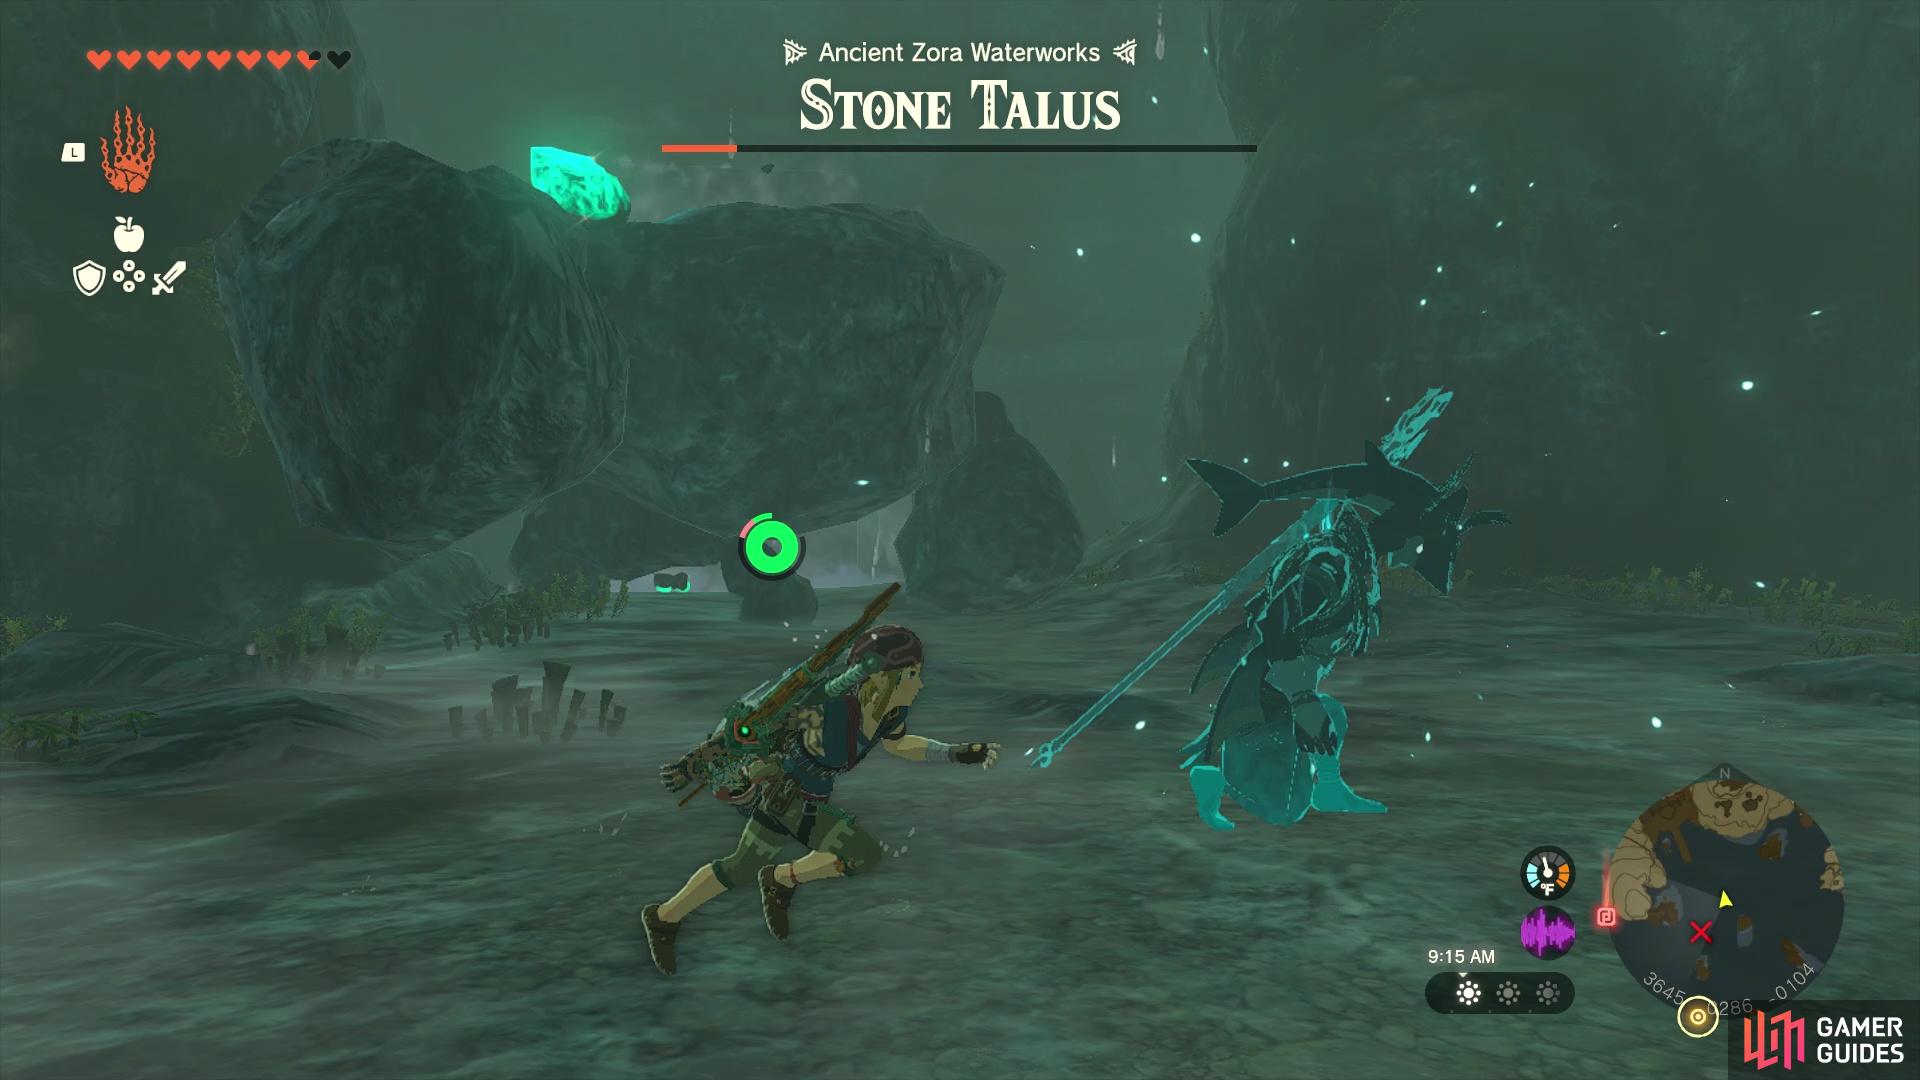
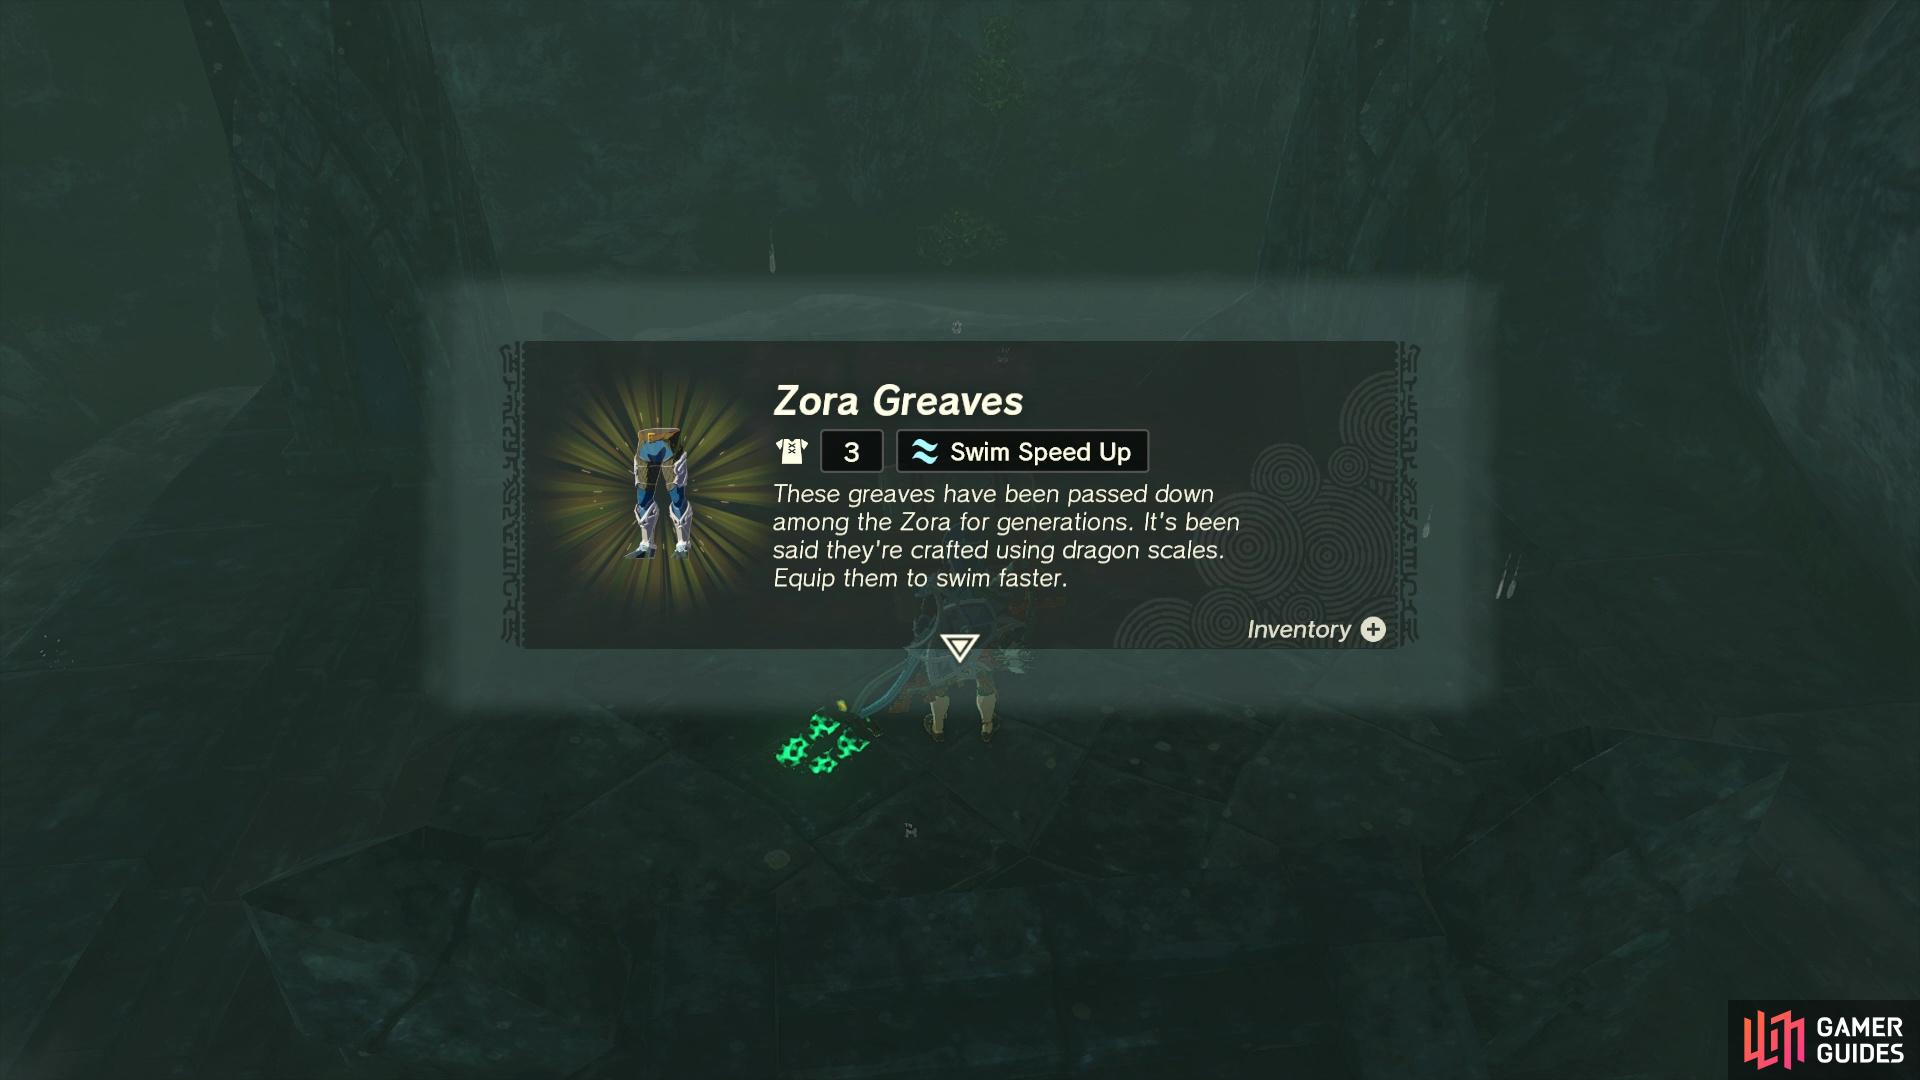

 Zora Sword






 Zora Fabric








 East Biron Snowshelf Cave
 Strong Zonaite Shield





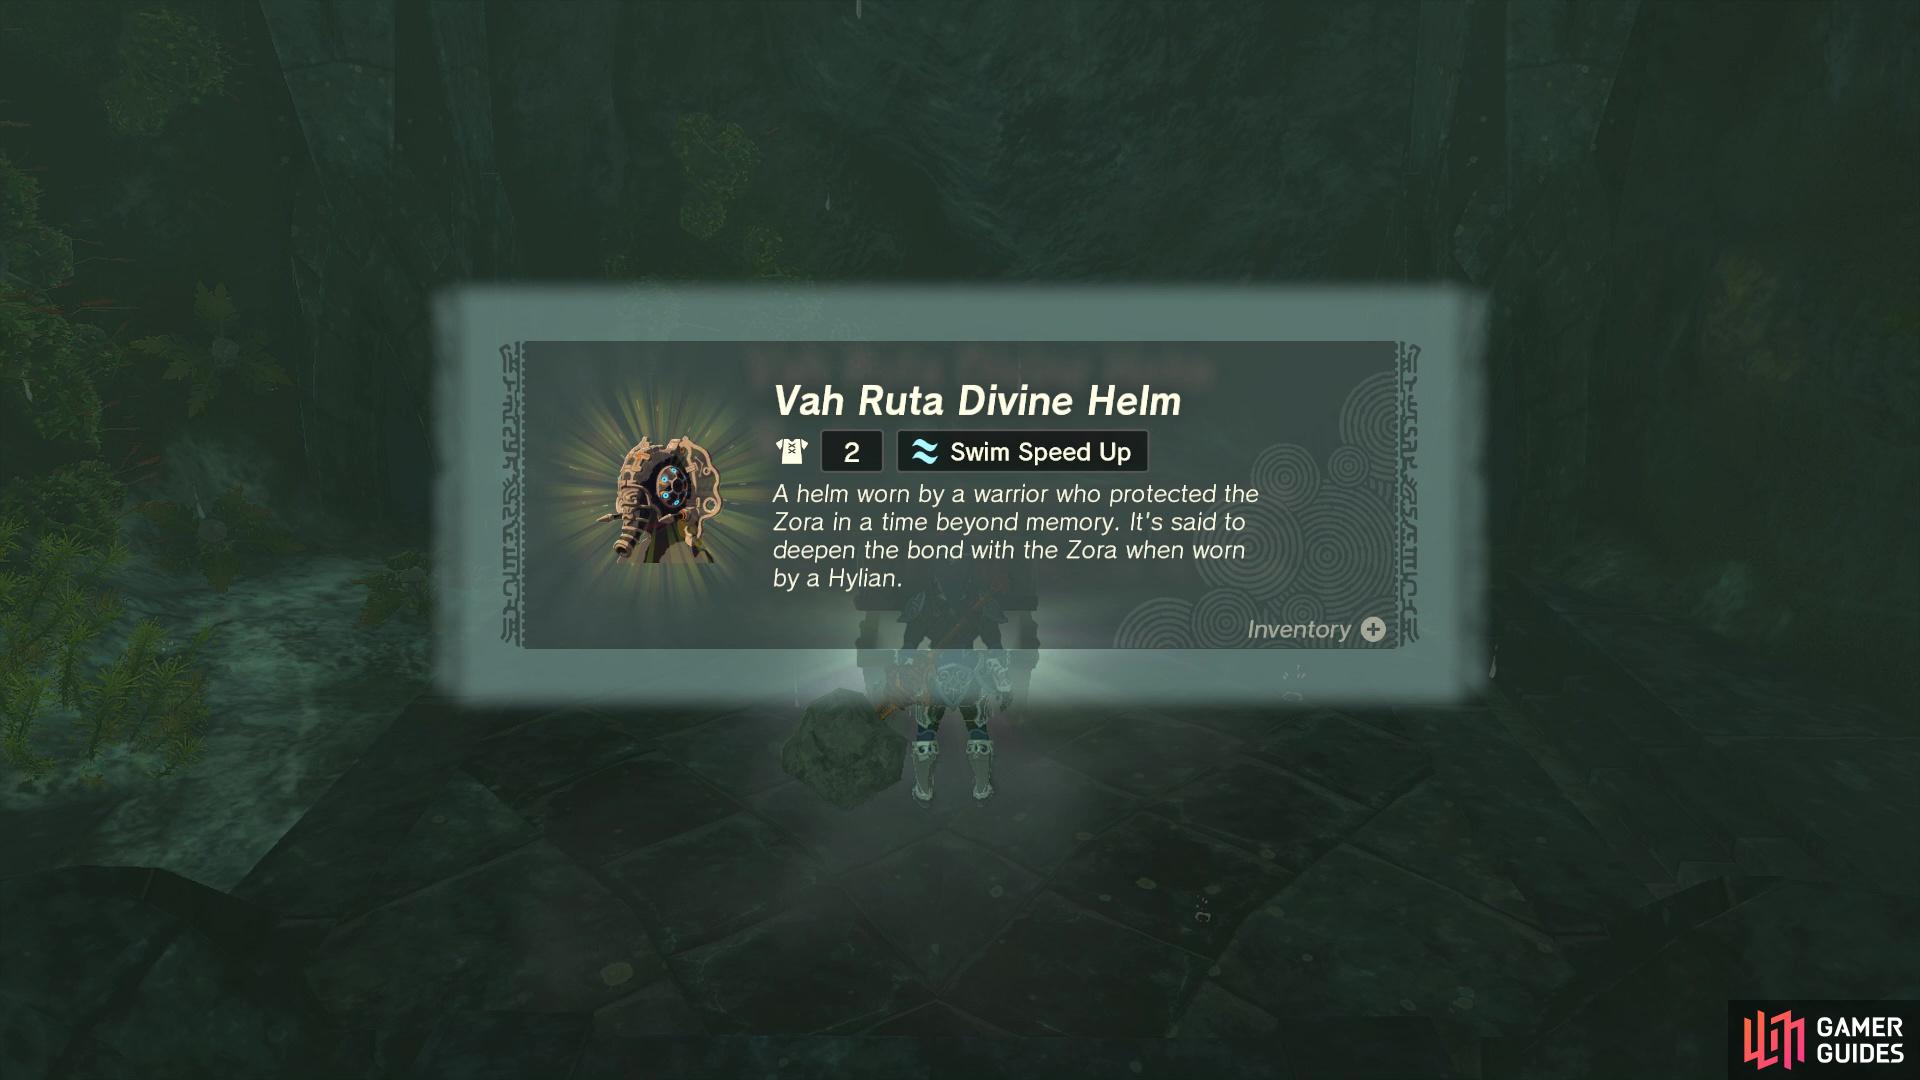
 Vah Ruta Divine Helm