
It doesn’t matter what the setting is, some things - like light beam puzzles - seem unavoidable in video games. You’ll find one such puzzle in the Latotian’s Passage system in Rogue Trader, and this page will provide a walkthrough for finding and solving the light puzzle in the Unidentified Ruins.
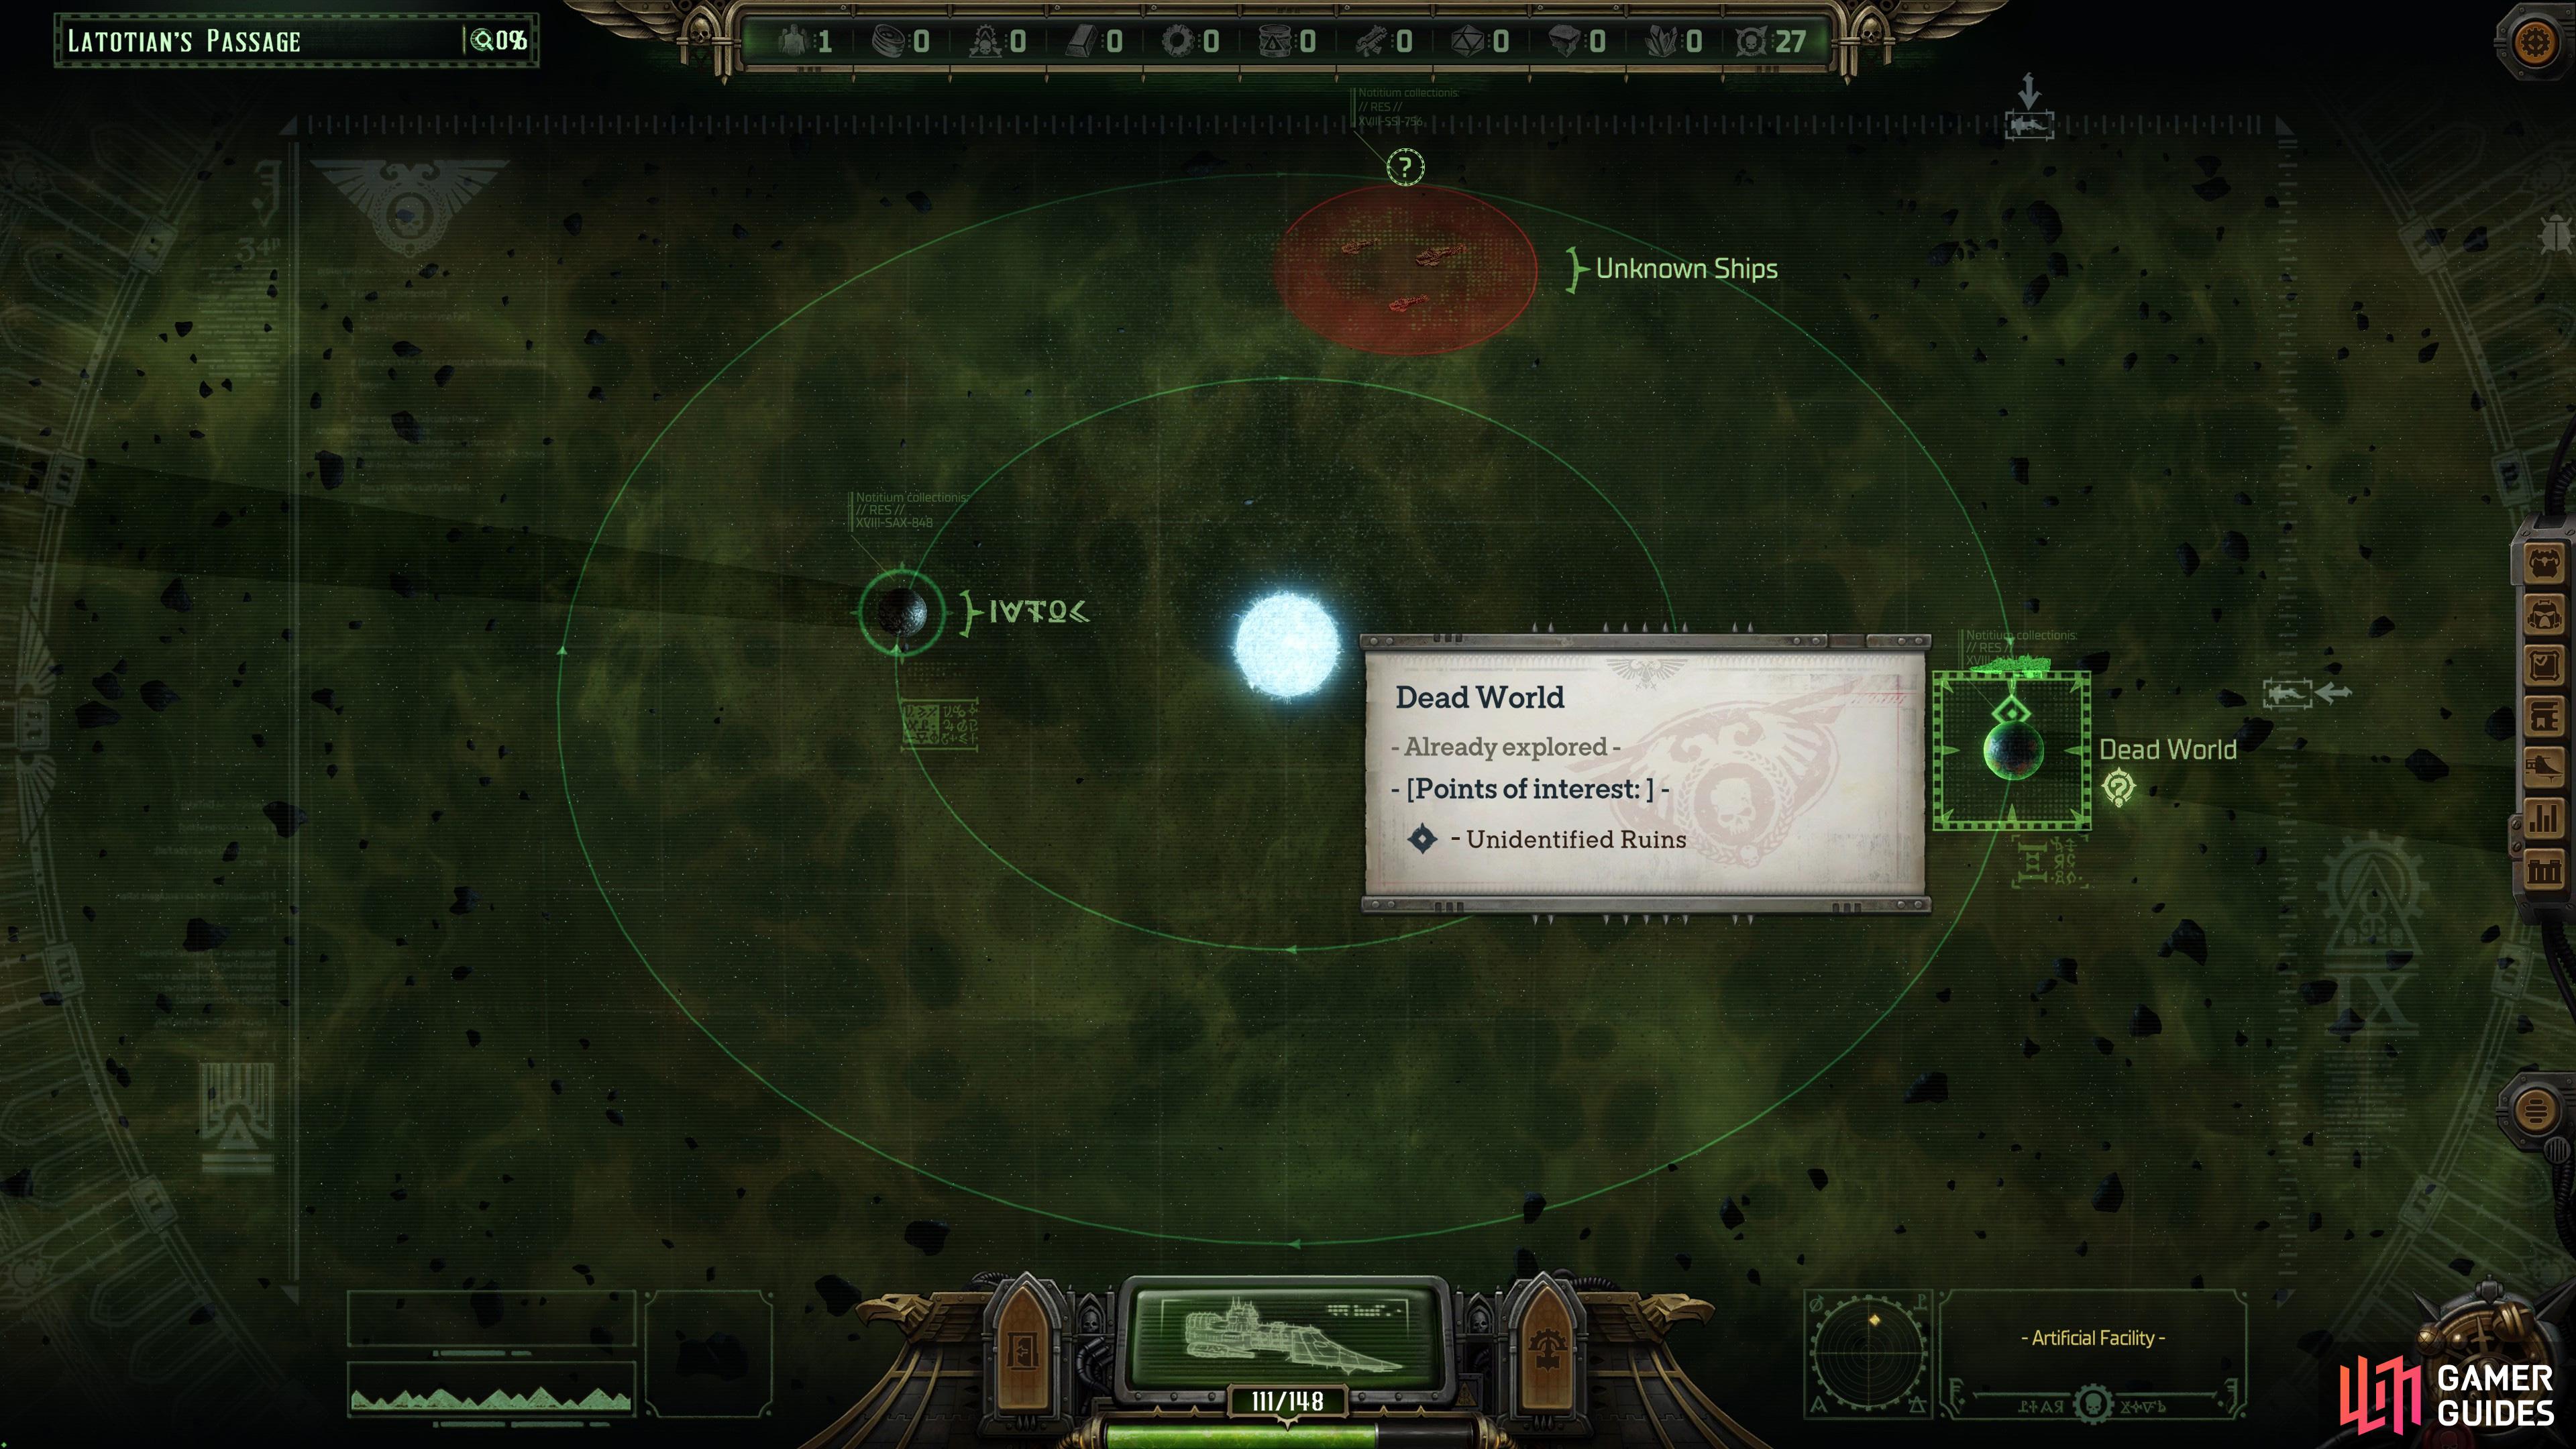
Scan a dead world in the Lotatian’s Passage system to find some ruins you can explore.
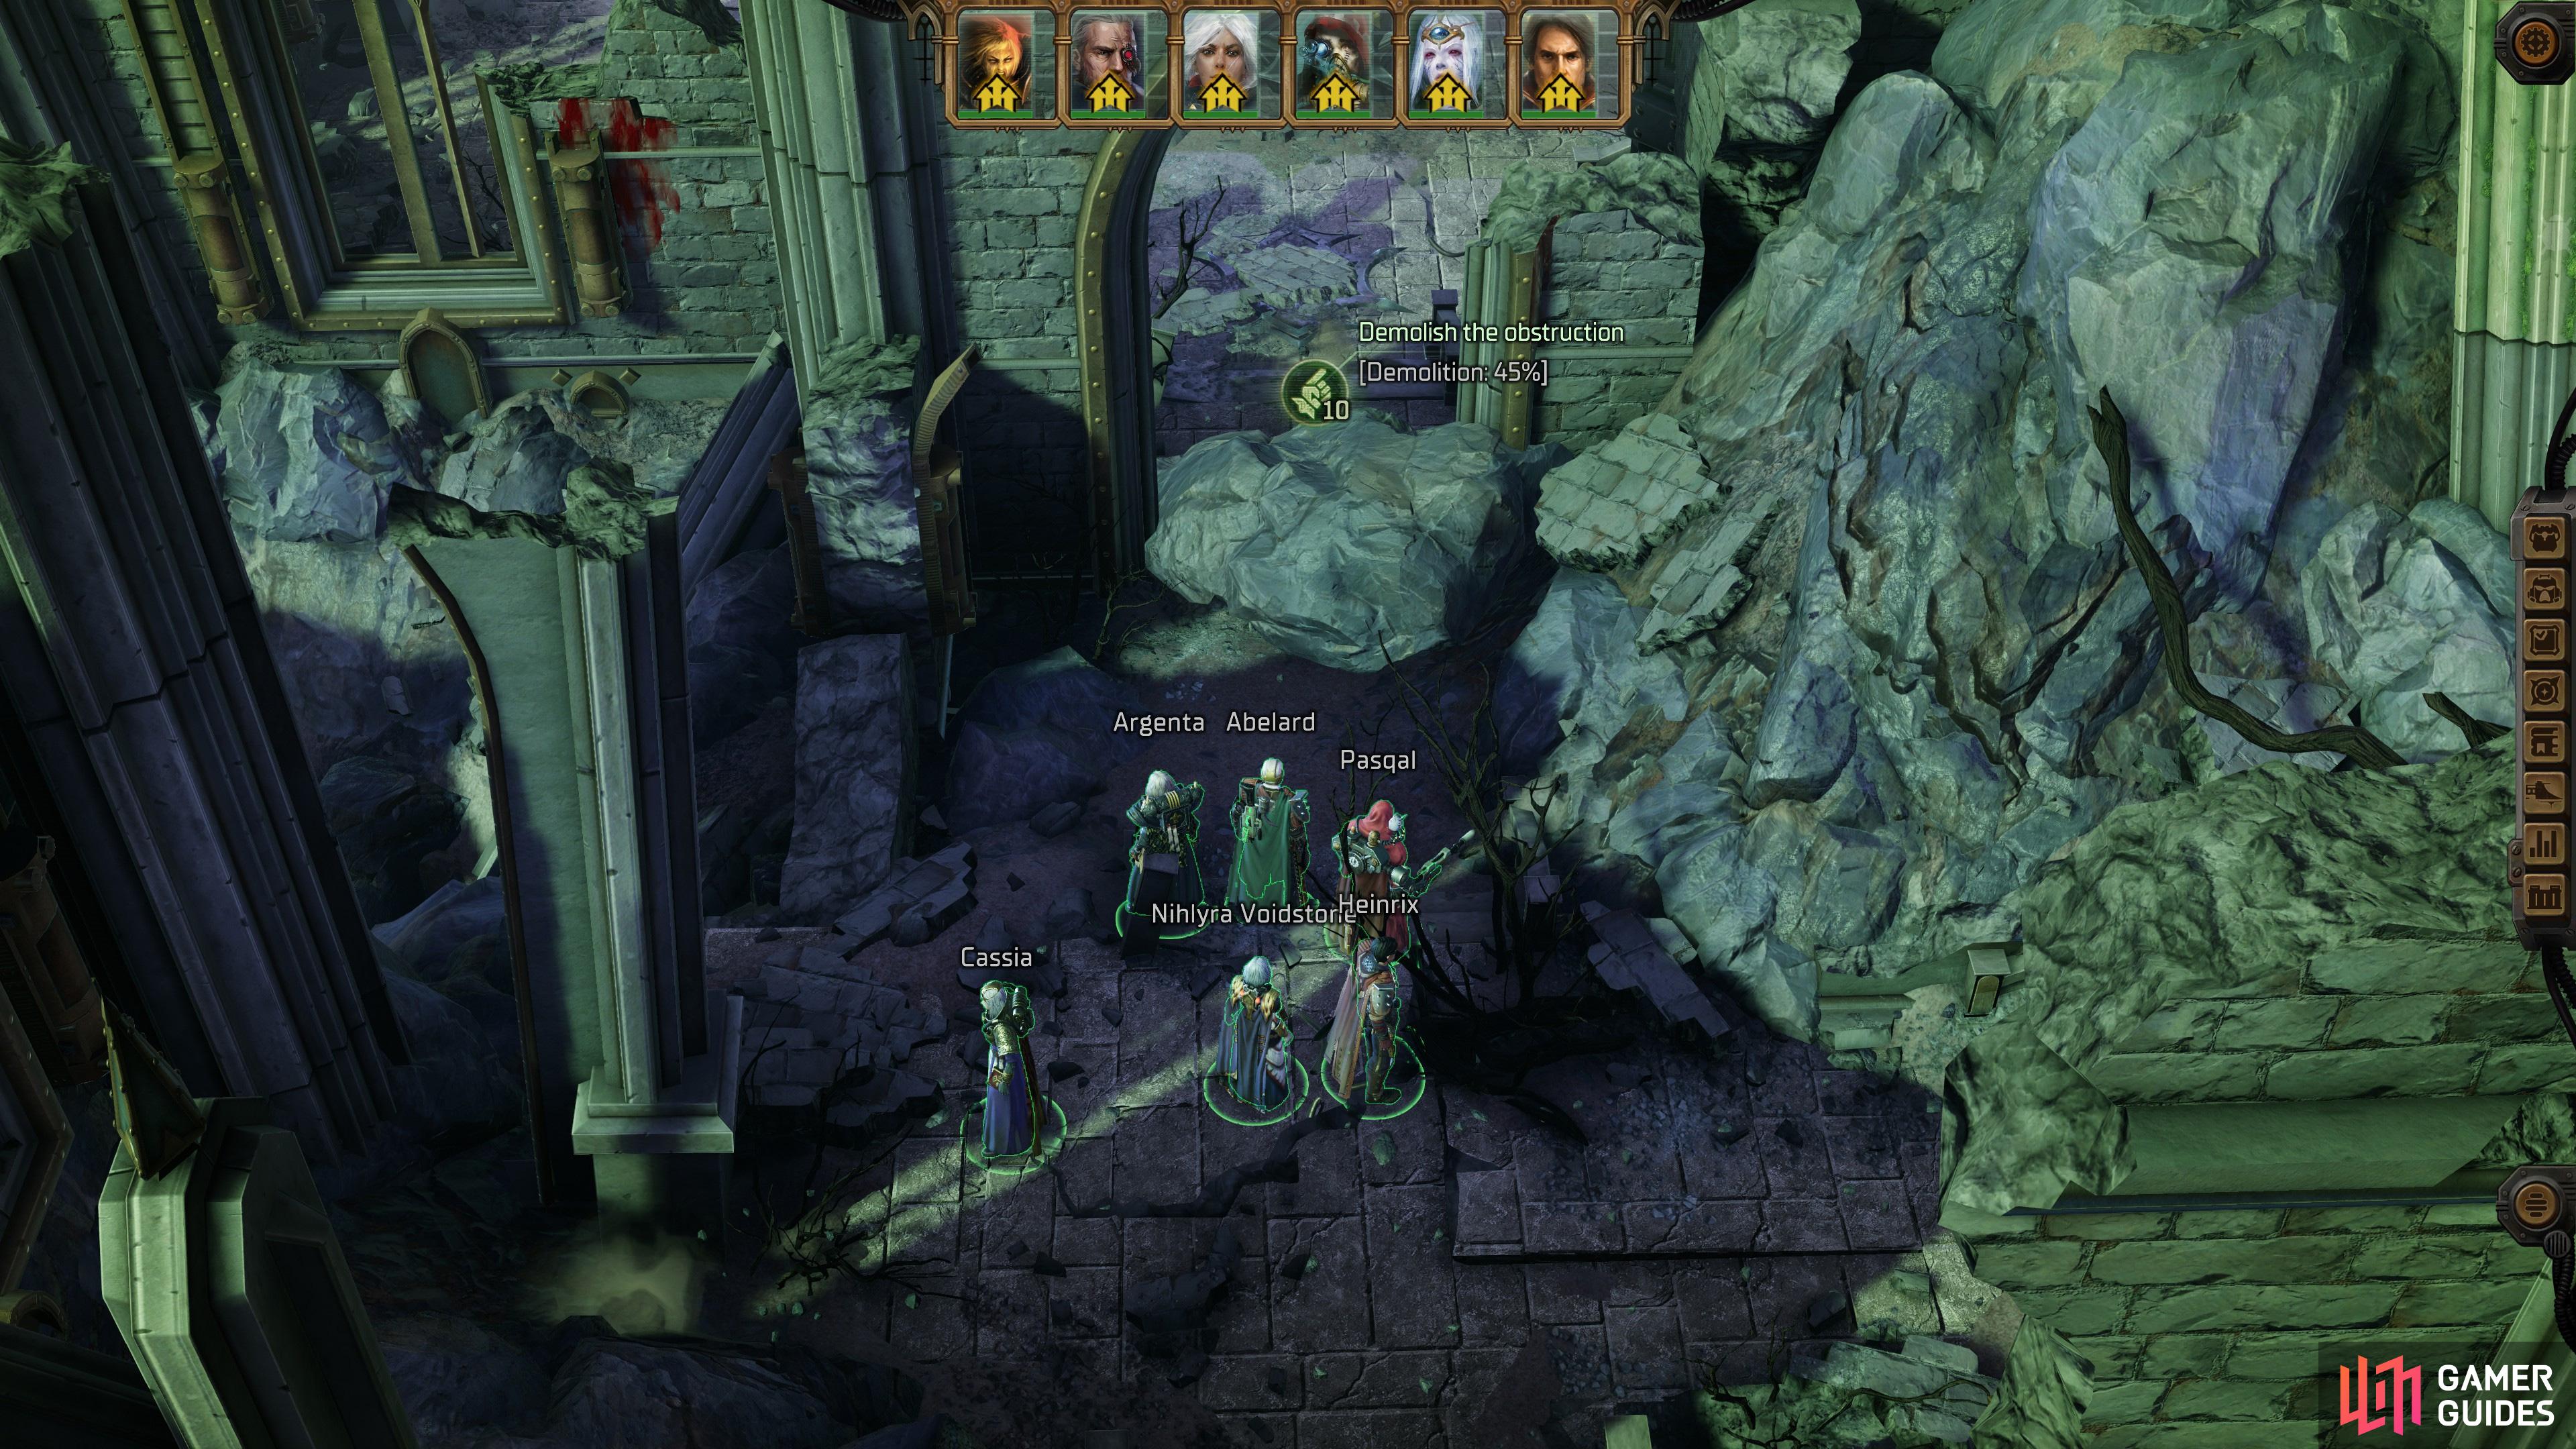
When your boots are on the ground, head into the ruins and pass a Demolition check to remove some rubble.
How to Solve the Light Puzzle in the Unidentified Ruins
From what you land, head north, then turn west (left) to find the way forward blocked by a rock. Use a Melta Charge and succeed at a [Demolition] check to clear the way, then head through the archway ahead to find a filthy xeno statue. Not just one, there are five statues, with the largest being the easternmost statue, and all of these statues have swirling crystals floating overhead. Interact with the largest statue and pass a [Lore (Warp)] check to unleash a blast of energy and unleash a beam of light which emits from the top of the statue. The goal is simple: bounce the light from statue to statue and ultimately into a mouth on the wall to the west… but in which order do you reflect the light through the other statues?
Note a pattern on the floor to the west of the main statue - it shows a pattern of purple lines, indicating the route the beam of light has to travel. Don’t bother with this one, however, as it’s defunct, and if even if you succeed you’ll just be told the pattern no longer works. Instead, search some rubble to the east of the main statue and you’ll uncover (pending a successful [Awareness] check) a second pattern showing the beam of light traveling in a star shape before reaching the mouth.
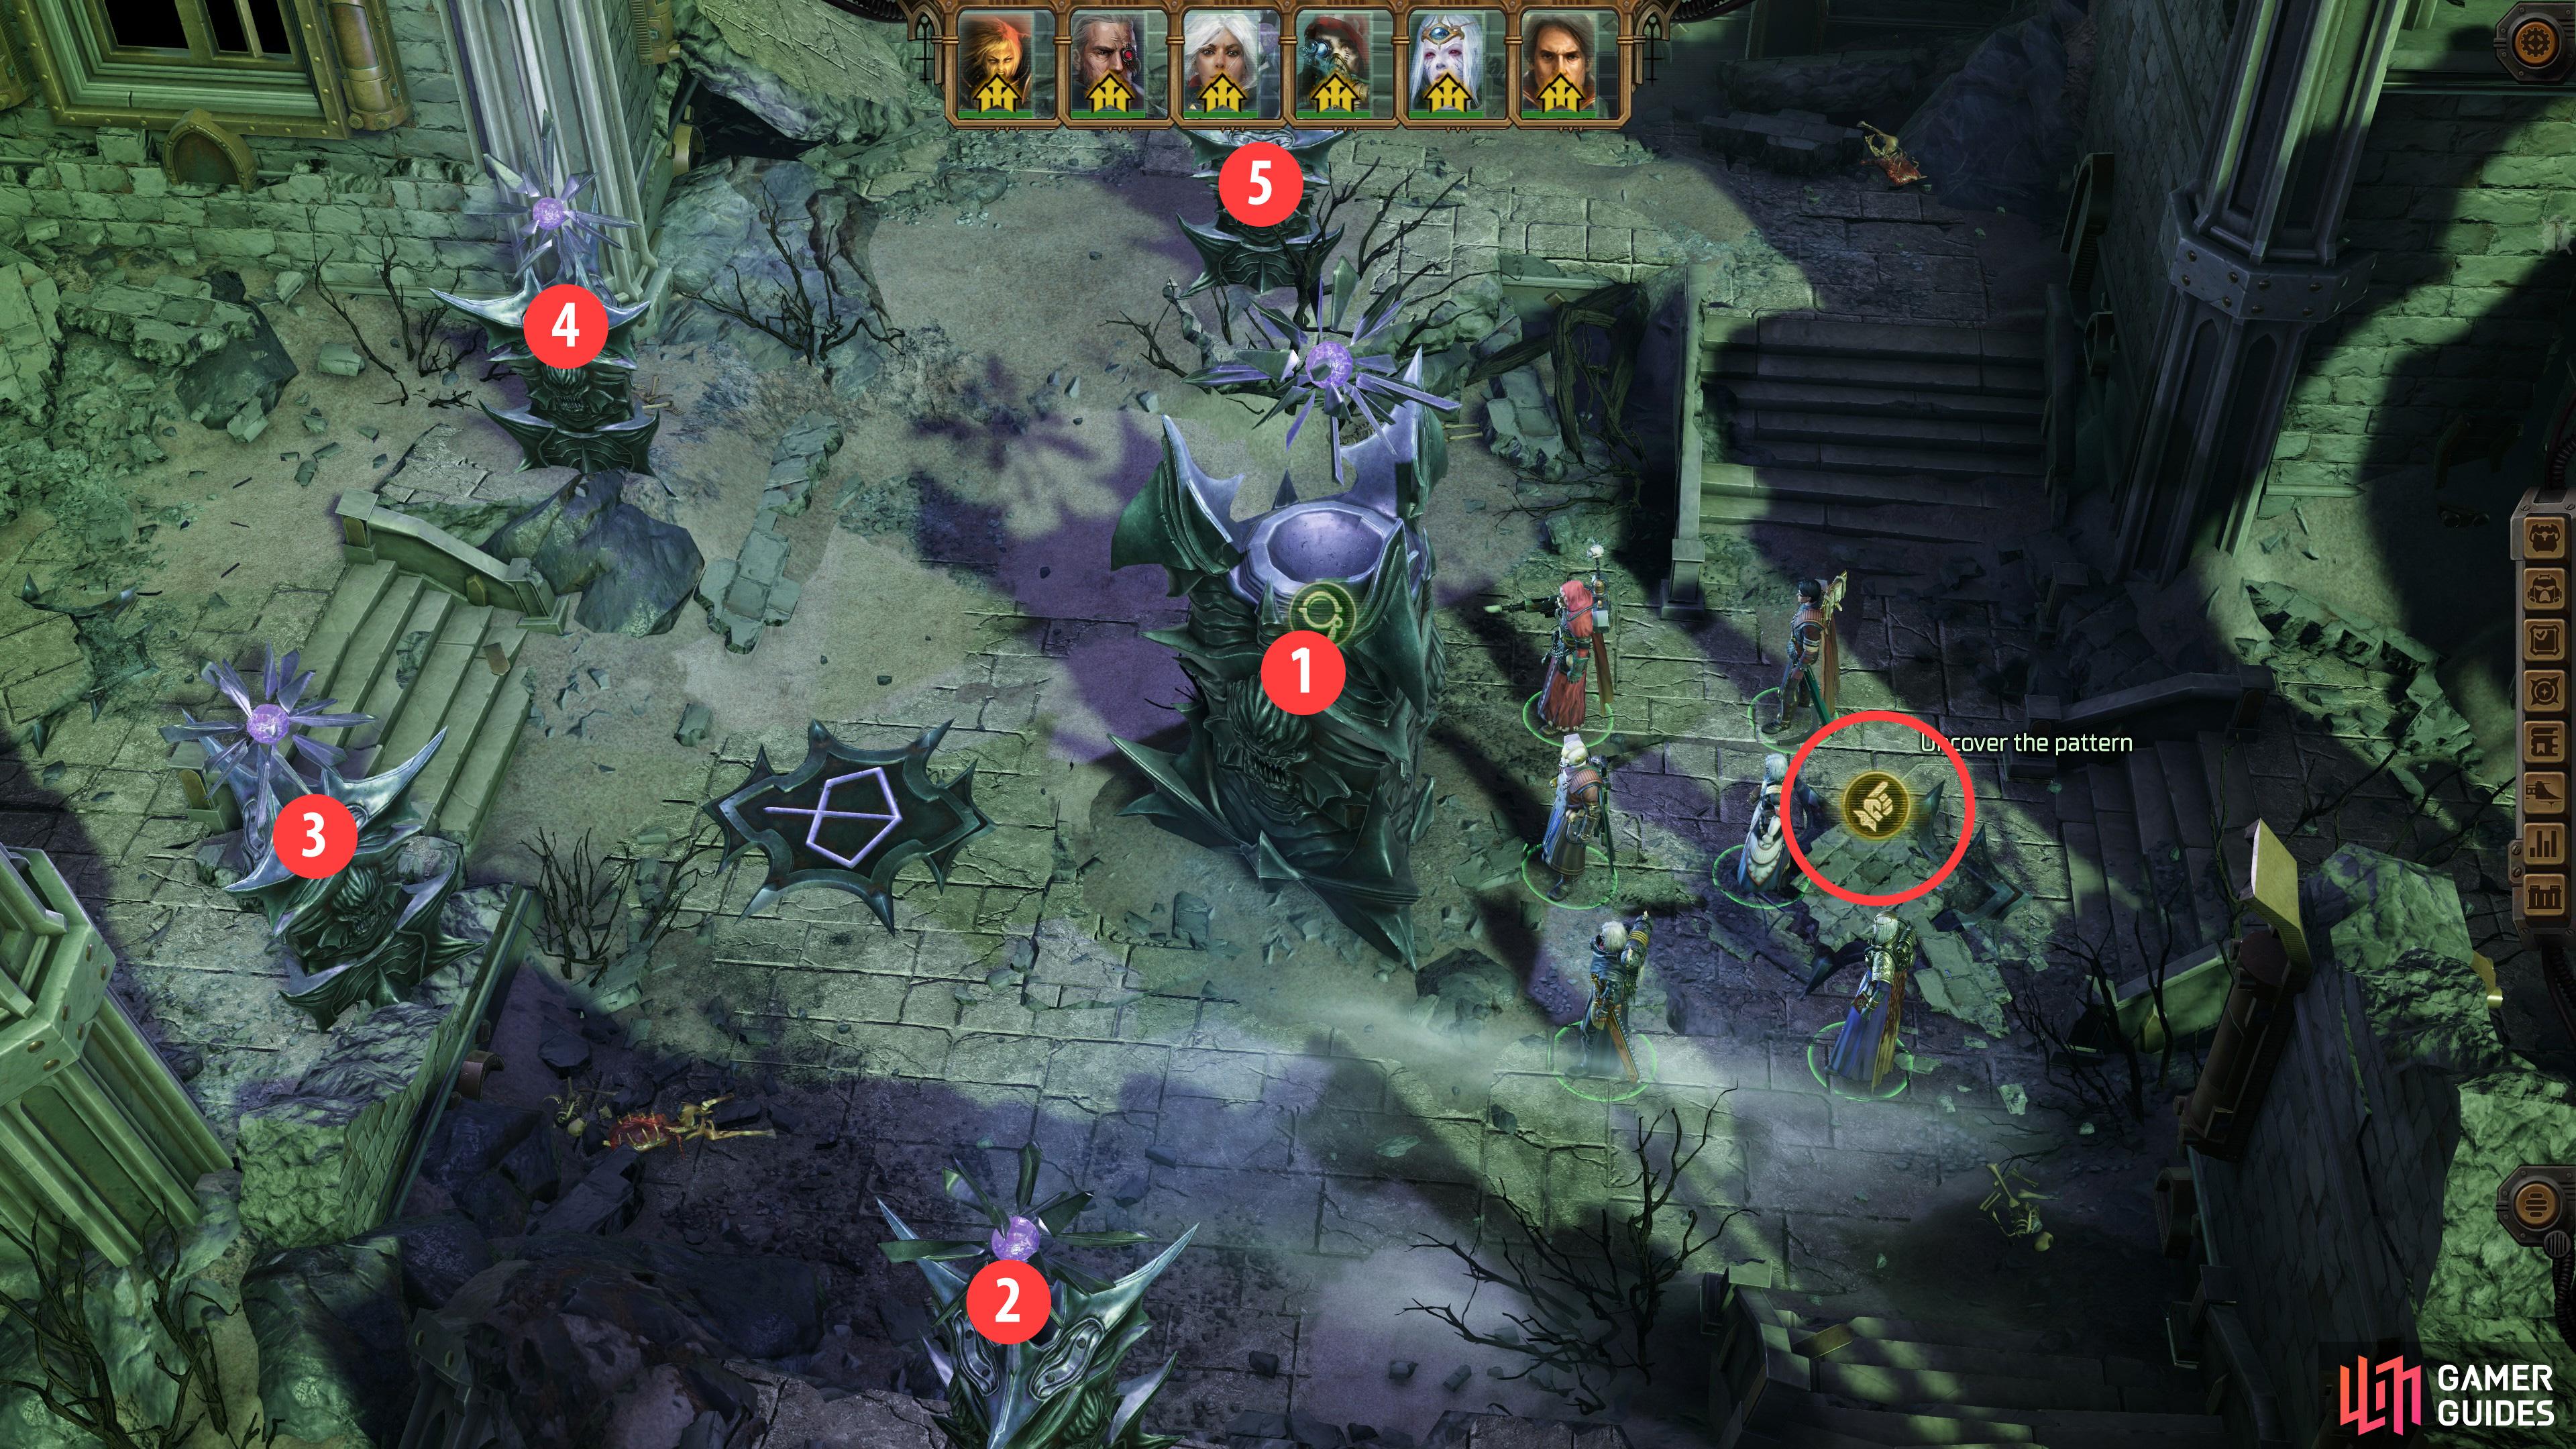
(1 of 3) Uncover the hidden pattern, then note the five statues that make up the light puzzle.
To make this simpler, we’ll just number all the statues, with the main statue being #1, the southernmost statue being #2, the western two statues being #3 (south) and #4 (north) and the northernmost statue being #5. Click on the statues until the light beam goes to the next statue in the sequence (it can take multiple clicks - each time you interact with a statue it’ll send the light to a different statue) and when it forms the correct pattern and goes into the mouth to the west you’ll be able to claim a treasure. If you move the beam of light somewhere it cannot go, there will be a harmless explosion and the puzzle will reset.
With that in mind, there’s the solution:
- Click on statue 1 twice until the beam of light goes to statue 3.
- Click on statue 3 twice until the beam of light goes to statue 5.
- Click on statue 5 twice until the beam of light goes to statue 2.
- Click on statue 2 twice until the beam of light goes to statue 4.
- Click on statue 4 twice until the beam of light goes to statue 1.
When the light hits the statue’s mouth, head over to it and you’ll find a chest in the mouth. Loot it and you’ll obtain an ![]() Ancient Force Sword, a Force weapon that deals bonus damage equal to the wielder’s Psy Rating. It’s a fine upgrade for Heinrix.
Ancient Force Sword, a Force weapon that deals bonus damage equal to the wielder’s Psy Rating. It’s a fine upgrade for Heinrix.

Pass an Awareness check to find a hidden container,

inside of which is a Cracked Xenochest - an item you’ll need to start up a second light puzzle.
Second Unidentified Ruins Puzzle Solution
There’s also a second puzzle after this one which you can entirely miss if you’re not careful. Solve the first puzzle, above, then backtrack east past the obstruction you destroyed earlier. Before going anywhere else, quicksave your game, as even starting this puzzle is highly dependent on RNG. Once done head upstairs to the north, through another archway, and into the ruins to the right. With any luck you’ll pass an [Awareness] check as you roam about here to discover a container hidden under the rubble - if not, you may have to reload. Once you spot this container, loot it to obtain the Cracked Xenochest, then return to the puzzle and place the Cracked Xenochest in “Empty Jaws” from which you withdrew the Ancient ![]() Force Sword earlier - this happens automatically when you click on the Empty Jaws, so don’t worry about fussing around in your inventory.
Force Sword earlier - this happens automatically when you click on the Empty Jaws, so don’t worry about fussing around in your inventory.
This will reactivate the light puzzle ready for another puzzle, which can be solved by doing the following:
- Click on statue 1 three times until the beam of light goes to statue 4.
- Click on statue 4 once until the beam of light goes to statue 5.
- Click on statue 5 twice until the beam of light goes to statue 2
- Click on statue 2 once until the beam of light goes to statue 3.
- Click on statue 3 three times until the beam of light goes to statue 1.
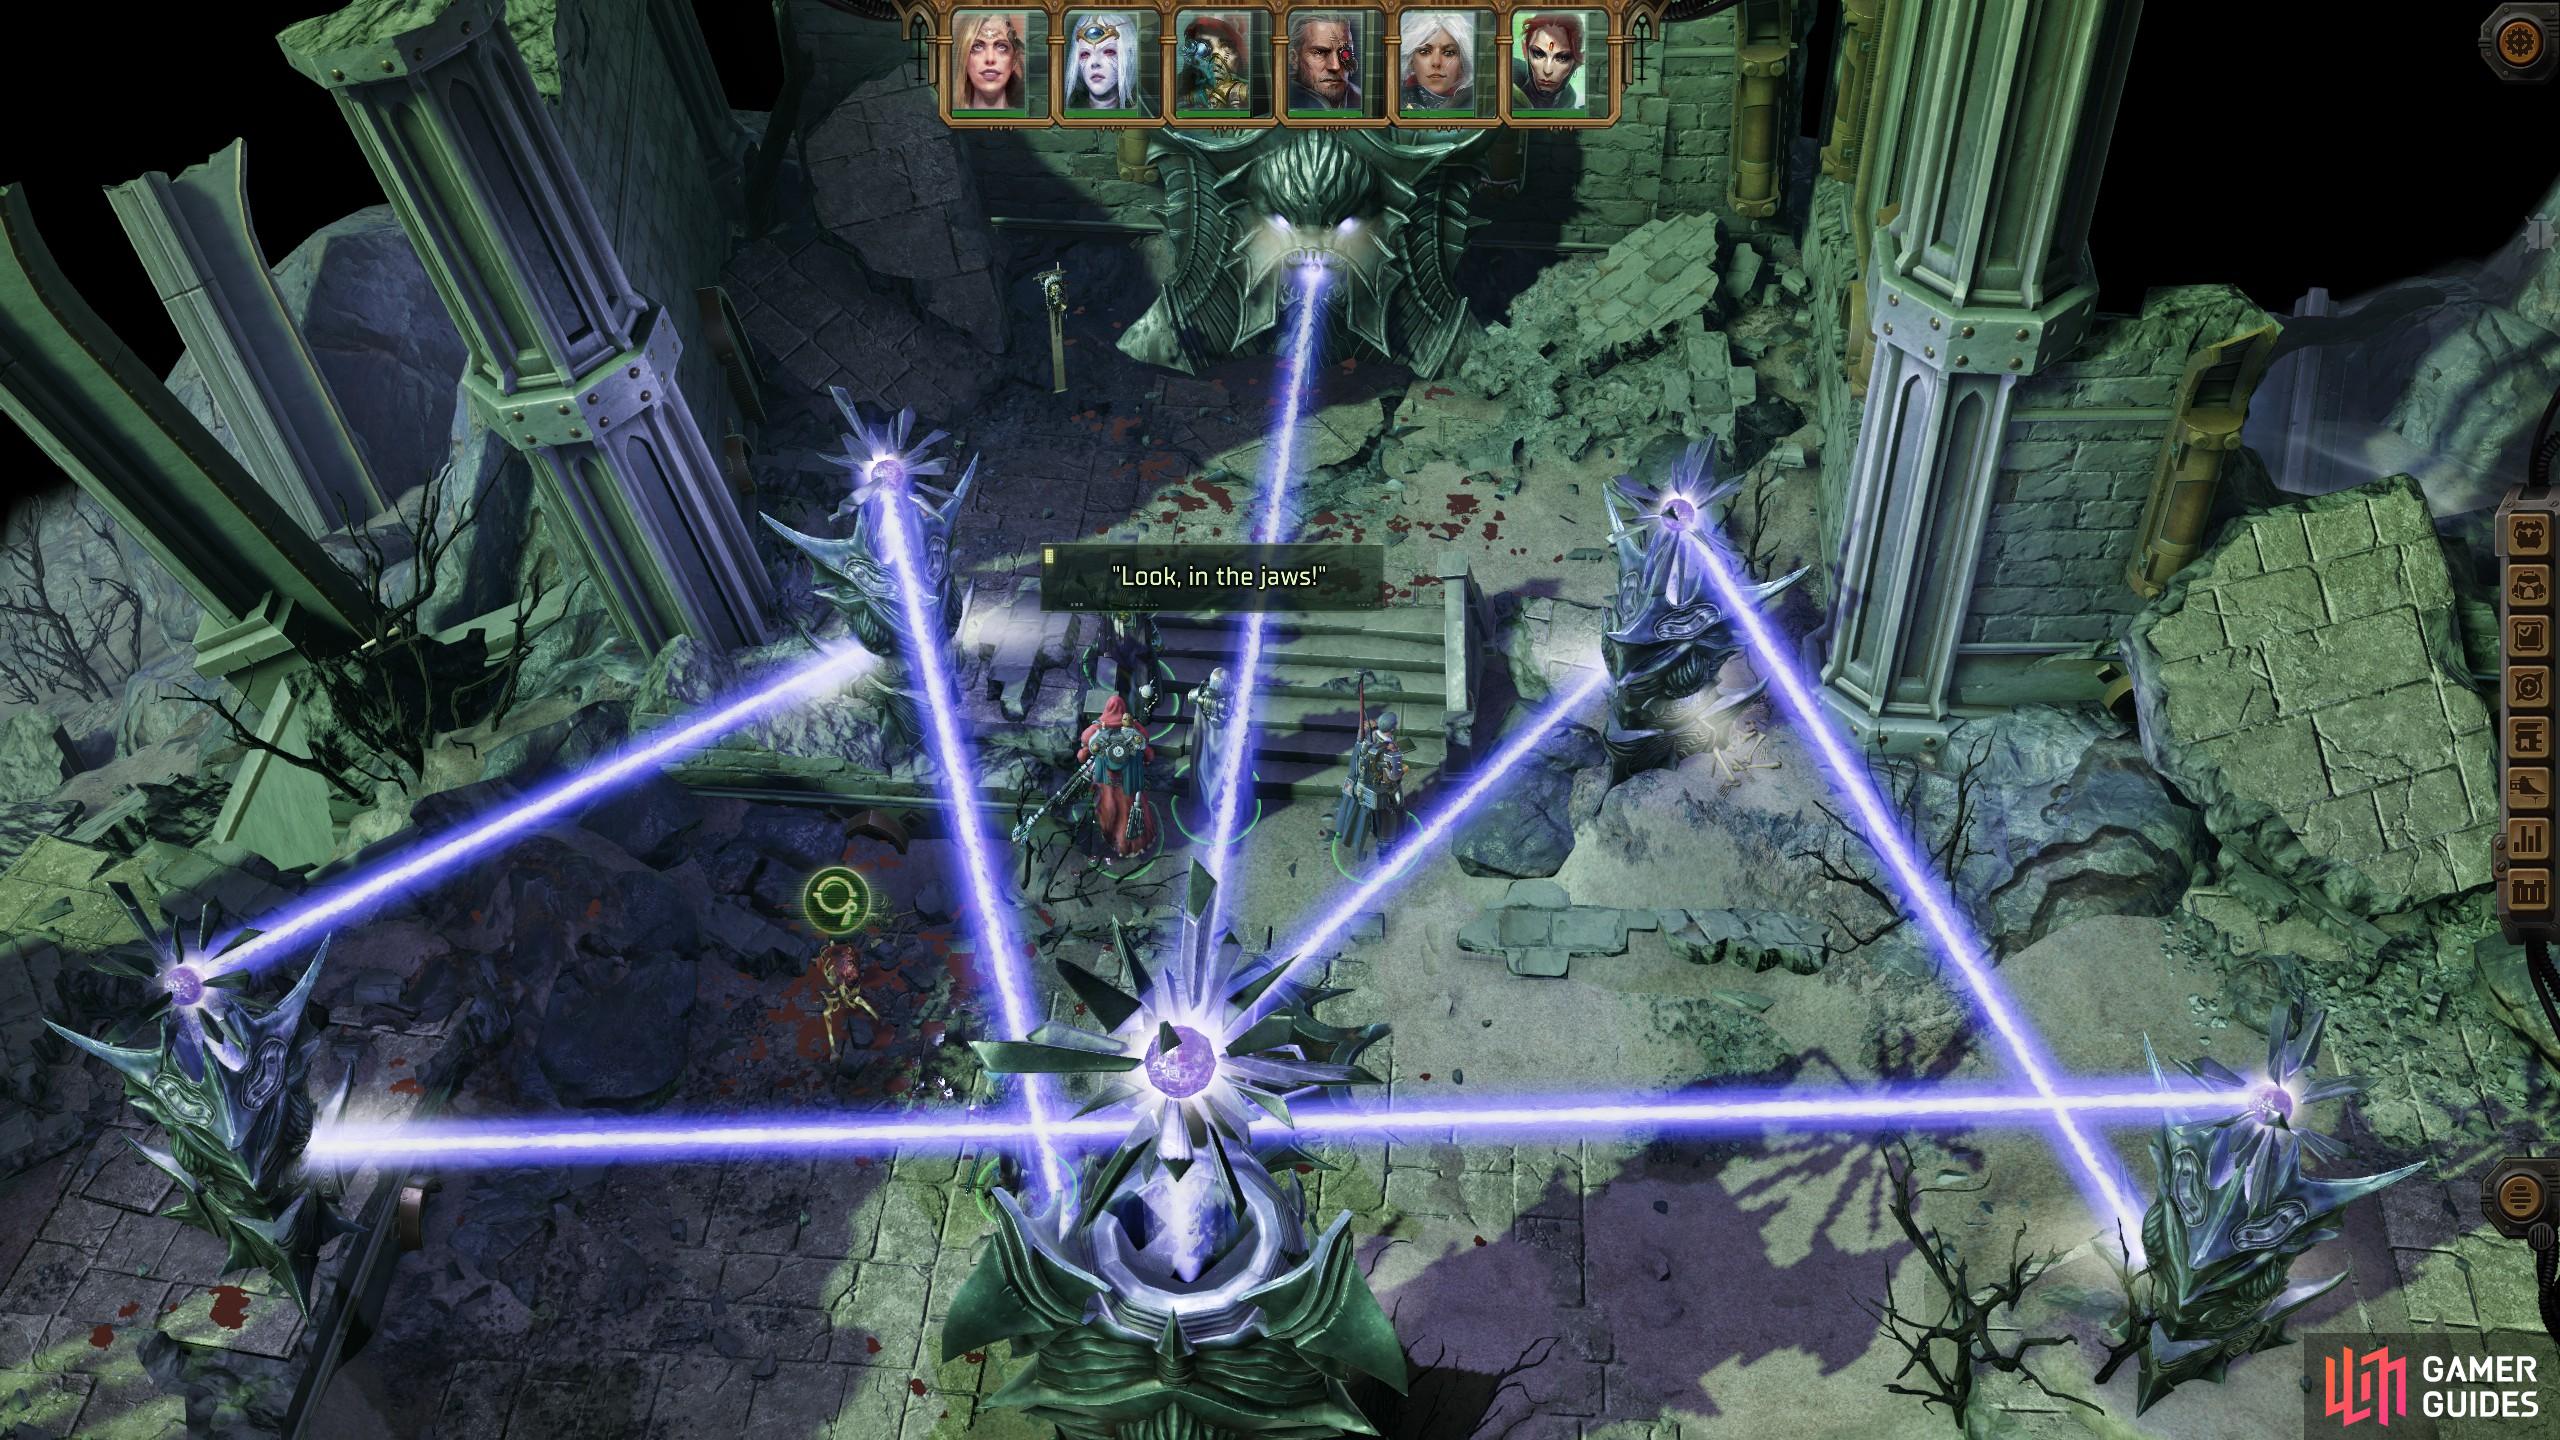
(1 of 3) Create this pattern to unlock the second hidden puzzle and get the achievement for it.
Once the beam is going back into the not-so-Empty Jaws you can loot said jaws to find the ![]() Foulsight Veil helmet, Aeldari-only equipment that gives its wearer a +15 bonus to
Foulsight Veil helmet, Aeldari-only equipment that gives its wearer a +15 bonus to ![]() Perception at the cost of a -5 penalty to
Perception at the cost of a -5 penalty to ![]() Willpower, and the
Willpower, and the ![]() Chains of Domination, which gives the equipped character a +5 bonus to Willpower every time they make a kill for the duration of combat. This bonus stacks.
Chains of Domination, which gives the equipped character a +5 bonus to Willpower every time they make a kill for the duration of combat. This bonus stacks.
These treasures don’t come free, however, as you’ll have to fend off some demons that spawn in after you claim them. These foes include a Screamer of Tzeentch and two Pink Horrors, and they spawn between the large statue and the boulder you demolished earlier, so plan for their arrival accordingly!
Why is the second explanation so poor compared to the first one? Following these directions all I get is "this pattern no longer works."
Two authors, miscommunication(?), and a buggy (at launch) game. Should be fixed now.
Why is the second explanation so poor compared to the first one? Following these directions all I get is "this pattern no longer works."
Two authors, miscommunication(?), and a buggy (at launch) game. Should be fixed now.