
The Destined One has come a long way throughout his journey of discovery and enlightenment and it has all led to this point. To become the successor of the great Sun Wukong, he must first overcome his predecessor in a gruelling two part final battle of Black Myth: Wukong. The Stone Monkey is the first of these, and you can learn all about here.

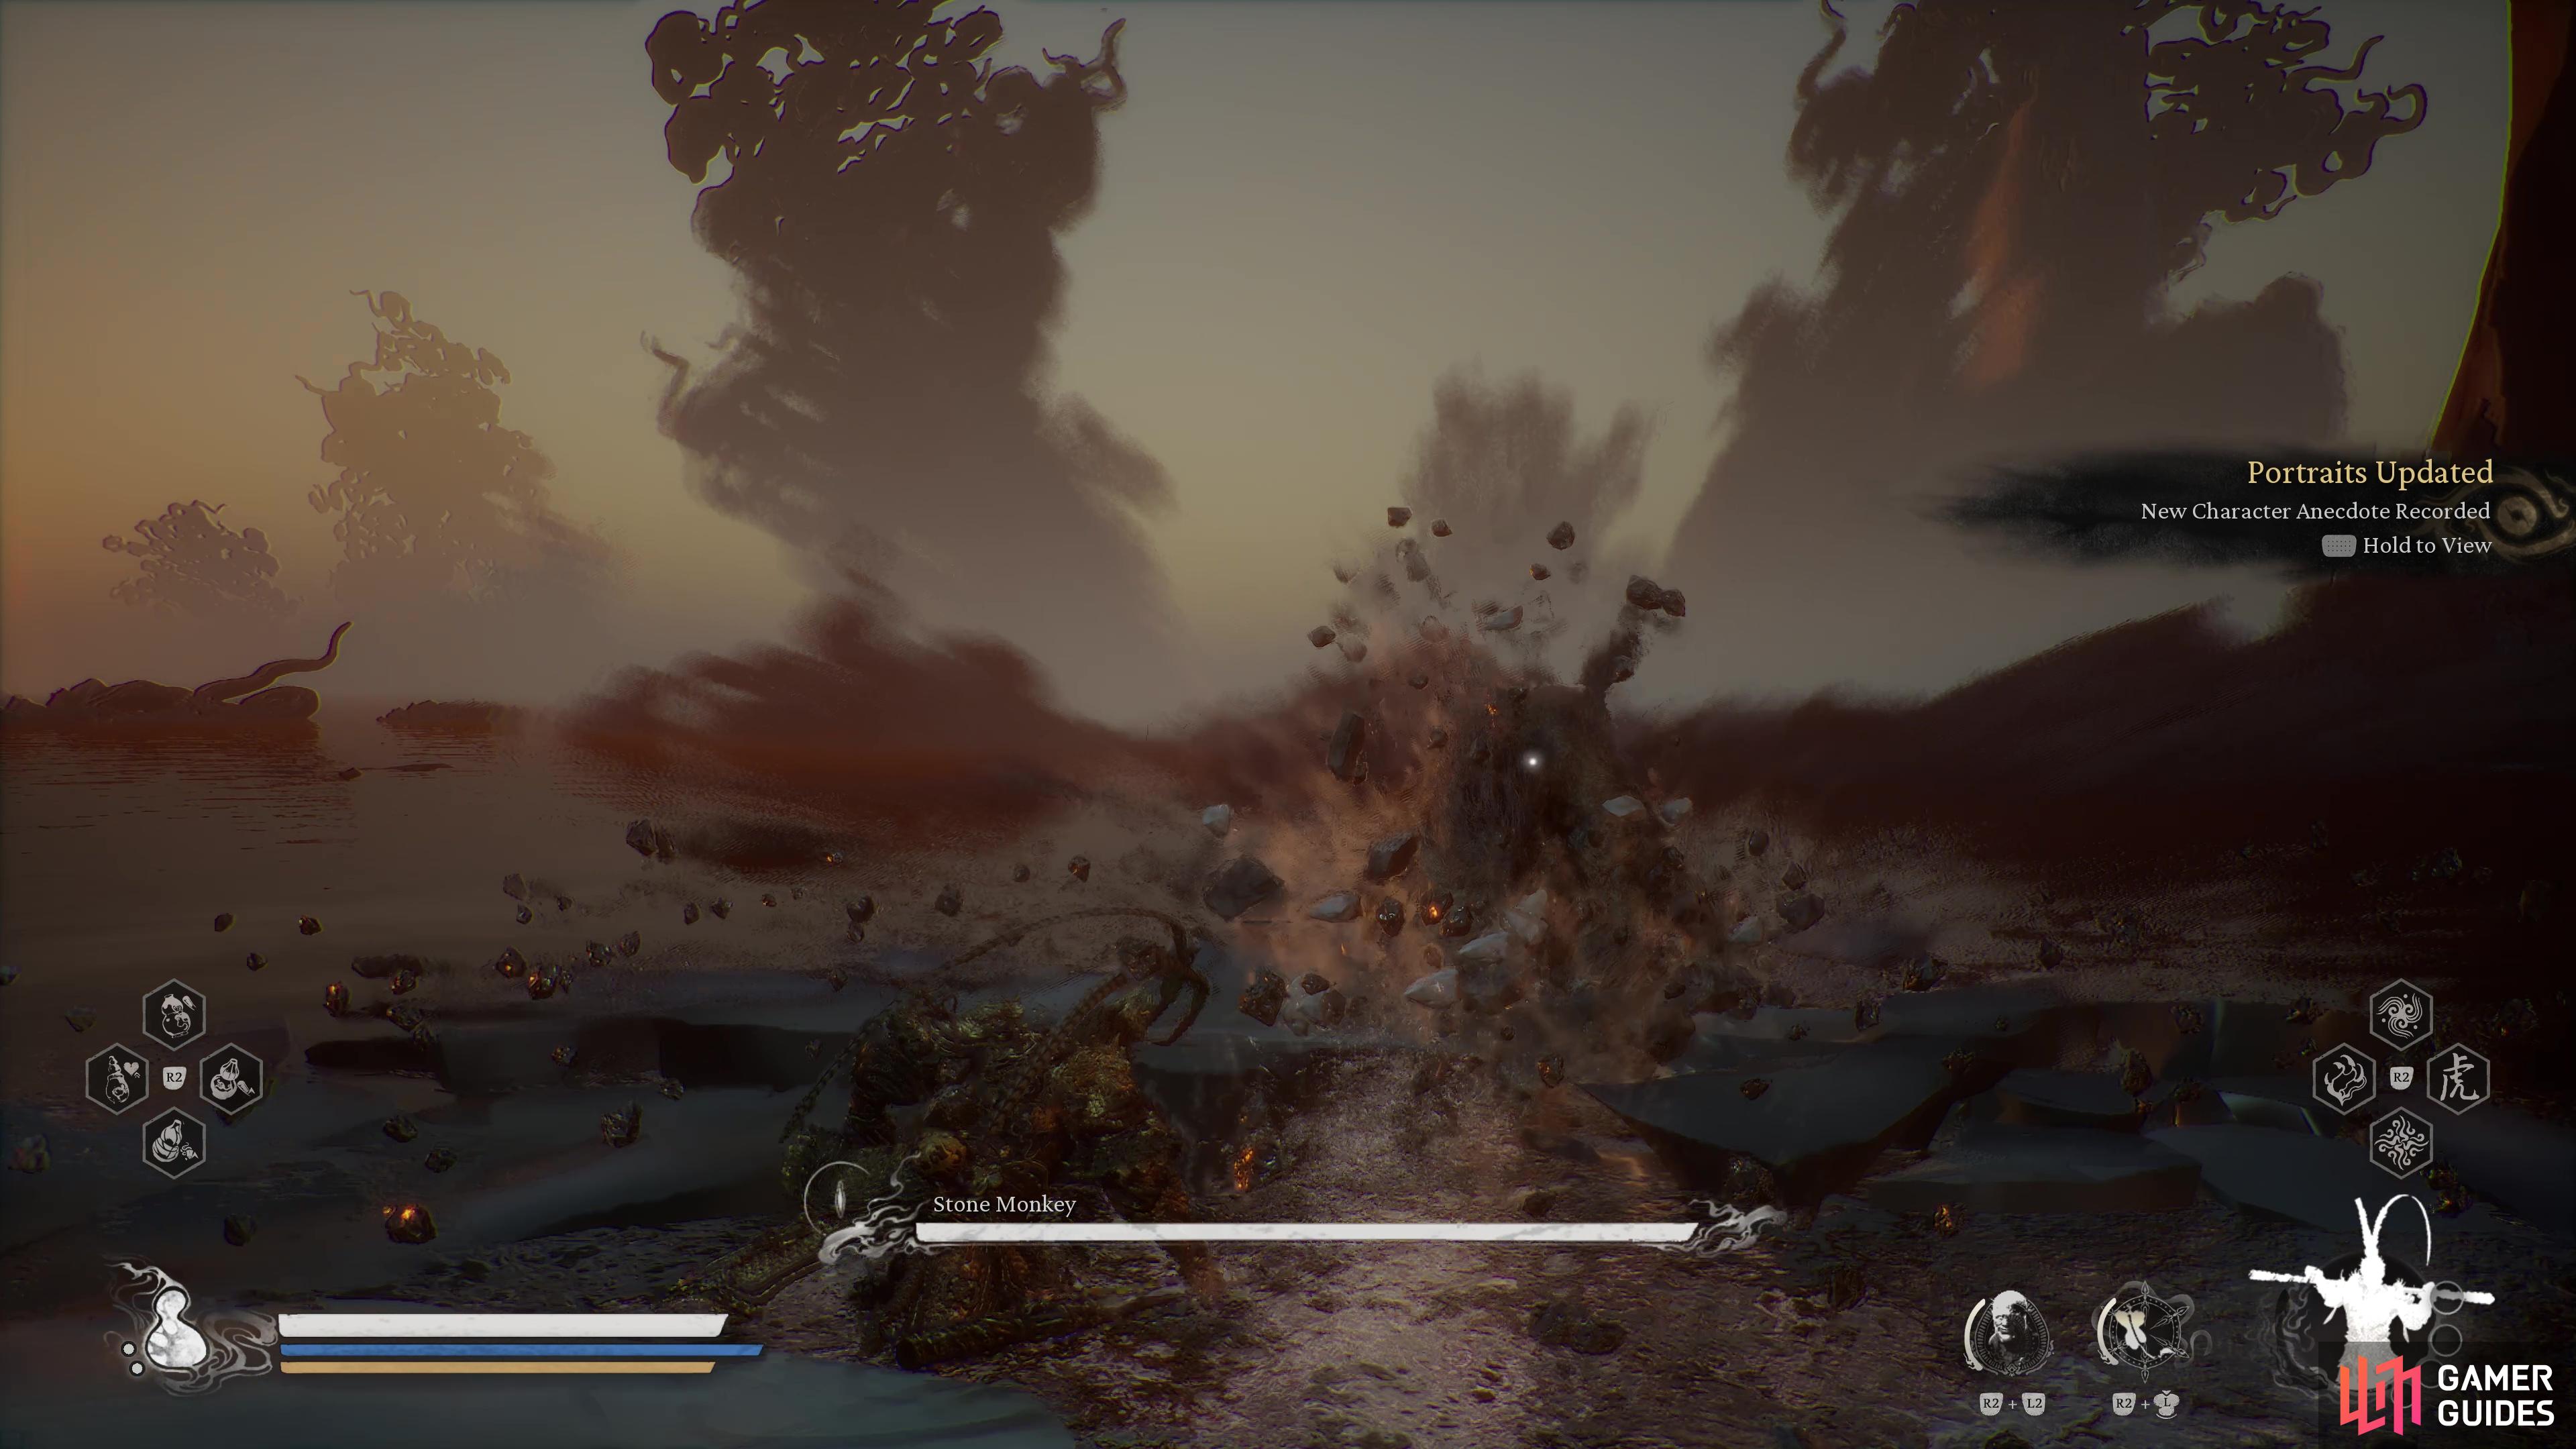
The Stone Monkey is the first part of the final boss of Black Myth: Wukong.
Table of Contents
If you want to jump straight to our strategy, or perhaps see how to prepare for beating The Stone Monkey, check out the following table:
The Stone Monkey Location
As The Stone Monkey is the start of the final battles of Black Myth: Wukong, you’ll naturally have you make your way through to the very end of the final chapter. This can either be very quick, or take you a while as you take on the rest of the optional bosses (and even the super boss) to make sure you’re sufficiently ready for the challenge that awaits.
Once you’re ready to get the ball rolling, make sure you’ve defeated the ![]() Gold Armored Rhino,
Gold Armored Rhino, ![]() Cloudtreading Deer,
Cloudtreading Deer, ![]() Feng-Tail General, and the
Feng-Tail General, and the ![]() Emerald-Armed Mantis that are scattered around the Foothills section of Mount Huaguo. Once they’re down and you’ve acquired all of the armor for Sun Wukong’s set, proceed into the Waterfall Curtain Cave (southwest of the Foothills) and claim the
Emerald-Armed Mantis that are scattered around the Foothills section of Mount Huaguo. Once they’re down and you’ve acquired all of the armor for Sun Wukong’s set, proceed into the Waterfall Curtain Cave (southwest of the Foothills) and claim the ![]() Jingubang, the final piece of the set.
Jingubang, the final piece of the set.
This will allow you to enter the trail behind, do so, taking out the soldiers along the way with your new set and at the very top you’ll find a Keeper’s Shrine, this is the point of no return, so make sure you’re fully ready for a difficult series of battles before going any further.
Preparation
How you deal with the threat that lays beyond really is determined on how much of the side content you’ve engaged with in Black Myth: Wukong. There are many optional bosses to find in this Chapter alone (check out our All Bosses guide for more information) that can provide some useful materials.
Now is also the time to consider whether you want to tackle the super boss that is now available by completing all of the secret areas in the previous chapters. This boss is by far the toughest challenge you’ll find in the game (even more so than the already difficult final bosses), so if you find yourself coming out on top there, you’ll know you’re more than ready. To read more on that, check out the pages below:
Once you’re finally ready to bring it all to an end, make sure you have your necessary recovery items and then proceed to the top of the hill, following a series of scenes, you’ll challenge The Stone Monkey.
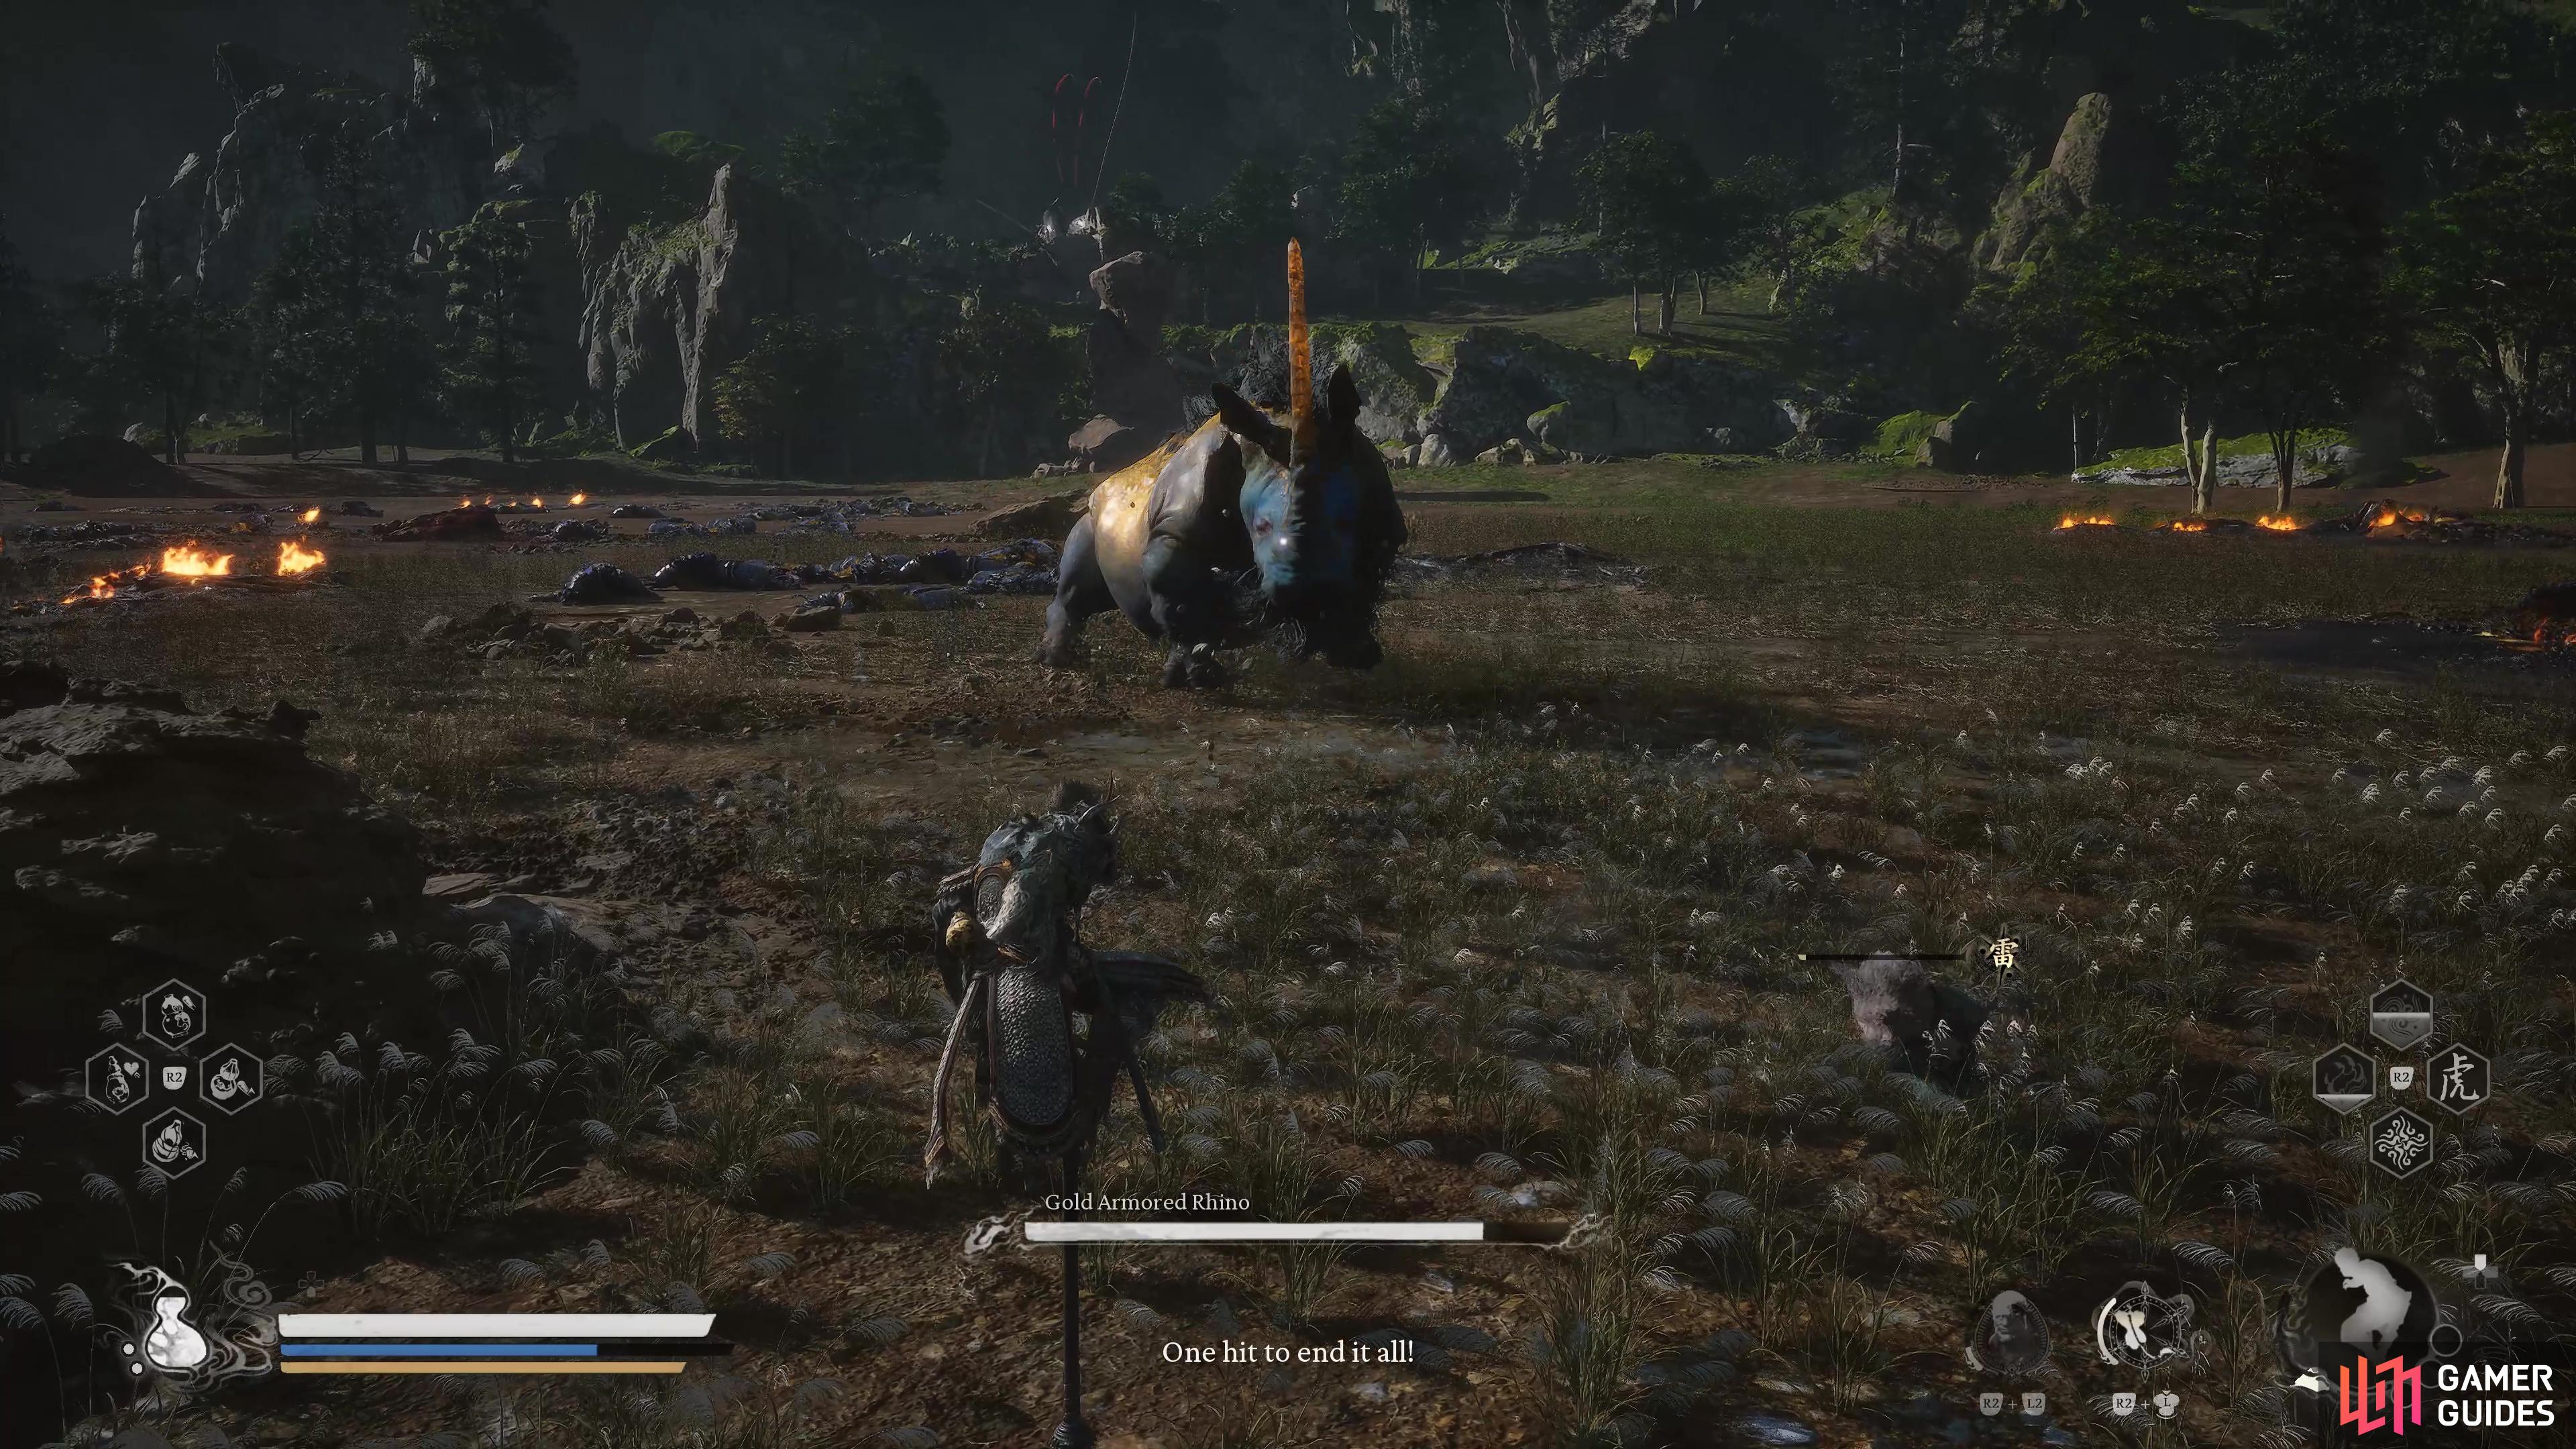
You need to take out four required bosses in the Foothills to get Sun Wukong’s armor set.
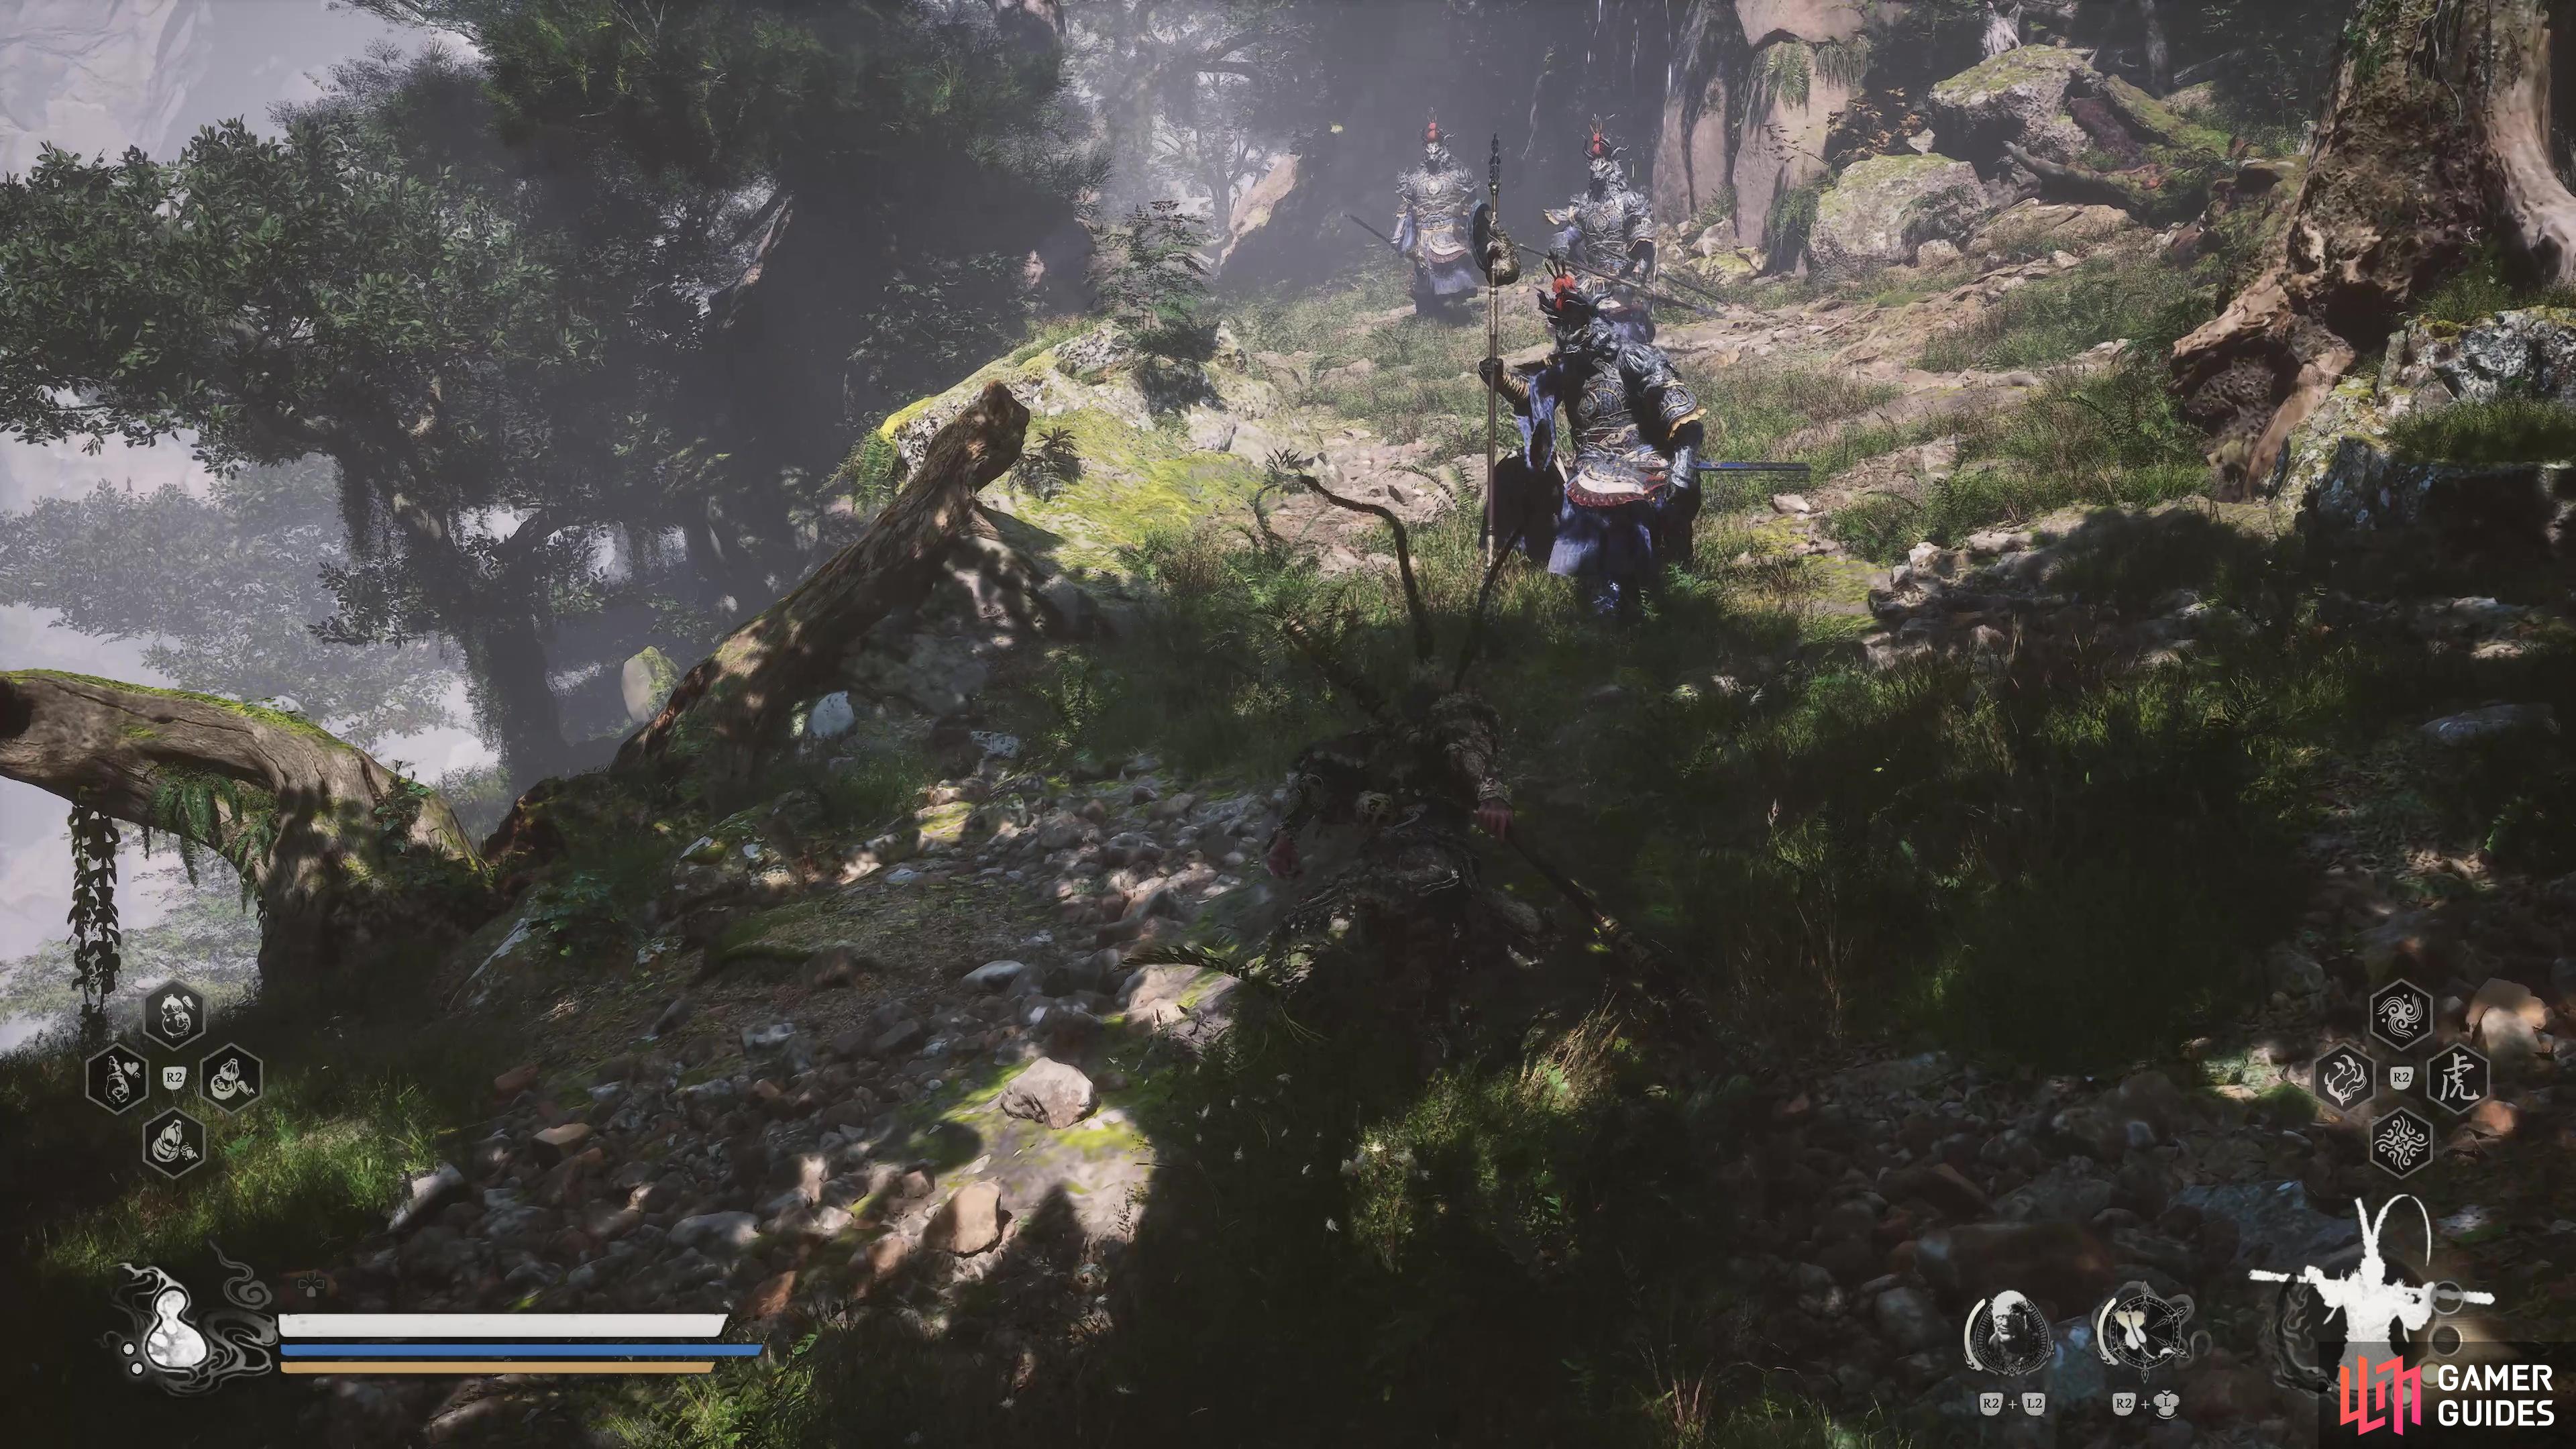
You can then proceed to the Waterfall Curtain Cave that will lead to the final encounter.
Phase One Strategy
The first thing you should be prepared for is that The Stone Monkey has two HP gauges, indicating each phase. That means you’re going to need to plan accordingly with how you use your resources in this battle. You may be thinking ahead to the boss battle following The Stone Monkey, but fortunately, there is a checkpoint between them so you will be able to restock if you do die.
The Stone Monkey has plenty of abilities up his sleeve though and you can find out all about them below:
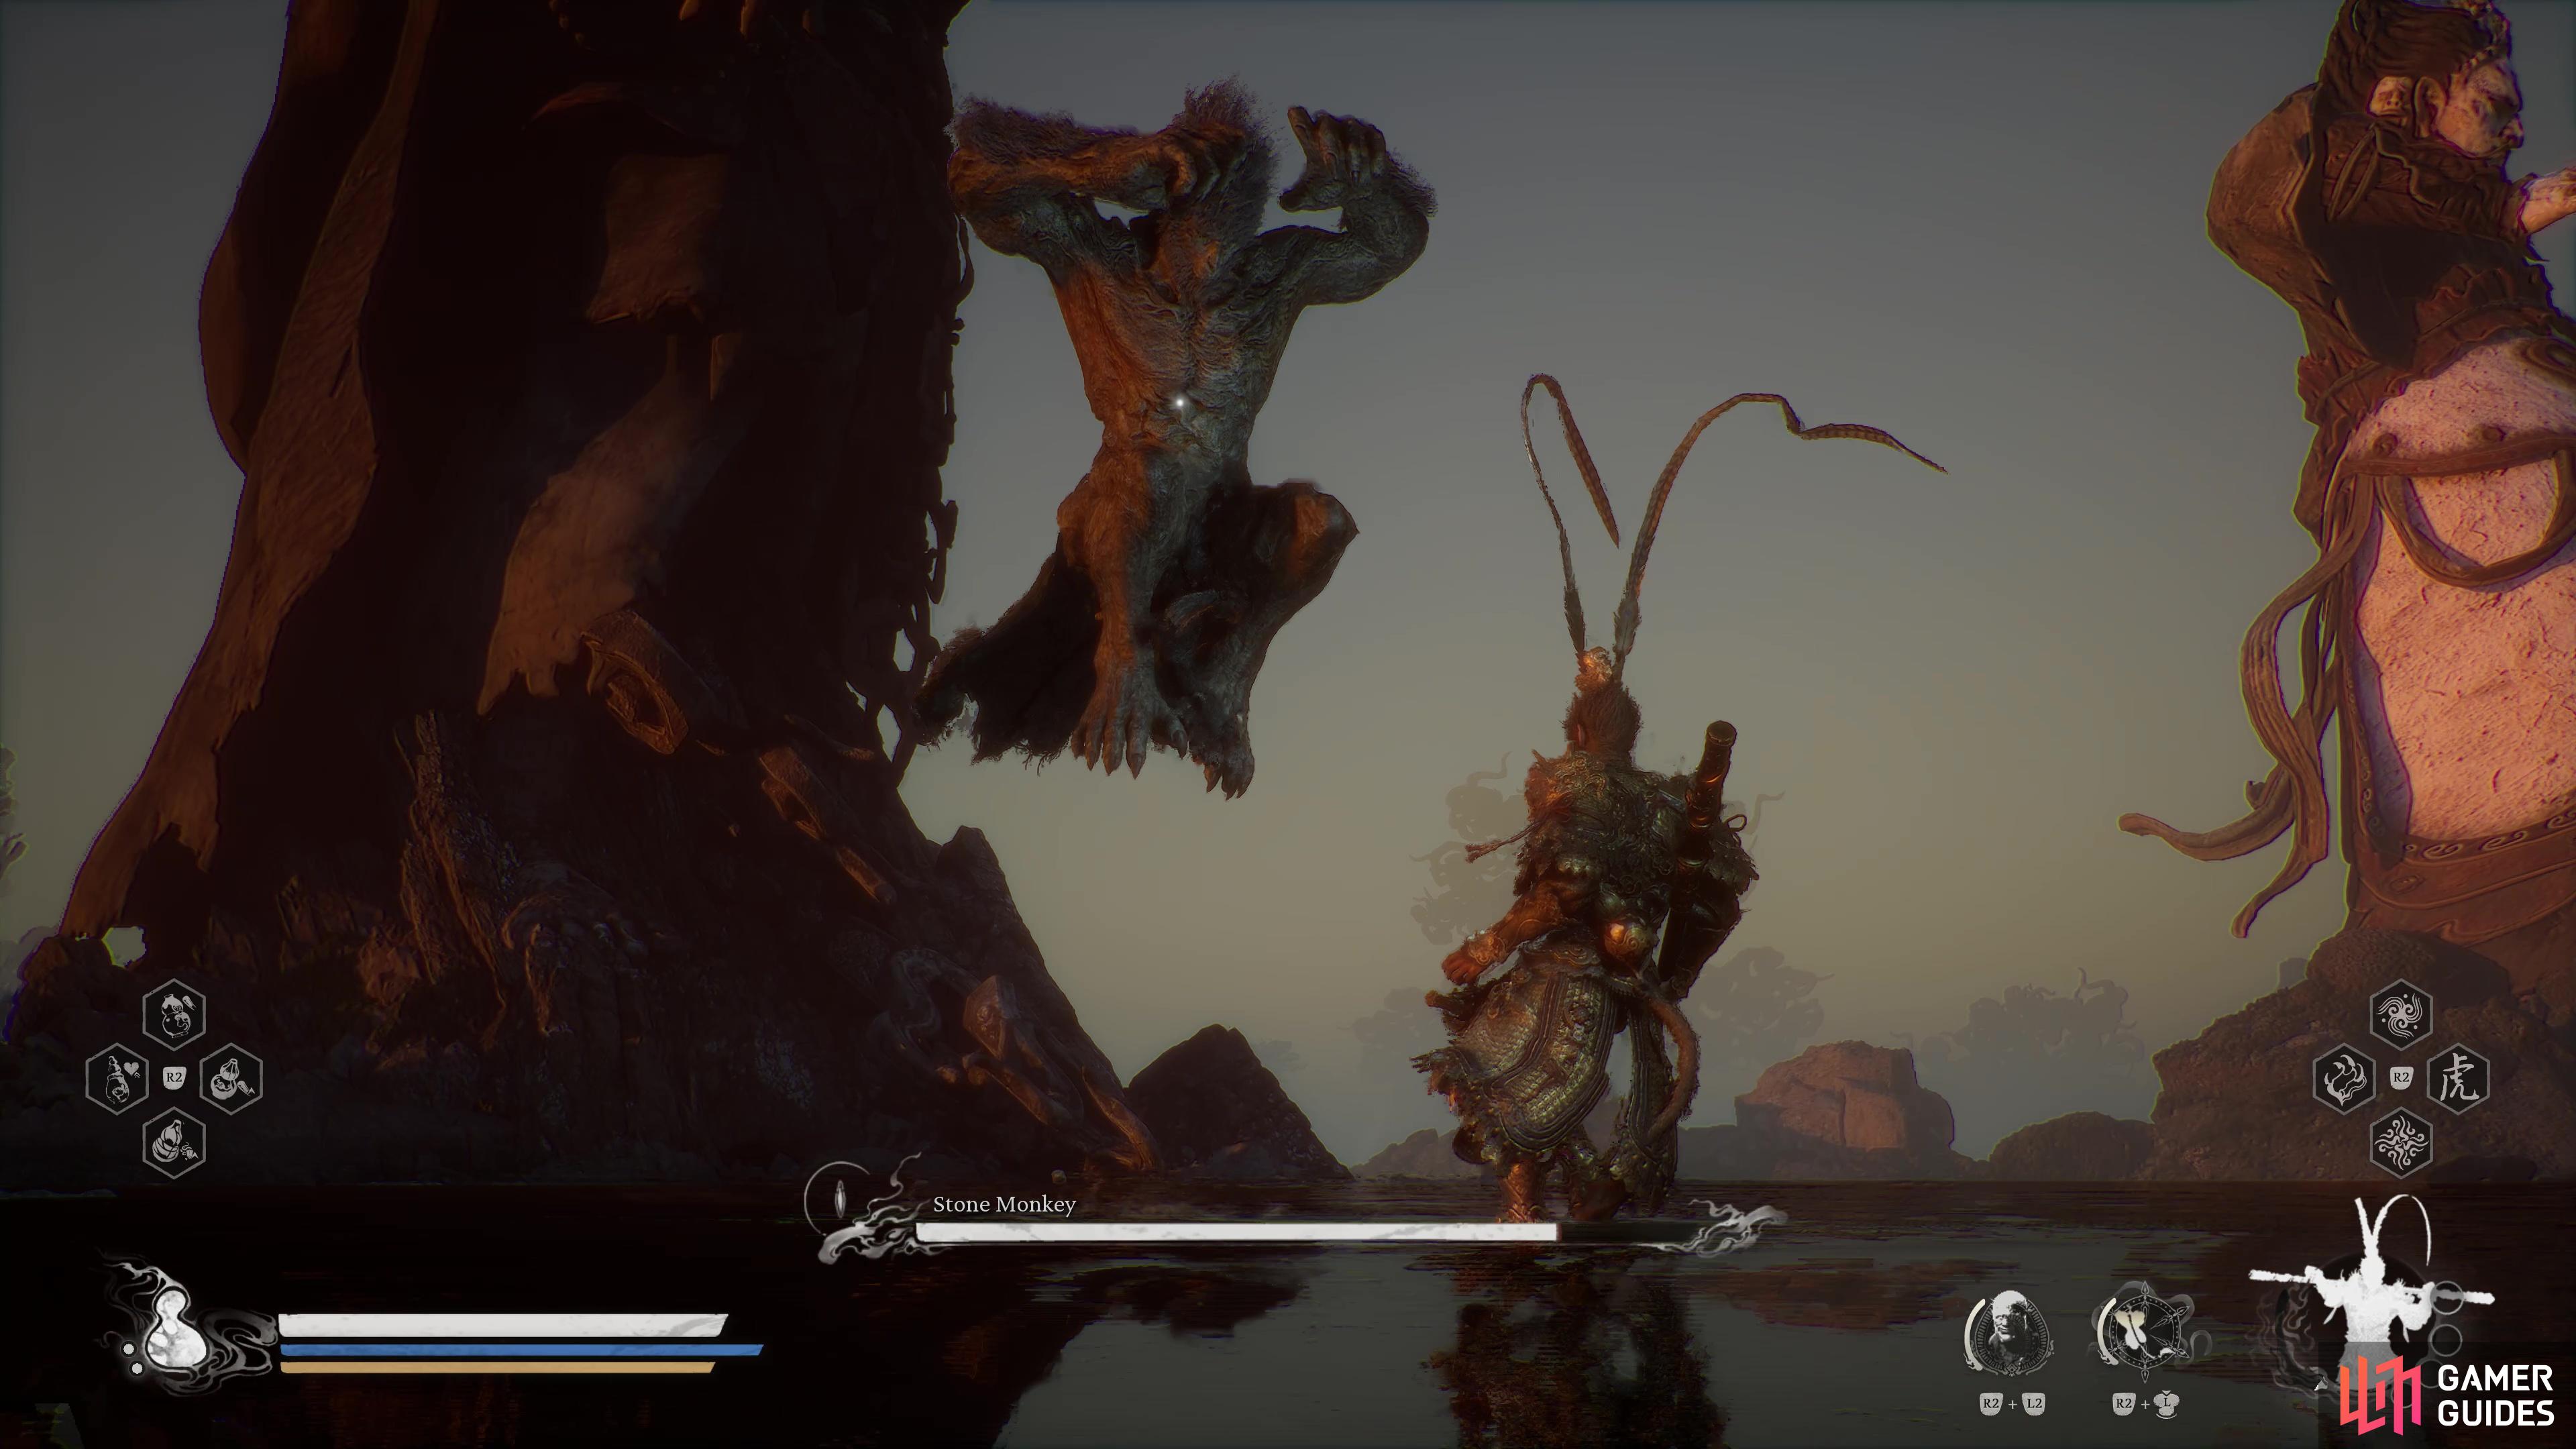
Leaping Slam
Usually the attack that The Stone Monkey will open the battle with, he will dash toward you and then leap in the air and pound the ground when he lands, causing damage in an area around the impact. Once you see him bring his arms down, roll backwards to avoid the blast, then back in to get some free attacks in while its recovering.
The Stone Monkey will leap toward you and slam the ground, dealing AoE damage around the impact.

The Stone Monkey will go mad, pounding the ground all around it.
Ground Pound
Similar to the Leaping Slam above, The Stone Monkey will begin pounding the ground around him up to eight times in succession, all in a different position on the spot it’s standing on, before finishing up with the same pound that Leaping Slam finishes with that culminates in a secondary blast on the outer edge. The initial pounds are easy enough to avoid, but be prepared to dodge backwards from the final blast.
Stomp Combo
The Stone Monkey will do an initial kick, followed by a jumping Stomp and pounding the ground. The initial kick doesn’t deal too much damage if you’re caught in it, but get ready for the leap after and dodge away from him to avoid the follow-up attacks.
Shockwave Barrage
Once you’ve drained some of his HP, The Stone Monkey will once again pound the ground at a slower pace this time, but each one will cause a massive shockwave. You must either roll through each shockwave, or time your jumps to avoid getting struck by these.
(1 of 3) After an initial kick out, the Stone Monkey will leap toward you to perform a heavy stomp.
Grab
The Stone Monkey can dash toward you (while invisible at times, pay attention to the ripples in the water) and grab you, resulting in an unblocking combo that deals massive damage. If there’s any attack you avoid throughout this battle, this is the one, so when you see him either run toward you or disappear, get ready to roll away from him.
The first phase, while difficult, isn’t as bad as it may seem once you’ve seen his attacks available play out a few times. Most of them have very obvious tells and you can easily avoid nearly every one of his attacks by dodging away from him, just be prepared to either jump or dodge through the shockwaves. By far the deadliest part of this first phase is his attempts to grab you, if you’re caught in this, you’ll almost certainly use some precious sips of your Gourd to recover from it.
Phase Two Strategy
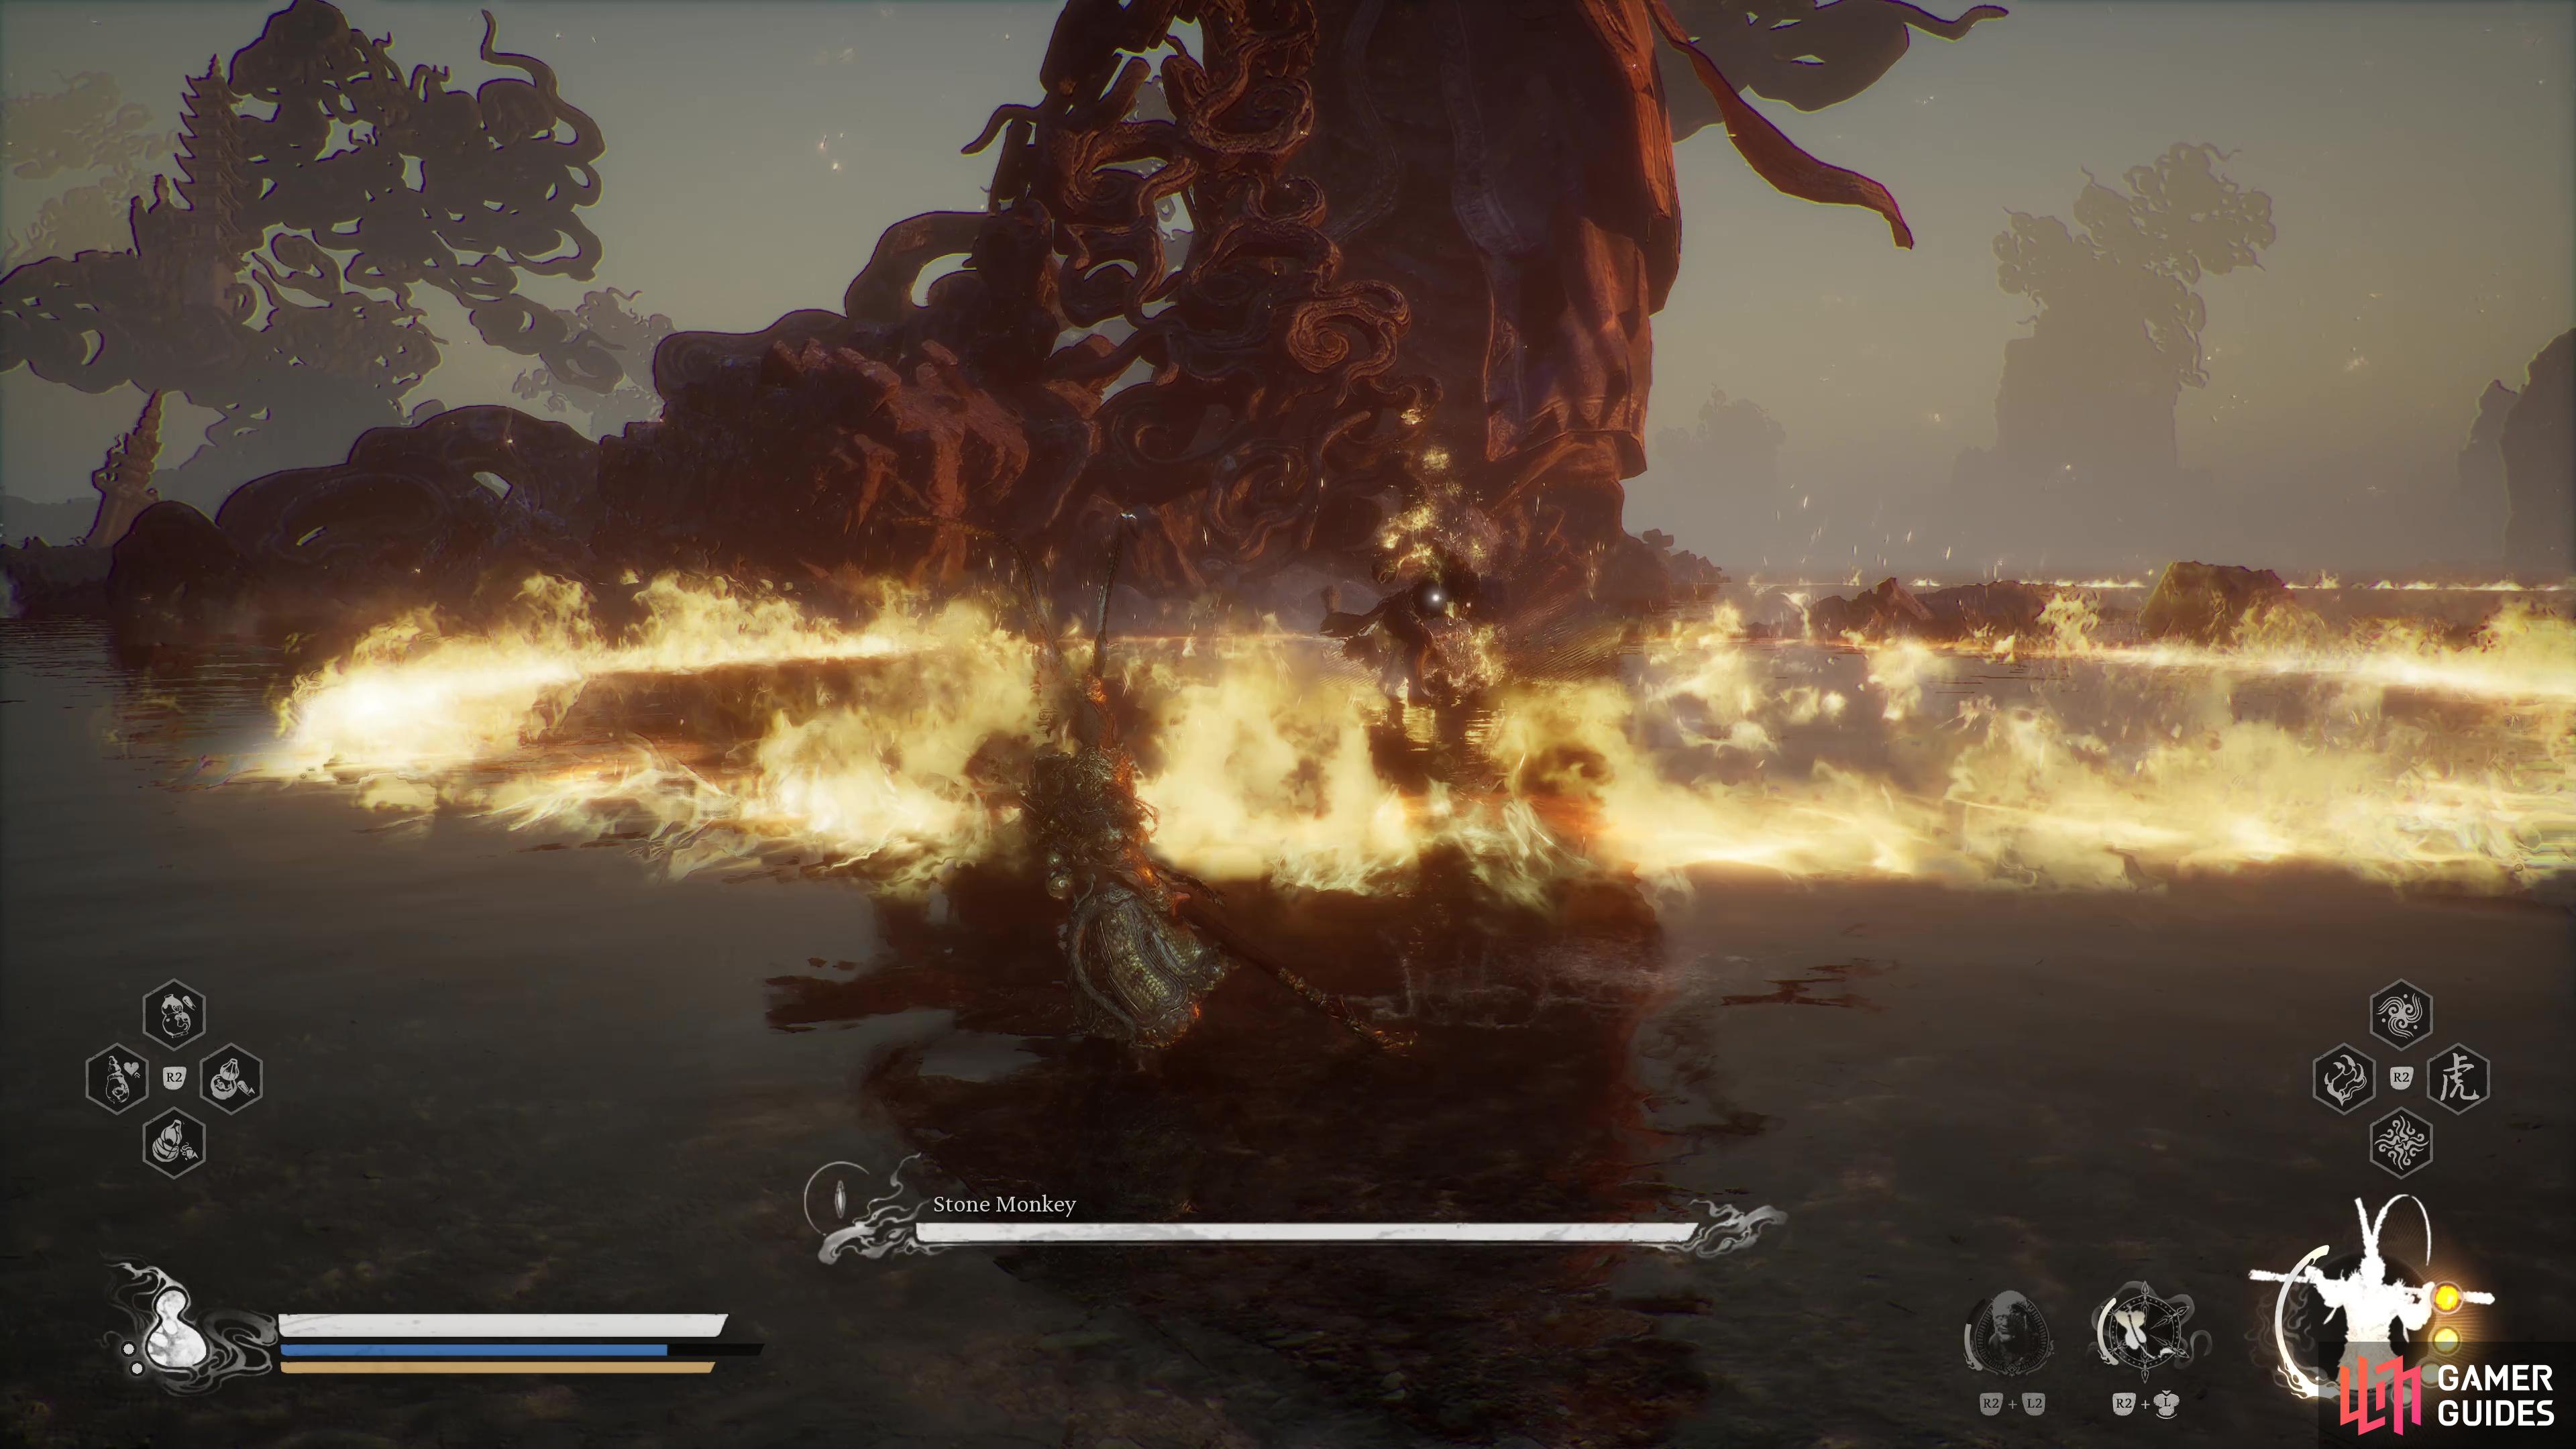
This is where things get real, The Stone Monkey will restore all of its HP and its arms will become engulfed in flames and it will become far more aggressive than in the first phase. For the most part, the attacks won’t change too much, but you’ll need to deal with either a Fire or Frost based property to them, which changes things up.
For example, the Shockwave Barrage is now much more difficult to avoid, forcing you to dodge through it rather than leap it as the fiery shockwaves are far larger than before. Likewise, all of its ground pounds will let out fiery explosions, so be ready to heal the status at a moment’s notice. If it vanishes, get ready for an incoming shockwave that starts from the outside and retracts inward. Alternatively, it can very quickly shift its element over to Frost, and while the attacks will be similar, you can and will most likely be frozen at times during the battle, Frost resistance is far more important than Fire resistance for that reason.
The biggest threat, however, comes from when you take it down to around 60% remaining HP, as at this point it will summon a clone of itself, and you’ll have to deal with both of them at the same time, both wielding one of the elements. If you’ve been saving your spells and items up until now, this is the time to put them to use, as you’ll want to get one of them down as soon as possible. It should be noted that you won’t need to fully deplete both HP gauges, if the battle goes on long enough, the summoned one will disappear.
The Stone Monkey is a very challenging battle, despite a rather tame first phase. Fortunately, that phase gives you all of the knowledge needed to deal with the powered up versions of the attacks during the chaotic second phase. Use your items, Mana, and ![]() Transformations when the second Stone Monkey comes out and you’ll eventually surpass it, leading to a showdown with the true final boss,
Transformations when the second Stone Monkey comes out and you’ll eventually surpass it, leading to a showdown with the true final boss, ![]() The Great Sage’s Broken Shell.
The Great Sage’s Broken Shell.
No Comments