
After a grueling journey, and besting The Stone Monkey, at last The Destined One reaches the conclusion of his journey. All that remains to take on Sun Wukong’s name is to defeat what remains of him, his broken shell. Keep reading to learn how to defeat Black Myth: Wukong’s final boss.
The Great Sage’s Broken Shell is the final boss of Black Myth: Wukong.
Table of Contents
If you want to jump straight to our strategy, or perhaps see how to prepare for beating The Stone Monkey, check out the following table:
The Great Sage’s Broken Shell Location
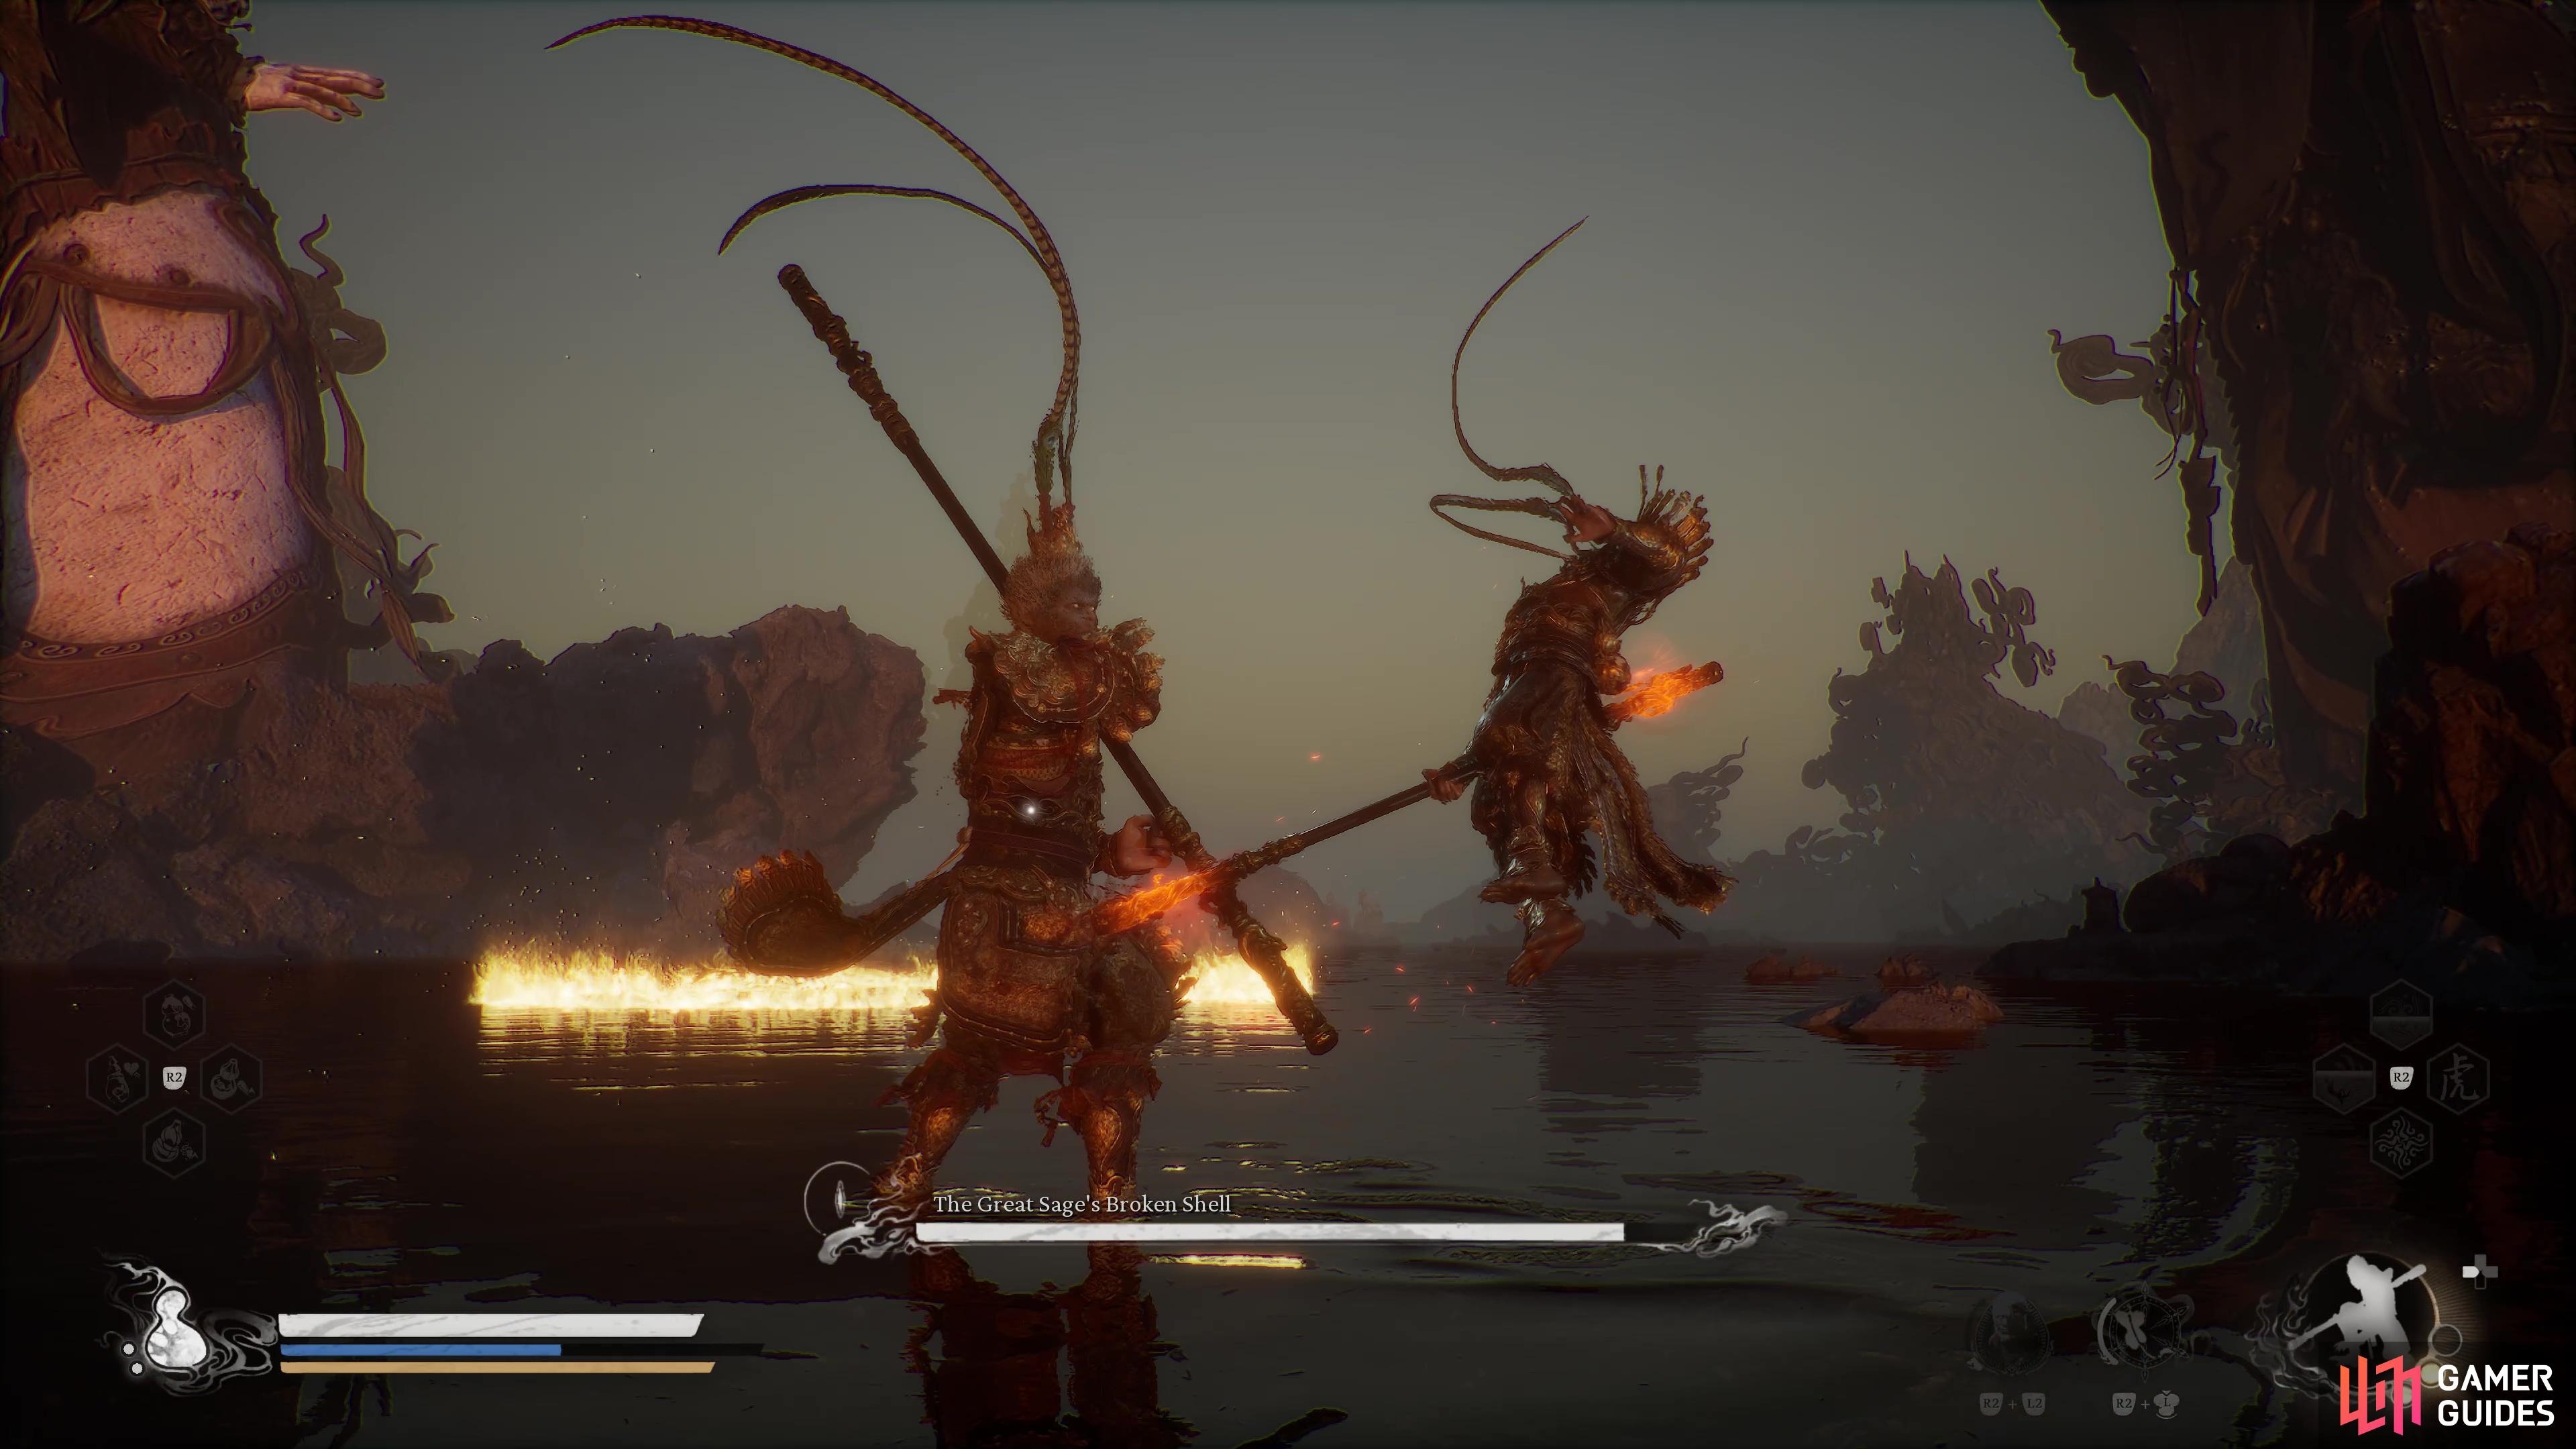
![]() The Great Sage’s Broken Shell is the final battle of Black Myth: Wukong, so you’ll naturally have you make your way through to the very end of the final chapter. This can either be very quick, or take you a while as you take on the rest of the optional bosses (and even the super boss) to make sure you’re sufficiently ready for the challenge that awaits.
The Great Sage’s Broken Shell is the final battle of Black Myth: Wukong, so you’ll naturally have you make your way through to the very end of the final chapter. This can either be very quick, or take you a while as you take on the rest of the optional bosses (and even the super boss) to make sure you’re sufficiently ready for the challenge that awaits.
Once you’re ready to get the ball rolling, make sure you’ve defeated the ![]() Gold Armored Rhino,
Gold Armored Rhino, ![]() Cloudtreading Deer,
Cloudtreading Deer, ![]() Feng-Tail General, and the
Feng-Tail General, and the ![]() Emerald-Armed Mantis that are scattered around the Foothills section of Mount Huaguo. Once they’re down and you’ve acquired all of the armor for Sun Wukong’s set, proceed into the Waterfall Curtain Cave (southwest of the Foothills) and claim the
Emerald-Armed Mantis that are scattered around the Foothills section of Mount Huaguo. Once they’re down and you’ve acquired all of the armor for Sun Wukong’s set, proceed into the Waterfall Curtain Cave (southwest of the Foothills) and claim the ![]() Jingubang, the final piece of the set.
Jingubang, the final piece of the set.
This will allow you to enter the trail behind, do so, taking out the soldiers along the way with your new set and at the very top you’ll find a Keeper’s Shrine, this is the point of no return, so make sure you’re fully ready for a difficult series of battles before going any further. At this point, you must defeat the first part of the final battles against The Stone Monkey, a difficult two phase battle in its own right.
Following the conclusion of that battle, you will go straight into this battle, although your HP and Mana will be replenished. More importantly, you’ll trigger a checkpoint, so if you die here, you won’t have to redo The Stone Monkey battle again. In fact, it may be worth dying on purpose if you need to restock your supplies from the Keeper’s Shrine.
Phase One Strategy
Much like The Stone Monkey before this, expect two phases for the final battle, and this is much harder than the one before it. As you can tell from the Great Sage’s Broken Shell’s appearance, this is essentially a mirror match, as you’re going up against a slightly different version of yourself. This means it’ll have access to all of the tools you do, and its fighting style will be similar.
The Great Sage’s Broken Shell has plenty of abilities up its sleeve though and you can find out all about them below:
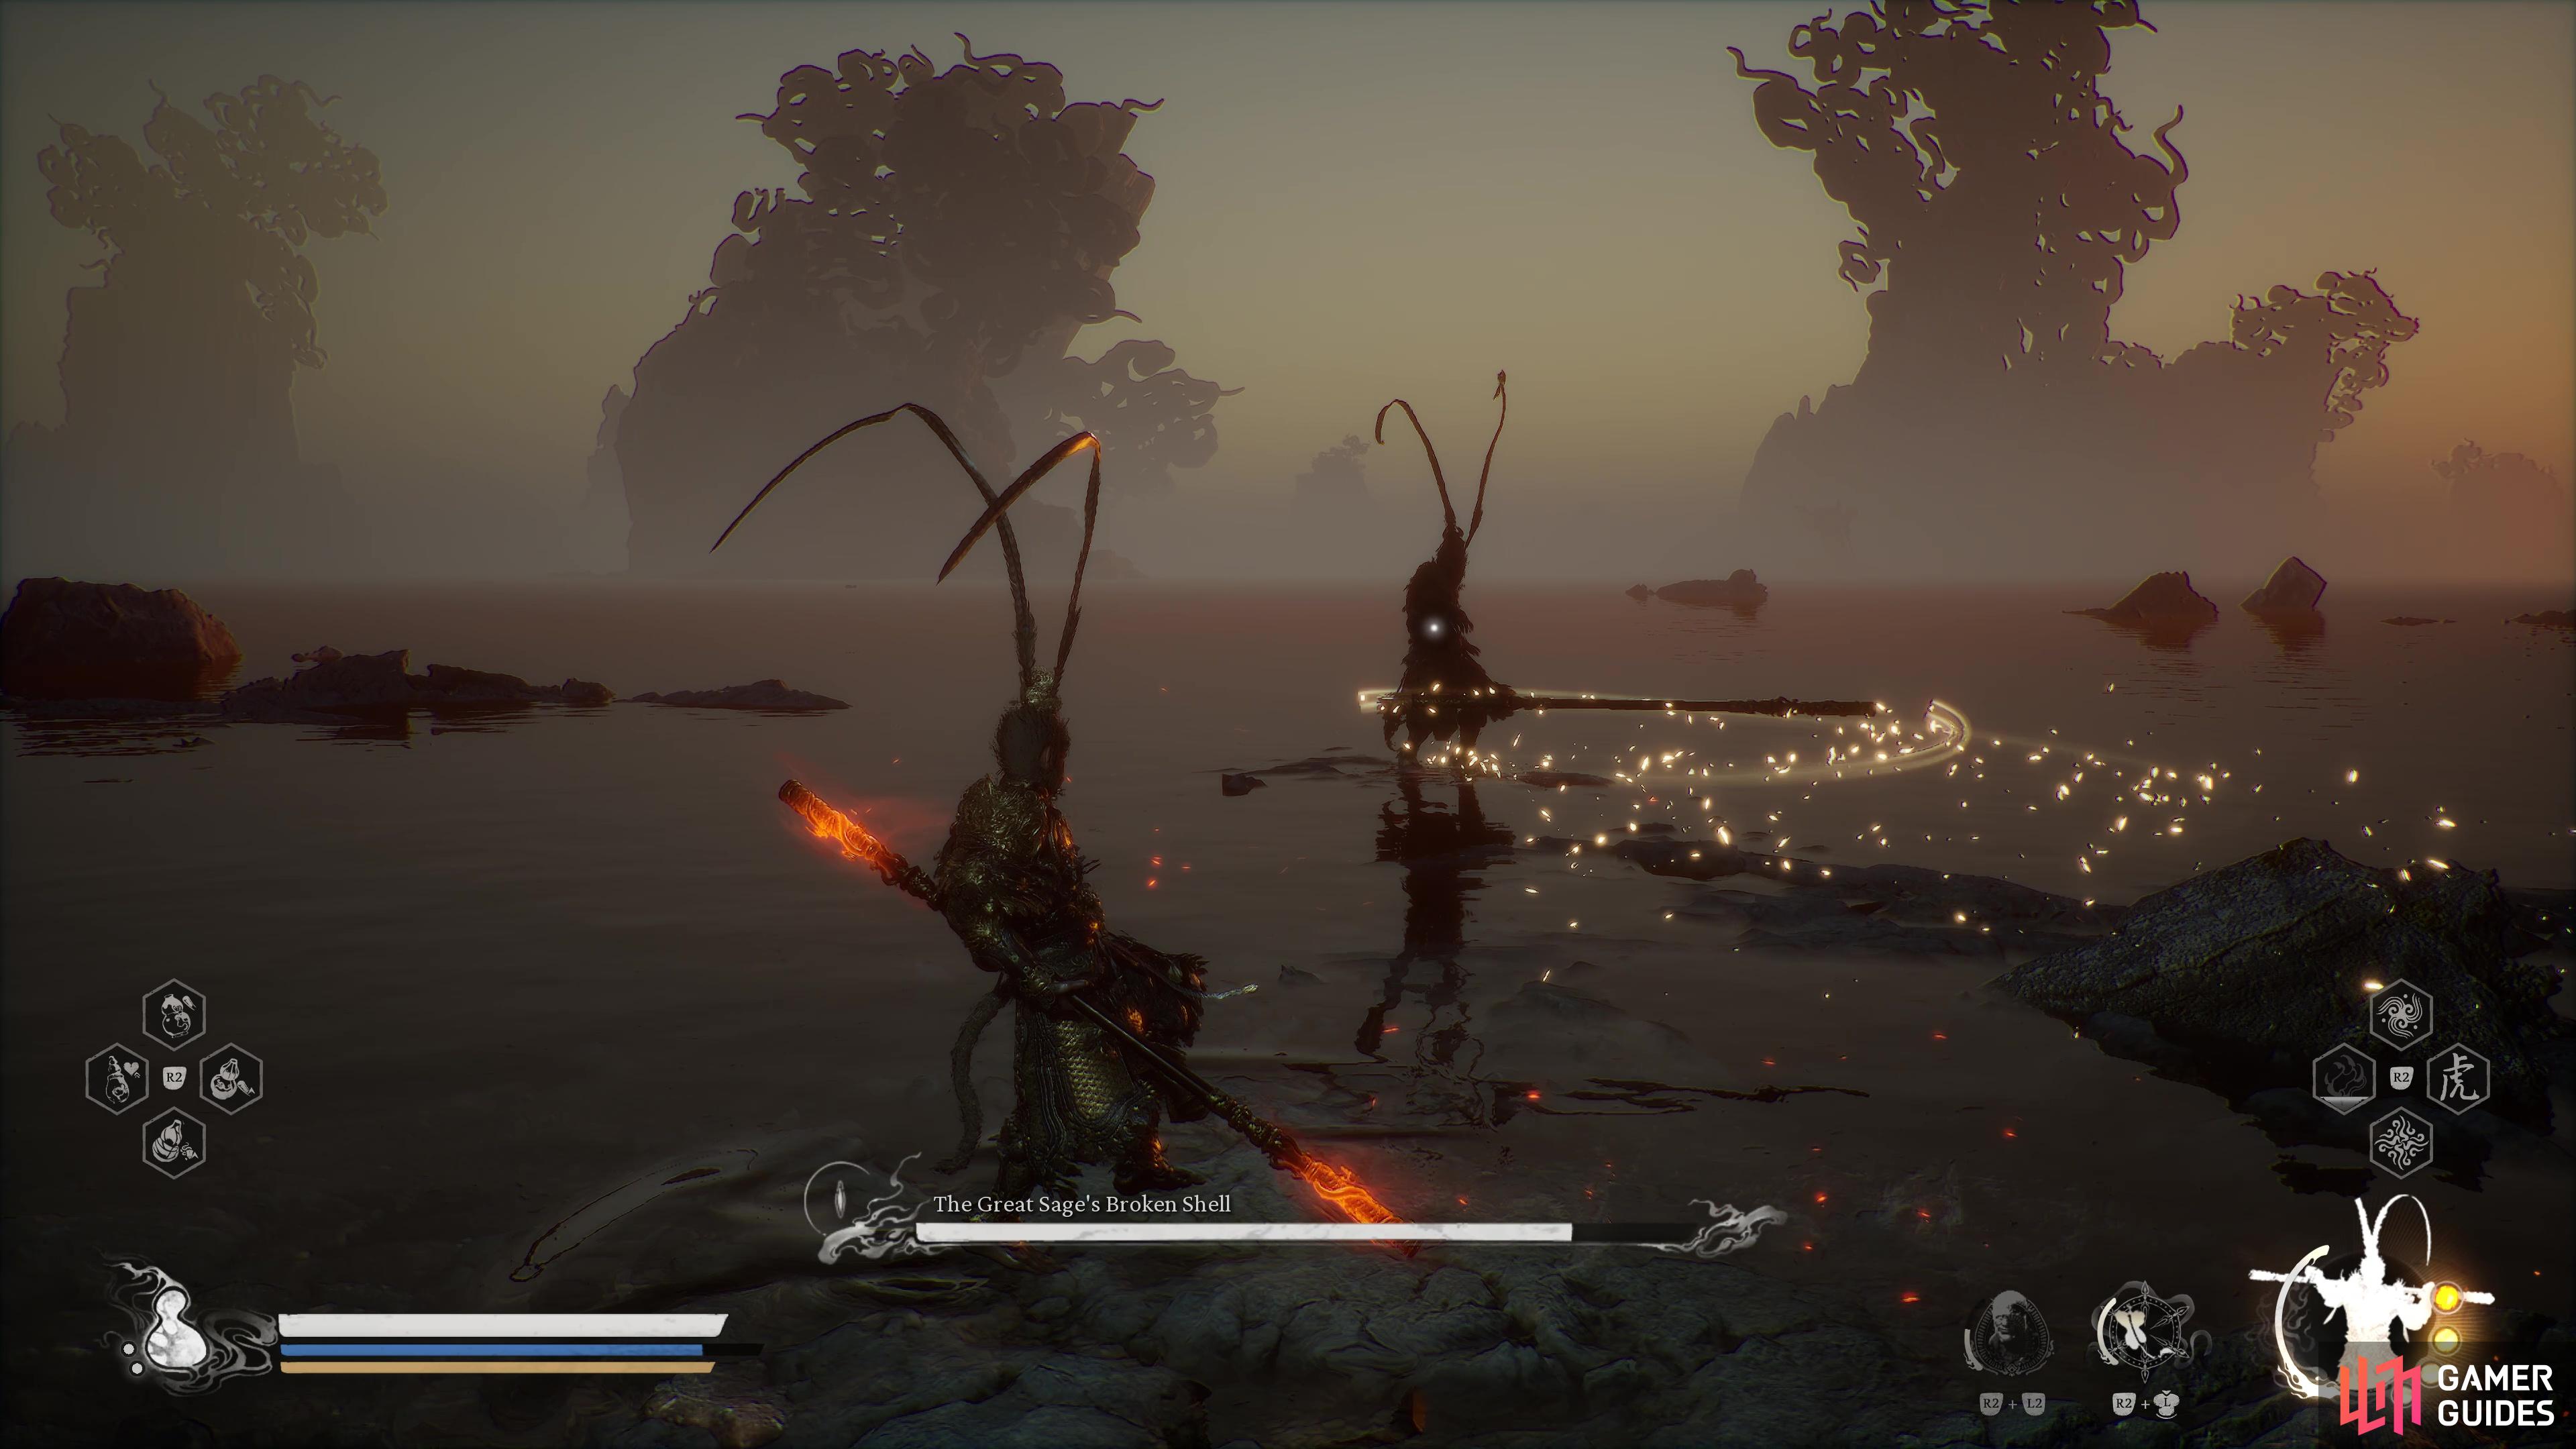
Staff Combo
Usually the attack that The Great Sage’s Broken Shell starts the battle with, he’ll come toward you and use a four-hit swing that has a massive range, try to dodge through the attacks, rather than getting away as it has a long range on it. This staff Combo can be performed in any of the given stances that you can access, as such, be ready to dodge differently based on what stance it uses against you.
The Great Sage’s Broken Shell can perform multiple Staff Combos against you, from any stance.
He will toss his Staff at mid-range.
Staff Toss
The Great Sage’s Broken Shell can toss his Staff at you that will deal moderate damage if it hits. He will usually use this when at mid-range, so be prepared for it if you find yourself there and look to dodge to the sides to avoid it.
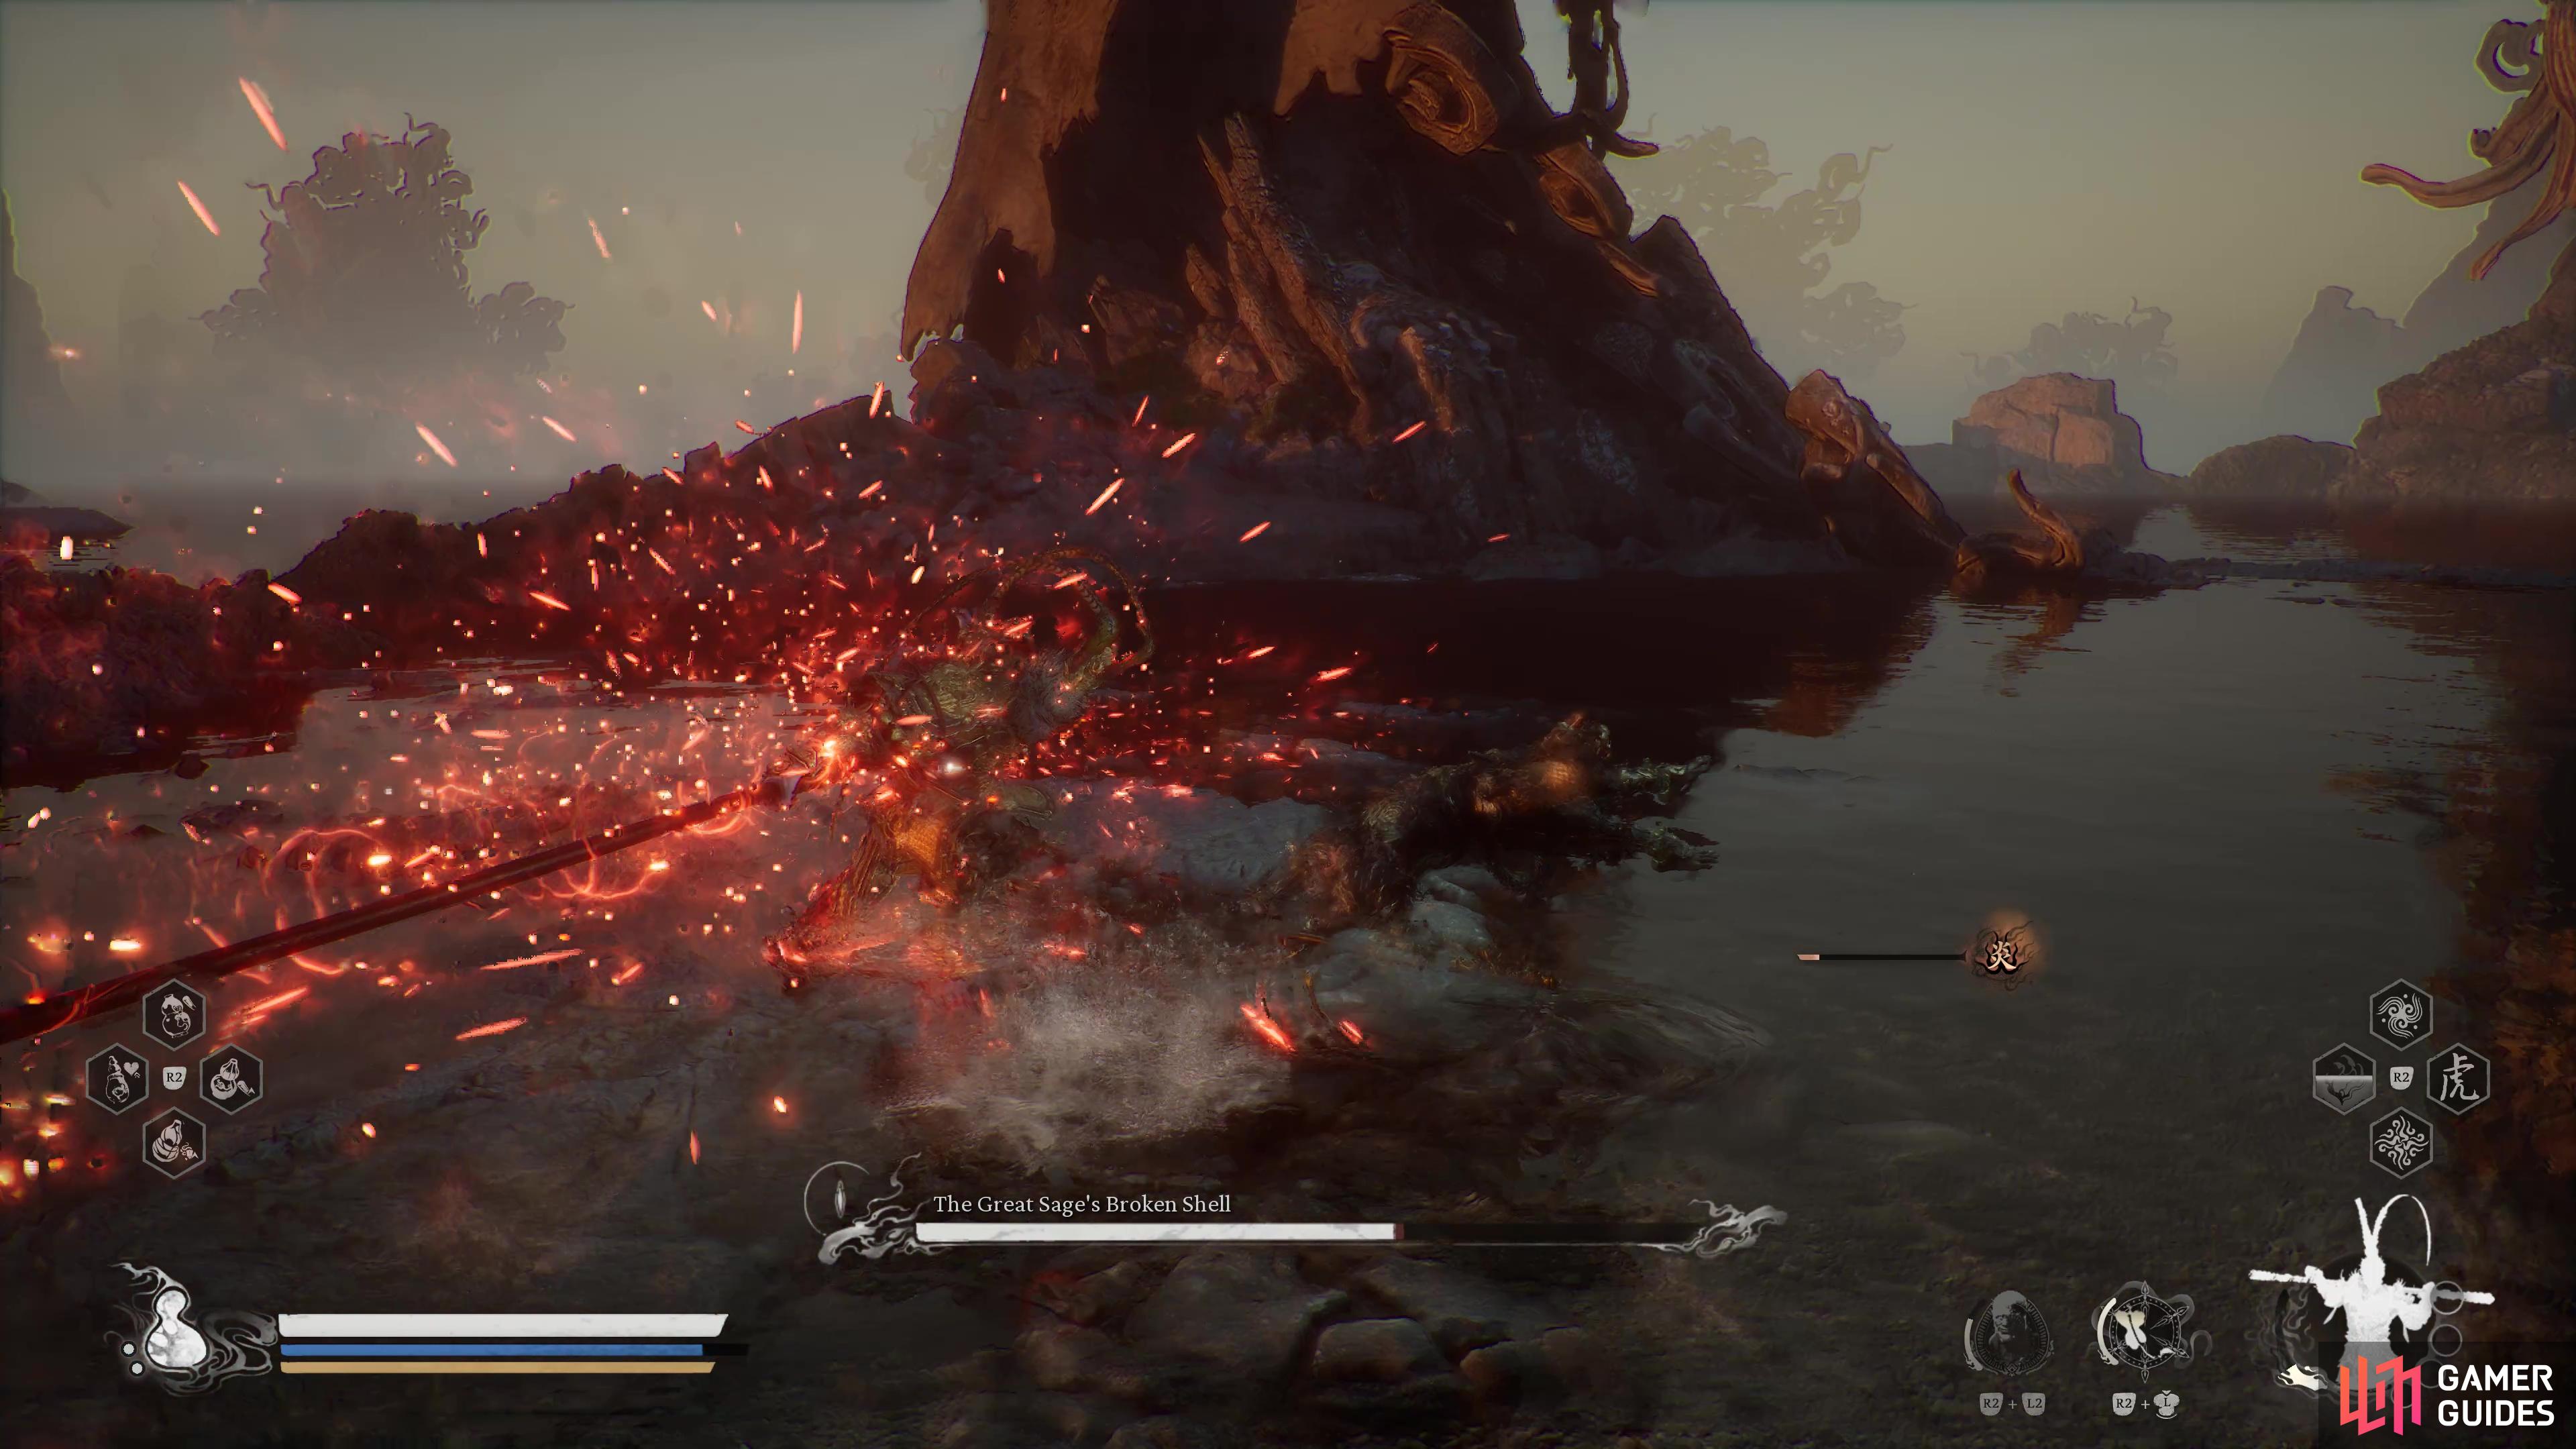
Ring of Fire
The Great Sage’s Broken Shell will use the ![]() Ring of Fire spell, this conjures a massive ring of flames that will restore his focus and increase his attack power while inside. This is a relatively large ring, and while you can cross into it yourself to enjoy the same benefits, it’s far better to lure him out of it instead.
Ring of Fire spell, this conjures a massive ring of flames that will restore his focus and increase his attack power while inside. This is a relatively large ring, and while you can cross into it yourself to enjoy the same benefits, it’s far better to lure him out of it instead.

Try to lure the Great Sage’s Broken Shell out of his Ring of Fire spell.
Look out for the Staff Thrust’s massive reach.
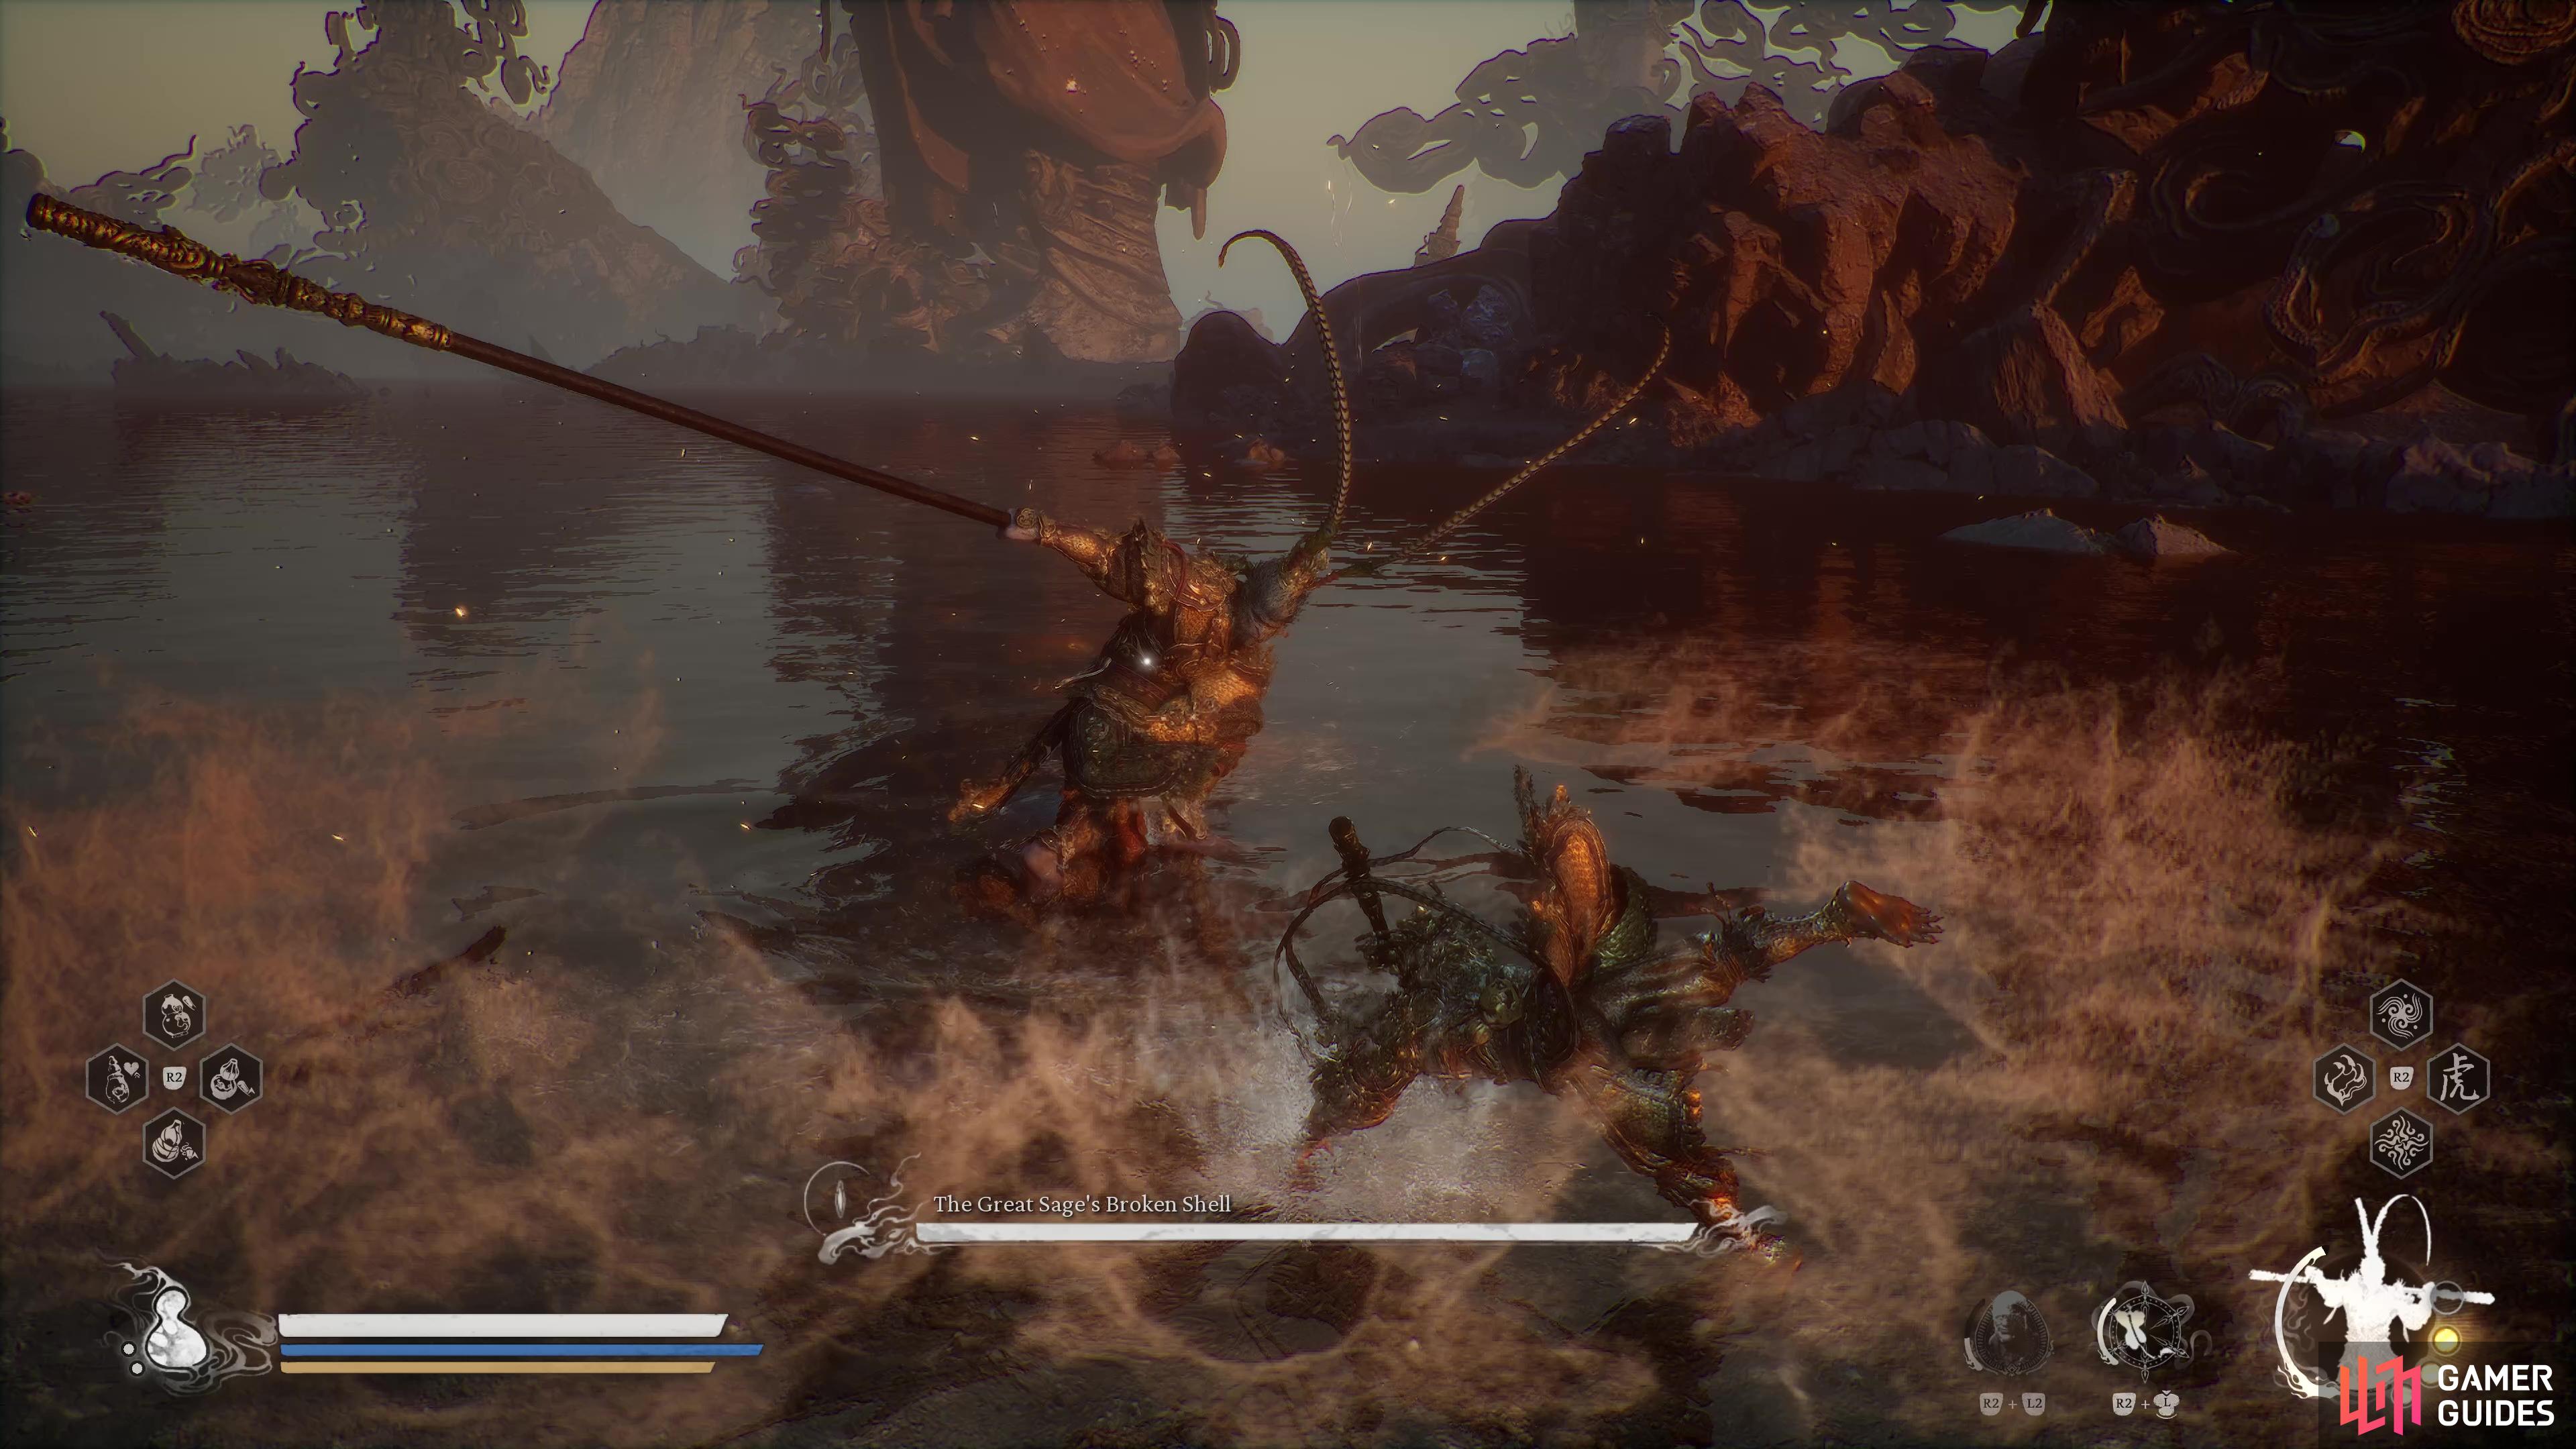
Staff Thrust
The Great Sage’s Broken Shell can charge up his Staff and then thrust it forward, giving it massive reach and dealing moderate damage should it strike you. Look for when he charges this attack, and then look to dodge around to the side of it as he leaves himself open.
The first phase is a bit more manageable, as you should be well aware of how the certain ![]() Staff Stances work by this stage of the game and can react accordingly. The biggest issue here is the Ring of Fire spell, you’ll want to make sure you drag him out of it as soon as possible or you risk powering him up. Additionally, he’ll often perfect dodge your own blows, leaving behind an exploding clone in the process, be prepared to dodge immediately if he dodges your own attacks.
Staff Stances work by this stage of the game and can react accordingly. The biggest issue here is the Ring of Fire spell, you’ll want to make sure you drag him out of it as soon as possible or you risk powering him up. Additionally, he’ll often perfect dodge your own blows, leaving behind an exploding clone in the process, be prepared to dodge immediately if he dodges your own attacks.
While spells like ![]() Immobilize isn’t as strong here, wearing off quickly, it can buy you enough time to close the distance to start a combo or get your Spirit off against him. Likewise, the
Immobilize isn’t as strong here, wearing off quickly, it can buy you enough time to close the distance to start a combo or get your Spirit off against him. Likewise, the ![]() Plantain Fan is an excellent tool to use against him to buy yourself time to launch an assault.
Plantain Fan is an excellent tool to use against him to buy yourself time to launch an assault.
Phase Two Strategy
Once you deplete The Great Sage’s Broken Shell’s first HP gauge, a cutscene will trigger and he’ll steal all of the relics from you, significantly decreasing your strength for the upcoming phase. This will, as you may expect, power up some of his attacks while adding some new ones, and it will generally be tougher to get your own attacks off against him, so using your full set of resources at this point is vital.
You’ll find a few new attacks to deal with in this phase, and you can learn about them below:
Grab
The Great Sage’s Broken Shell can close the distance quickly and grab you, initiating a series of unblockable attacks that will deal major damage. For this reason alone, do not let him get too close to you, and should he perform this attack, consider using your Plantain Fan to buy you enough time to use your Gourd to recover from it.
(1 of 3) Don’t let him get too close, or risk getting grabbed and taking massive damage.
Somersault Cloud
The Great Sage’s Broken Shell can summon his ![]() Somersault Cloud at will and fly around the battlefield, either doing attacks in the process or looking to grab you and use the unblockable attack against you. The best way of dealing with this is to use Immobilize if you have it set, this will cancel the spell.
Somersault Cloud at will and fly around the battlefield, either doing attacks in the process or looking to grab you and use the unblockable attack against you. The best way of dealing with this is to use Immobilize if you have it set, this will cancel the spell.
Staff Barrage
The Great Sage’s Broken Shell will use his Staff to rise high in the air and then summon multiple Staffs that he will fling at you from distance, one at a time. The best thing to do here is to keep running to one side, dodging as they come at you, but be prepared for him to dash toward you after the last one.
As mentioned above, the battle doesn’t change too much for the second phase outside of you being less powerful due to losing your relics and your new stance from the Sun Wukong set (which The Great Sage’s Broken Shell will gain and use). As this is the final battle in the game, do not be afraid to put them to use and you probably want to use the Plantain Fan as and when it’s available to use if the battle drags on. You’ll also find it incredibly difficult to heal during this battle, as you’ll get rushed as soon as you try and take a sip, consider using Immobilize to buy you a precious few seconds to take a swig.
After you deplete its second HP gauge, you’ll finally defeat the Great Sage’s Broken Shell and officially be crowned the successor to Sun Wukong. Enjoy the ending scenes and you’ll find yourself back at the main menu, having unlocked both New Game+ and the ability for a challenge mode against the game’s bosses.
No Comments